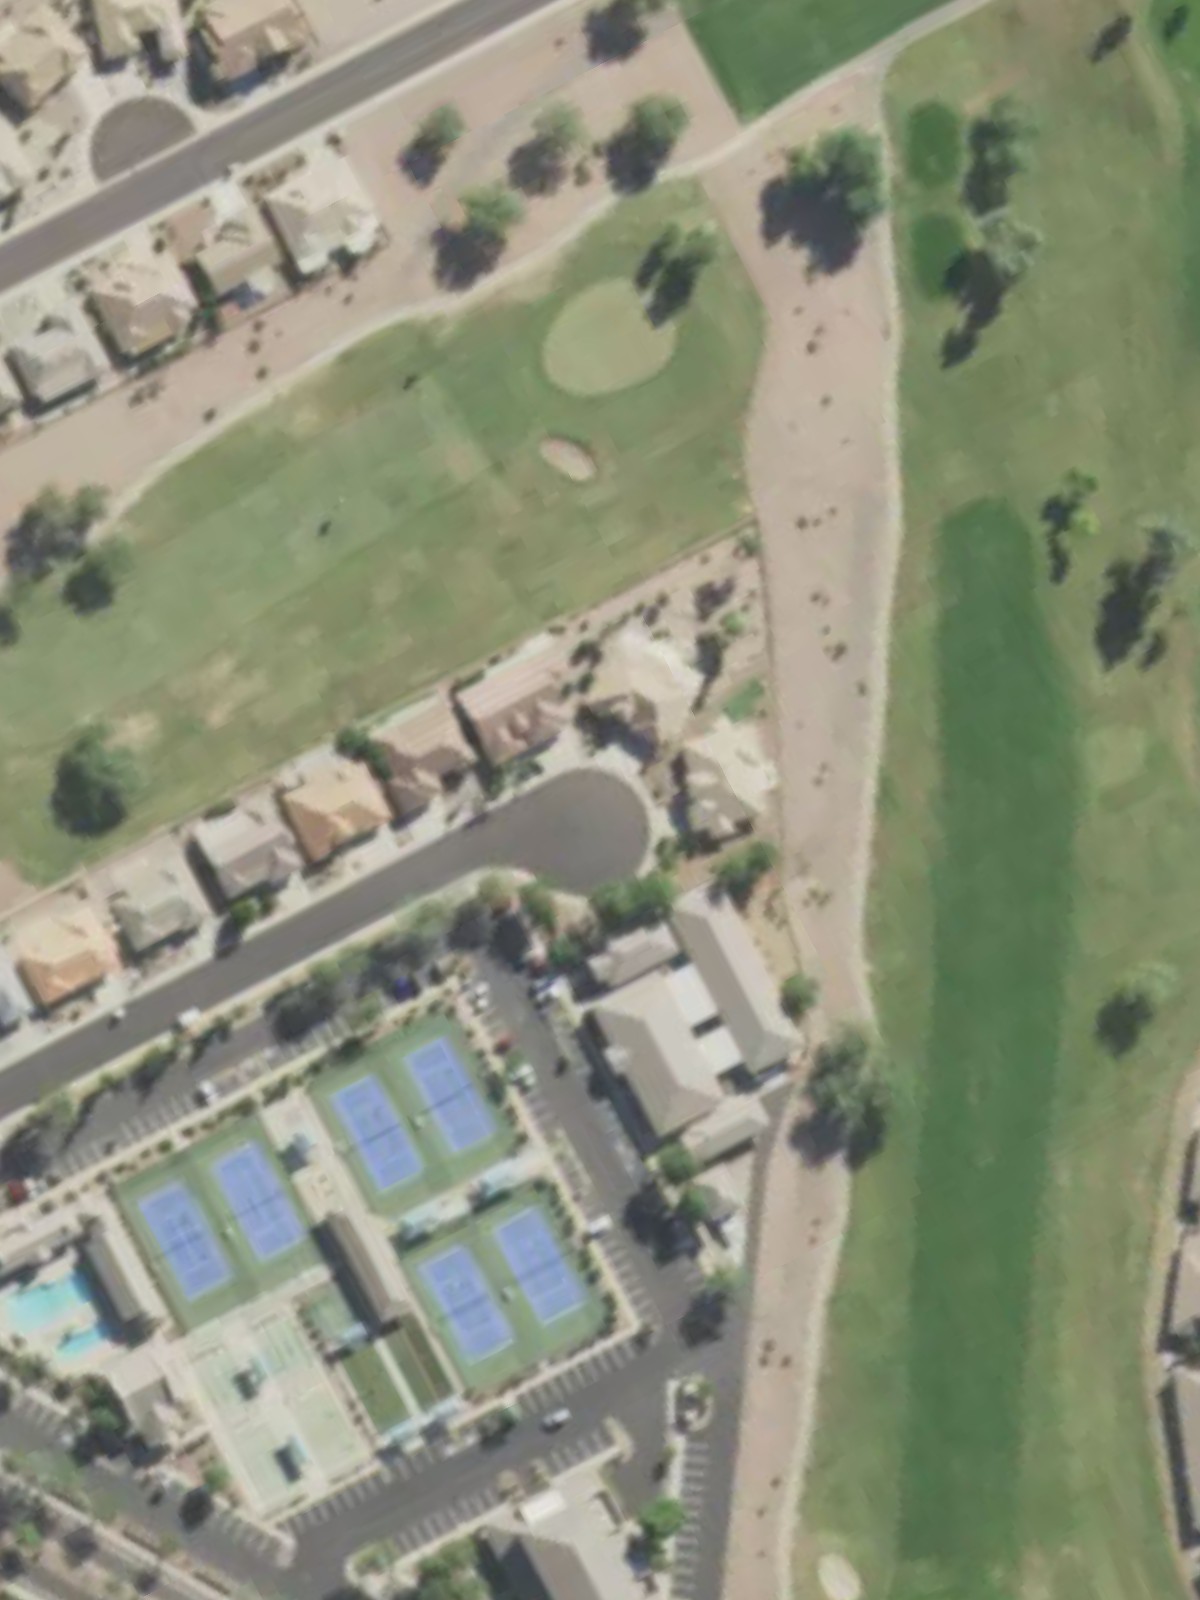
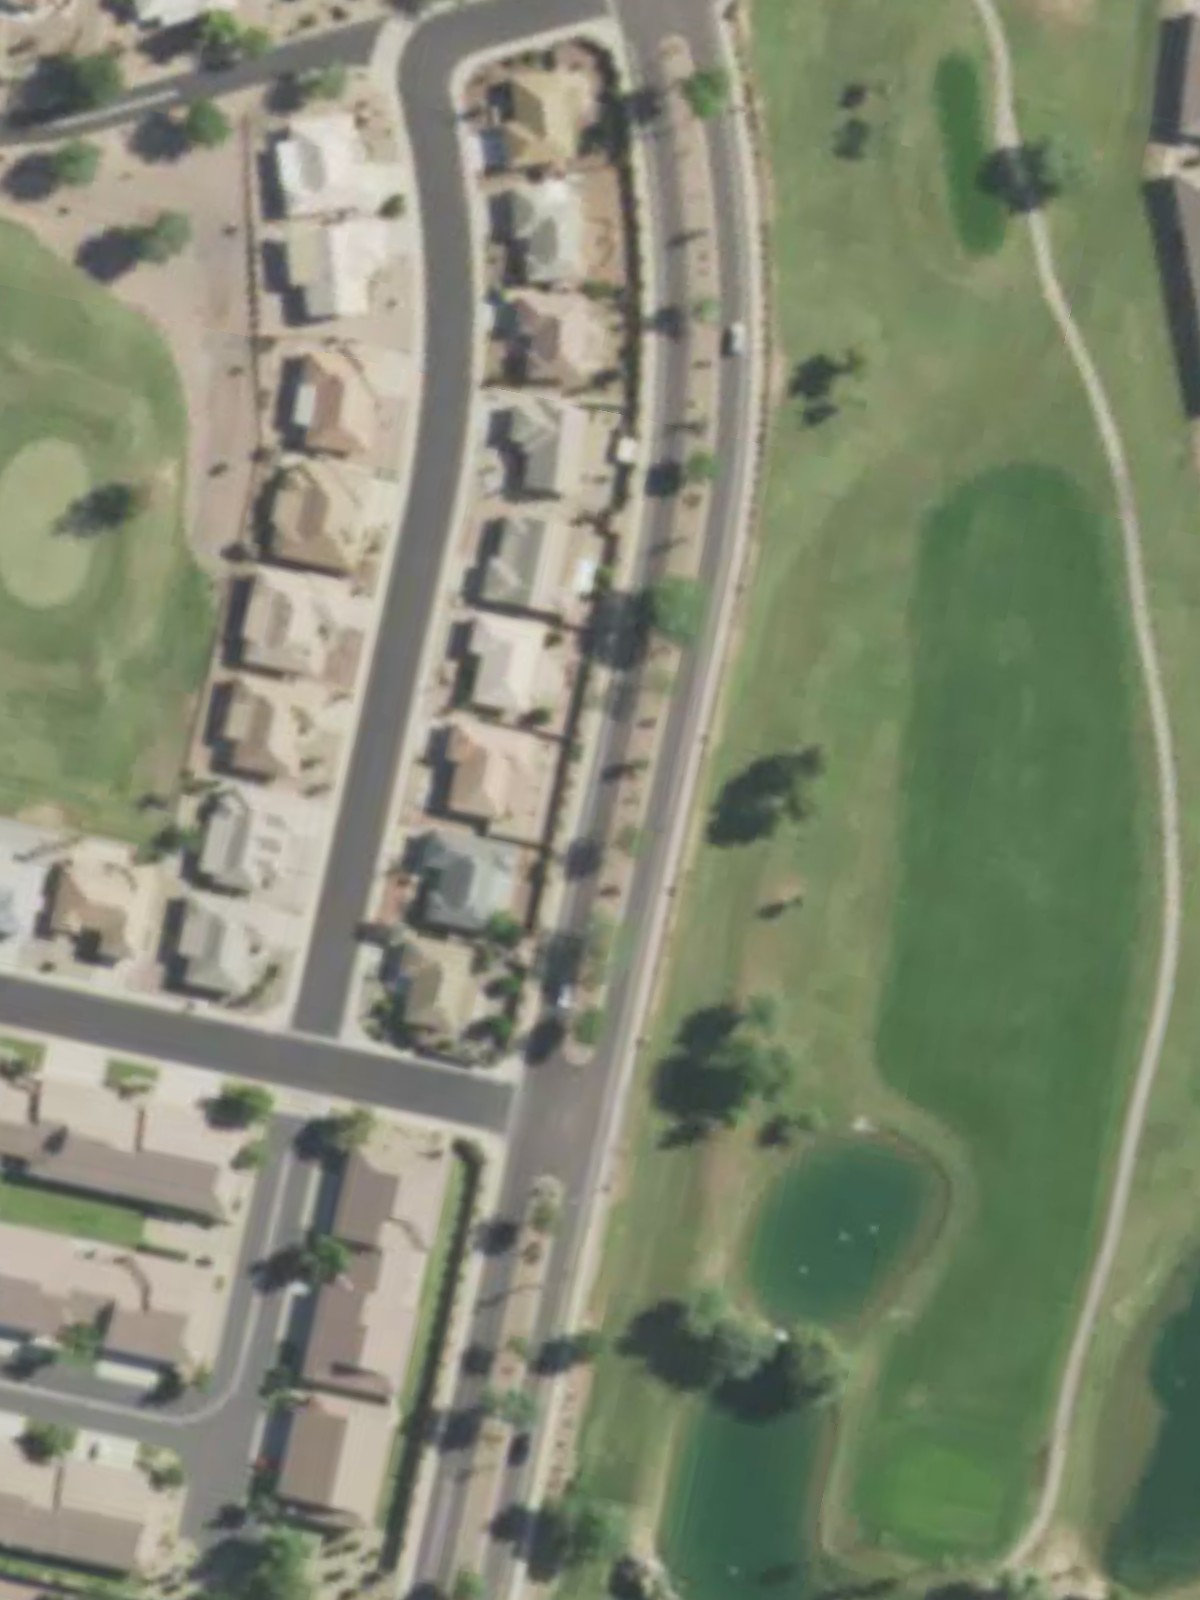
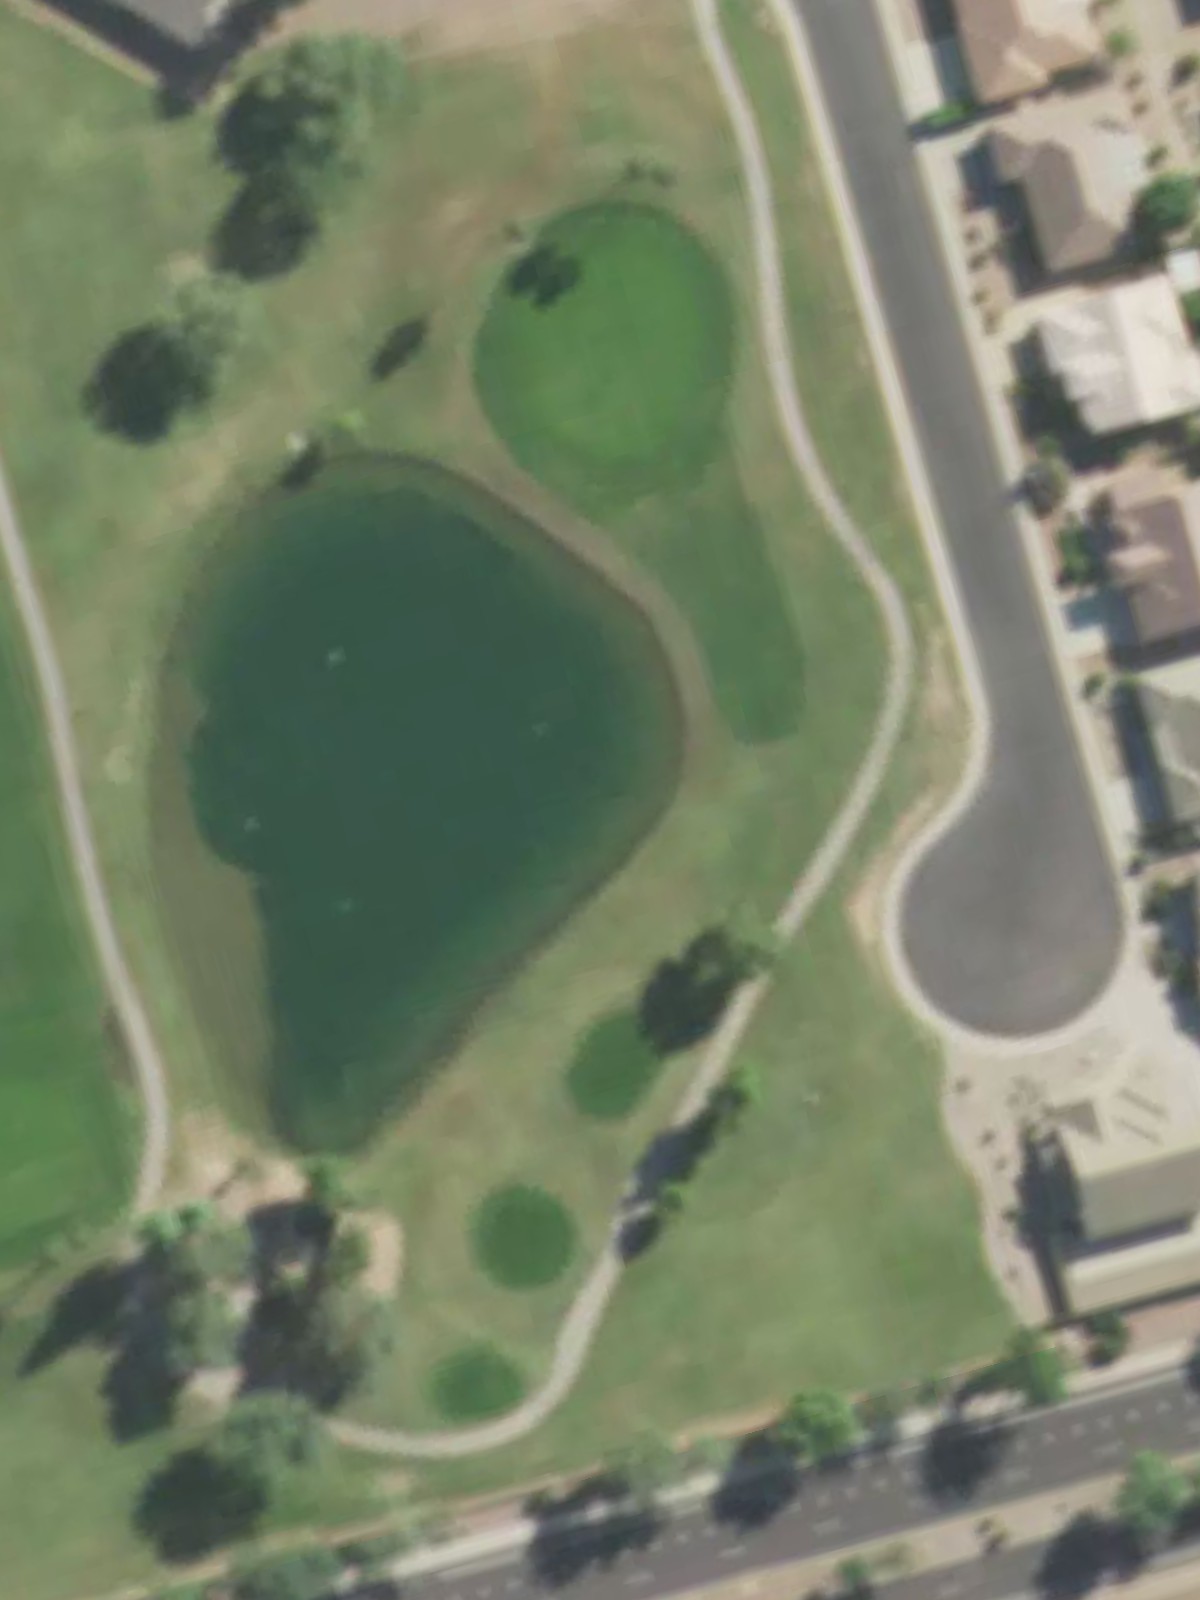
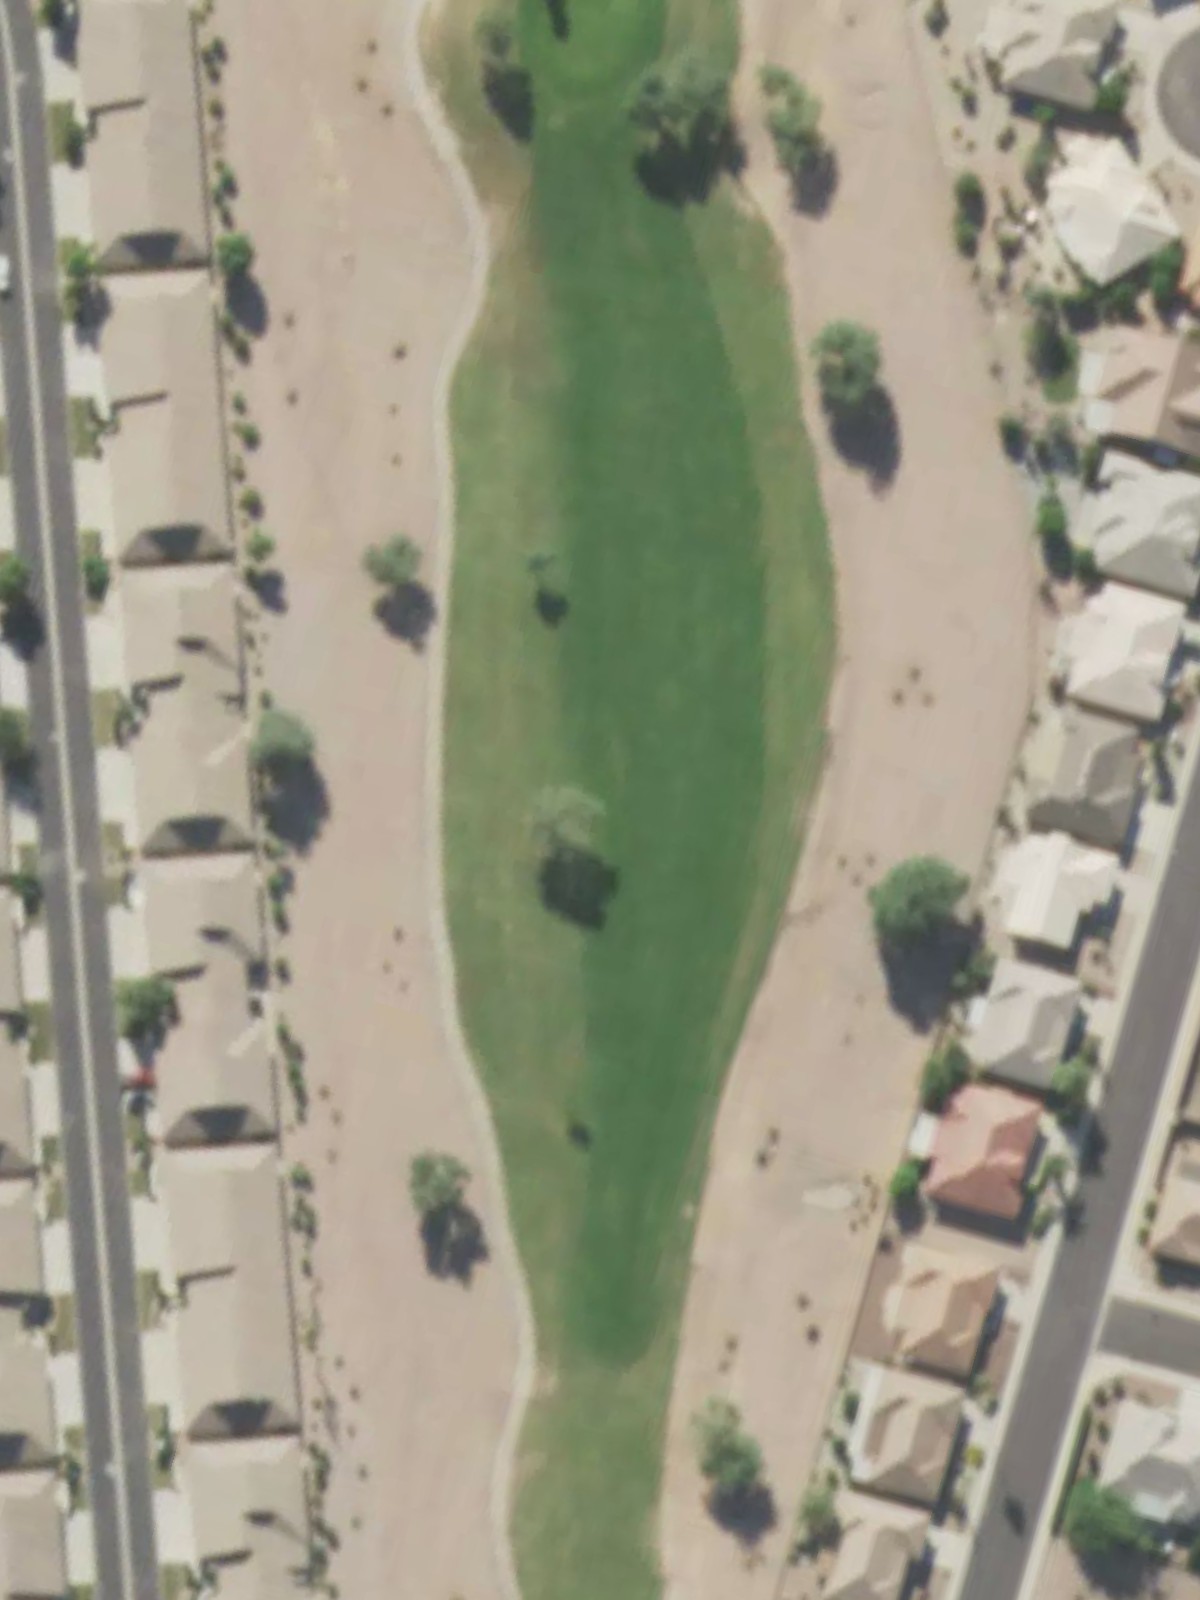
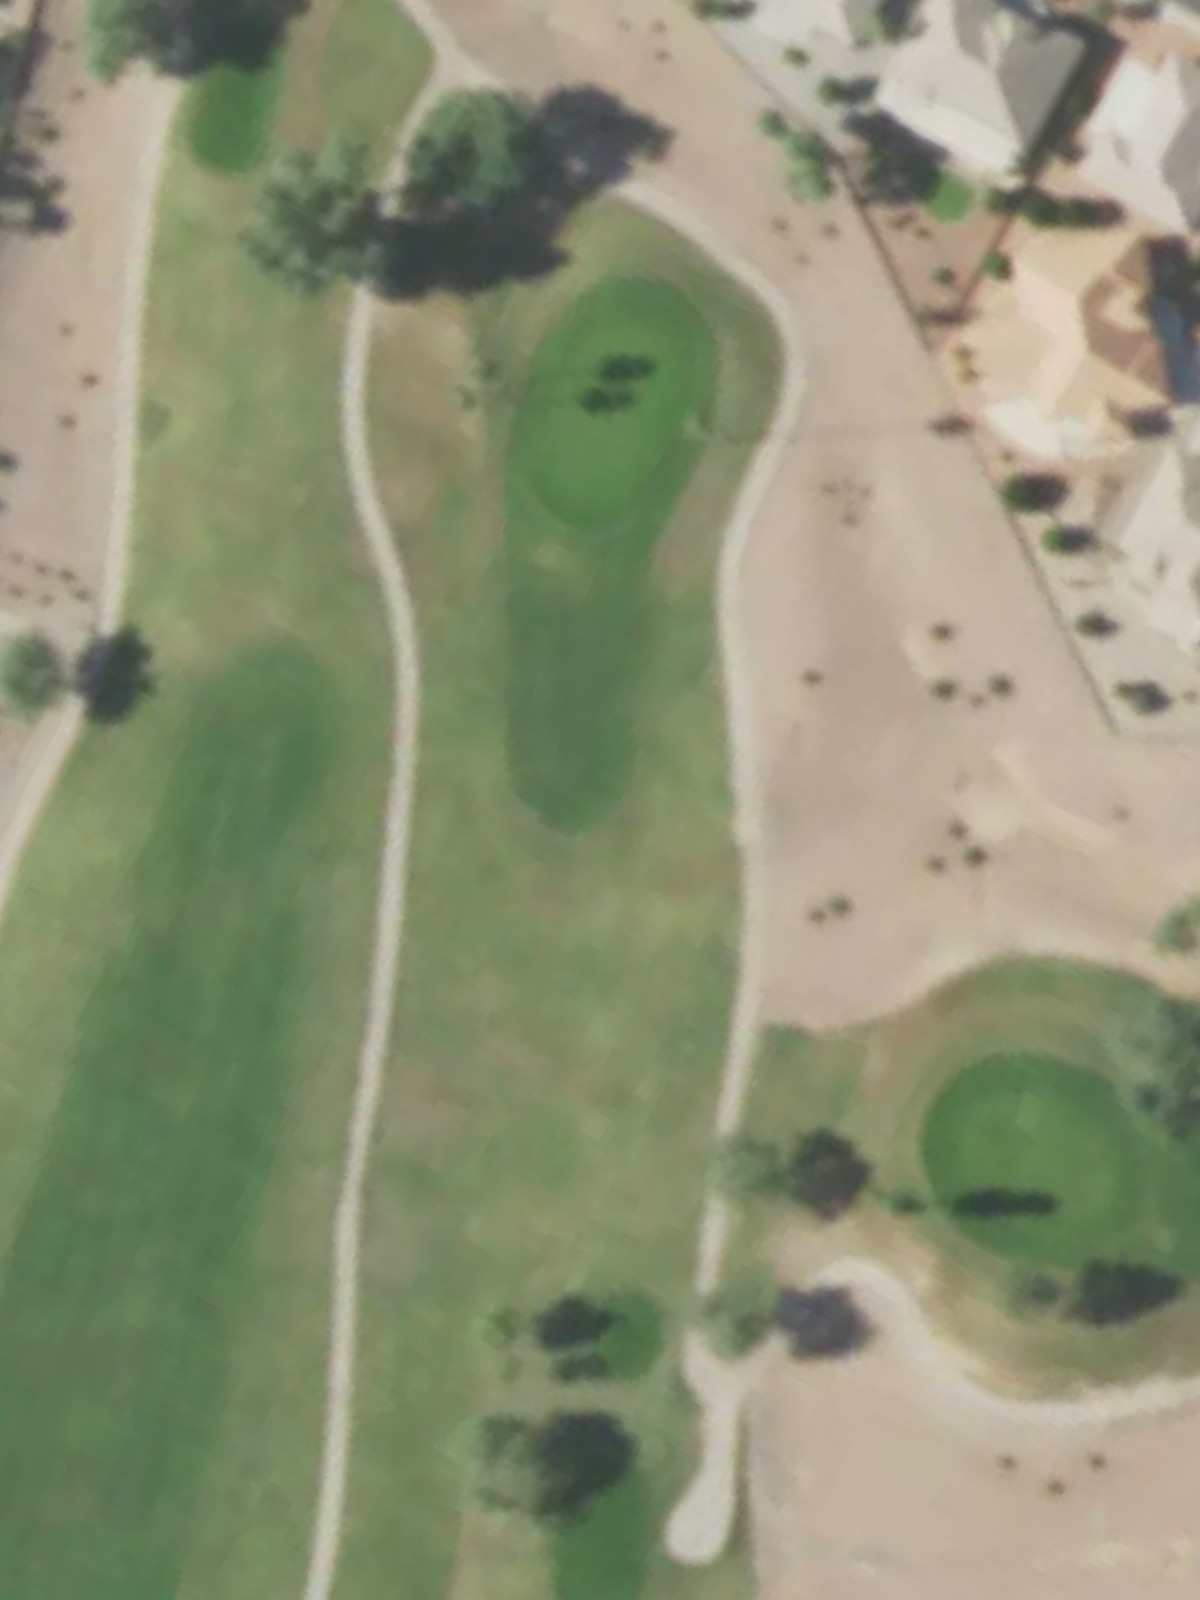
Sunland Springs Golf Club is an 18-hole golf course in Mesa, AZ with a par of 63. It offers 3 tee sets: blue (4,326 yards, slope 91, rating 60), white (4,039 yards, slope 87, rating 59.1), red (3,627 yards, slope 81, rating 57.8). The hardest hole is #1, a par 4 playing 335 yards from the first tee.
Sunland Springs Golf Club
Mesa, AZ
Get PDF Yardage Book
We'll email you the PDF link. No spam, ever.
Create Your Game Plan
Pick your tees, enter your bag, and get a personalized shot-by-shot strategy for every hole.
The course's most difficult hole, this straightforward par 4 requires two solid shots to reach the green. The fairway is relatively open but narrows as it approaches the green, where bunkers and rough demand accuracy on the approach shot.
A shorter par 4 that offers a scoring opportunity despite its mid-range handicap. The hole plays relatively straight with modest hazards, making it a good chance to build momentum early in the round.
An extremely short par 3 that plays under 150 yards from the back tees. The diminutive length and high handicap suggest a forgiving green complex, making this one of the course's most accessible holes.

A short par 3 with a narrow green that demands precision over distance. Water or bunker hazards likely guard the approach, making accuracy off the tee the critical factor.
The second-most difficult par 4 on the course, this hole presents a significant test with strategic hazards that penalize poor positioning. Length combined with tight fairways and well-placed bunkers creates a challenging two-shot hole.
A mid-length par 3 with a well-bunkered green that requires a precise tee shot. The hole's relative difficulty suggests hazards positioned to catch errant approaches from both left and right.
A short par 4 that may offer birdie potential for solid strikes off the tee. The short yardage and higher handicap indicate a reachable green complex with forgiving elements.
A challenging mid-length par 3 that ranks among the course's most difficult one-shot holes. Strategic bunkers or water likely protect the green, requiring a well-executed tee shot.
A mid-length par 3 with moderate difficulty that presents a balanced short-hole test. The fairness of its handicap suggests a relatively straightforward design without excessive hazard clustering.
A mid-length par 4 that plays fairly with reasonable scoring opportunity. The hole's ranking suggests a balanced risk-reward design suitable for the back nine transition.
The easiest hole on the course, this very short par 3 under 125 yards plays as a definite scoring opportunity. The elevated handicap indicates a forgiving green with minimal hazard pressure.
A short par 3 with moderate difficulty that bridges the transition holes on the back nine. Strategic placement of hazards creates a test despite the limited yardage.
A mid-length par 5 that provides a birdie opportunity for well-struck shots. The hole's moderate handicap suggests accessible scoring for good execution without overwhelming length.
A very short par 3 that presents strong birdie potential despite its mid-handicap ranking. The brevity and difficulty balance suggest a well-designed short hole with meaningful strategic elements.
A mid-length par 3 that offers reasonable scoring chances relative to its length. The higher handicap indicates a relatively fair one-shot hole within the back nine sequence.
The second-most difficult par 4 on the course, this hole demands two excellent shots to reach the green successfully. Strategic hazards and narrow corridors create a formidable two-shot test that ranks among the course's most challenging.
A distinctive mid-length par 3 that presents a meaningful challenge without excessive length. Hazards positioned strategically around the green require precision and commitment from the tee.
A strong finishing par 4 that ranks fourth in difficulty and likely features a memorable final approach. Strategic hazards and green complexity create a dramatic ending hole that challenges golfers down the stretch.
Scorecard
| Hole | 1 | 2 | 3 | 4 | 5 | 6 | 7 | 8 | 9 | Out | 10 | 11 | 12 | 13 | 14 | 15 | 16 | 17 | 18 | In | Tot |
|---|---|---|---|---|---|---|---|---|---|---|---|---|---|---|---|---|---|---|---|---|---|
| Par | 4 | 4 | 3 | 3 | 4 | 3 | 4 | 3 | 3 | 31 | 4 | 3 | 3 | 5 | 3 | 3 | 4 | 3 | 4 | 32 | 63 |
| HCP | 1 | 11 | 17 | 9 | 3 | 7 | 13 | 5 | 15 | 12 | 18 | 14 | 10 | 8 | 16 | 2 | 6 | 4 | |||
| blue | 366 | 308 | 143 | 129 | 356 | 157 | 292 | 178 | 173 | 2102 | 323 | 121 | 157 | 508 | 123 | 184 | 353 | 176 | 279 | 2224 | 4326 |
| white | 356 | 295 | 122 | 117 | 342 | 150 | 274 | 156 | 159 | 1971 | 309 | 114 | 135 | 481 | 104 | 174 | 333 | 155 | 263 | 2068 | 4039 |
| red | 335 | 278 | 96 | 95 | 320 | 124 | 263 | 129 | 139 | 1779 | 281 | 96 | 116 | 410 | 98 | 156 | 310 | 145 | 236 | 1848 | 3627 |