Sunbird Golf Resort is an 18-hole golf course in Chandler, AZ with a par of 66. It offers 4 tee sets: blue (4,353 yards, slope 100, rating 61.8), white (4,083 yards, slope 97, rating 60.8), red (3,713 yards, slope 92, rating 59.6), yellow (3,035 yards, slope 86, rating 56.8). The hardest hole is #7, a par 5 playing 445 yards from the first tee.
Sunbird Golf Resort
Chandler, AZ
Get PDF Yardage Book
We'll email you the PDF link. No spam, ever.
Create Your Game Plan
Pick your tees, enter your bag, and get a personalized shot-by-shot strategy for every hole.
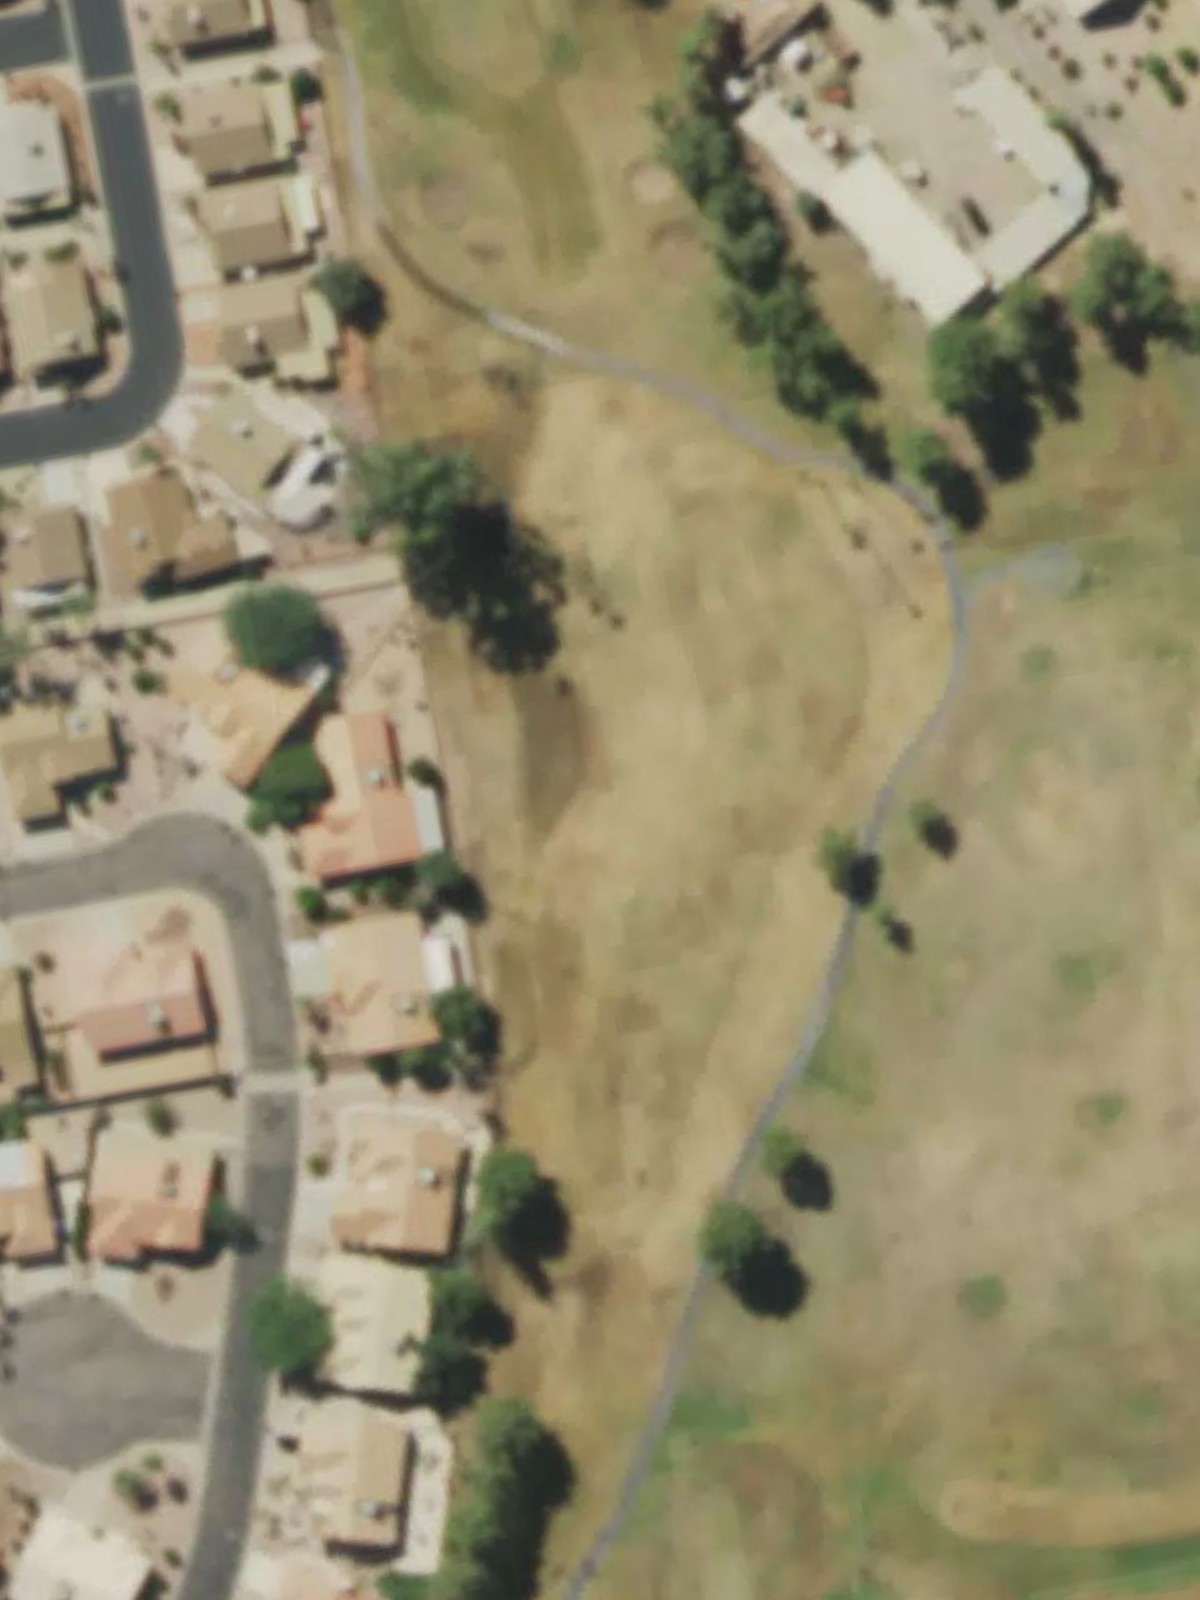
A straightforward opening par 4 with a wide fairway that gradually narrows as it approaches the green. Bunkers protect both sides of the putting surface, rewarding accuracy on the approach shot.
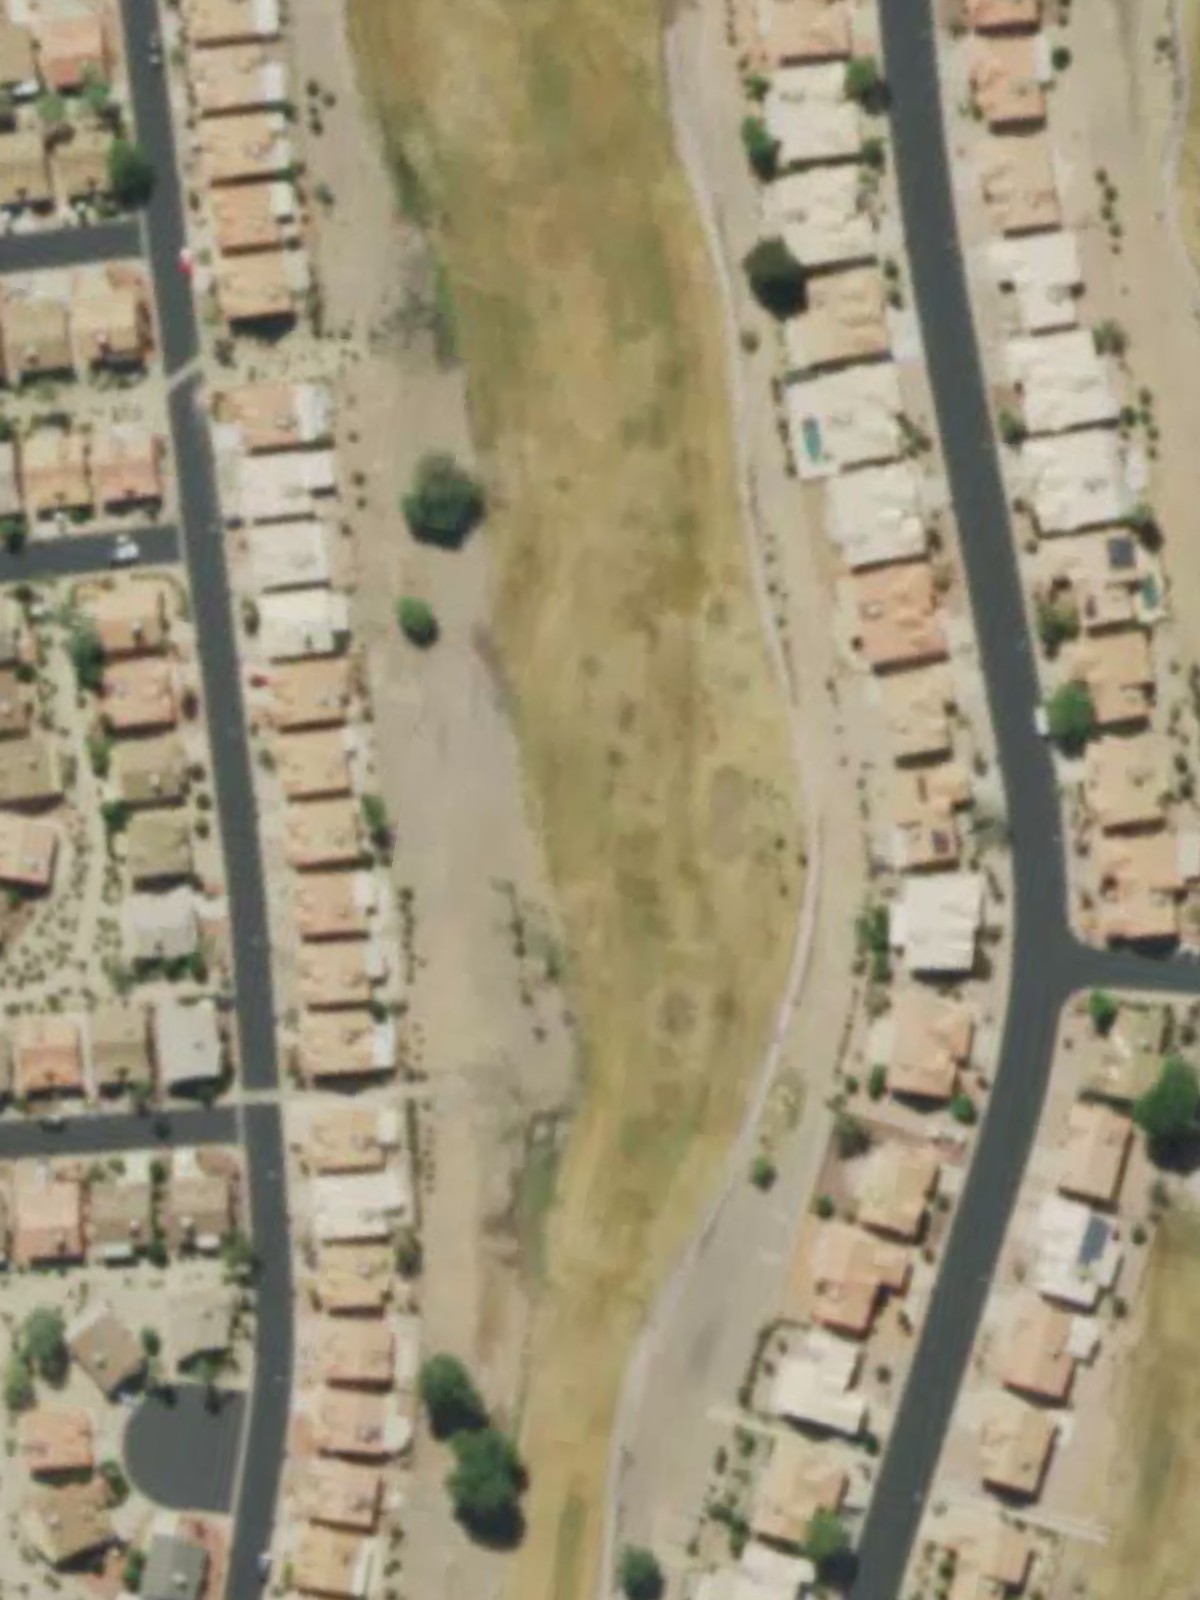
A lengthy par 4 that plays as one of the course's most difficult holes, demanding a precise tee shot to set up the approach. Water hazards and bunkers frame the landing areas, making position off the tee critical.
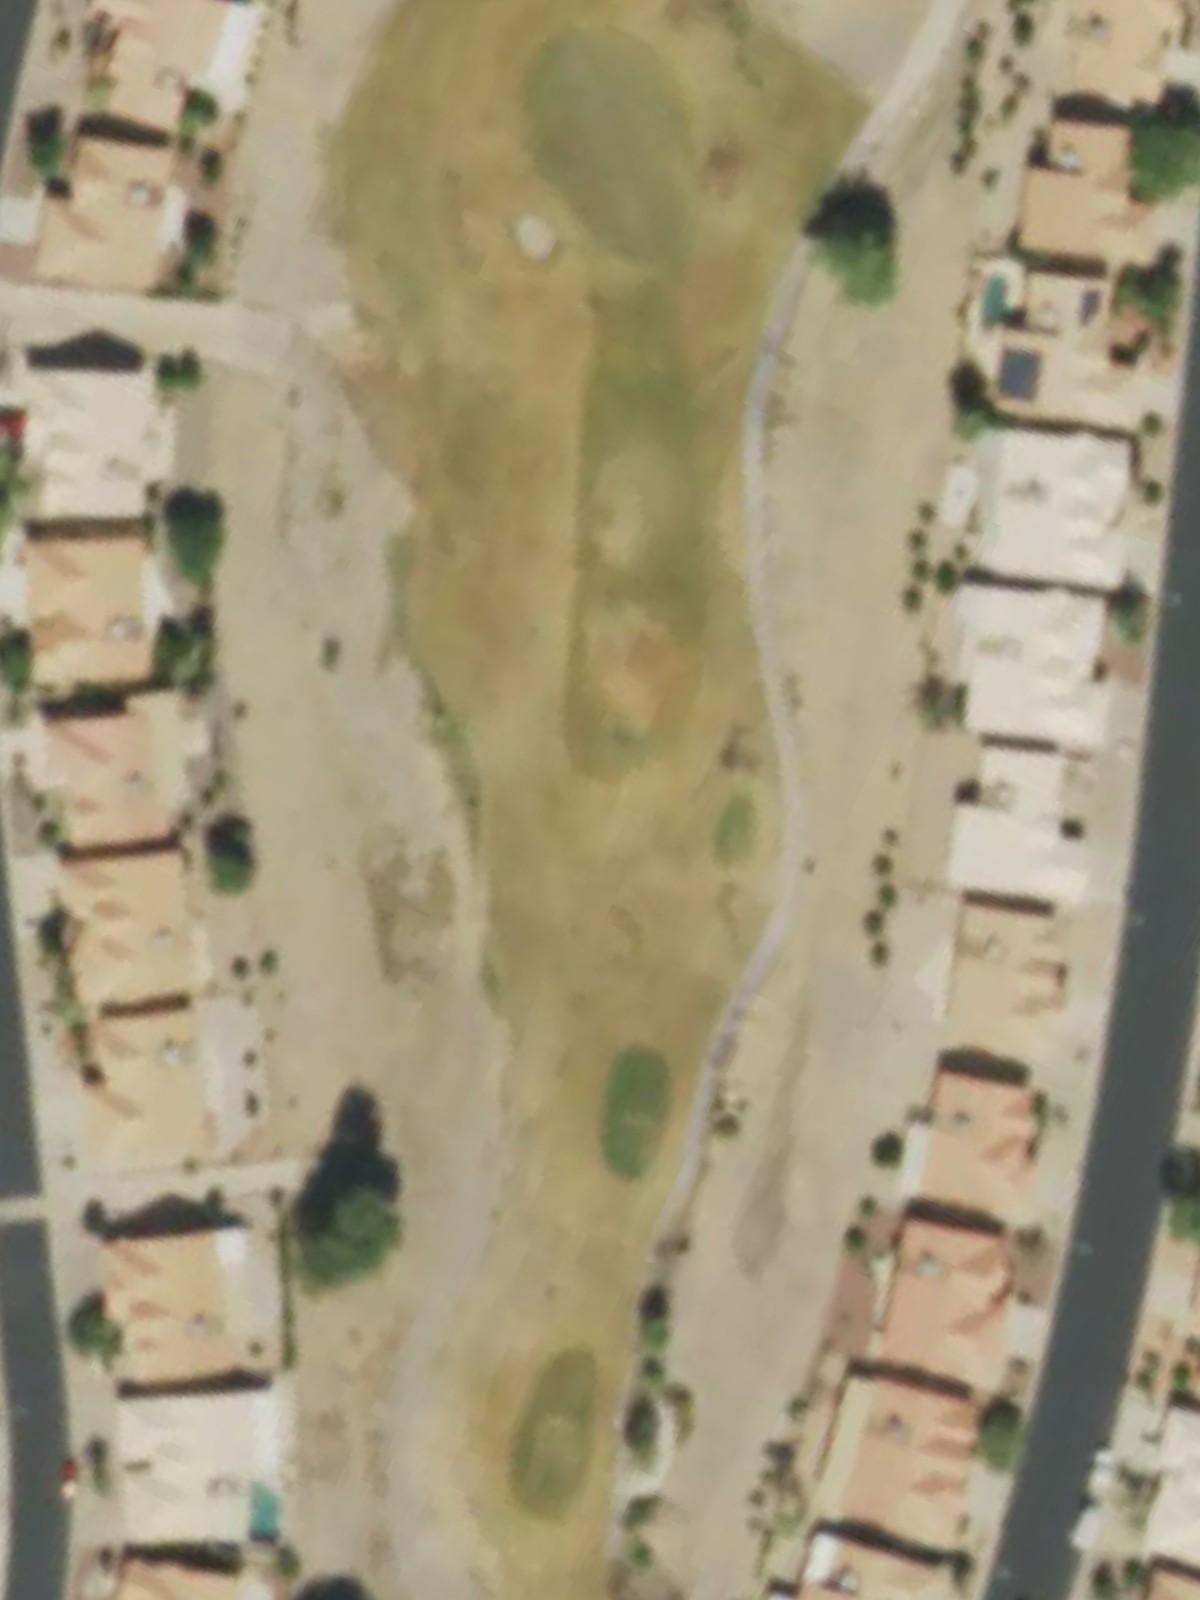
A short par 3 playing downhill to a well-bunkered green surrounded by sand on multiple sides. The elevated tee provides good visibility, but accuracy is essential to avoid the surrounding bunkers.
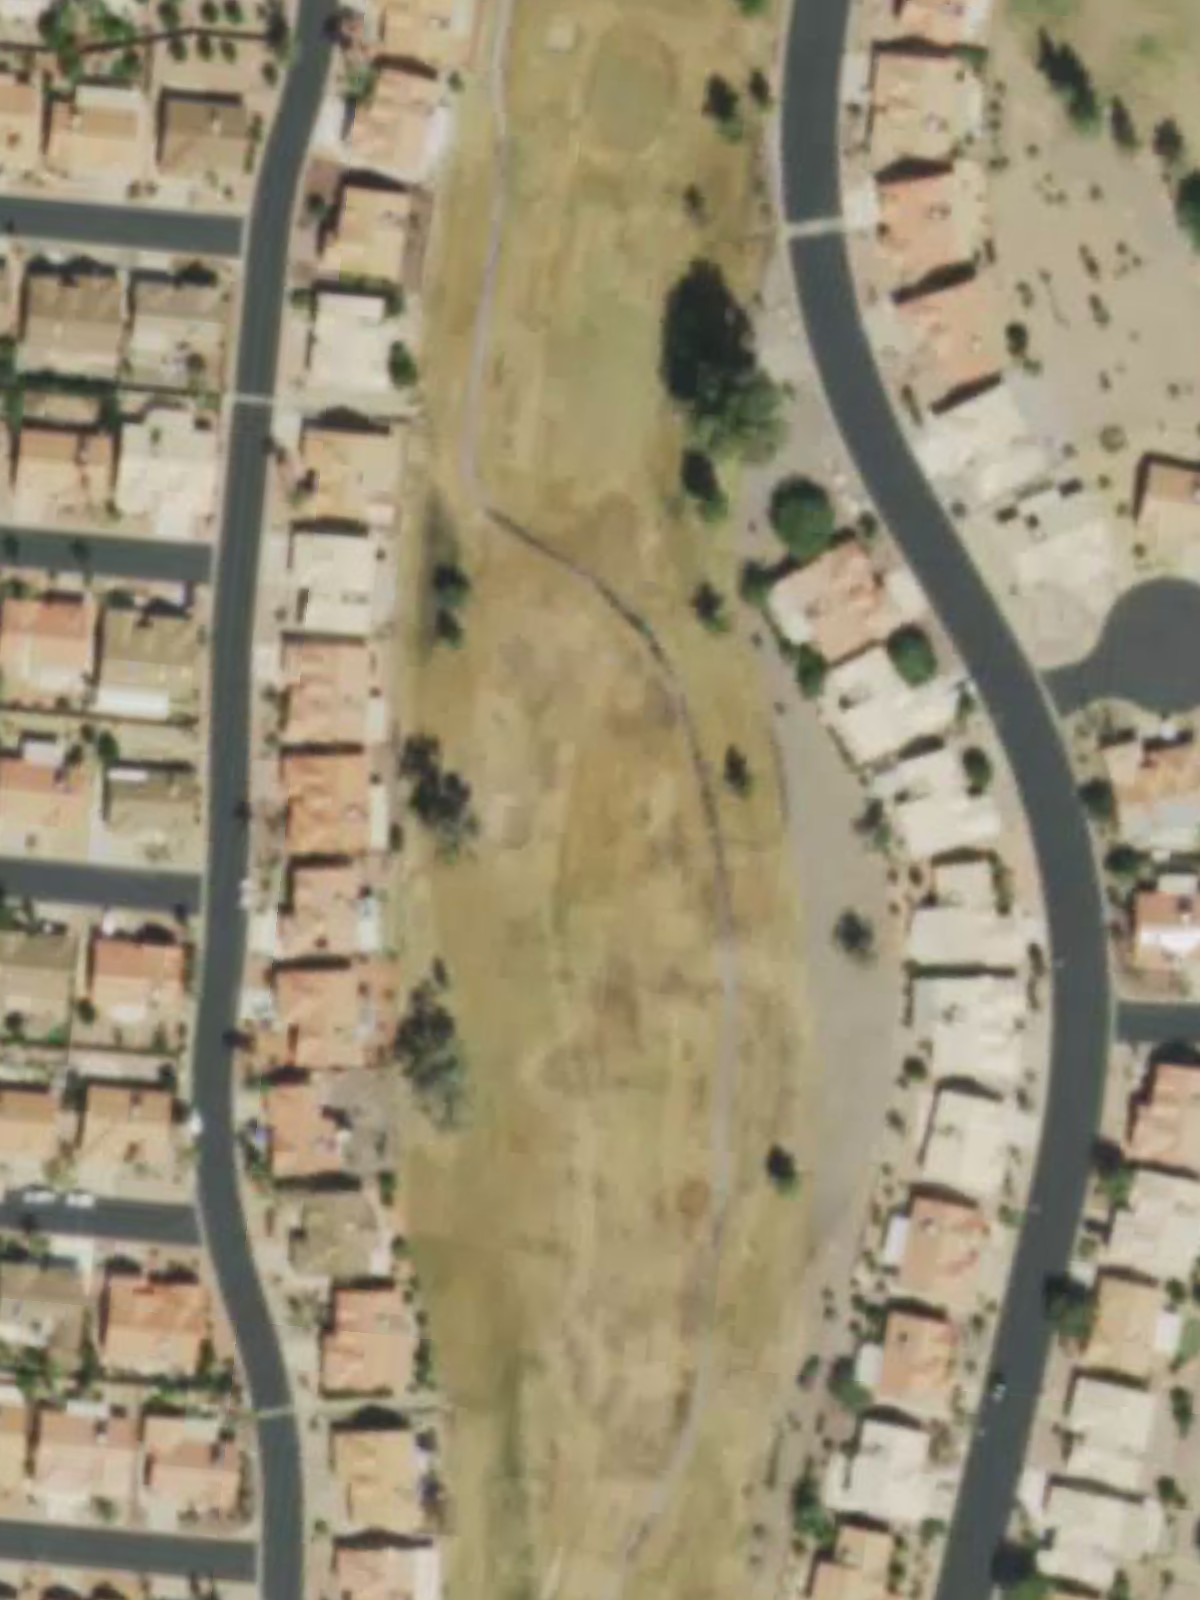
The course's second-toughest par 4, this hole demands two solid strokes to reach the green safely. Water and bunkers strategically positioned throughout the hole penalize wayward shots.
A brief par 3 with a tight, well-defined green complex protected by bunkers. This is an excellent birdie opportunity for those who find the center of the green.
A compact par 4 with a narrow fairway that tests precision from tee to green. Bunkers frame the landing area and guard the approach, making straight shots essential.
The signature par 5 and the course's toughest test, this long hole requires strategic positioning to attack the green in regulation. Multiple hazards and bunkering throughout the hole demand careful management of distance and direction.
A short and forgiving par 3 that serves as a welcome respite on the back nine. The modest green is relatively open, offering a good scoring opportunity.

A moderate par 4 with a balanced design that tests both distance and accuracy off the tee. Bunkers frame the fairway and guard the green, making a disciplined approach the key to par.
A straightforward par 4 with a welcoming fairway and a manageable approach to the green. This is an ideal scoring hole early on the back nine.

A short par 3 that offers the course's easiest approach to scoring a birdie. The open green is forgiving, making this one of the least demanding holes on the layout.
A testing par 4 that plays moderately long with bunkers positioned to catch both errant tee shots and approach shots. The green is well-protected, demanding precision on the final stroke.
A diminutive par 3 with minimal hazards, allowing aggressive play to the pin. The small green and light bunkering make this an excellent birdie opportunity.
A short par 3 that is straightforward in design but demands accuracy to avoid the surrounding trouble. This hole rewards solid contact with a rewarding par.
A brief par 4 that plays significantly shorter than its yardage suggests, offering an excellent birdie chance for those who can position the ball appropriately. The compact design makes accuracy more important than distance.

The course's second-most difficult hole, this par 4 presents a formidable challenge with strategic bunkering throughout. Both the tee shot and approach require precision to avoid the multiple hazards guarding the green.
A tiny par 3 with minimal length that presents very few obstacles between tee and green. This is an excellent opportunity to gain a stroke before the challenging finishing hole.
A demanding finishing par 4 that combines length with strategic hazard placement to test the golfer's resolve down the stretch. The closing hole requires two solid shots to secure a satisfying round.
Scorecard
| Hole | 1 | 2 | 3 | 4 | 5 | 6 | 7 | 8 | 9 | Out | 10 | 11 | 12 | 13 | 14 | 15 | 16 | 17 | 18 | In | Tot |
|---|---|---|---|---|---|---|---|---|---|---|---|---|---|---|---|---|---|---|---|---|---|
| Par | 4 | 4 | 3 | 4 | 3 | 4 | 5 | 3 | 4 | 34 | 4 | 3 | 4 | 3 | 3 | 4 | 4 | 3 | 4 | 32 | 66 |
| HCP | 11 | 5 | 9 | 3 | 15 | 13 | 1 | 17 | 7 | 8 | 18 | 6 | 12 | 10 | 14 | 2 | 16 | 4 | |||
| blue | 271 | 408 | 215 | 376 | 130 | 263 | 478 | 114 | 316 | 2571 | 258 | 94 | 276 | 137 | 122 | 215 | 284 | 111 | 285 | 1782 | 4353 |
| white | 258 | 372 | 175 | 365 | 109 | 254 | 468 | 101 | 304 | 2406 | 252 | 87 | 264 | 119 | 118 | 205 | 274 | 87 | 271 | 1677 | 4083 |
| red | 244 | 347 | 132 | 343 | 80 | 239 | 445 | 87 | 286 | 2203 | 245 | 80 | 243 | 91 | 97 | 183 | 248 | 71 | 252 | 1510 | 3713 |
| yellow | 244 | 165 | 99 | 230 | 80 | 239 | 95 | 87 | 286 | 1525 | 245 | 80 | 243 | 91 | 97 | 183 | 248 | 71 | 252 | 1510 | 3035 |