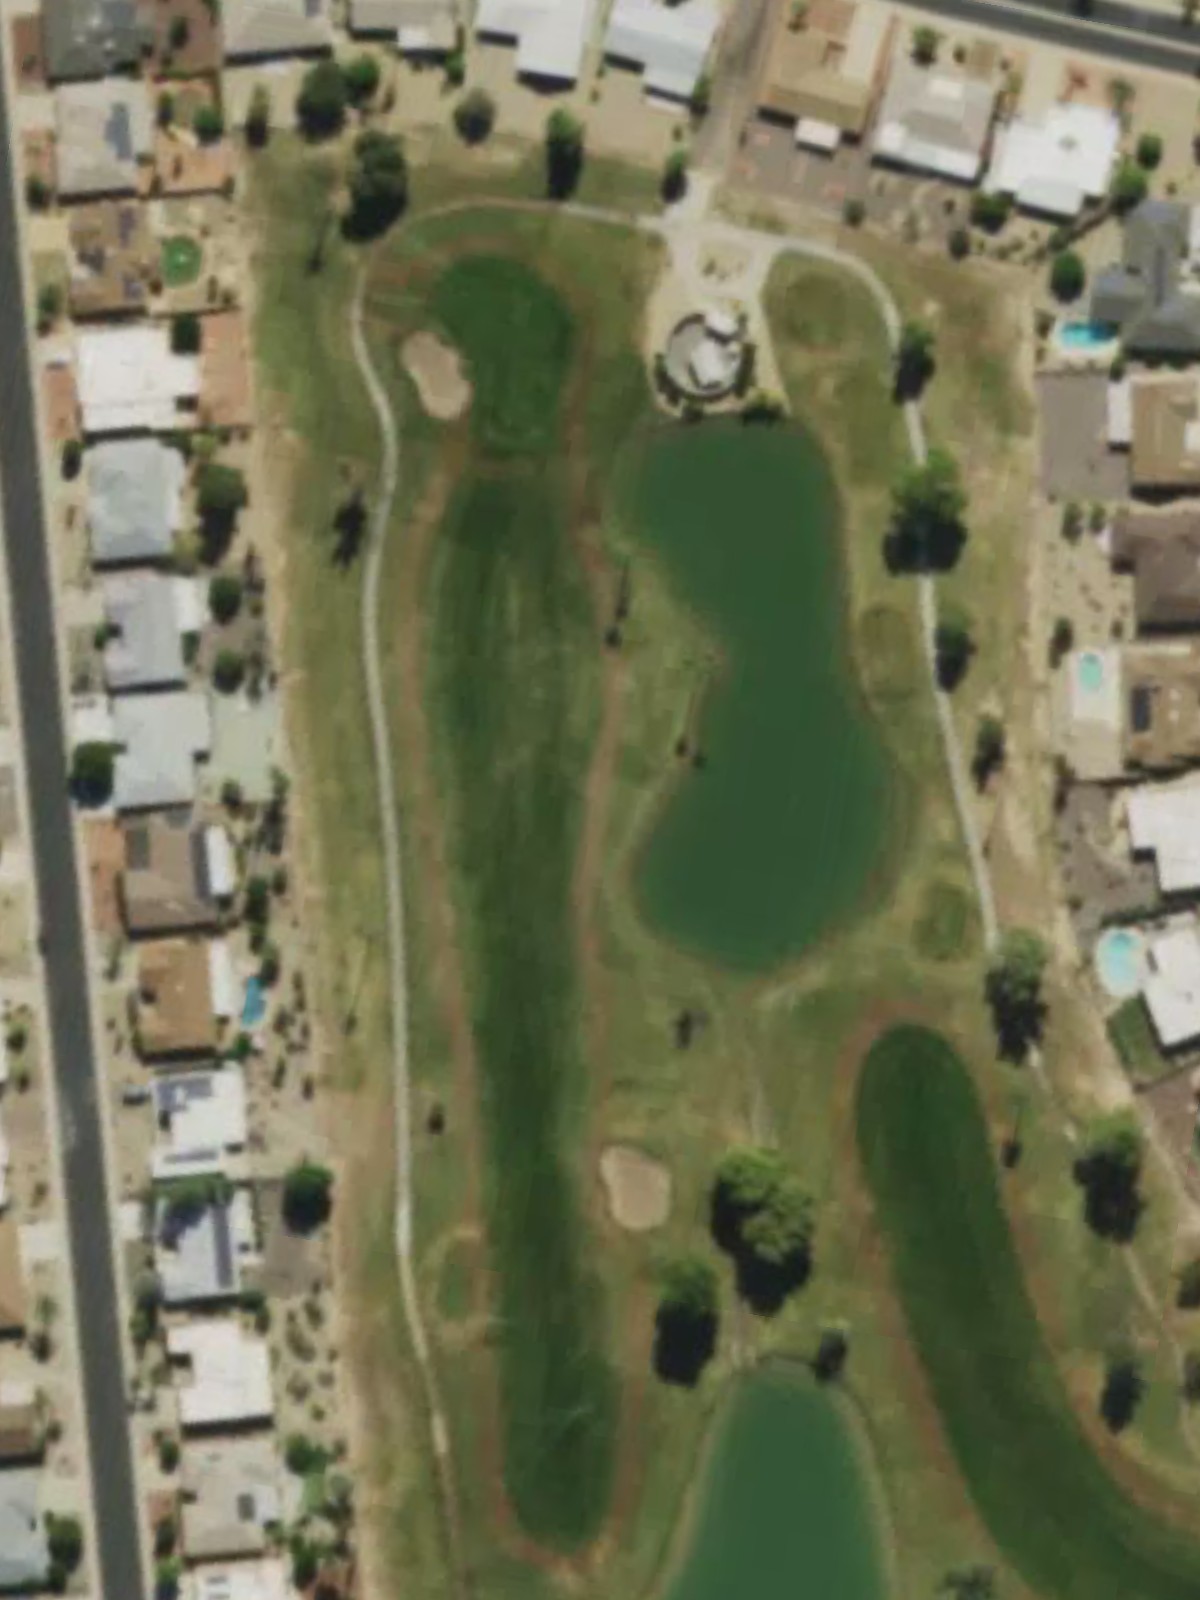
Sun City Riverview Gc is an 18-hole golf course in Sun City, AZ with a par of 72. It offers 5 tee sets: blue (6,336 yards, slope 119, rating 69.8), white (6,003 yards, slope 115, rating 68.2), red (5,507 yards, slope 110, rating 65.7), orange (5,180 yards, slope 104, rating 64.1), yellow (4,723 yards, slope 100, rating 62.2). The hardest hole is #15, a par 5 playing 454 yards from the first tee.
Sun City Riverview Gc
Sun City, AZ
Get PDF Yardage Book
We'll email you the PDF link. No spam, ever.
Create Your Game Plan
Pick your tees, enter your bag, and get a personalized shot-by-shot strategy for every hole.
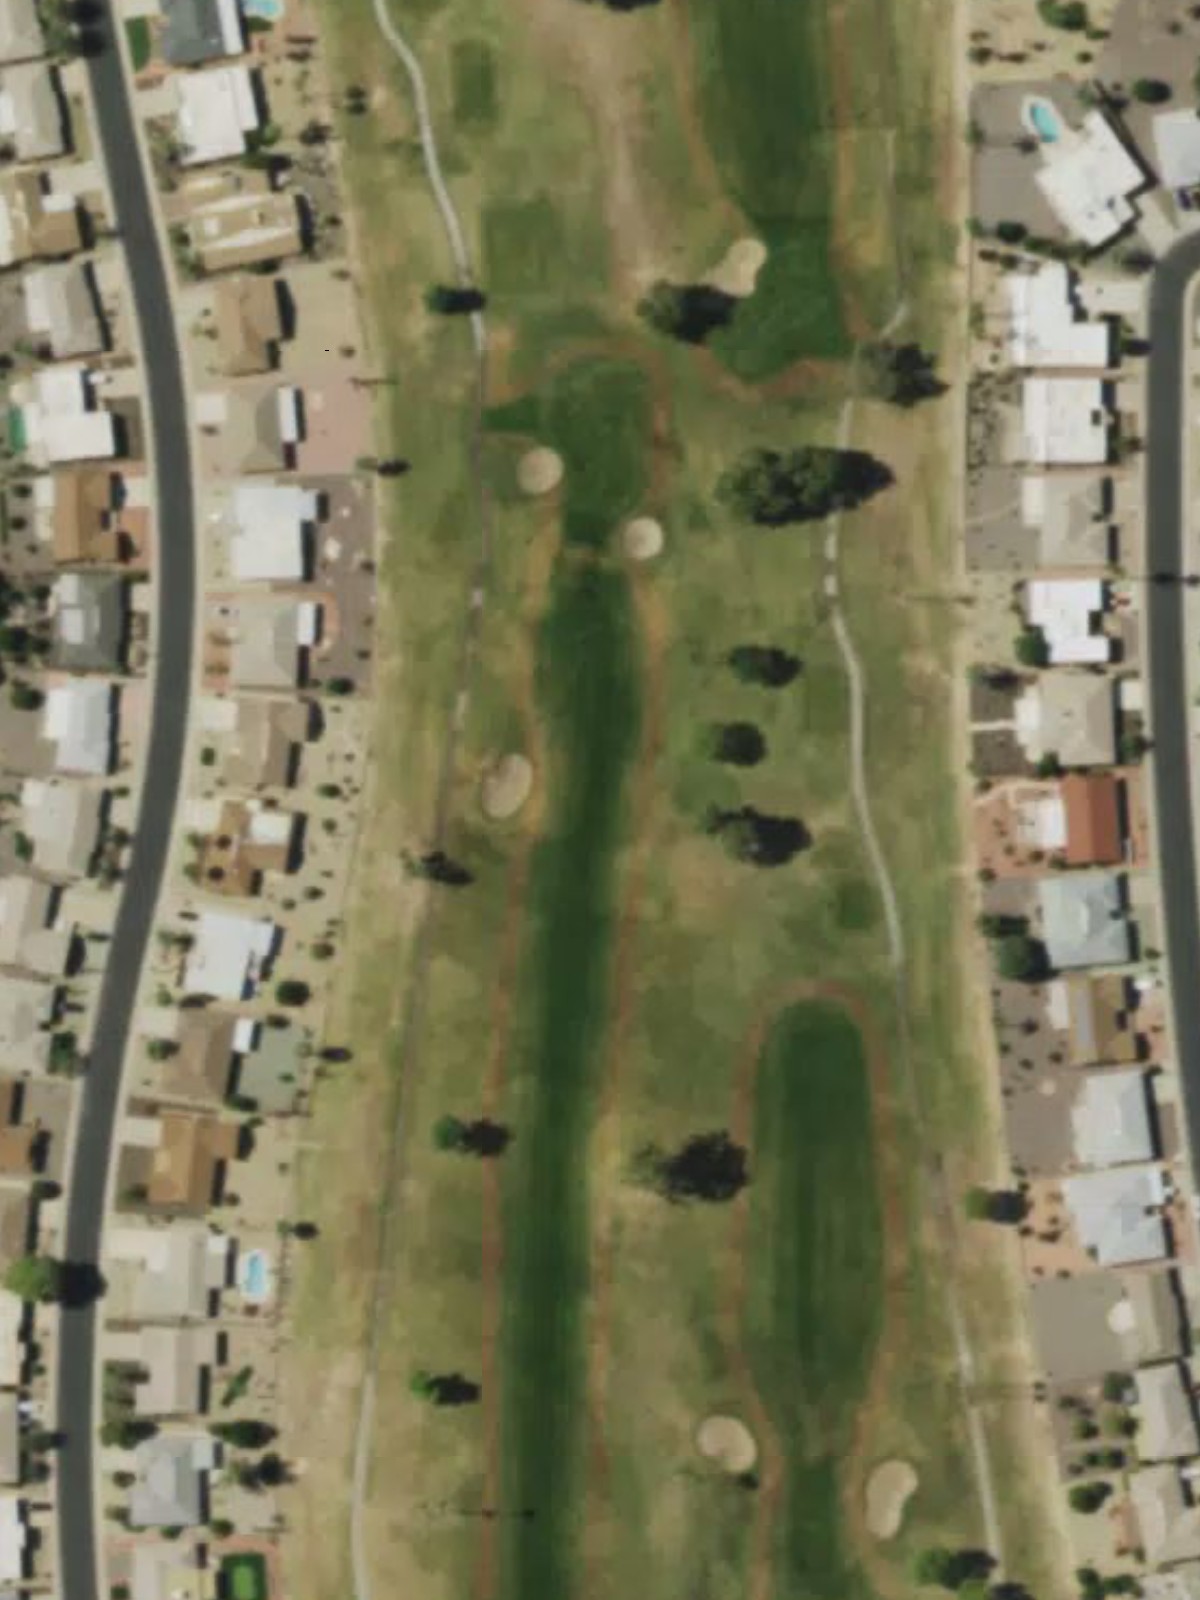
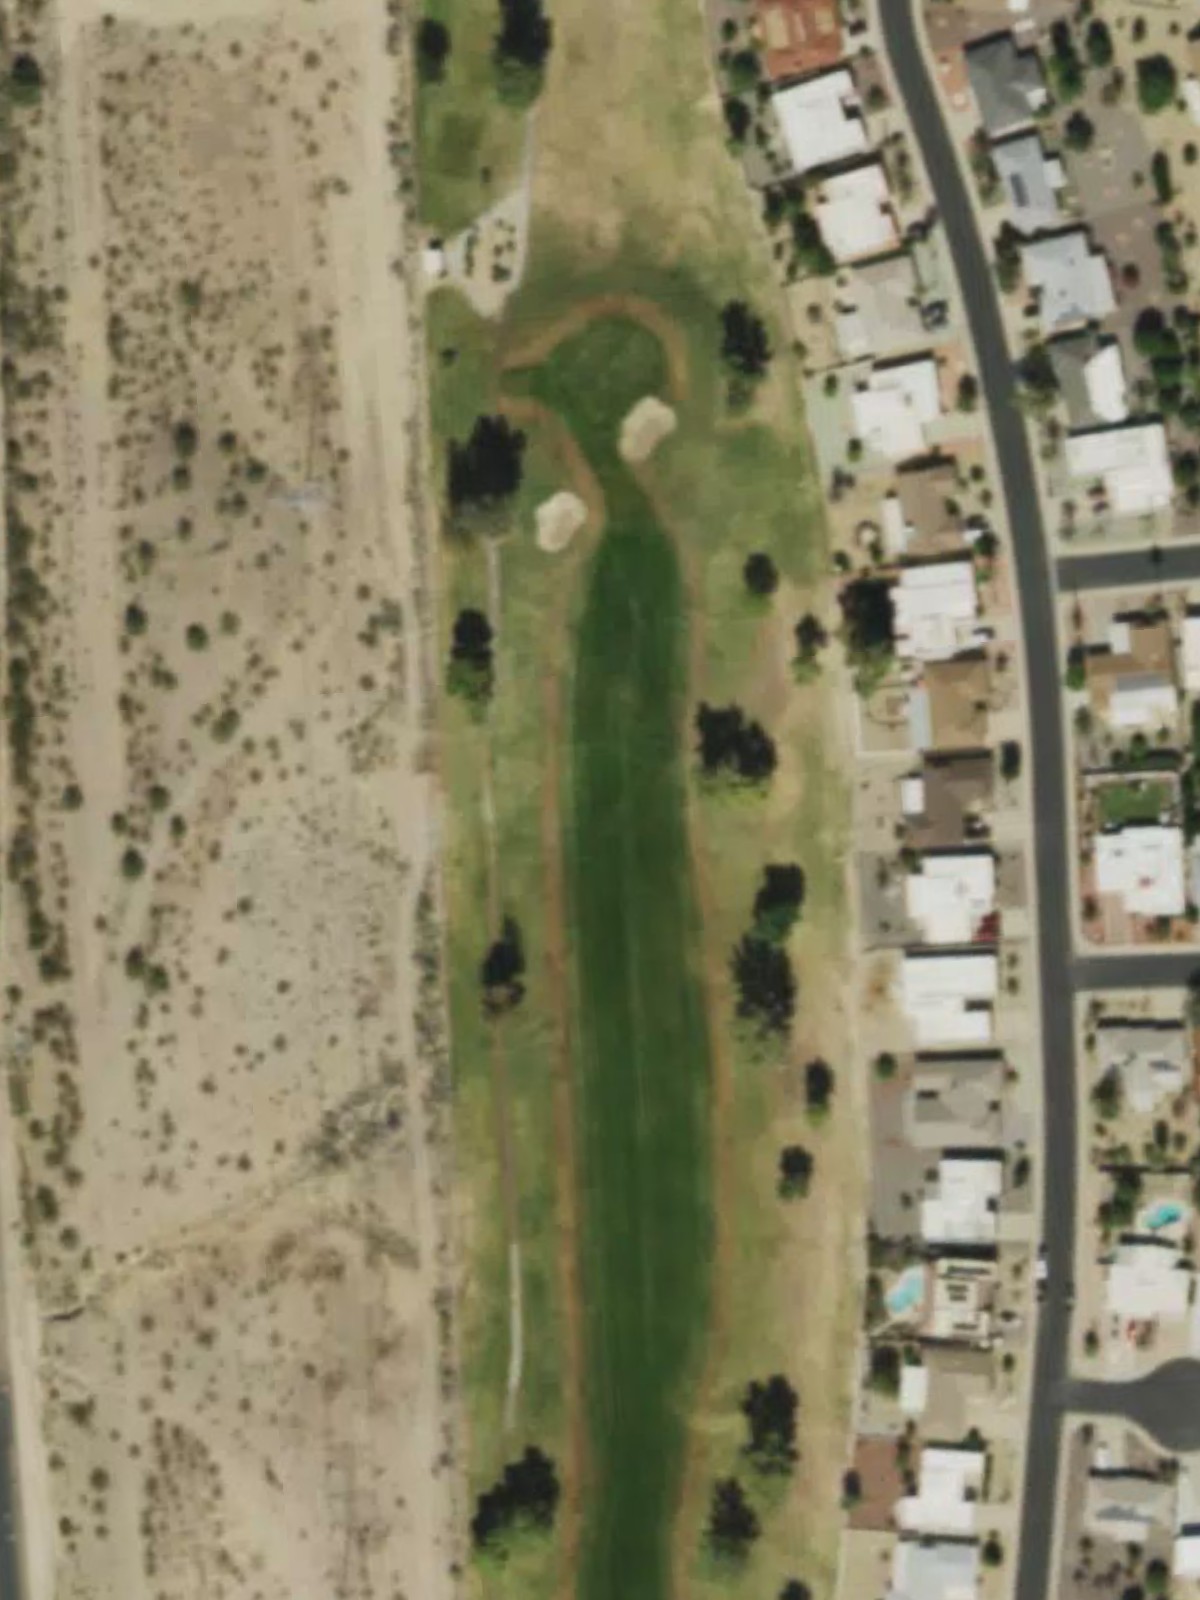
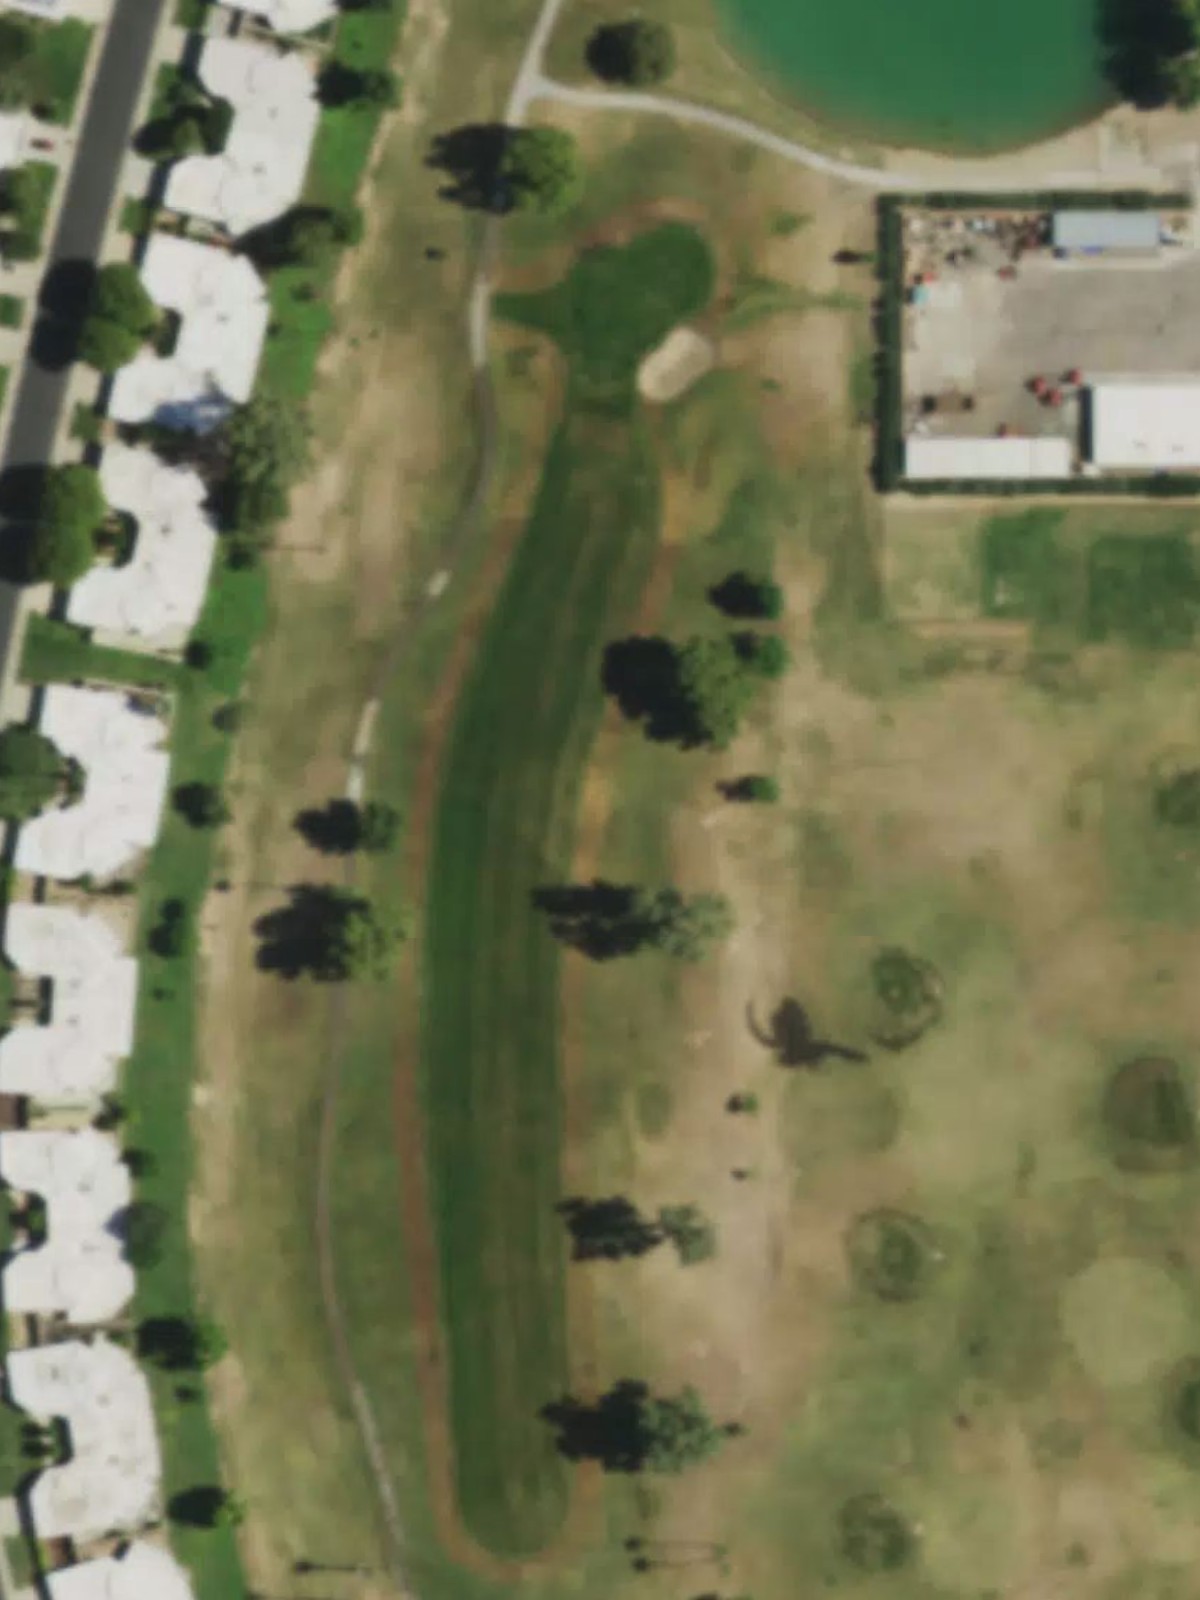
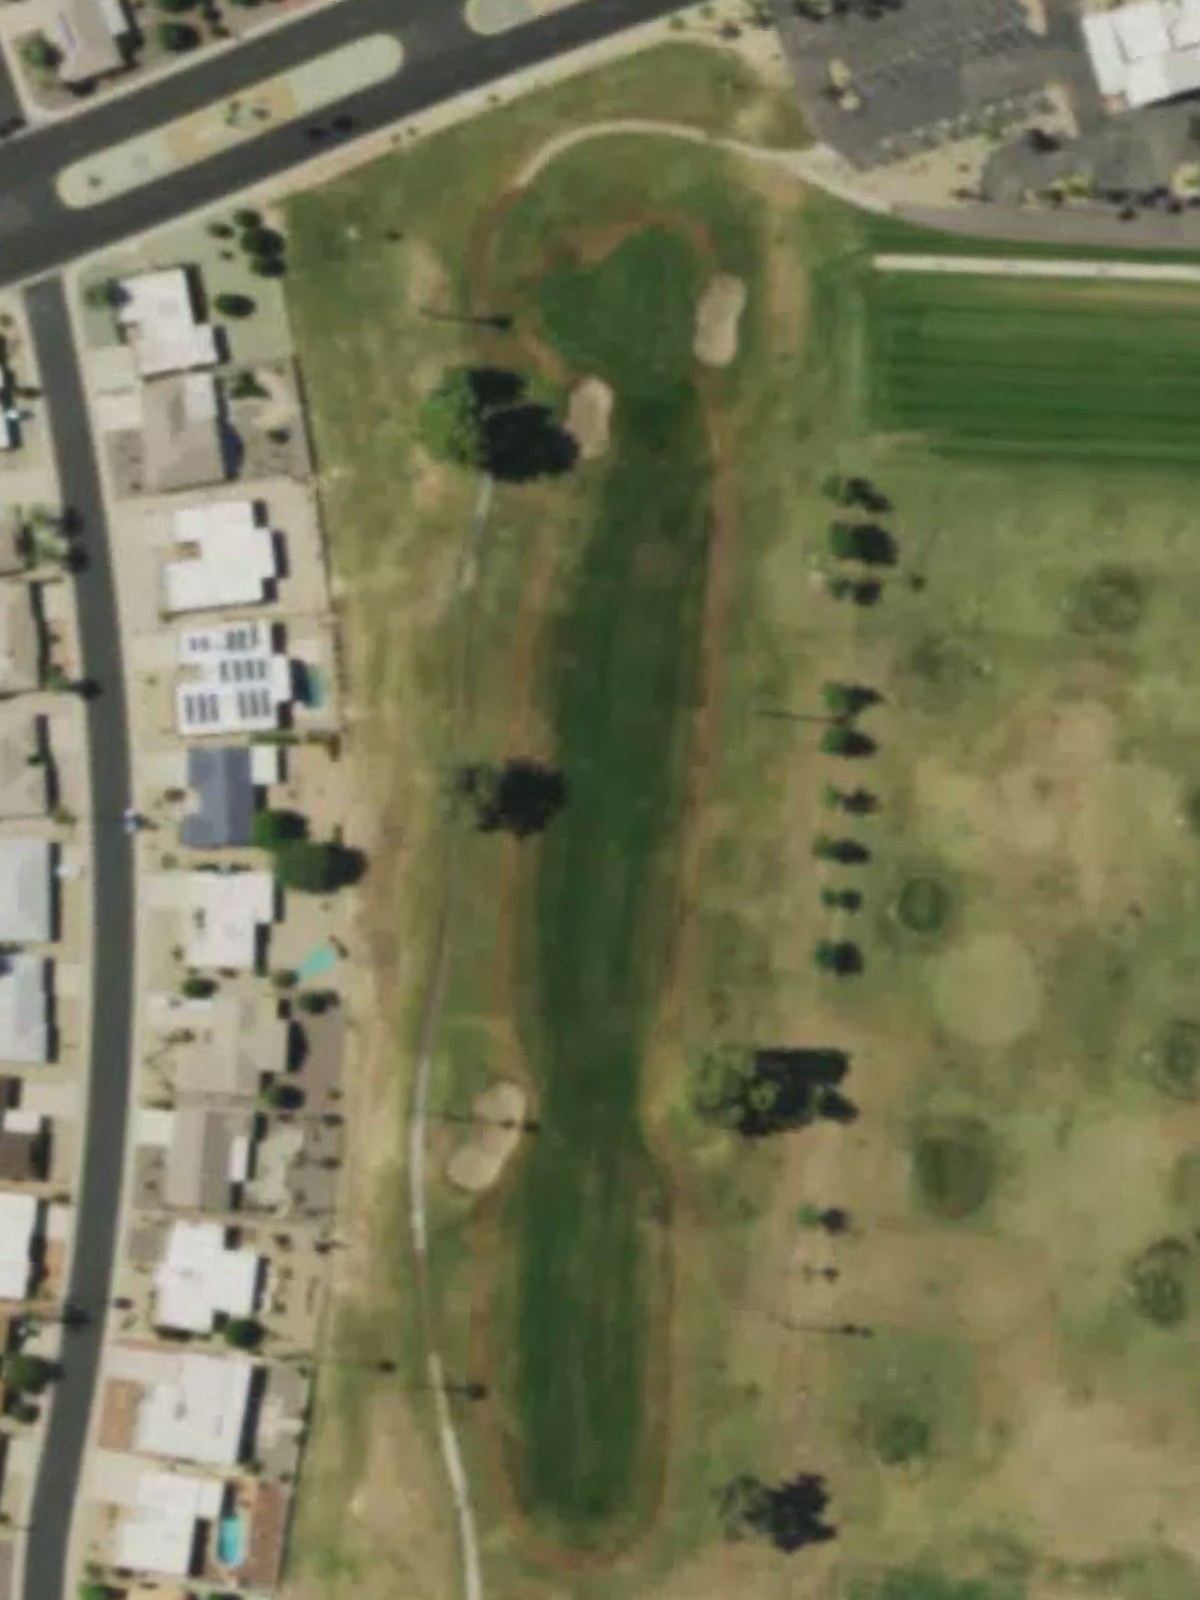
An opening par 5 with a relatively straight routing that invites attacking play from the tee. The fairway maintains good width throughout, allowing players to position for the approach to a green that offers a receptive target for the third shot.
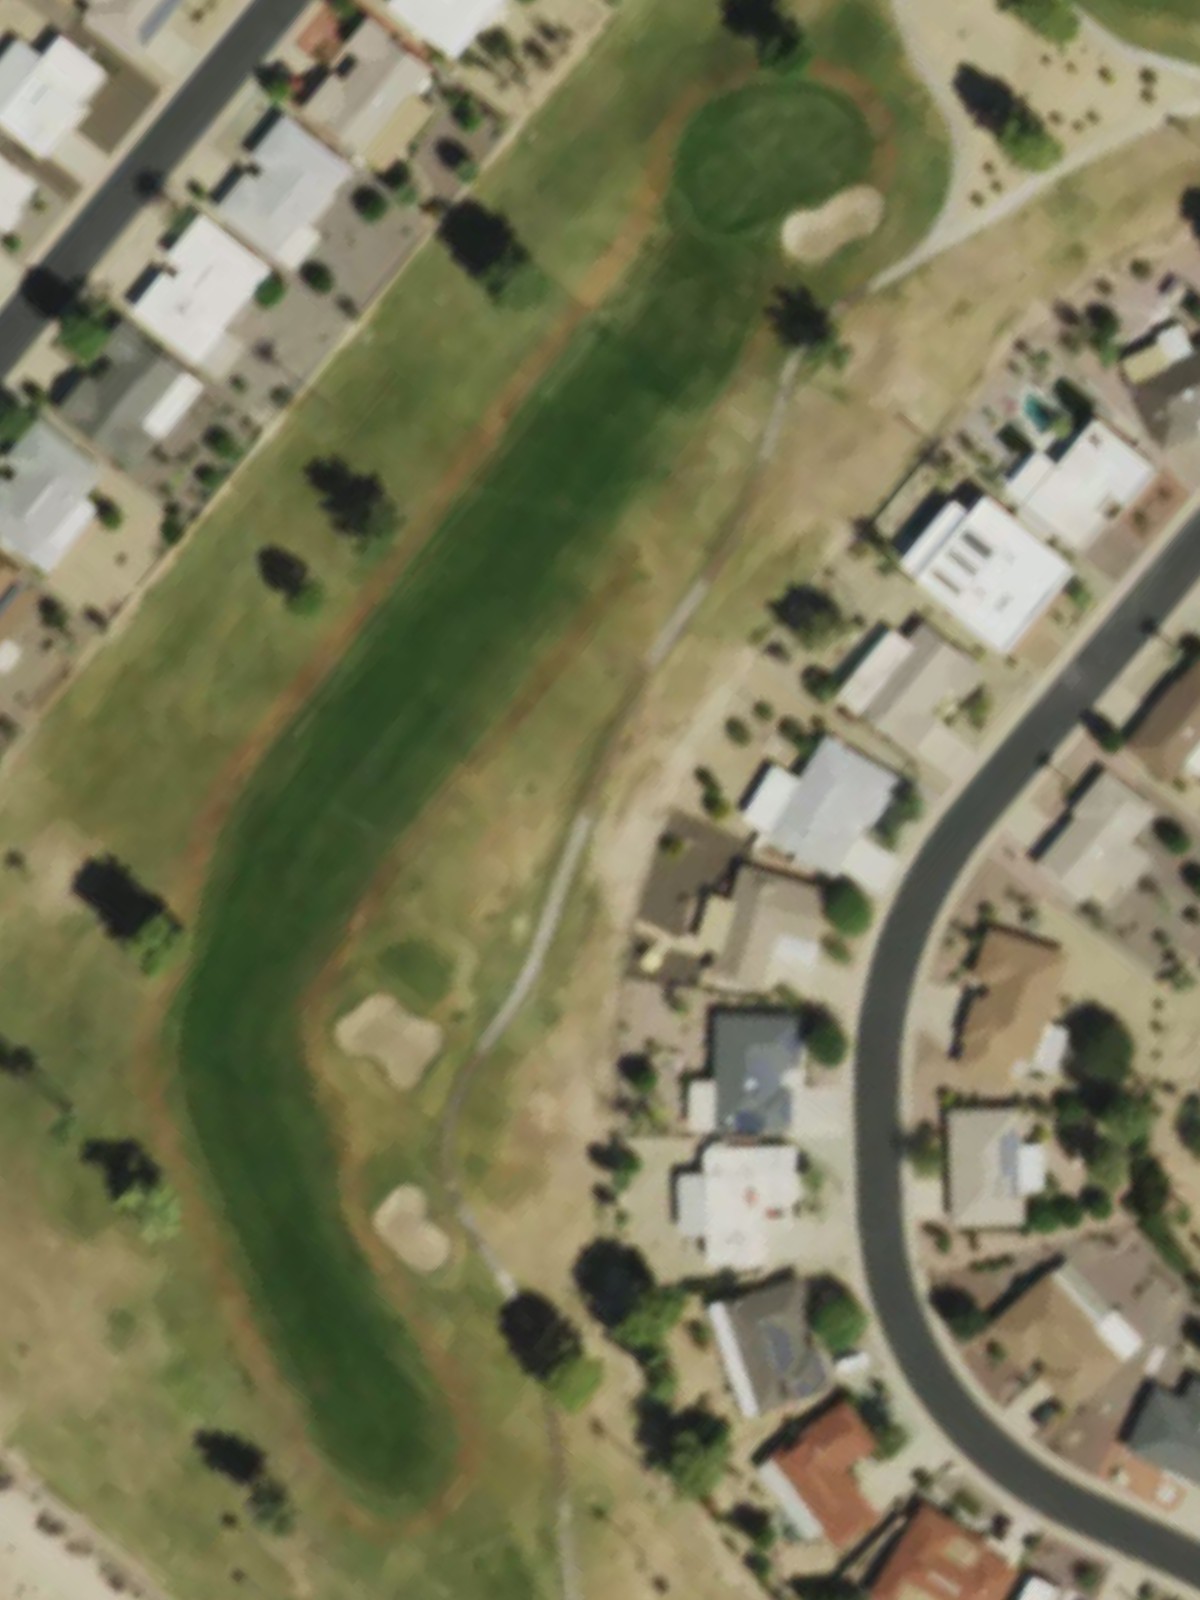
A short par 4 that plays downhill from the tee, making distance management key to setting up the approach. The compact layout leaves little room for error around the green, where positioning becomes critical.
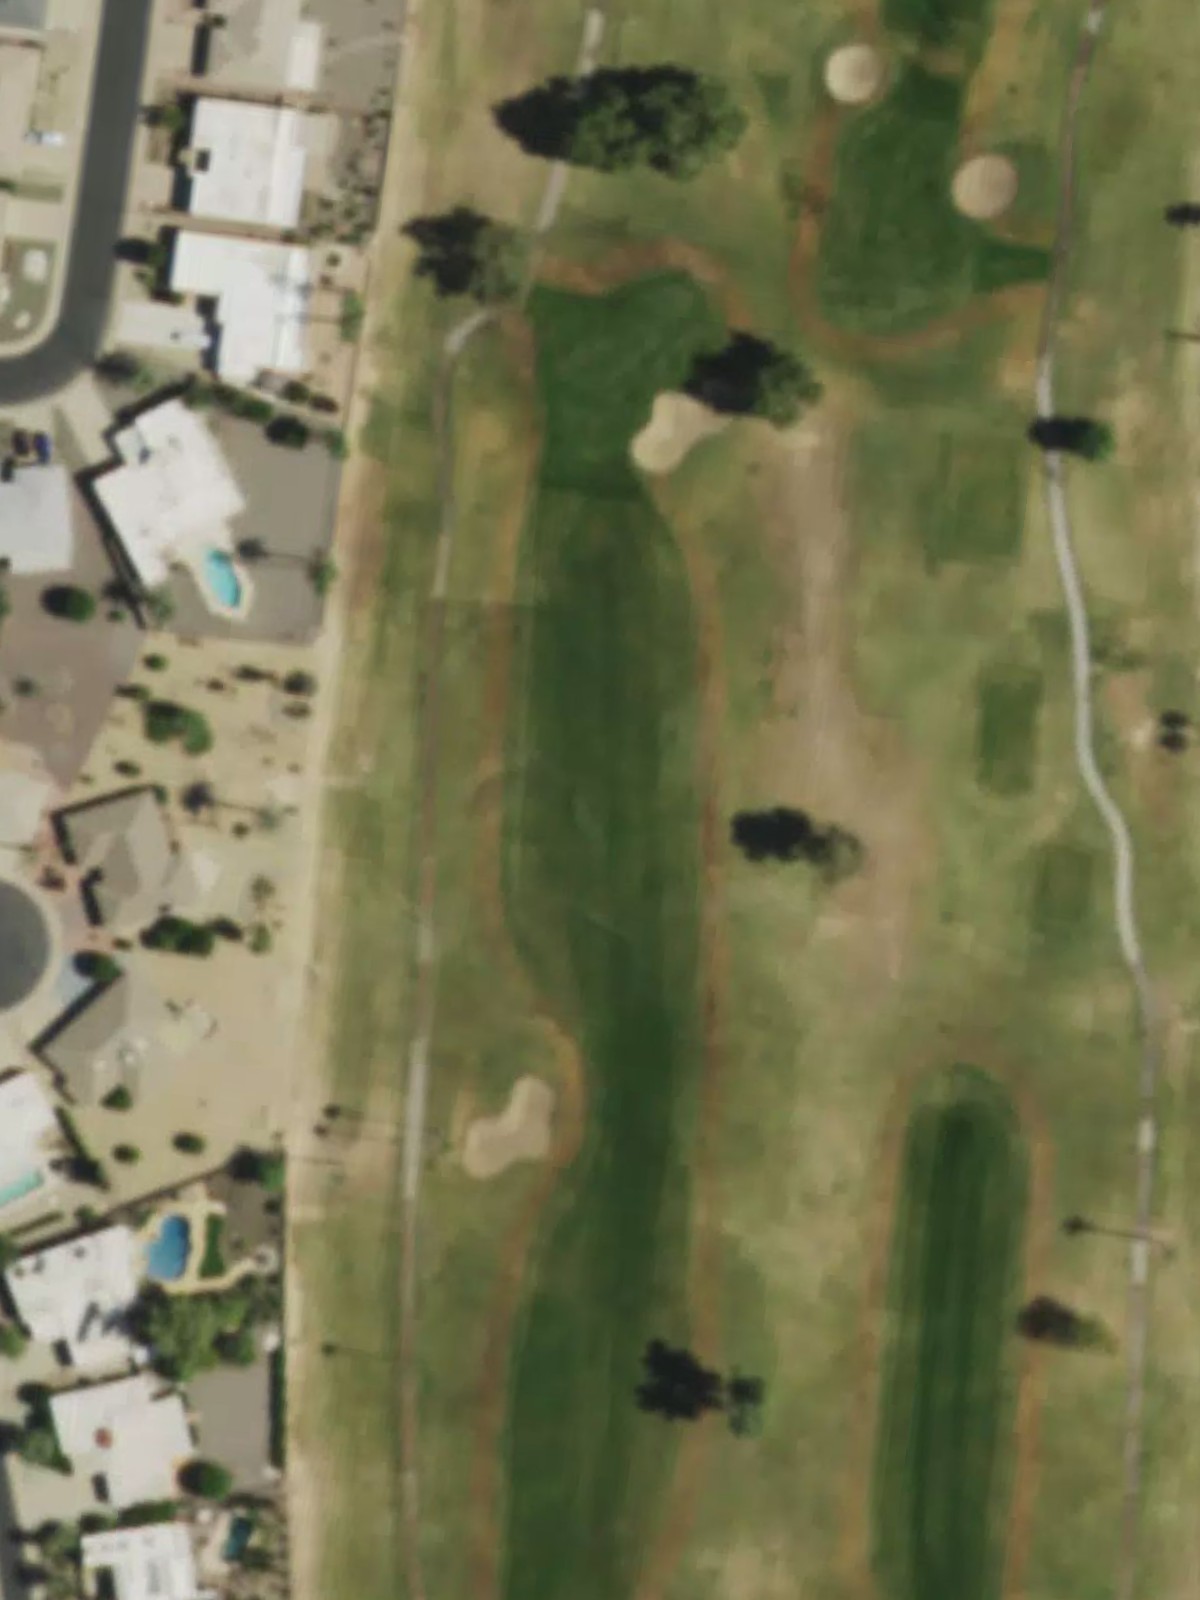
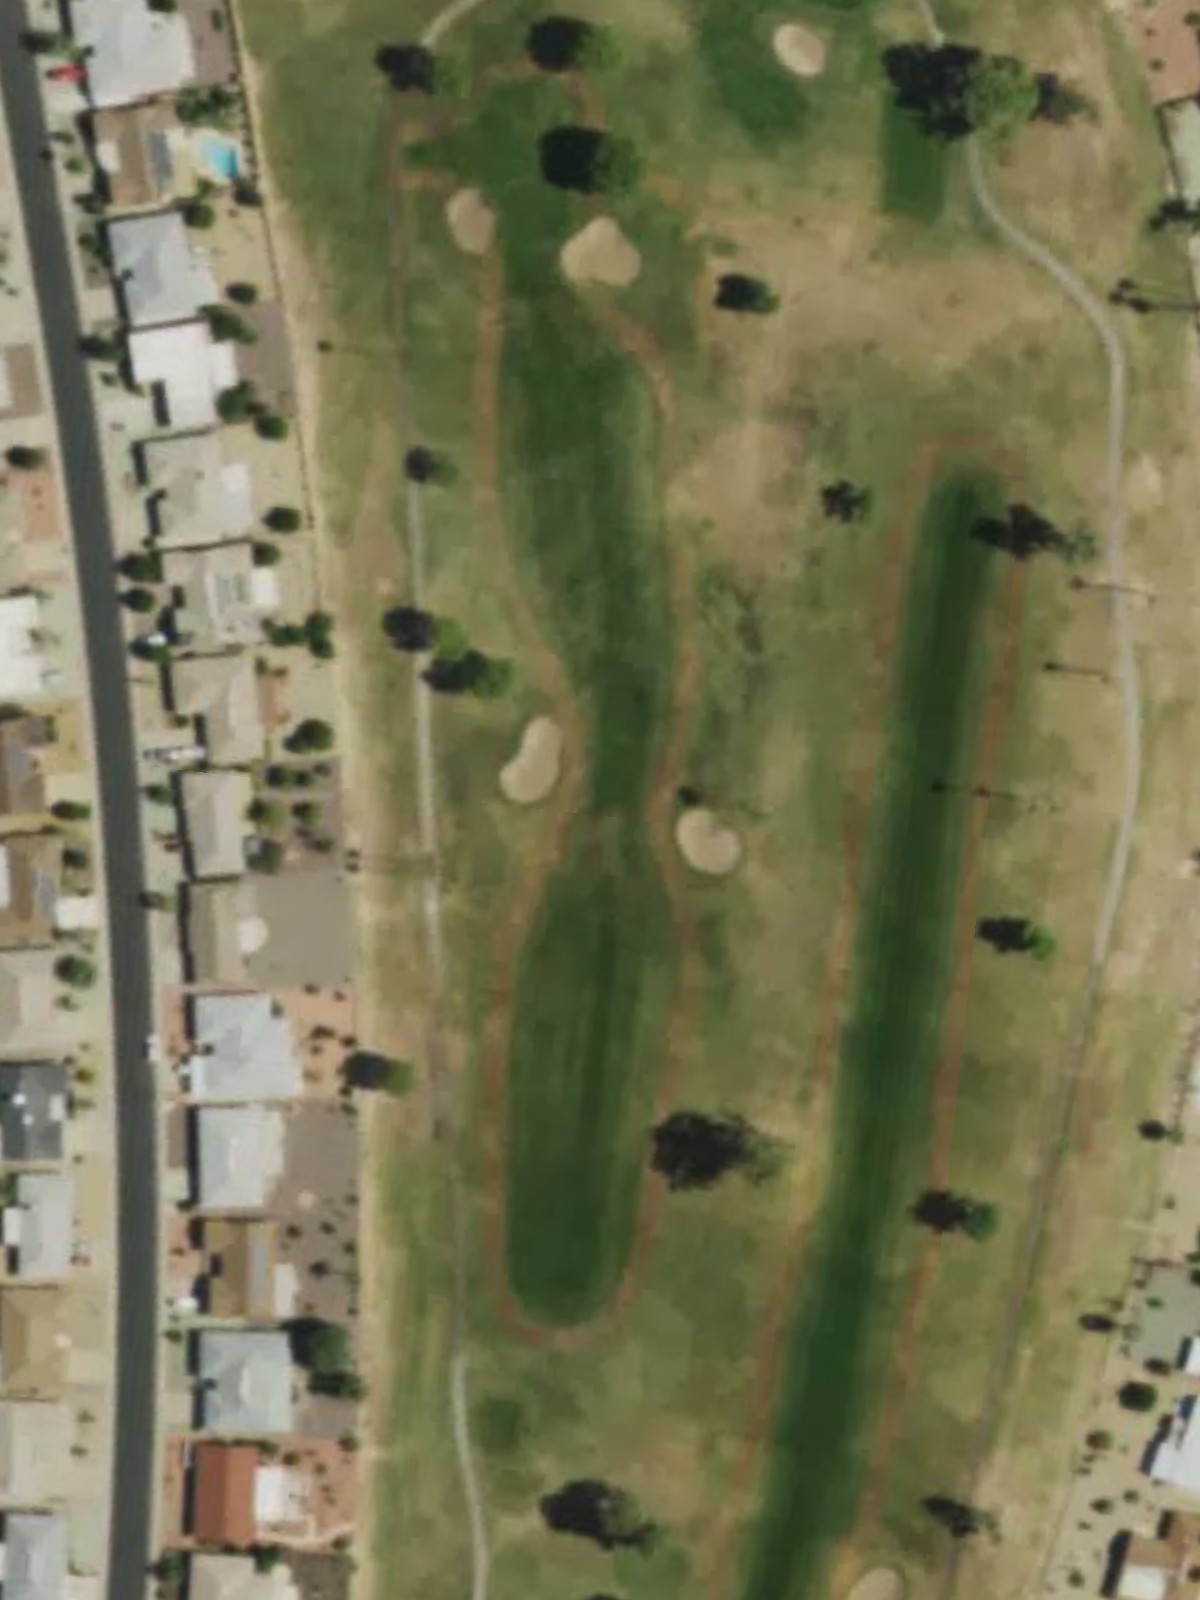
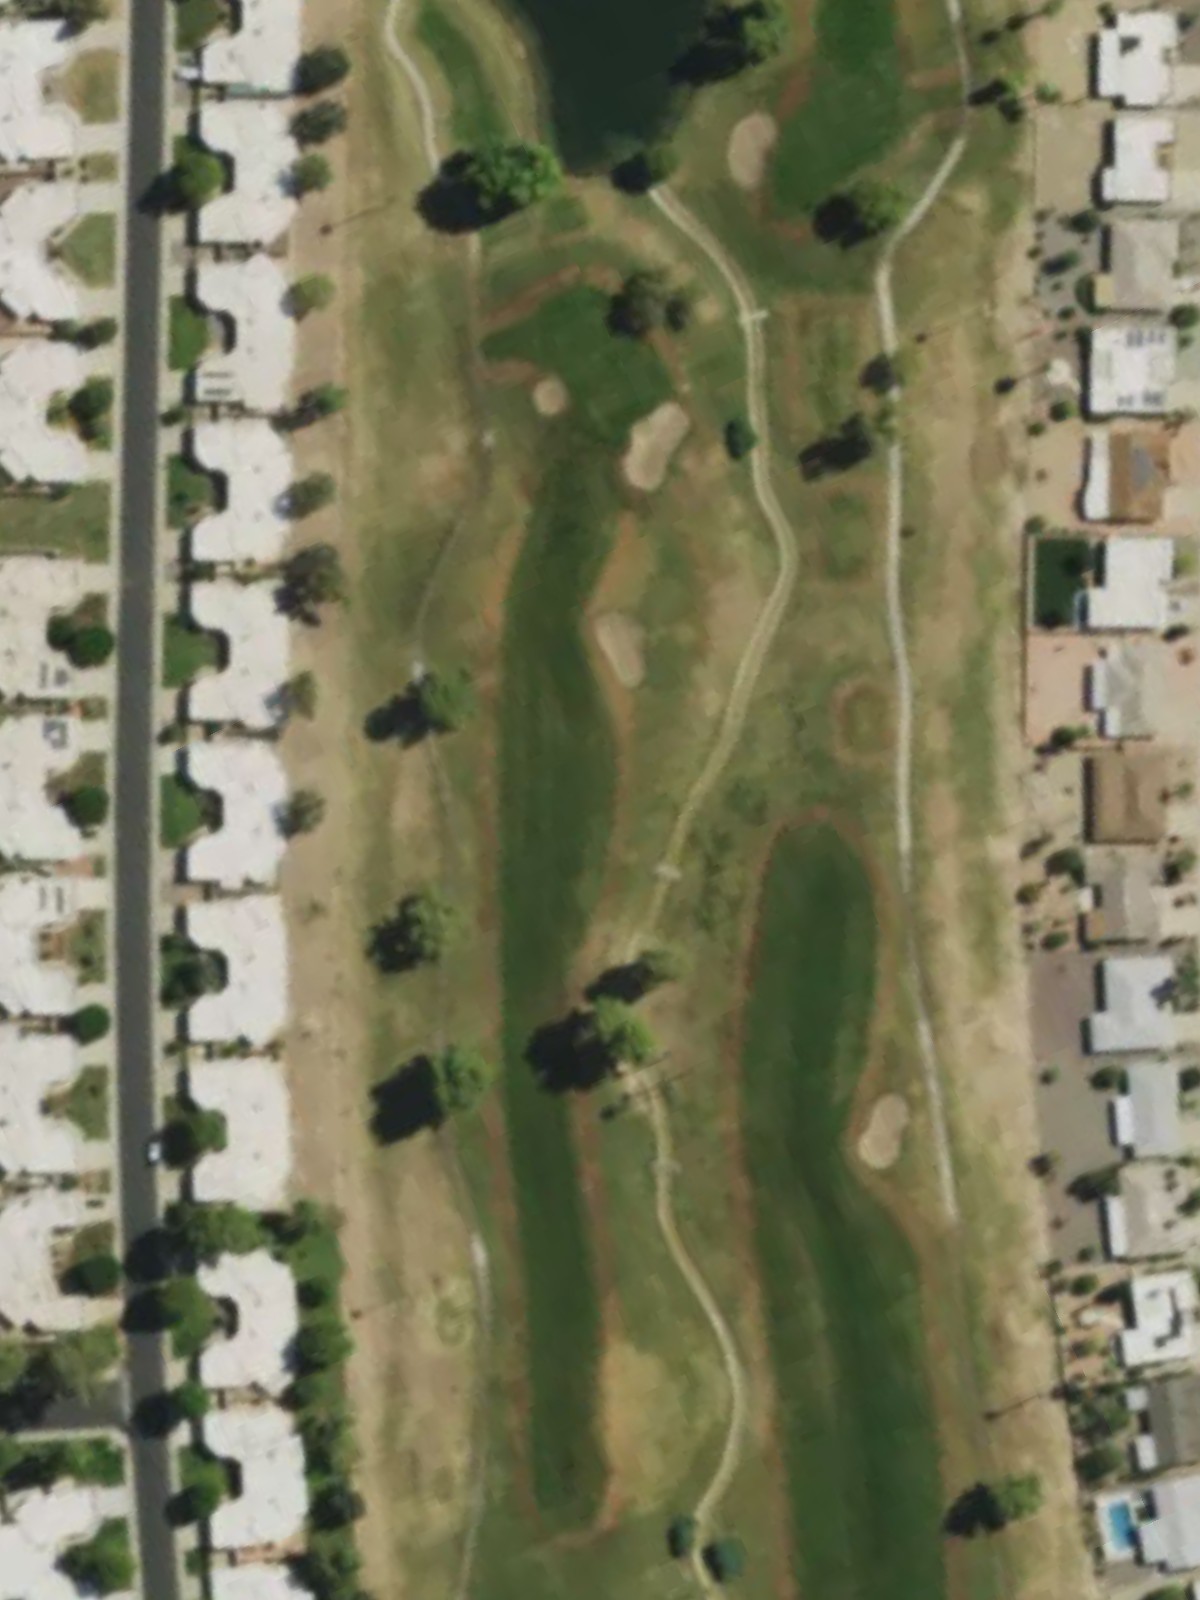
A mid-length par 4 featuring a fairway that demands accuracy off the tee to avoid trouble on both sides. The approach shot to the green requires careful navigation of hazards that tighten the landing area.
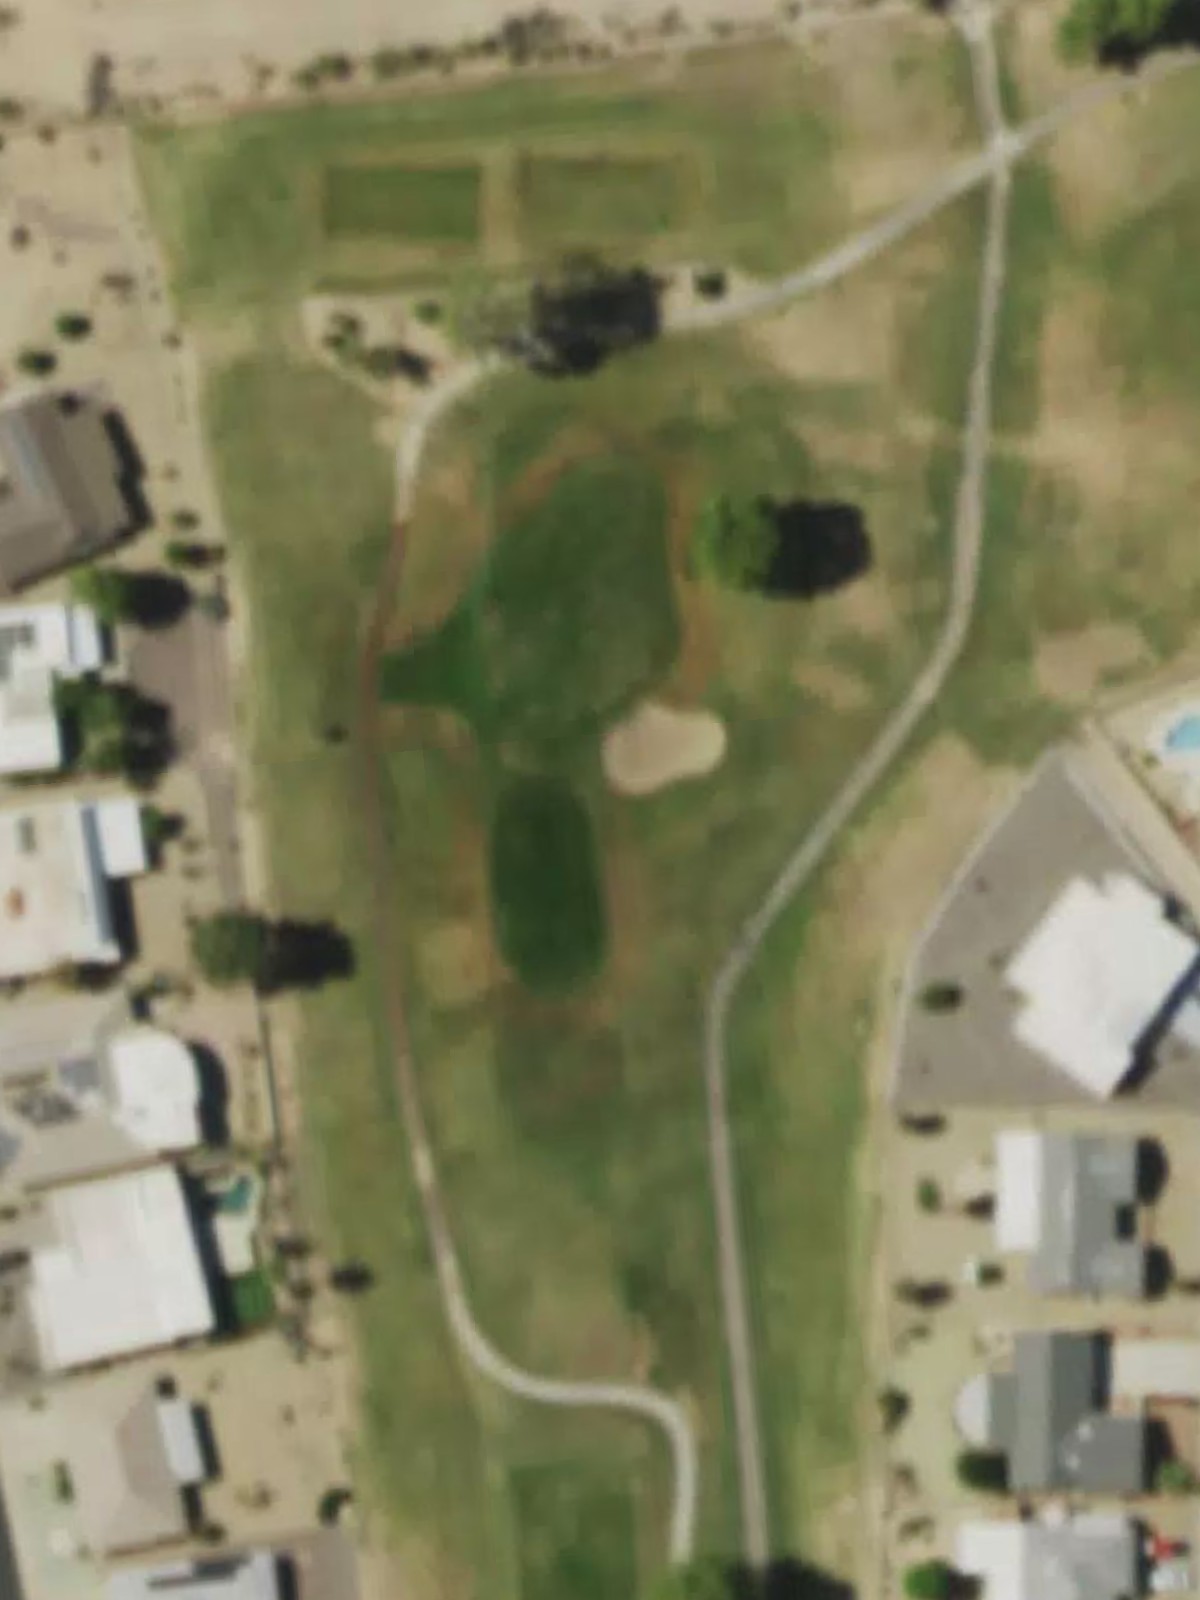
A short, straightforward par 3 that serves as a tempo hole between longer efforts. The modest length belies the importance of finding the green in regulation to avoid scrambling.
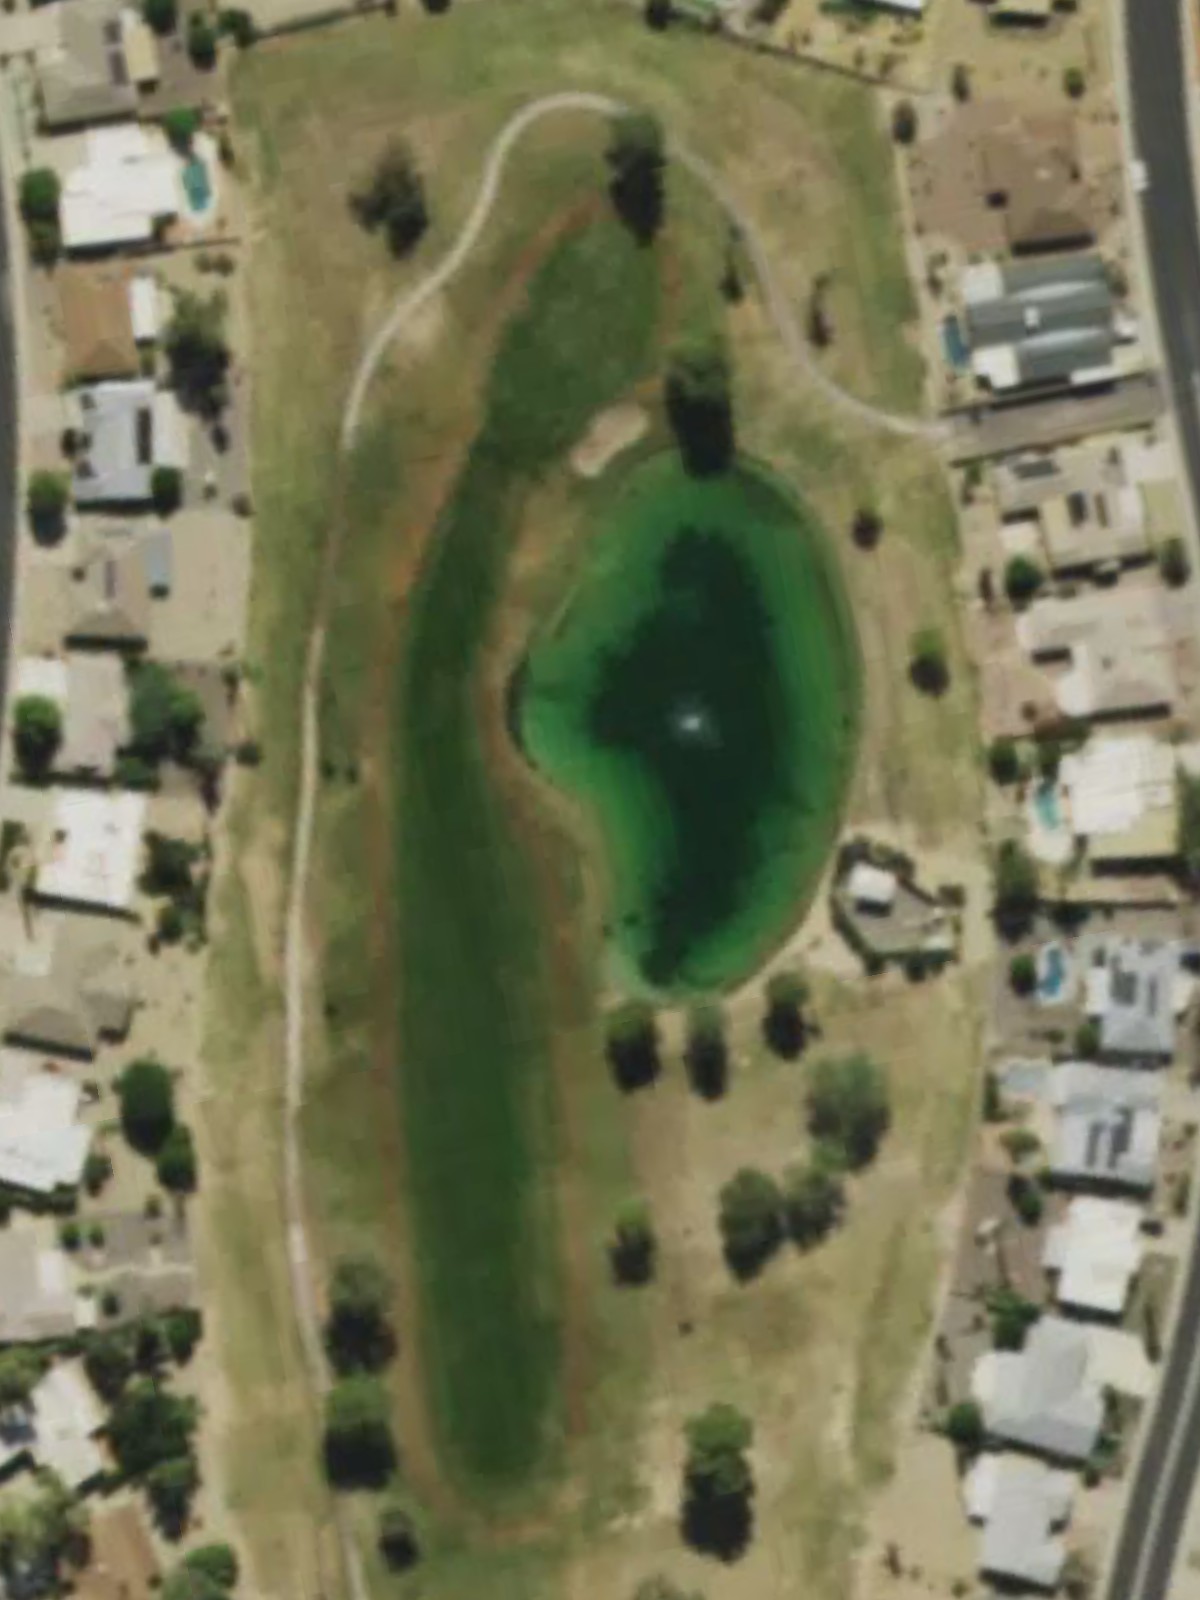
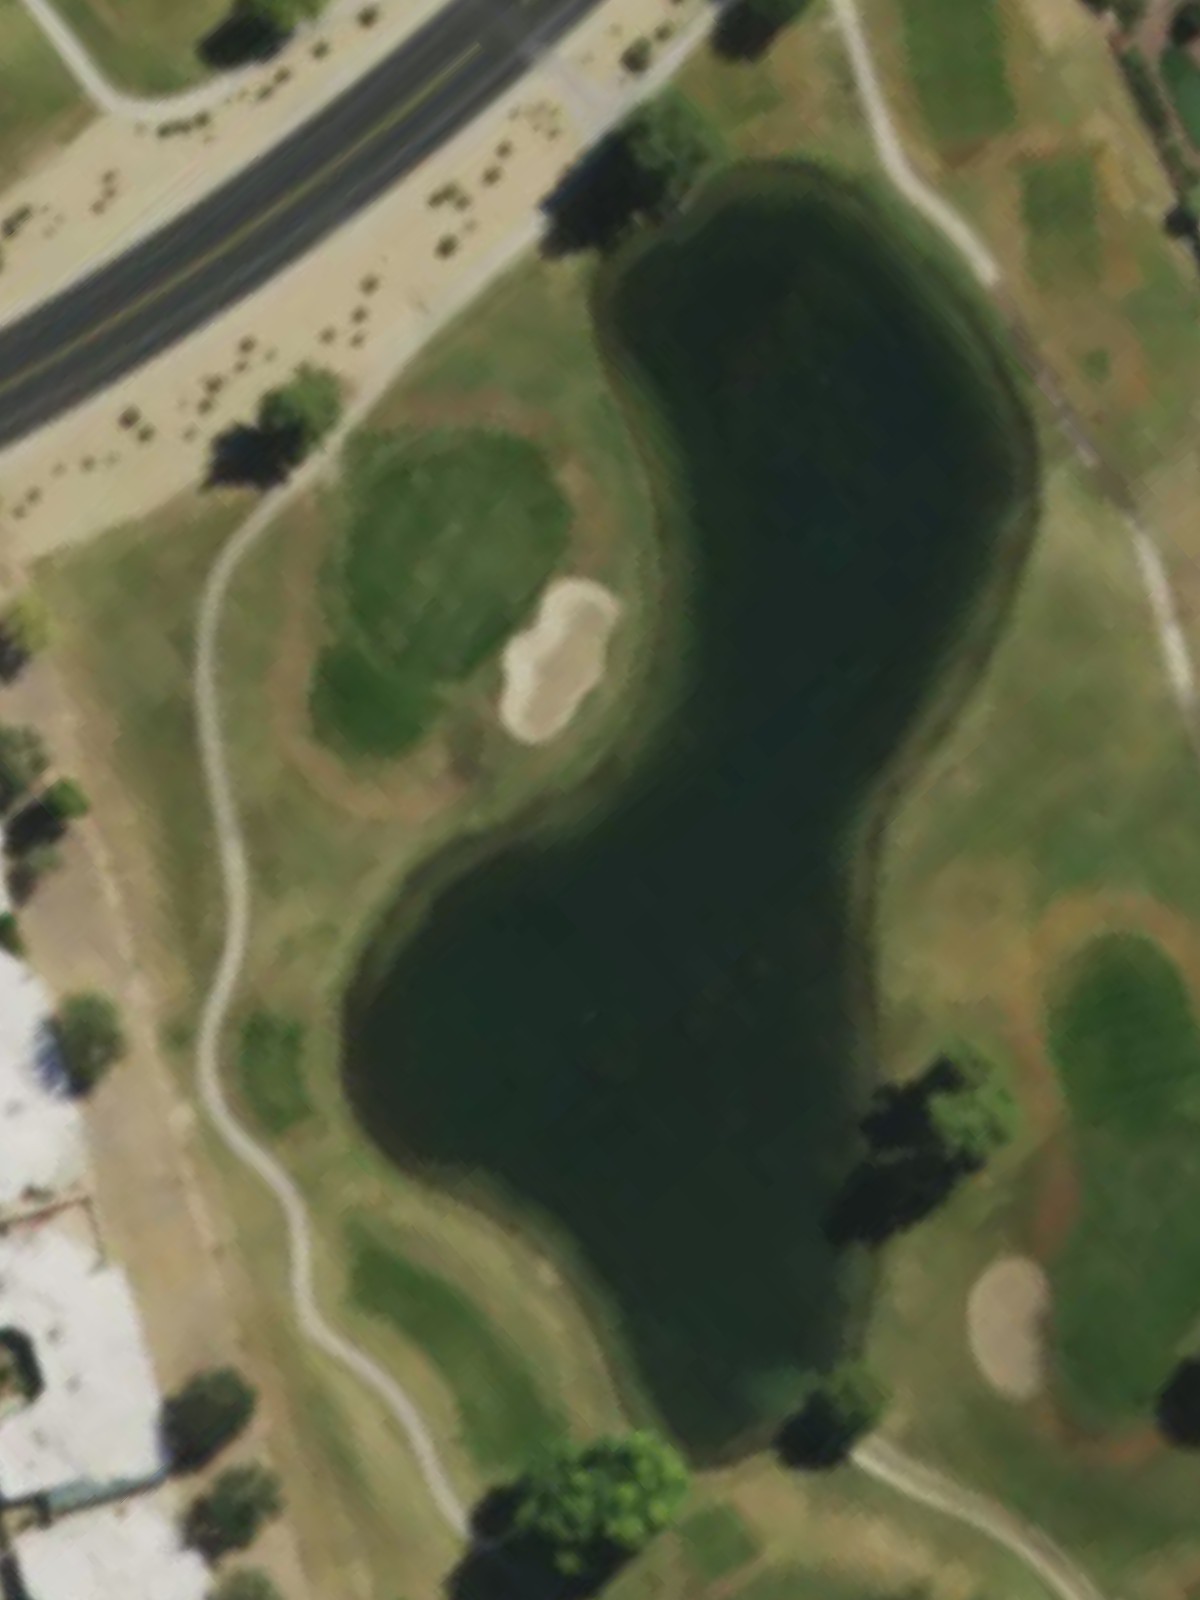
The course's most demanding par 5, requiring two solid strikes to position for the approach. Water and strategic bunkering make this uphill battle test both distance and accuracy across all three shots.
A well-bunkered par 4 where the fairway narrows considerably approaching the green. Bunkers guard both sides of the landing area and cluster around the putting surface, demanding precision throughout the hole.

A mid-length par 3 with a green that sits beyond its hazards, requiring a confident and accurate tee shot. The isolated nature of the hole puts a premium on club selection and execution.
A short par 4 playing downhill that allows for strategic layup opportunities before the approach. The gentle routing belies the importance of avoiding trouble in scoring position.
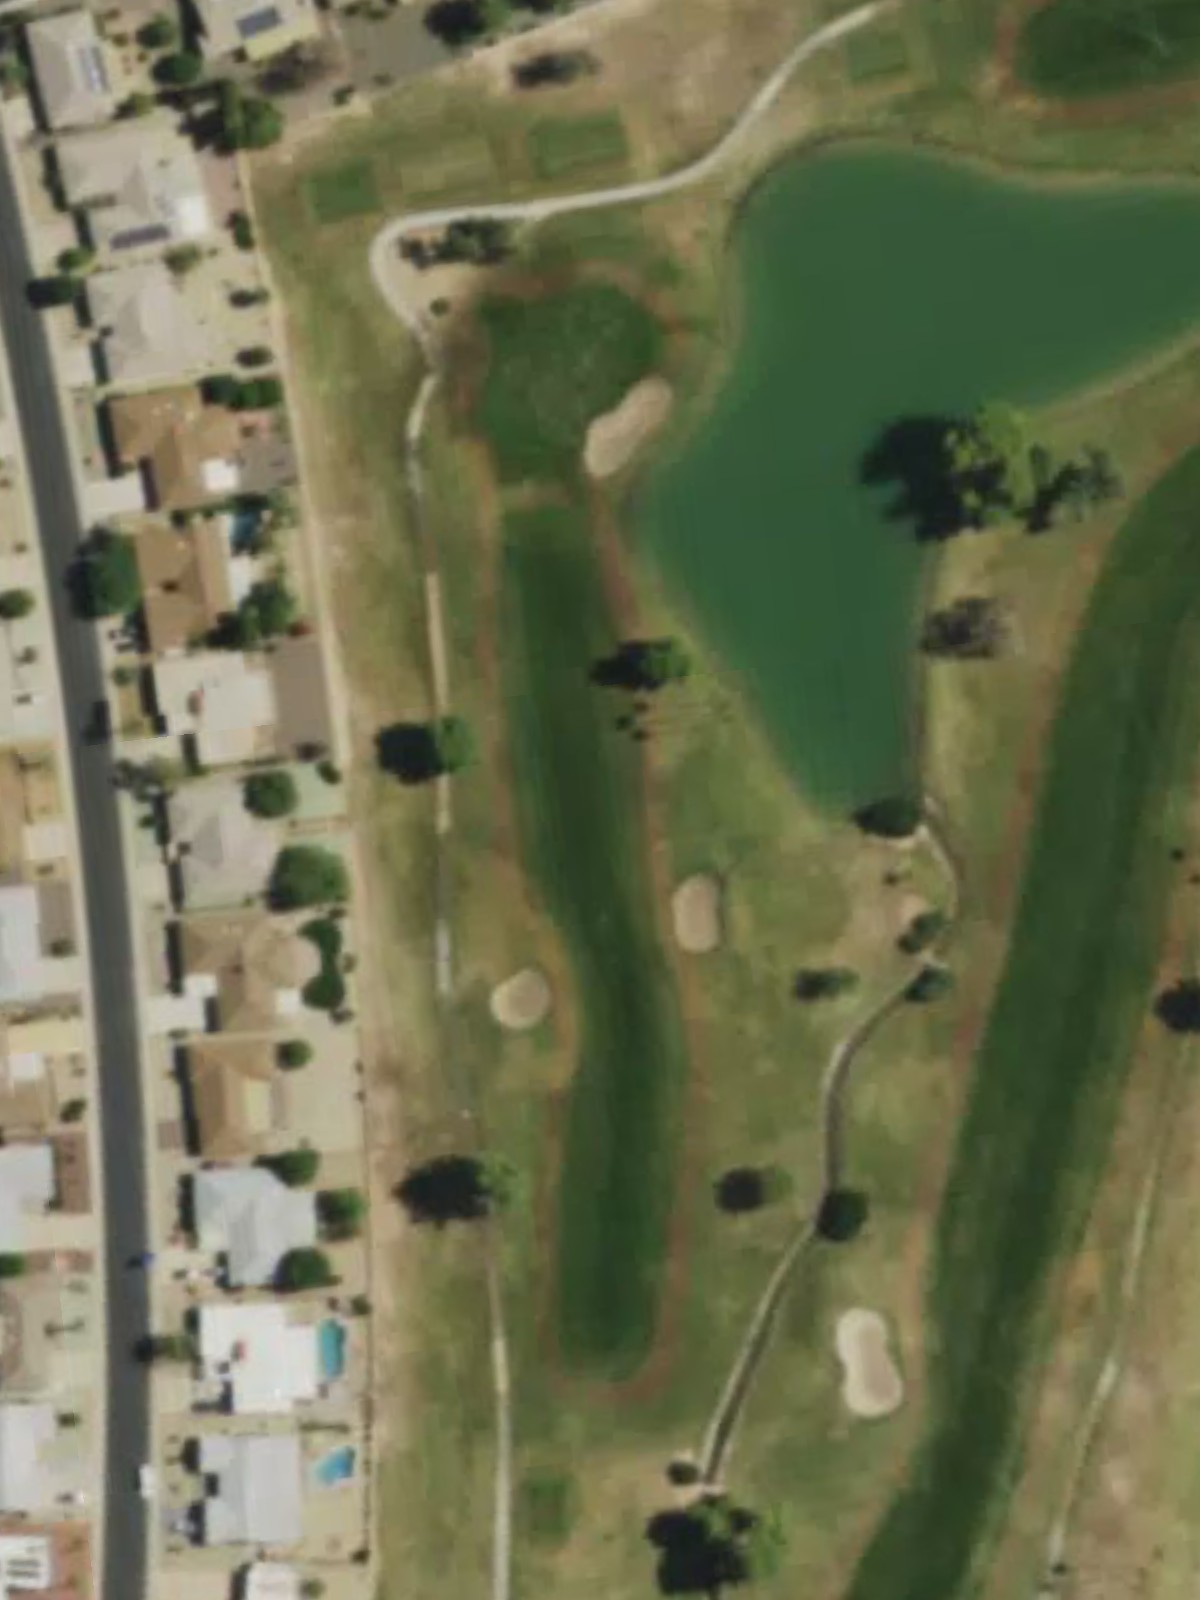
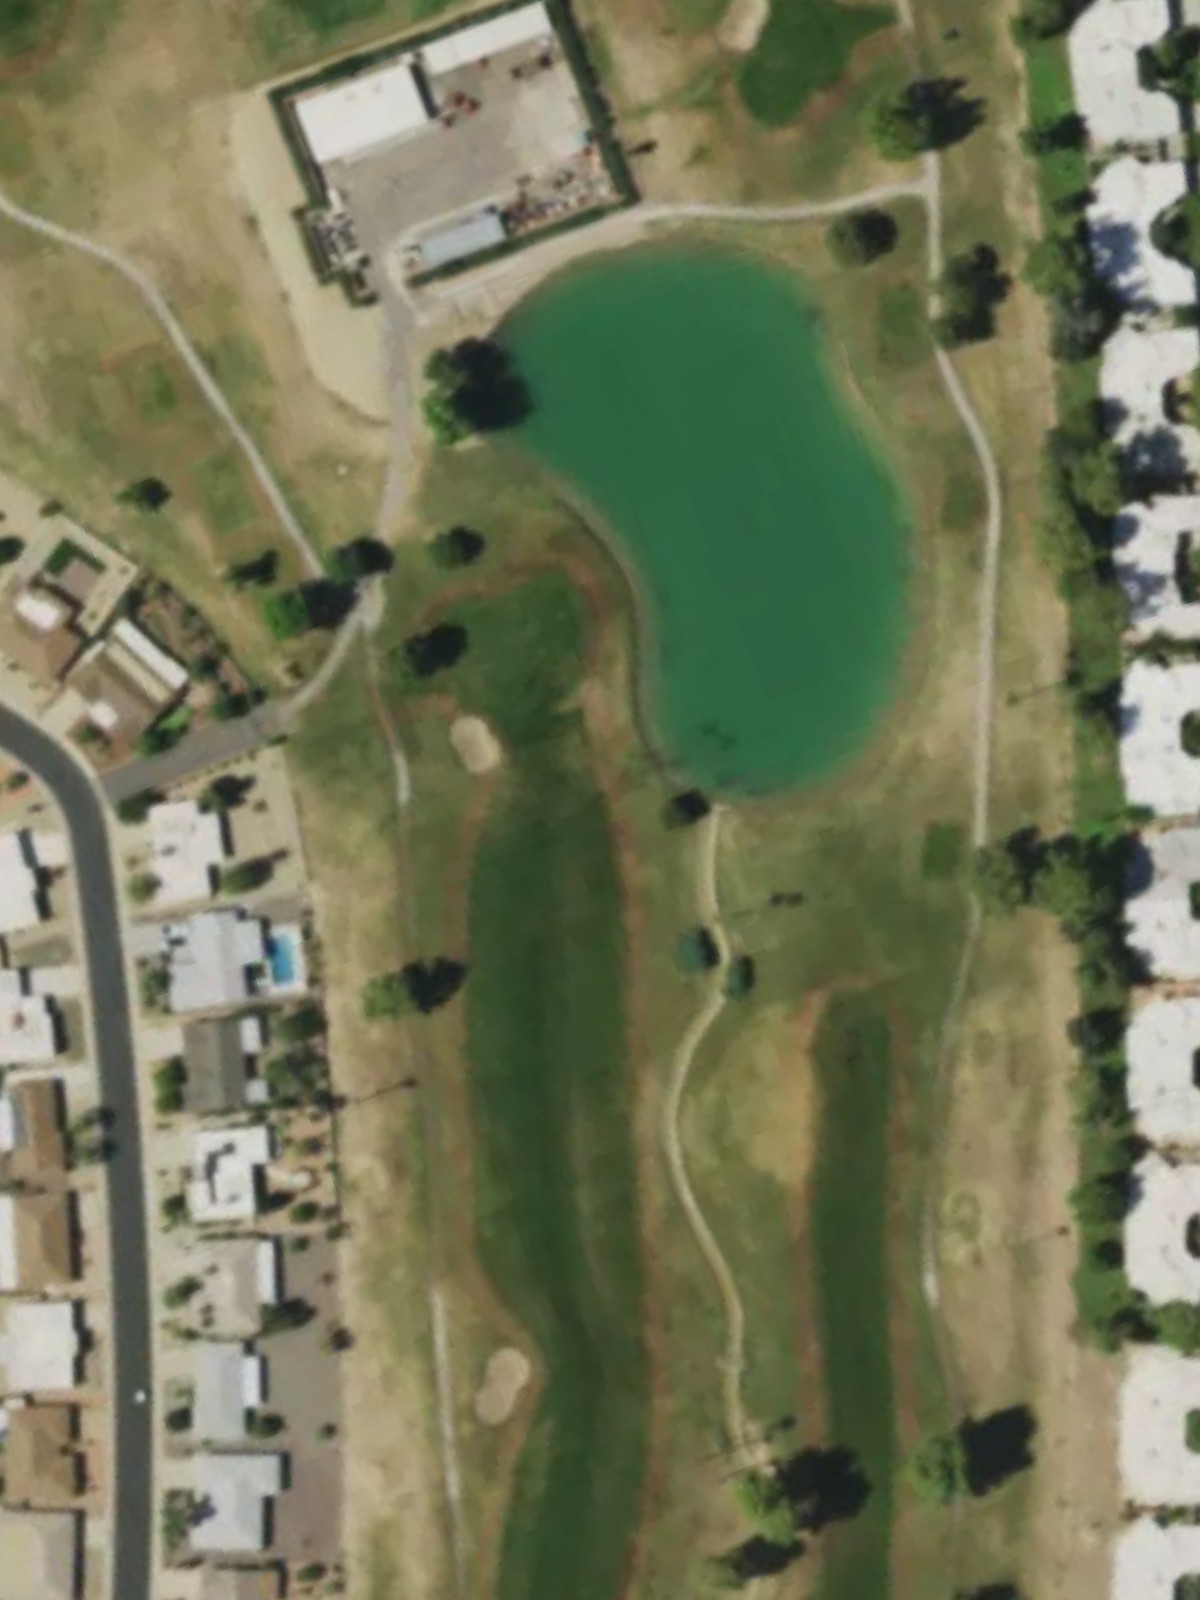
A demanding par 4 where the fairway configuration requires careful route selection from the tee. Water or bunkers create a secondary challenge approaching the green, making this a pivotal hole in the round.
A mid-range par 4 with a fairway that tightens approaching the green, requiring players to commit to their tee positioning. Strategic bunkering around the green compounds the challenge of finding the putting surface.
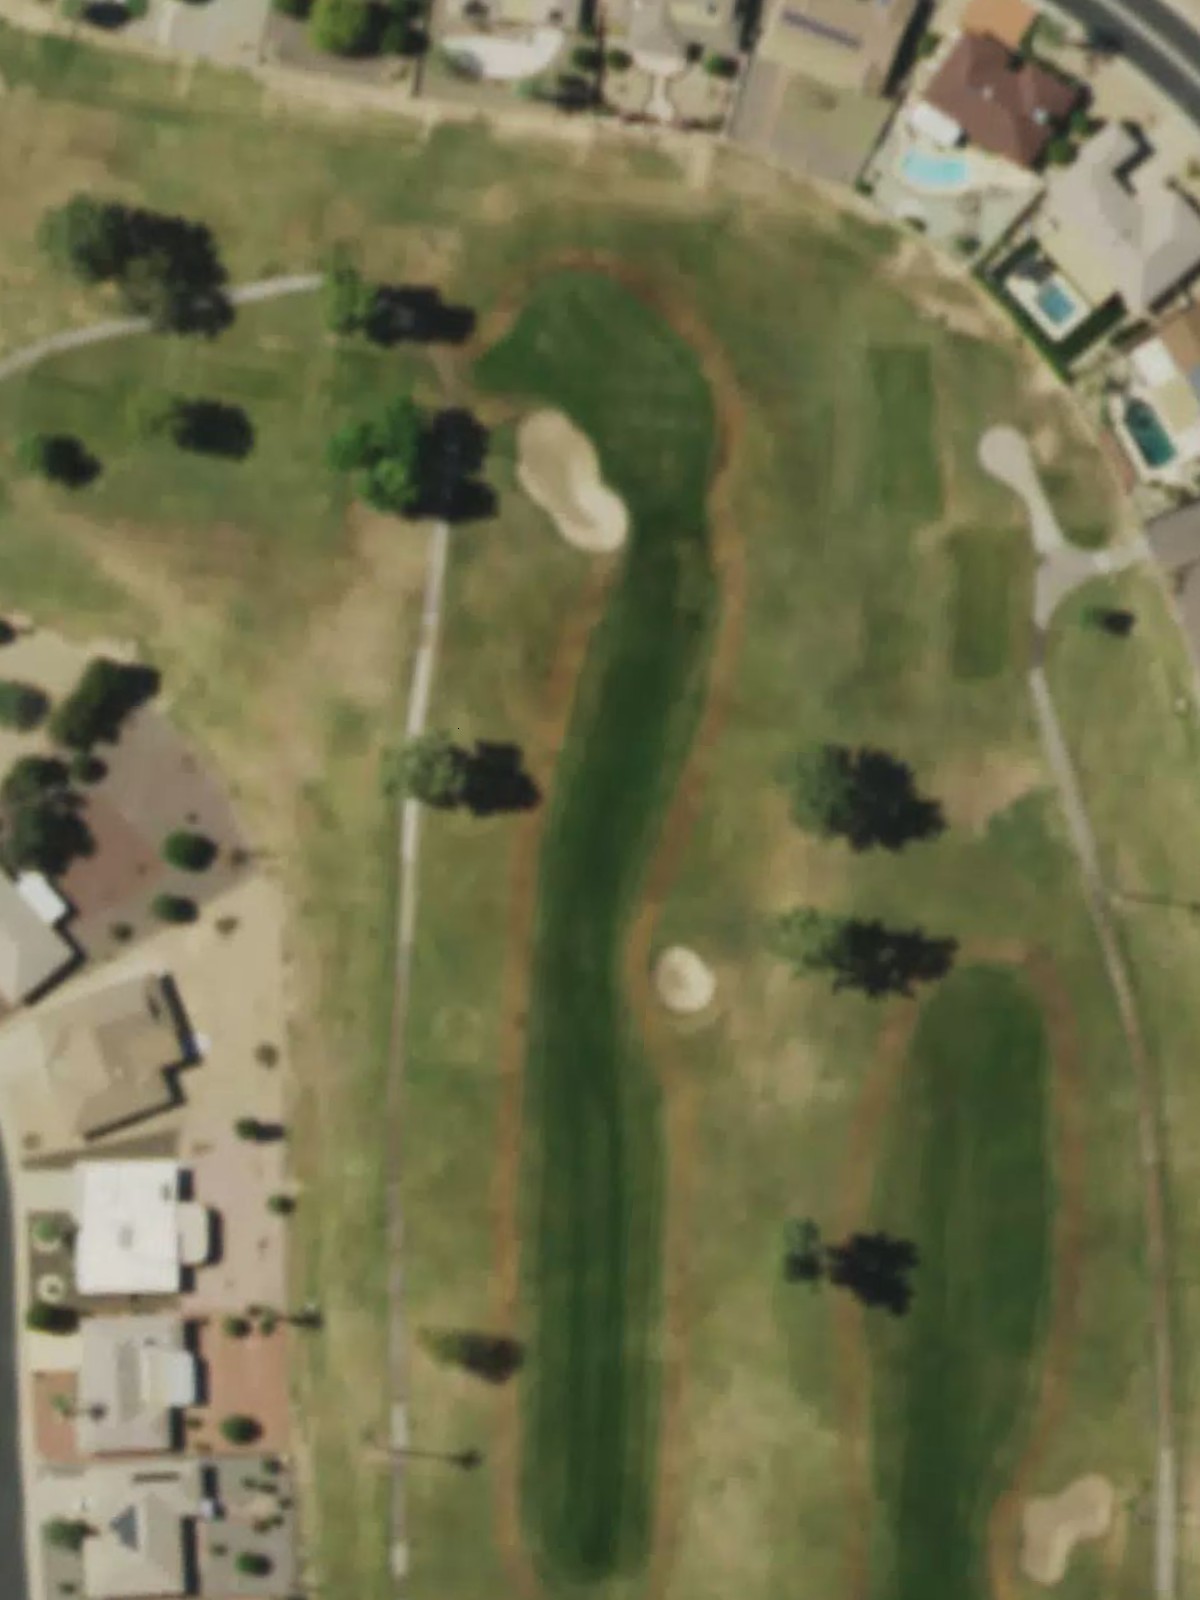
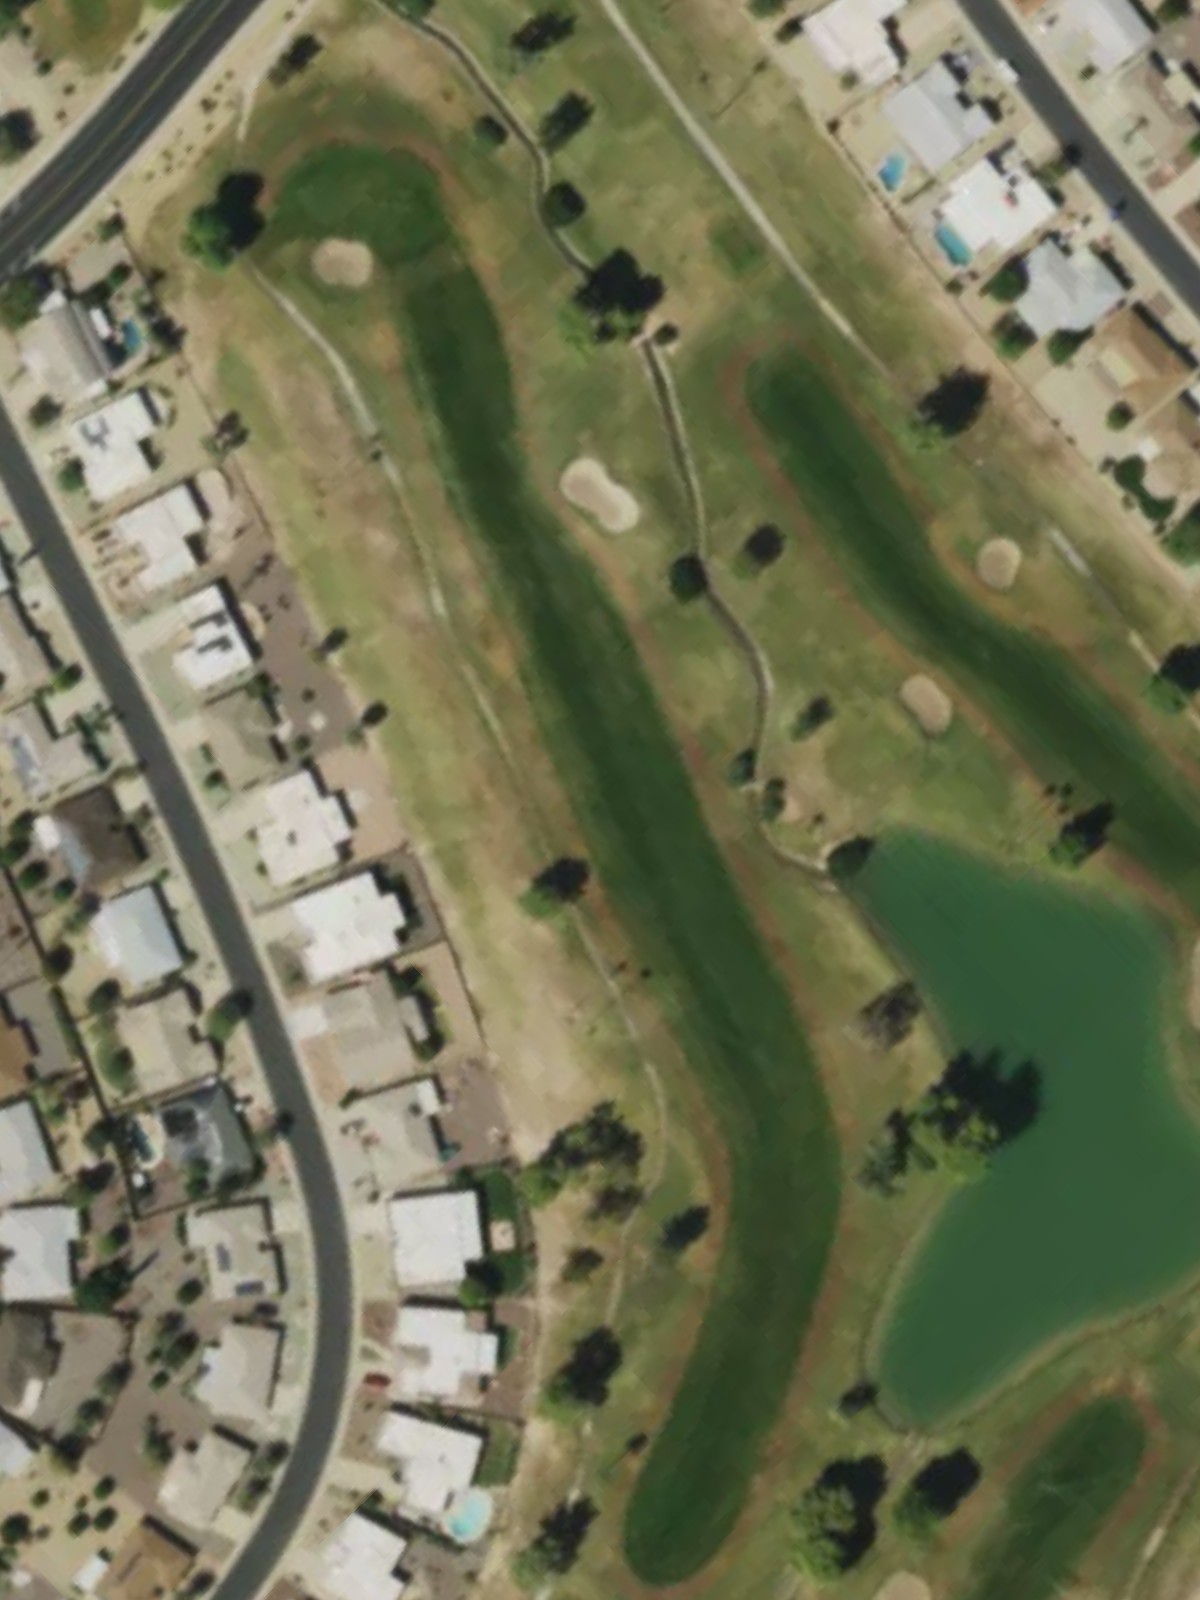
A muscular par 5 ranked third in difficulty, with length and hazards working together to punish poor positioning. The routing demands two controlled shots before the approach, with water or bunkers likely guarding the green.
The shortest par 3 on the course, but one that demands absolute precision despite its modest yardage. The small green complex offers little margin for error off the tee.
A short par 4 with a tight fairway that requires an accurate tee shot to set up a manageable approach. Bunkers and other hazards cluster near the green, punishing any wayward second shots.
A strategic par 4 where the fairway routing presents an interesting challenge in balancing aggression with control. Bunkers strategically placed throughout the hole reward thoughtful positioning from tee to green.
The most difficult hole on the course, a long par 5 that demands precision across all three shots. Water, bunkers, and length combine to create a stern test that separates good play from excellent execution.
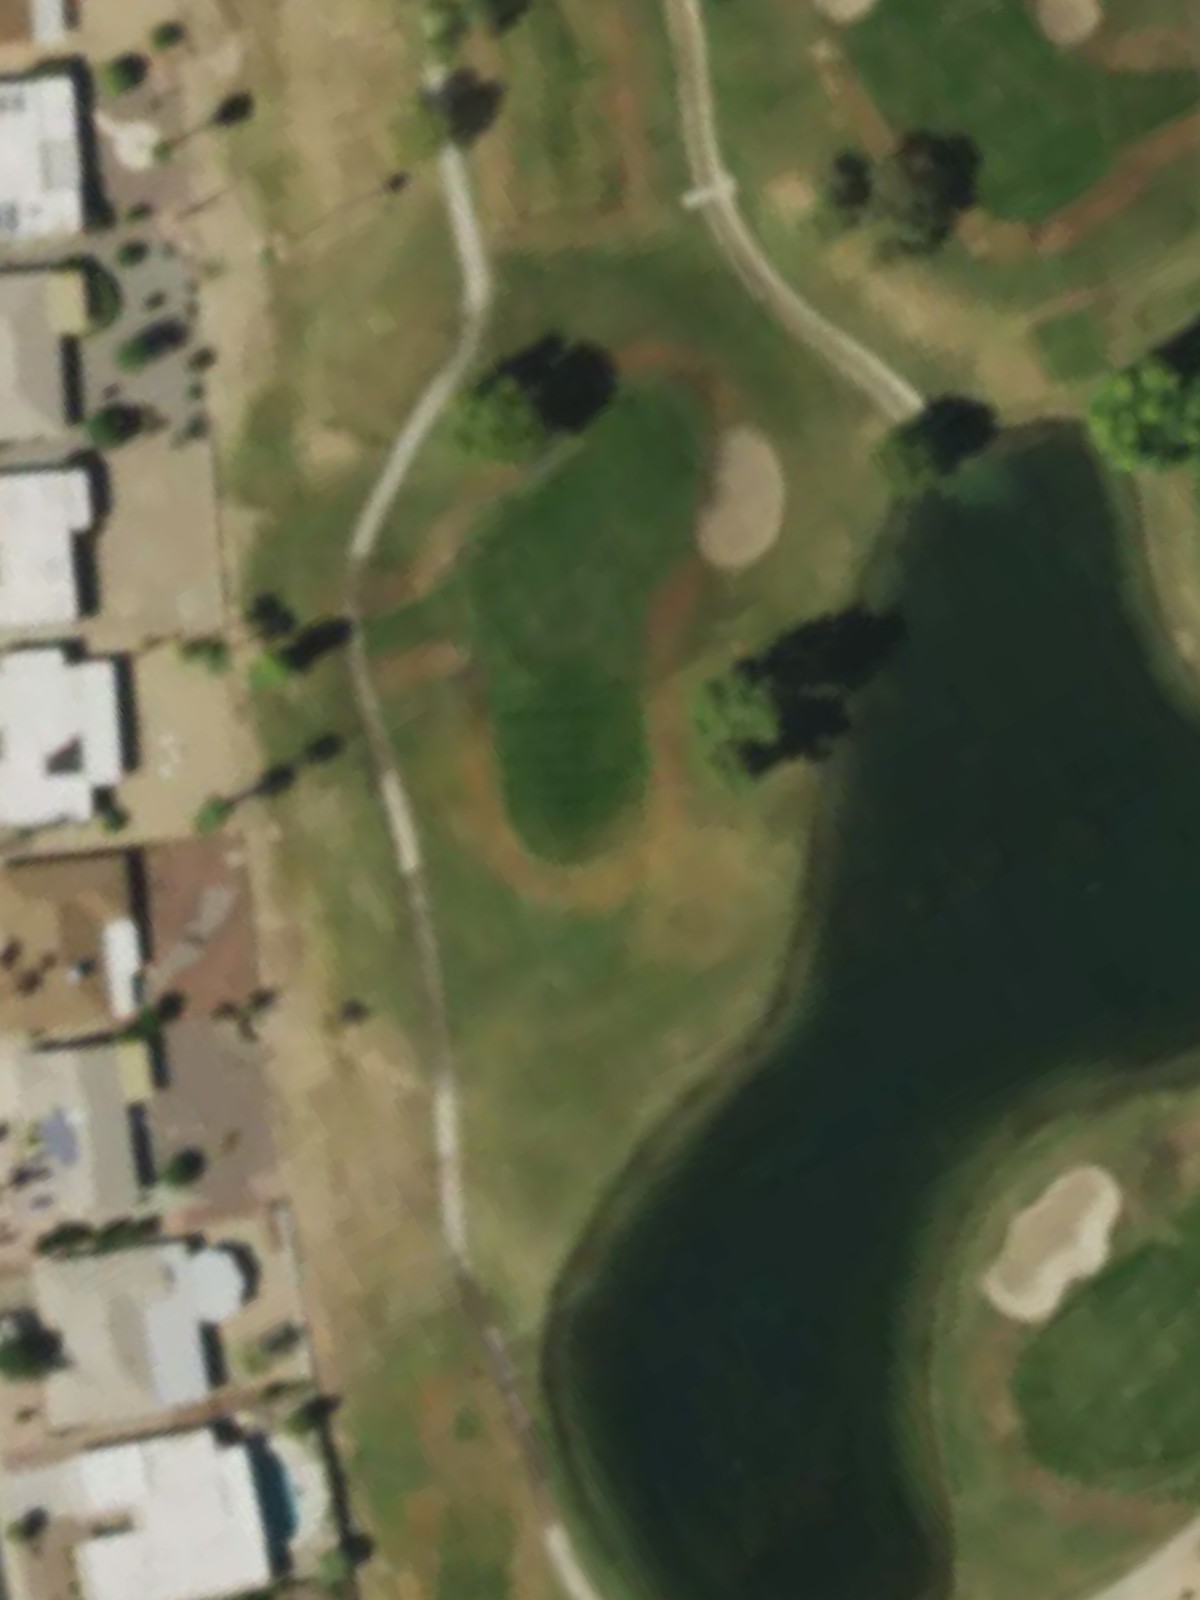
A mid-length par 3 requiring a substantial carry to reach the green. The isolated nature of the hole puts execution at a premium, with hazards discouraging aggressive play.
A strong par 4 that offers an interesting angle into the green depending on tee positioning. Strategic hazards reward accurate driving and punish those who stray from the intended line.
A closing par 4 that provides a balanced test of both power and precision to finish the round. The green complex and surrounding hazards demand a committed second shot to secure a solid score.
Scorecard
| Hole | 1 | 2 | 3 | 4 | 5 | 6 | 7 | 8 | 9 | Out | 10 | 11 | 12 | 13 | 14 | 15 | 16 | 17 | 18 | In | Tot |
|---|---|---|---|---|---|---|---|---|---|---|---|---|---|---|---|---|---|---|---|---|---|
| Par | 5 | 4 | 4 | 3 | 5 | 4 | 3 | 4 | 4 | 36 | 4 | 5 | 3 | 4 | 4 | 5 | 3 | 4 | 4 | 36 | 72 |
| HCP | 4 | 12 | 10 | 18 | 2 | 6 | 14 | 16 | 8 | 13 | 3 | 17 | 11 | 7 | 1 | 15 | 9 | 5 | |||
| blue | 477 | 321 | 369 | 167 | 496 | 407 | 191 | 334 | 377 | 3139 | 360 | 478 | 137 | 333 | 389 | 526 | 191 | 376 | 407 | 3197 | 6336 |
| white | 463 | 311 | 348 | 154 | 486 | 381 | 175 | 319 | 364 | 3001 | 339 | 455 | 118 | 309 | 367 | 500 | 166 | 361 | 387 | 3002 | 6003 |
| red | 420 | 274 | 321 | 136 | 464 | 358 | 151 | 303 | 338 | 2765 | 314 | 415 | 106 | 283 | 339 | 454 | 146 | 329 | 356 | 2742 | 5507 |
| orange | 420 | 274 | 321 | 136 | 464 | 311 | 120 | 290 | 287 | 2623 | 314 | 415 | 106 | 283 | 276 | 454 | 138 | 282 | 289 | 2557 | 5180 |
| yellow | 407 | 246 | 265 | 123 | 370 | 311 | 120 | 290 | 287 | 2419 | 263 | 331 | 96 | 232 | 276 | 397 | 138 | 282 | 289 | 2304 | 4723 |