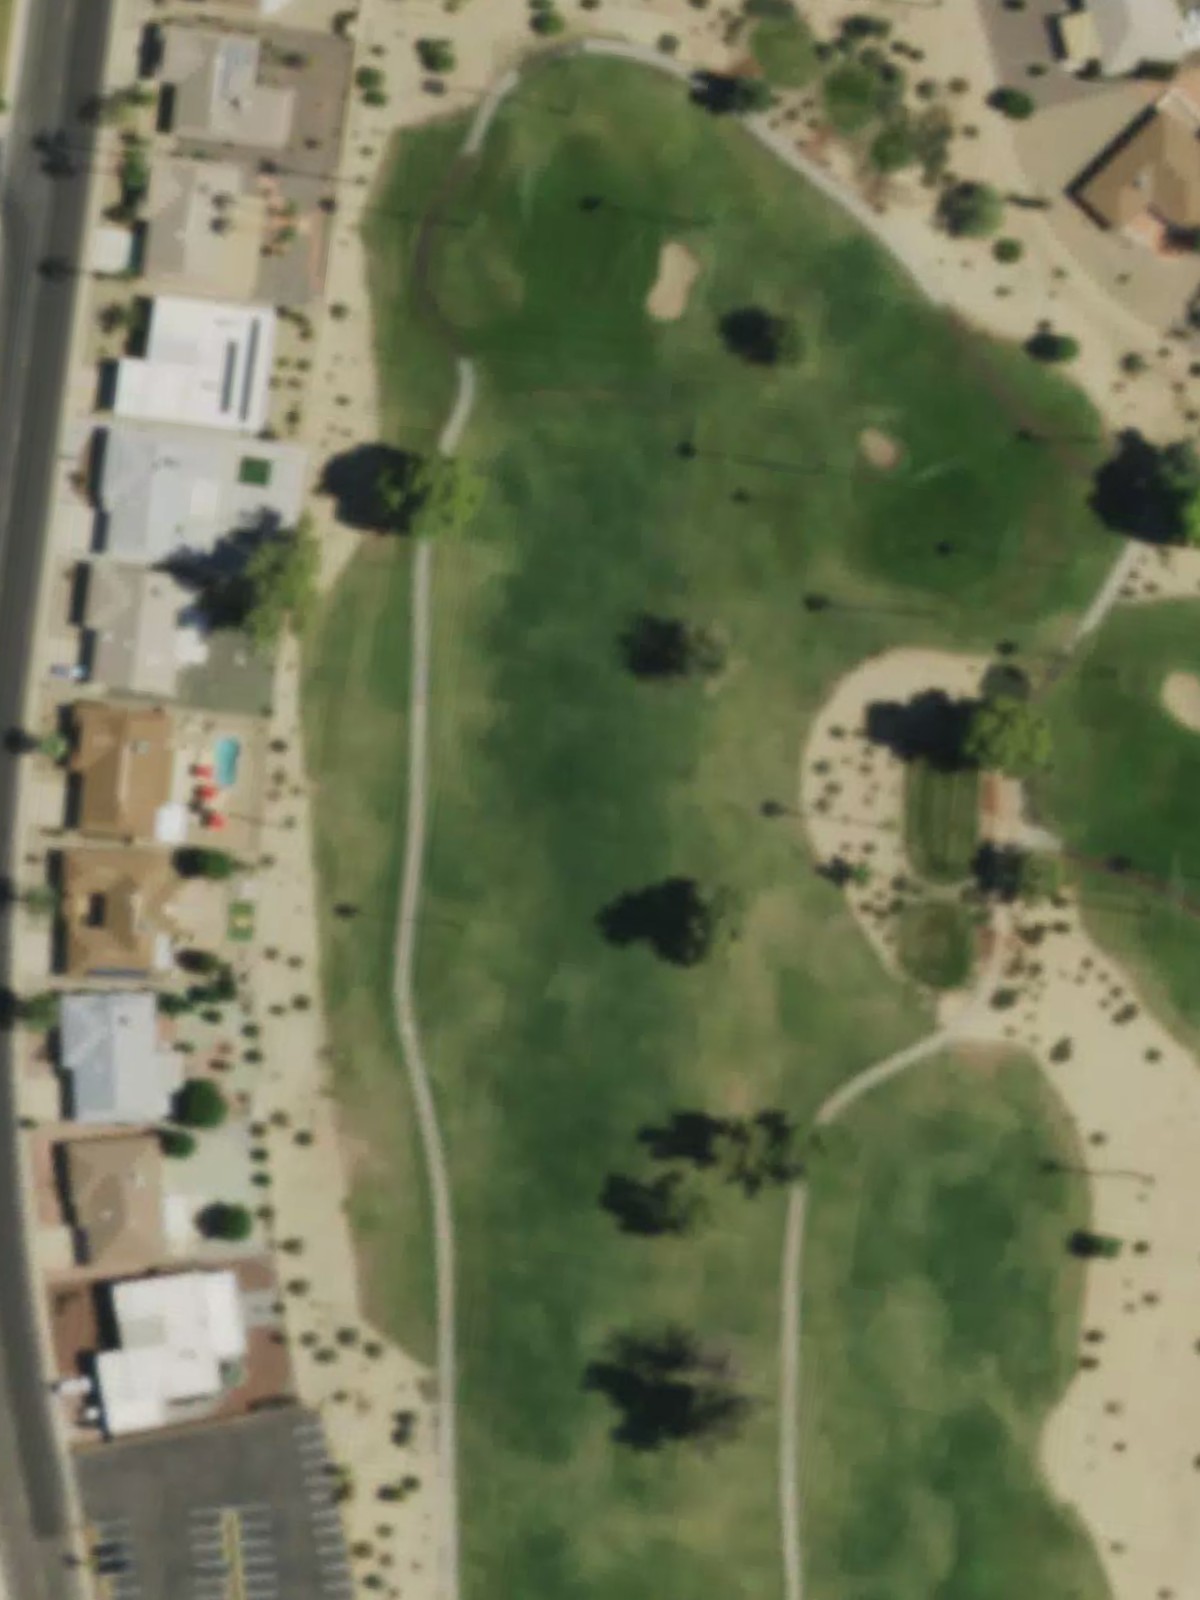
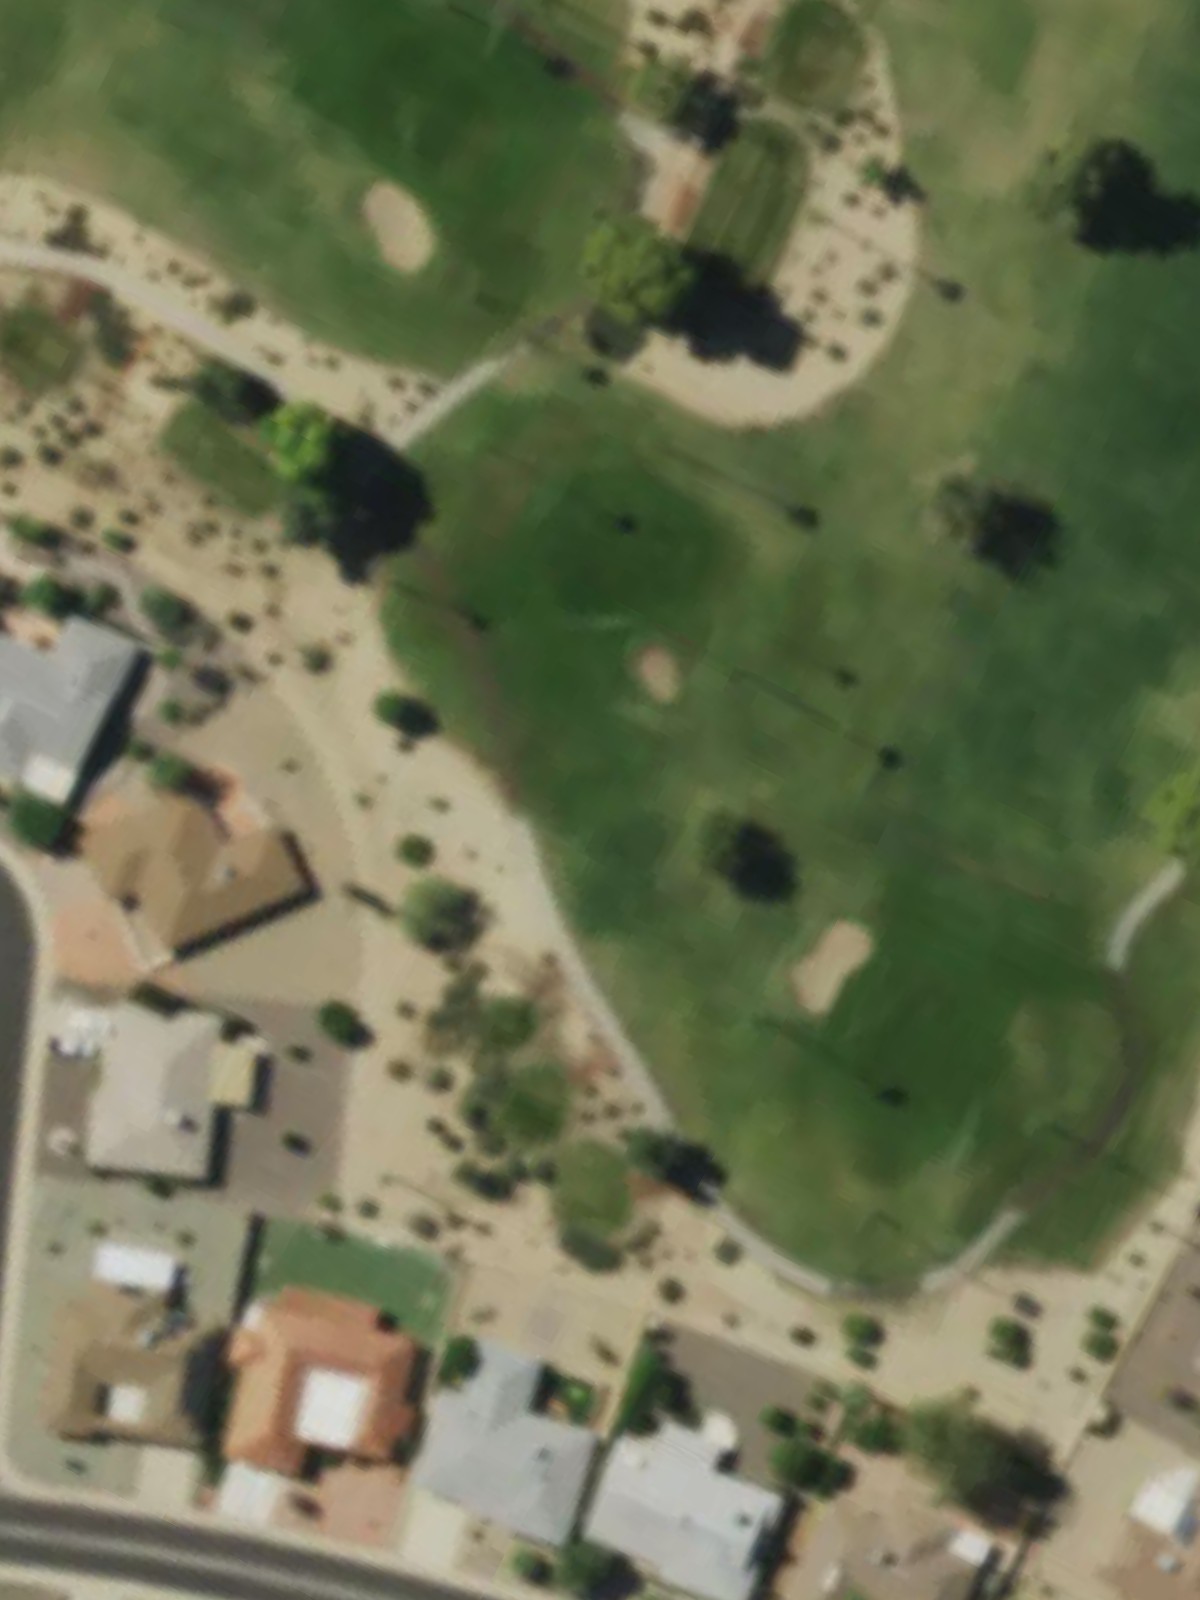
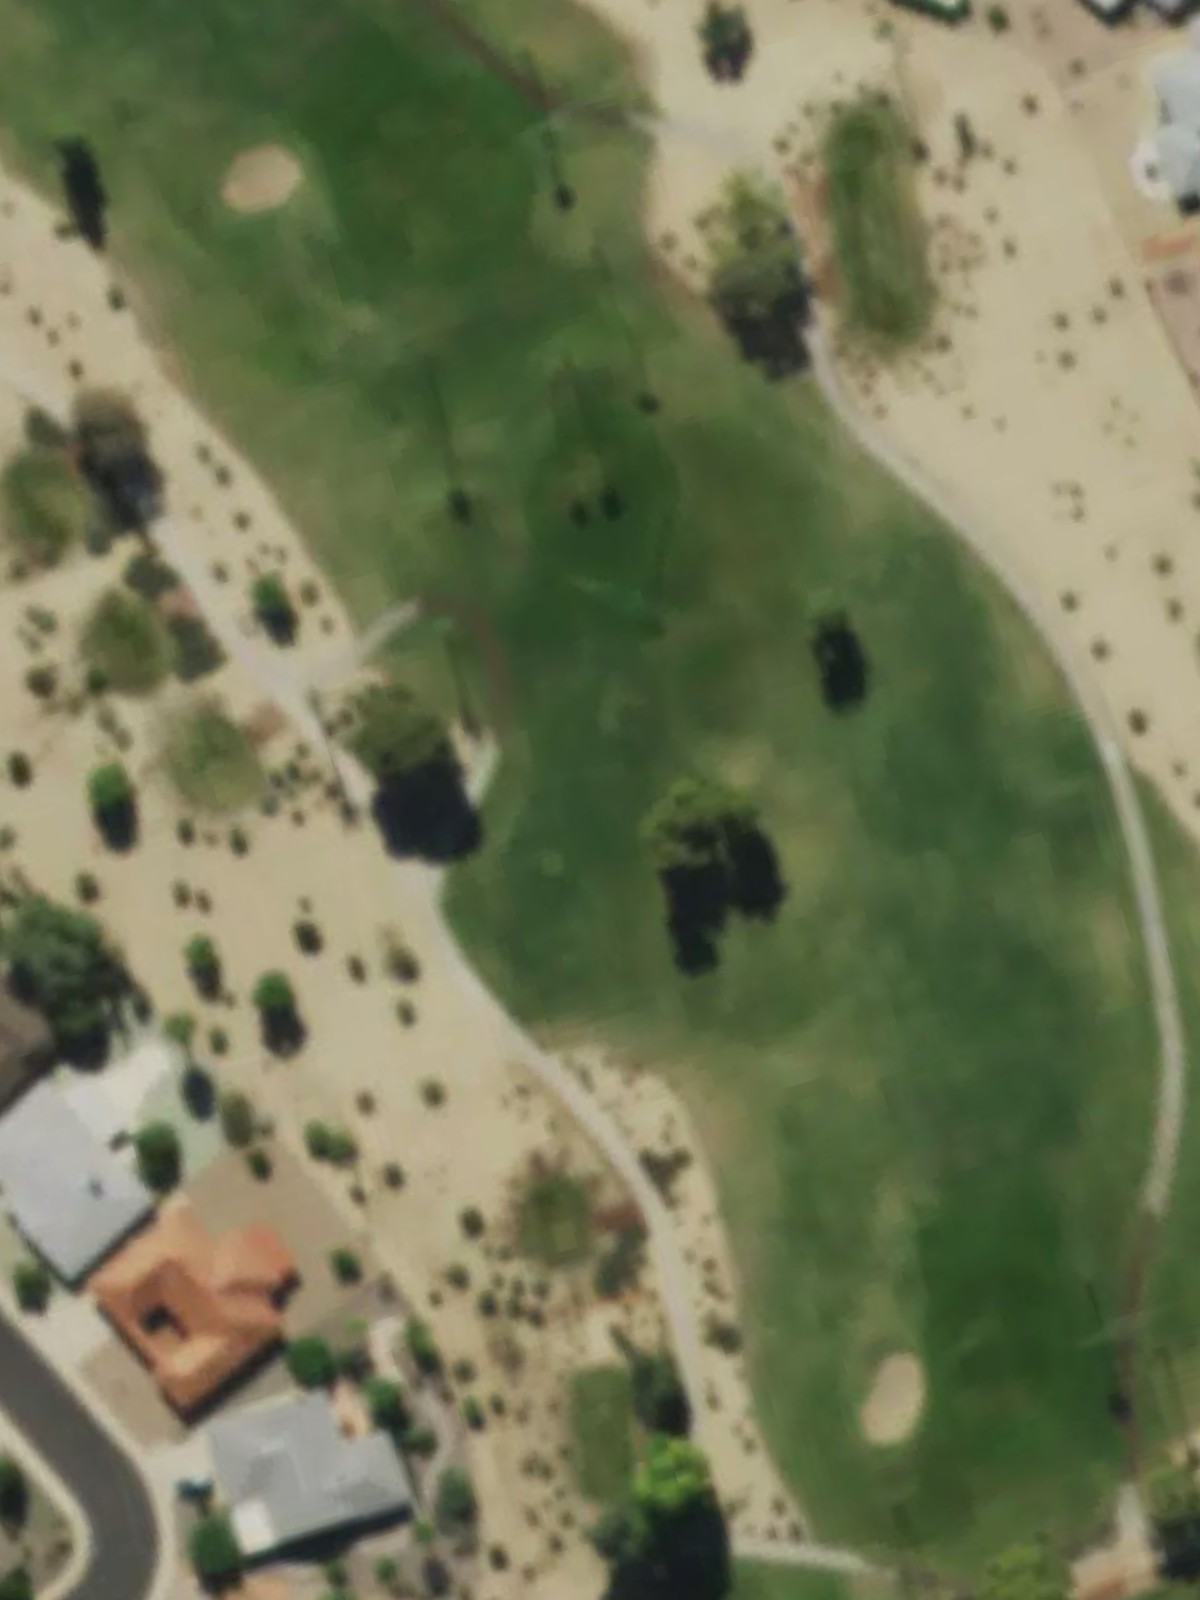
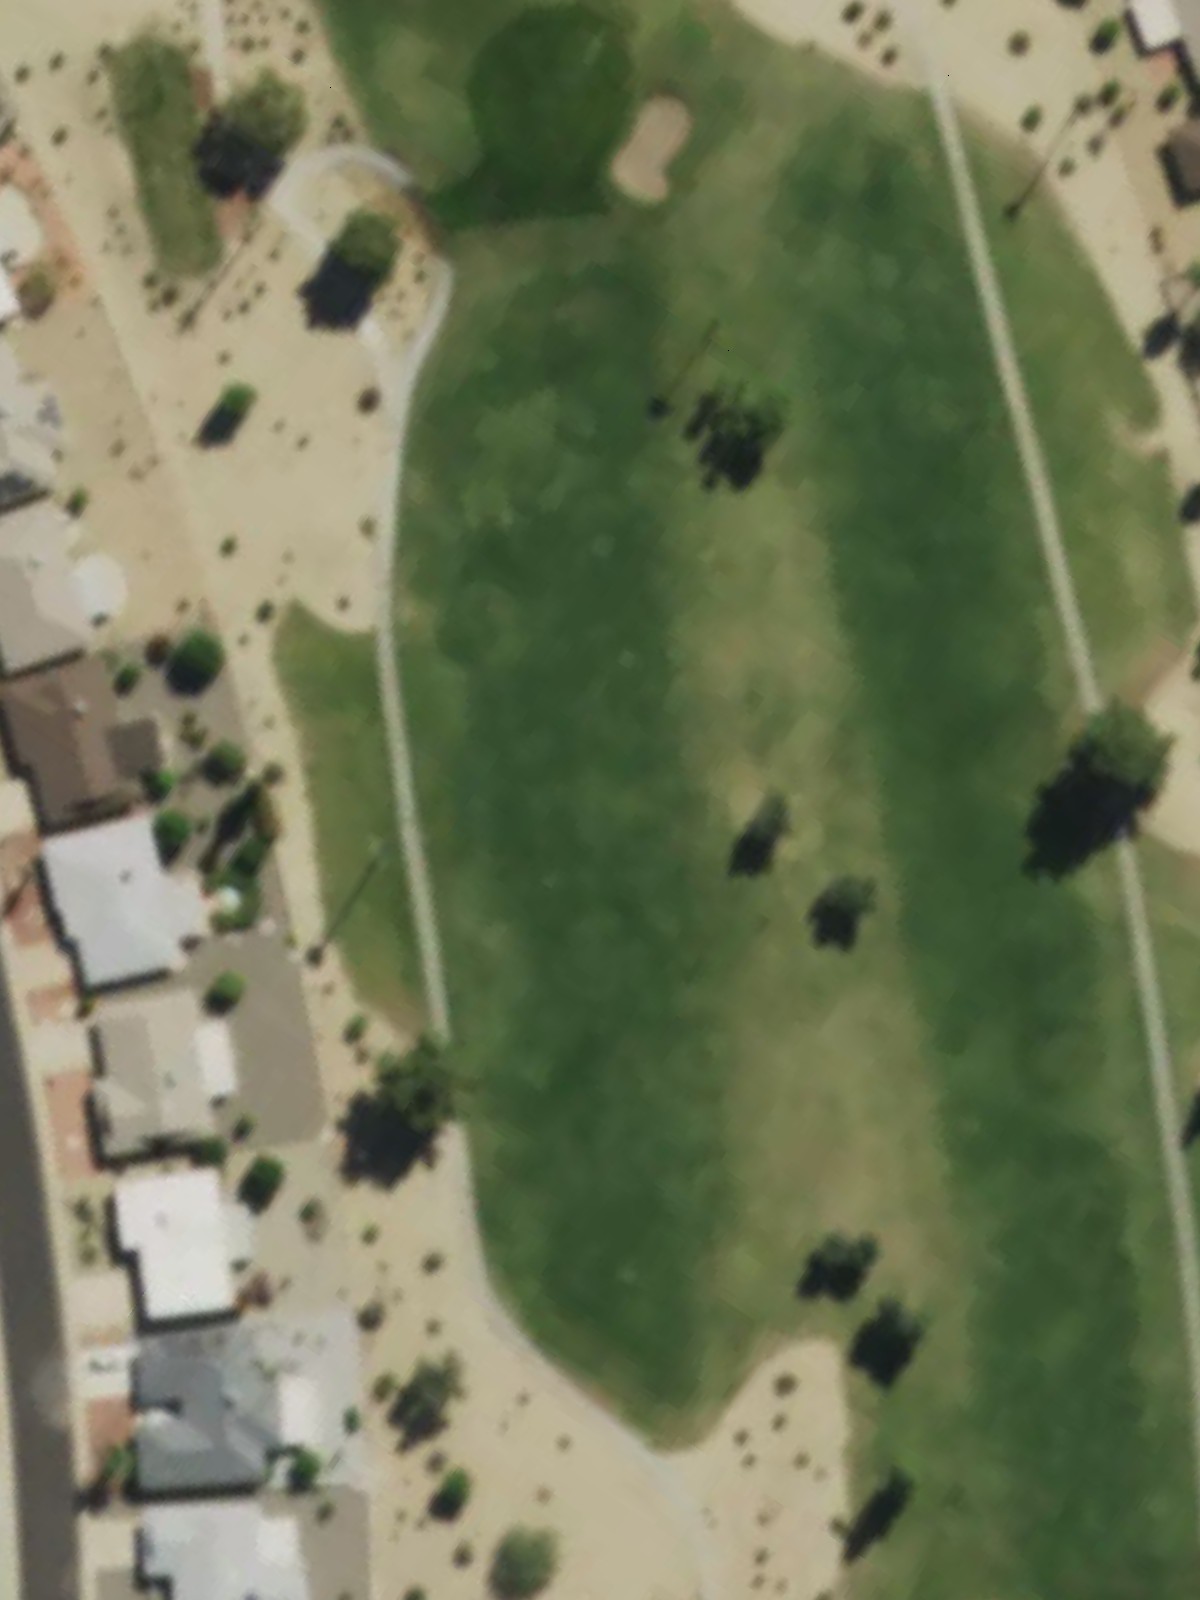
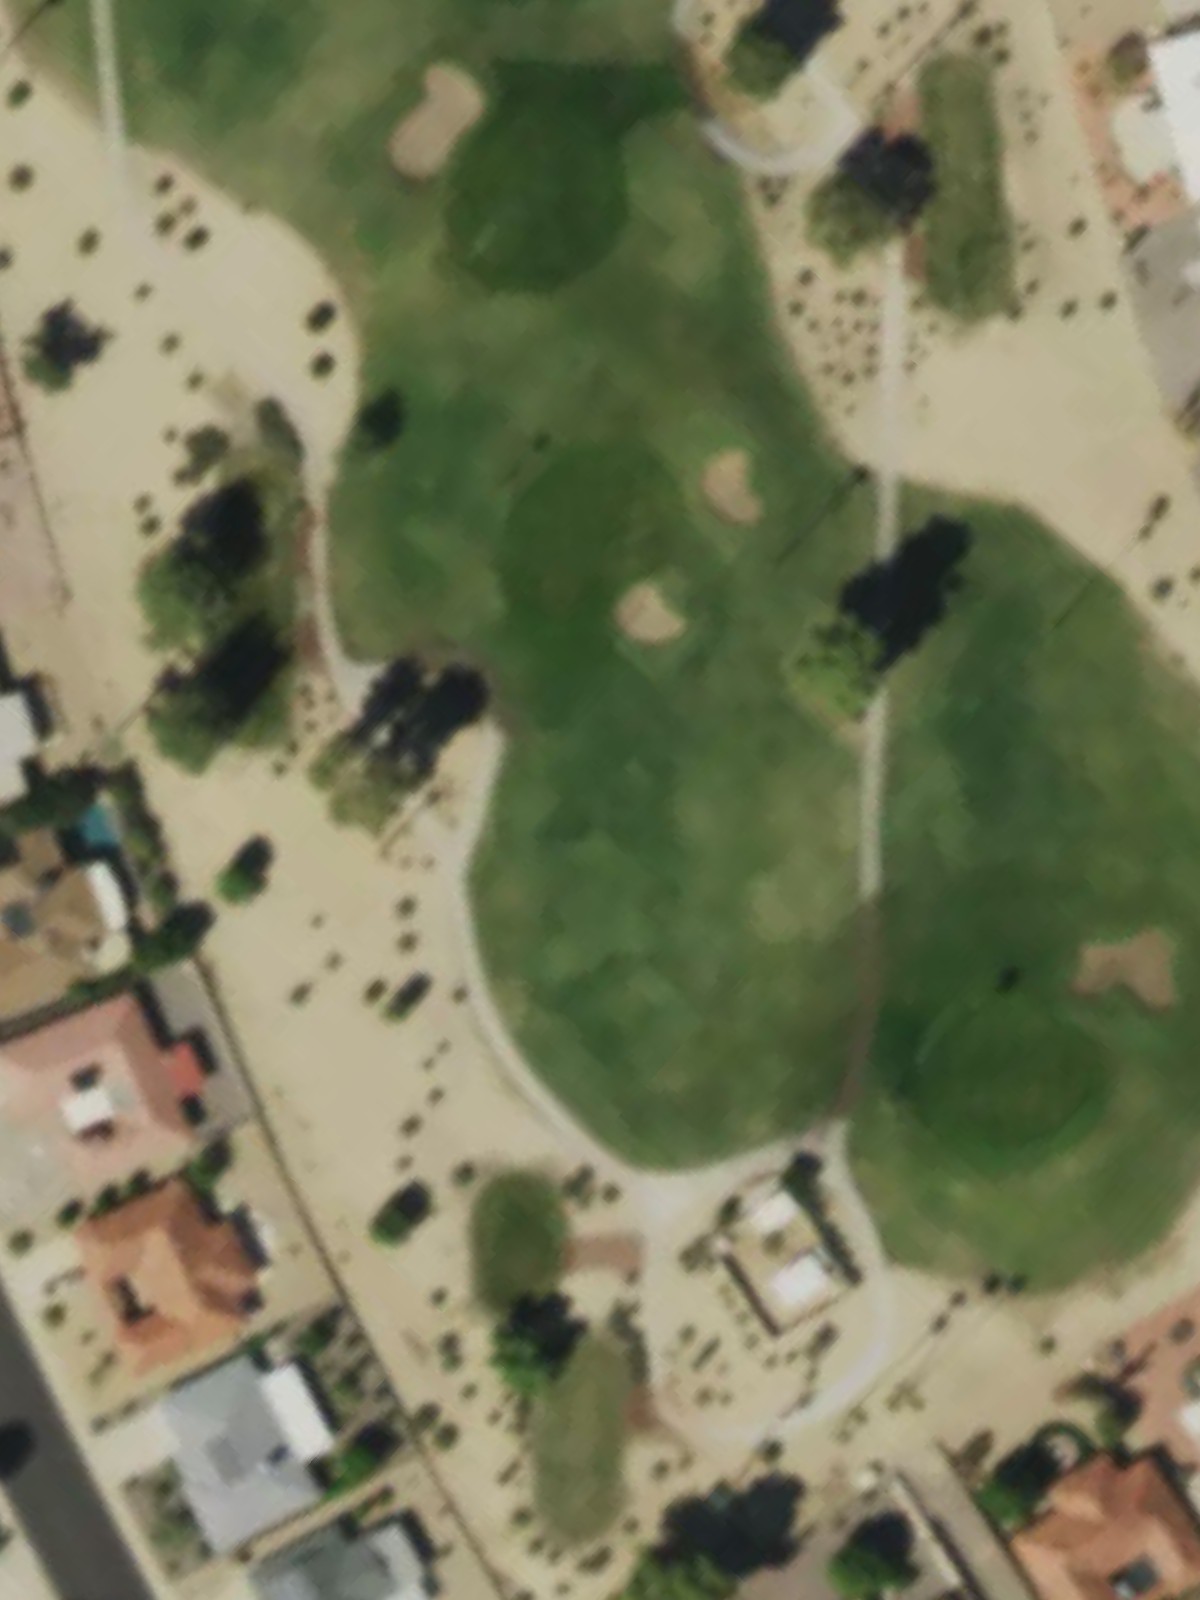
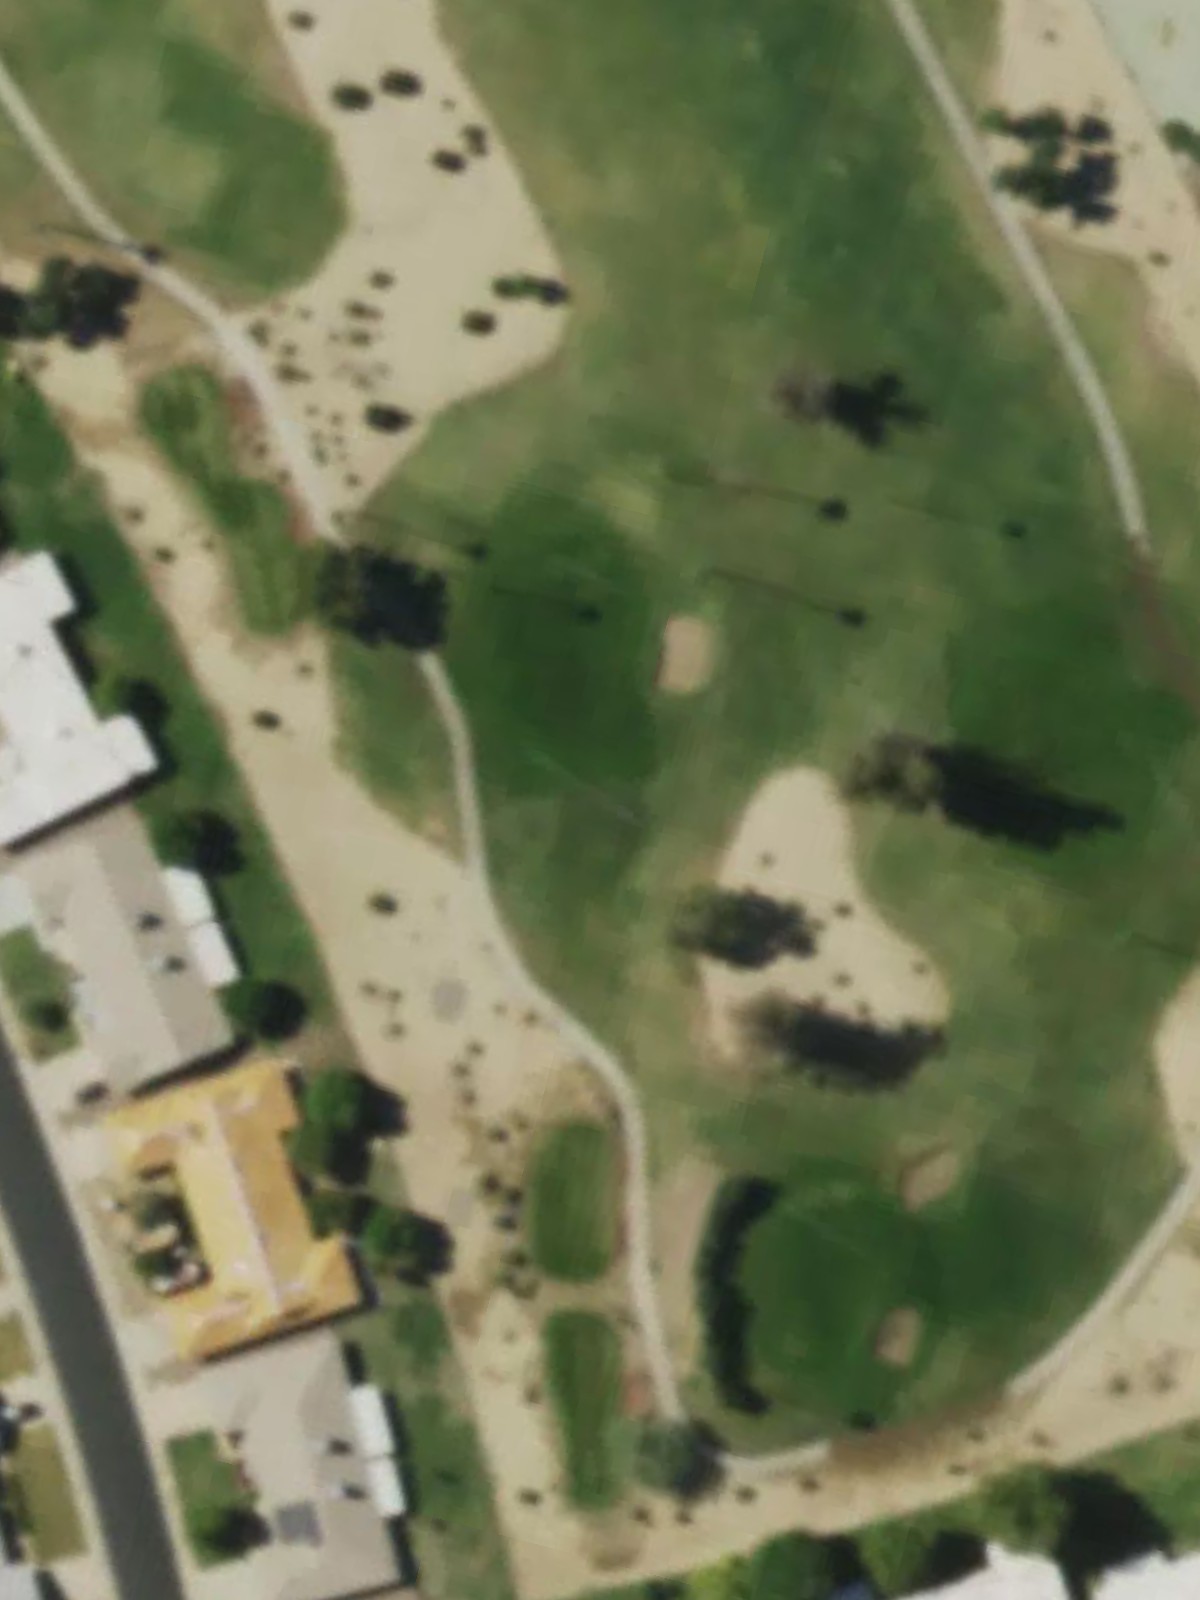
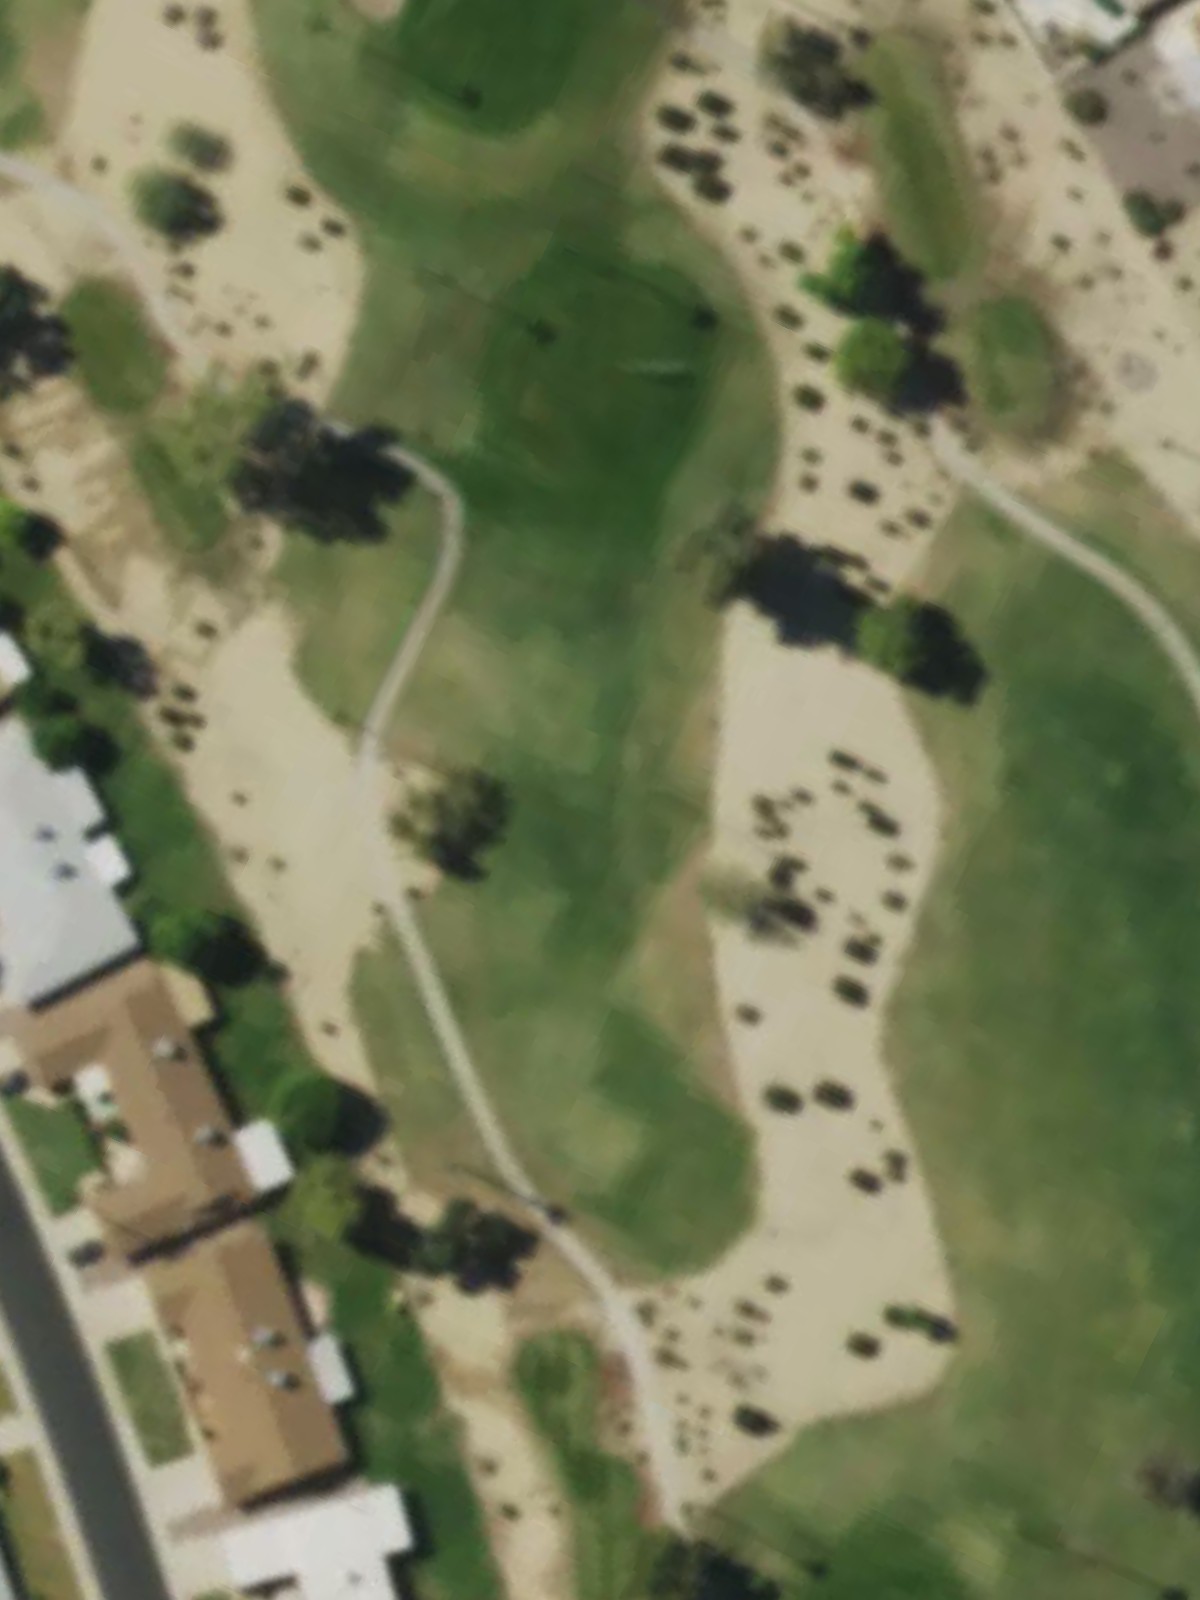
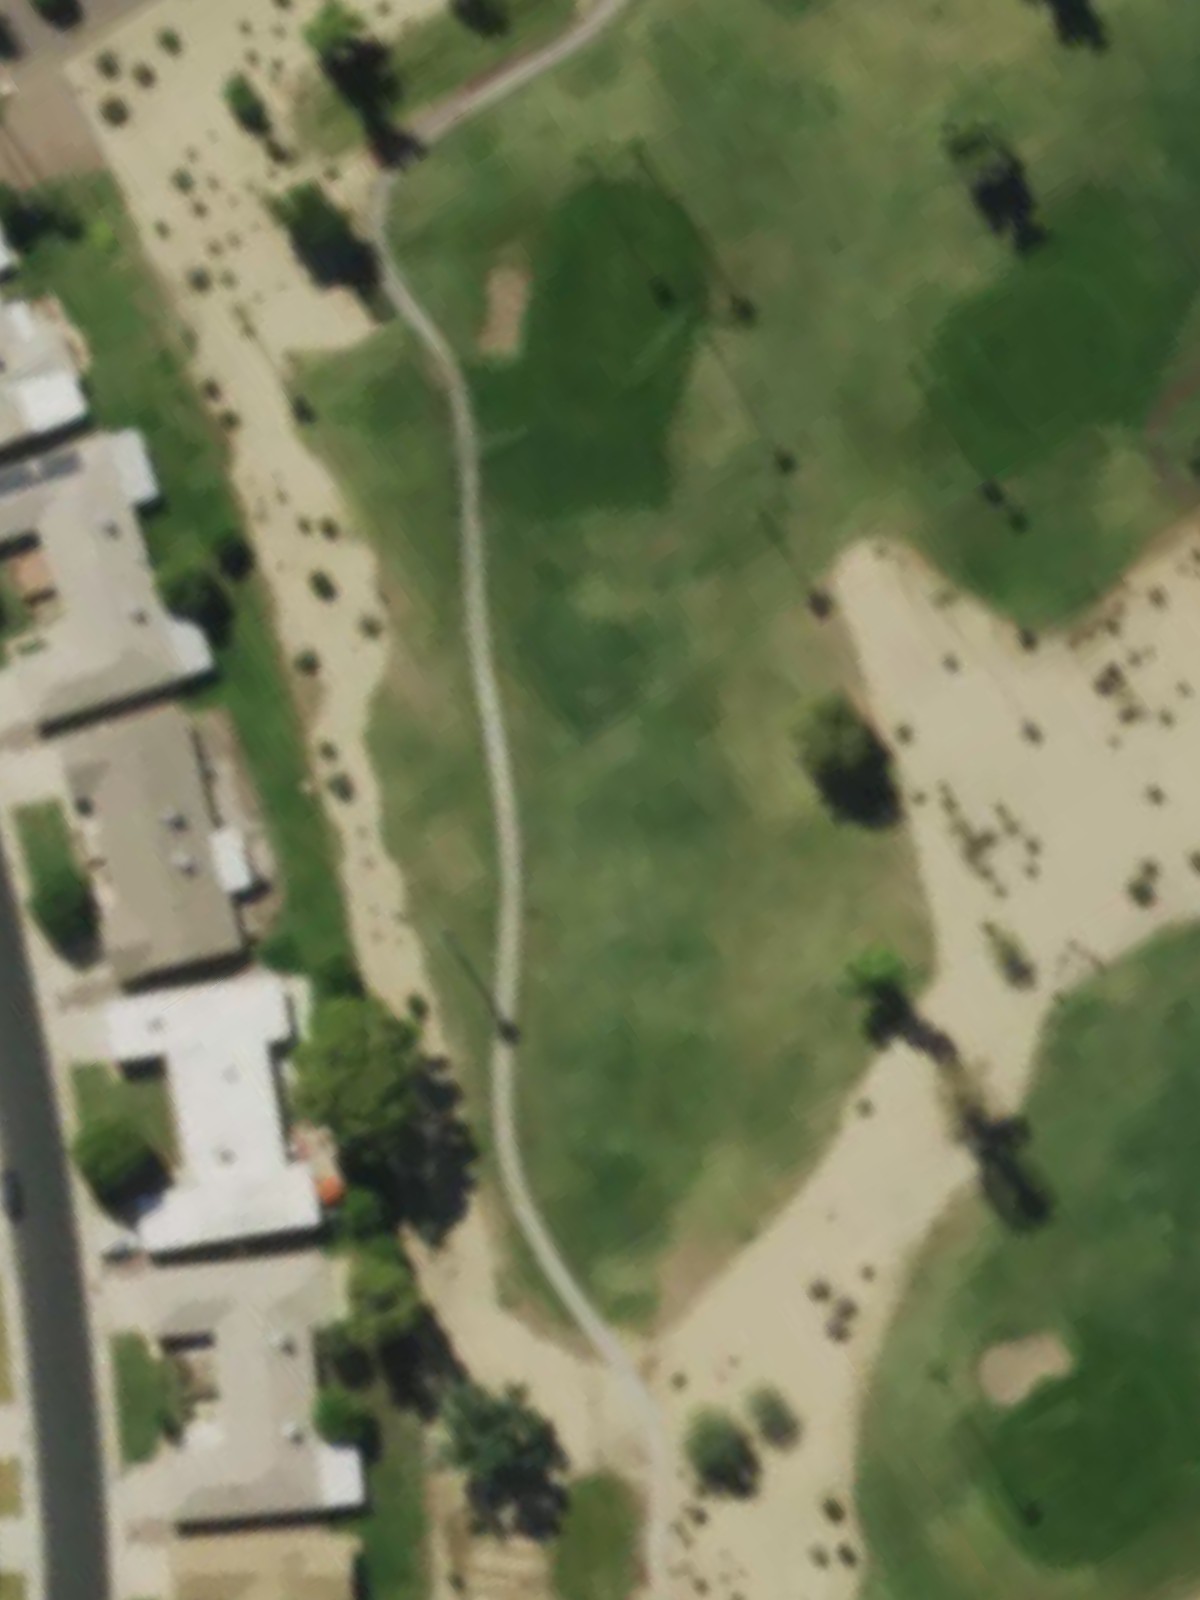
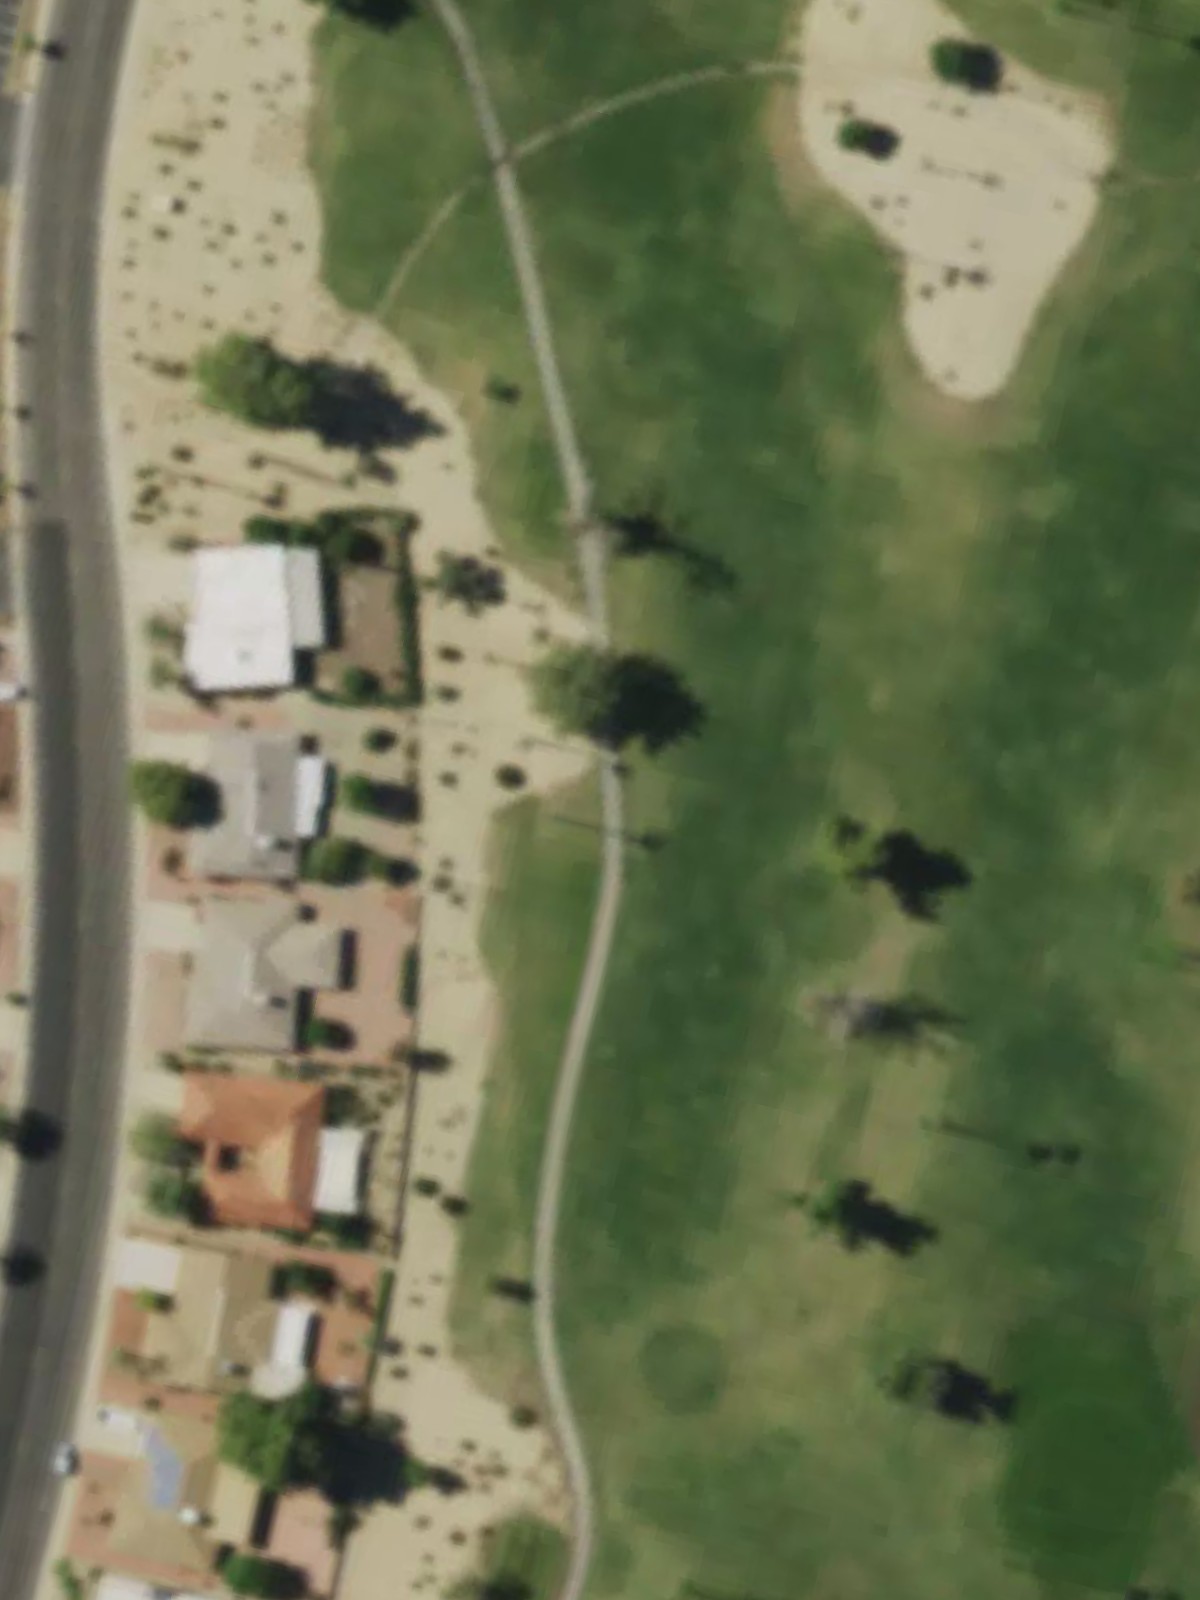
Sun City North Gc is an 18-hole golf course in Sun City, AZ with a par of 72. It offers 4 tee sets: blue (6,423 yards, slope 115, rating 69.7), white (6,159 yards, slope 112, rating 68.4), red (5,571 yards, slope 106, rating 65.8), yellow (4,962 yards, slope 99, rating 62.5). The hardest hole is #2, a par 4 playing 375 yards from the first tee.
Sun City North Gc
Sun City, AZ
Get PDF Yardage Book
We'll email you the PDF link. No spam, ever.
Create Your Game Plan
Pick your tees, enter your bag, and get a personalized shot-by-shot strategy for every hole.
A straightforward opening par 4 with a wide fairway that gradually narrows as it approaches the green. Bunkers guard both sides of the putting surface, requiring accuracy on the approach shot to avoid sand.
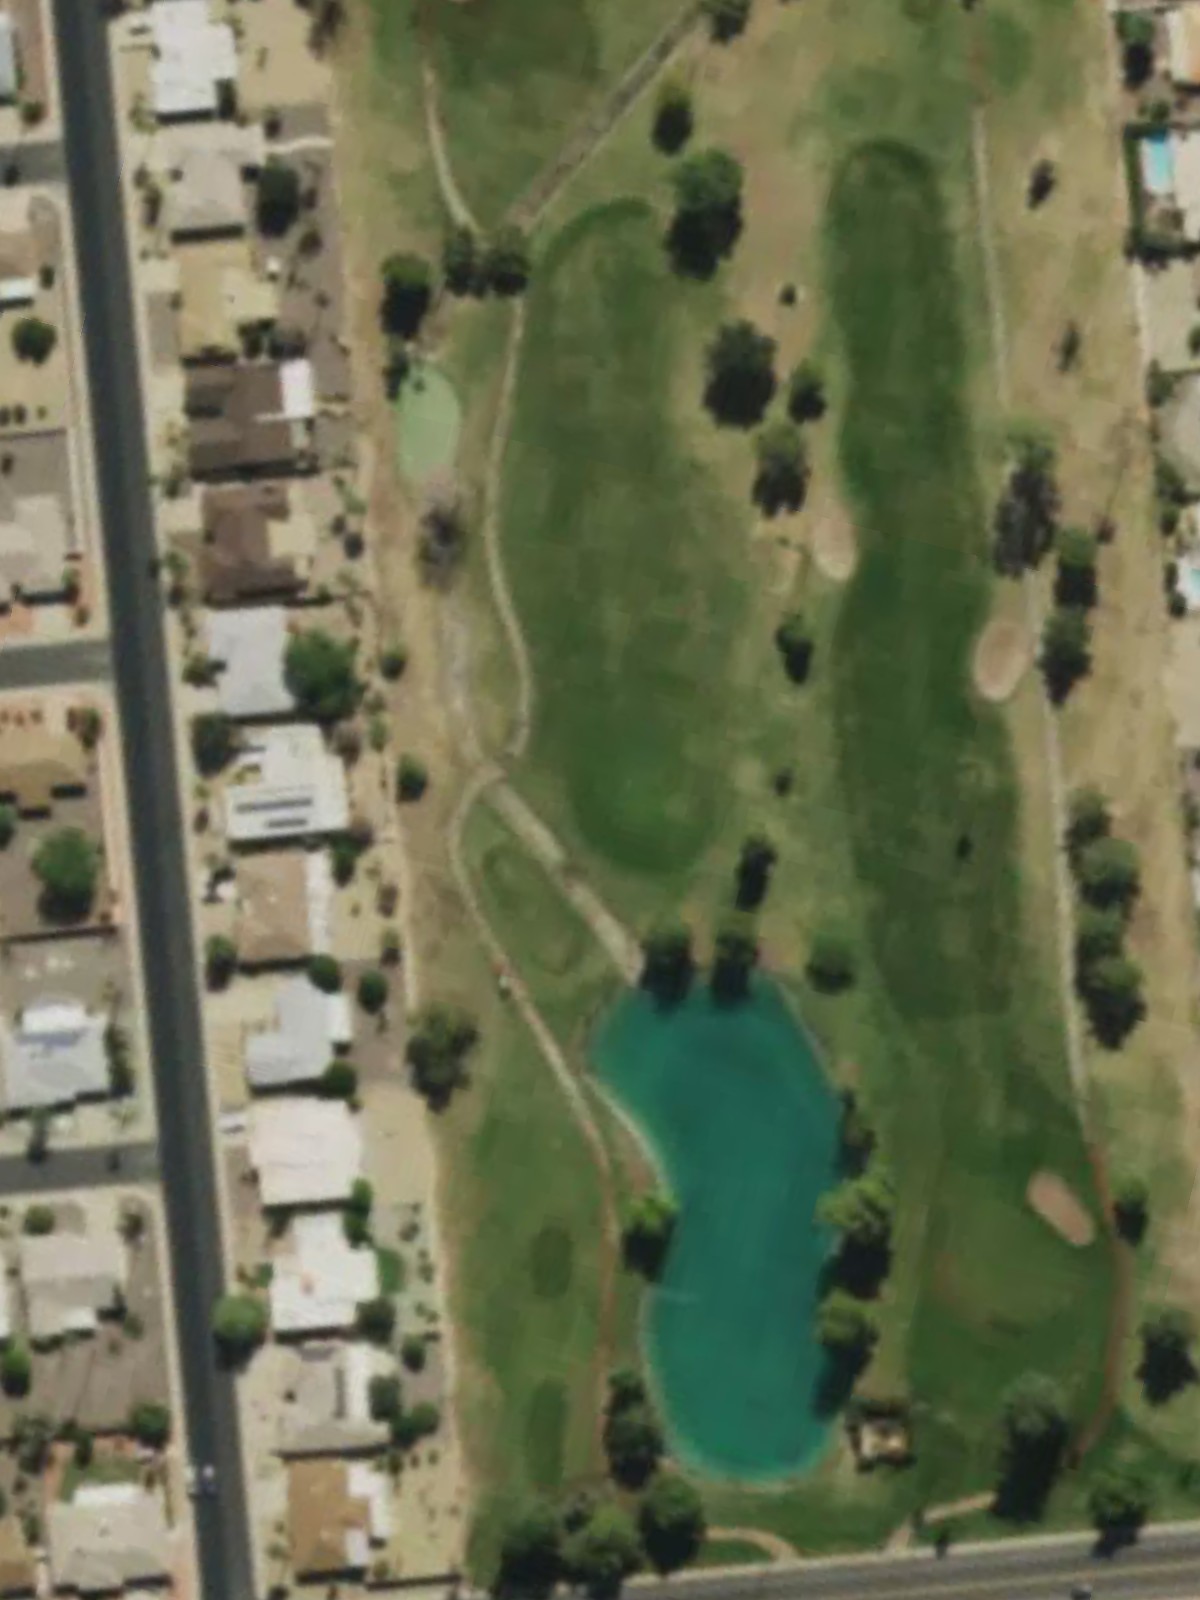
The course's toughest hole, this lengthy par 4 demands a well-struck drive to set up a manageable approach. Water hazards frame the left side of the fairway, and the green is well-bunkered, making precision essential.
A short par 3 with a modest green protected by minimal hazards. The hole's brevity makes it inviting, though wind can affect shot-making on this exposed target.
A par 4 with a relatively open fairway and a straightforward approach to the green. Bunkers frame the green, requiring the approach shot to find the center of the putting surface.

A reachable par 5 that plays shorter than its yardage suggests, offering birdie opportunities for longer hitters. Water or out-of-bounds left requires respect off the tee, while the green is accessible in two shots.
This par 5 features a dogleg configuration that rewards a well-placed drive into a narrowing fairway. Strategic bunkering around the green protects against an overly aggressive third shot.
A mid-length par 3 with a significant elevation change and challenging pin positions. The green is well-bunkered, and the slope of the putting surface makes distance control critical.
The second-most difficult hole, this par 4 features a tight fairway with hazards demanding accuracy off the tee. The approach shot into a well-guarded green will test even accomplished golfers.
A moderate par 4 with a relatively open fairway that allows room for error off the tee. Greenside bunkers protect the putting surface, requiring a precise approach to secure par.
A par 4 with a fairway that plays straight and true to a green protected by strategic bunkering. Avoiding the sand is key to posting a good score on this solid mid-range hole.
This attractive par 4 features a challenging dogleg or bend in the routing that demands a well-positioned drive. The green sits in a bunkered complex that makes the approach shot a defining moment.

A short par 3 with a small, protected green that requires precision over distance. Bunkers surround the target, and the putting surface's firmness can add to the difficulty of stopping near the pin.
The second-most difficult hole overall, this lengthy par 5 demands two strong shots to position for a birdie attempt. Hazards left and strategic bunkering make this a hole that separates the field.
A graceful par 3 of moderate length with a well-designed green complex surrounded by protective bunkering. The undulating green and bunker placement reward careful shot selection.
This accessible par 5 provides genuine scoring opportunities with a fairway that welcomes bold play. Strategic bunkering near the green requires thought on the third shot to avoid a difficult recovery.
A short par 4 that plays deceptively simple due to its modest length; accuracy matters more than distance. Bunkers around the green punish wayward approaches, making this a potential scoring hole if well-executed.
The easiest hole on the course, this brief par 3 is forgiving in length but protected by surrounding bunkers that challenge imprecise shots. A confident, well-struck tee shot is all that's needed here.
The finishing par 5 provides a dramatic conclusion with a lengthy test demanding two strong strikes to the green. Strategic hazards and bunkering throughout reward good execution and punish mistakes on this memorable closer.
Scorecard
| Hole | 1 | 2 | 3 | 4 | 5 | 6 | 7 | 8 | 9 | Out | 10 | 11 | 12 | 13 | 14 | 15 | 16 | 17 | 18 | In | Tot |
|---|---|---|---|---|---|---|---|---|---|---|---|---|---|---|---|---|---|---|---|---|---|
| Par | 4 | 4 | 3 | 4 | 5 | 5 | 3 | 4 | 4 | 36 | 4 | 4 | 3 | 5 | 3 | 5 | 4 | 3 | 5 | 36 | 72 |
| HCP | 11 | 1 | 17 | 15 | 5 | 7 | 9 | 3 | 13 | 12 | 8 | 16 | 2 | 10 | 6 | 14 | 18 | 4 | |||
| blue | 350 | 435 | 140 | 327 | 506 | 476 | 210 | 395 | 372 | 3211 | 375 | 397 | 165 | 530 | 200 | 470 | 315 | 180 | 580 | 3212 | 6423 |
| white | 339 | 415 | 125 | 317 | 490 | 472 | 200 | 386 | 360 | 3104 | 361 | 375 | 150 | 515 | 185 | 460 | 306 | 163 | 540 | 3055 | 6159 |
| red | 320 | 375 | 110 | 302 | 484 | 457 | 175 | 341 | 313 | 2877 | 321 | 330 | 125 | 470 | 160 | 418 | 295 | 140 | 435 | 2694 | 5571 |
| yellow | 310 | 325 | 100 | 292 | 427 | 386 | 150 | 300 | 288 | 2578 | 306 | 285 | 115 | 400 | 130 | 363 | 275 | 120 | 390 | 2384 | 4962 |