Sun City Hilton Head is an 18-hole golf course in Bluffton, SC with a par of 72. It offers 10 tee sets: championship red (6,796 yards, slope 134, rating 72.5), tournament gold (6,353 yards, slope 128, rating 70.4), gold/blue (6,248 yards, slope 128, rating 69.7), member blue (5,842 yards, slope 120, rating 68), blue/white (5,699 yards, slope 117, rating 67.1), club white (5,239 yards, slope 111, rating 65), white/black (4,944 yards, slope 108, rating 63.6), forward black (4,687 yards, slope 106, rating 62.6), black/orange (4,146 yards, slope 101, rating 60.8), front orange (4,014 yards, slope 100, rating 60.3). The hardest hole is #7, a par 4 playing 382 yards from the first tee.
Sun City Hilton Head
Bluffton, SC
Get PDF Yardage Book
We'll email you the PDF link. No spam, ever.
Create Your Game Plan
Pick your tees, enter your bag, and get a personalized shot-by-shot strategy for every hole.
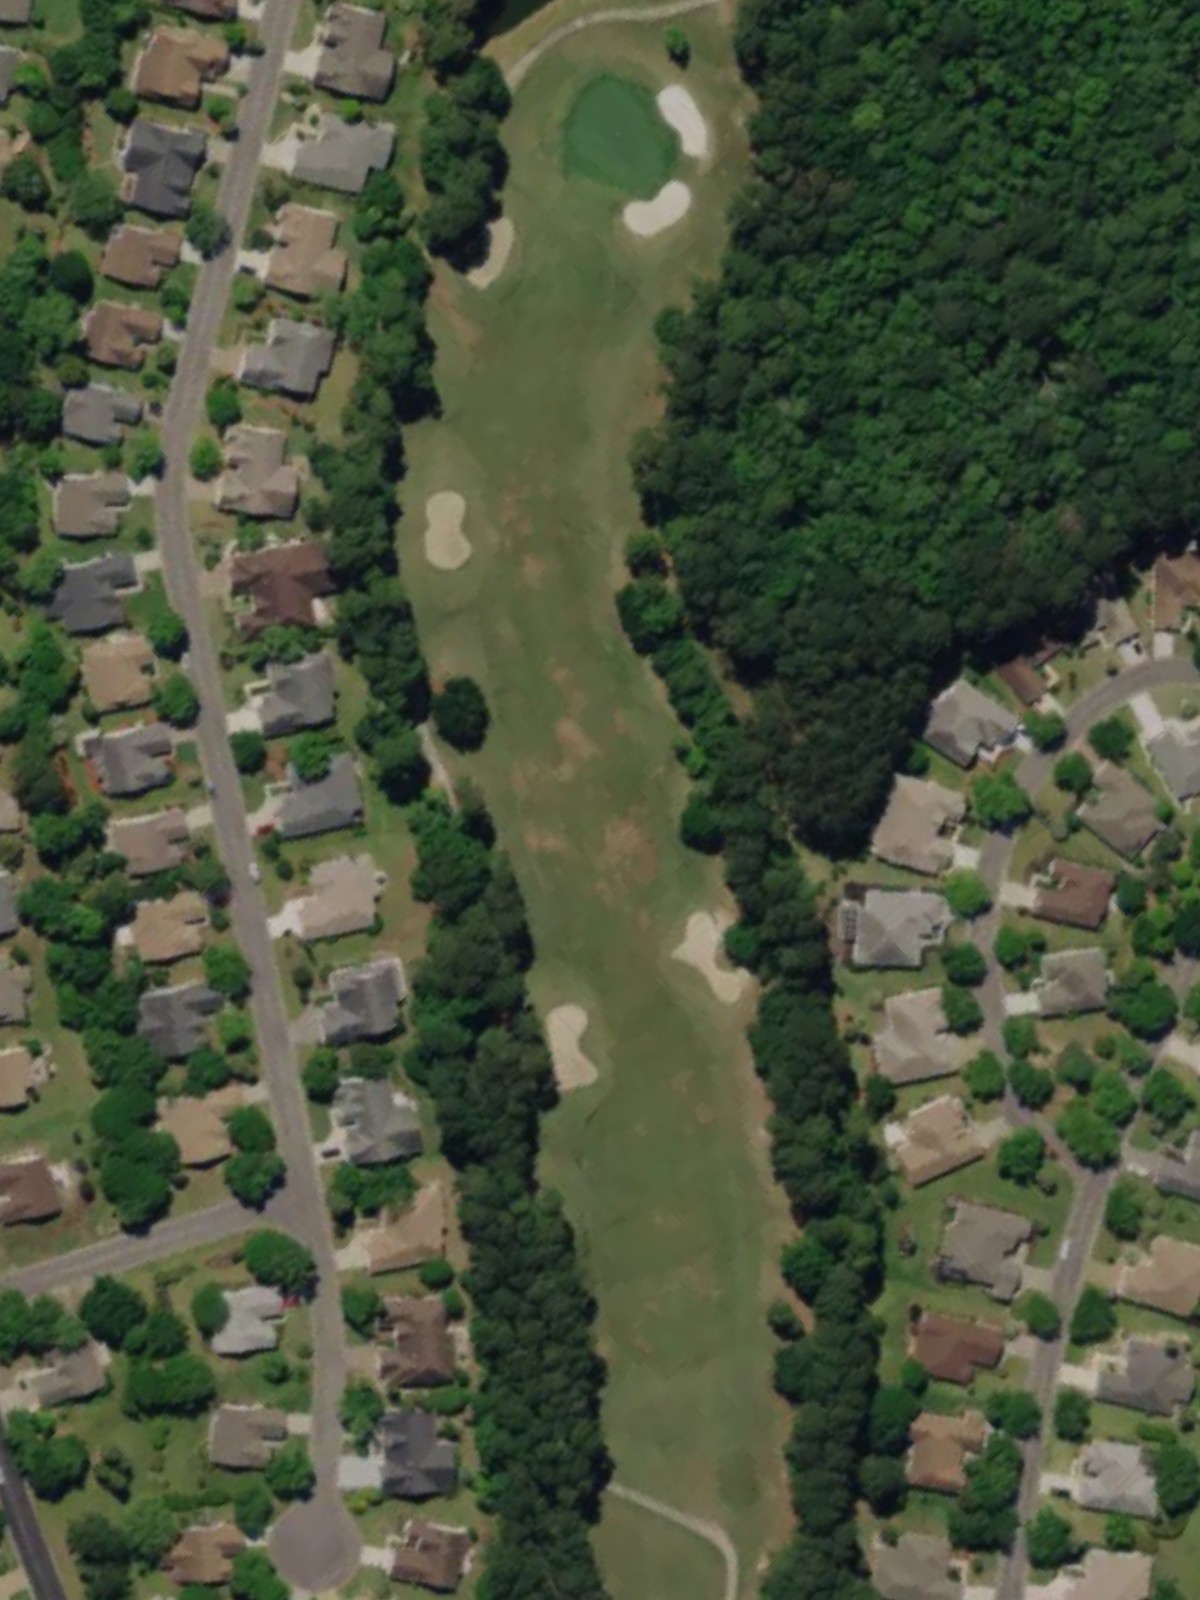
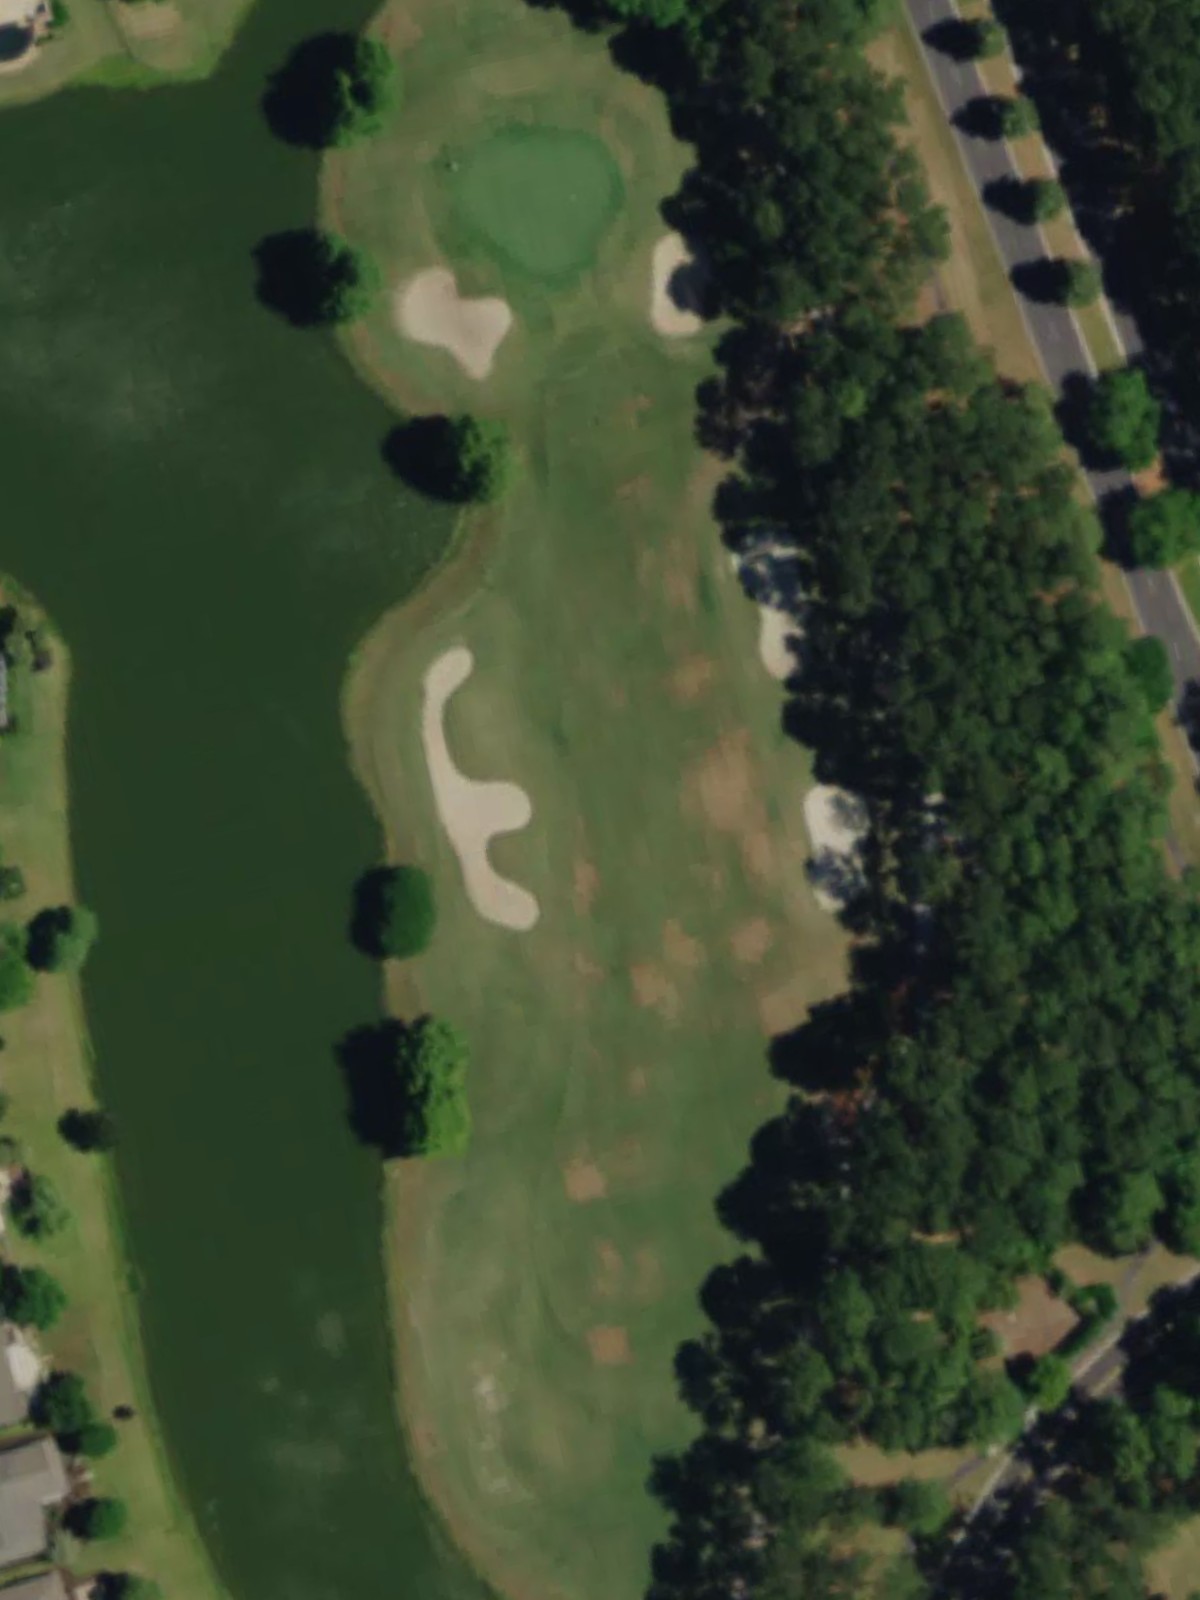
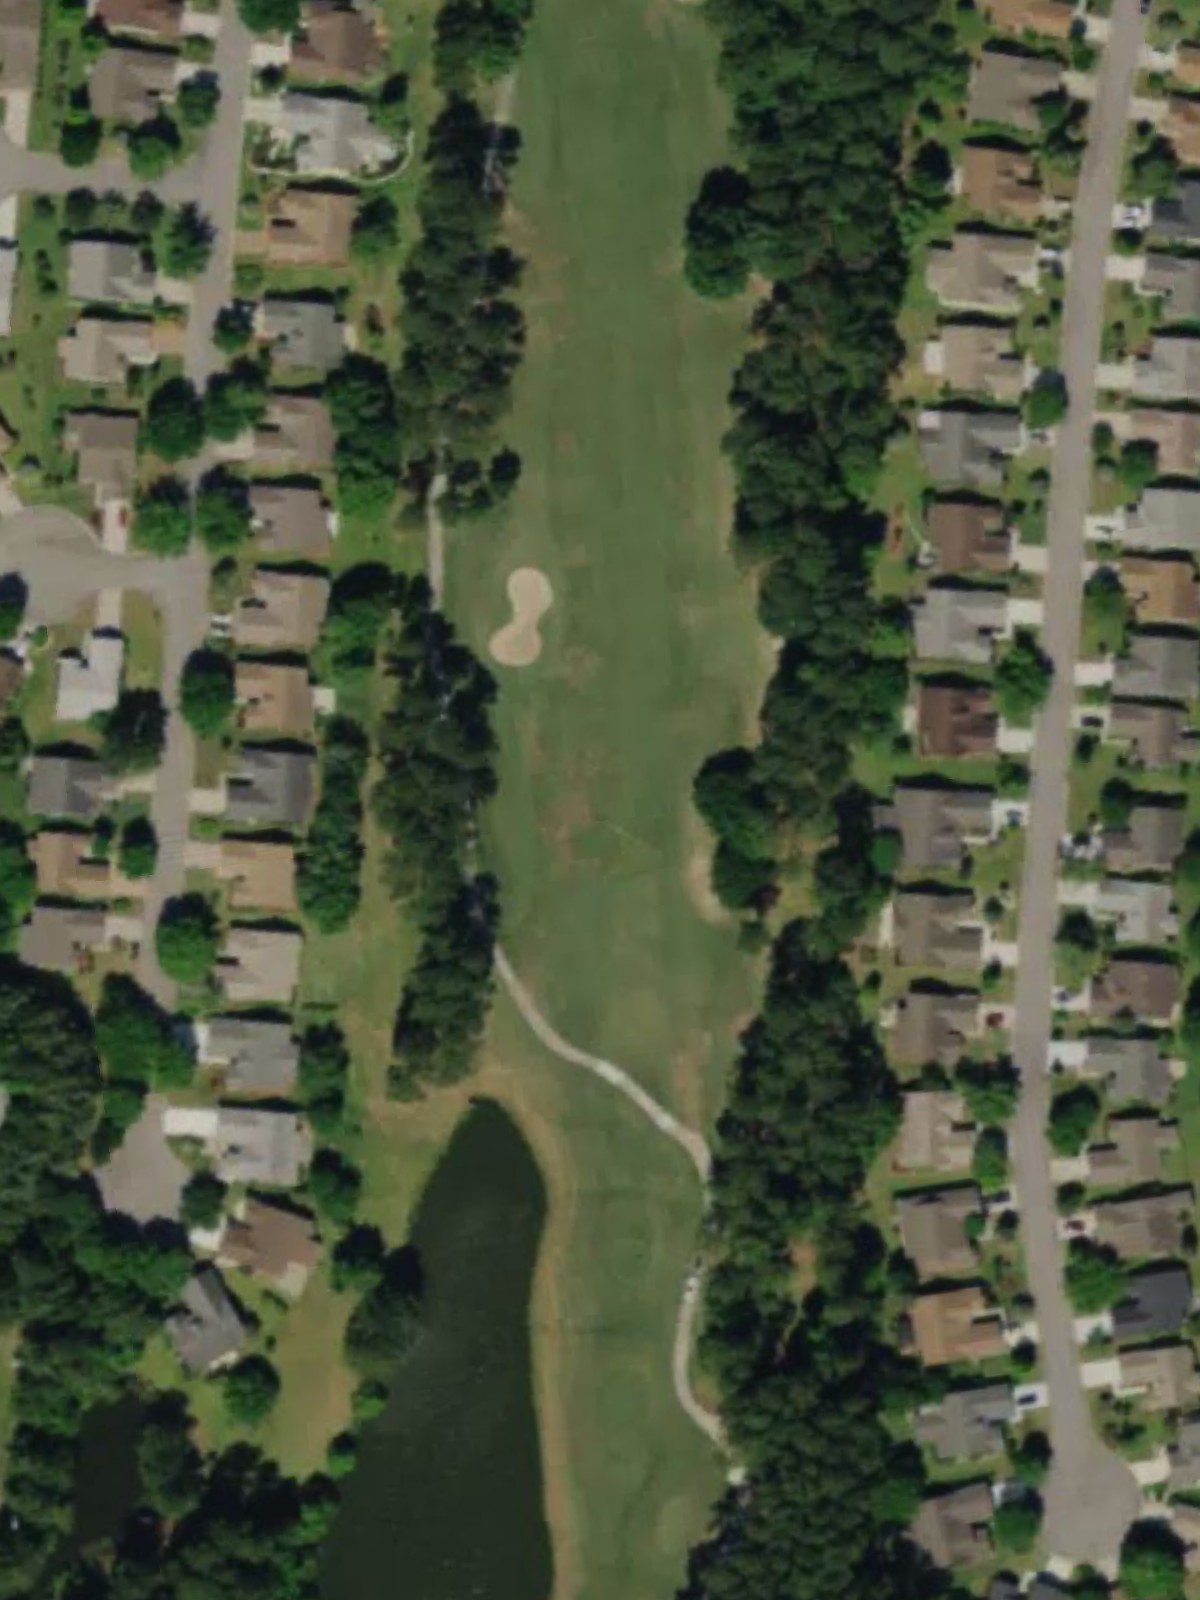
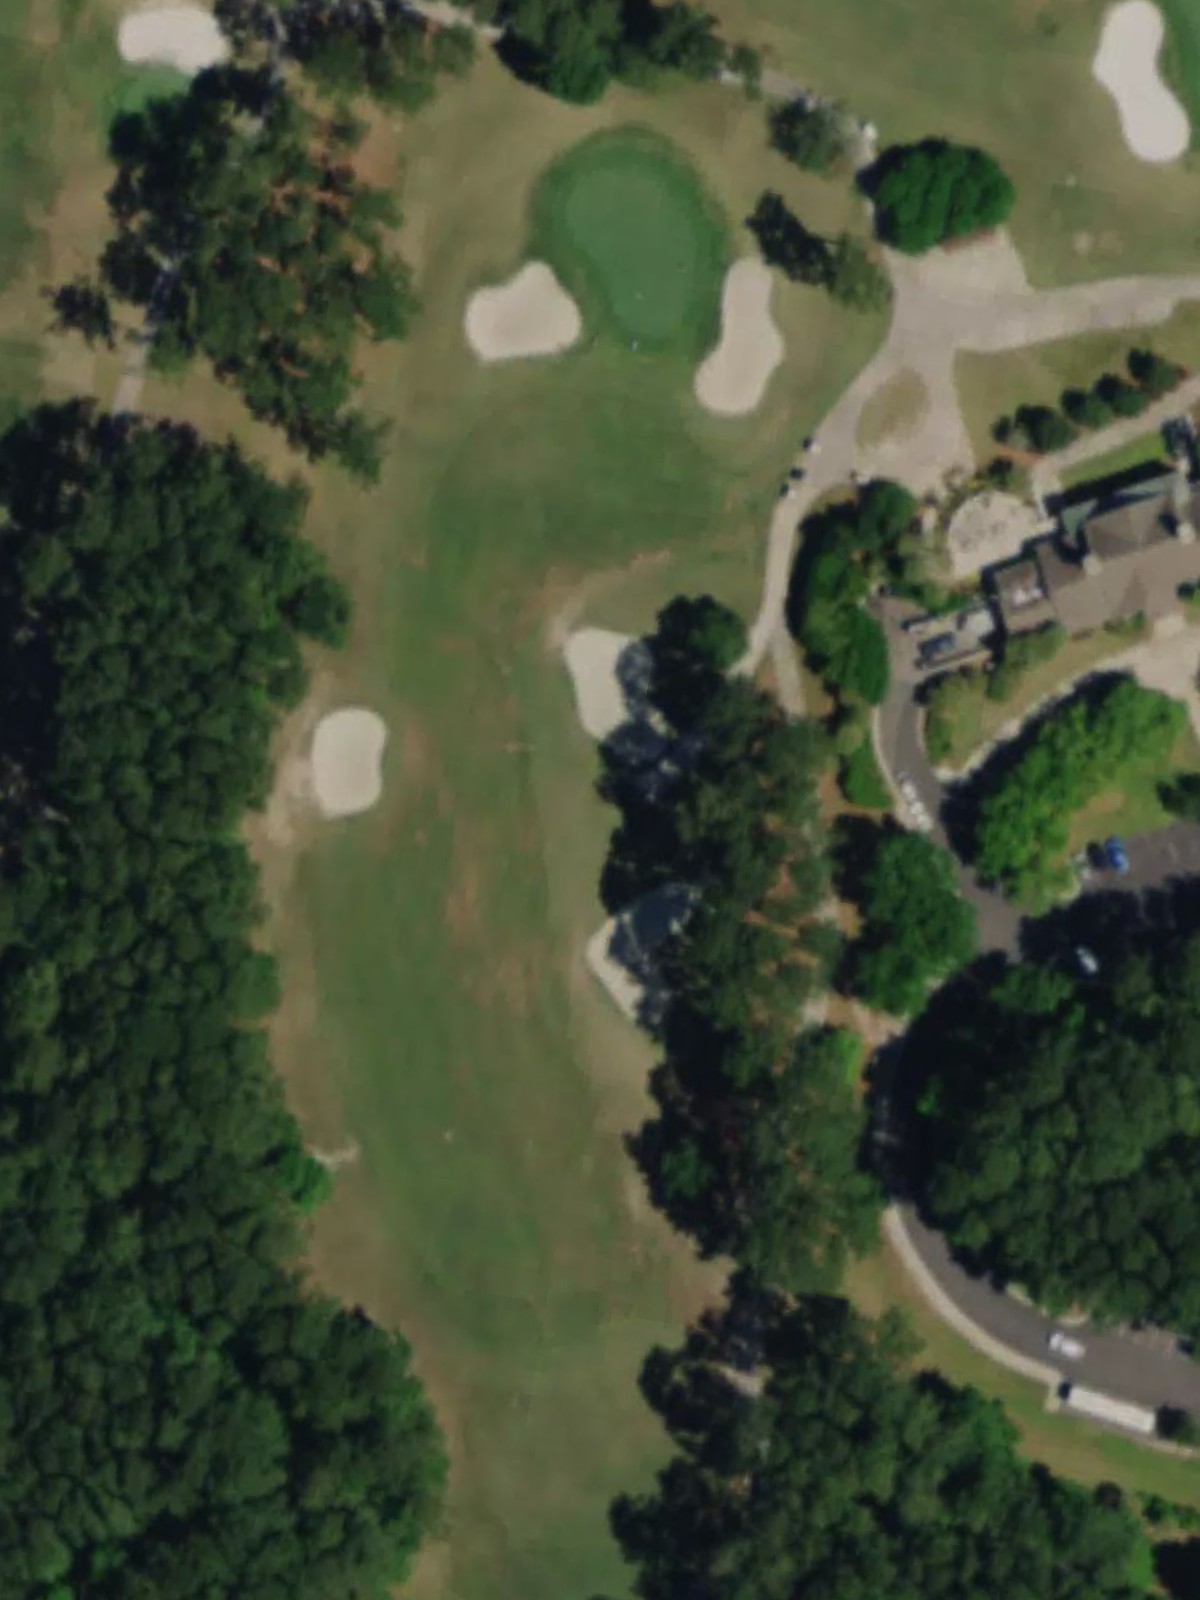
A straightforward opening par 4 with a fairway that opens invitingly before narrowing toward the green. Bunkers protect the right side of the putting surface, rewarding accurate approach play.
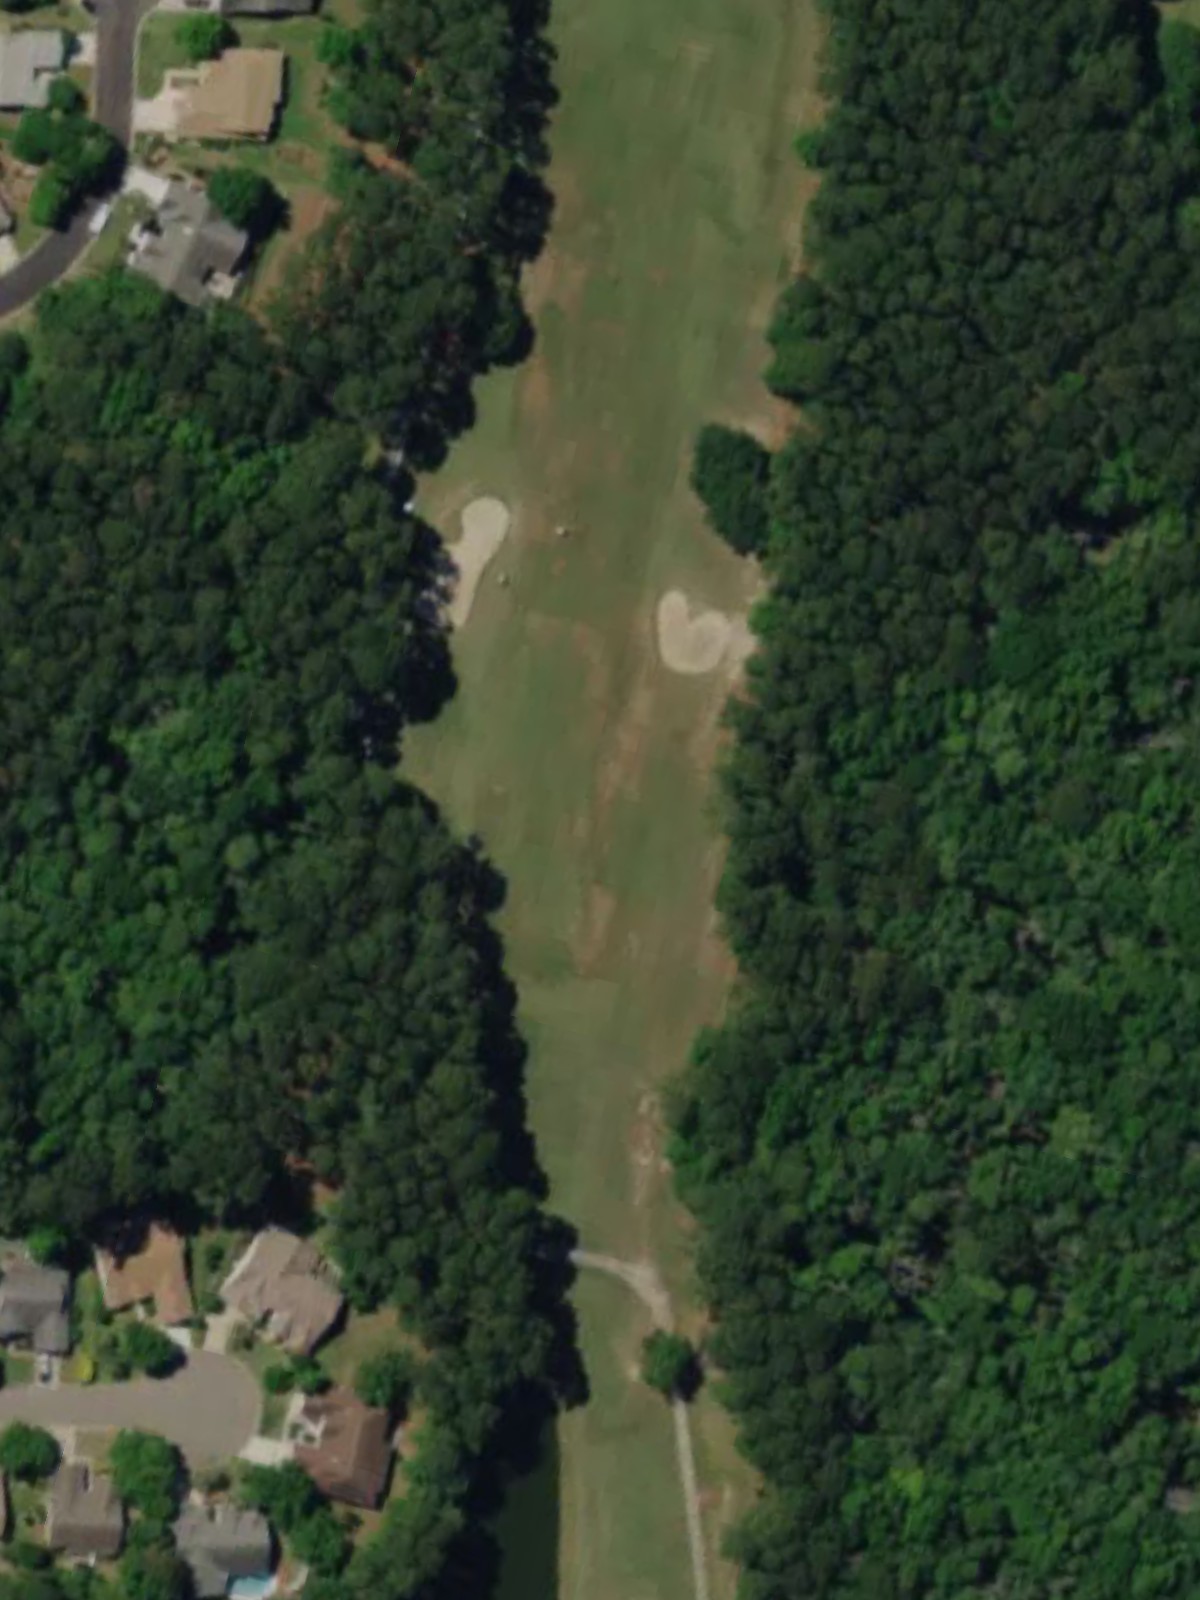
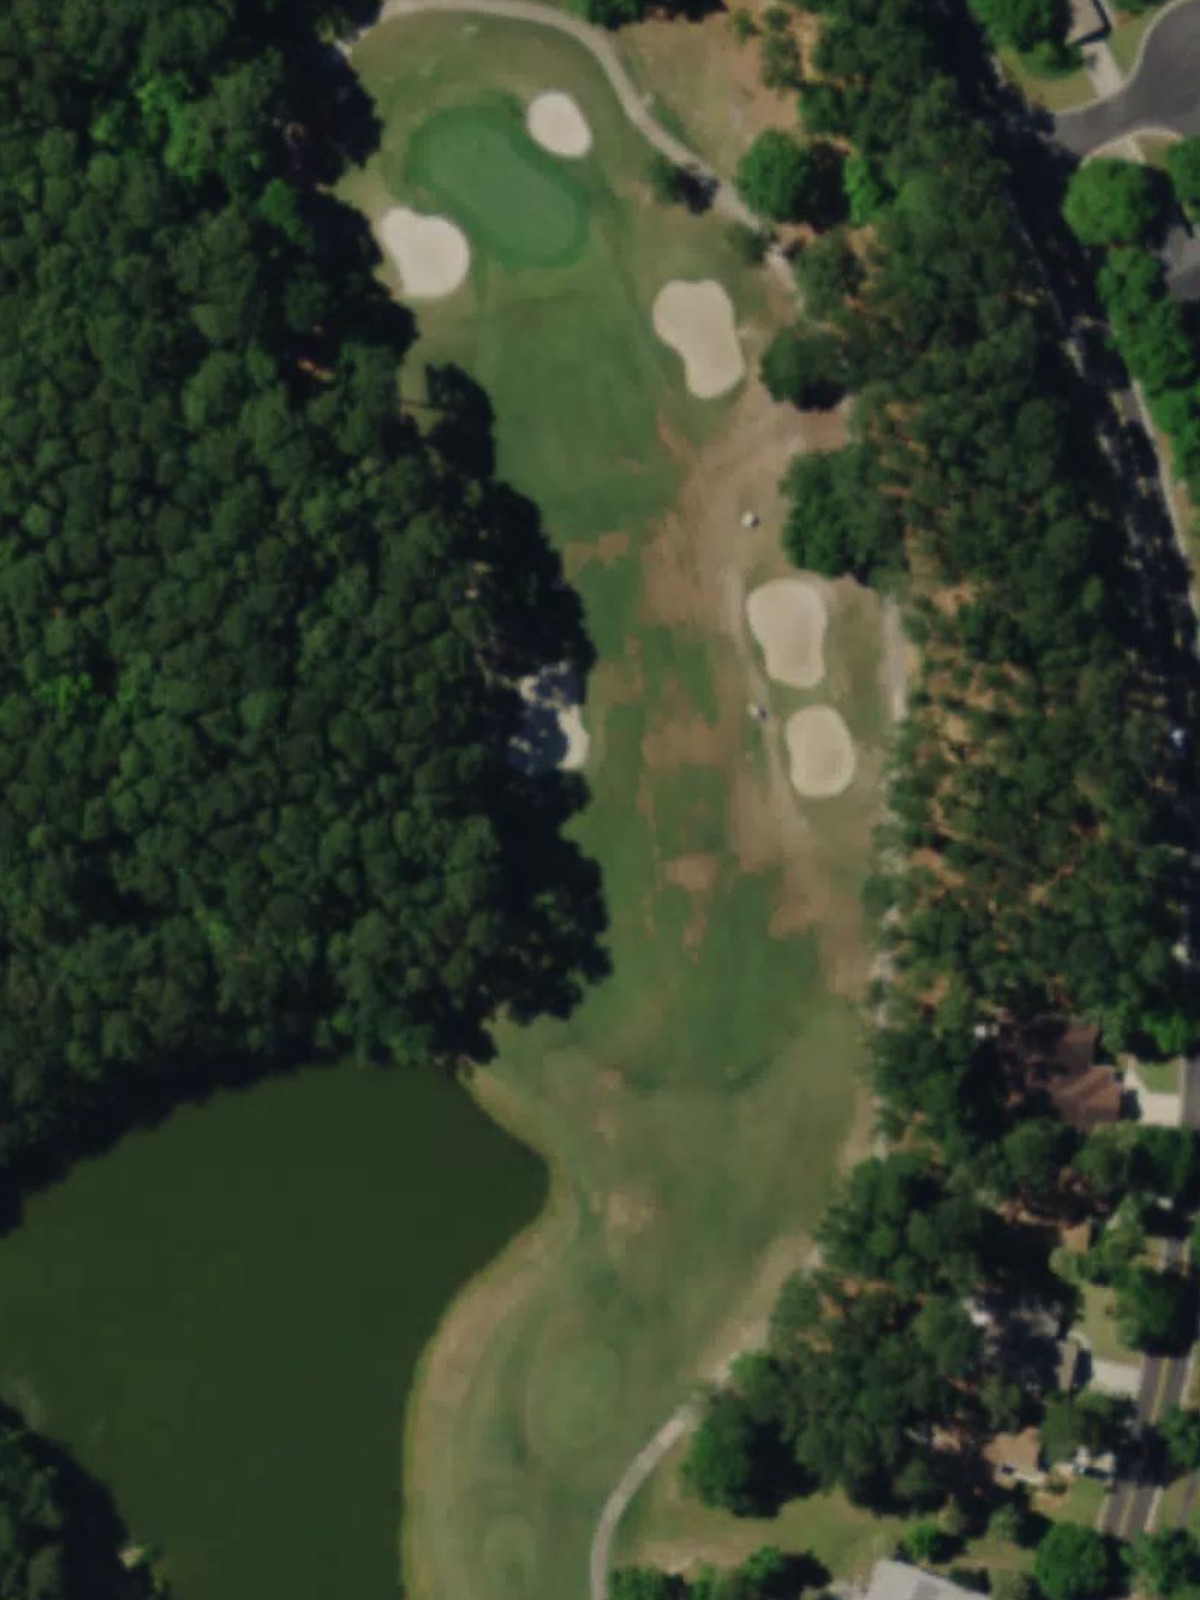
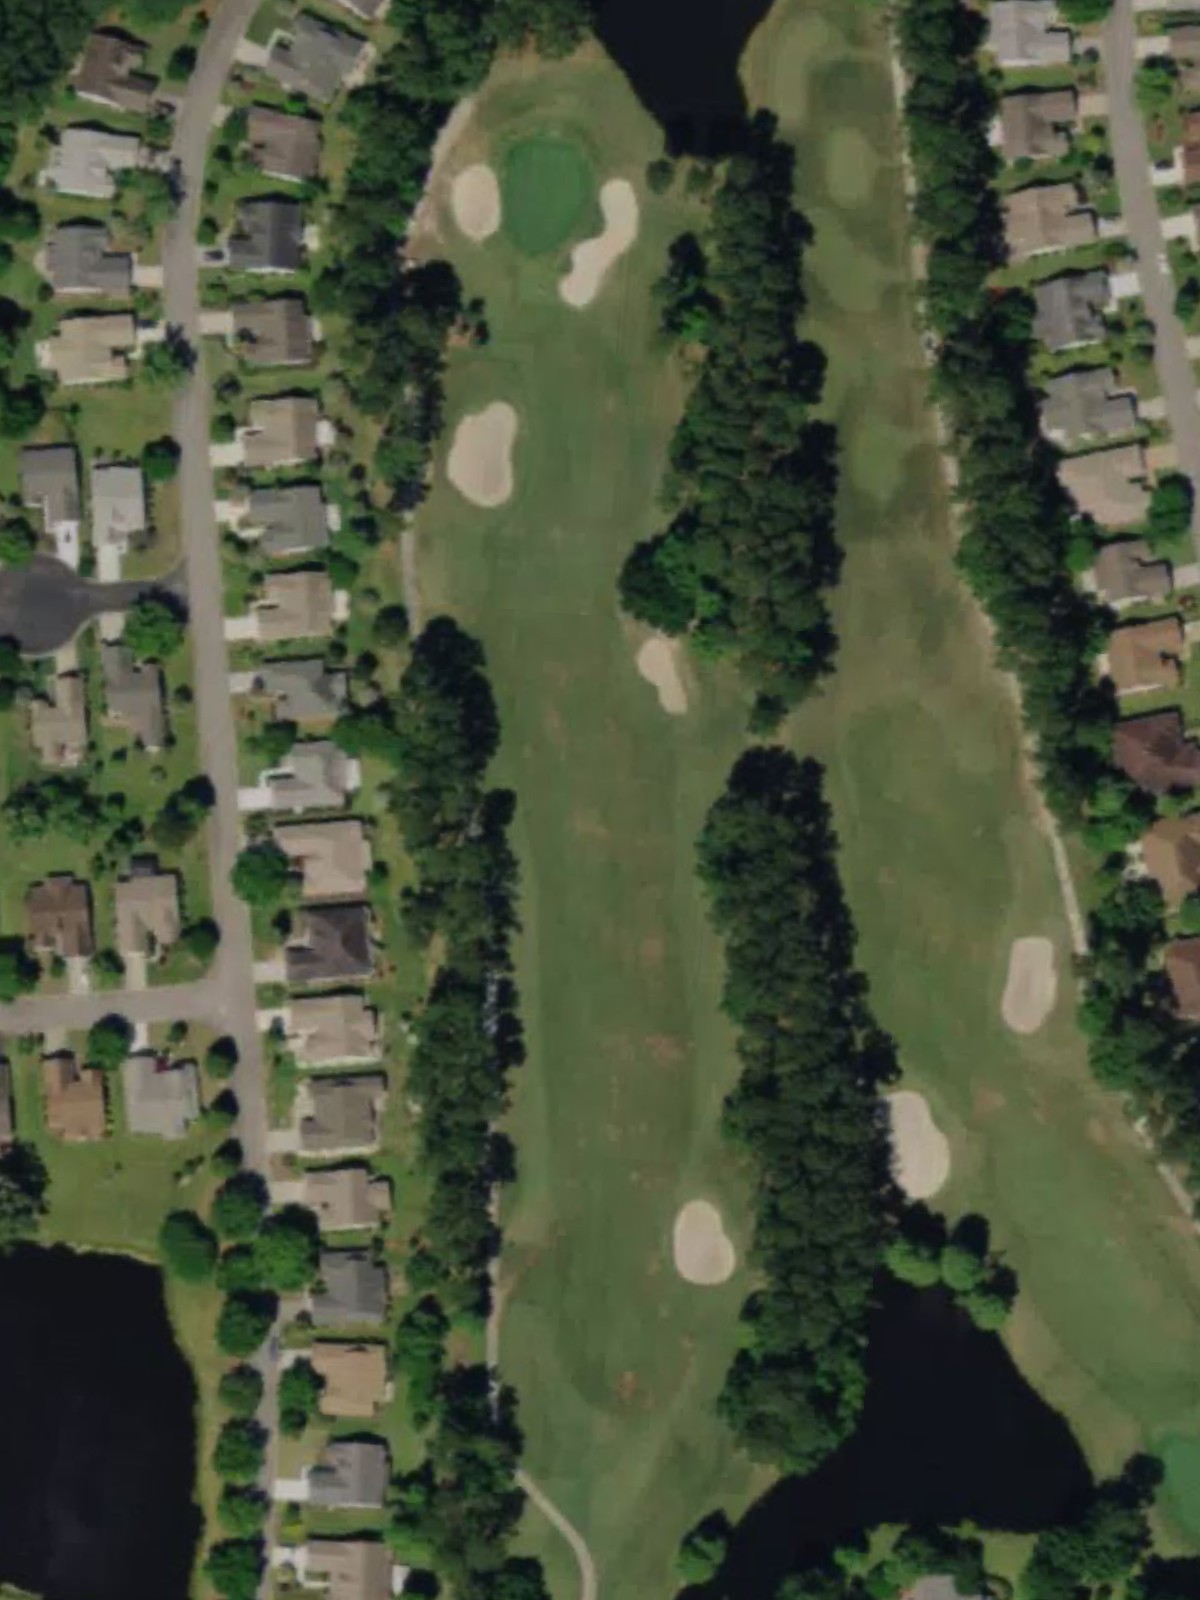
The course's second-hardest hole, this par 4 demands precision with water guarding the left side of the fairway and green. The narrow landing area requires a well-placed drive to set up a manageable approach.

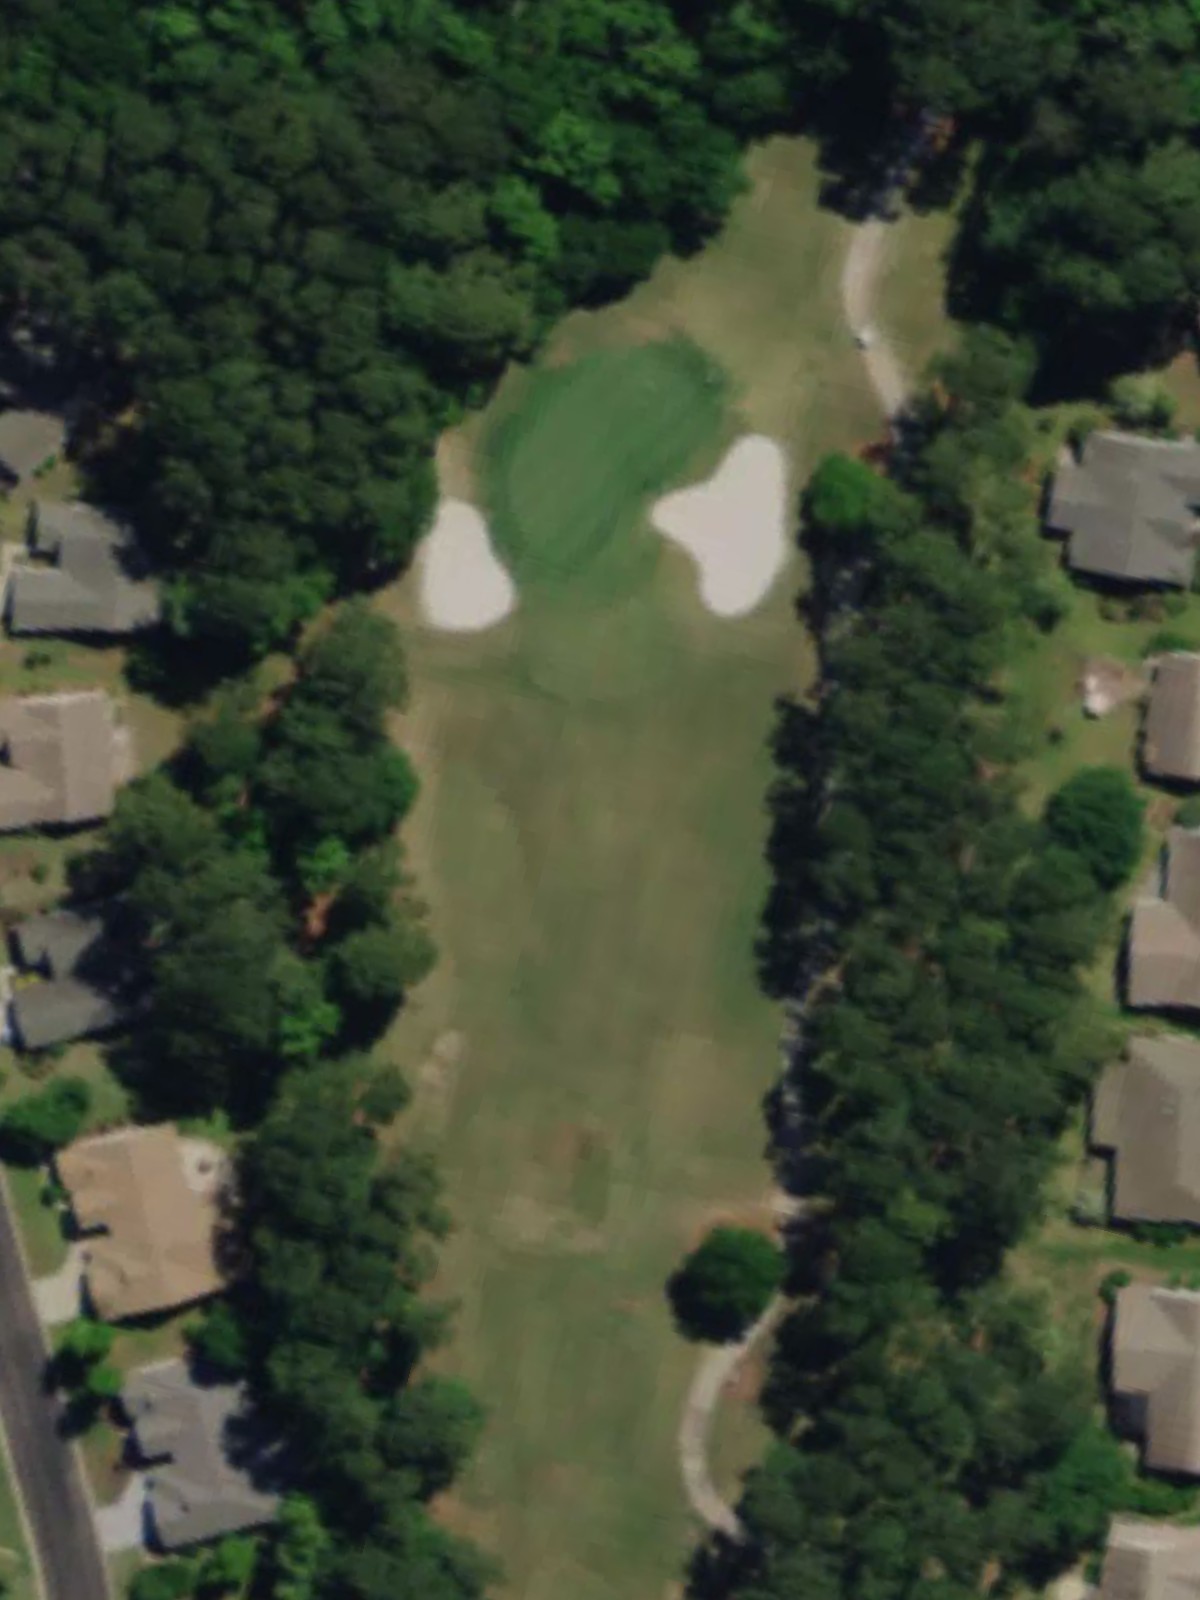
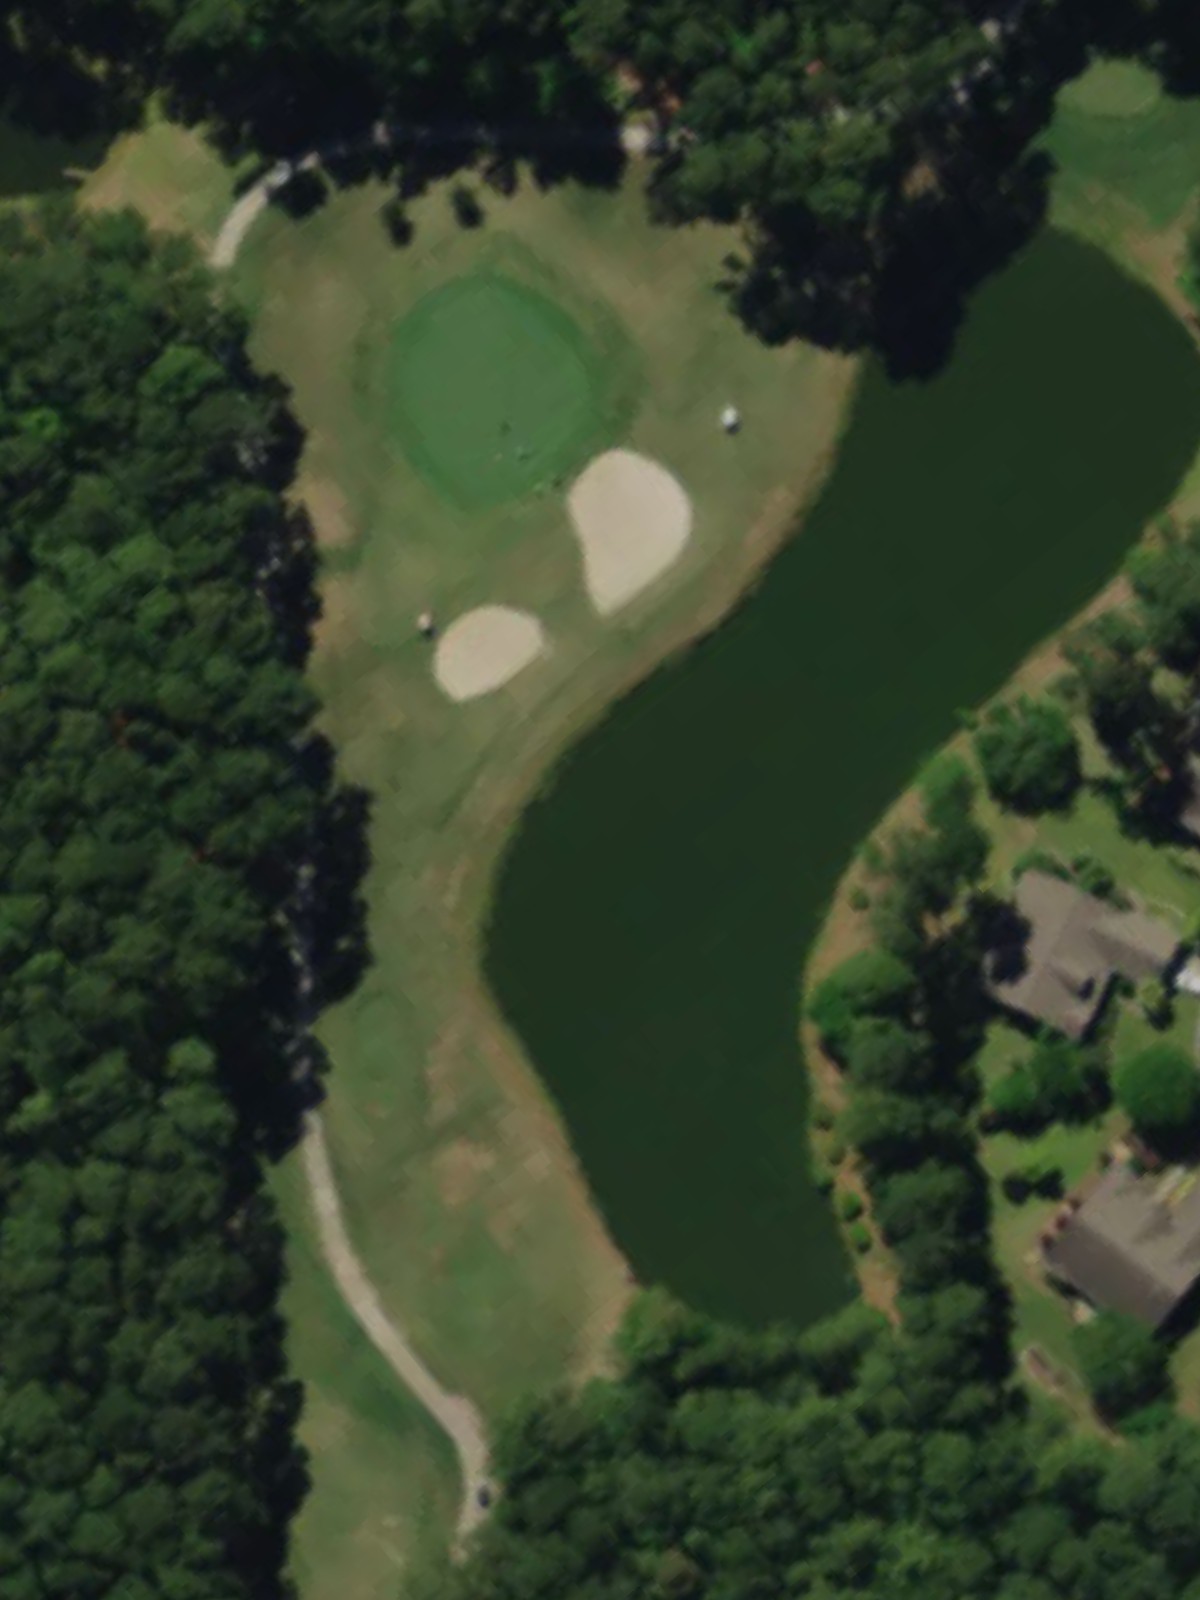
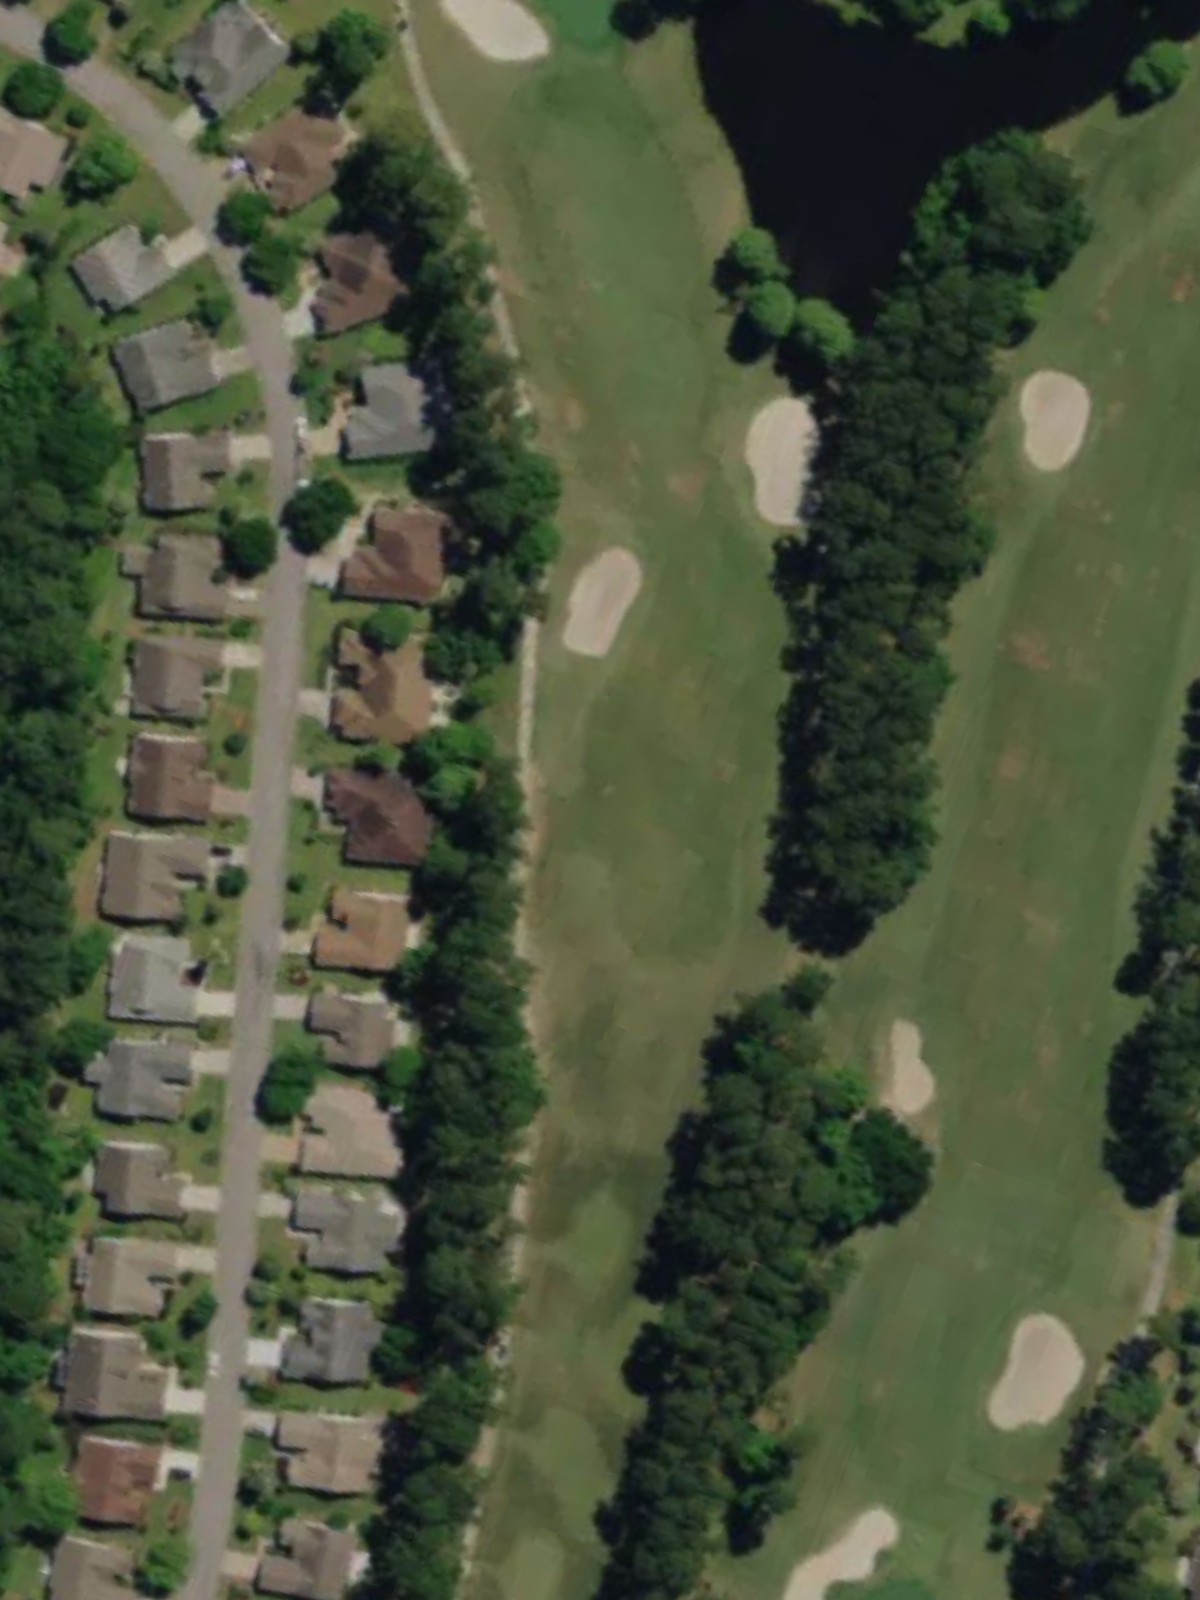
A short par 3 with a relatively straightforward green complex. The hole plays downhill with minimal hazards, making it an accessible scoring opportunity despite its mid-range handicap.
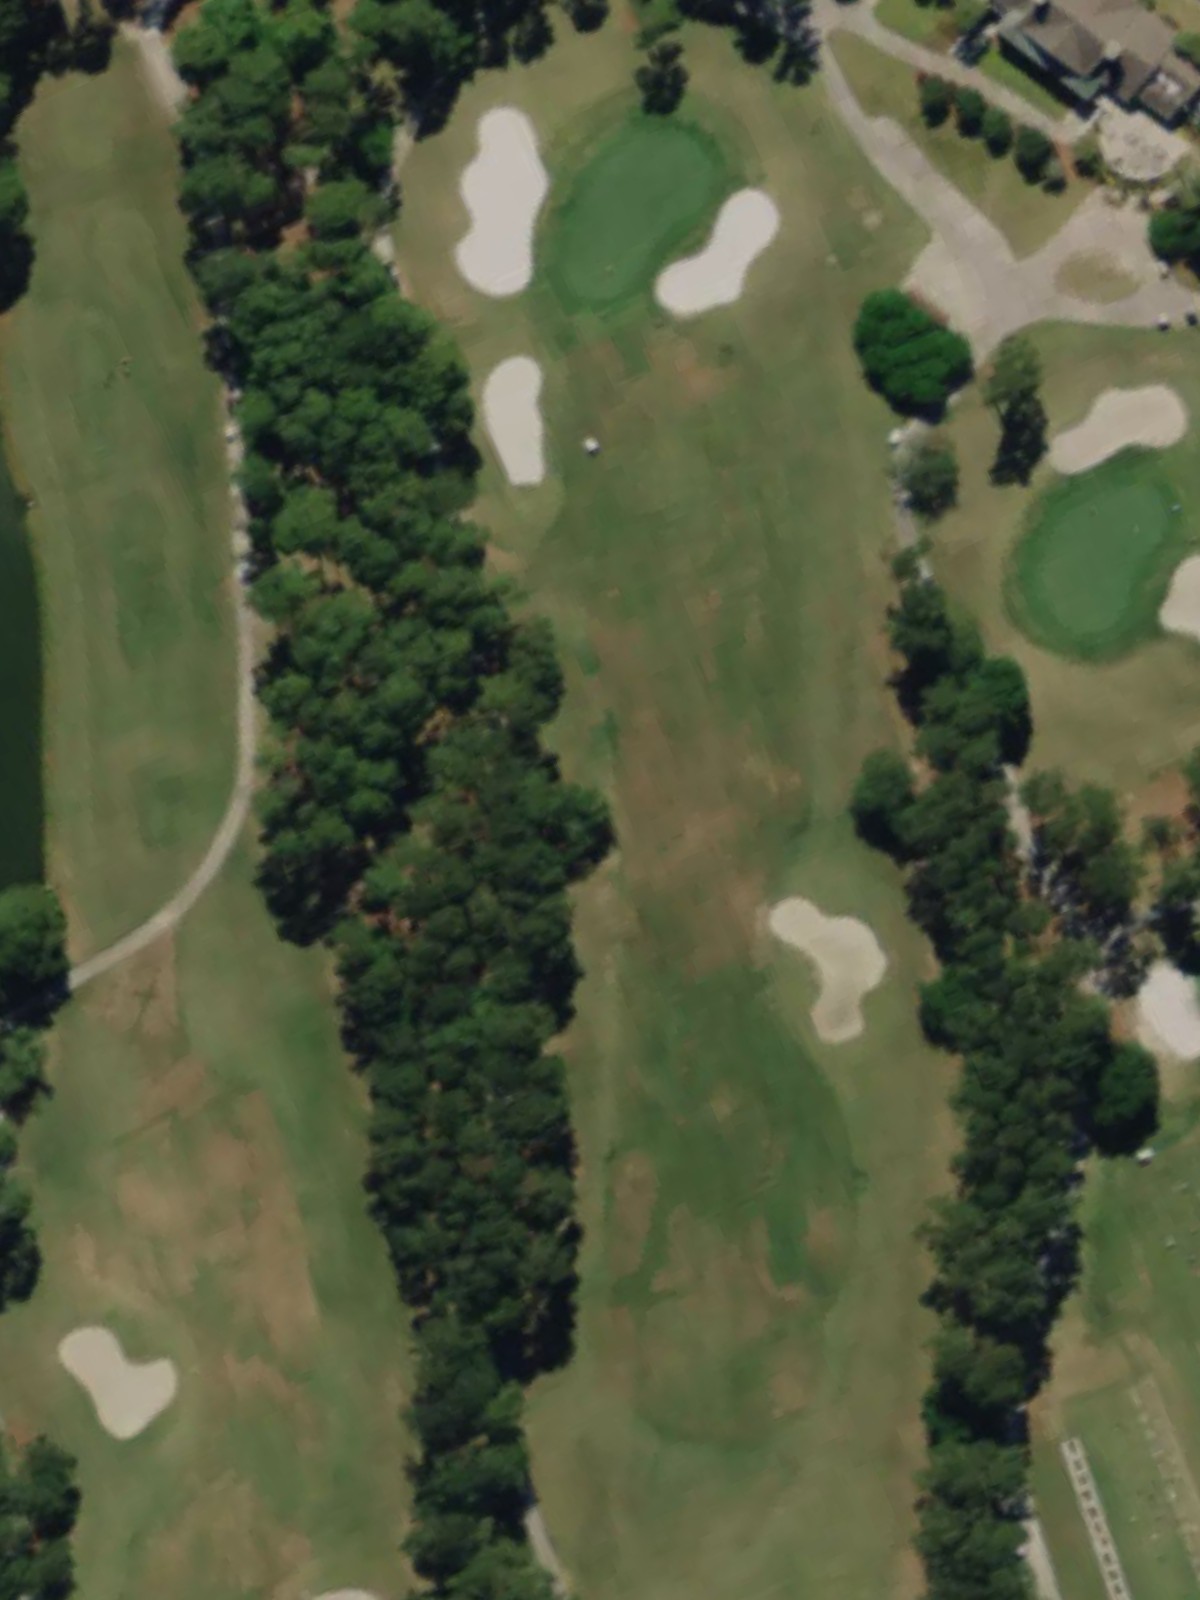
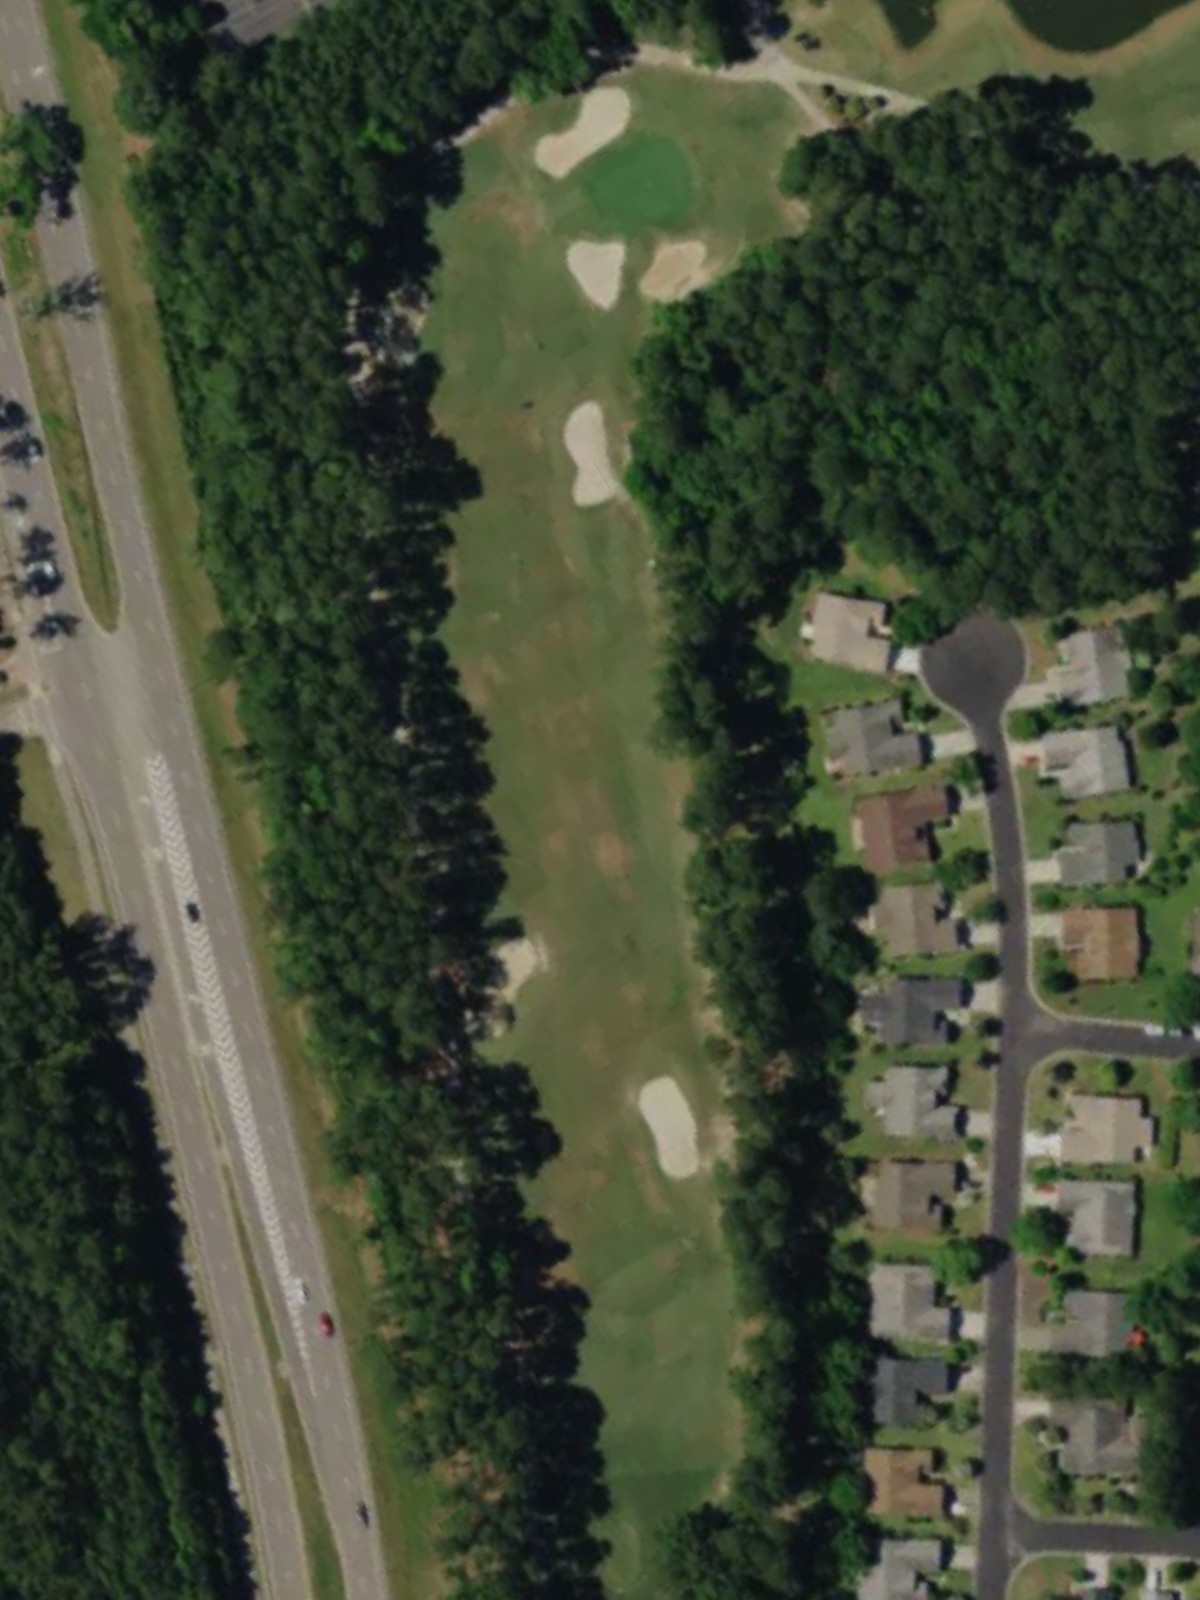
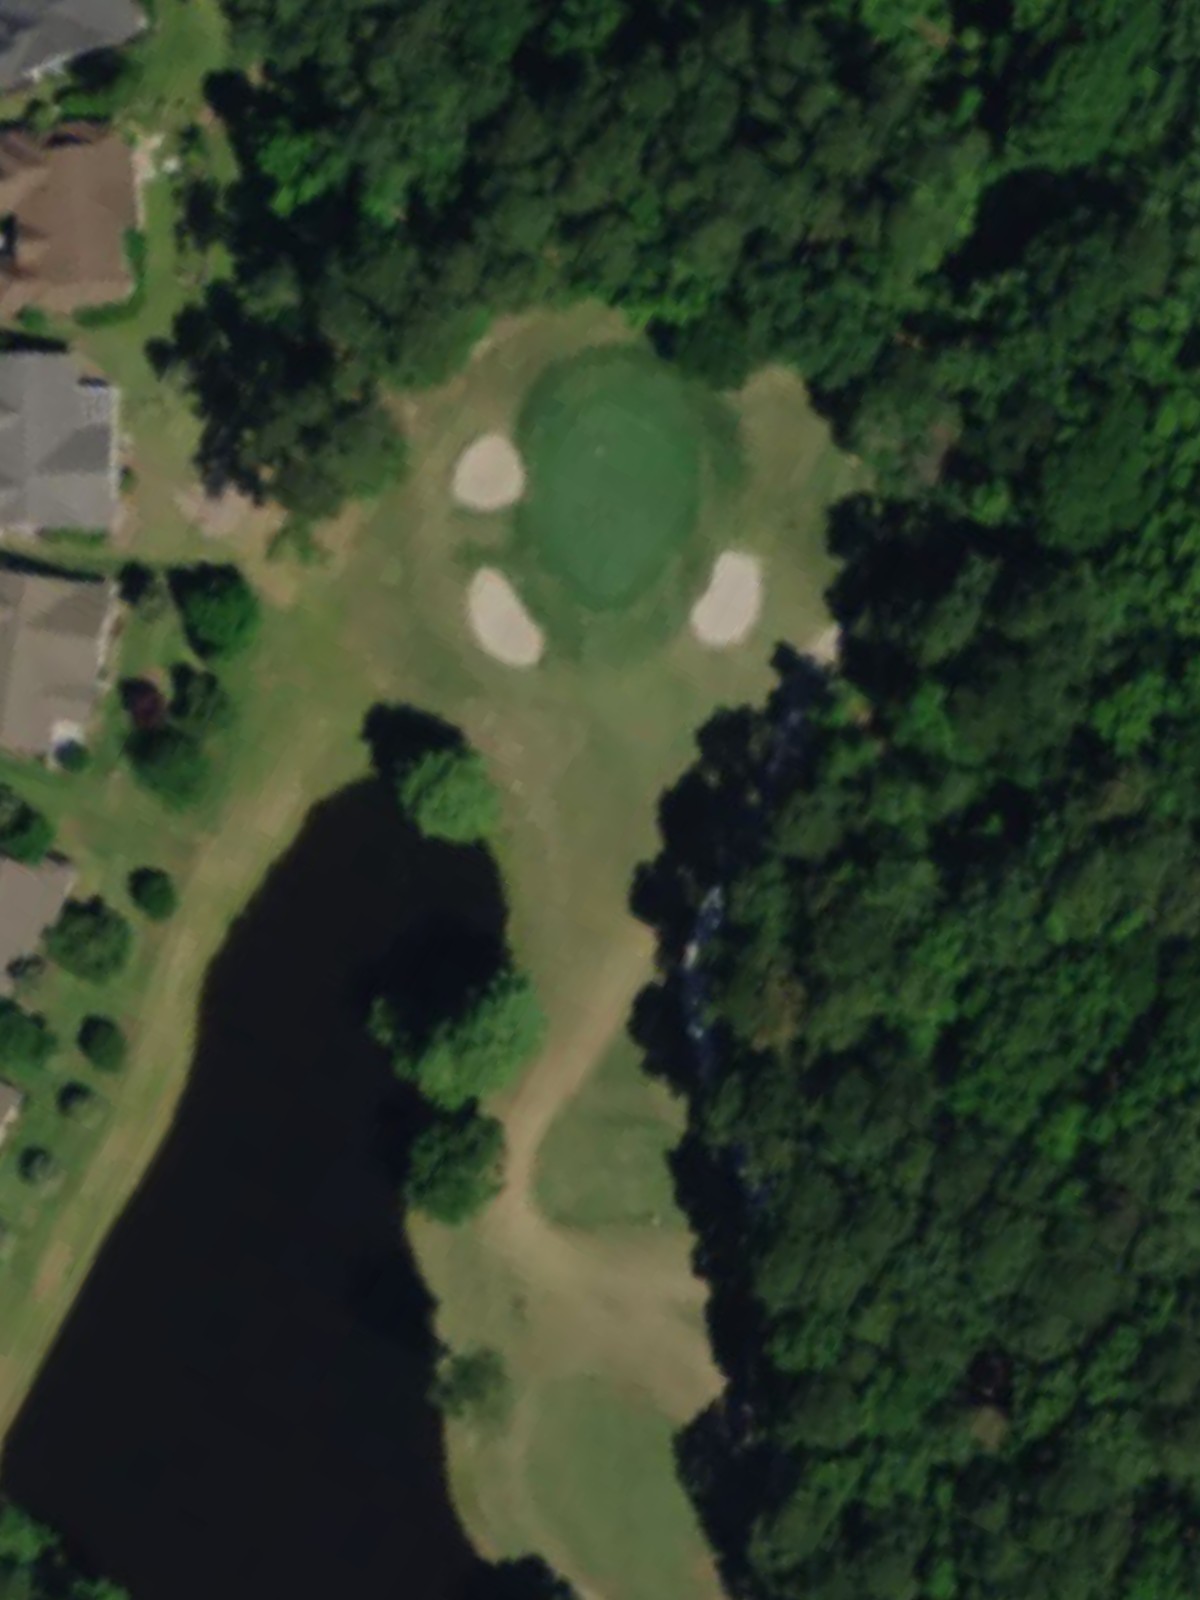
A reachable par 5 that rewards aggressive play for longer hitters while remaining manageable for all skill levels. Water hazards and bunkers come into play on the approach, particularly for those attempting to reach in two shots.
A solid par 4 with a dogleg character that requires positioning off the tee. Bunkers frame the fairway and guard the green, demanding accuracy throughout the hole.
A lengthy par 5 that requires multiple well-struck shots to reach the green in regulation. Strategic bunkering along the fairway and around the green challenges second and third shots.
The course's most difficult hole, this par 4 plays long and uphill with a narrow fairway that tightens considerably on approach. Bunkers and water hazards demand accuracy and control from start to finish.
A short par 3 with a well-defined green complex and minimal hazards. This hole provides a brief respite before the back nine's concluding stretch.
A strong par 4 with water threatening the left side and bunkers guarding the right of the green. The hole's shape and hazard placement reward a well-executed approach shot.
A compact par 4 with a relatively tight fairway that narrows near the green. Strategic bunkering on both sides of the putting surface rewards precise ball striking.
A short par 4 with an open fairway that allows recovery from less-than-perfect tee shots. Bunkers near the green and potential water hazards require attention on the approach.
A mid-range par 3 with a well-protected green complex featuring multiple bunkers. The hole's length and hazard placement create a solid mid-round test.
A generous par 5 with a fairway that opens up for aggressive play. Strategic hazards come into play for those attempting to reach in two, while the green complex demands precision on the layup approach.
The second-hardest hole, this par 4 plays tight with water and bunkers controlling play throughout. Accuracy off the tee and a solid approach are essential to avoid trouble.
A long par 5 that provides a risk-reward opportunity with water and bunkers strategically placed. Multiple routes to the green allow players to choose their level of aggression.
A strong par 4 that plays shorter than its yardage might suggest but demands accuracy with water left and bunkers right. The green's configuration rewards shots played to specific zones.
A short par 3 with a compact green surrounded by minimal hazards. This hole offers a brief respite before the challenging closing par 4.
The easiest hole on the card, this par 4 provides a welcoming finish with an open fairway and straightforward approach. Bunkers frame the green but are avoidable with solid, fundamental play.
Scorecard
| Hole | 1 | 2 | 3 | 4 | 5 | 6 | 7 | 8 | 9 | Out | 10 | 11 | 12 | 13 | 14 | 15 | 16 | 17 | 18 | In | Tot |
|---|---|---|---|---|---|---|---|---|---|---|---|---|---|---|---|---|---|---|---|---|---|
| Par | 4 | 4 | 3 | 5 | 4 | 5 | 4 | 3 | 4 | 36 | 4 | 4 | 3 | 5 | 4 | 5 | 4 | 3 | 4 | 36 | 72 |
| HCP | 7 | 3 | 13 | 15 | 11 | 9 | 1 | 17 | 5 | 6 | 10 | 12 | 14 | 2 | 8 | 4 | 16 | 18 | |||
| championship red | 384 | 415 | 179 | 529 | 391 | 560 | 446 | 167 | 398 | 3469 | 372 | 348 | 207 | 505 | 430 | 540 | 402 | 156 | 367 | 3327 | 6796 |
| tournament gold | 361 | 383 | 165 | 500 | 365 | 527 | 411 | 158 | 372 | 3242 | 345 | 328 | 180 | 477 | 403 | 515 | 373 | 151 | 339 | 3111 | 6353 |
| gold/blue | 361 | 357 | 165 | 500 | 365 | 527 | 382 | 158 | 372 | 3187 | 345 | 328 | 180 | 477 | 376 | 515 | 350 | 151 | 339 | 3061 | 6248 |
| member blue | 340 | 357 | 147 | 463 | 326 | 491 | 382 | 131 | 338 | 2975 | 316 | 302 | 155 | 442 | 376 | 476 | 350 | 138 | 312 | 2867 | 5842 |
| blue/white | 340 | 321 | 147 | 463 | 326 | 491 | 346 | 131 | 338 | 2903 | 316 | 302 | 155 | 442 | 335 | 476 | 320 | 138 | 312 | 2796 | 5699 |
| club white | 299 | 321 | 113 | 427 | 293 | 459 | 346 | 106 | 309 | 2673 | 289 | 263 | 121 | 409 | 335 | 419 | 320 | 131 | 279 | 2566 | 5239 |
| white/black | 262 | 294 | 113 | 427 | 293 | 403 | 307 | 106 | 282 | 2487 | 265 | 263 | 121 | 409 | 312 | 382 | 295 | 131 | 279 | 2457 | 4944 |
| forward black | 262 | 294 | 96 | 379 | 262 | 403 | 307 | 97 | 282 | 2382 | 265 | 231 | 96 | 378 | 312 | 382 | 295 | 94 | 252 | 2305 | 4687 |
| black/orange | 262 | 230 | 96 | 305 | 262 | 358 | 252 | 97 | 220 | 2082 | 257 | 231 | 96 | 305 | 239 | 382 | 208 | 94 | 252 | 2064 | 4146 |
| front orange | 253 | 230 | 84 | 305 | 248 | 358 | 252 | 97 | 220 | 2047 | 257 | 221 | 88 | 305 | 239 | 319 | 208 | 89 | 241 | 1967 | 4014 |