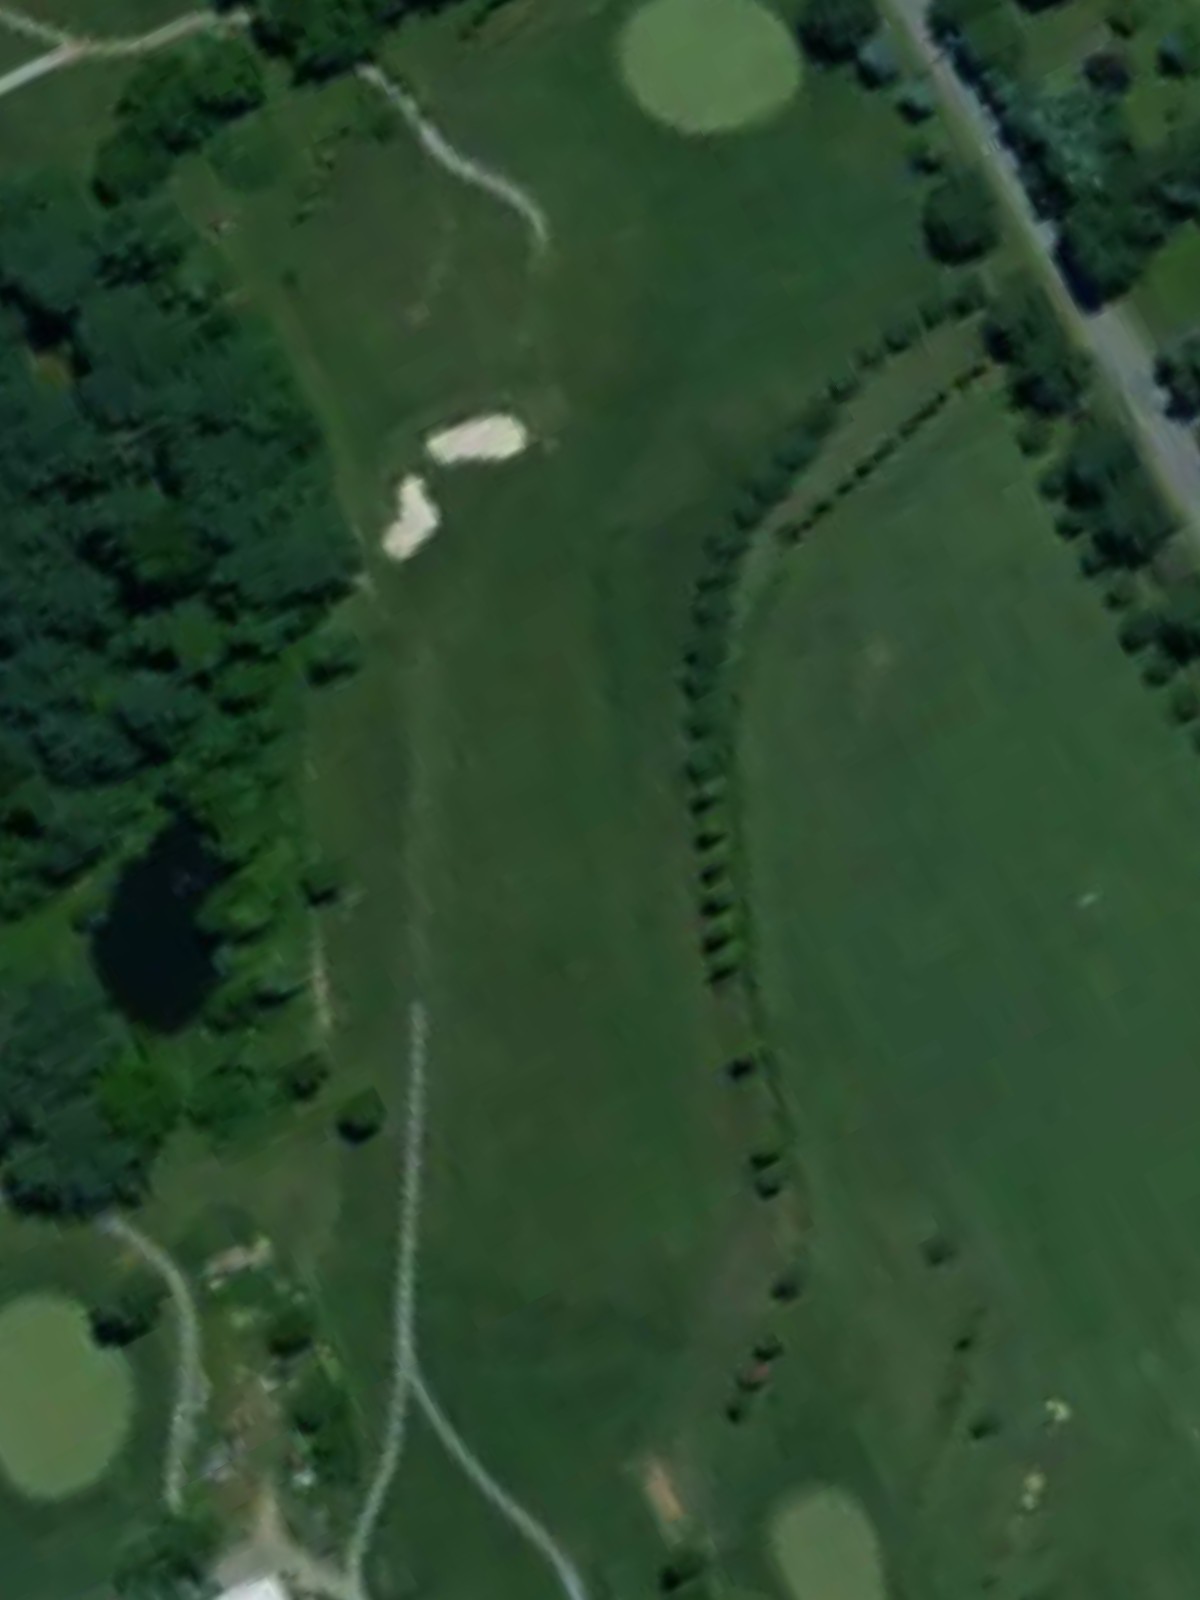
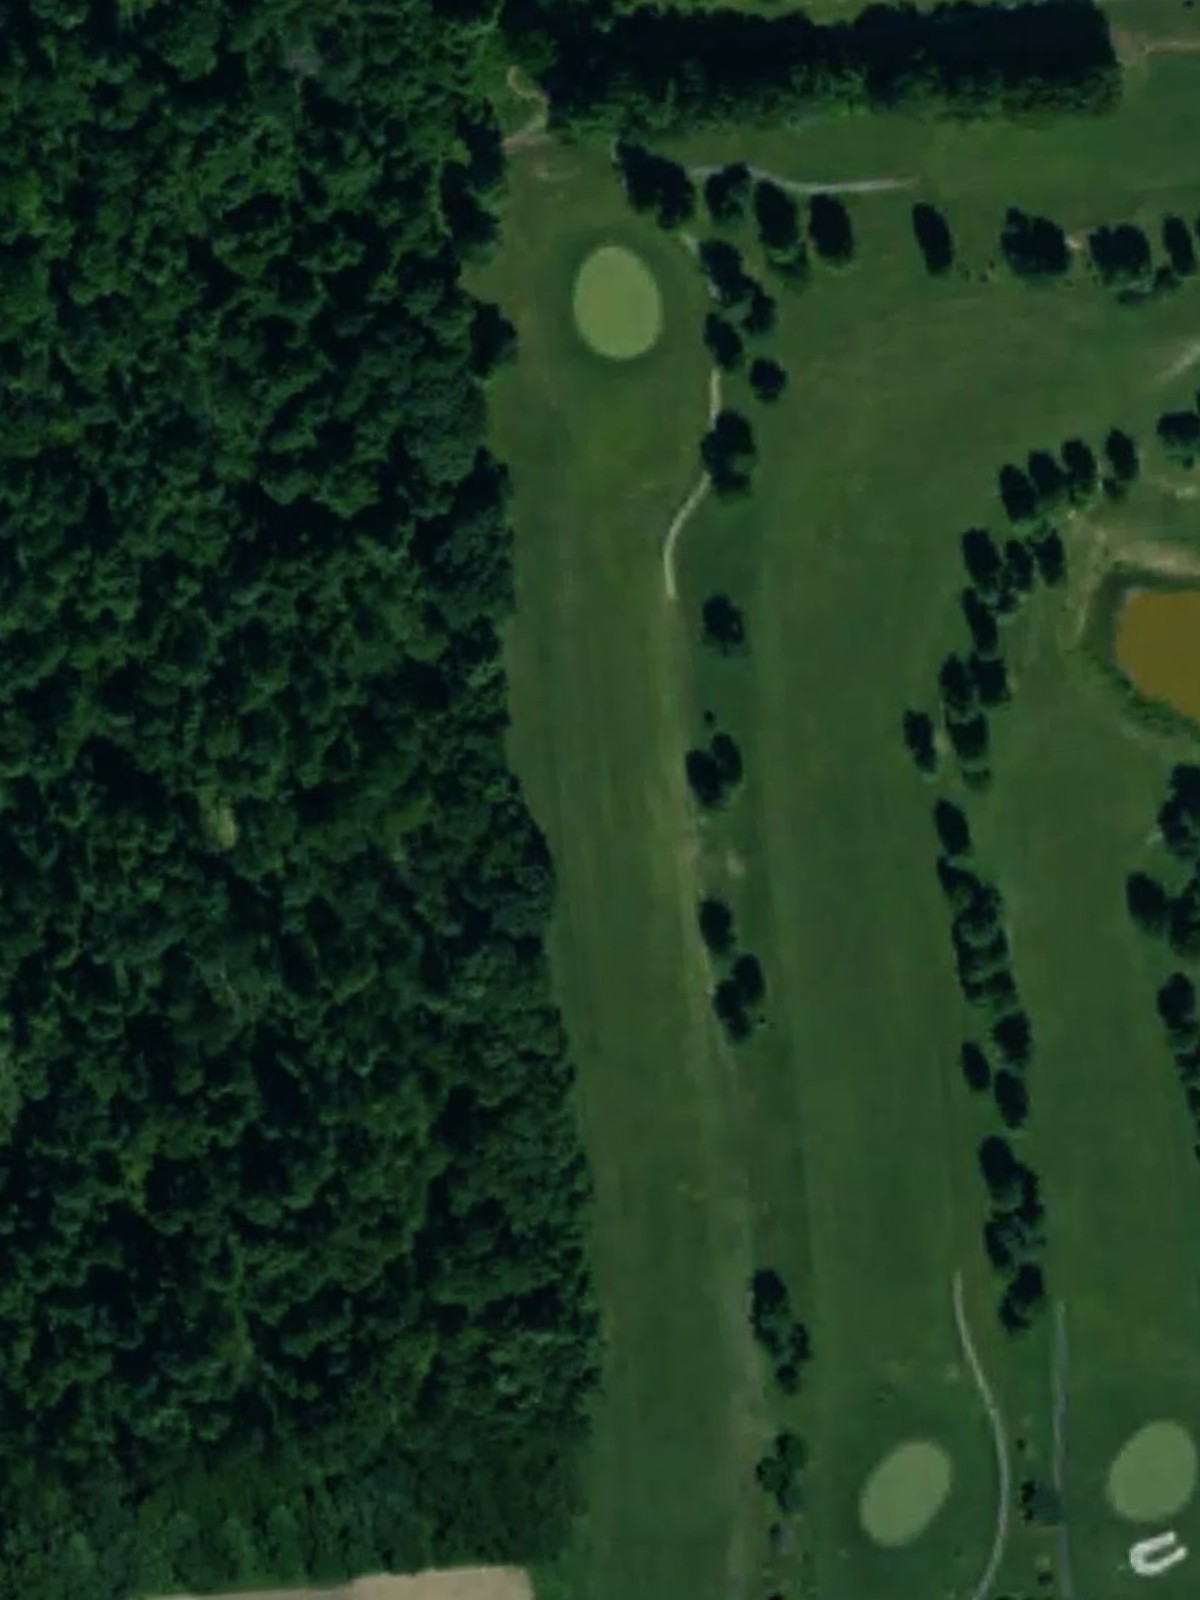
Strawberry Ridge Golf Course is an 18-hole golf course in Harmony, PA with a par of 72. It offers 4 tee sets: black (6,517 yards, slope 127, rating 71.4), blue (6,150 yards, slope 125, rating 69.6), white (5,693 yards, slope 119, rating 67.3), gold (4,970 yards, slope 105, rating 63.9). The hardest hole is #4, a par 5 playing 472 yards from the first tee.
Strawberry Ridge Golf Course
Harmony, PA
Get PDF Yardage Book
We'll email you the PDF link. No spam, ever.
Create Your Game Plan
Pick your tees, enter your bag, and get a personalized shot-by-shot strategy for every hole.
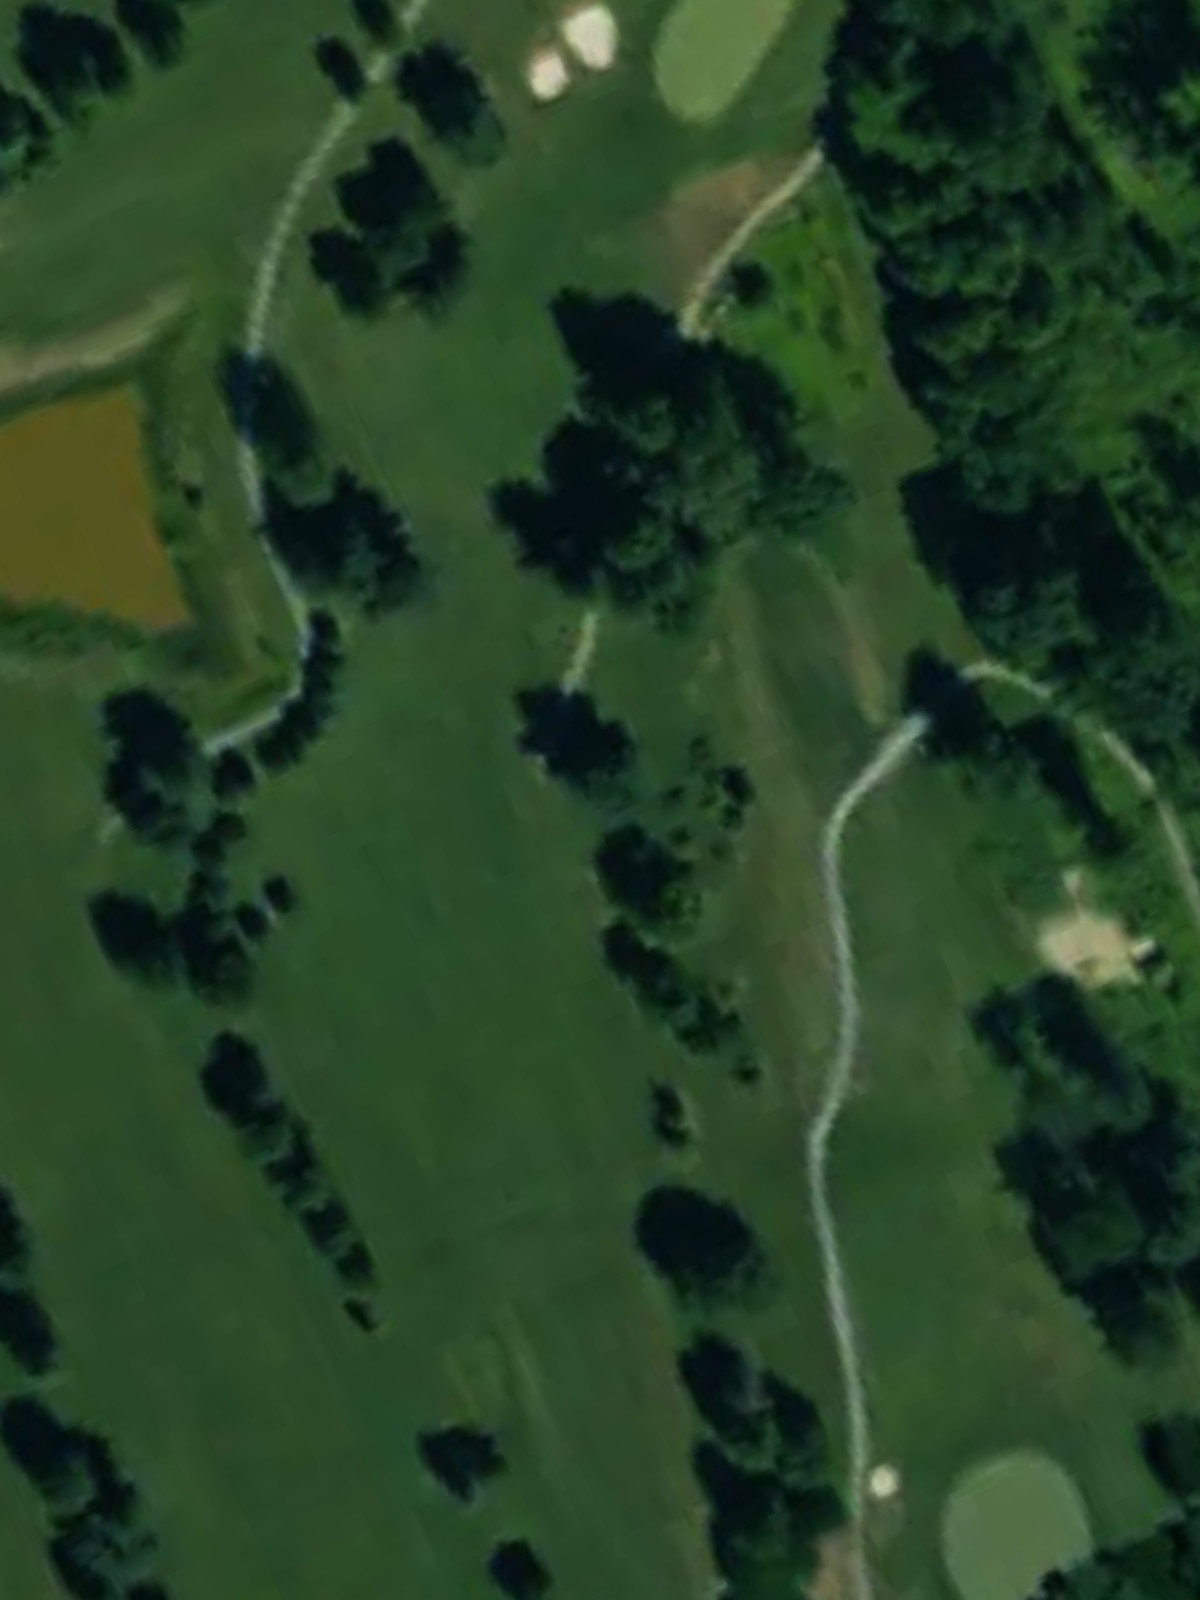
A straightforward par 4 with a welcoming fairway that gradually narrows as it approaches the green. Bunkers protect the right side of the green, while the left offers a safer approach corridor for this opening hole.
A lengthy par 5 that demands accuracy off the tee with out-of-bounds lurking along one side of the fairway. The hole's length and narrow landing areas make it one of the course's most demanding three-shot holes.
A short par 3 with a receptive green and minimal hazard protection, offering a good opportunity early in the round. The simplicity of the hole belies its role as a confidence builder before more challenging tests ahead.

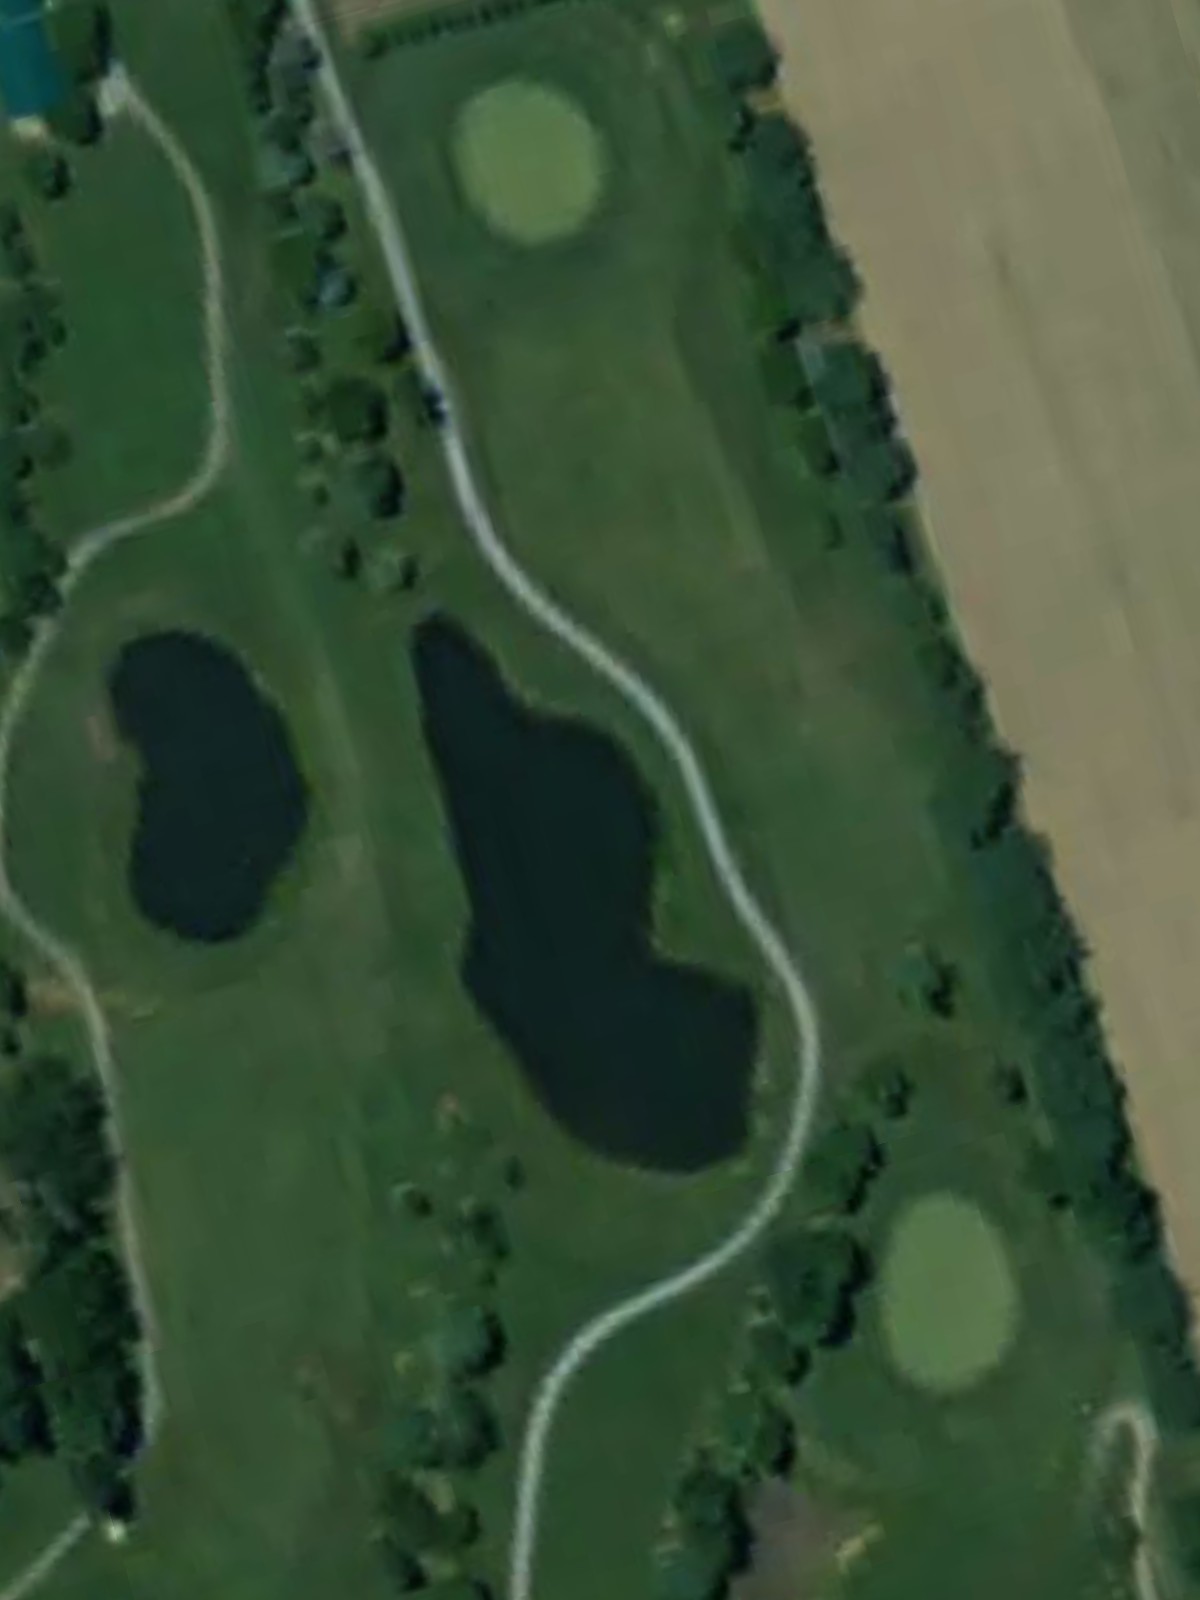
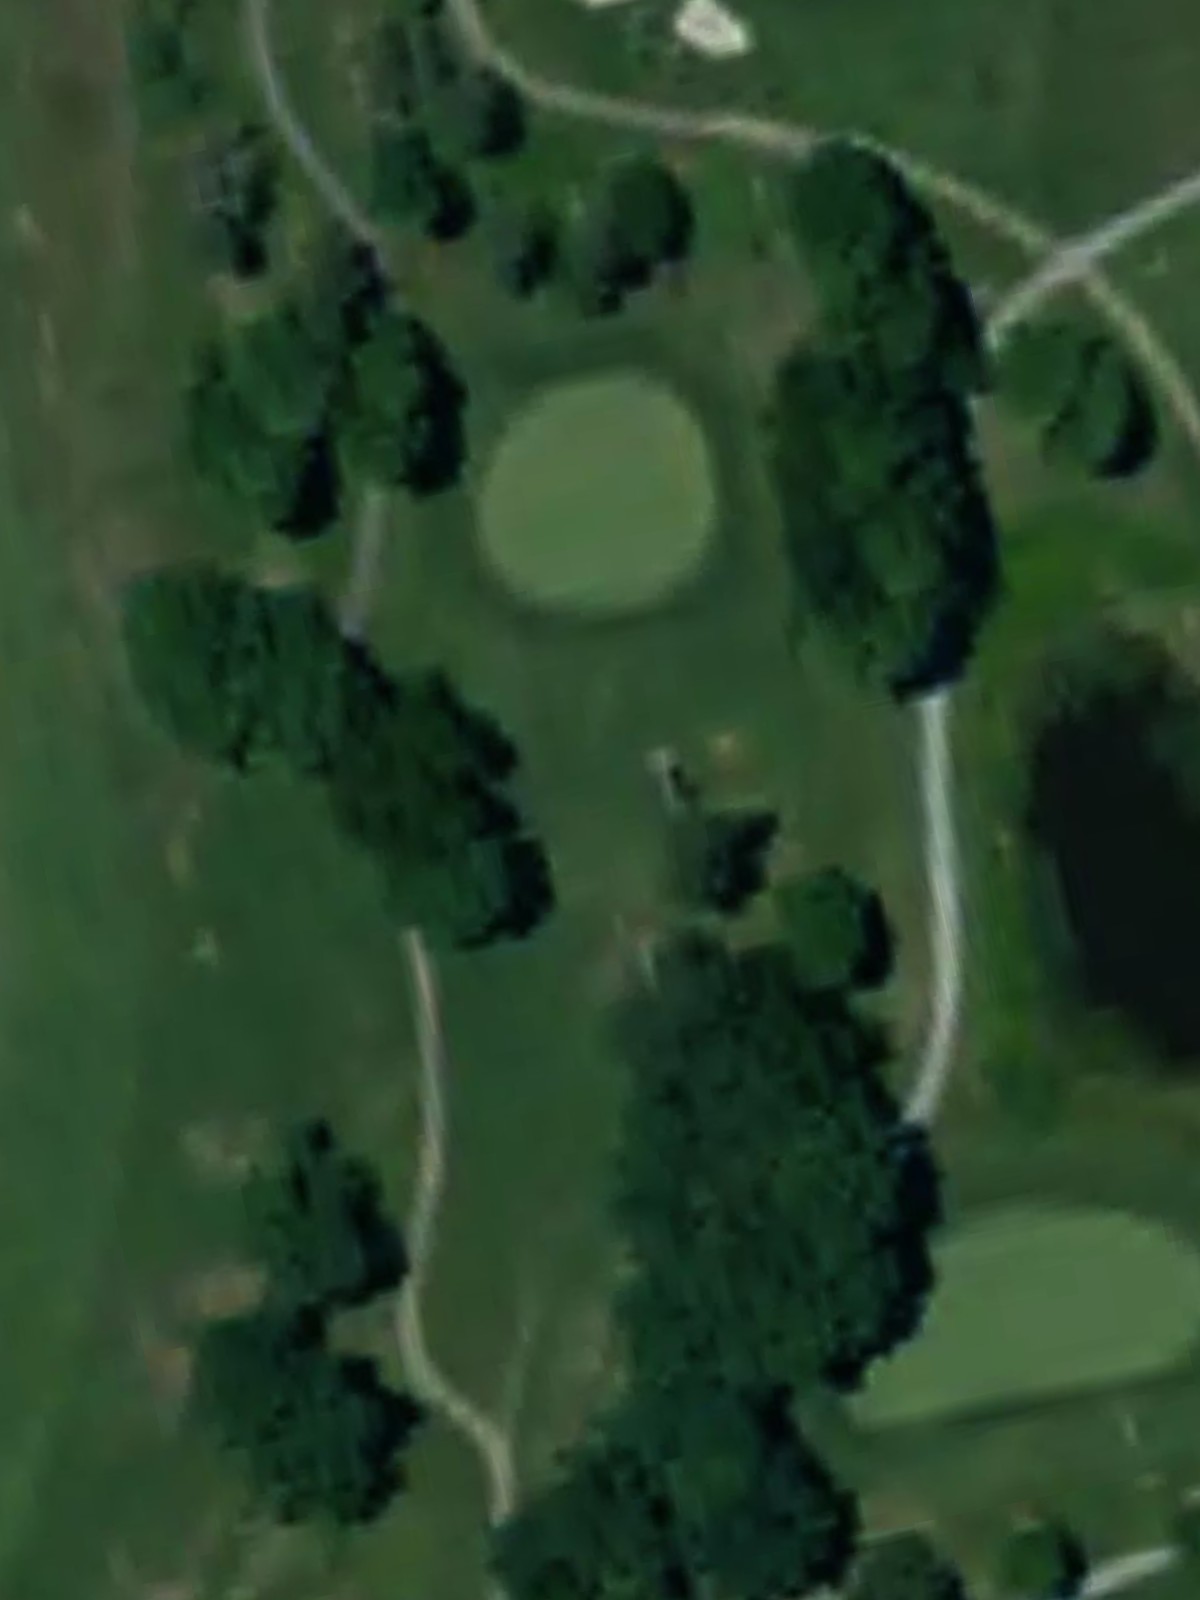
The course's most difficult hole, this par 5 requires two precise shots to reach scoring position on a hole with strategic hazards and bunkers. Length and accuracy off the tee are critical to managing this beast.
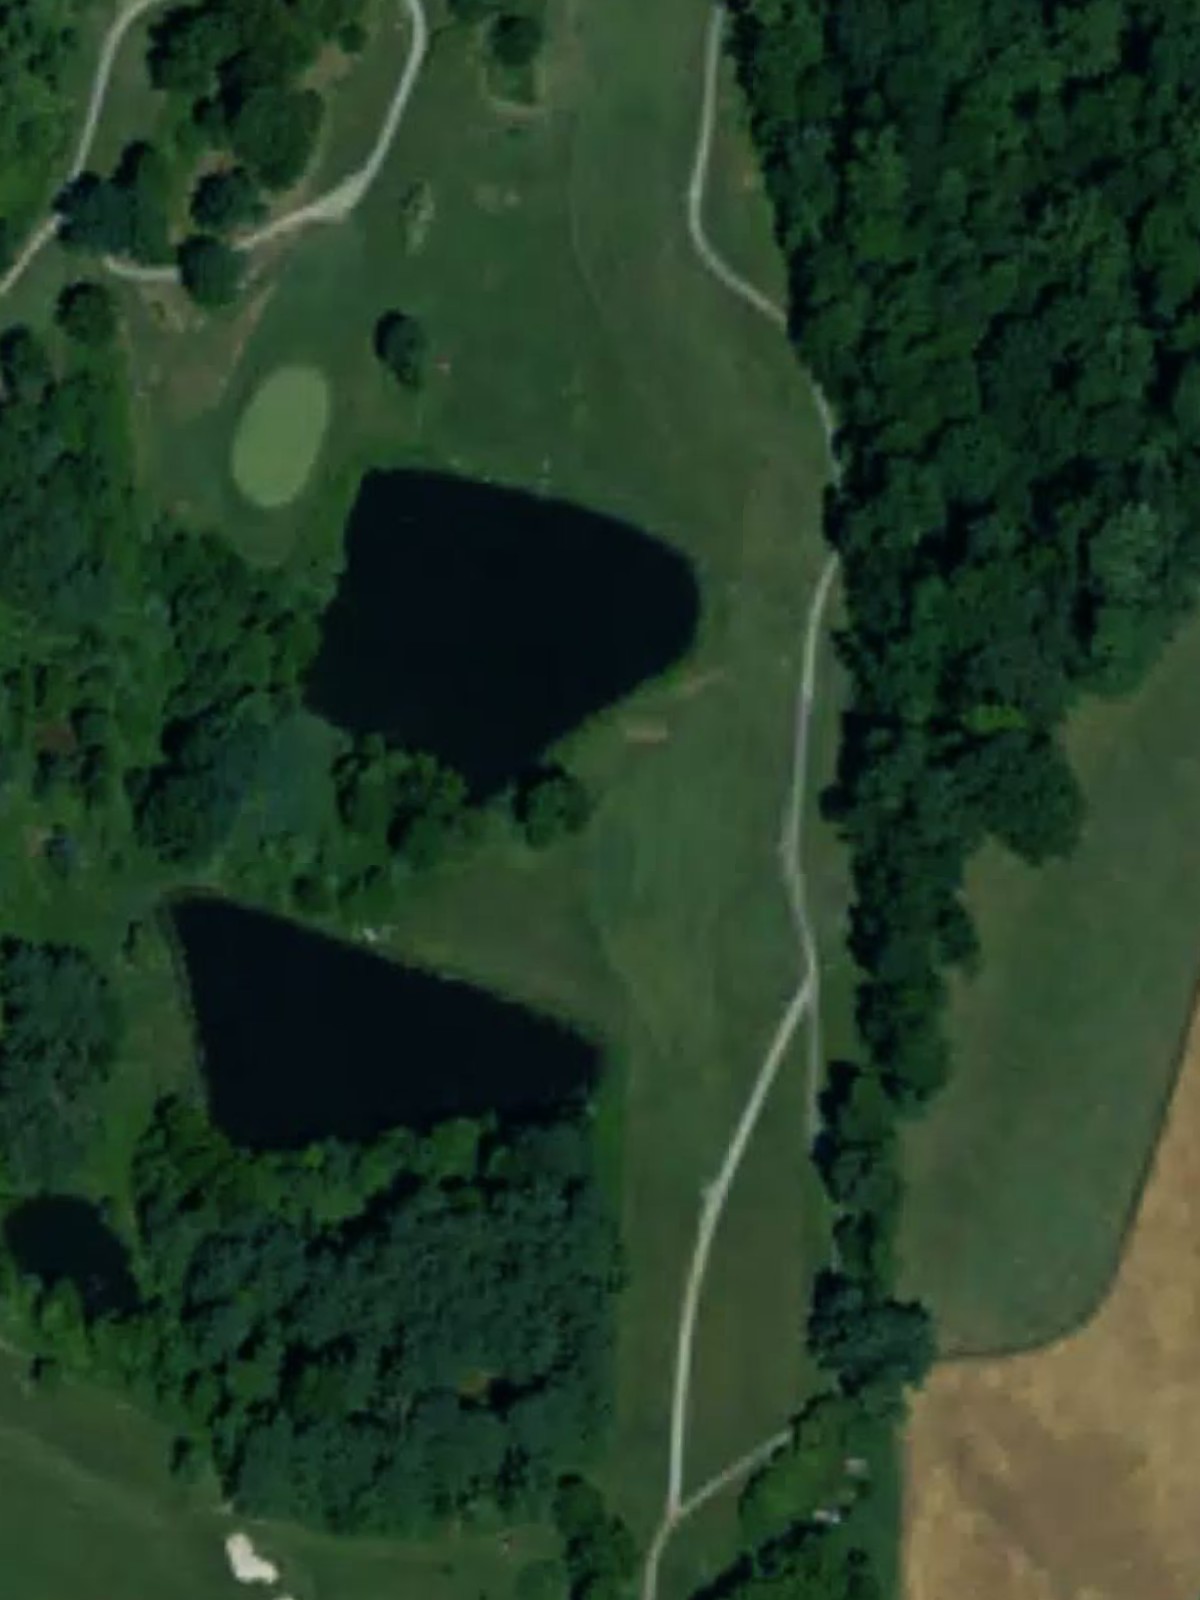
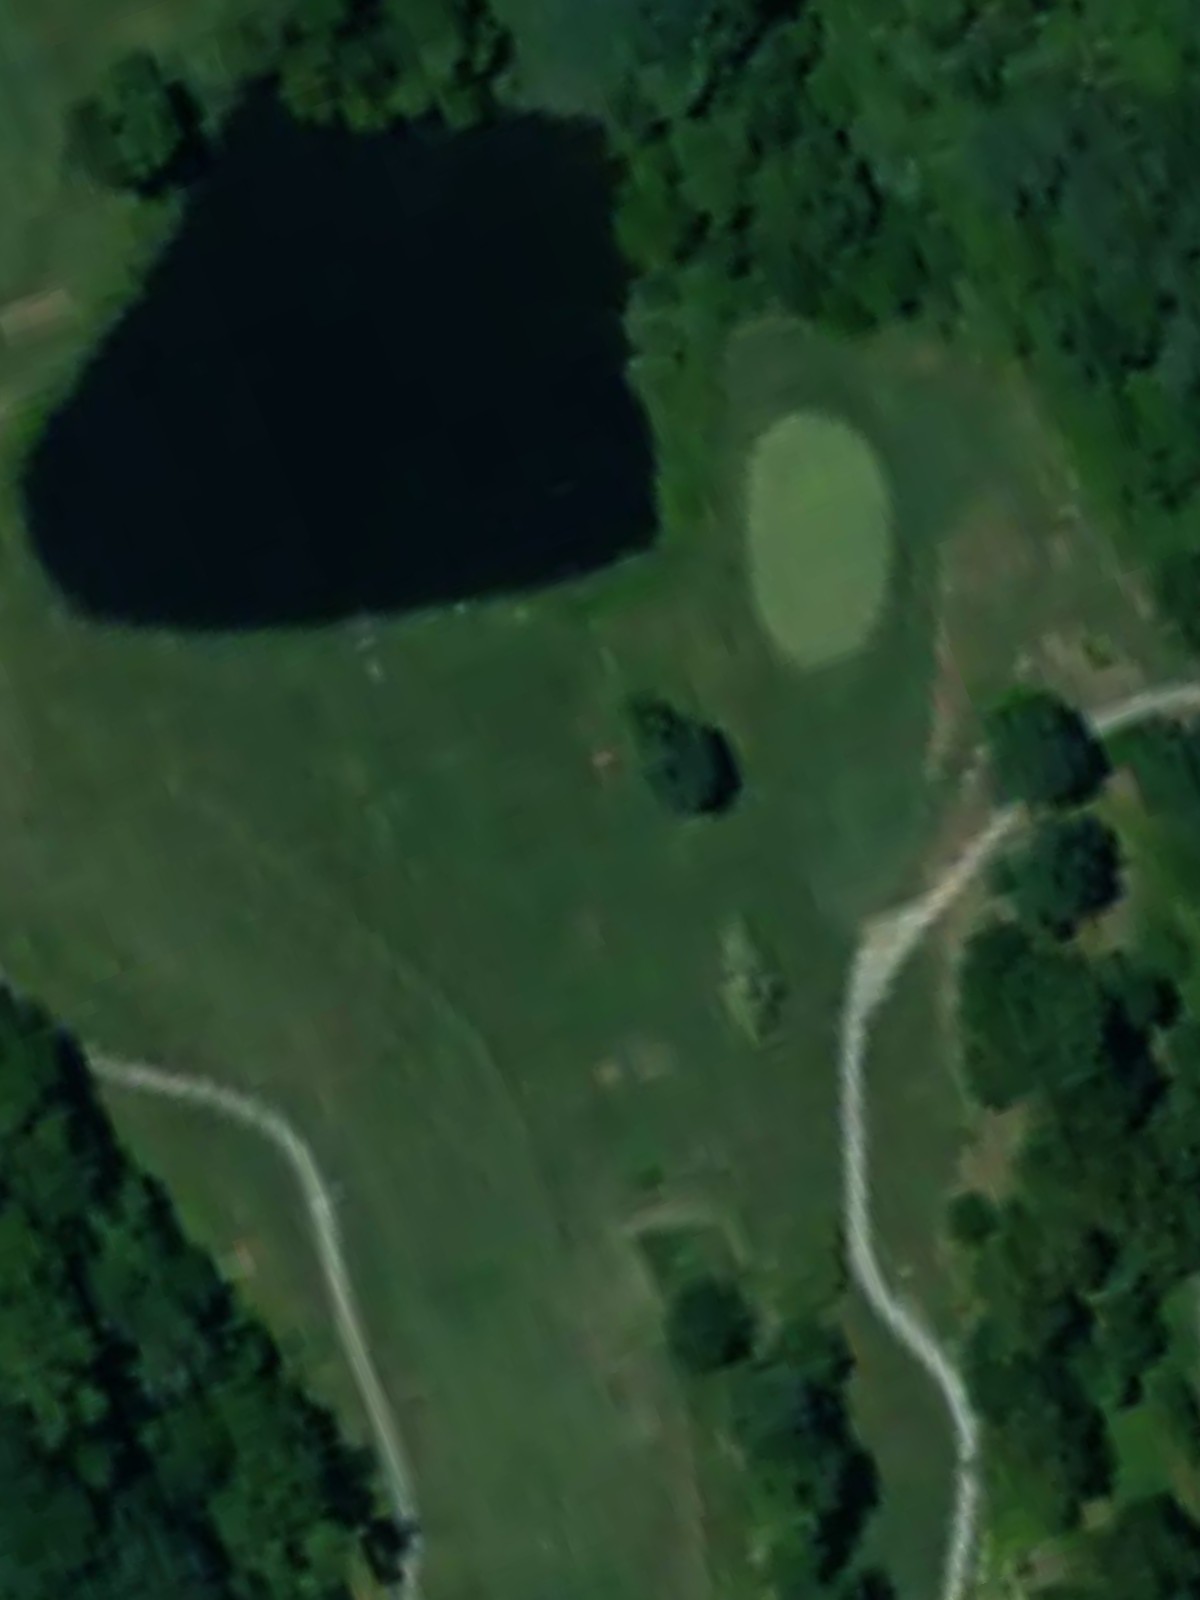
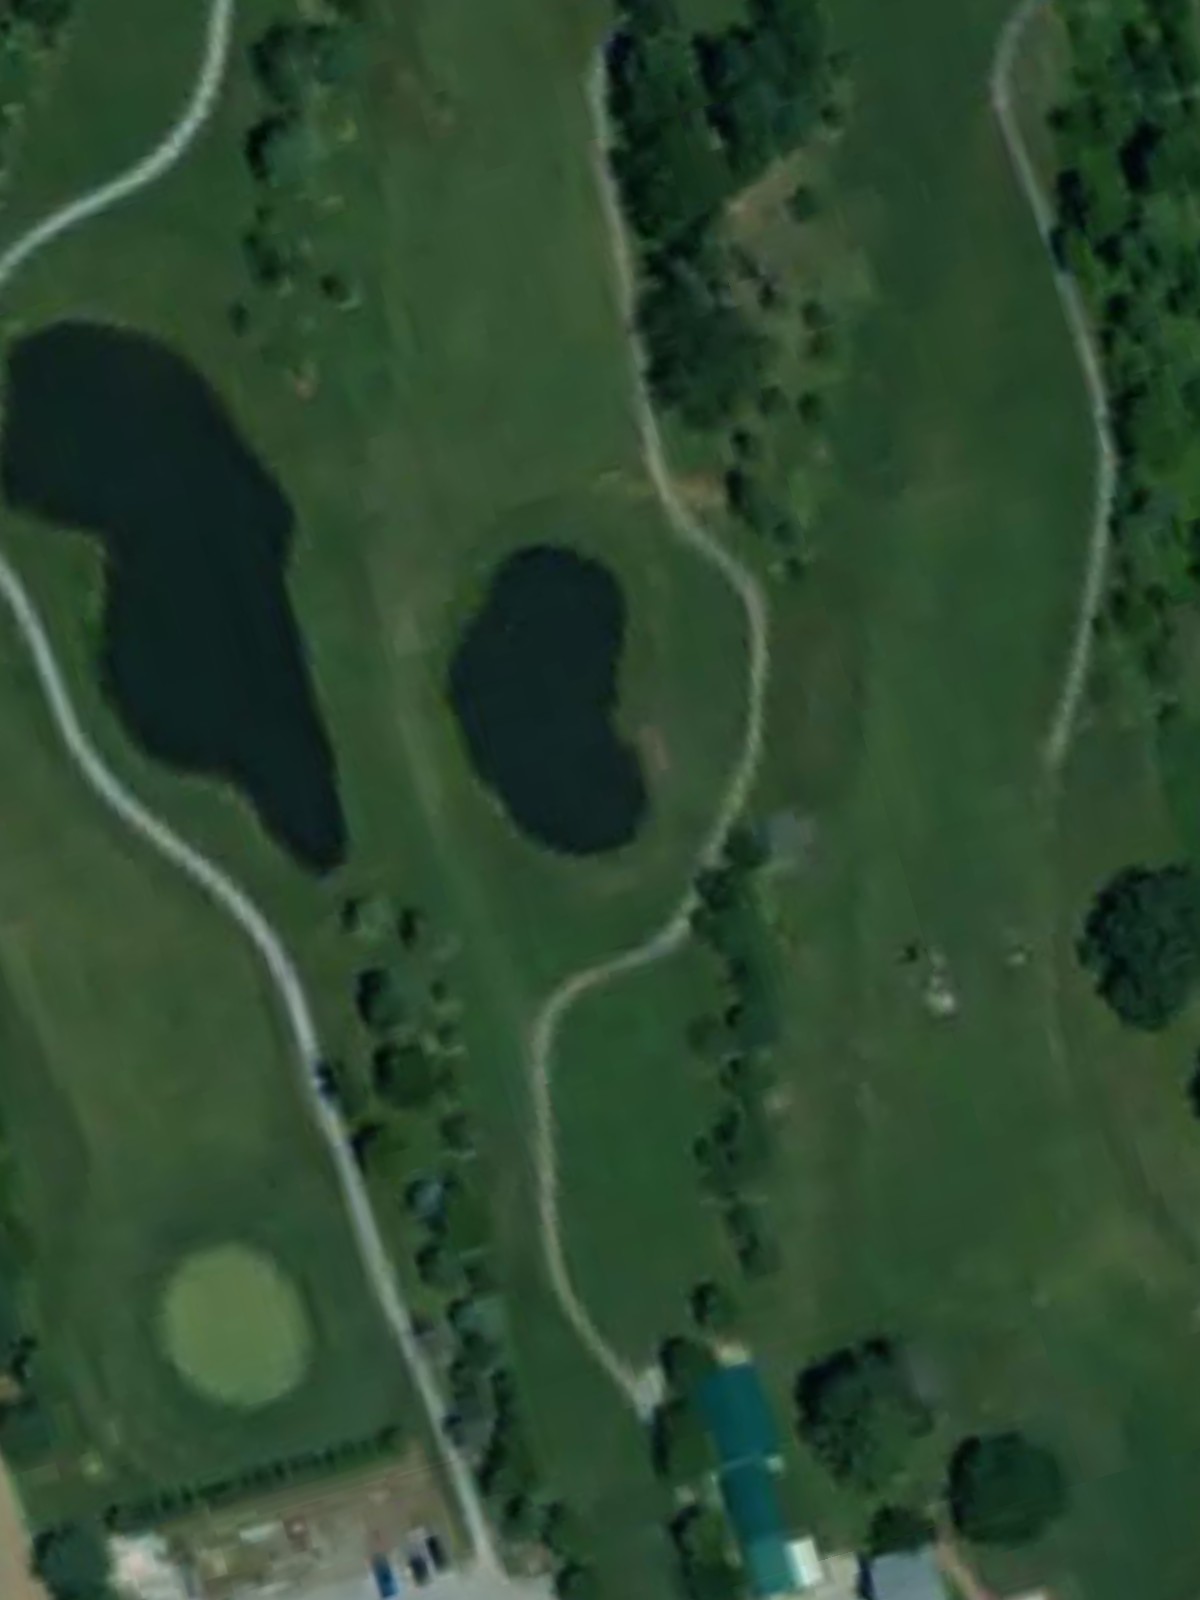
A mid-length par 3 with water hazards framing the approach to an island green or similar protected target. The elevated tee shot and hazard placement demand careful distance control.
A mid-length par 4 with a dogleg character that requires positioning off the tee to set up a clear approach. Fairway bunkers and green-side hazards reward precise shot placement.

A long, demanding par 5 that plays uphill or features hazards throughout its length. The sheer yardage combined with strategic bunkering or water makes this three-shot hole relentless.

A testing par 3 with a firm green protected by bunkers and surrounded by challenging rough. The moderate length combined with hazard placement makes club selection and accuracy paramount.
A solid mid-length par 4 with a fairly open fairway that tightens near the green. Bunkers and potential water hazards protect the green, creating a definitive scoring zone.
A well-balanced par 4 with strategic bunkering in the landing area that shapes the ideal approach. Water or out-of-bounds along one side requires controlled tee shots.
A short par 3 with a relatively benign green complex and minimal hazards, offering a welcome respite in the round. The straightforward nature of the hole makes it an ideal birdie opportunity.
A substantial par 5 that ranks among the course's most difficult, featuring length combined with hazards or dogleg routing that demands strategy. Accurate positioning on the first two shots is essential.

A solid par 4 with a fair fairway and accessible green, positioned as a scoreable hole despite mid-range length. Strategic hazards around the green encourage controlled ball striking.

A shorter par 4 that emphasizes accuracy over length, with tight fairways and bunkers framing the ideal landing zone. The compact layout makes this hole a good opportunity for skilled players.

The course's easiest par 4, featuring a wide-open fairway and receptive green with minimal hazard interference. This gentle hole provides a valuable scoring chance late in the round.

A strong par 5 with length and strategic hazards that test both power and precision across three shots. Water or bunker placement forces thoughtful routing to the green.
A mid-length par 3 with a protected green and water or bunker hazards defining the challenge. Accurate distance control to the target is essential on this pivotal finishing hole.
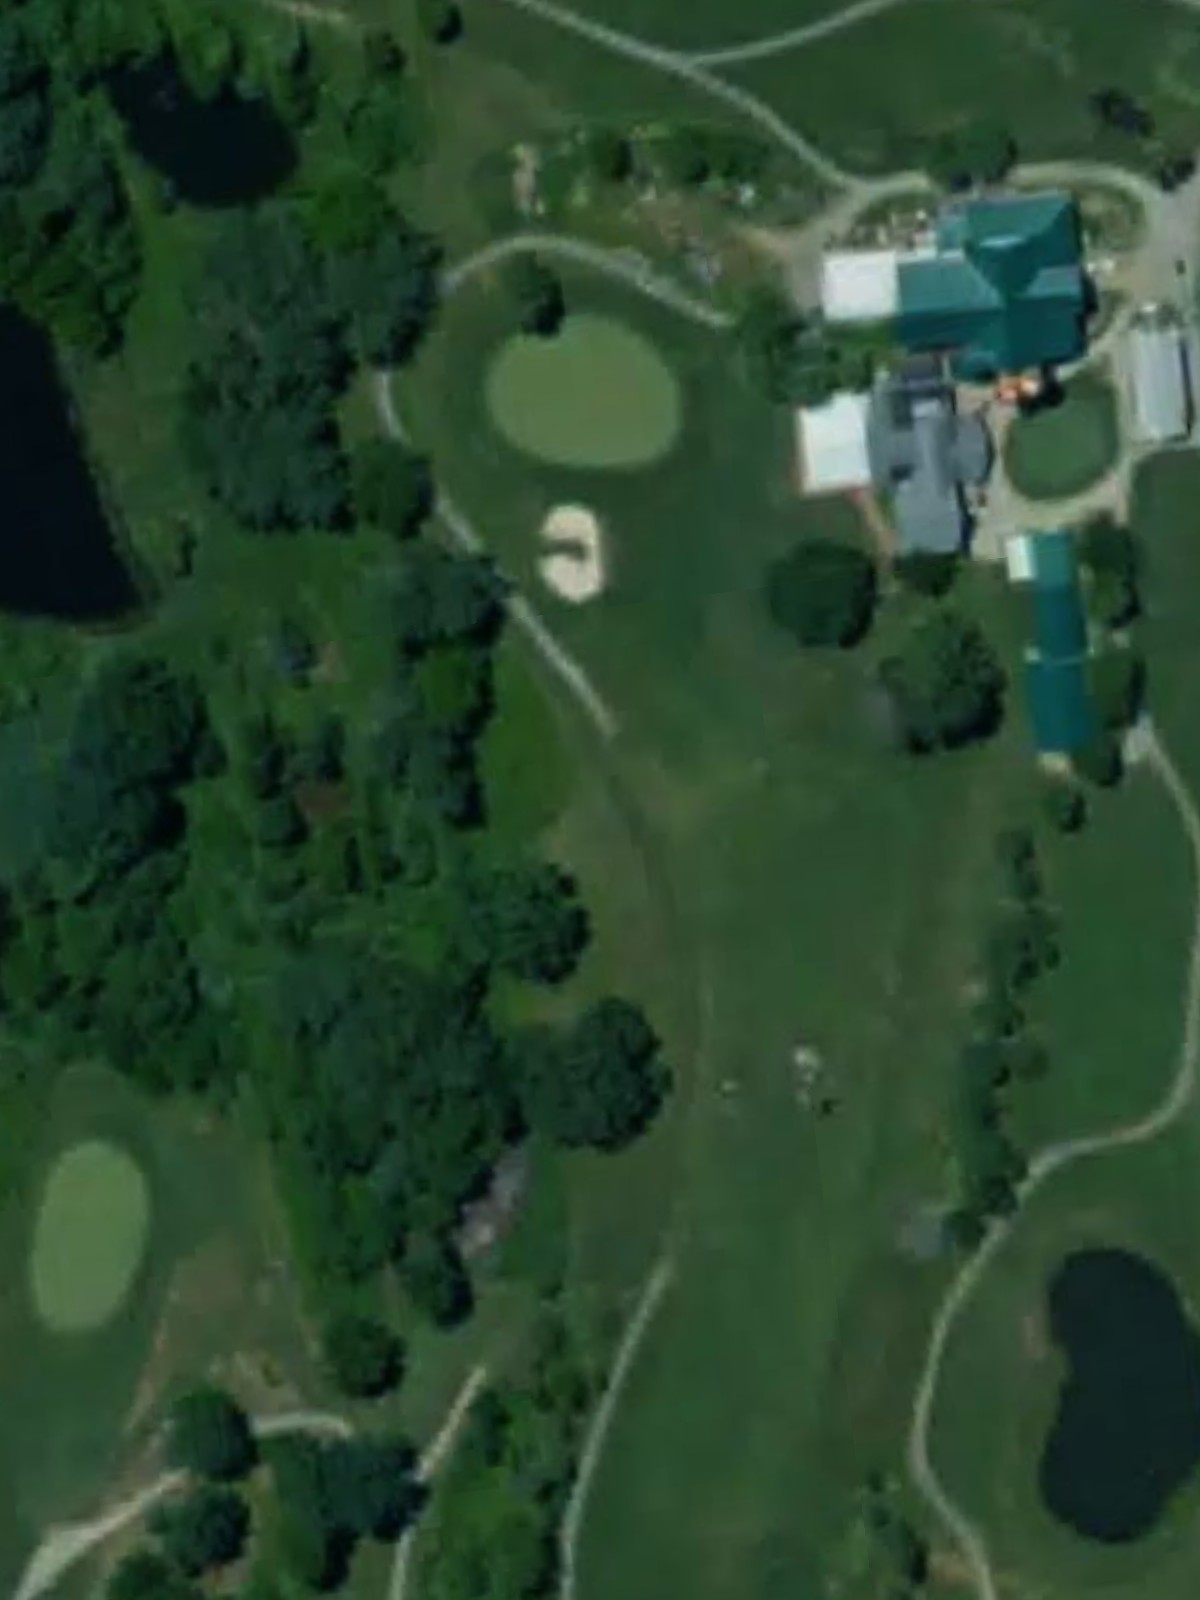
The closing par 4 features a dogleg or strategic fairway design that demands placement accuracy off the tee. Bunkers or water near the green create a dramatic finish that rewards solid execution.
Scorecard
| Hole | 1 | 2 | 3 | 4 | 5 | 6 | 7 | 8 | 9 | Out | 10 | 11 | 12 | 13 | 14 | 15 | 16 | 17 | 18 | In | Tot |
|---|---|---|---|---|---|---|---|---|---|---|---|---|---|---|---|---|---|---|---|---|---|
| Par | 4 | 5 | 3 | 5 | 3 | 4 | 5 | 3 | 4 | 36 | 4 | 3 | 5 | 4 | 4 | 4 | 5 | 3 | 4 | 36 | 72 |
| HCP | 11 | 3 | 17 | 1 | 13 | 7 | 5 | 15 | 9 | 8 | 16 | 4 | 14 | 6 | 18 | 2 | 12 | 10 | |||
| black | 374 | 523 | 208 | 472 | 240 | 398 | 601 | 199 | 343 | 3358 | 361 | 156 | 613 | 337 | 306 | 338 | 482 | 176 | 390 | 3159 | 6517 |
| blue | 341 | 479 | 175 | 472 | 183 | 364 | 571 | 199 | 343 | 3127 | 336 | 156 | 572 | 337 | 306 | 335 | 441 | 176 | 364 | 3023 | 6150 |
| white | 336 | 469 | 149 | 418 | 165 | 355 | 516 | 152 | 297 | 2857 | 325 | 146 | 552 | 317 | 295 | 286 | 410 | 153 | 352 | 2836 | 5693 |
| gold | 290 | 451 | 141 | 375 | 156 | 274 | 428 | 140 | 244 | 2499 | 256 | 129 | 476 | 301 | 270 | 260 | 317 | 137 | 325 | 2471 | 4970 |