Stonebridge Meadows Golf Club is an 18-hole golf course in Fayetteville, Ar, AR with a par of 72. It offers 4 tee sets: black (7,142 yards, slope 143, rating 74.3), blue (6,595 yards, slope 139, rating 72.4), white (6,140 yards, slope 134, rating 69.8), gold (5,698 yards, slope 131, rating 68.3). The hardest hole is #5, a par 4 playing 387 yards from the first tee.
Stonebridge Meadows Golf Club
Fayetteville, Ar, AR
Get PDF Yardage Book
We'll email you the PDF link. No spam, ever.
Create Your Game Plan
Pick your tees, enter your bag, and get a personalized shot-by-shot strategy for every hole.
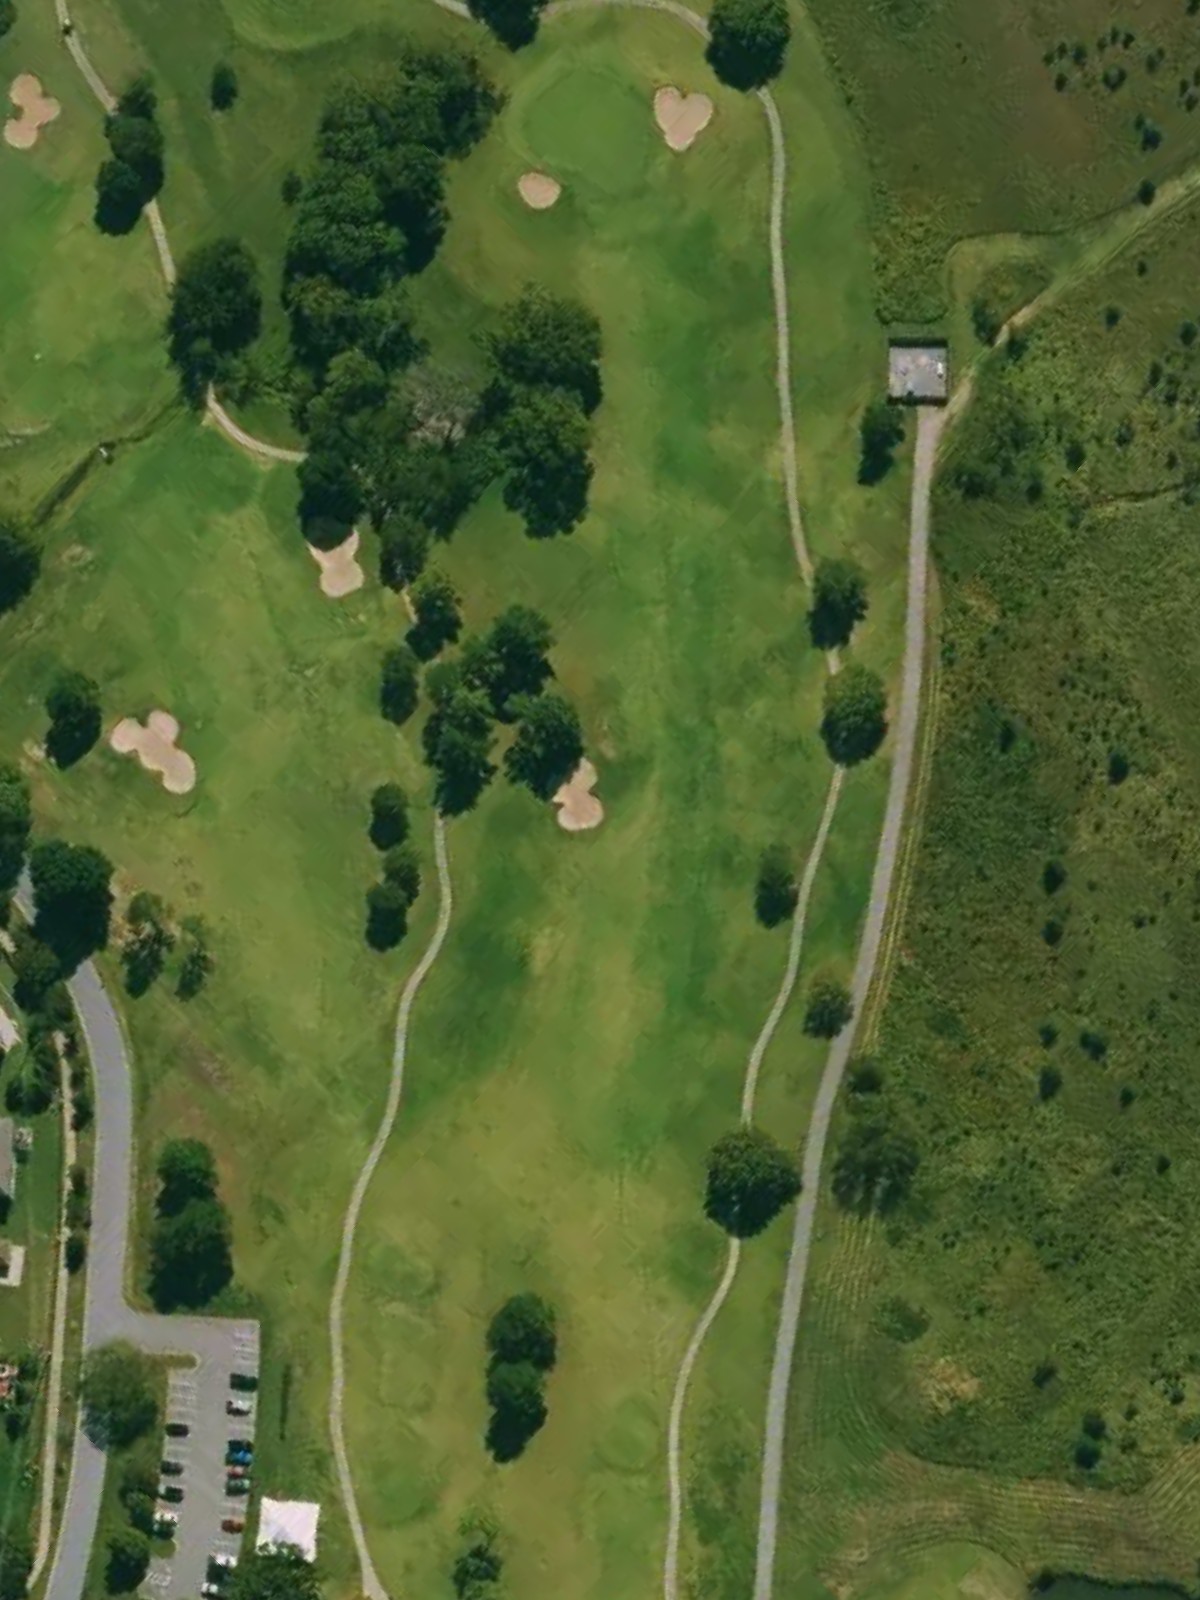
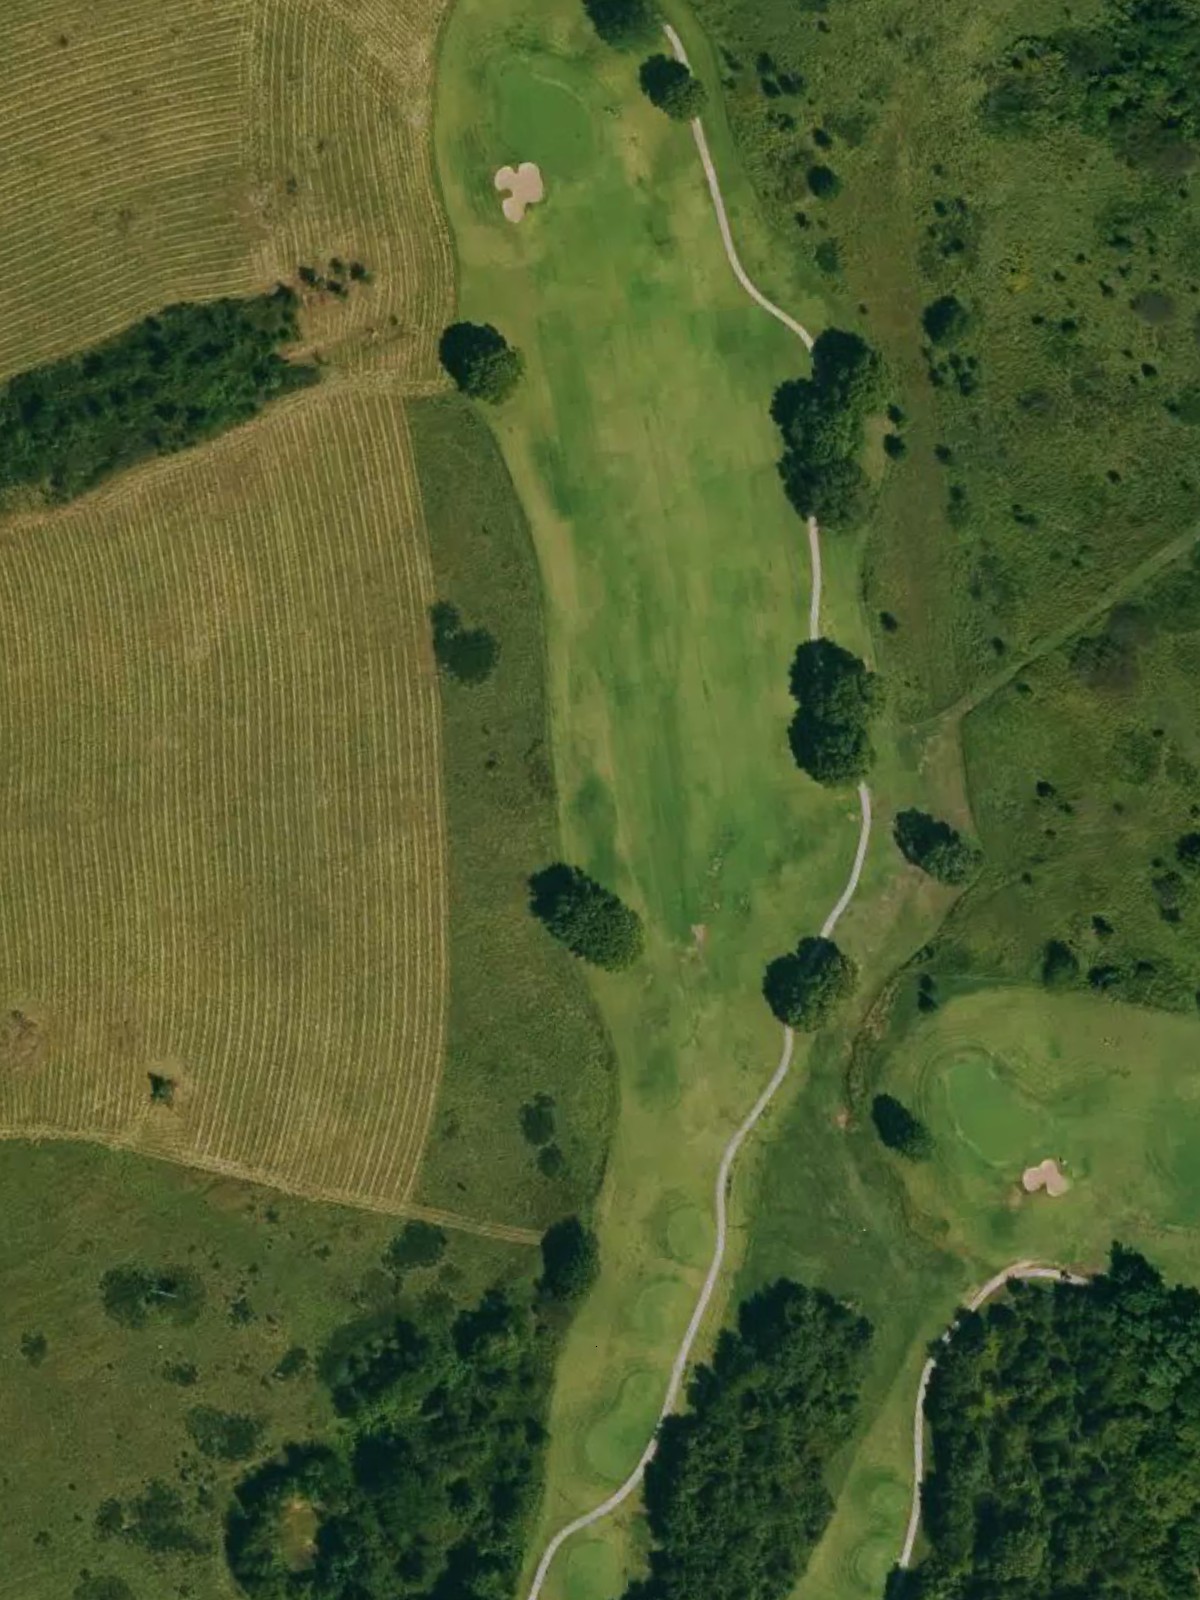
A straightforward opening par 4 that plays uphill to a well-bunkered green. The fairway is relatively forgiving, but bunkers guarding both sides of the green demand accuracy on the approach shot.
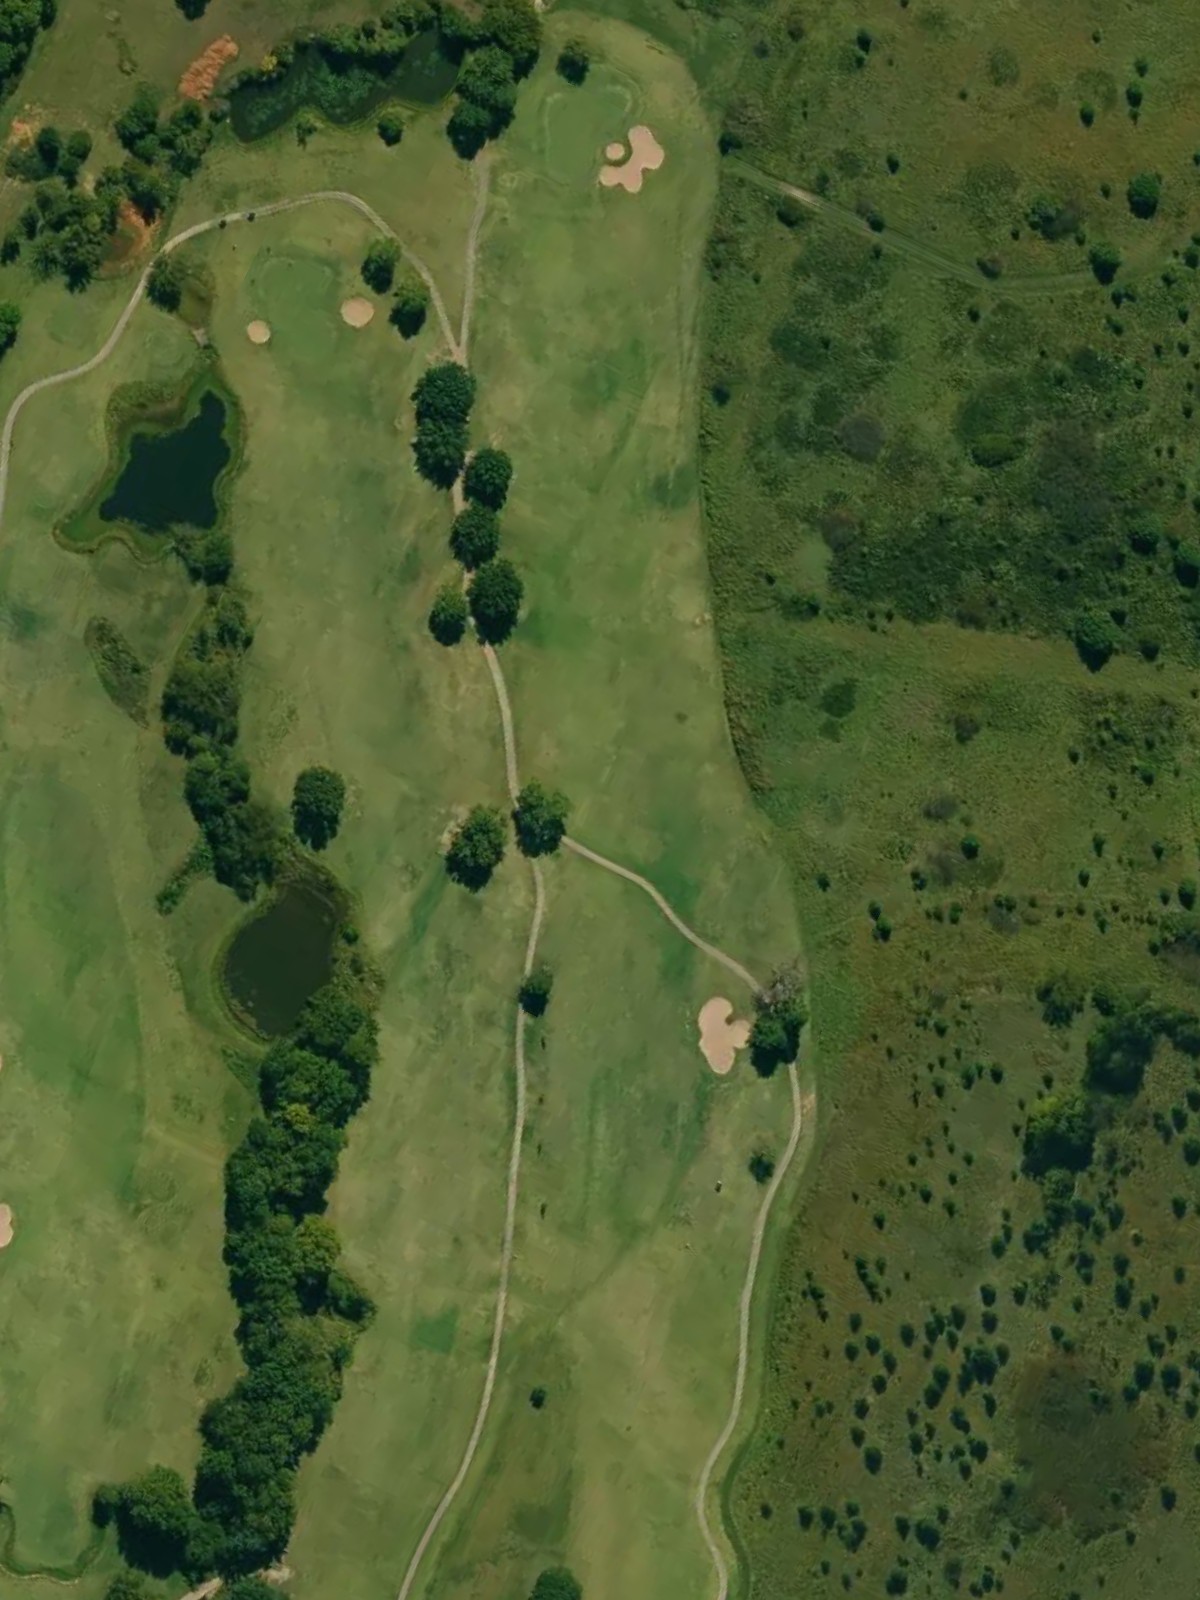
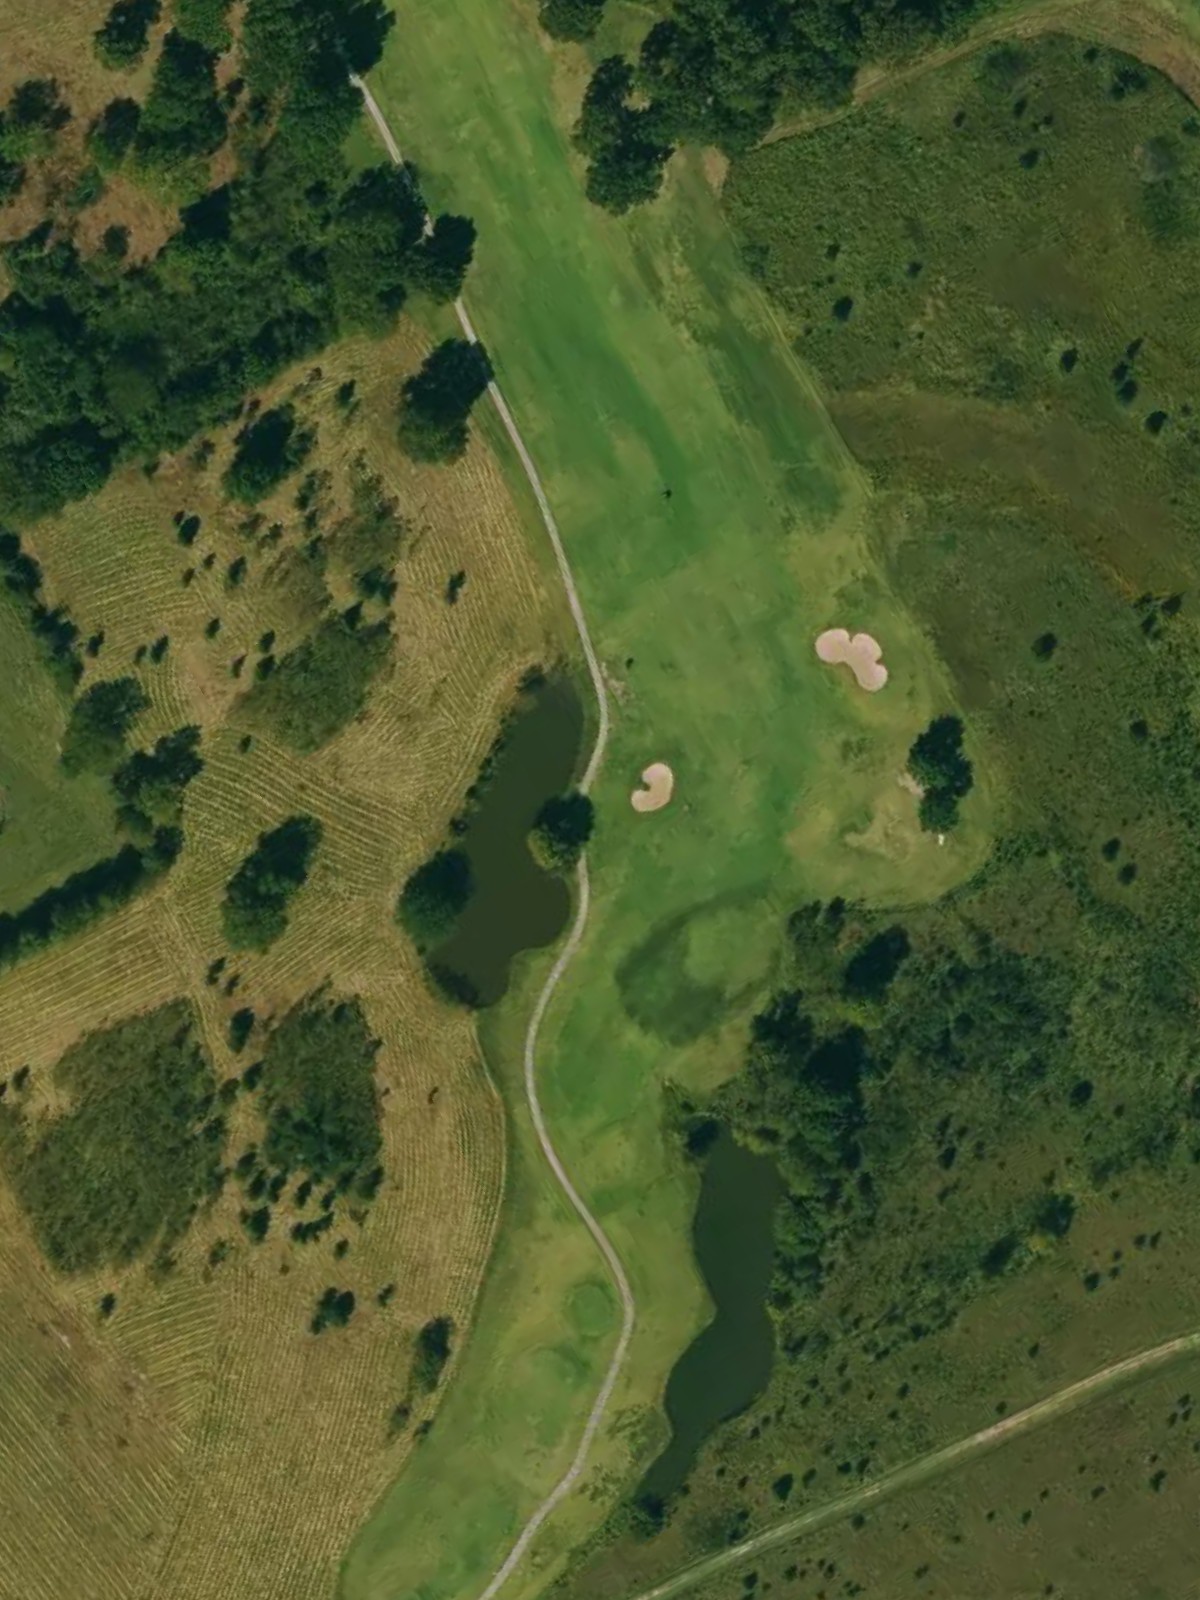
A lengthy par 5 with a slight dogleg character and plenty of room off the tee. Water hazards frame the left side of the fairway, requiring golfers to favor the right side on both the drive and lay-up.
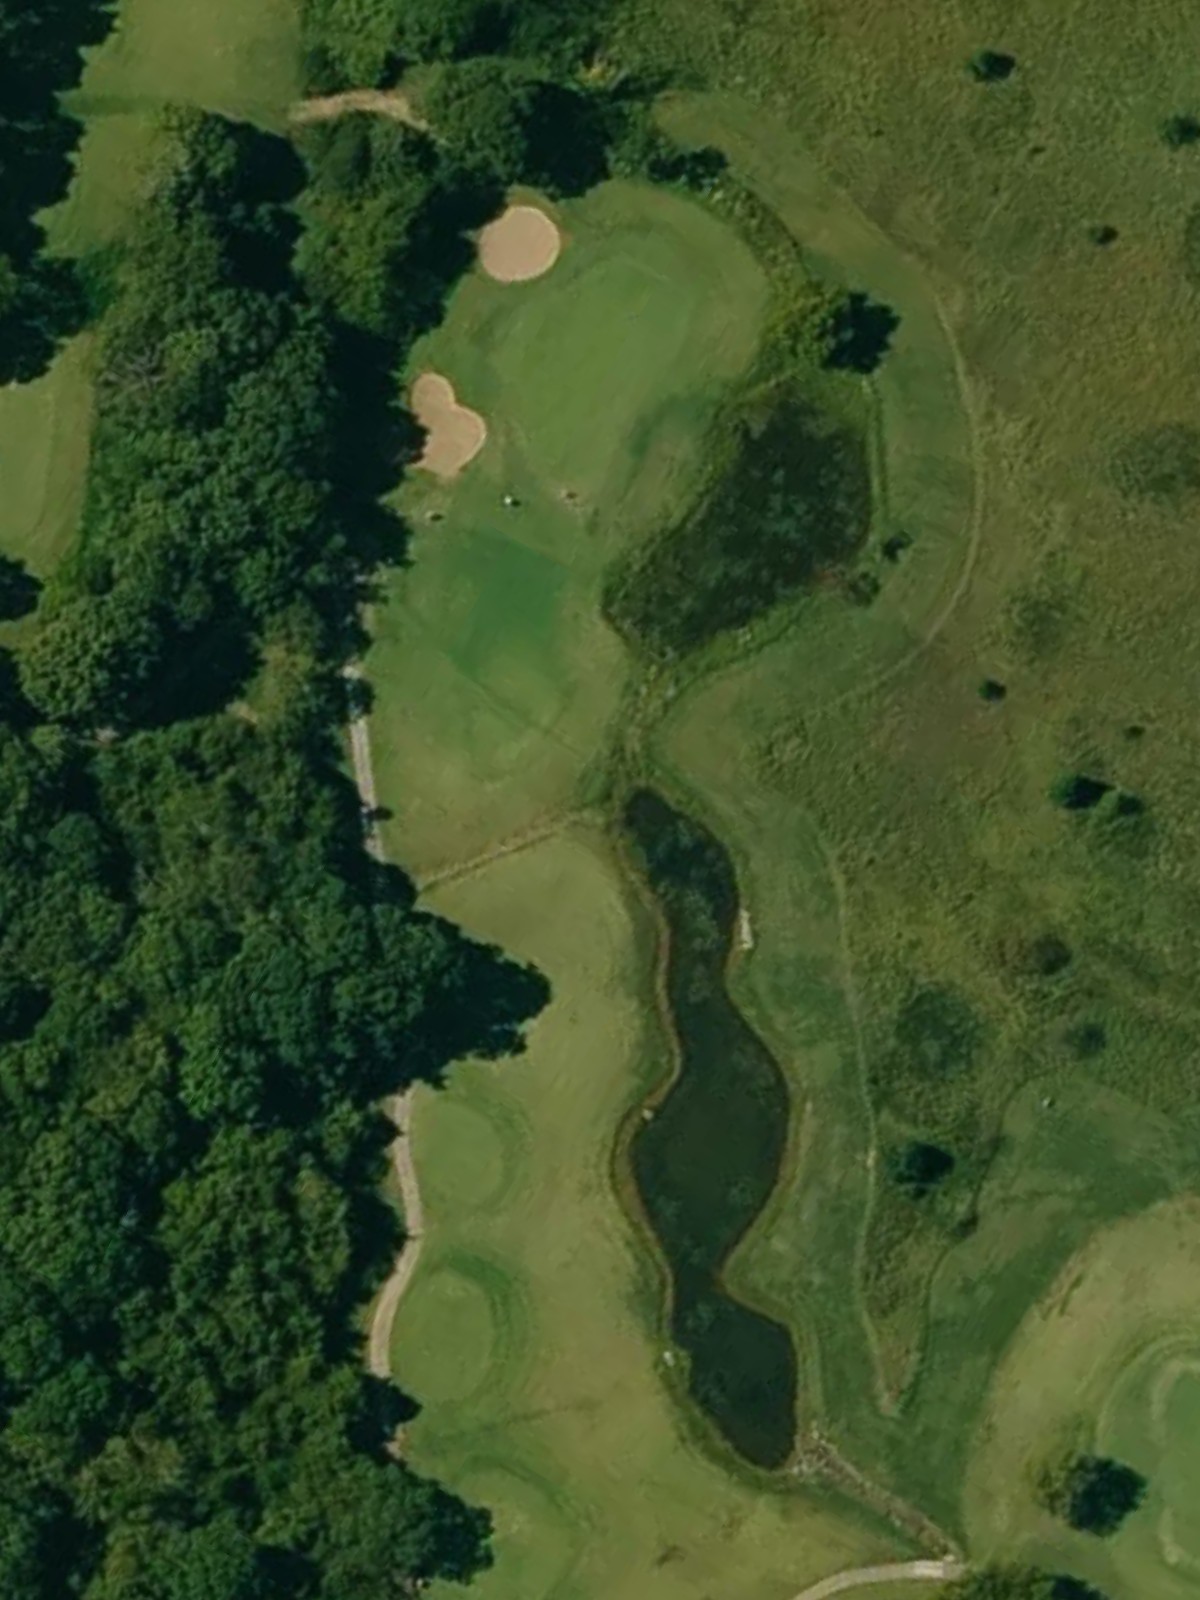
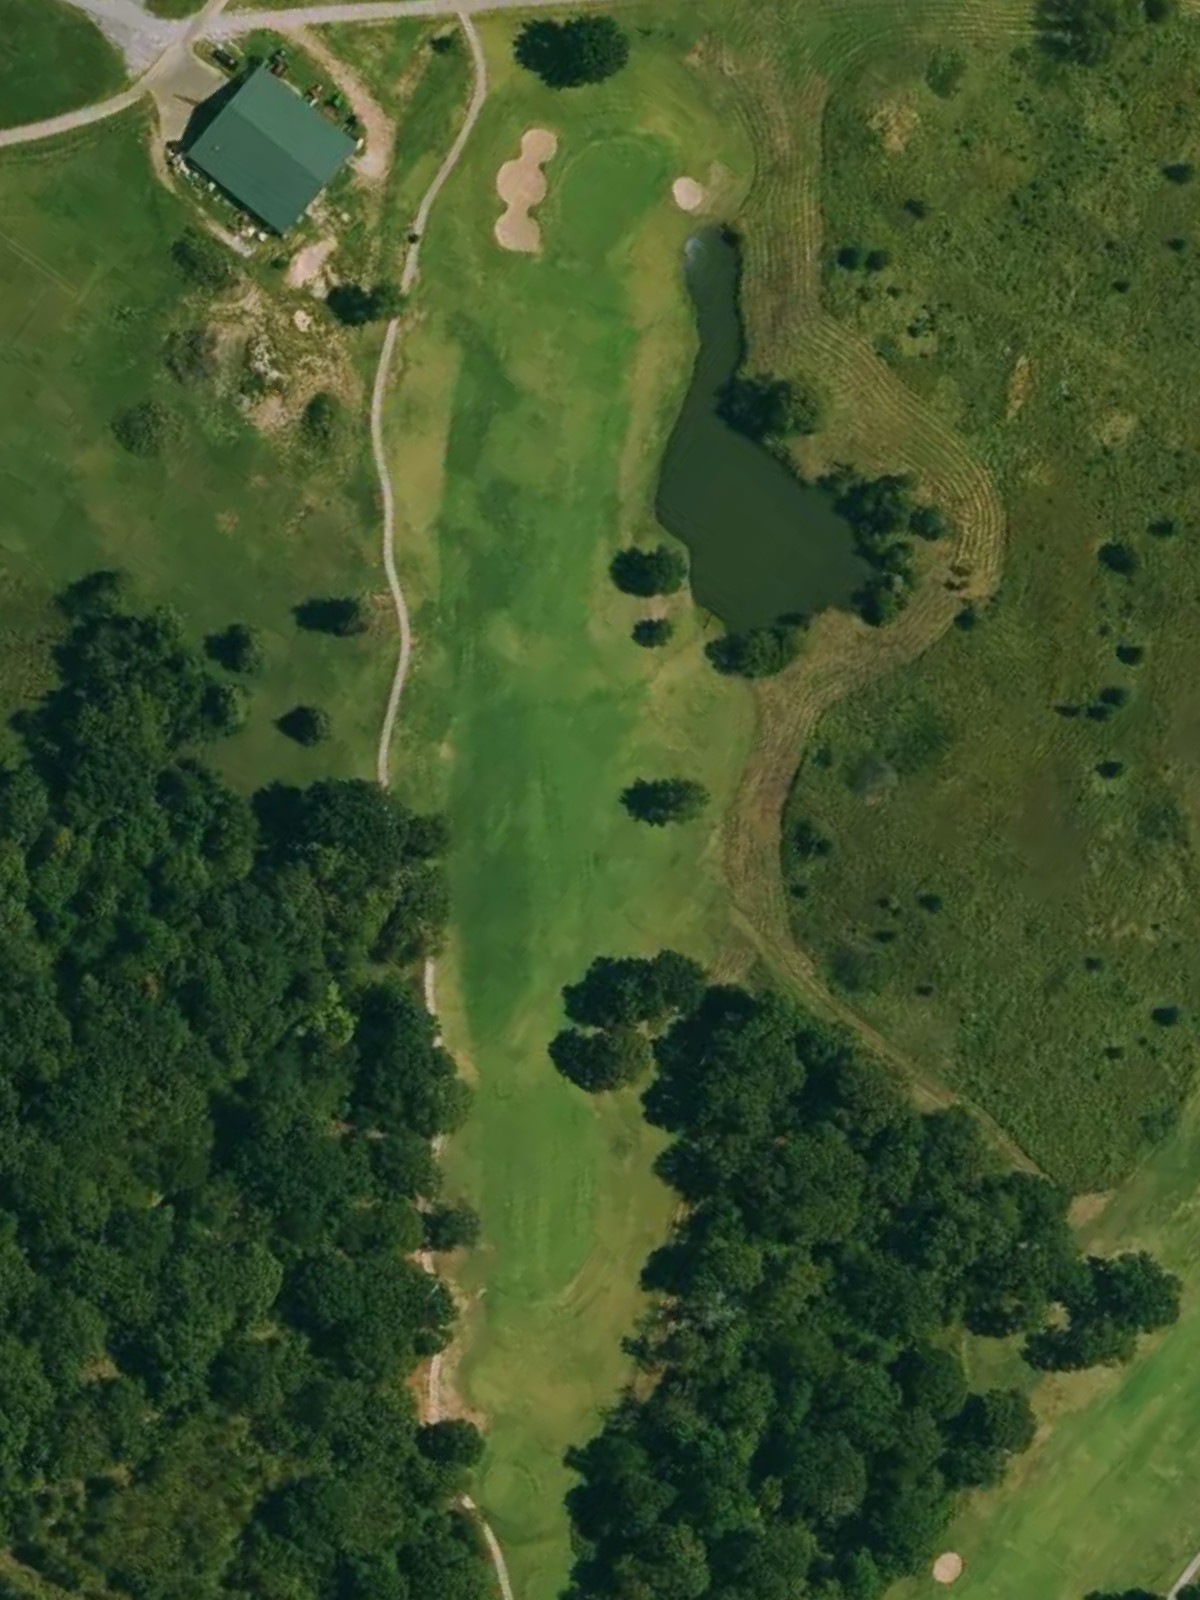
A short but demanding par 3 with a narrow, elevated green surrounded by trouble. Bunkers left and right demand a precise tee shot to find the putting surface.
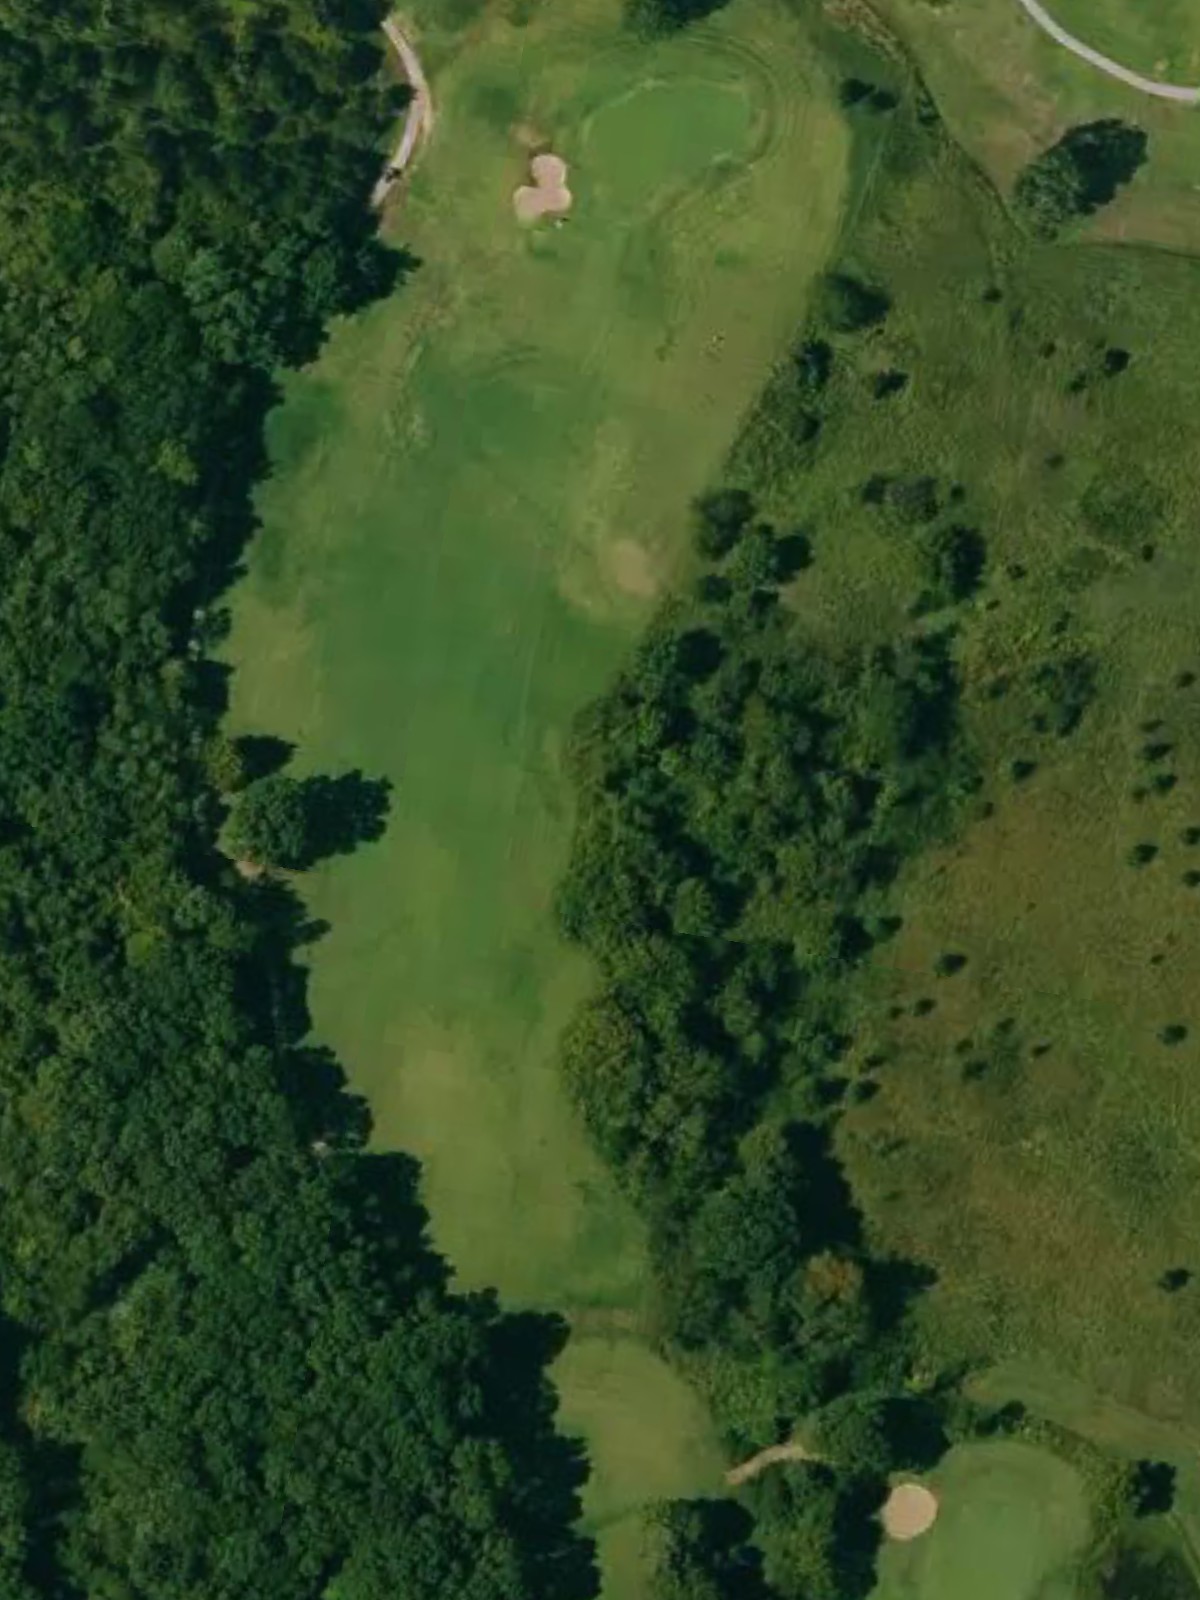
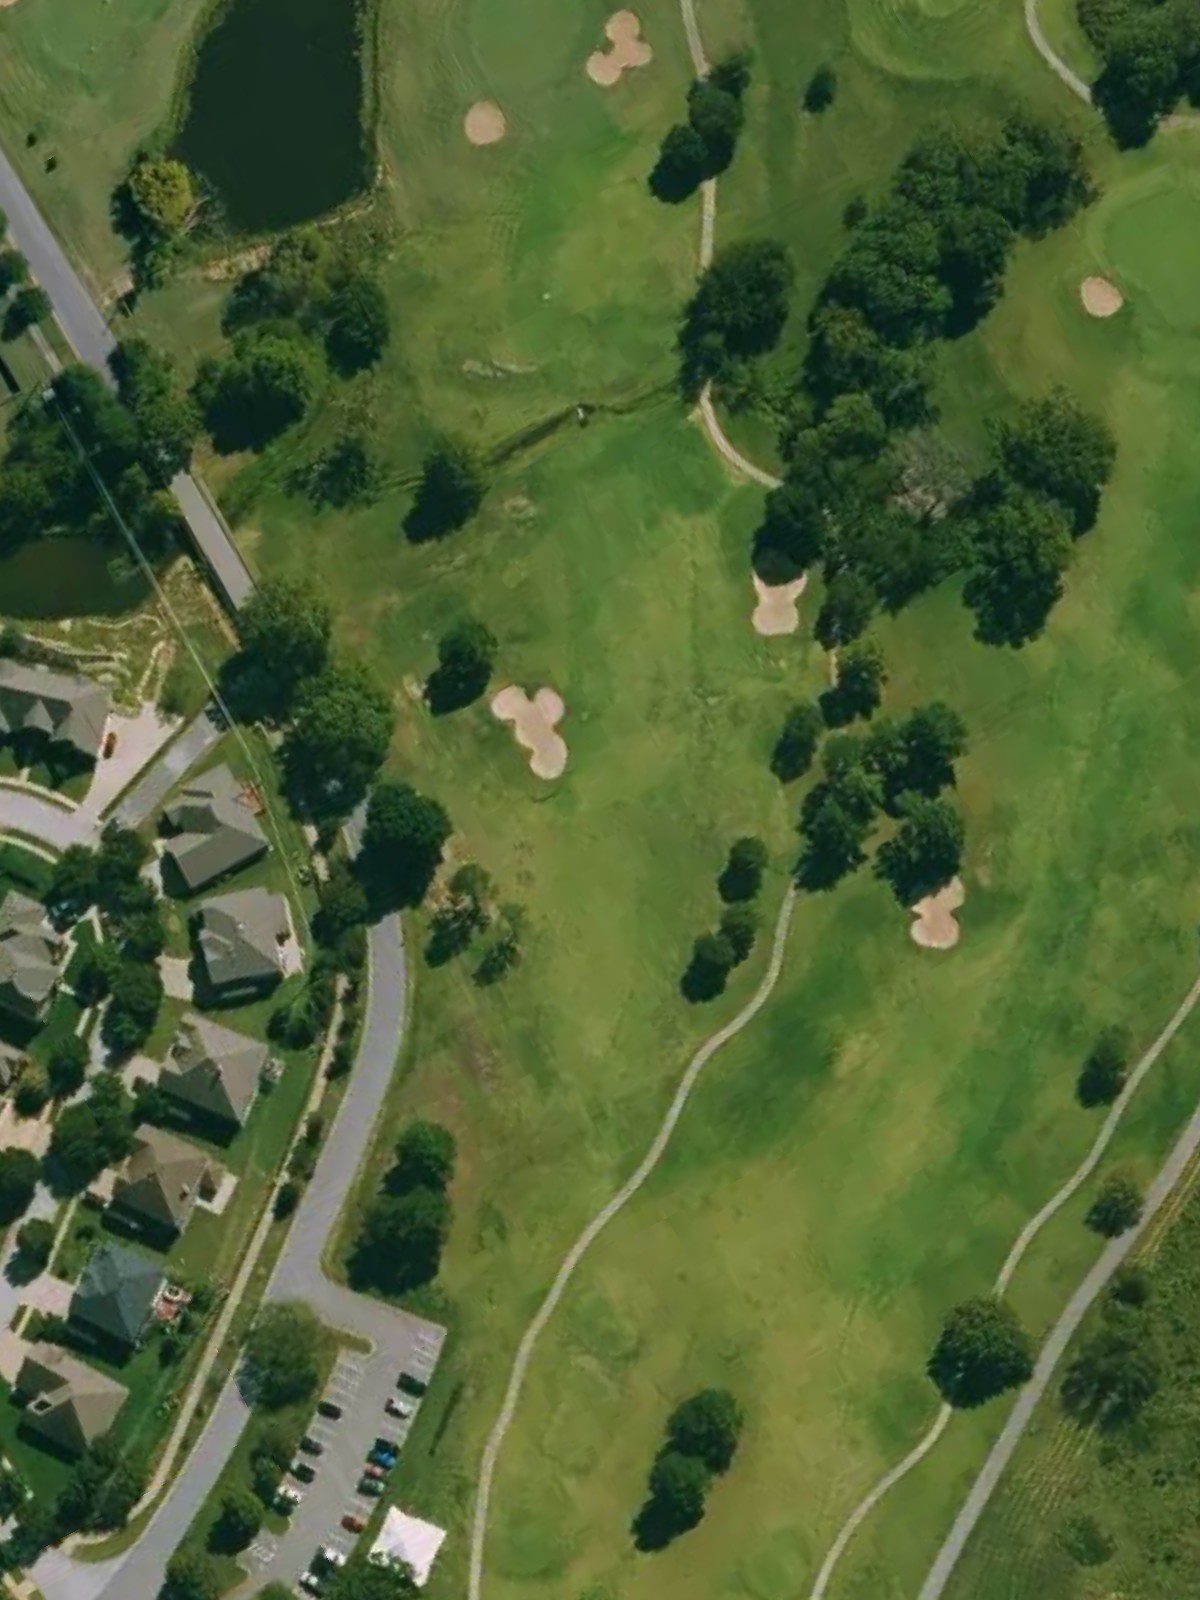
A compact par 4 that plays downhill from the tee to a tight, bunkered green. The short length is offset by the confined landing area and demanding approach into a well-defended target.

The course's signature par 4 that plays as the hardest hole, stretching across open terrain with minimal rough. Out-of-bounds lurks along one side, making position off the tee critical for scoring.

A mid-length par 3 over water that carries risk on every shot. The green sits on a small island or peninsula, with bunkers guarding the perimeter and requiring a confident, accurate strike.
A demanding par 4 that doglegs slightly with a narrow, sloped fairway. Hazards close in on both sides as the hole approaches the green, creating a claustrophobic finish to an already challenging drive.
A reachable par 5 that plays shorter than its yardage suggests. Water or wetlands threaten the left side throughout, pushing drives right and forcing decisions on the second shot.
A solid mid-length par 4 with a dogleg shape that narrows significantly as it approaches the green. Bunkers and hazards tighten around the scoring zone, making position on the fairway essential.
A straightforward par 4 that opens play on the back nine with a welcoming fairway. Greenside bunkers provide the primary defense, allowing for a more relaxed approach than the front side's intensity.
A generous par 5 with good birdie potential and relatively open fairways. Bunkers dot the landscape strategically but don't severely penalize slightly wayward shots, making this a more scorable hole.
The course's most challenging par 4, playing long and difficult with a narrow corridor to the green. Out-of-bounds or heavy rough flanks one or both sides, leaving little room for error off the tee or into the approach.
A short par 3 that belies its difficulty with a small, well-bunkered green and limited bail-out area. The target is tight and unforgiving, making this deceptively challenging despite its modest yardage.
The second-hardest hole on the course, a strong par 4 that demands two quality shots. Hazards frame both sides of the fairway and green, leaving no margin for poor execution.
A relatively straightforward par 4 that serves as a brief respite from the course's tougher tests. The fairway is inviting and the green approachable, offering a scoring opportunity before the closing stretch.
A challenging par 4 with a defined dogleg and strategic bunkering throughout. The fairway tightens significantly on the approach, and bunkers flanking the green protect a narrow target.
A short par 3 that demands precision over distance, with a small green surrounded by bunkers and hazards on all sides. The elevated nature of the hole and minimal landing area make it one of the course's most exacting short holes.
A finishing par 5 that builds to a dramatic close with water and bunkers guarding the final approach. The hole's length and complexity near the green create an exciting conclusion that can impact the round's outcome.
Scorecard
| Hole | 1 | 2 | 3 | 4 | 5 | 6 | 7 | 8 | 9 | Out | 10 | 11 | 12 | 13 | 14 | 15 | 16 | 17 | 18 | In | Tot |
|---|---|---|---|---|---|---|---|---|---|---|---|---|---|---|---|---|---|---|---|---|---|
| Par | 4 | 5 | 3 | 4 | 4 | 3 | 4 | 5 | 4 | 36 | 4 | 5 | 4 | 3 | 4 | 4 | 4 | 3 | 5 | 36 | 72 |
| HCP | 13 | 17 | 3 | 11 | 1 | 5 | 7 | 15 | 9 | 12 | 16 | 4 | 10 | 2 | 18 | 6 | 8 | 14 | |||
| black | 400 | 582 | 185 | 354 | 411 | 227 | 482 | 519 | 437 | 3597 | 385 | 527 | 430 | 180 | 449 | 404 | 457 | 194 | 519 | 3545 | 7142 |
| blue | 360 | 544 | 162 | 329 | 387 | 210 | 431 | 489 | 411 | 3323 | 360 | 494 | 392 | 150 | 416 | 372 | 429 | 163 | 496 | 3272 | 6595 |
| white | 347 | 514 | 149 | 311 | 355 | 201 | 385 | 454 | 386 | 3102 | 334 | 475 | 376 | 128 | 380 | 350 | 393 | 135 | 467 | 3038 | 6140 |
| gold | 328 | 497 | 127 | 288 | 320 | 187 | 351 | 438 | 360 | 2896 | 309 | 453 | 345 | 118 | 347 | 316 | 361 | 113 | 440 | 2802 | 5698 |