Stone Oak Country Club is an 18-hole golf course in Holland, OH with a par of 71. It offers 6 tee sets: gold (6,625 yards, slope 132, rating 72), blue (6,275 yards, slope 128, rating 70.4), white (5,925 yards, slope 125, rating 68.8), green (5,445 yards, slope 118, rating 66.5), red (5,293 yards, slope 116, rating 65.8), black (4,415 yards, slope 102, rating 61.8). The hardest hole is #9, a par 4 playing 360 yards from the first tee.
Stone Oak Country Club
Holland, OH
Get PDF Yardage Book
We'll email you the PDF link. No spam, ever.
Create Your Game Plan
Pick your tees, enter your bag, and get a personalized shot-by-shot strategy for every hole.

A straightforward par 4 that offers a relatively open fairway with minimal hazards off the tee. The approach into the green requires precision, as the landing area tightens and bunkers guard the right side of the putting surface.
A lengthy par 5 that rewards aggressive play but demands accuracy throughout. Water hazards come into play on the left side, particularly threatening layup areas and approach shots for those attacking the green in two.

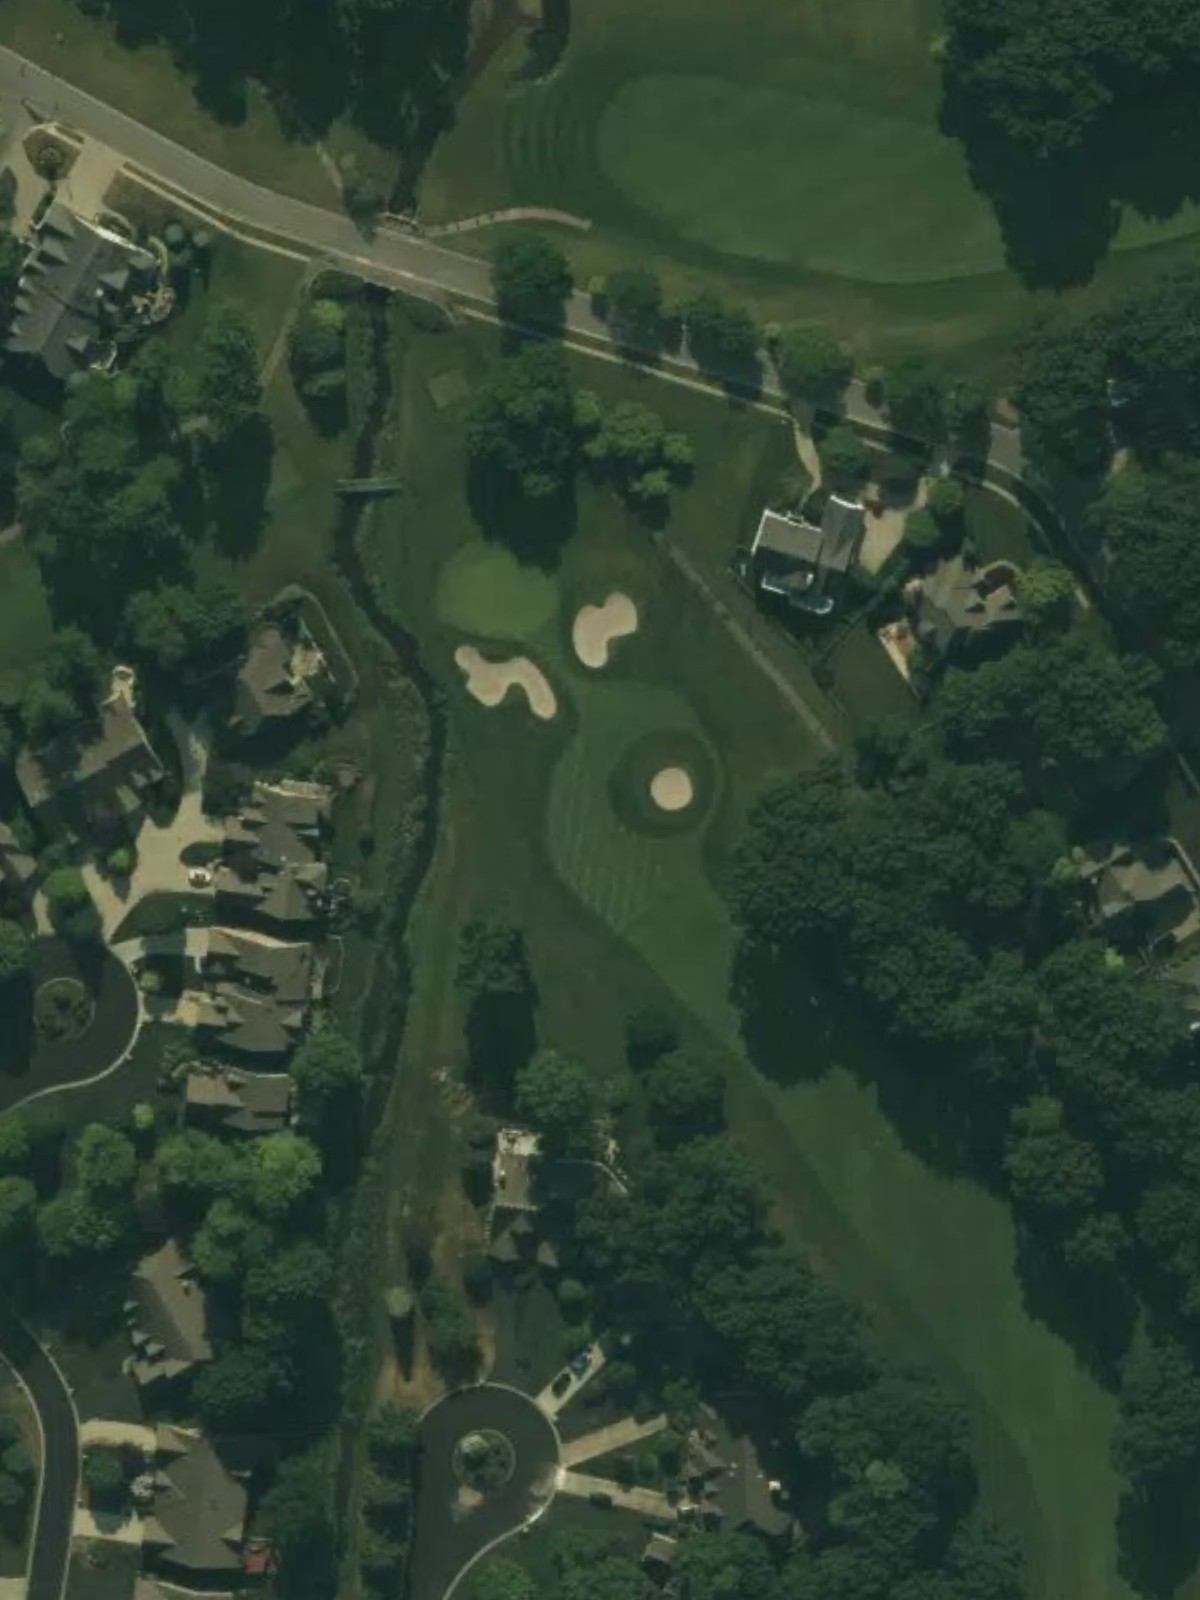
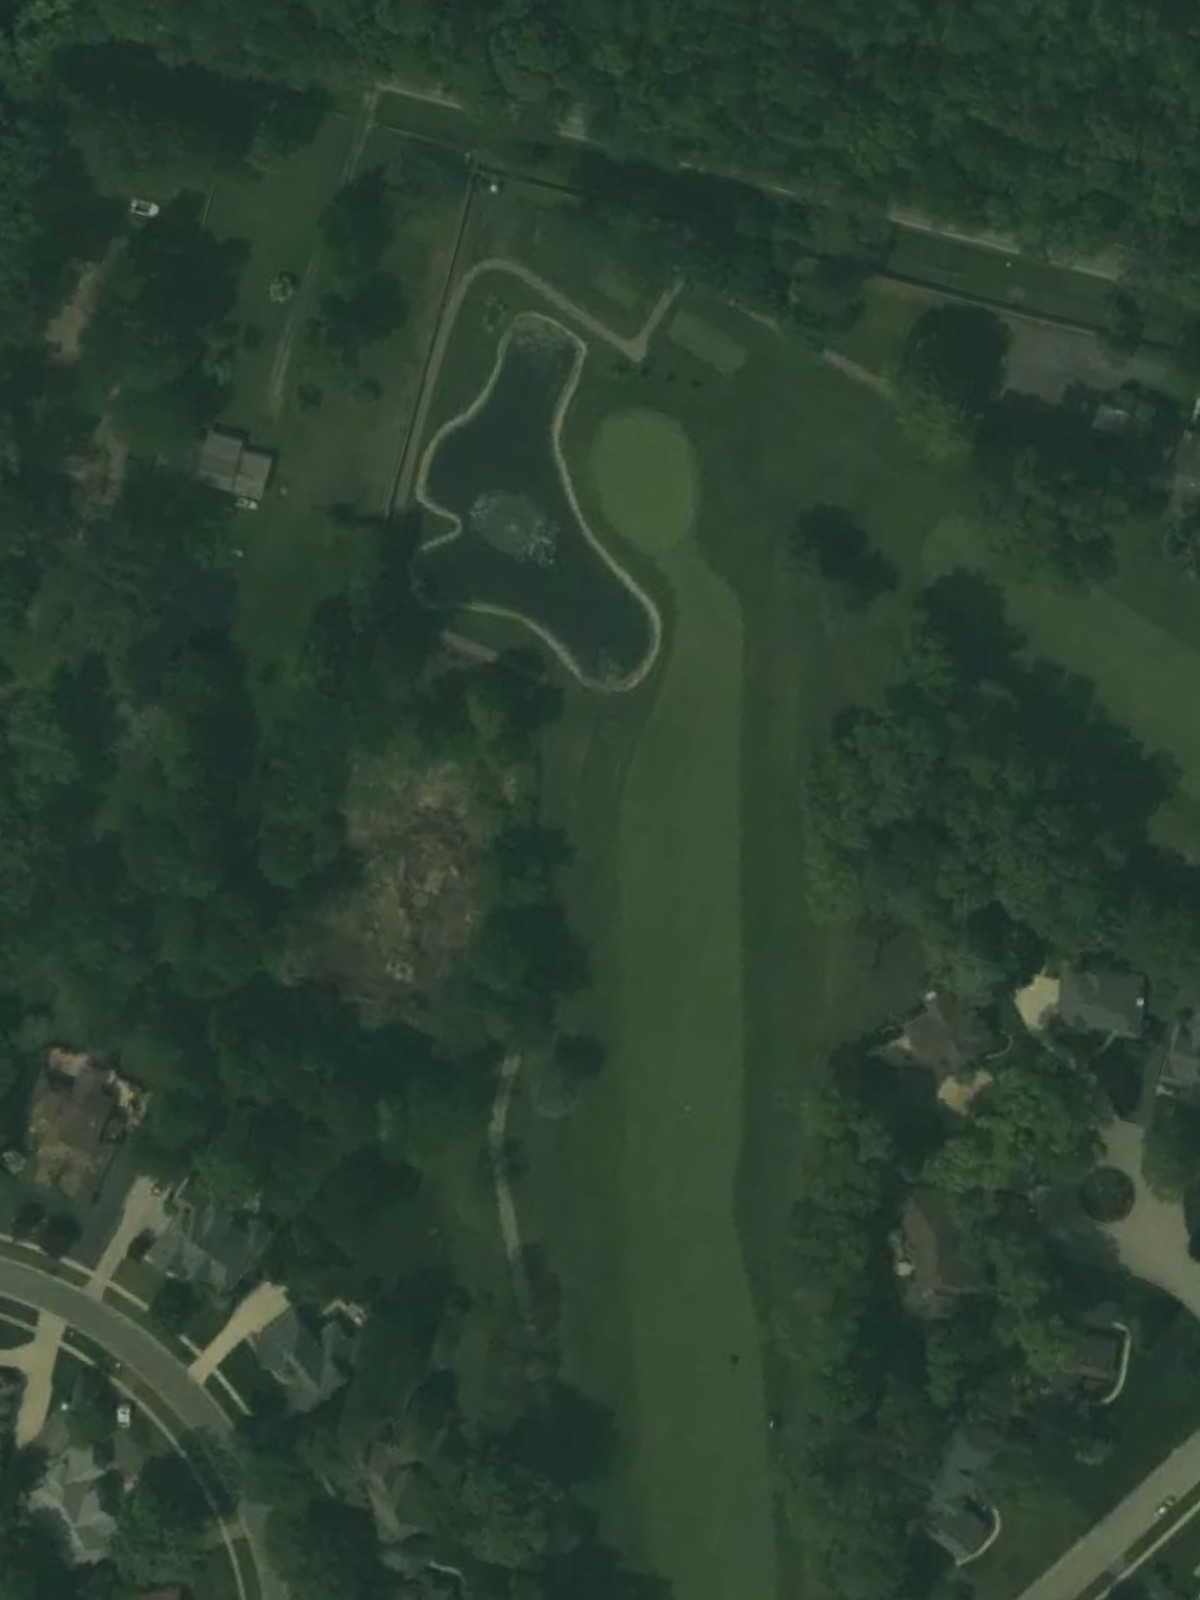
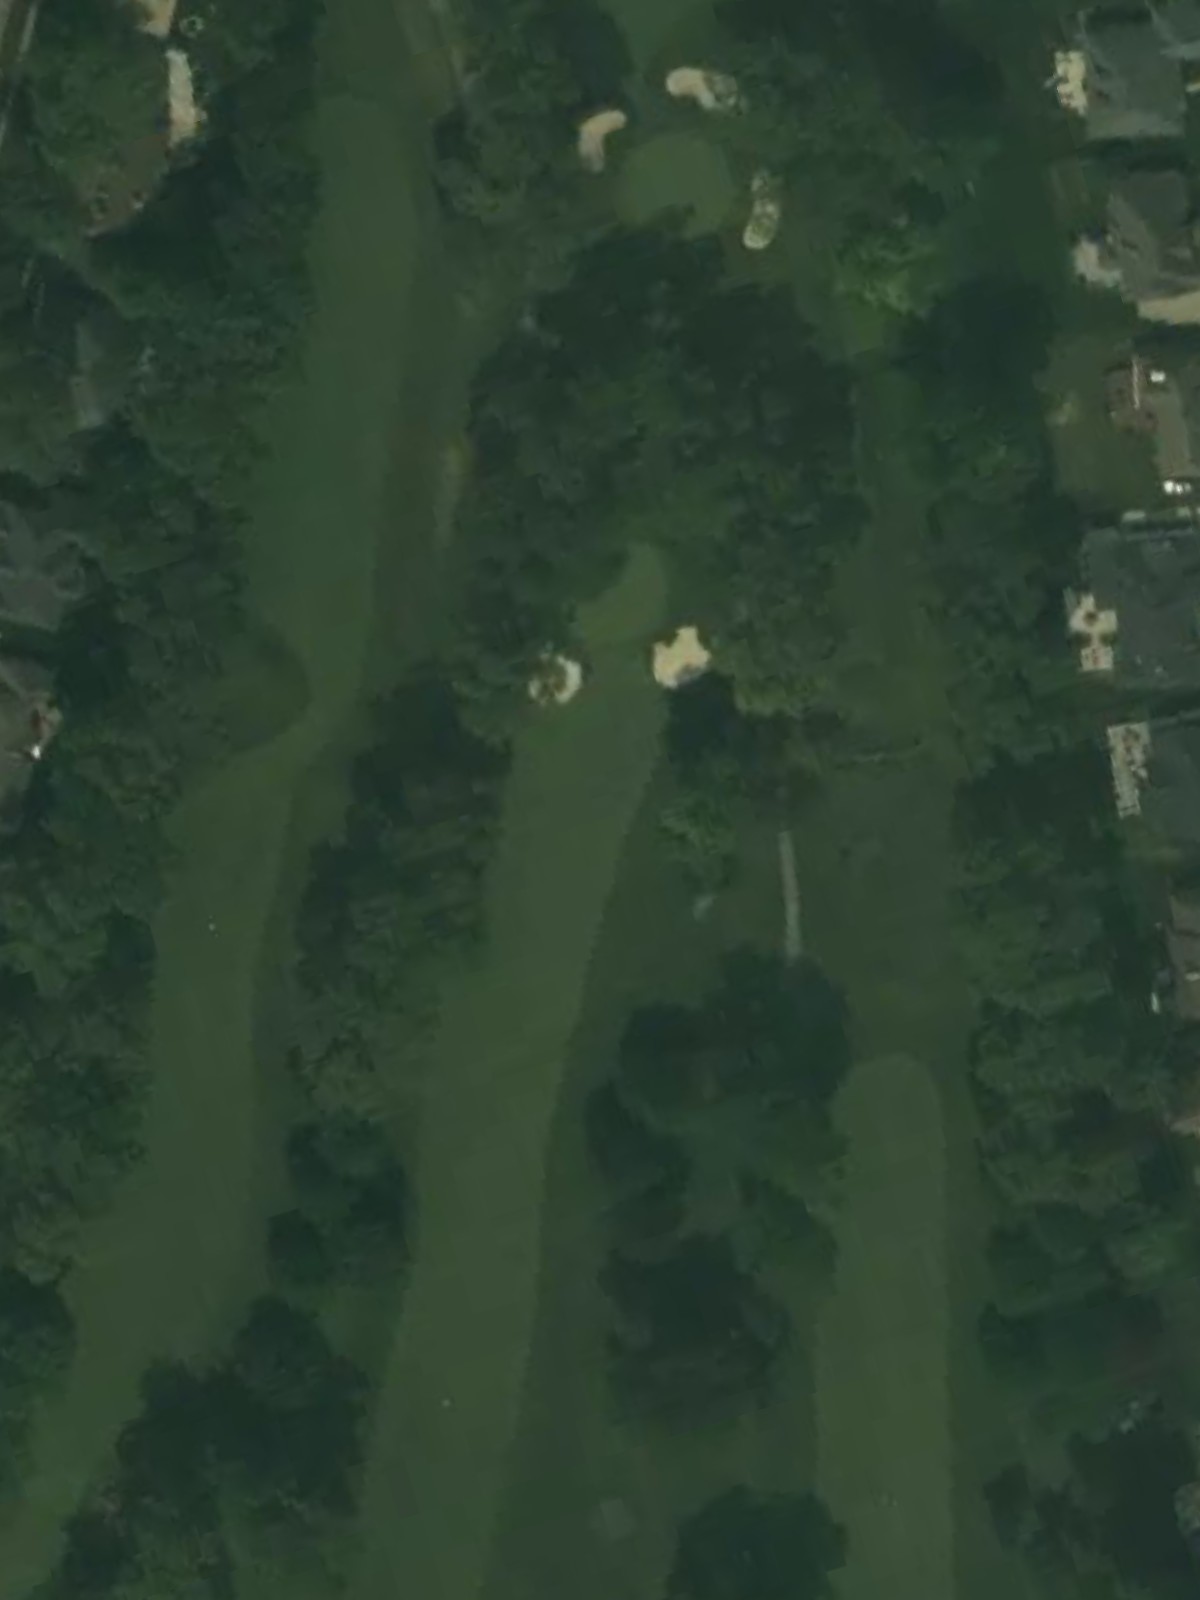
Stone Oak's most challenging par 4, featuring a tight fairway corridor that demands placement off the tee. Strategic bunkers frame both sides of the fairway and green, with limited room for error on either the drive or approach.
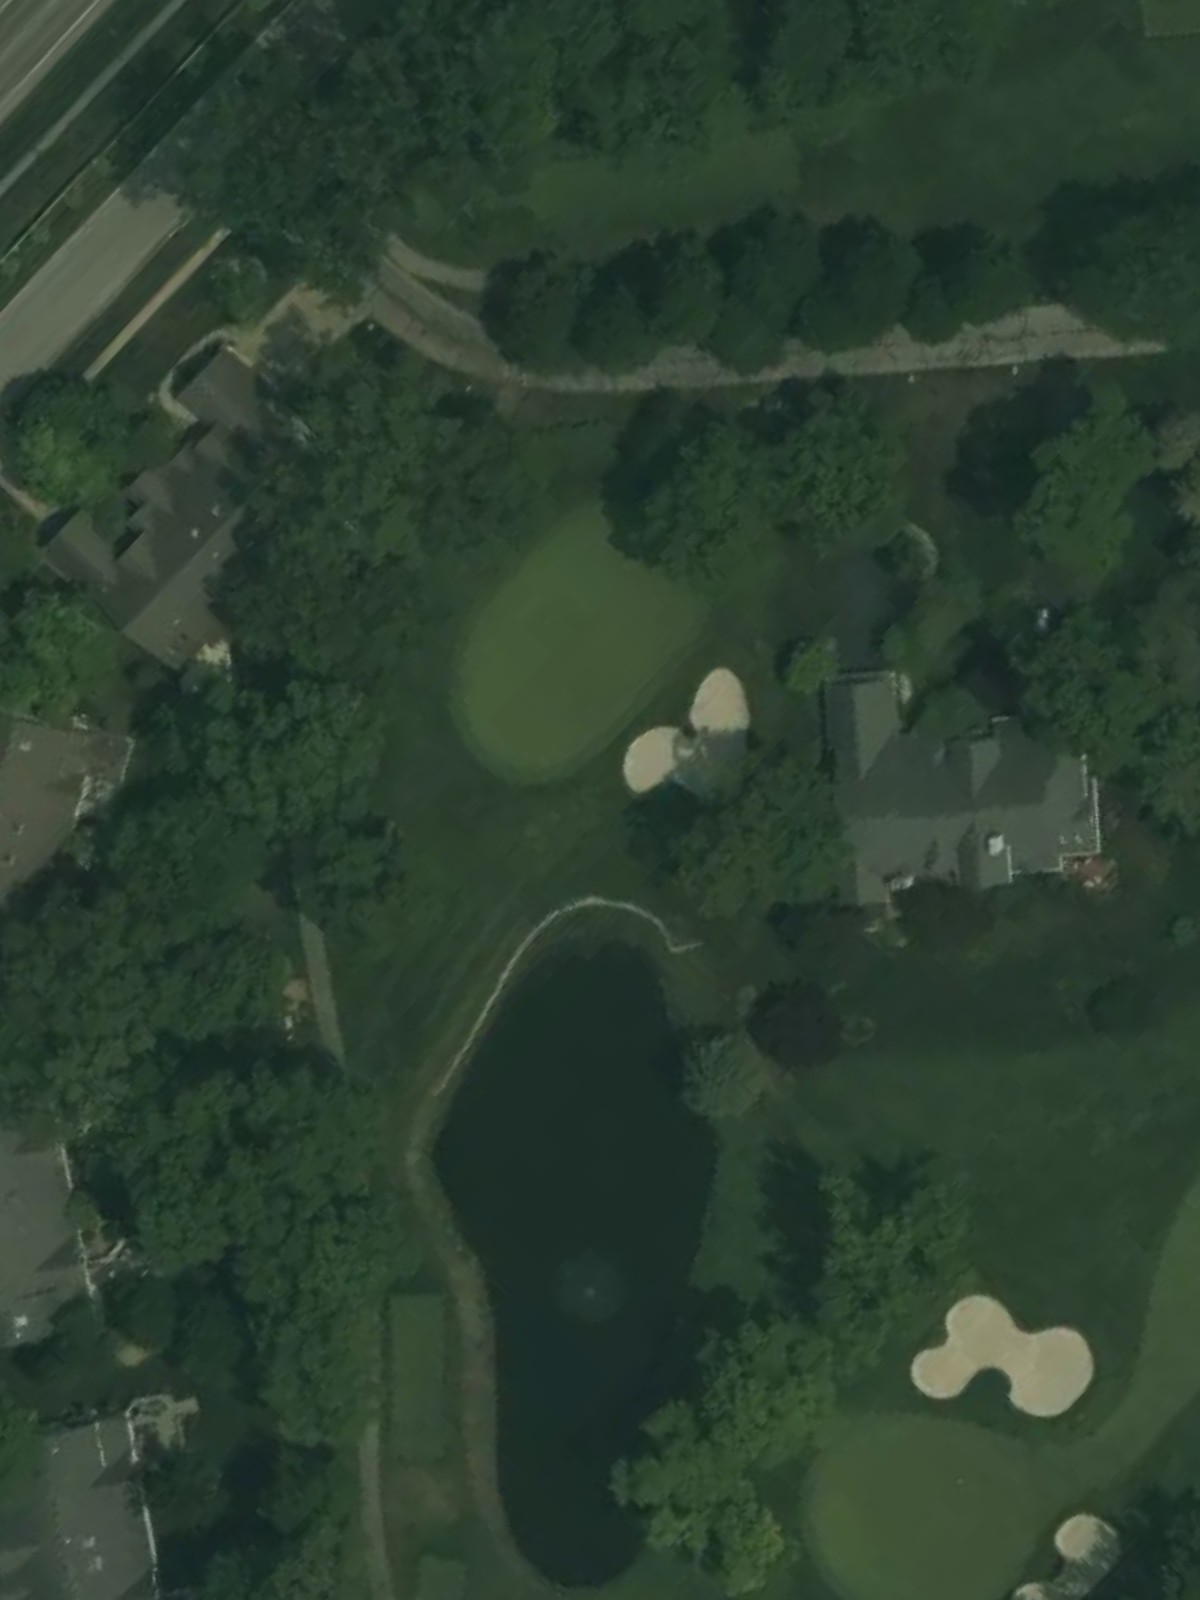
A short par 3 that plays downhill to a well-bunkered green. The reduced distance is offset by the need to navigate bunkers and the slope of the green itself.
A moderate par 4 with a fairway that slopes and narrows as it approaches the green. A pond or water hazard left of the green punishes aggressive approaches, making club selection and accuracy critical.

A sprawling par 5 that provides multiple routes to the green depending on player ability and strategy. Water hazards flanking the left side of the fairway and green present a constant threat, particularly for second and third shots.
The second-most difficult par 4 on the course, this hole features a dramatic dogleg shape with hazards tightening the landing areas. Bunkers and out-of-bounds stakes frame both the fairway bend and the green, demanding precision on every shot.

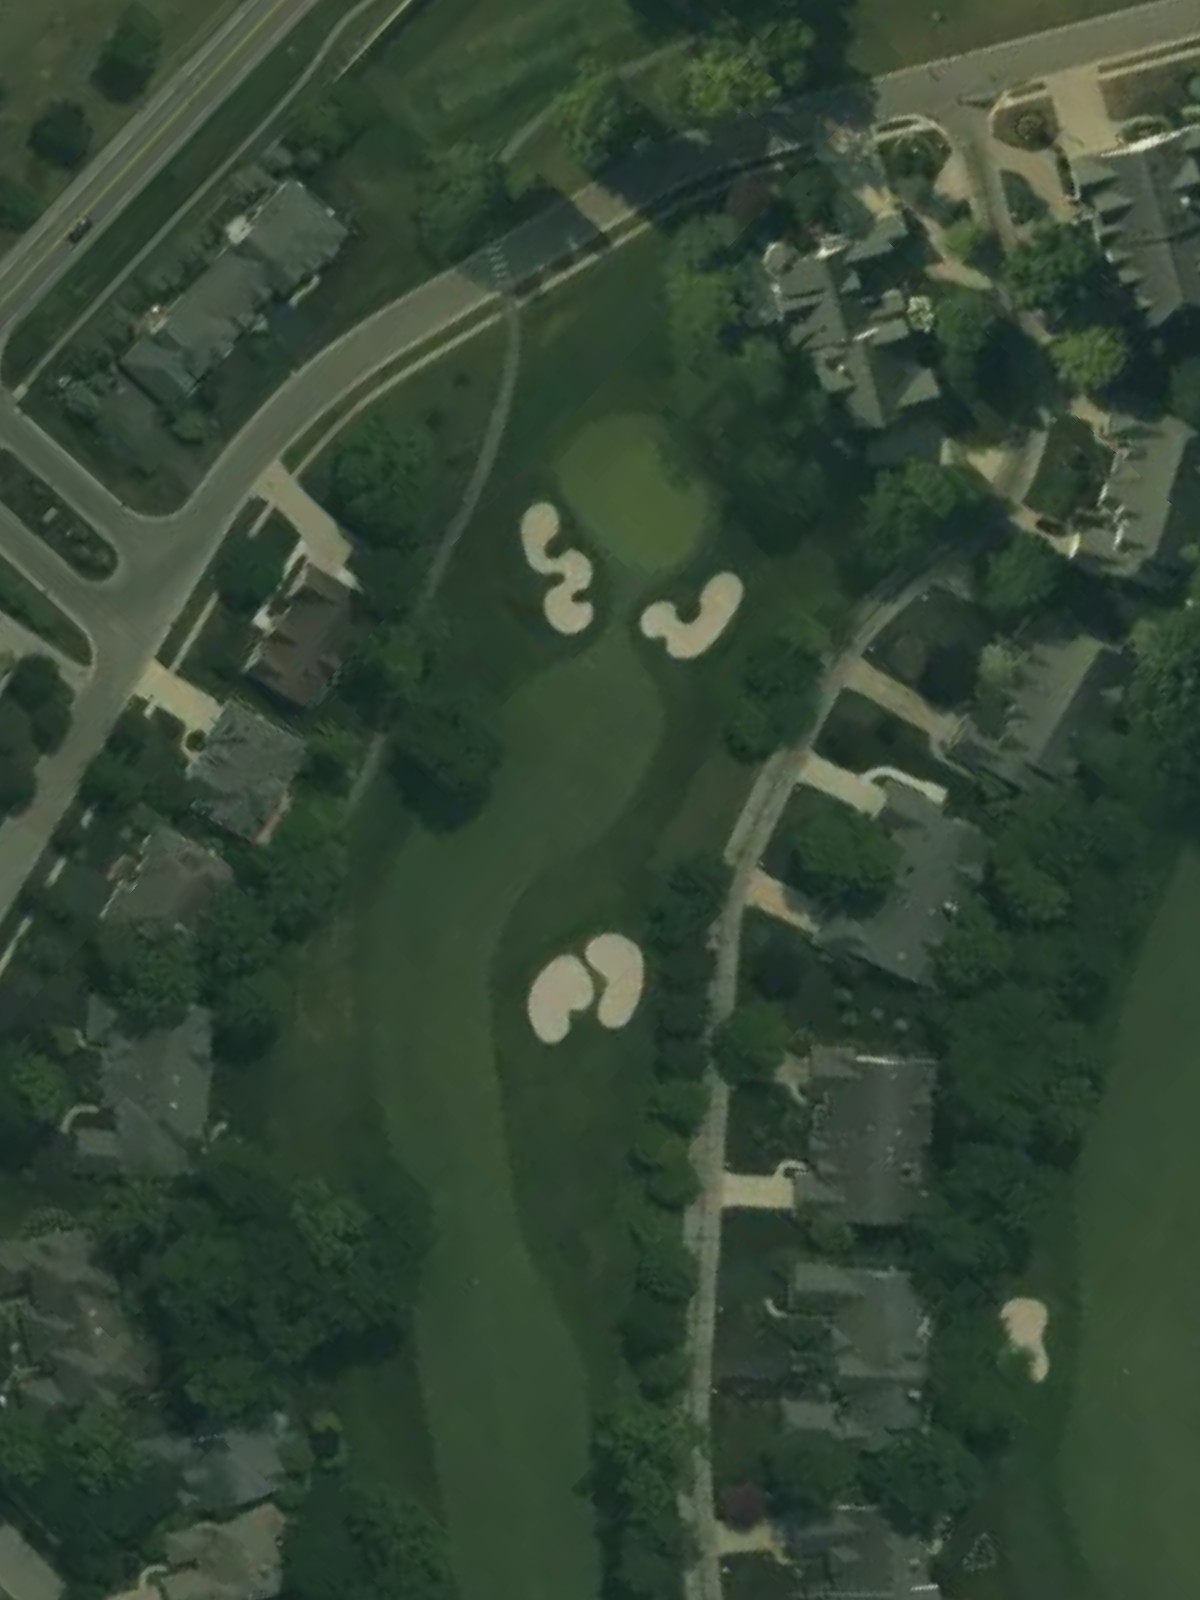
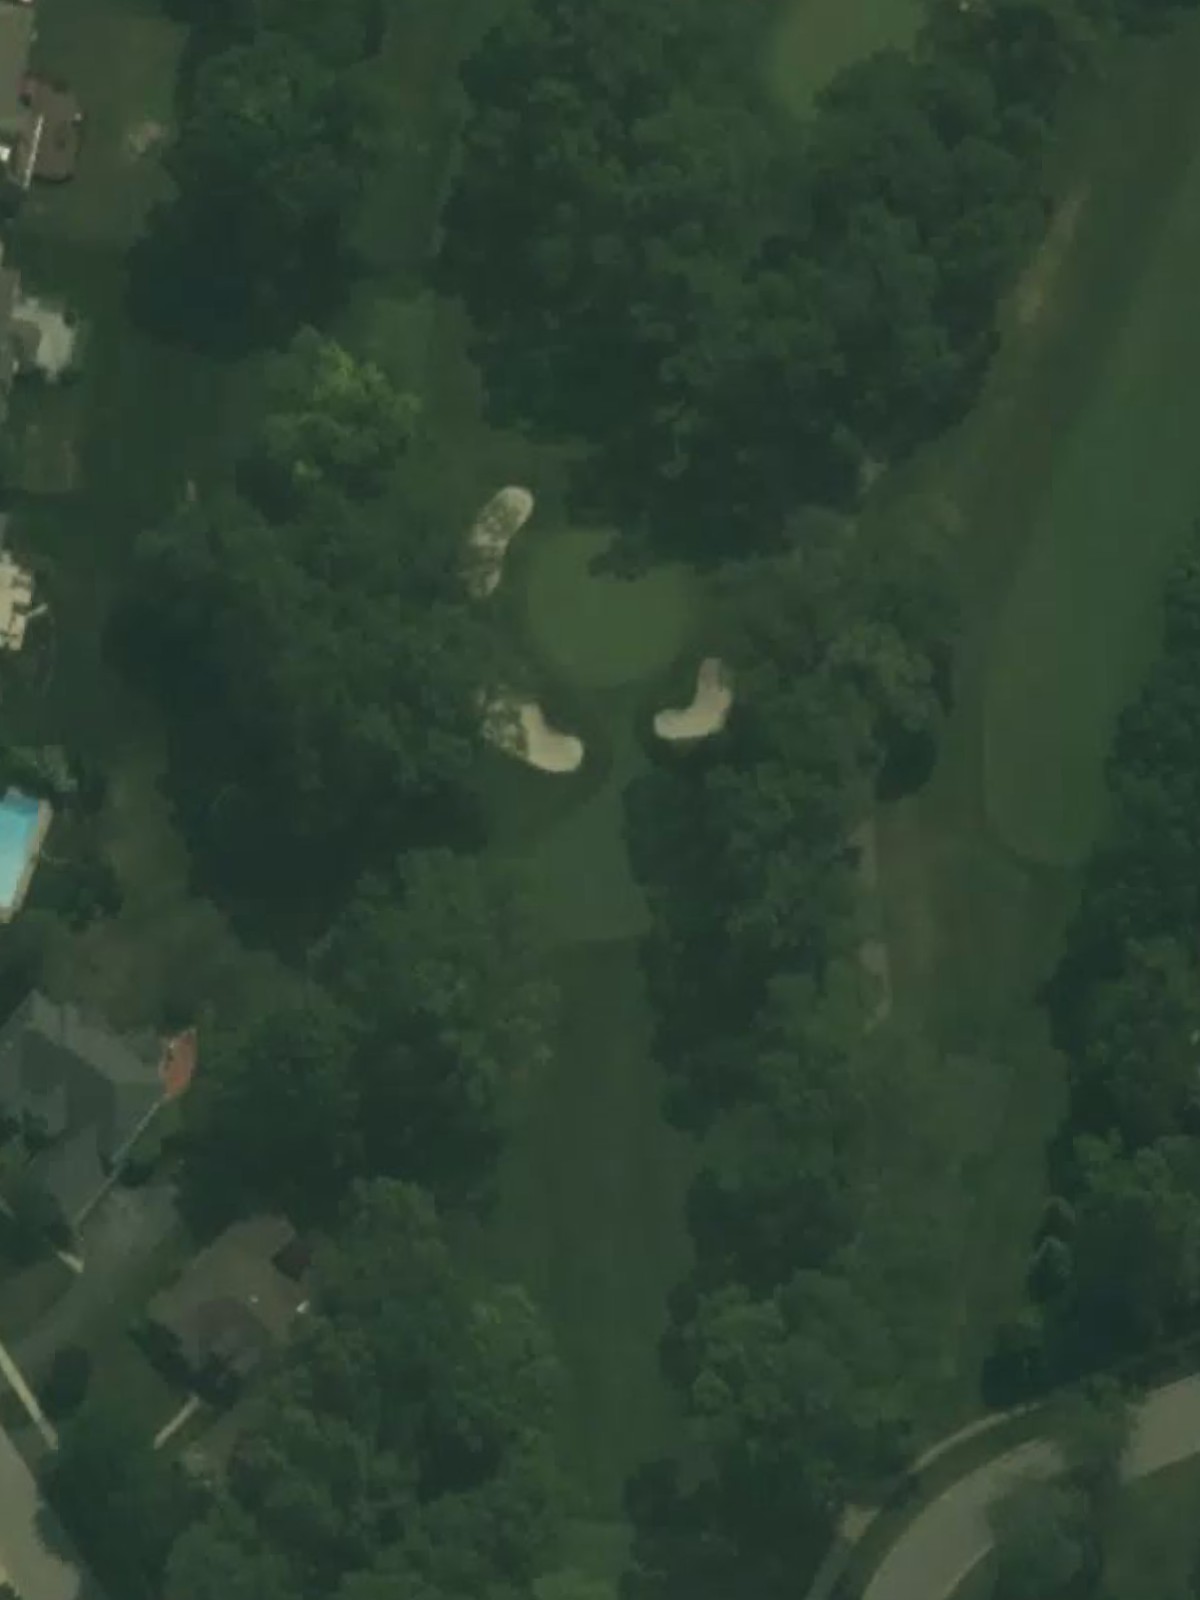
A short par 3 with a narrow, well-defended green protected by sand on multiple sides. The compact nature of this hole makes accuracy from the tee paramount.

The signature hole at Stone Oak, this par 4 plays as the course's #1 handicap with a dramatic dogleg and significant hazards throughout. Water or rough terrain shapes the turn, while bunkers and out-of-bounds right guard the green, making this a defining test of skill and nerve.

A challenging par 4 with a fairway that doglegs and tightens as it approaches the green. Strategic positioning off the tee is essential, as bunkers and hazards converge near the putting surface.

A formidable par 5 ranking as the fourth-most difficult hole on the course, featuring a sharp dogleg that forces strategic decisions on the second shot. Out-of-bounds and bunker complexes guard both the fairway turn and the green, punishing errant shots severely.
The second-hardest hole at Stone Oak, this par 4 presents a narrow, perilous fairway flanked by hazards and rough terrain. The green is heavily bunkered and demands a precise, controlled approach after a well-executed drive.
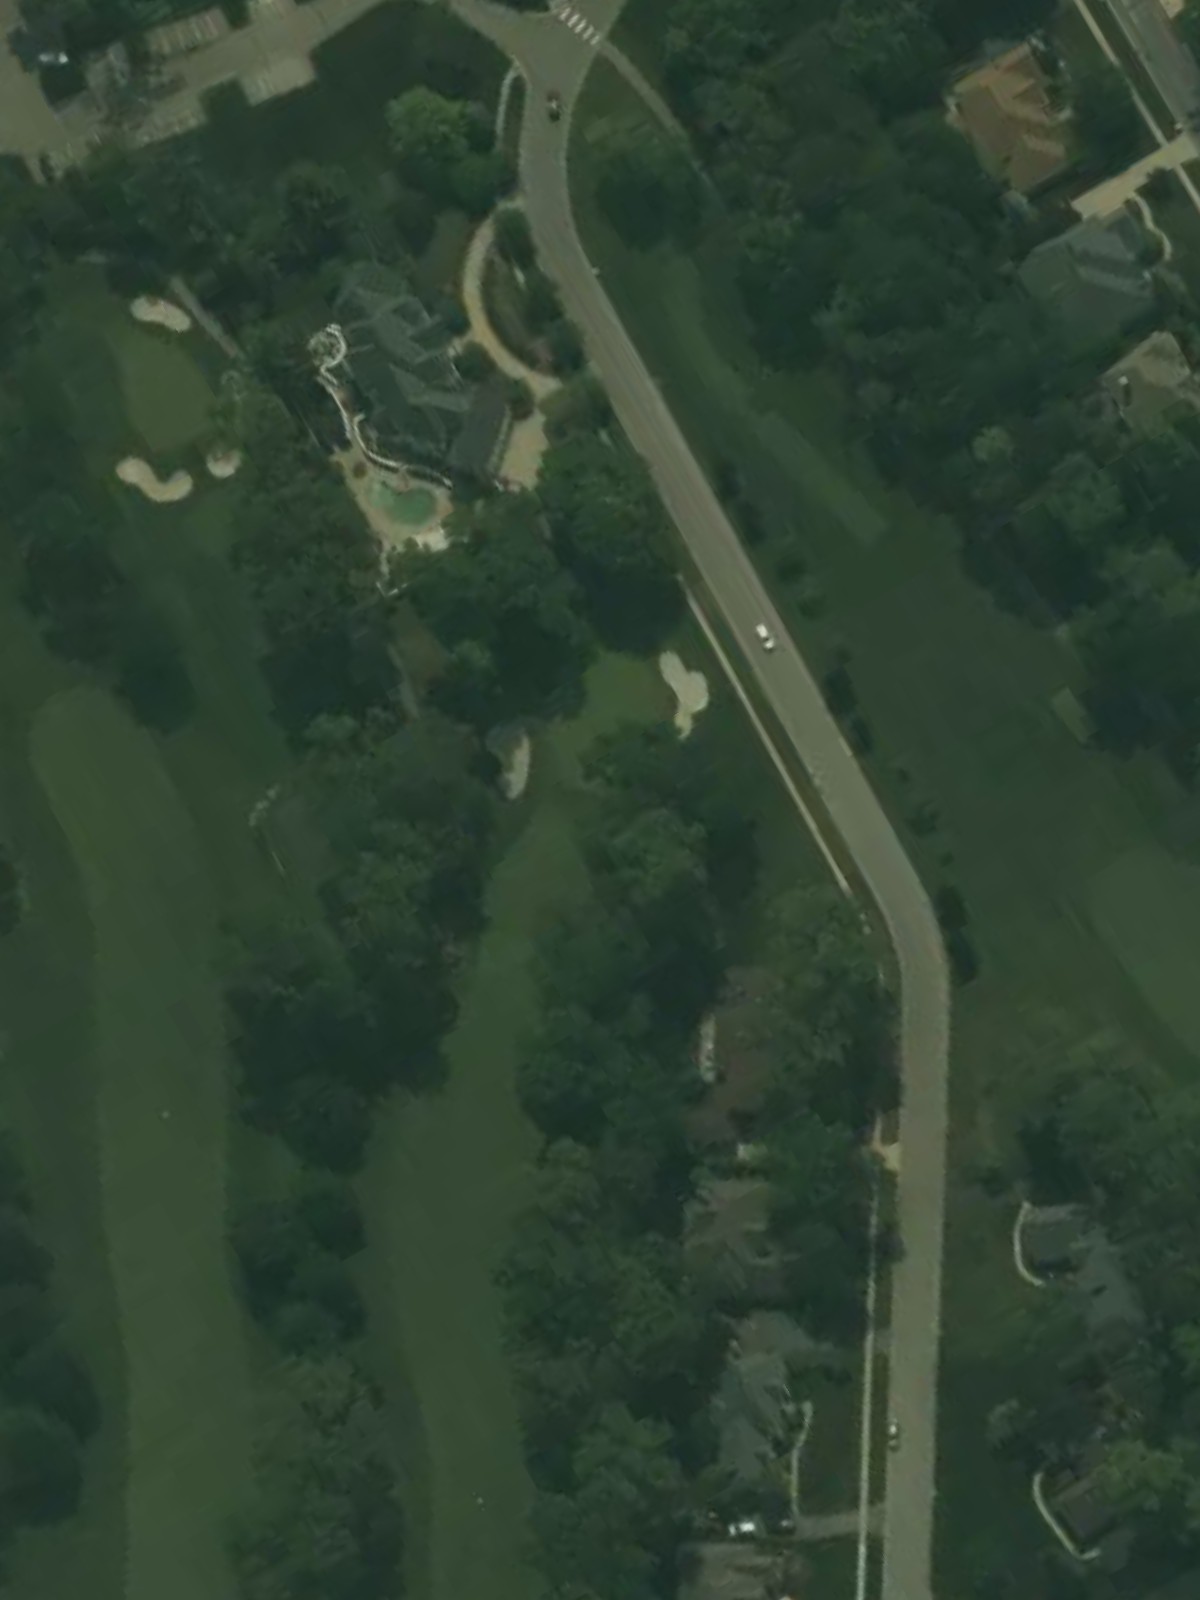
A relatively forgiving par 4 with a wider fairway and more open approach to the green. While bunkers defend the putting surface, this hole offers a reprieve from the intensity of the back nine's toughest tests.
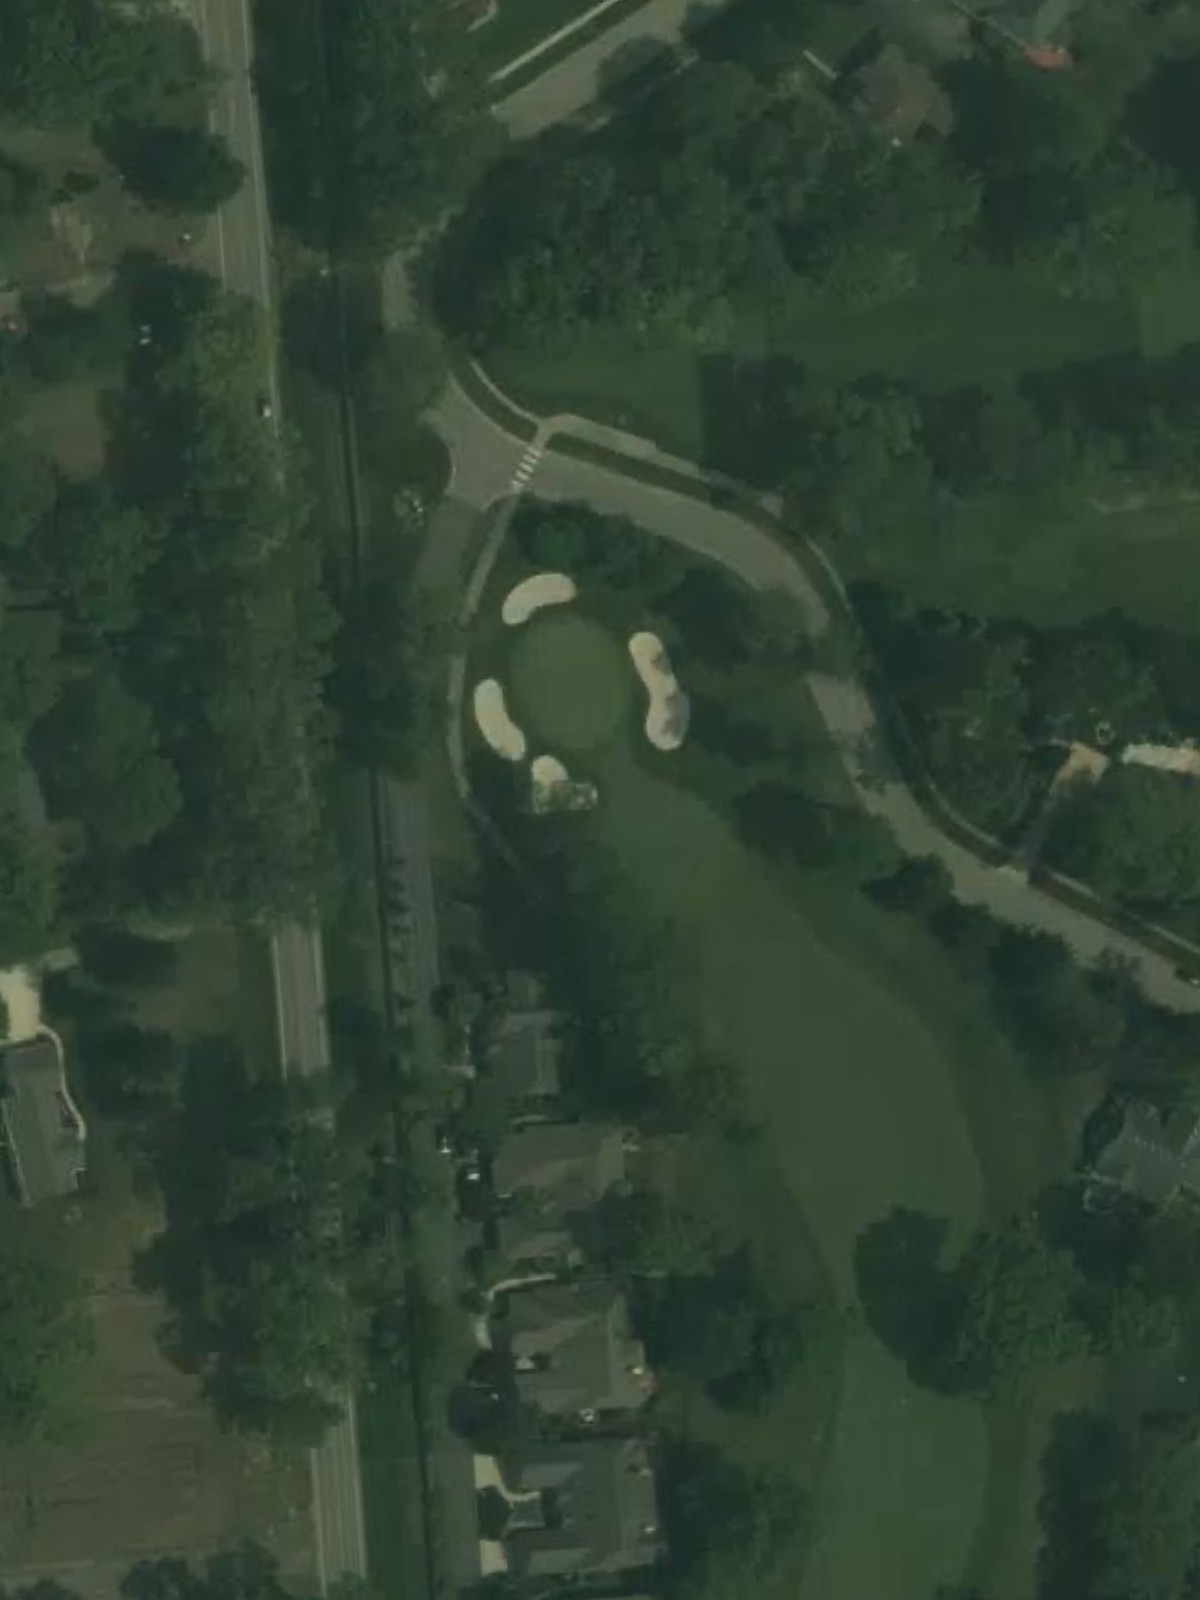
A brief par 3 that is the easiest hole on the course, requiring only a short iron or wedge to a modestly defended green. While bunkers frame the putting surface, the reduced yardage makes this a scoring opportunity.
A short par 4 that plays downhill and offers a risk-reward opportunity for aggressive players. The fairway narrows significantly near the green, and strategic hazards left and right require careful shot placement.

The easiest par 3 on the course, playing to a small green with minimal bunkering. The short distance makes this a birdie opportunity, though accuracy remains essential.
A compact par 4 with a tight fairway corridor that leaves little margin for error off the tee. The approach to the green is straightforward but demands precision, with hazards punishing wayward shots.

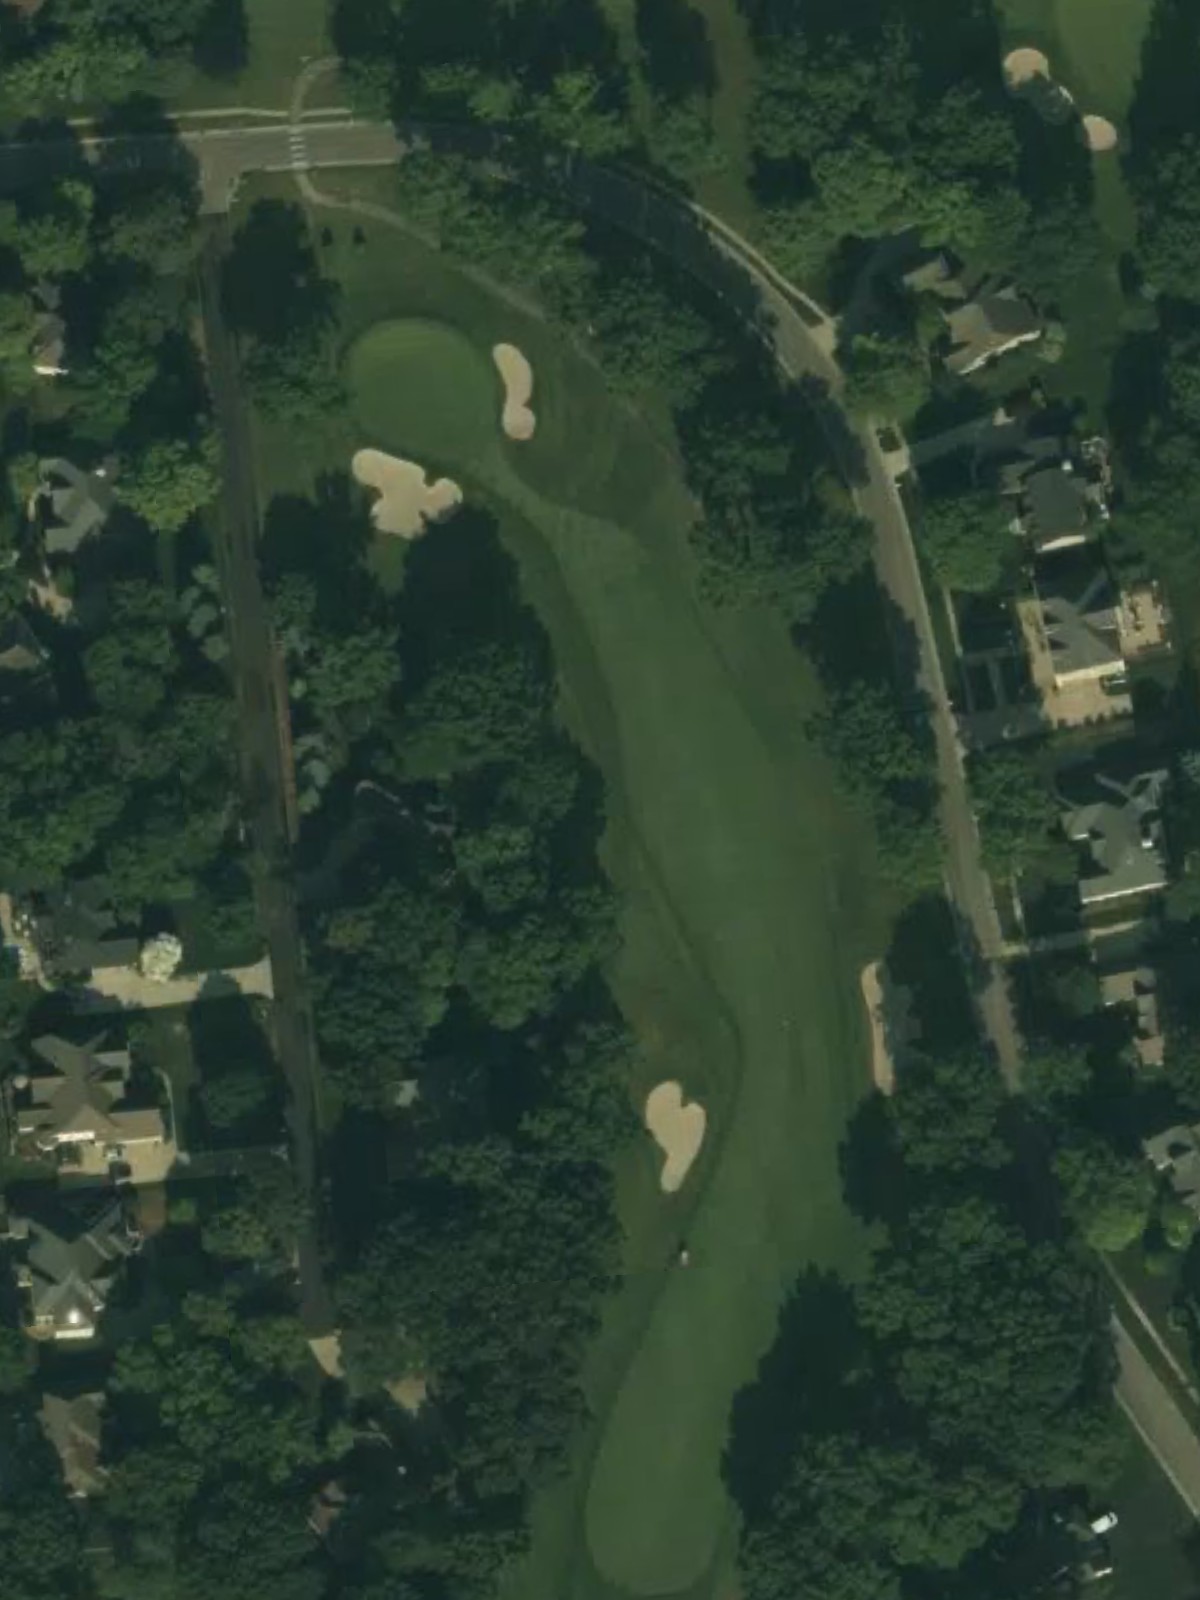
A closing par 4 that features a narrow fairway leading to a well-bunkered green in a dramatic finishing setting. The hole's strategic layout and bunker placement create a demanding conclusion to the round.
Scorecard
| Hole | 1 | 2 | 3 | 4 | 5 | 6 | 7 | 8 | 9 | Out | 10 | 11 | 12 | 13 | 14 | 15 | 16 | 17 | 18 | In | Tot |
|---|---|---|---|---|---|---|---|---|---|---|---|---|---|---|---|---|---|---|---|---|---|
| Par | 4 | 5 | 4 | 3 | 4 | 5 | 4 | 3 | 4 | 36 | 4 | 5 | 4 | 4 | 3 | 4 | 3 | 4 | 4 | 35 | 71 |
| HCP | 7 | 9 | 3 | 17 | 11 | 13 | 5 | 15 | 1 | 6 | 4 | 2 | 14 | 16 | 12 | 18 | 10 | 8 | |||
| gold | 424 | 546 | 415 | 166 | 367 | 516 | 418 | 180 | 459 | 3491 | 414 | 537 | 440 | 372 | 160 | 370 | 116 | 355 | 370 | 3134 | 6625 |
| blue | 416 | 525 | 364 | 153 | 350 | 479 | 393 | 168 | 437 | 3285 | 399 | 515 | 415 | 350 | 147 | 351 | 111 | 345 | 357 | 2990 | 6275 |
| white | 362 | 509 | 349 | 137 | 343 | 449 | 373 | 152 | 409 | 3083 | 383 | 501 | 397 | 335 | 133 | 334 | 99 | 335 | 325 | 2842 | 5925 |
| green | 353 | 442 | 343 | 96 | 335 | 417 | 317 | 145 | 389 | 2837 | 341 | 415 | 385 | 326 | 128 | 283 | 91 | 330 | 309 | 2608 | 5445 |
| red | 345 | 430 | 340 | 91 | 329 | 402 | 312 | 133 | 360 | 2742 | 336 | 410 | 374 | 321 | 117 | 278 | 86 | 325 | 304 | 2551 | 5293 |
| black | 307 | 380 | 261 | 86 | 230 | 314 | 260 | 128 | 307 | 2273 | 288 | 375 | 298 | 251 | 114 | 243 | 84 | 260 | 229 | 2142 | 4415 |