Stone Canyon Club, The is an 18-hole golf course in Oro Valley, AZ with a par of 72. It offers 11 tee sets: copper (7,317 yards, slope 142, rating 74), copper/black (6,990 yards, slope 140, rating 72.8), black (6,782 yards, slope 137, rating 71.8), black/blue (6,414 yards, slope 131, rating 70.9), blue (6,300 yards, slope 127, rating 70.4), blue/white (6,008 yards, slope 124, rating 69.1), white (5,814 yards, slope 122, rating 68.1), white/red (5,320 yards, slope 118, rating 66), red (5,127 yards, slope 115, rating 64.9), junior (4,868 yards, slope 112, rating 63.8), green (4,736 yards, slope 111, rating 63.1). The hardest hole is #8, a par 4 playing 262 yards from the first tee.
Stone Canyon Club, The
Oro Valley, AZ
Get PDF Yardage Book
We'll email you the PDF link. No spam, ever.
Create Your Game Plan
Pick your tees, enter your bag, and get a personalized shot-by-shot strategy for every hole.
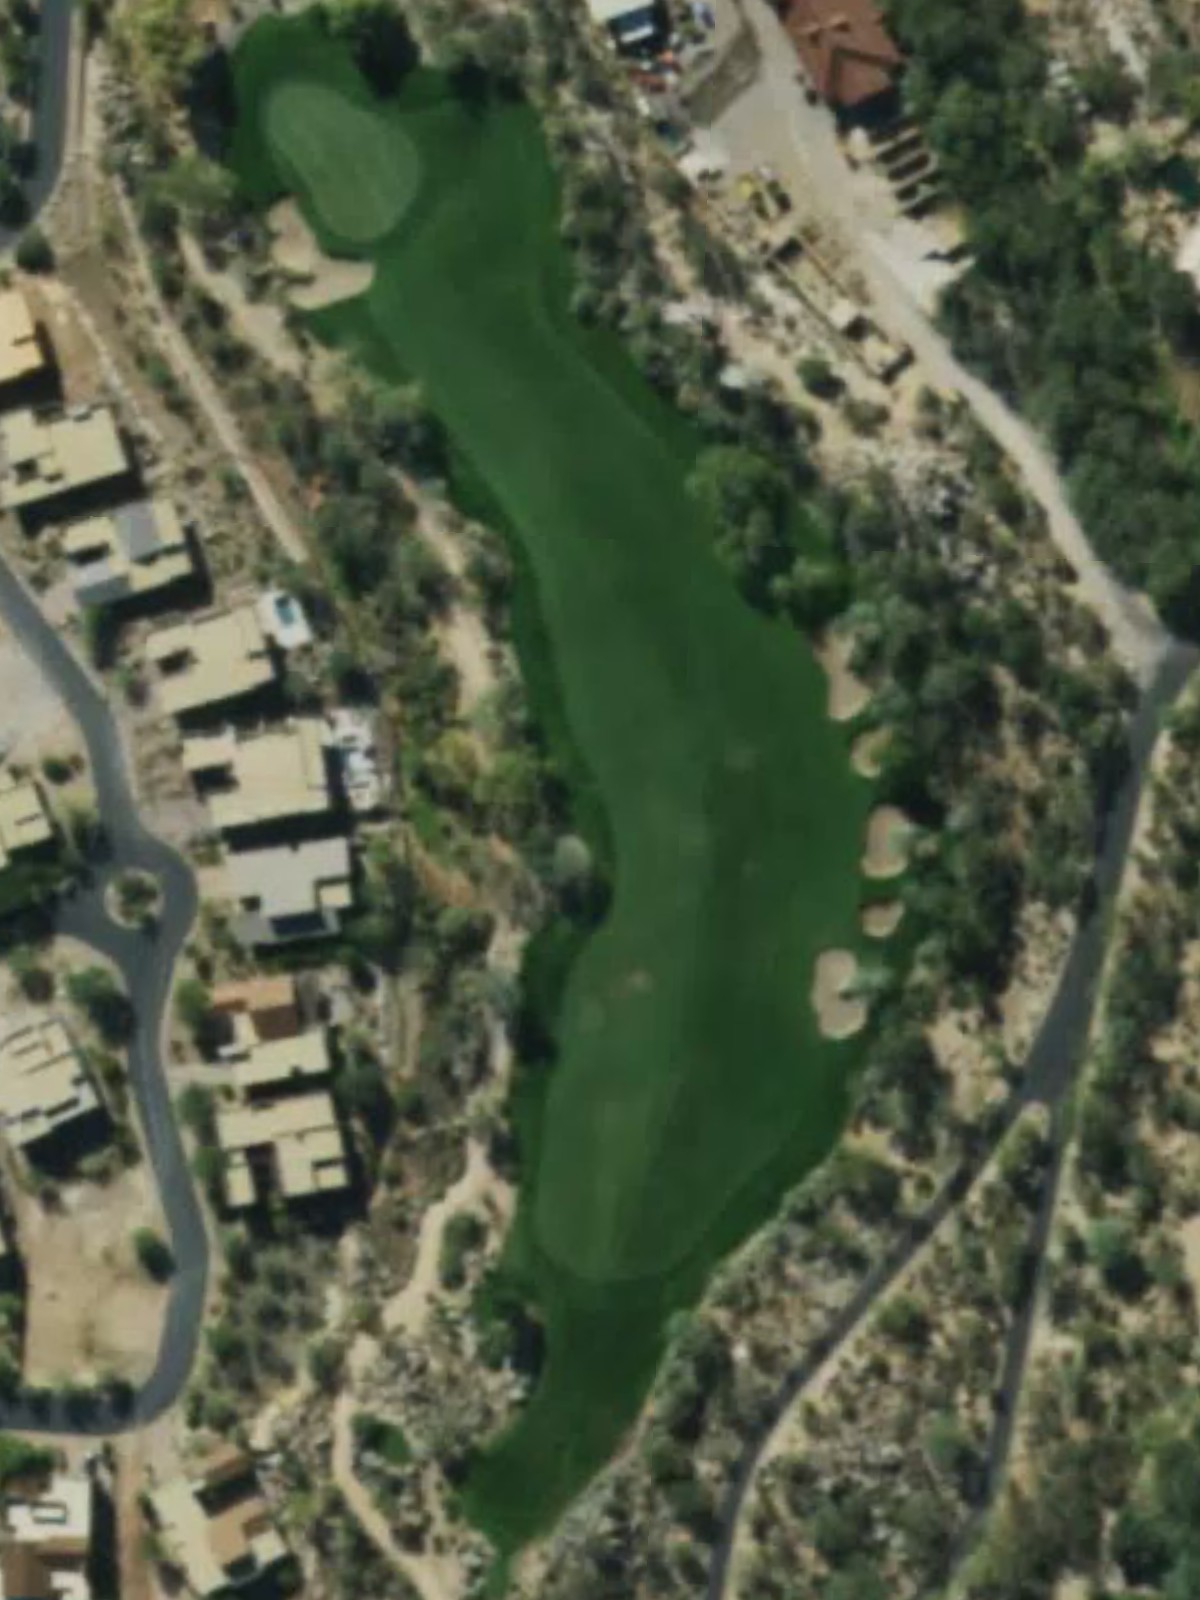
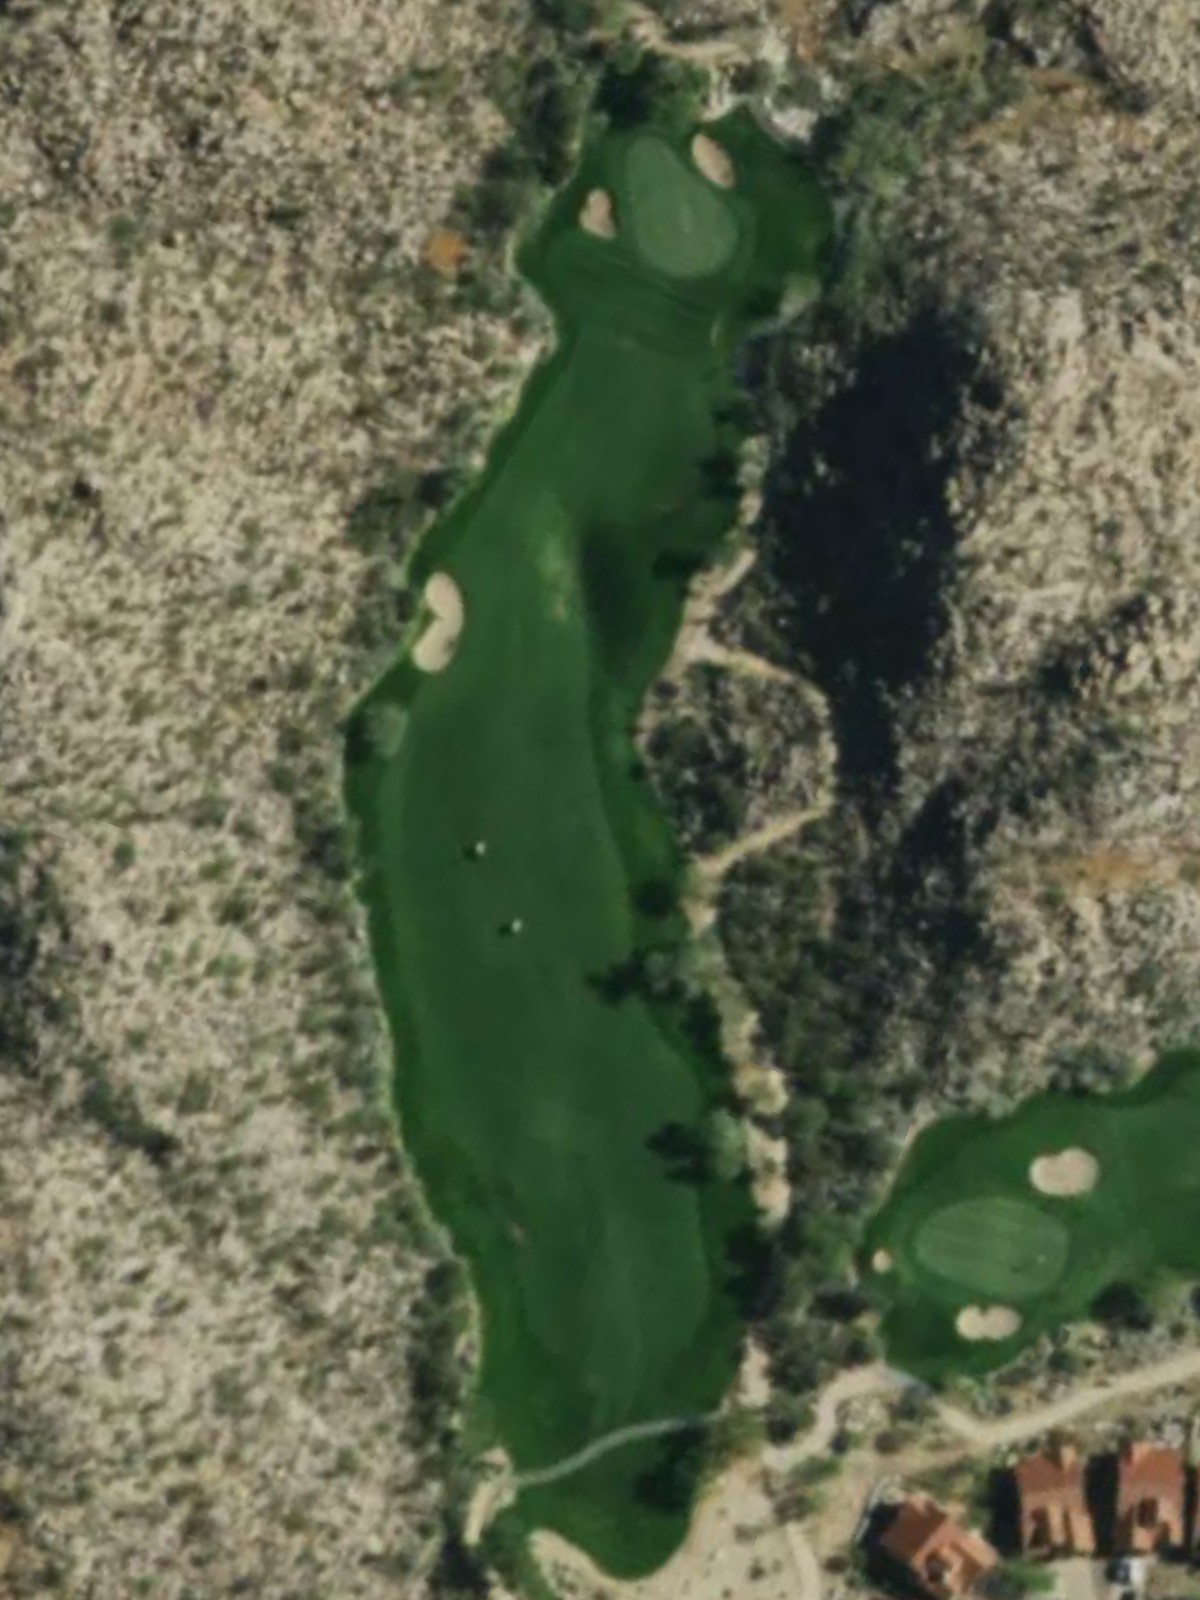
A welcoming opening par 4 with a relatively straight layout and forgiving fairway. Bunkers frame both sides of the green, demanding accuracy on the approach shot to a receptive putting surface.
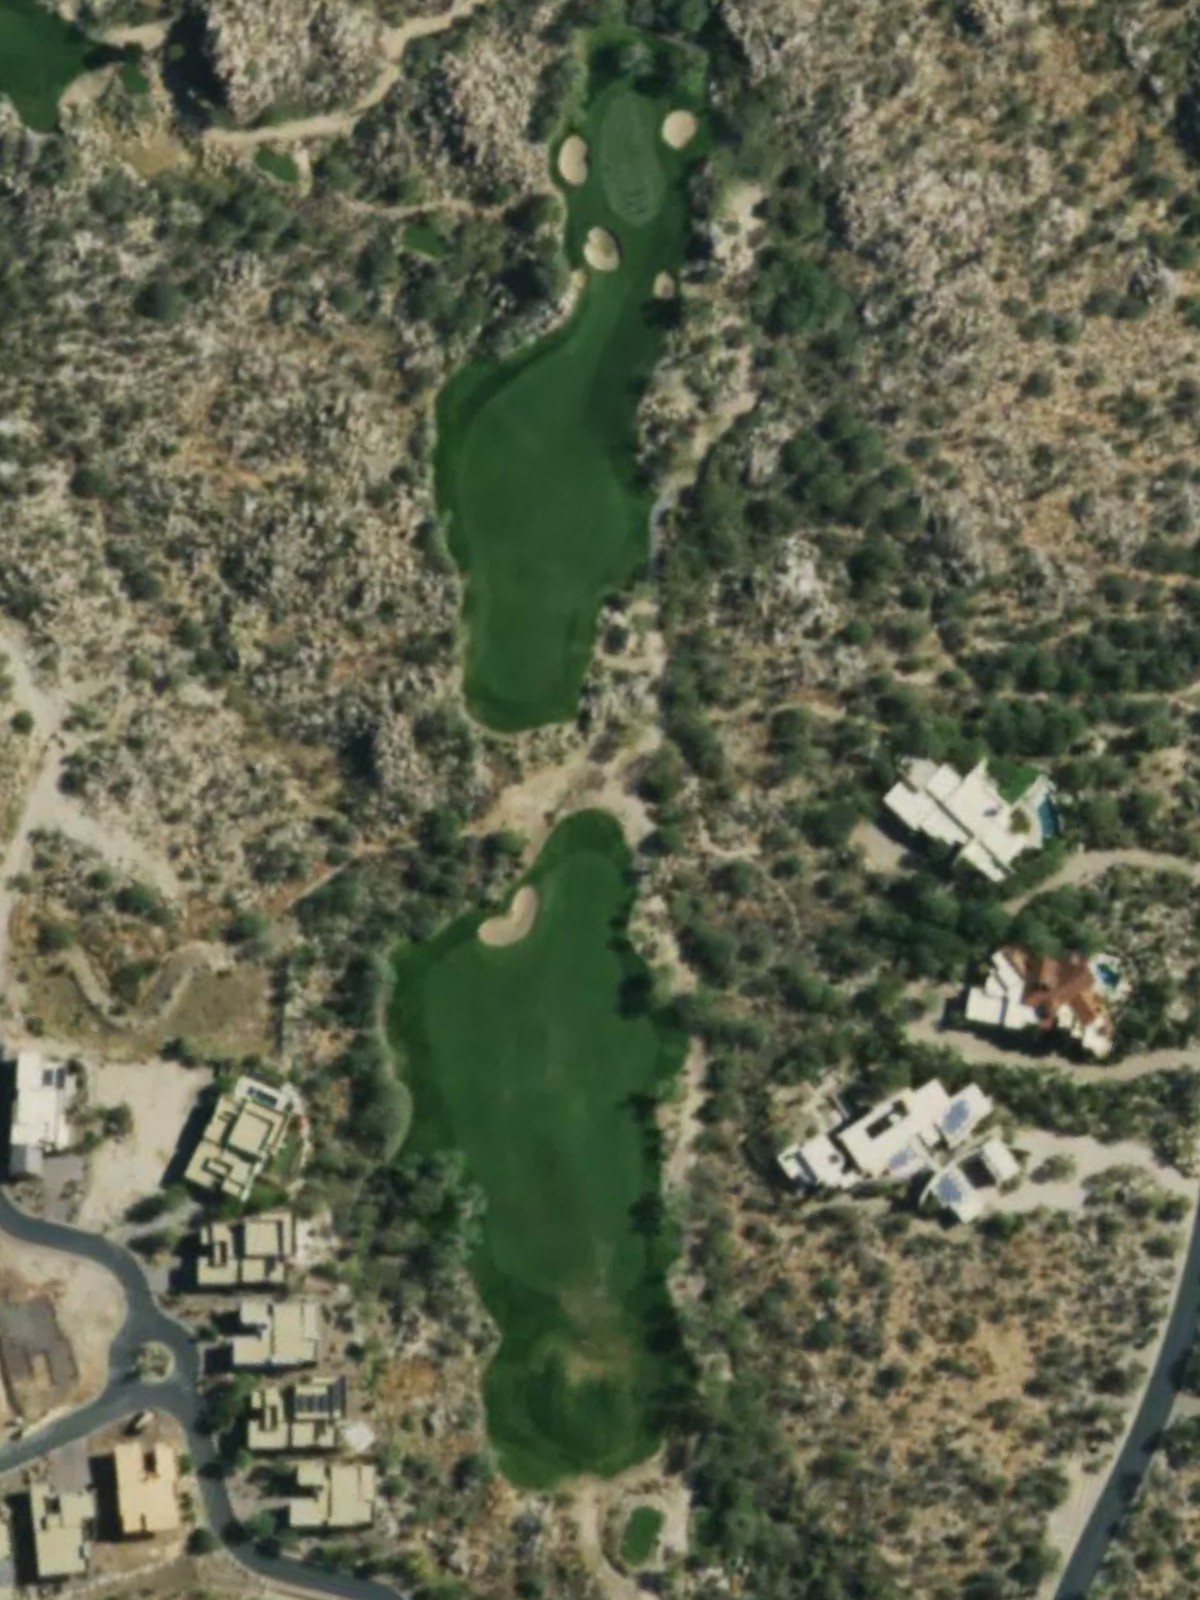
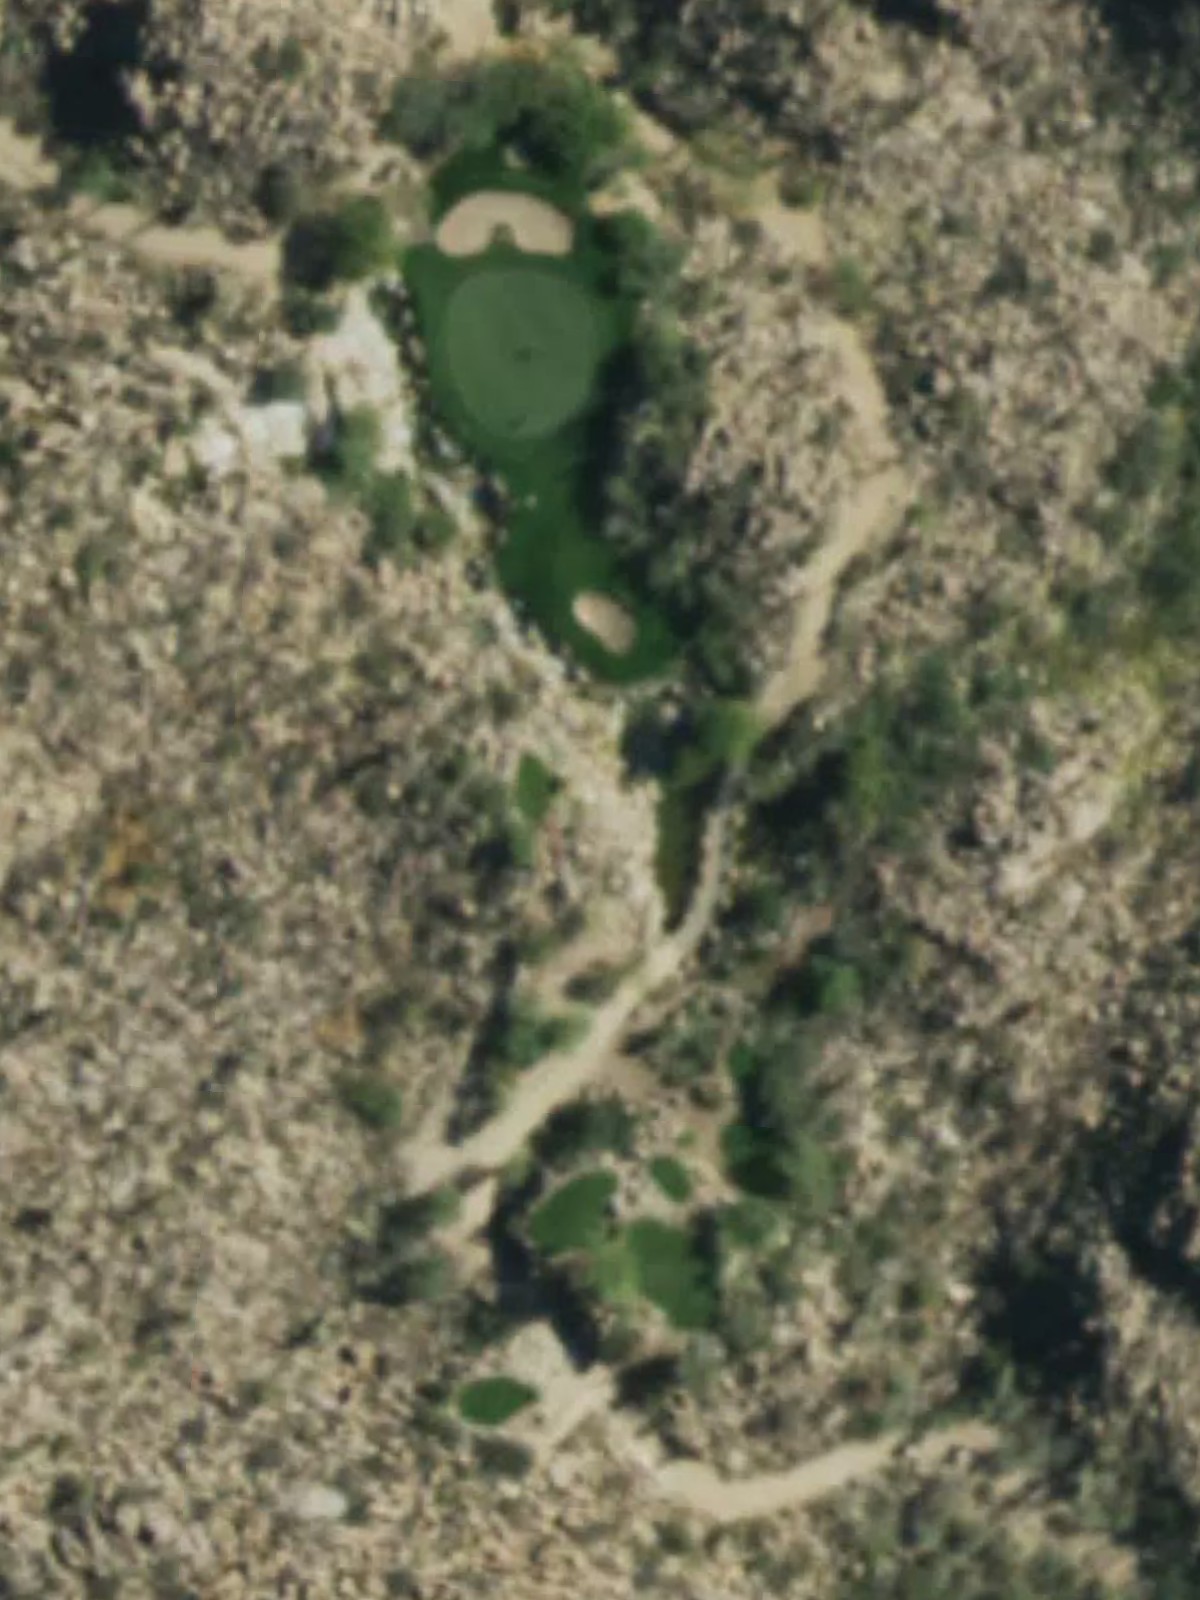
A long par 5 that stretches across the landscape with a fairway that invites a two-shot advance. The hole's length and position as a high-handicap hole demand solid execution, with greenside bunkers protecting the final approach.
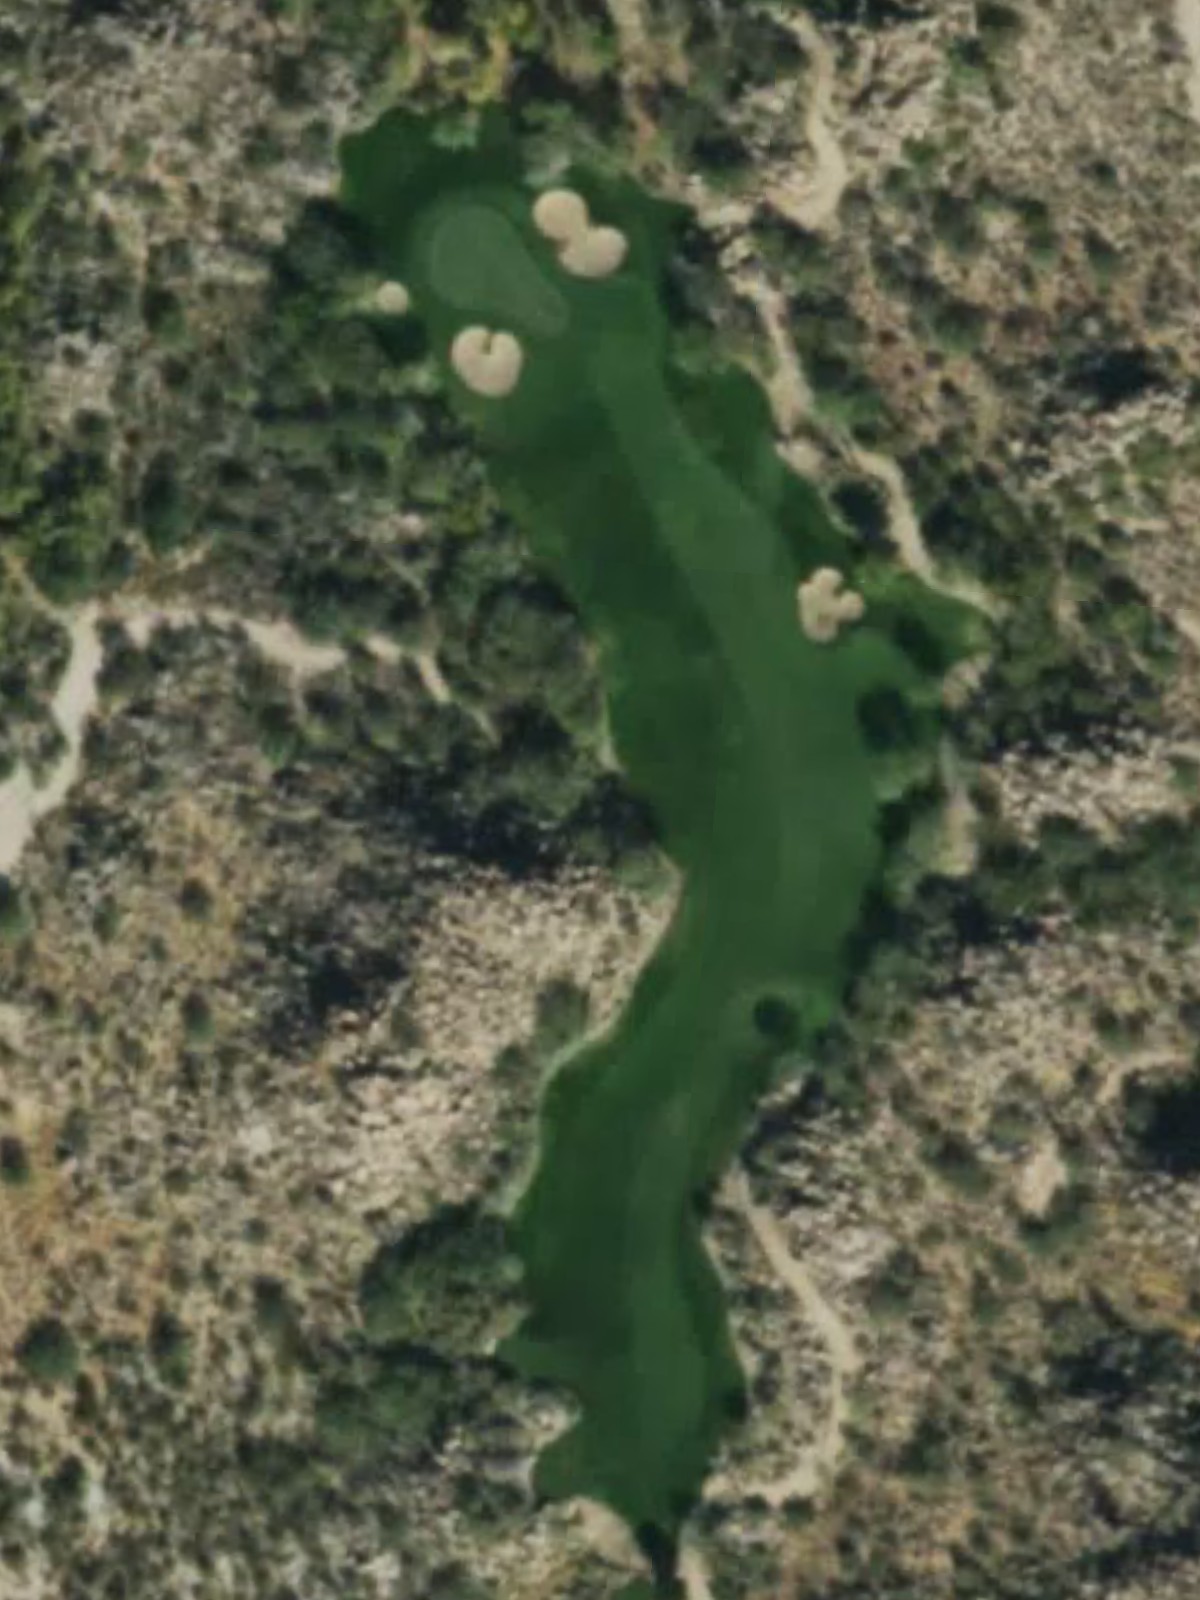
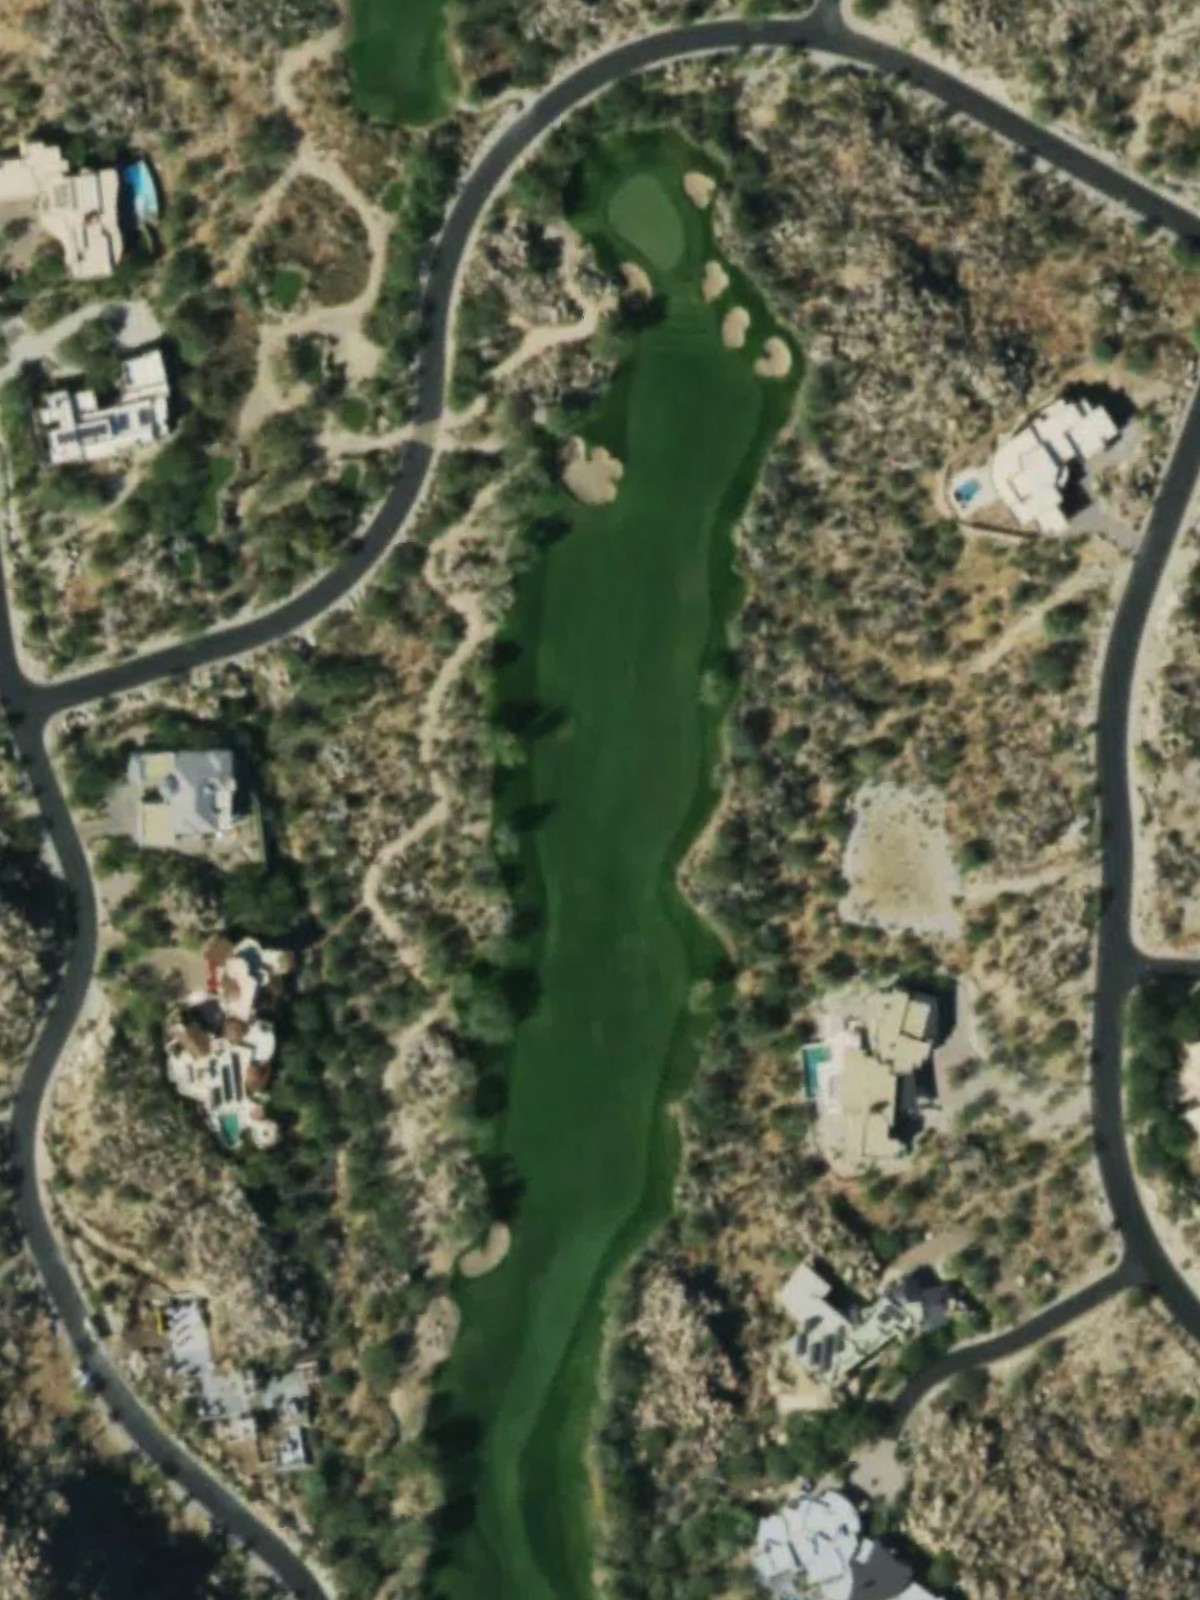
The most difficult hole on the course, this par 4 presents a stern test of shotmaking with its compact yardage belying its challenge. The narrow green and surrounding hazards demand precision from tee to green.
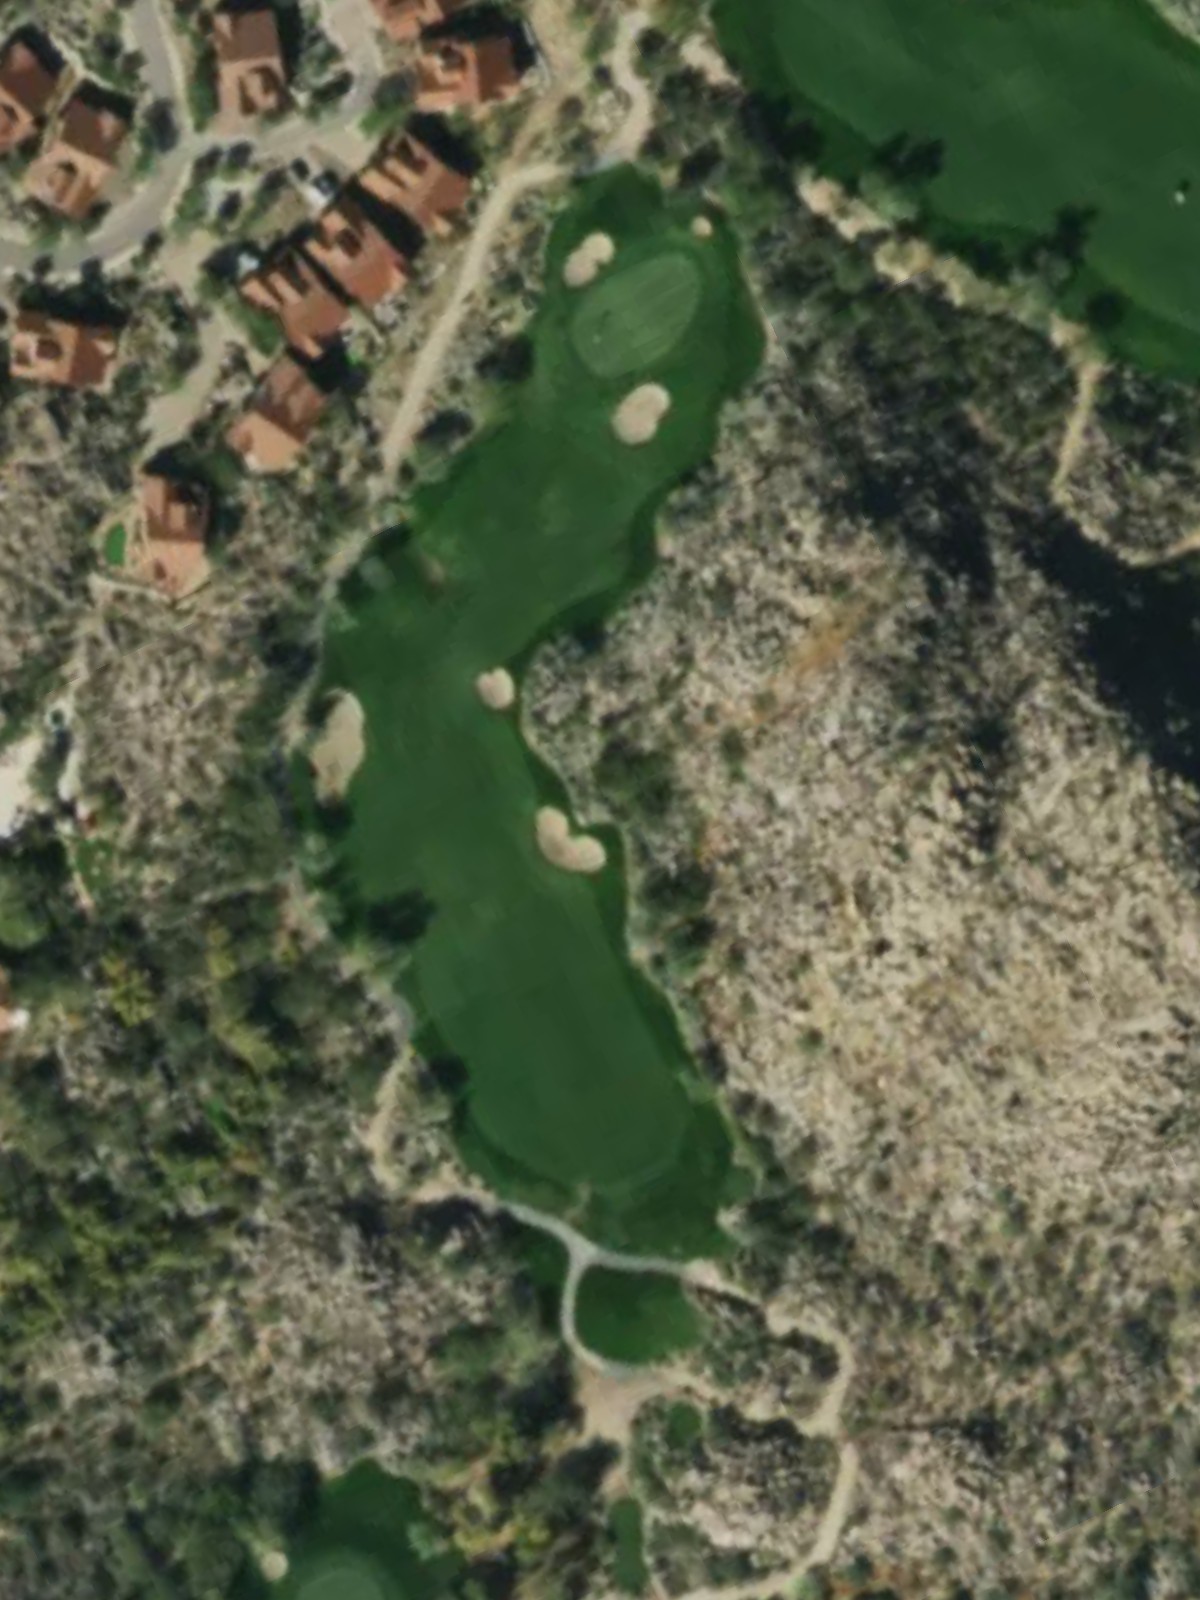
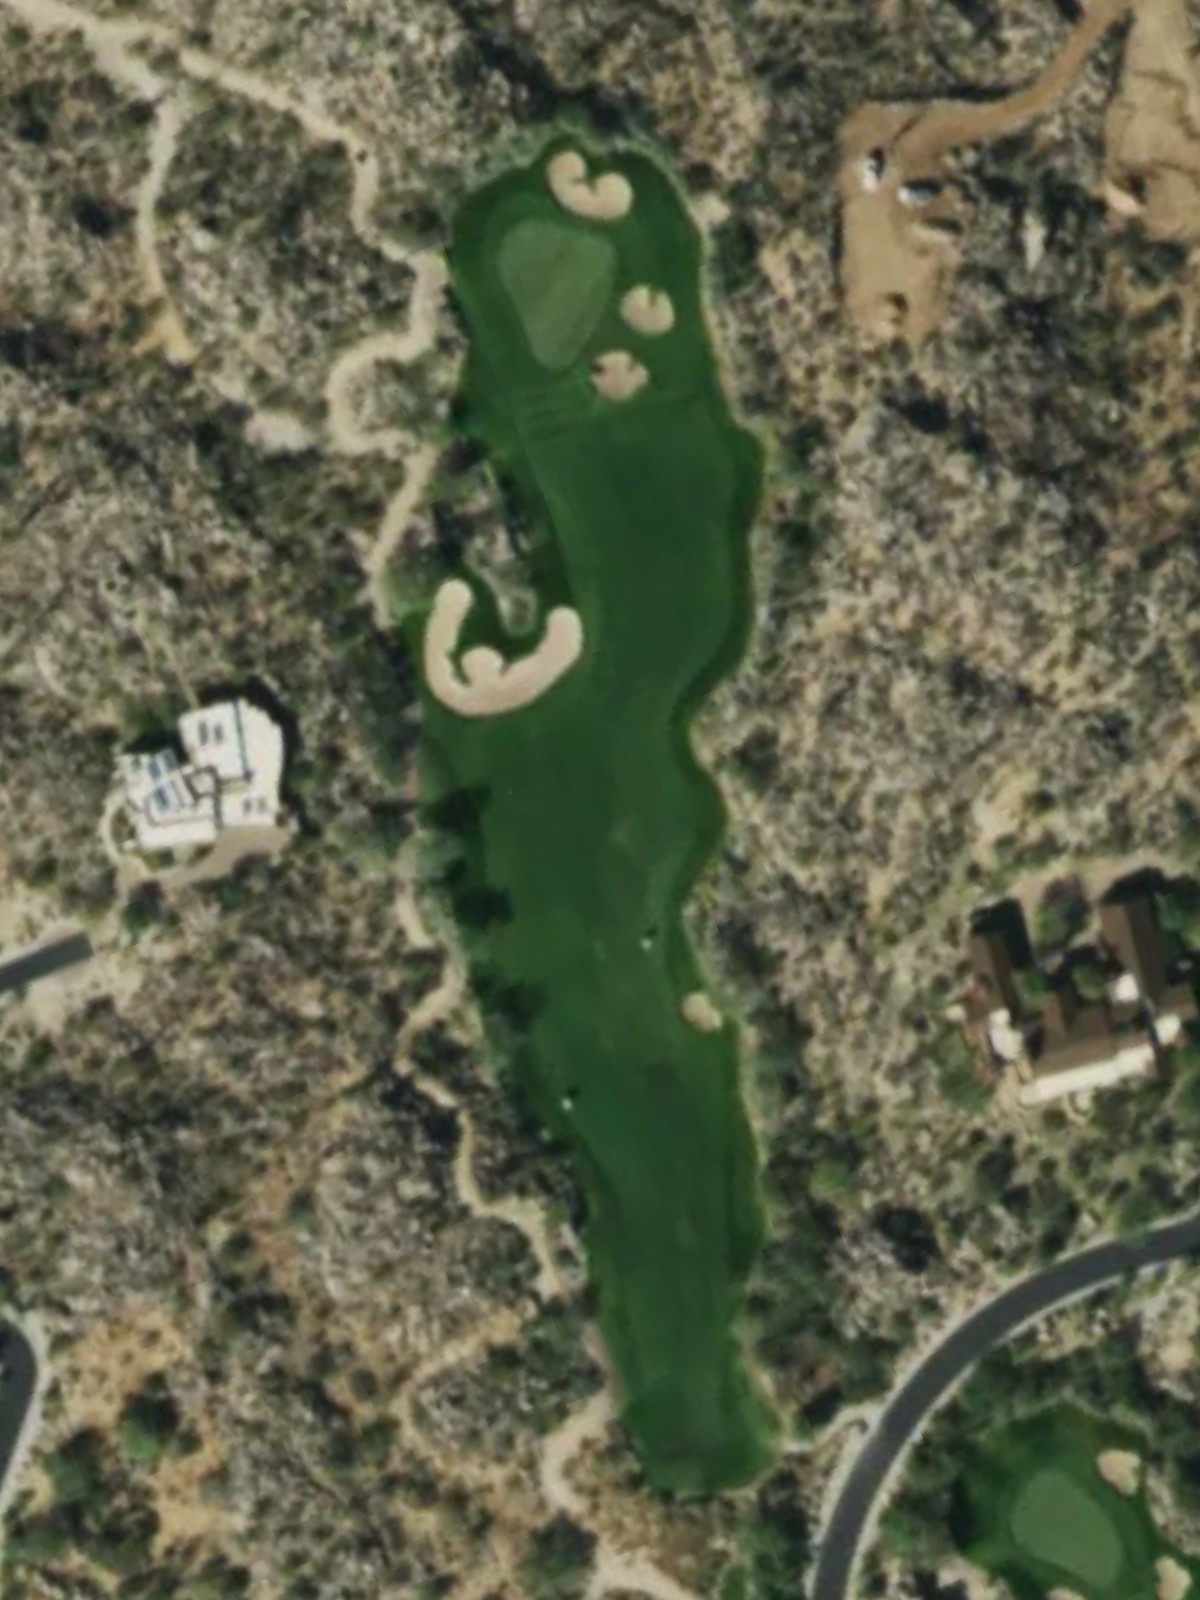
A shorter par 4 that plays downhill and offers an opportunity for aggressive play from the tee. Strategic bunkering around the green rewards those who can control their approach.
A moderate par 4 with a straightforward routing that provides a balance of length and playability. Hazards are positioned to catch wayward shots, particularly around the green complex.
A brief par 3 that emphasizes accuracy over distance, with a small target green requiring a precise short iron. The diminutive length belies the importance of finding the center of the putting surface.
A substantial par 5 with plenty of yardage to negotiate and interesting strategic options for the three-shot approach. Bunkers and rough frame the fairway, rewarding placement and penalizing poor positioning.
The stroke index one hole, this deceptively short par 4 is Stone Canyon's signature challenge, requiring nerves and precision. Hazards and bunkering create a bottleneck effect near the small green.
A mid-length par 3 with a green that demands placement rather than distance. Water or bunkers positioned strategically around the target make club selection and execution critical.
A commanding par 5 that stretches along the property with considerable length from the back tees. The fairway offers multiple landing areas, but positioning for the final approach is essential given bunkers and hazards guarding the green.
An uphill par 4 that grows in difficulty as it climbs, with the green perched at elevation. Bunkers guard the approach, and the elevated green surface adds complexity to approach shots.
A strong par 4 positioned as one of the most difficult on the course, with length and strategic hazards testing all aspects of play. The fairway tightens near the green, where bunkers demand precision on the approach.
A mid-length par 4 with a straightforward design that emphasizes solid fundamentals. Bunkers positioned strategically around the green complex reward accurate approach play.
A diminutive par 3 that plays deceptively simple but demands confidence and accuracy. The small green surrounded by trouble requires a committed, well-executed short iron.
The second-hardest hole on the course, this sprawling par 5 commands respect with its considerable length and strategic complexity. Multiple hazards come into play throughout, particularly around the expansive green.
A short par 3 with the highest handicap on the card, offering a reprieve from the longer holes while still demanding accuracy. The modest distance masks potential hazards that surround a compact green.
A diminutive par 4 that presents an opportunity for scoring despite its strategic bunkering and tight corridors. The short yardage is offset by narrow passages and hazards that demand control.
A fitting finishing par 4 that builds in length from the forward tees, providing a final test of skill and composure. Bunkers and hazards frame the fairway and green, ensuring a dramatic conclusion to the round.
Scorecard
| Hole | 1 | 2 | 3 | 4 | 5 | 6 | 7 | 8 | 9 | Out | 10 | 11 | 12 | 13 | 14 | 15 | 16 | 17 | 18 | In | Tot |
|---|---|---|---|---|---|---|---|---|---|---|---|---|---|---|---|---|---|---|---|---|---|
| Par | 4 | 5 | 4 | 4 | 4 | 3 | 5 | 4 | 3 | 36 | 5 | 4 | 4 | 4 | 3 | 5 | 3 | 4 | 4 | 36 | 72 |
| HCP | 17 | 5 | 3 | 9 | 15 | 11 | 7 | 1 | 13 | 8 | 10 | 4 | 6 | 14 | 2 | 18 | 16 | 12 | |||
| copper | 426 | 559 | 386 | 374 | 425 | 145 | 554 | 403 | 227 | 3499 | 622 | 435 | 458 | 432 | 193 | 632 | 237 | 306 | 503 | 3818 | 7317 |
| copper/black | 426 | 533 | 386 | 374 | 425 | 145 | 513 | 375 | 184 | 3361 | 568 | 435 | 432 | 403 | 193 | 591 | 198 | 306 | 503 | 3629 | 6990 |
| black | 390 | 533 | 378 | 362 | 374 | 131 | 513 | 375 | 184 | 3240 | 568 | 424 | 432 | 403 | 174 | 591 | 198 | 283 | 469 | 3542 | 6782 |
| black/blue | 390 | 499 | 328 | 362 | 374 | 131 | 513 | 319 | 151 | 3067 | 540 | 391 | 418 | 363 | 174 | 578 | 180 | 283 | 420 | 3347 | 6414 |
| blue | 369 | 499 | 328 | 352 | 350 | 125 | 484 | 319 | 151 | 2977 | 540 | 391 | 418 | 363 | 158 | 578 | 180 | 275 | 420 | 3323 | 6300 |
| blue/white | 369 | 453 | 328 | 317 | 350 | 125 | 484 | 289 | 137 | 2852 | 540 | 357 | 391 | 363 | 158 | 545 | 146 | 275 | 381 | 3156 | 6008 |
| white | 337 | 453 | 304 | 317 | 322 | 118 | 463 | 289 | 137 | 2740 | 511 | 357 | 391 | 347 | 154 | 545 | 146 | 242 | 381 | 3074 | 5814 |
| white/red | 337 | 418 | 304 | 317 | 322 | 118 | 410 | 262 | 124 | 2612 | 458 | 357 | 329 | 299 | 118 | 413 | 146 | 242 | 346 | 2708 | 5320 |
| red | 318 | 418 | 284 | 265 | 307 | 115 | 410 | 262 | 124 | 2503 | 458 | 311 | 329 | 299 | 118 | 413 | 131 | 219 | 346 | 2624 | 5127 |
| junior | 284 | 417 | 243 | 243 | 283 | 59 | 371 | 262 | 104 | 2266 | 426 | 290 | 329 | 299 | 92 | 545 | 110 | 194 | 317 | 2602 | 4868 |
| green | 284 | 417 | 243 | 243 | 283 | 59 | 371 | 262 | 104 | 2266 | 426 | 290 | 329 | 299 | 92 | 413 | 110 | 194 | 317 | 2470 | 4736 |