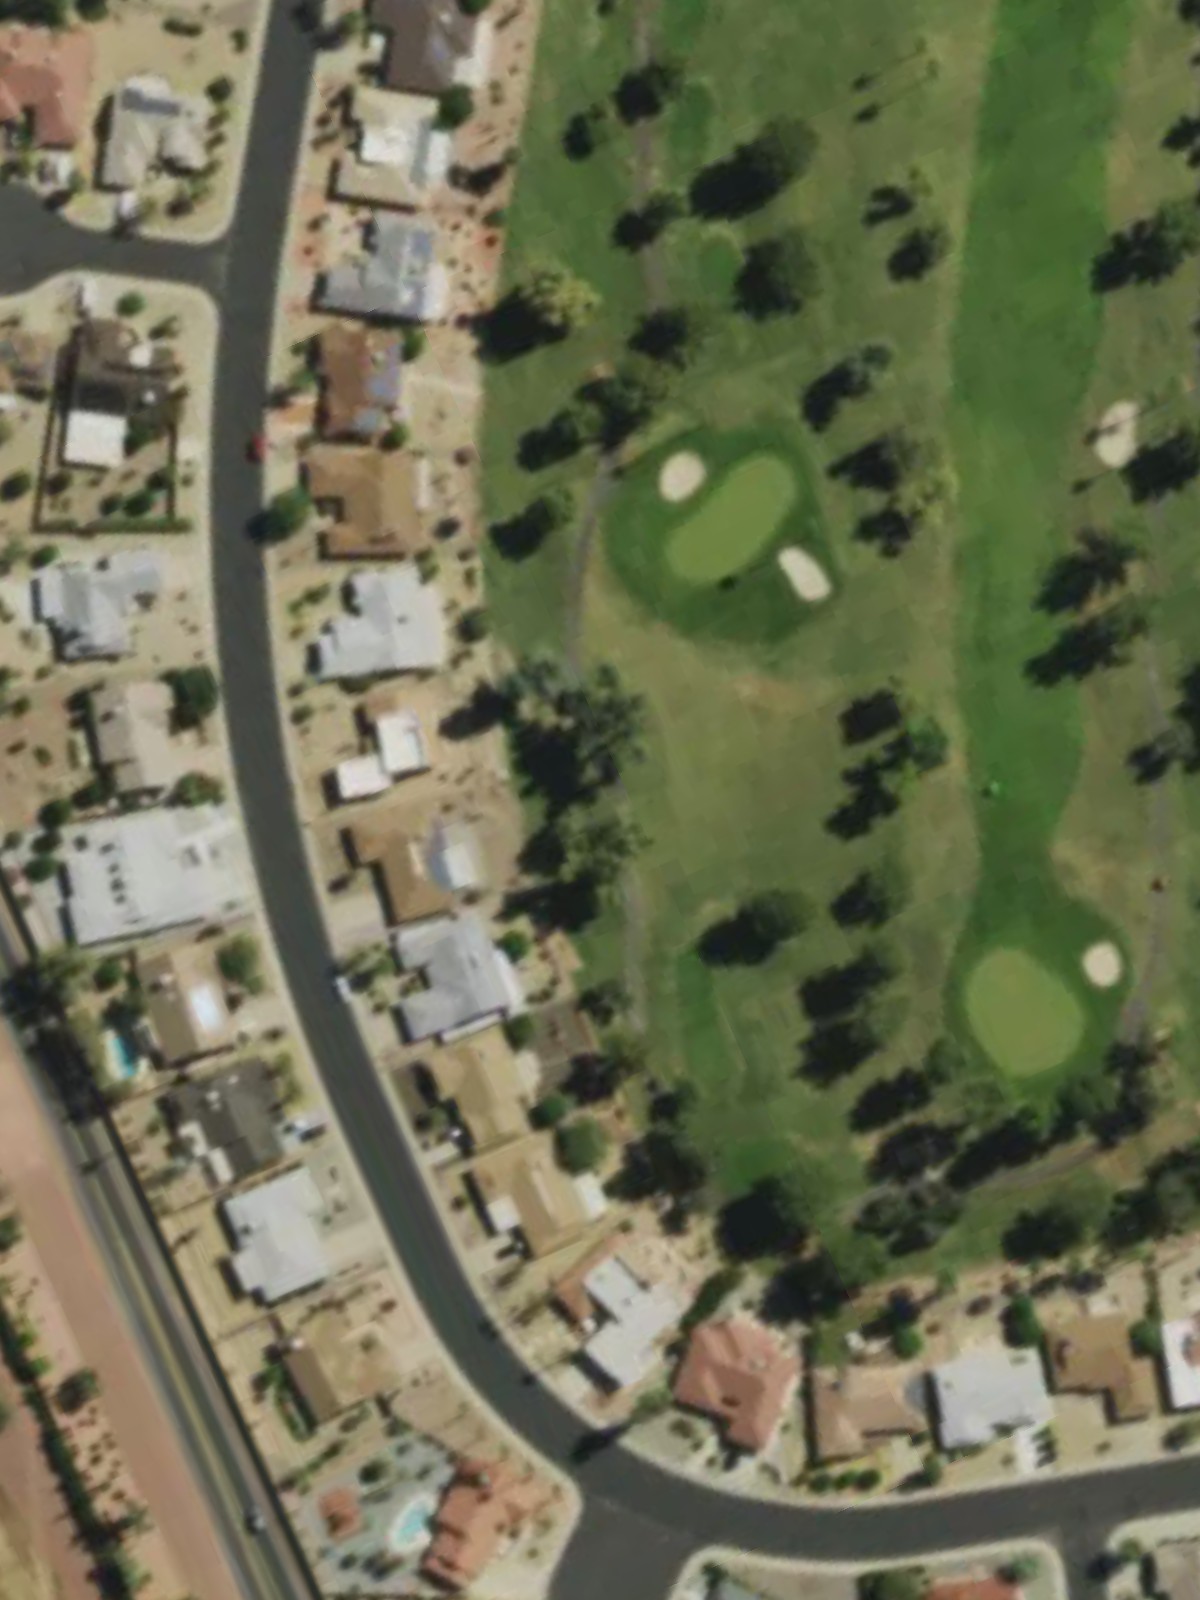
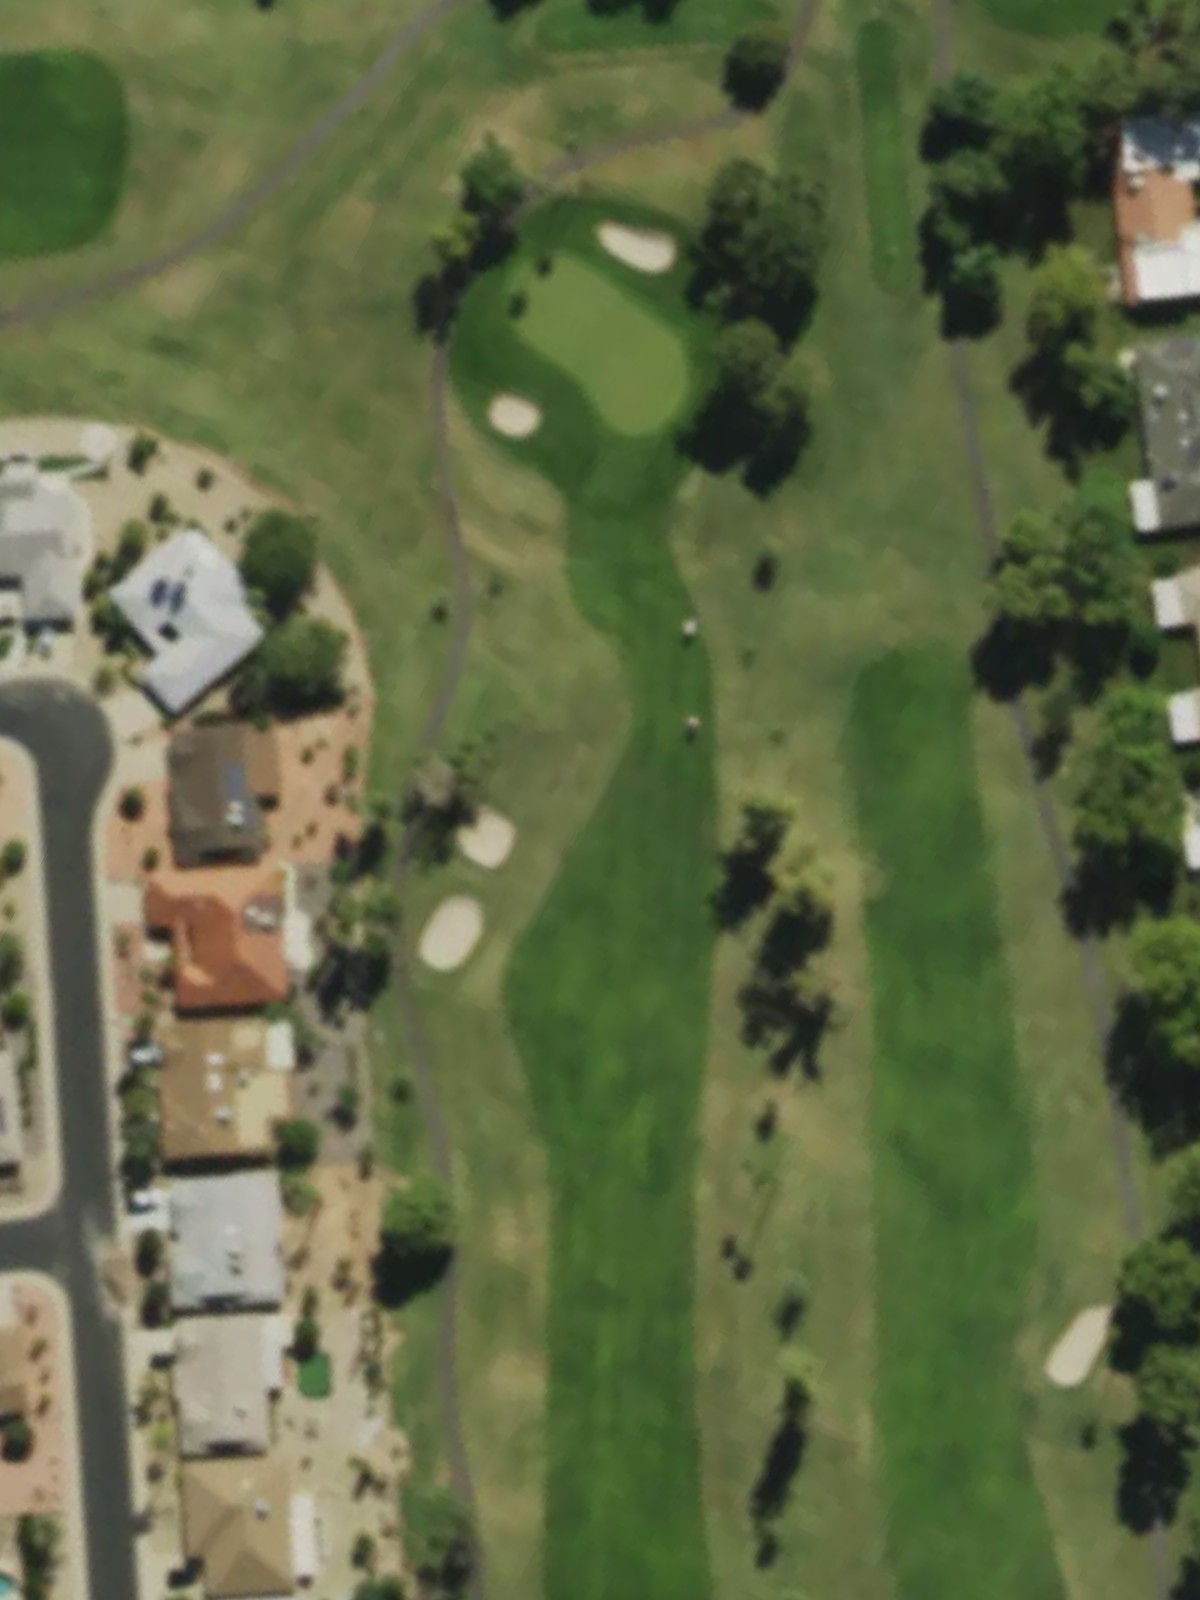
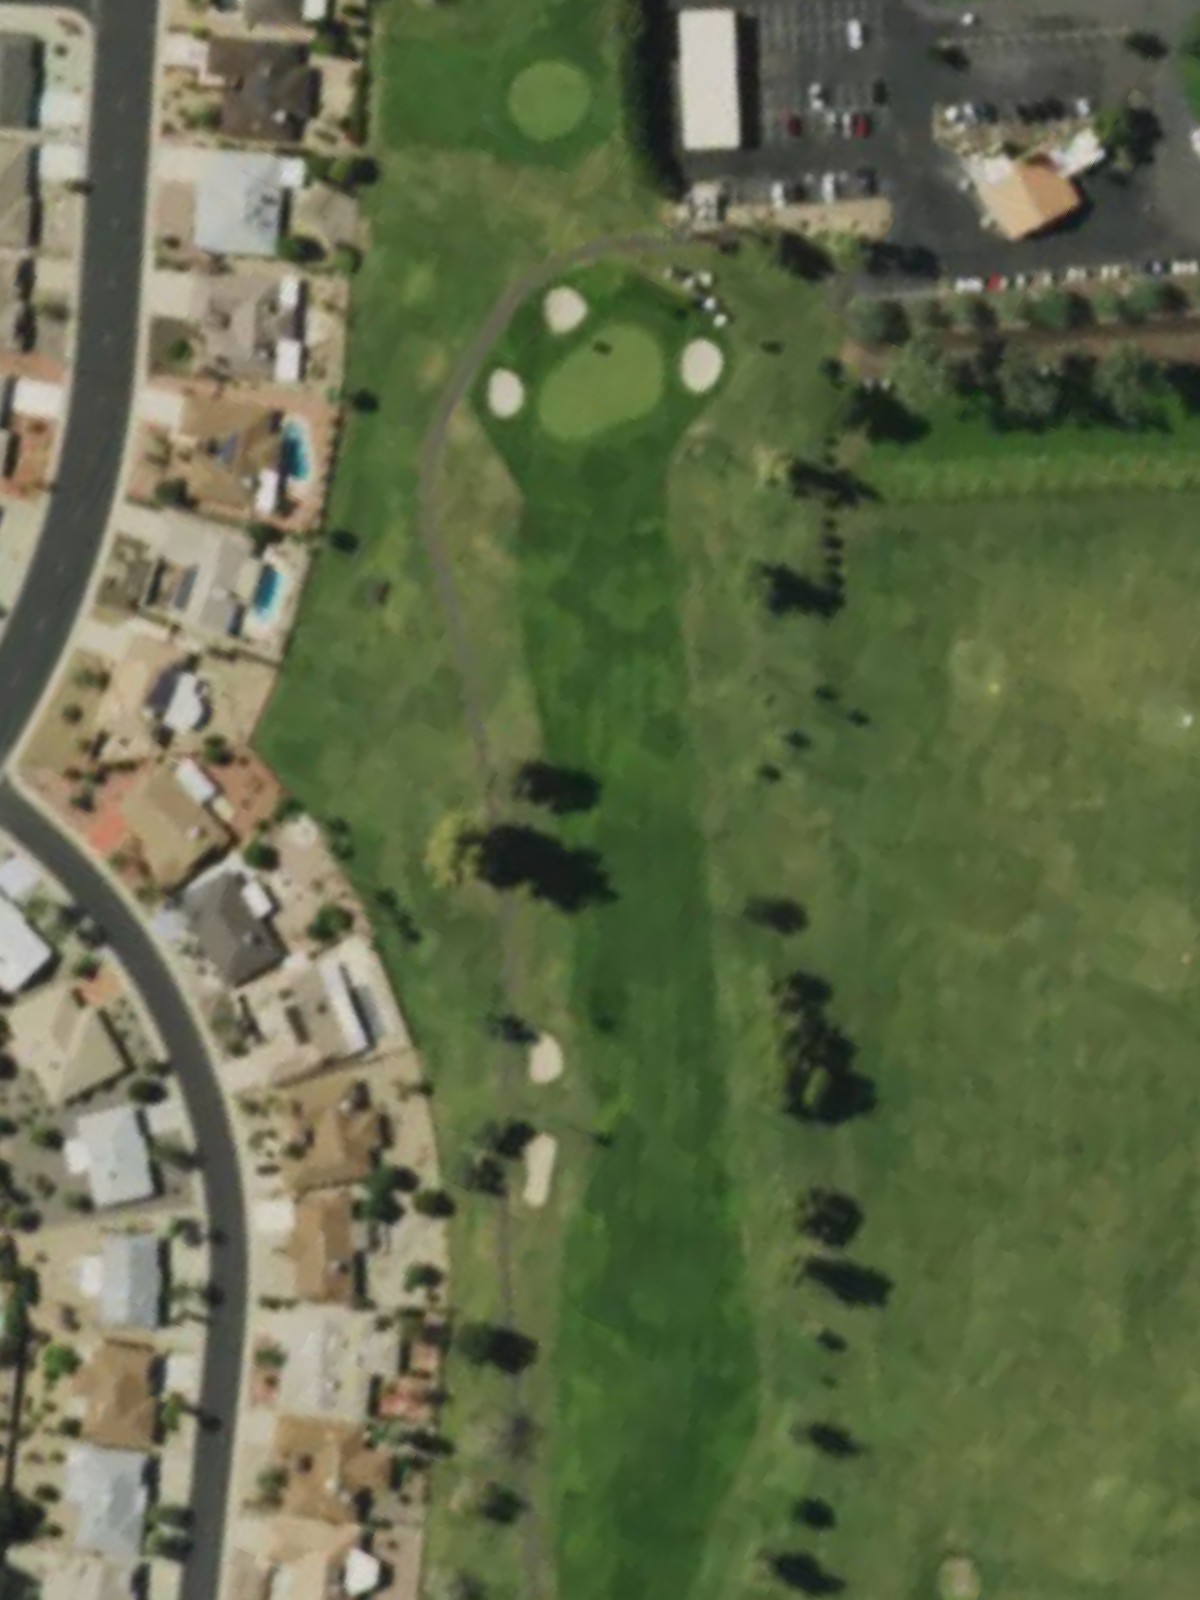
Stardust - Sun City West is an 18-hole golf course in Sun City West, AZ with a par of 60. It offers 3 tee sets: blue (4,267 yards, slope 94, rating 60.3), white (3,954 yards, slope 91, rating 59.2), red (3,489 yards, slope 84, rating 57.4). The hardest hole is #4, a par 4 playing 312 yards from the first tee.
Stardust - Sun City West
Sun City West, AZ
Get PDF Yardage Book
We'll email you the PDF link. No spam, ever.
Create Your Game Plan
Pick your tees, enter your bag, and get a personalized shot-by-shot strategy for every hole.
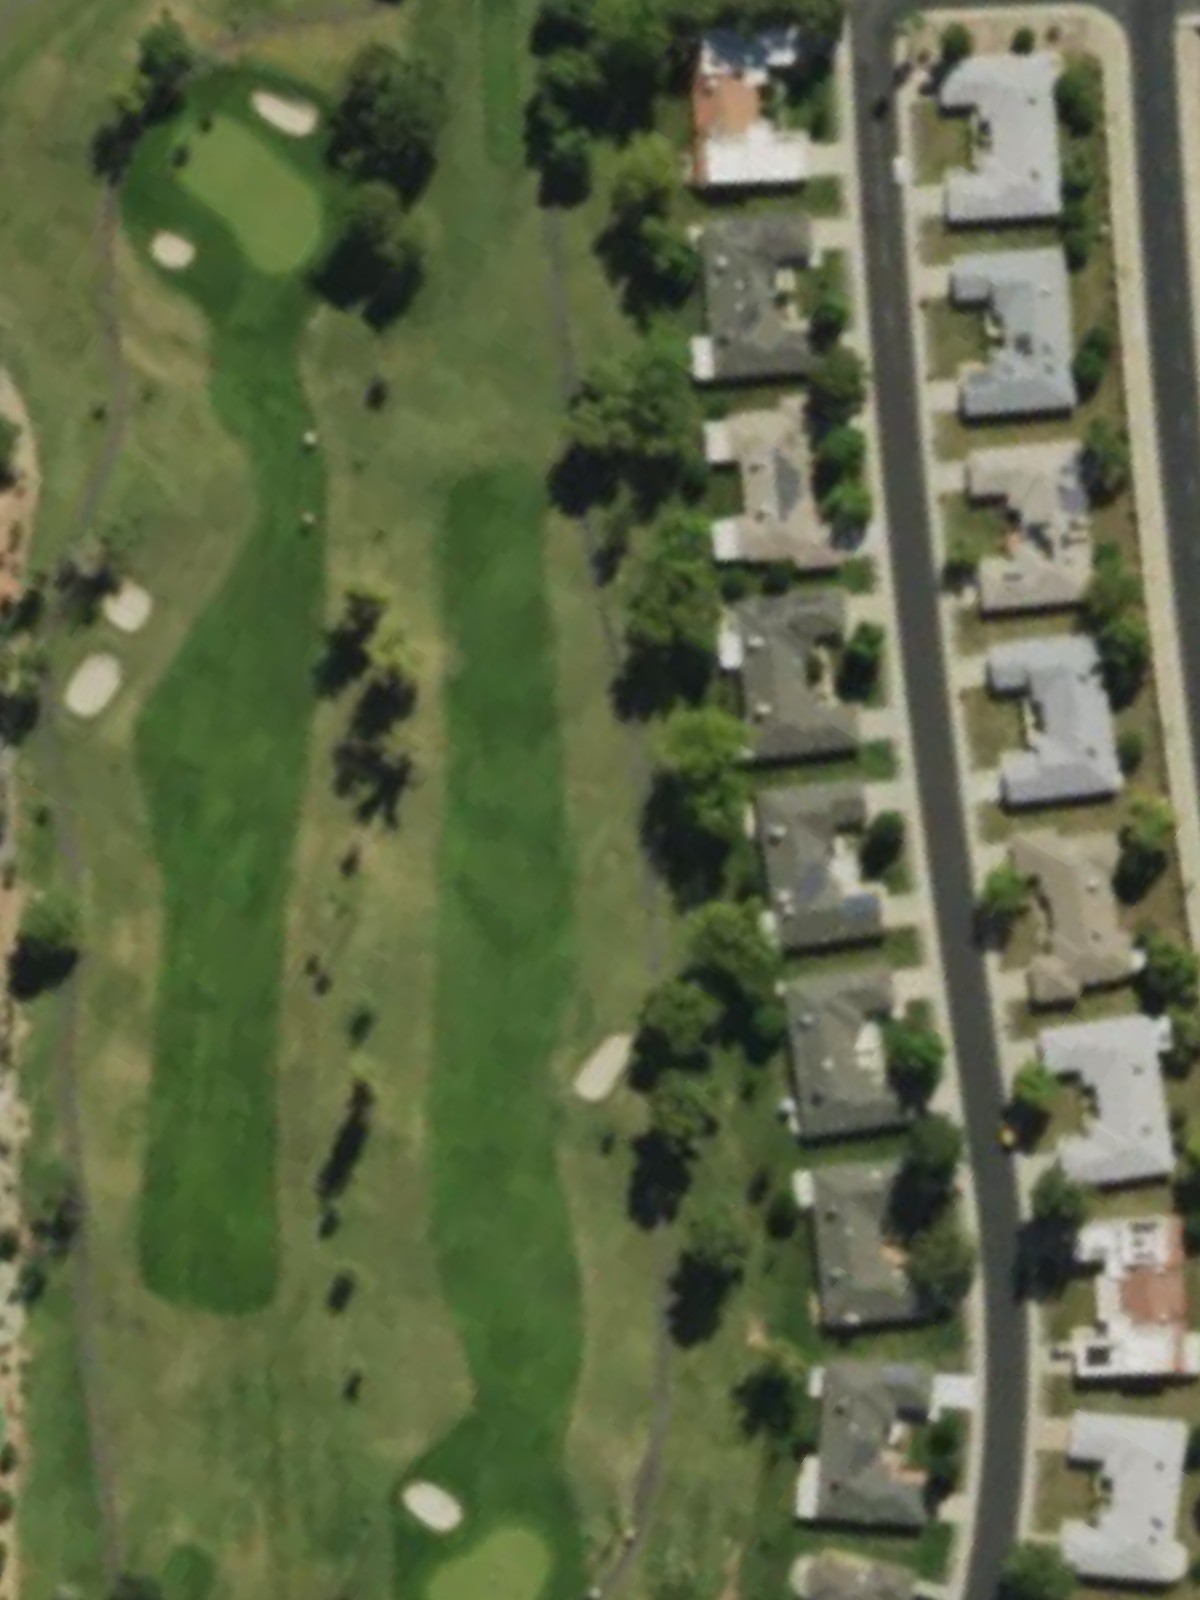
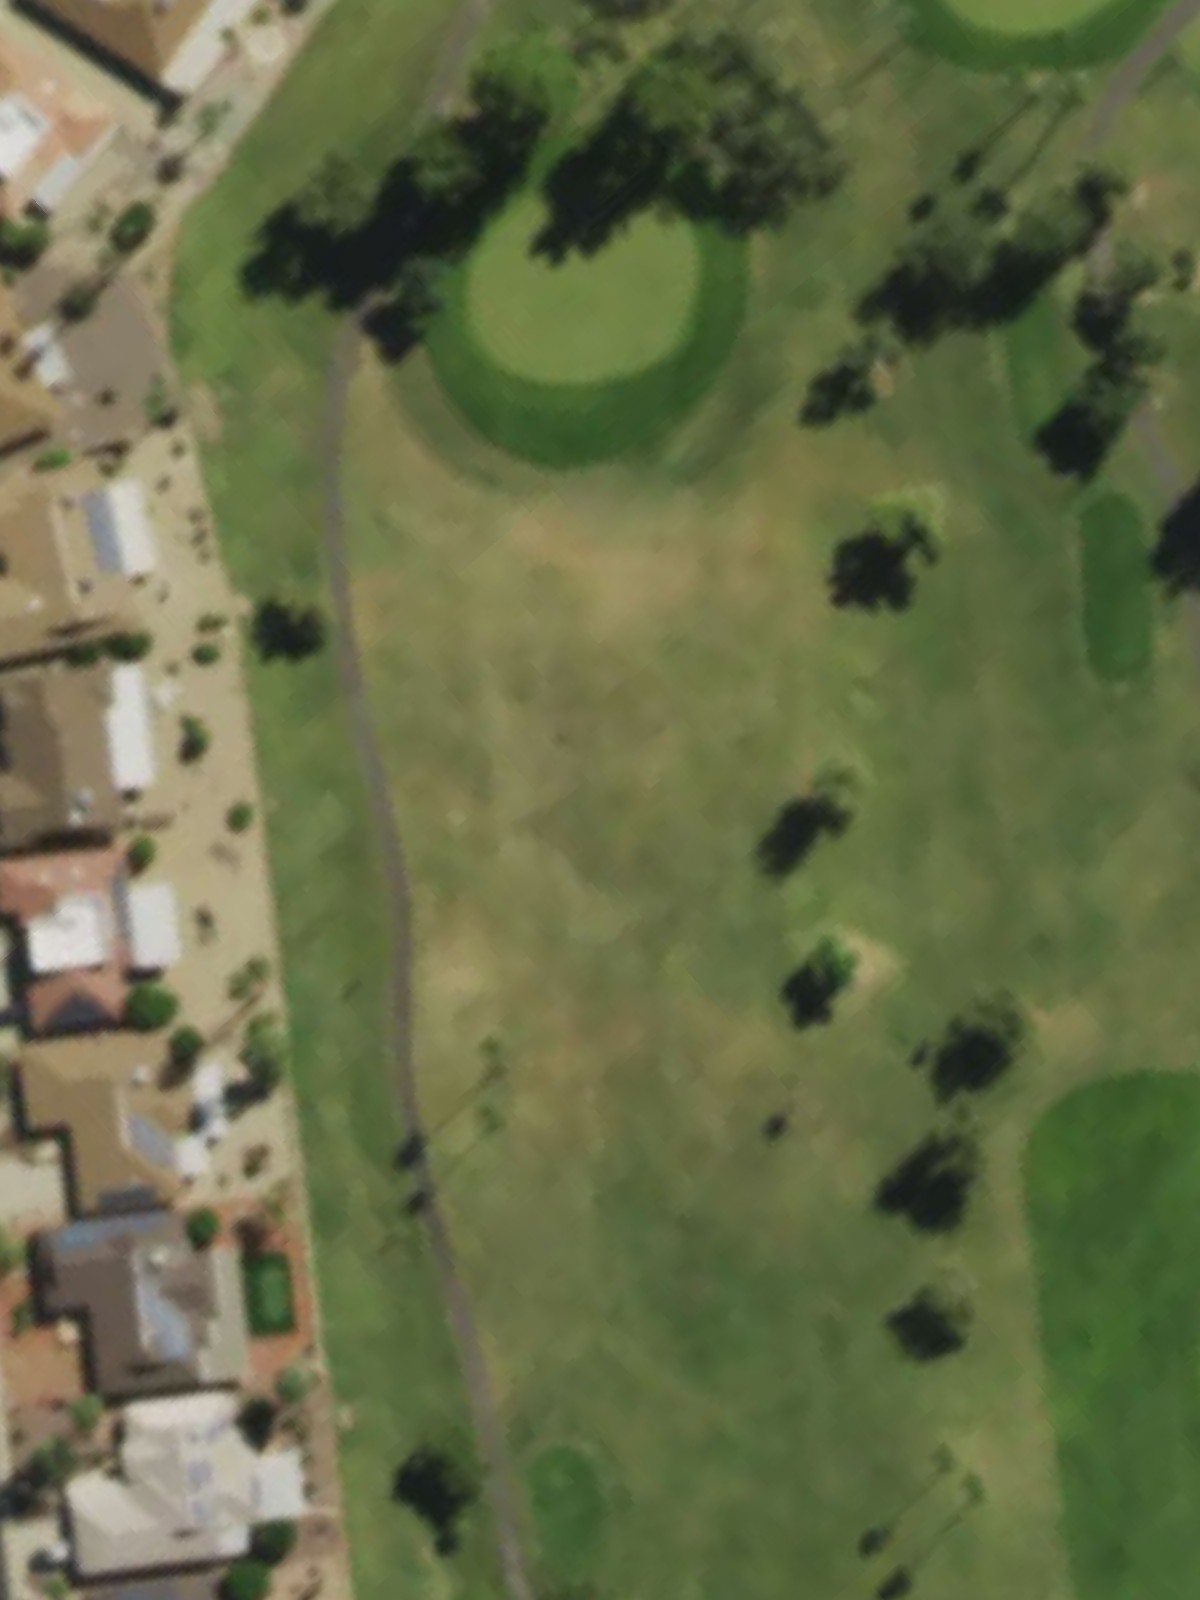
A straightforward par 4 with a fairway that gradually narrows as it approaches the green. Bunkers protect the right side of the green, requiring accuracy on the approach shot to avoid sand.
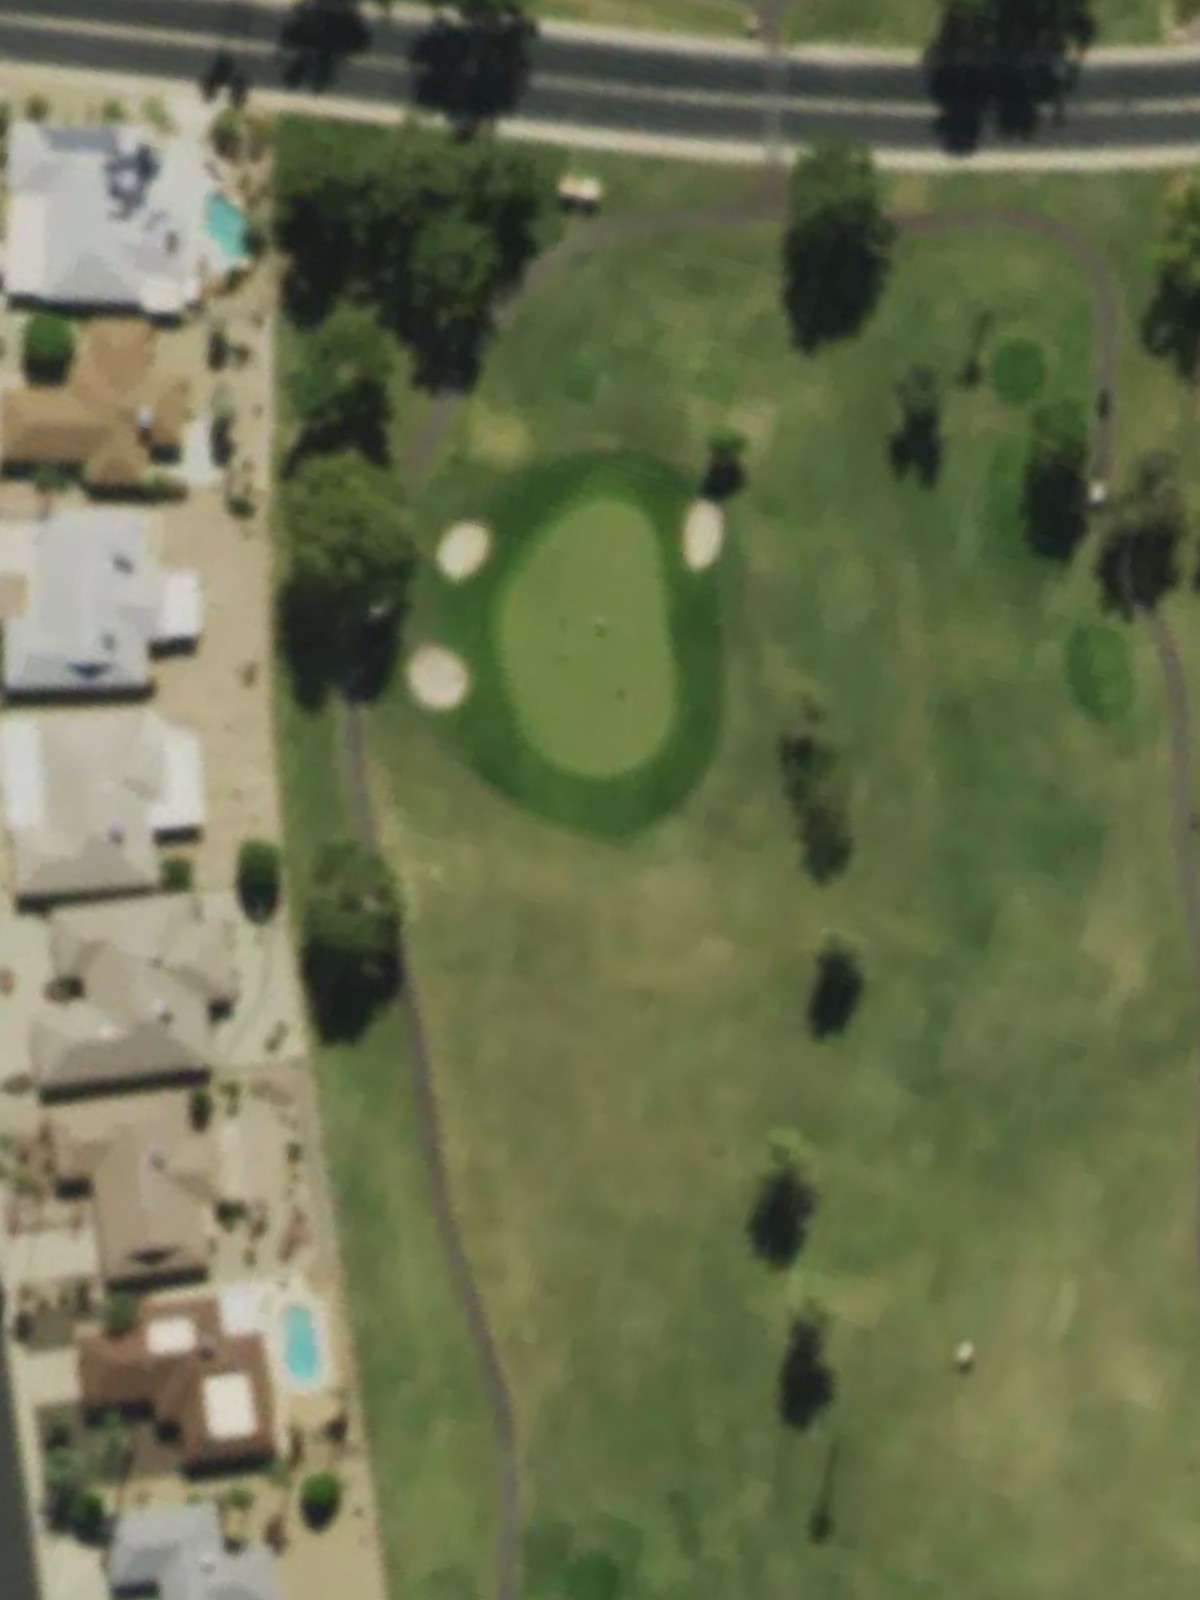
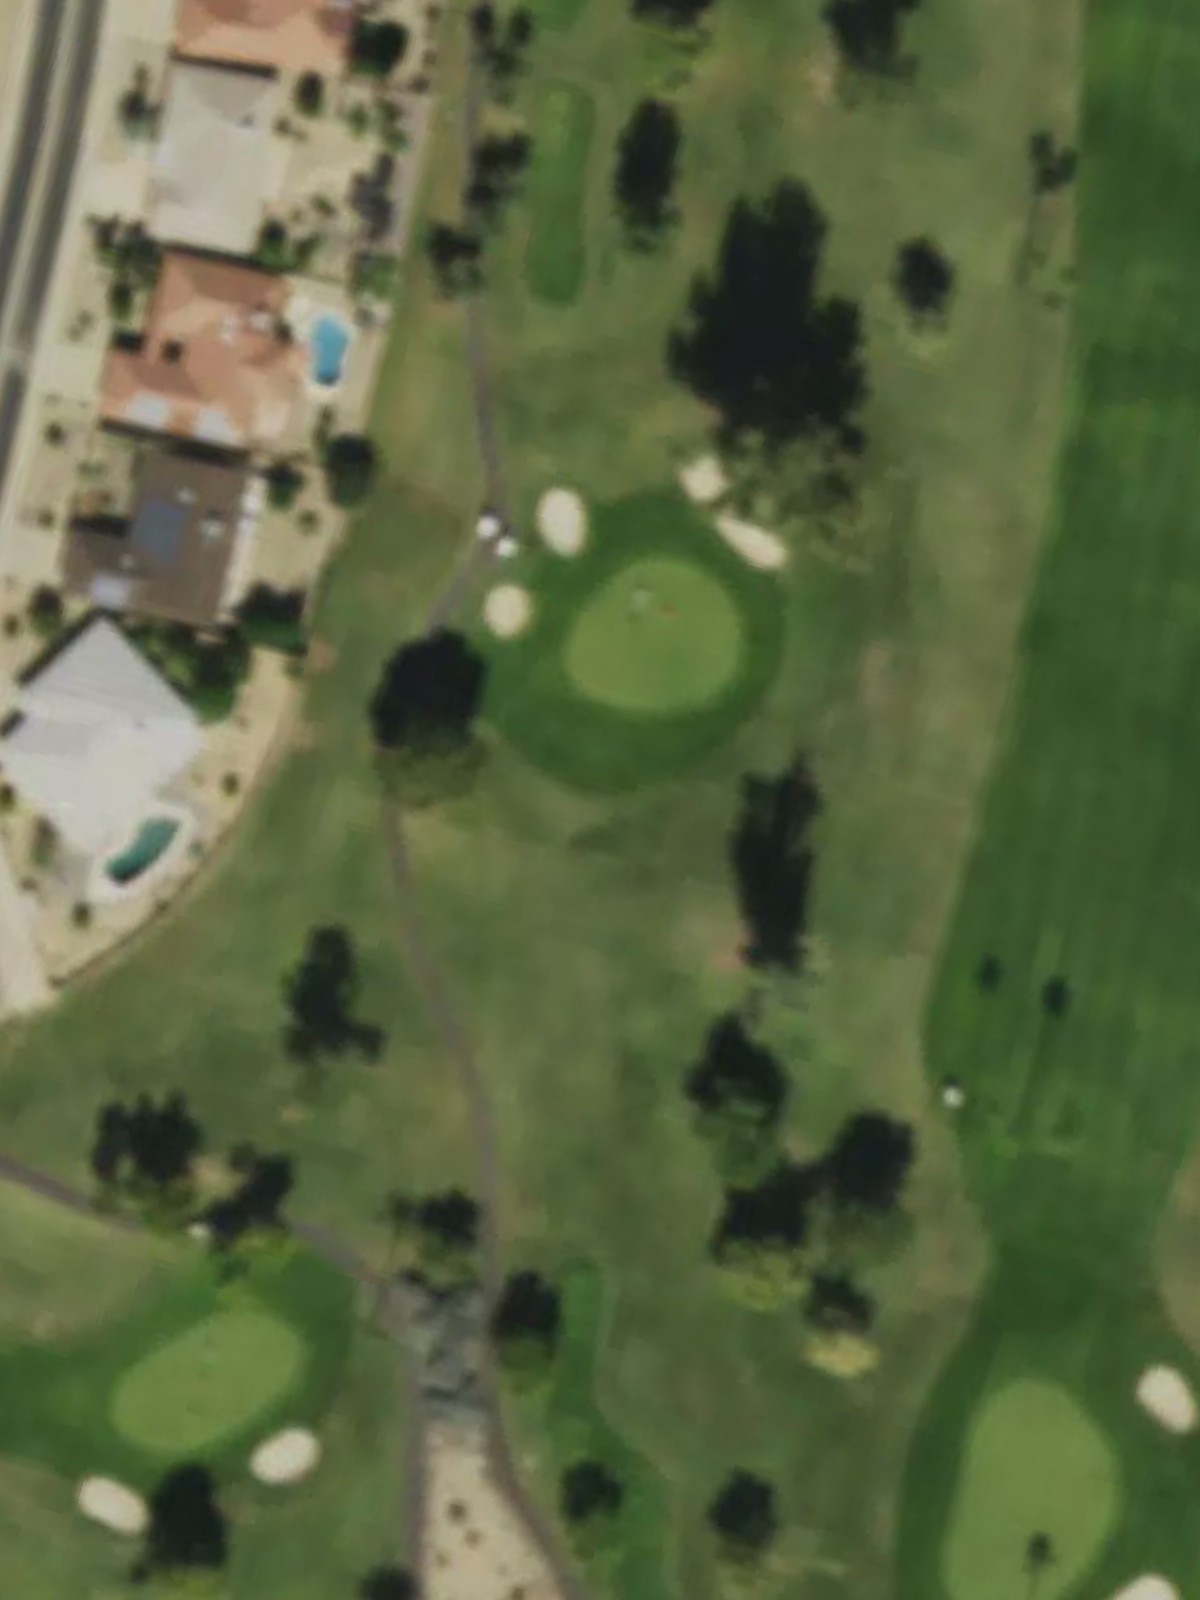
A short par 3 playing to a well-bunkered green with sand hazards guarding both sides. The compact length makes precision more important than distance.
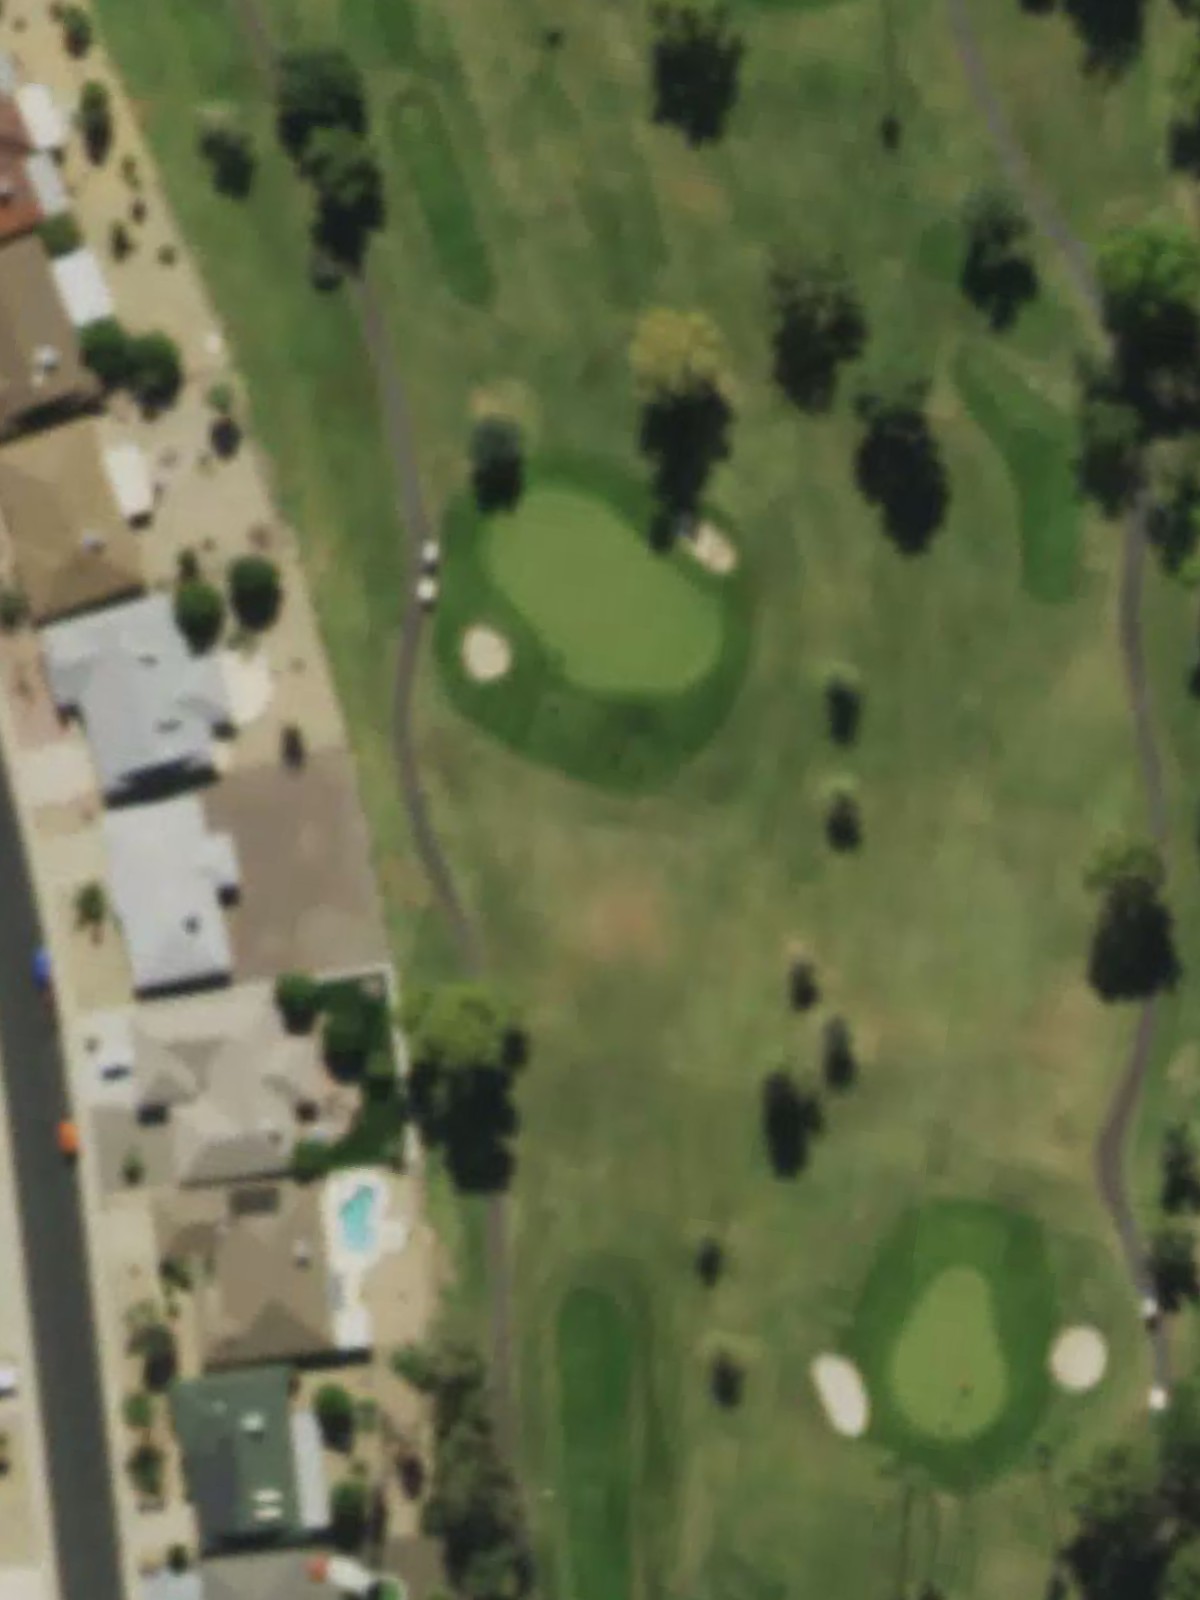
A mid-length par 3 with bunkers surrounding the green on multiple sides, particularly threatening left and right. Accuracy is essential to find the narrow target.
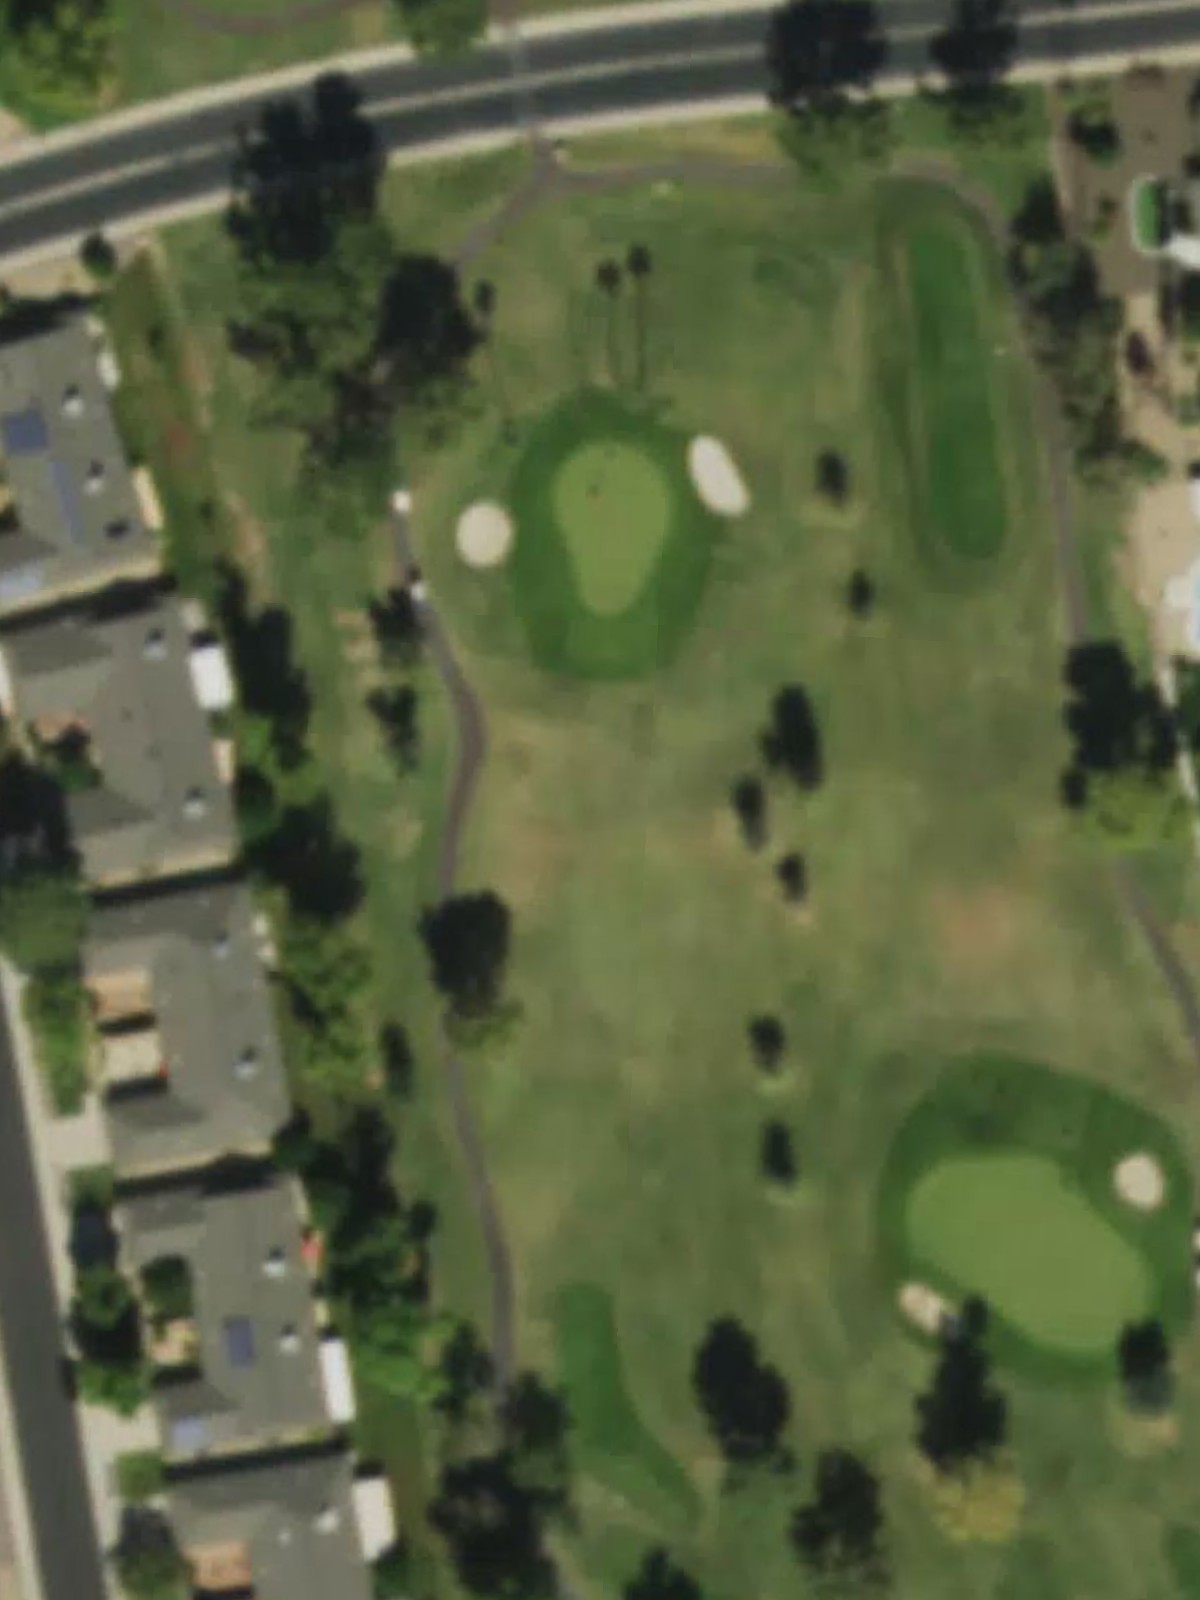
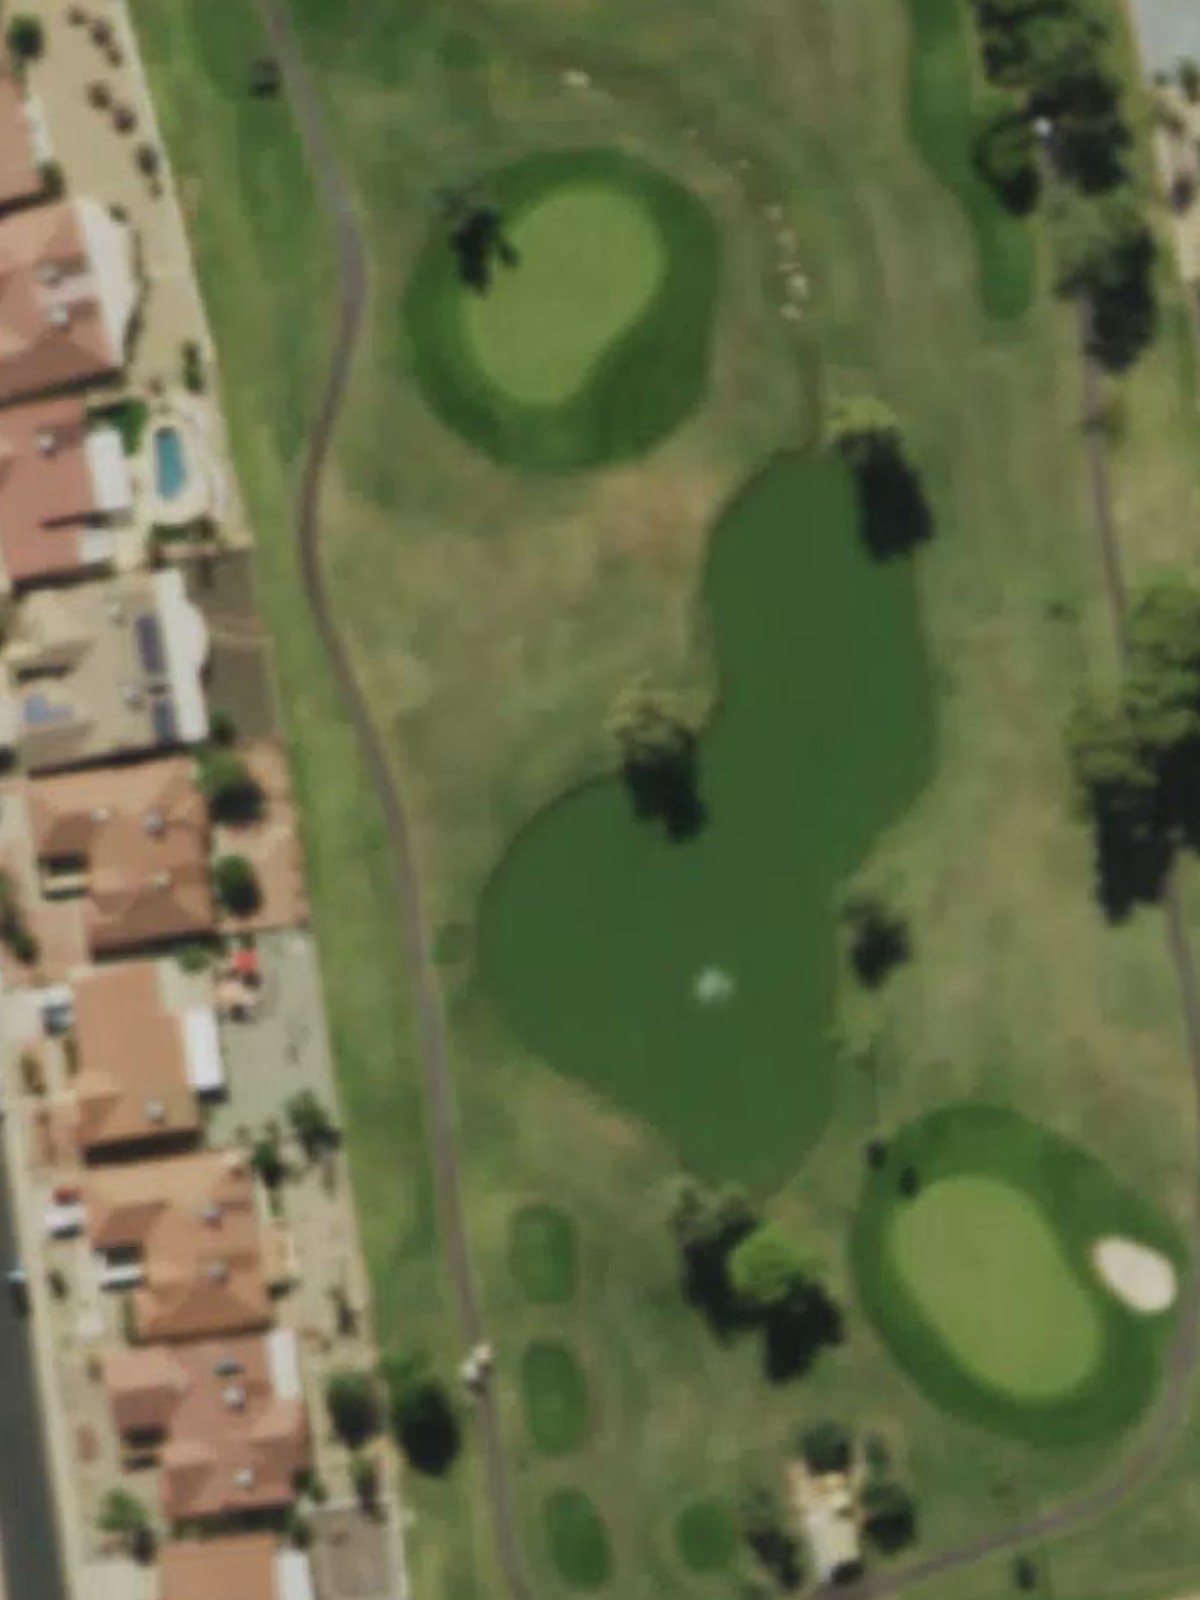
The course's most difficult hole, this par 4 features a tight fairway with hazards closing in on both sides as the hole progresses. The approach requires threading the needle to a well-defended green.
A short par 3 playing downhill to a compact green with limited room for error. Bunkers frame the target, making club selection and precision critical.
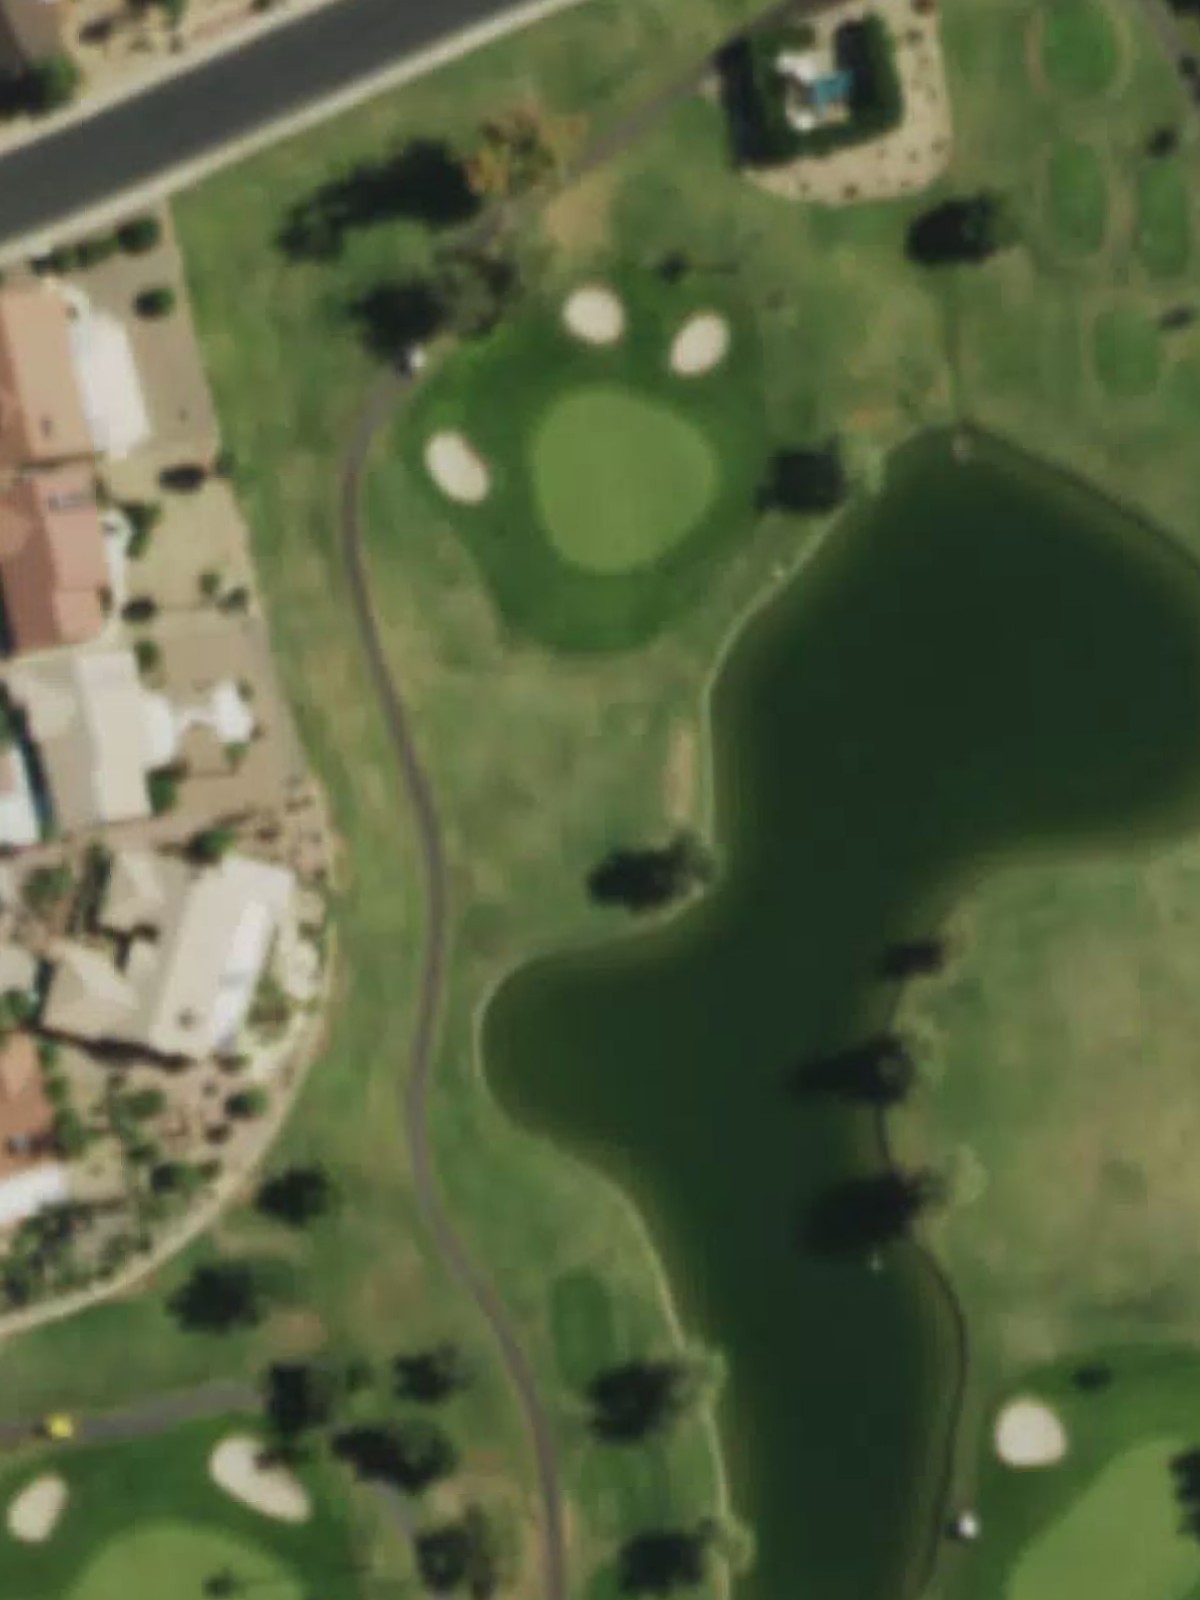
A demanding par 3 of mid-length with significant bunker protection surrounding the green. Water hazards and sand combine to make this a challenging one-shot hole.
A relatively modest par 3 with a small, well-defended green protected by bunkers. Despite its shorter length, accuracy in the landing zone is essential.
The shortest par 3 on the course, playing to an elevated green surrounded by sand hazards. The tight green demands precision despite the reduced distance.
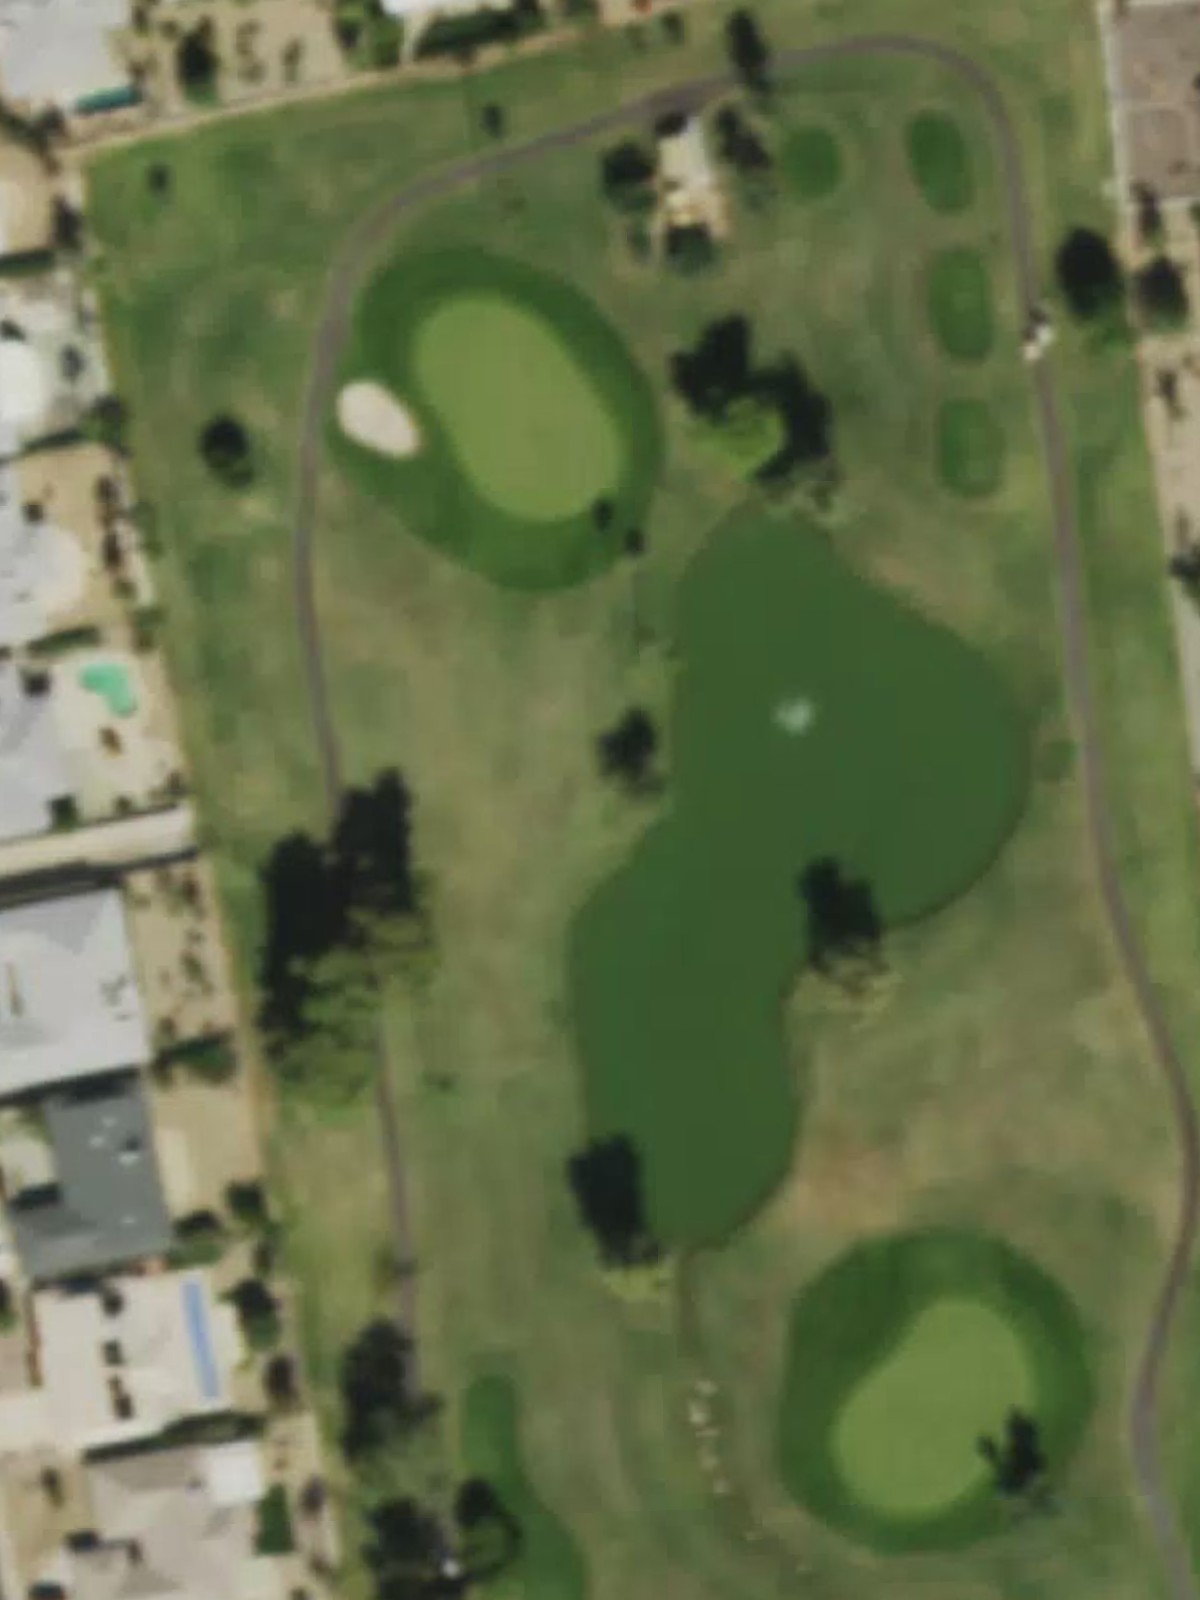
A challenging par 4 with a dramatic dogleg configuration that requires strategic positioning off the tee. Bunkers and hazards guard the inside of the turn and the approach to the green.

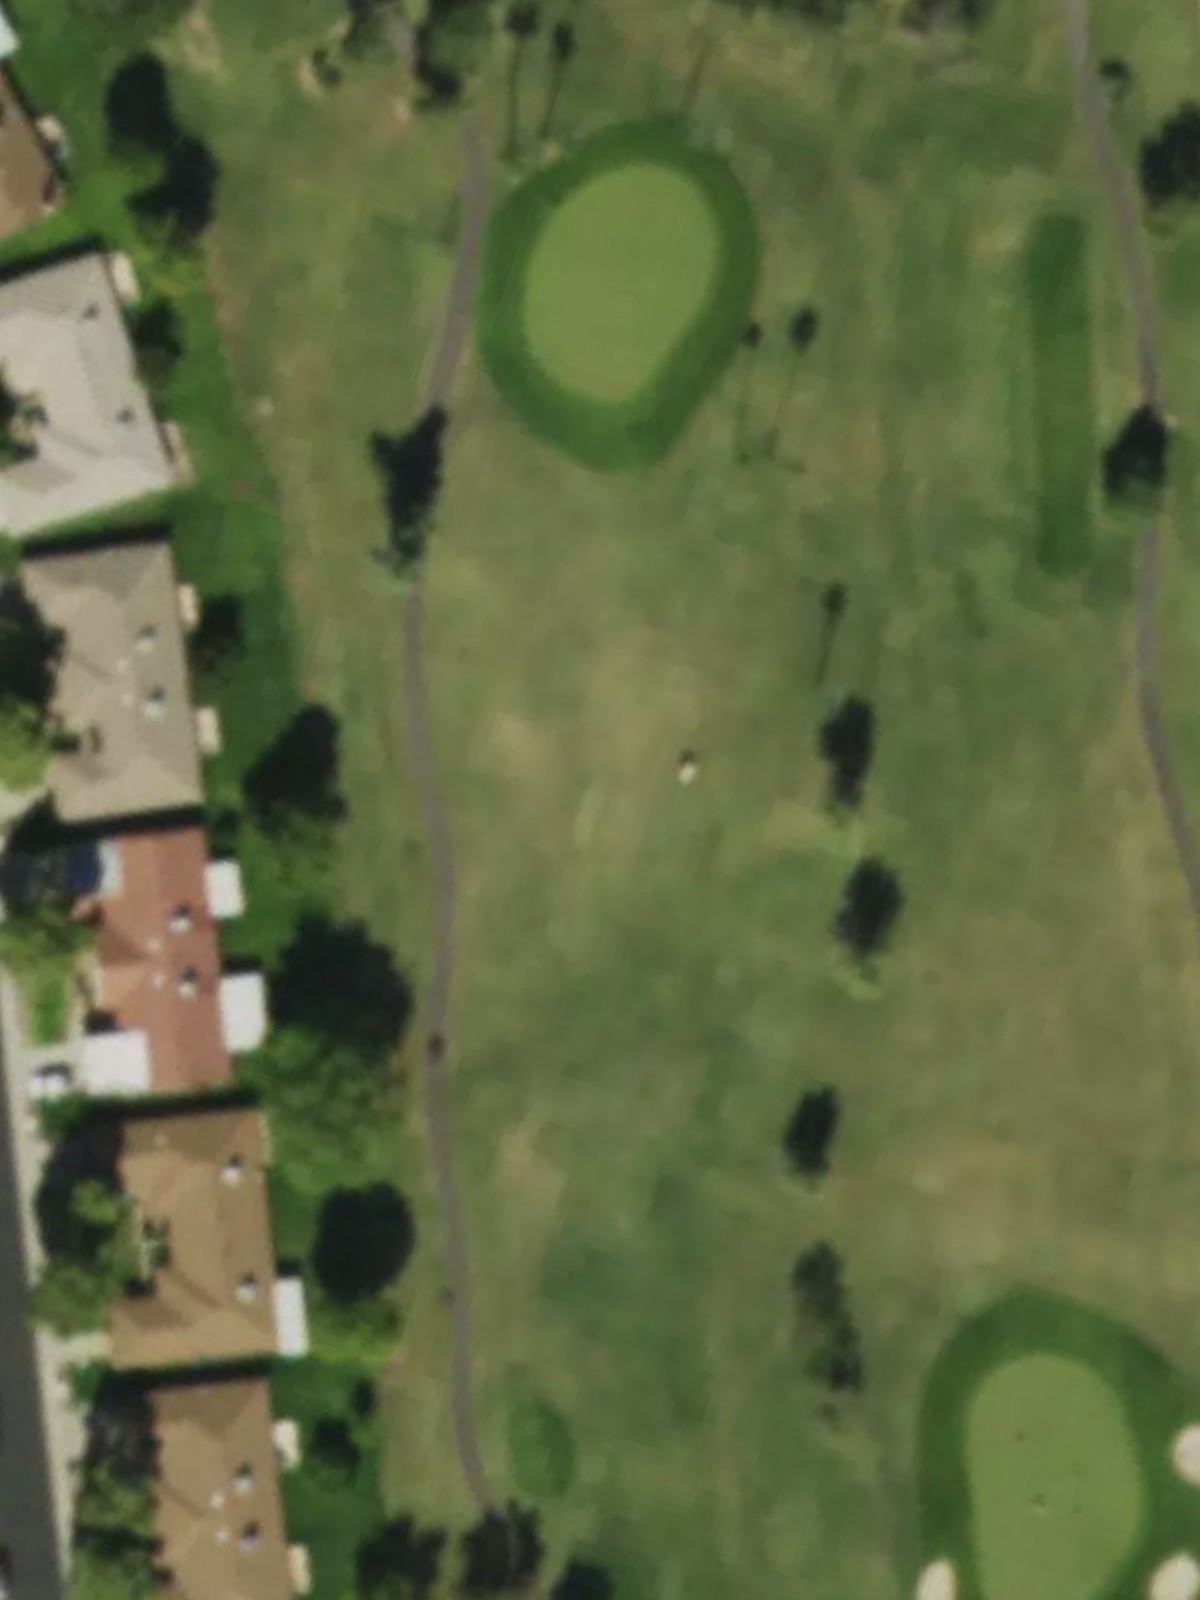
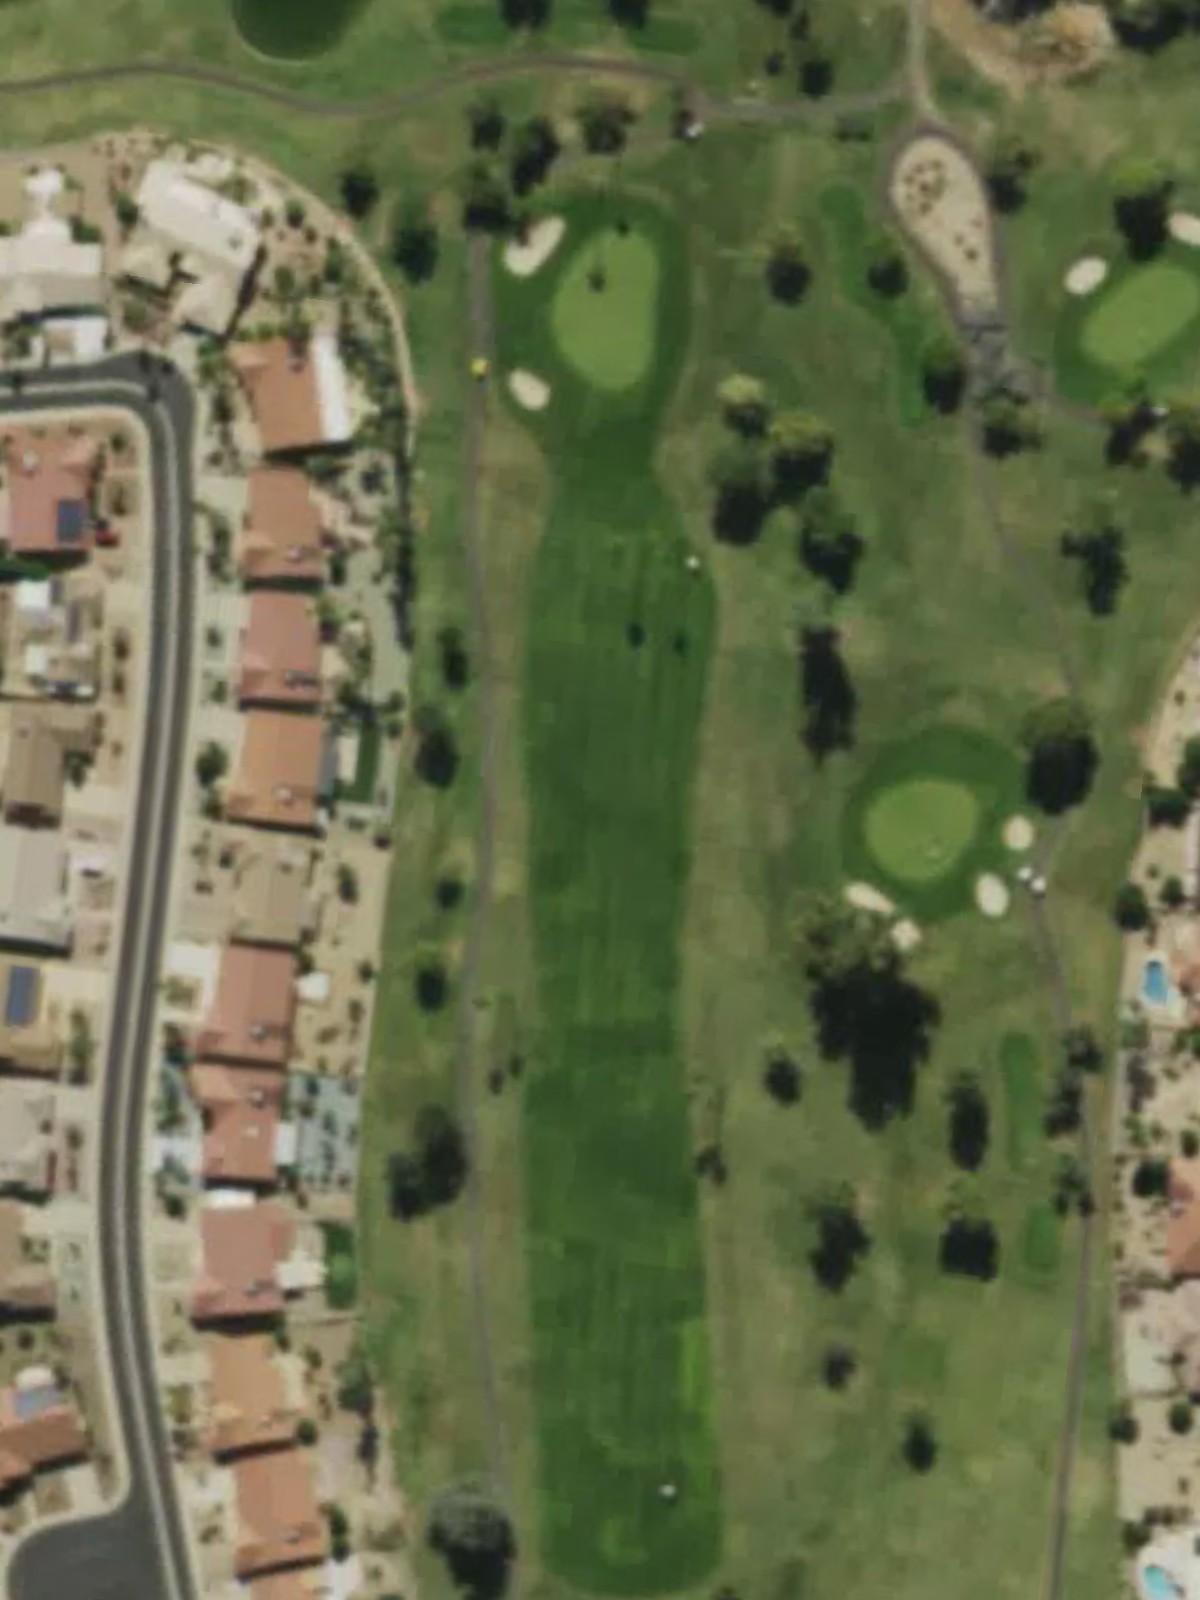
A lengthy par 4 with a fairway that narrows significantly in the landing zone and approaches the green. Strategic bunker placement on both sides requires careful positioning for the approach.
The easiest par 3 on the course, this short hole plays to a relatively open green with minimal bunkering. The modest length and fewer hazards create a scoring opportunity.
A mid-length par 3 with bunkers guarding the green on both sides and potentially left. The elevated target requires both distance and directional control.
A short par 3 with a modestly-sized green protected by surrounding bunkers. The manageable yardage is offset by the necessity of finding the narrow target.
A short par 3 with bunkers and hazards framing the approach to the green. Despite limited length, the well-protected target demands accuracy.
The second-most difficult hole on the course, this long par 4 features a tight driving corridor with bunkers and hazards closing in from both sides. The demanding approach shot must navigate additional greenside protection.
A short par 3 with a compact green defended by sand hazards on one or both sides. Precision is paramount despite the reduced distance.
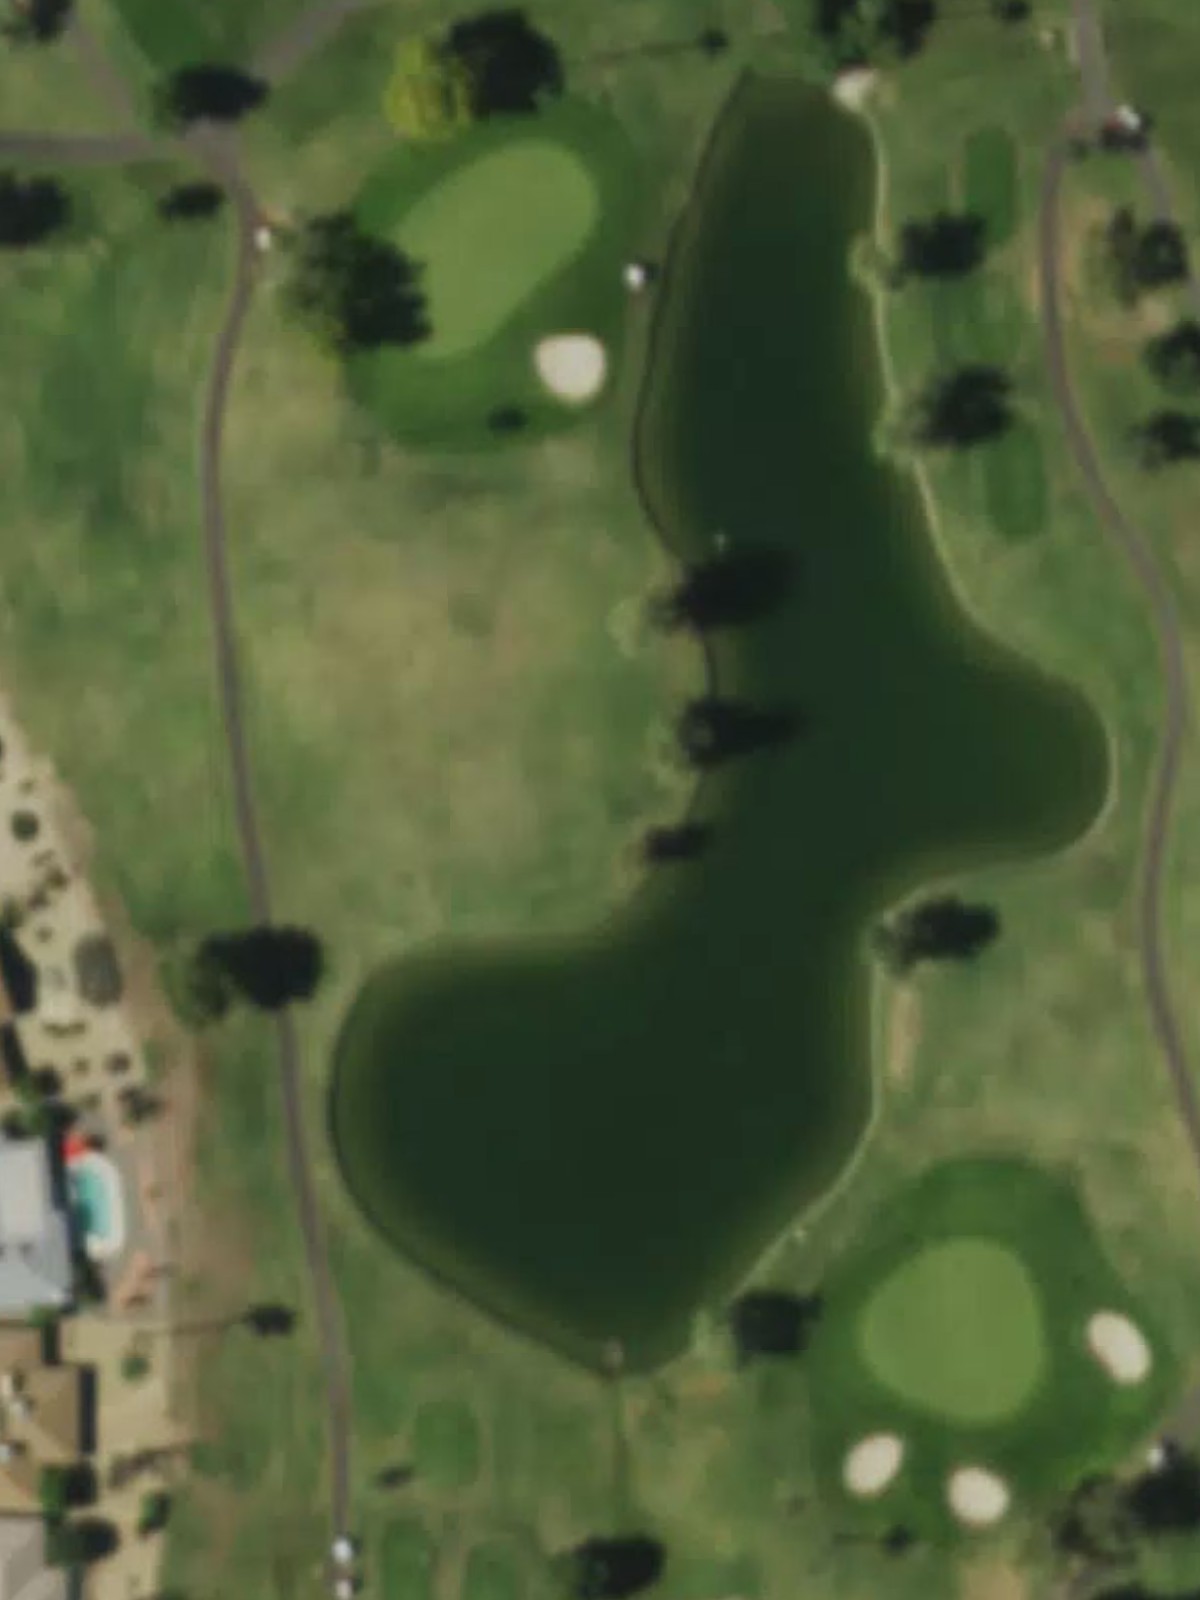
A mid-length par 3 with bunkers and potential water hazards protecting the green, particularly on the left side. The approach demands both distance and accuracy to avoid multiple hazards.
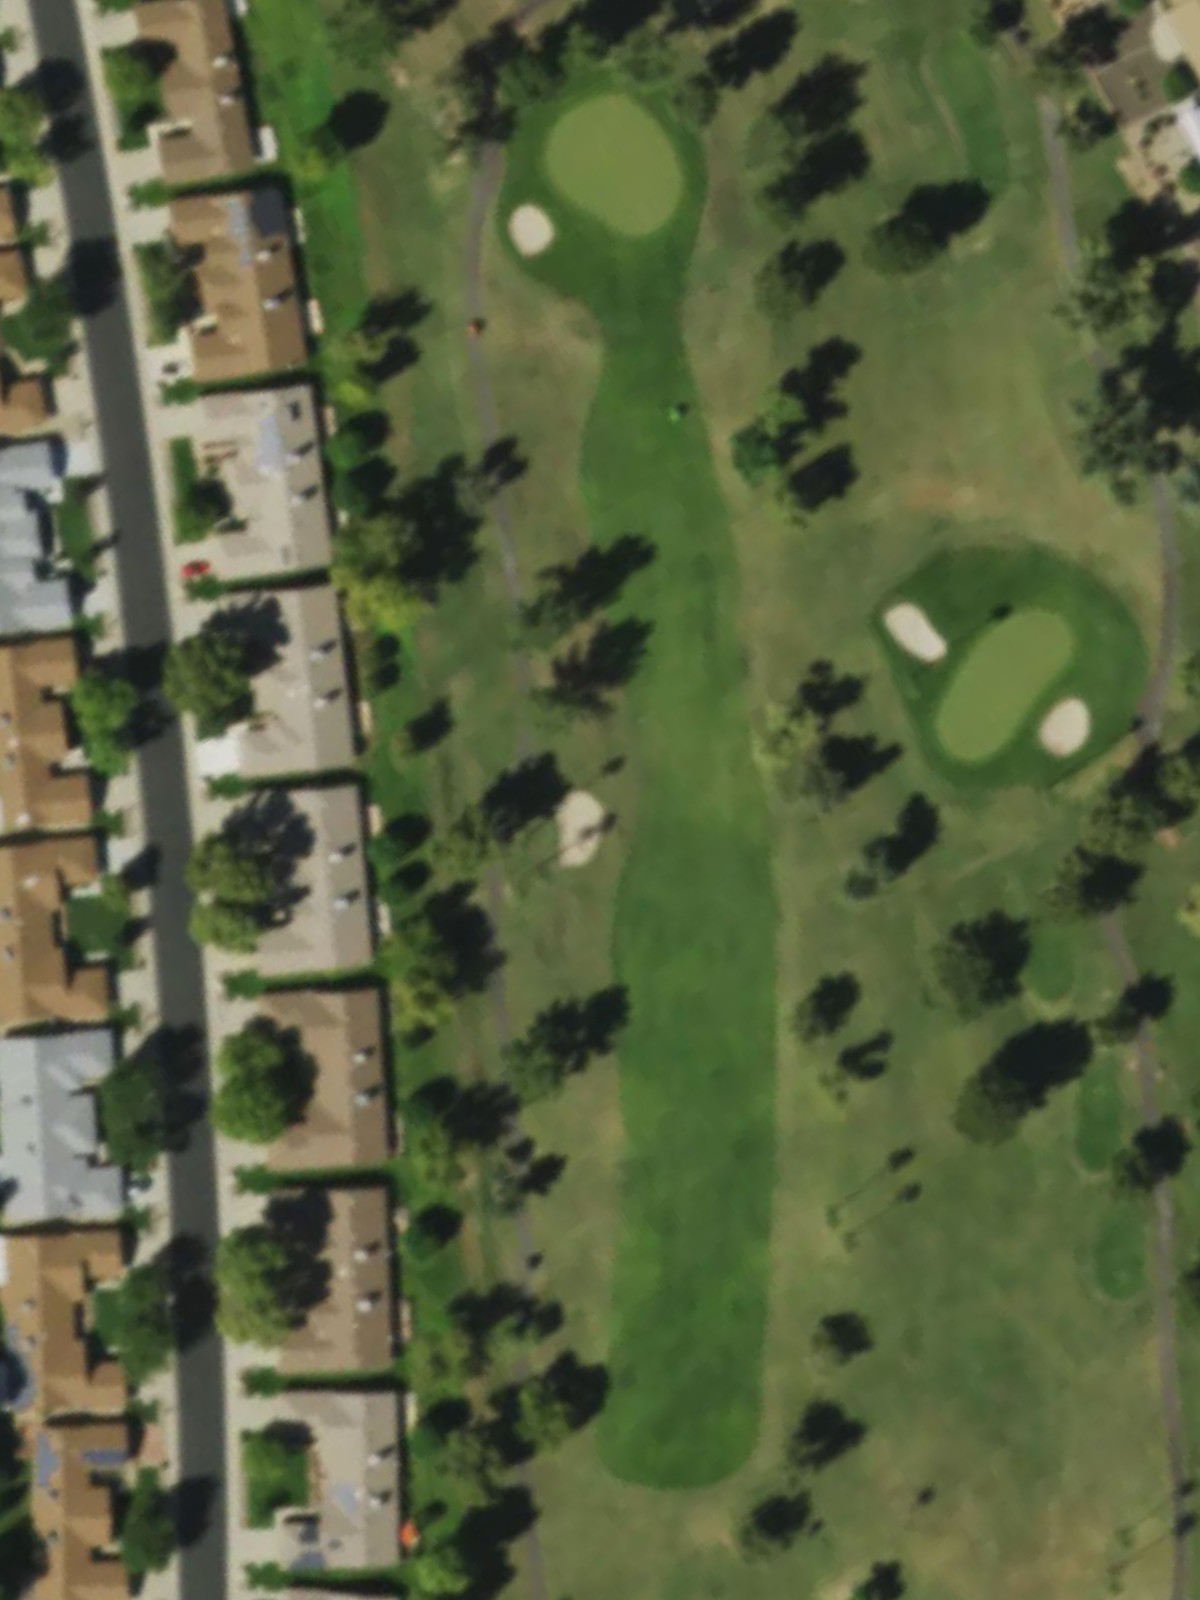
The finishing par 4 features a fairway that tightens as it approaches a well-bunkered green with hazards guarding the final approach. Strategic positioning off the tee sets up the finishing shot.
Scorecard
| Hole | 1 | 2 | 3 | 4 | 5 | 6 | 7 | 8 | 9 | Out | 10 | 11 | 12 | 13 | 14 | 15 | 16 | 17 | 18 | In | Tot |
|---|---|---|---|---|---|---|---|---|---|---|---|---|---|---|---|---|---|---|---|---|---|
| Par | 4 | 3 | 3 | 4 | 3 | 3 | 3 | 3 | 4 | 30 | 4 | 3 | 3 | 3 | 3 | 4 | 3 | 3 | 4 | 30 | 60 |
| HCP | 5 | 13 | 9 | 1 | 11 | 7 | 15 | 17 | 3 | 6 | 18 | 10 | 16 | 12 | 2 | 14 | 8 | 4 | |||
| blue | 337 | 147 | 201 | 363 | 140 | 225 | 168 | 134 | 325 | 2040 | 389 | 132 | 210 | 181 | 168 | 400 | 160 | 202 | 385 | 2227 | 4267 |
| white | 322 | 131 | 183 | 350 | 119 | 207 | 150 | 123 | 304 | 1889 | 378 | 114 | 192 | 163 | 150 | 382 | 140 | 182 | 364 | 2065 | 3954 |
| red | 301 | 108 | 159 | 312 | 100 | 169 | 134 | 98 | 284 | 1665 | 343 | 91 | 166 | 138 | 130 | 343 | 113 | 159 | 341 | 1824 | 3489 |