St Ann Golf Course is an 18-hole golf course in St. Ann, MO with a par of 66. It offers 3 tee sets: blue (5,380 yards, slope 104, rating 65), white (5,040 yards, slope 100, rating 63.4), red (4,488 yards, slope 89, rating 61.6).
St Ann Golf Course
St. Ann, MO
Get PDF Yardage Book
We'll email you the PDF link. No spam, ever.
Create Your Game Plan
Pick your tees, enter your bag, and get a personalized shot-by-shot strategy for every hole.
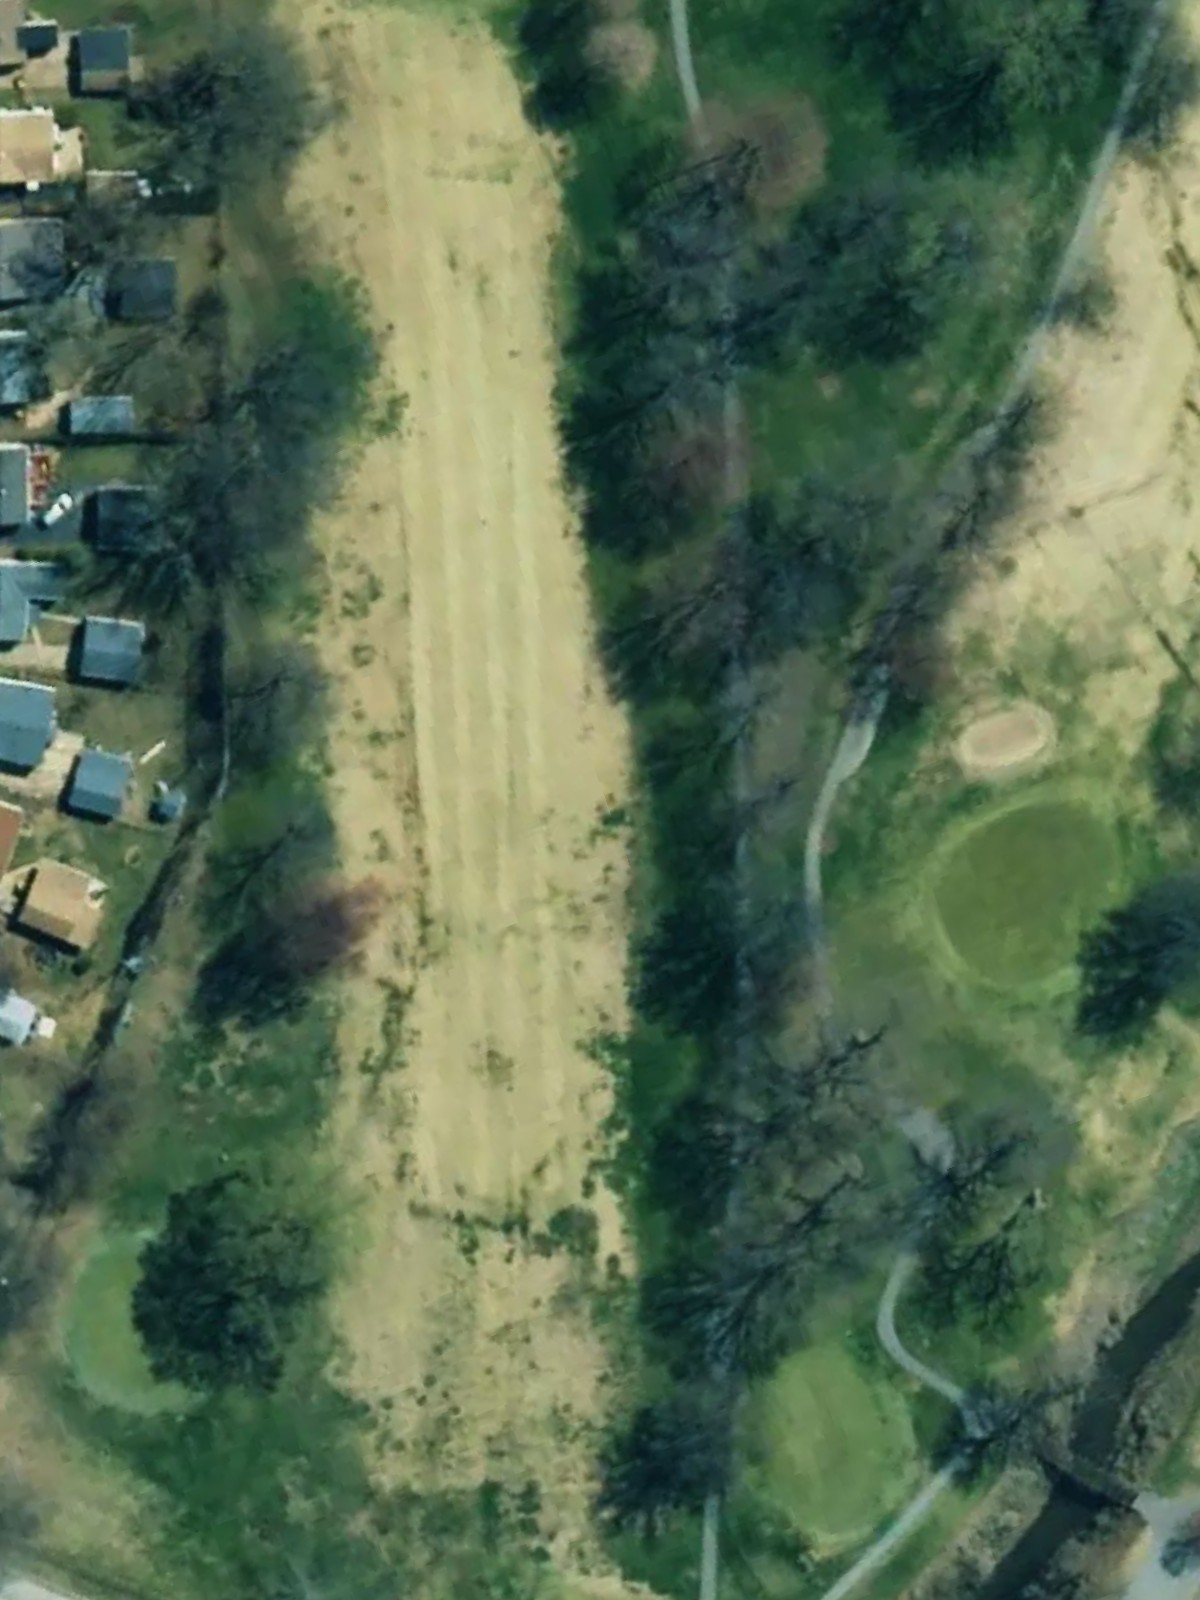
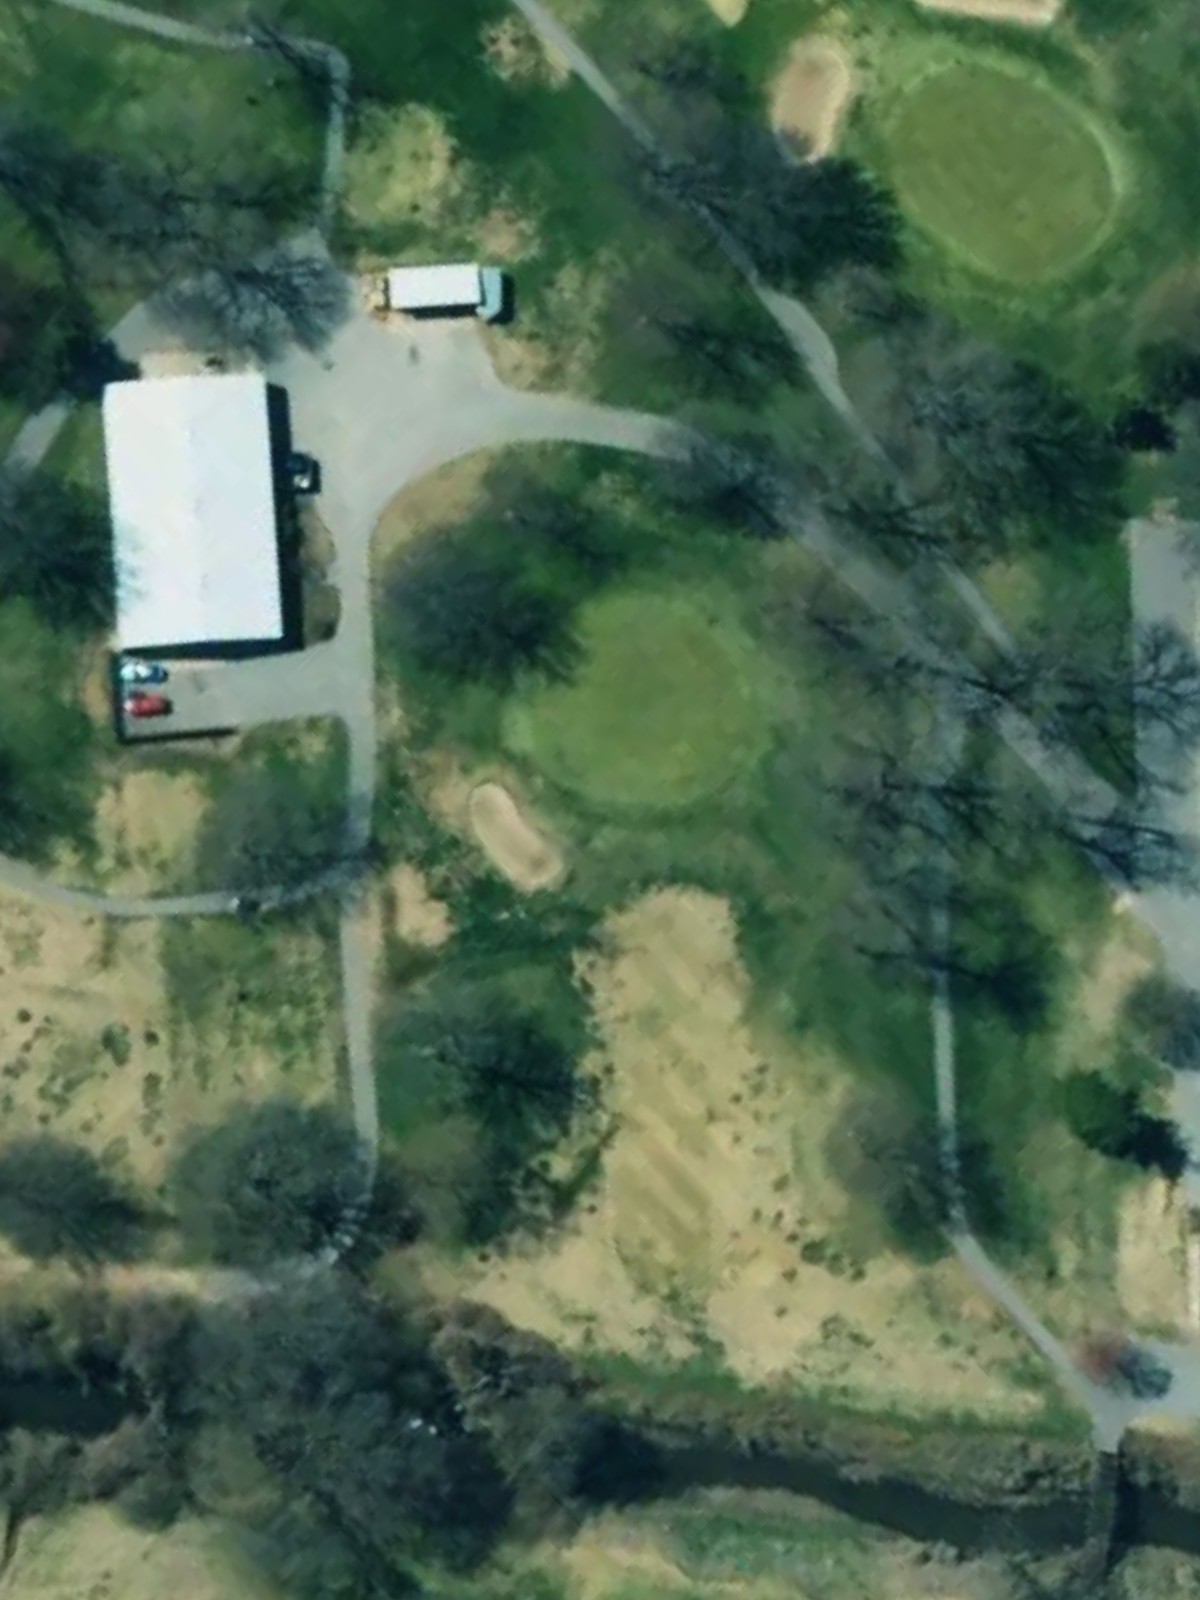
A straightforward opening par 4 with a wide fairway that gradually narrows as it approaches the green. The green is well-bunkered on the right side, making accuracy on the approach shot essential.
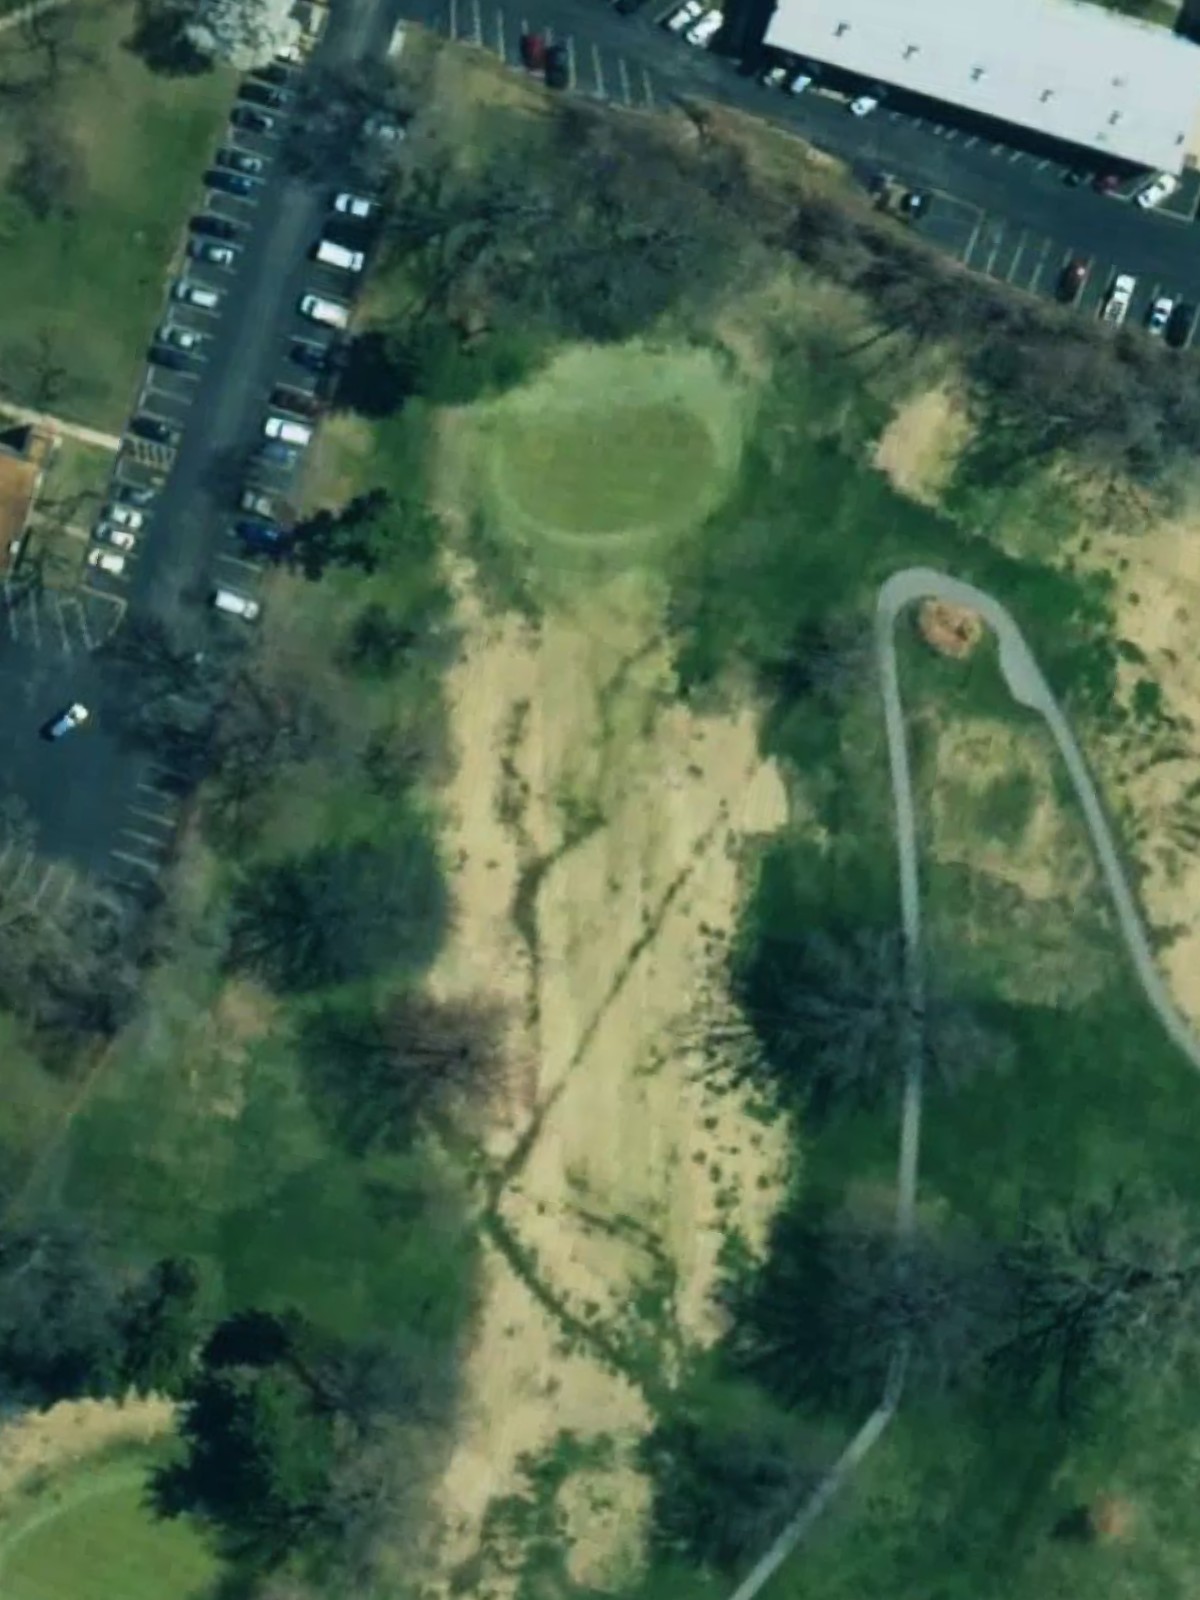
A short par 3 played to an elevated green protected by bunkers on both sides. The modest length makes this a birdie opportunity, but the bunker placement demands a precise tee shot.
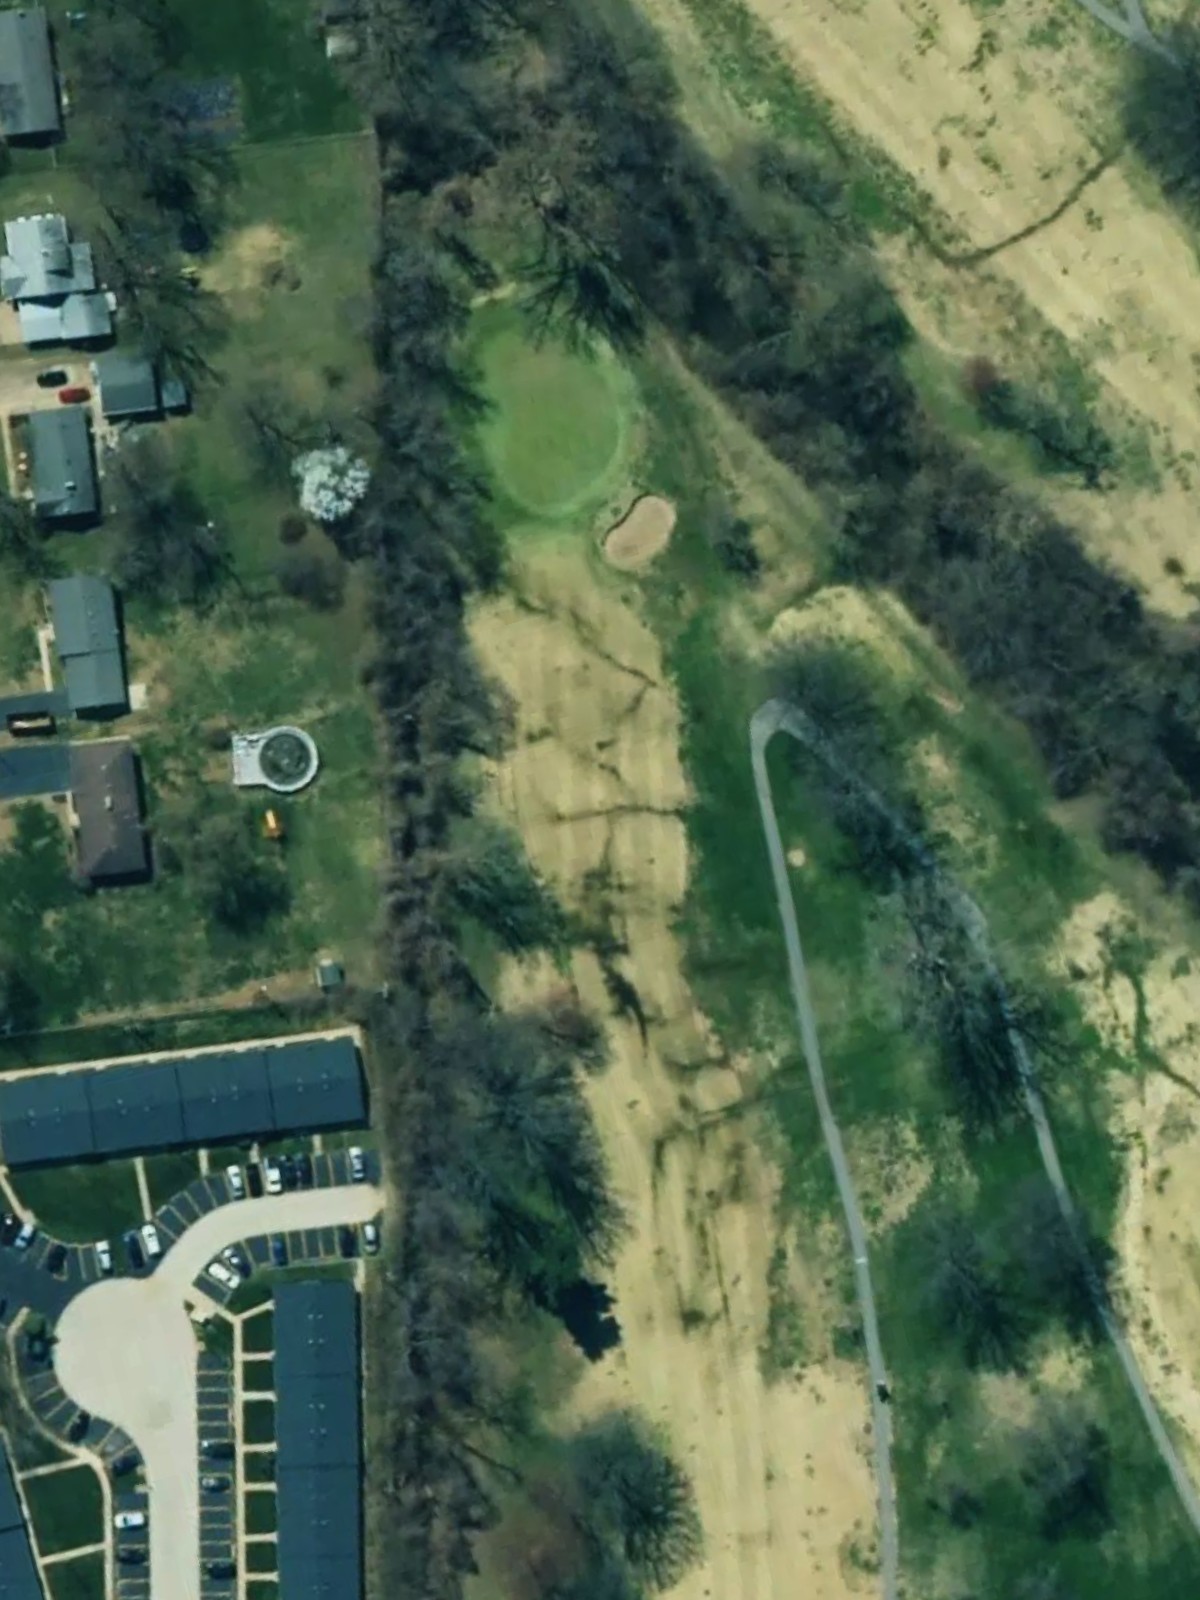
A mid-length par 4 that plays relatively straightforward with a fairway that widens toward the landing area. Bunkers frame both sides of the green, requiring accuracy on the approach rather than distance off the tee.
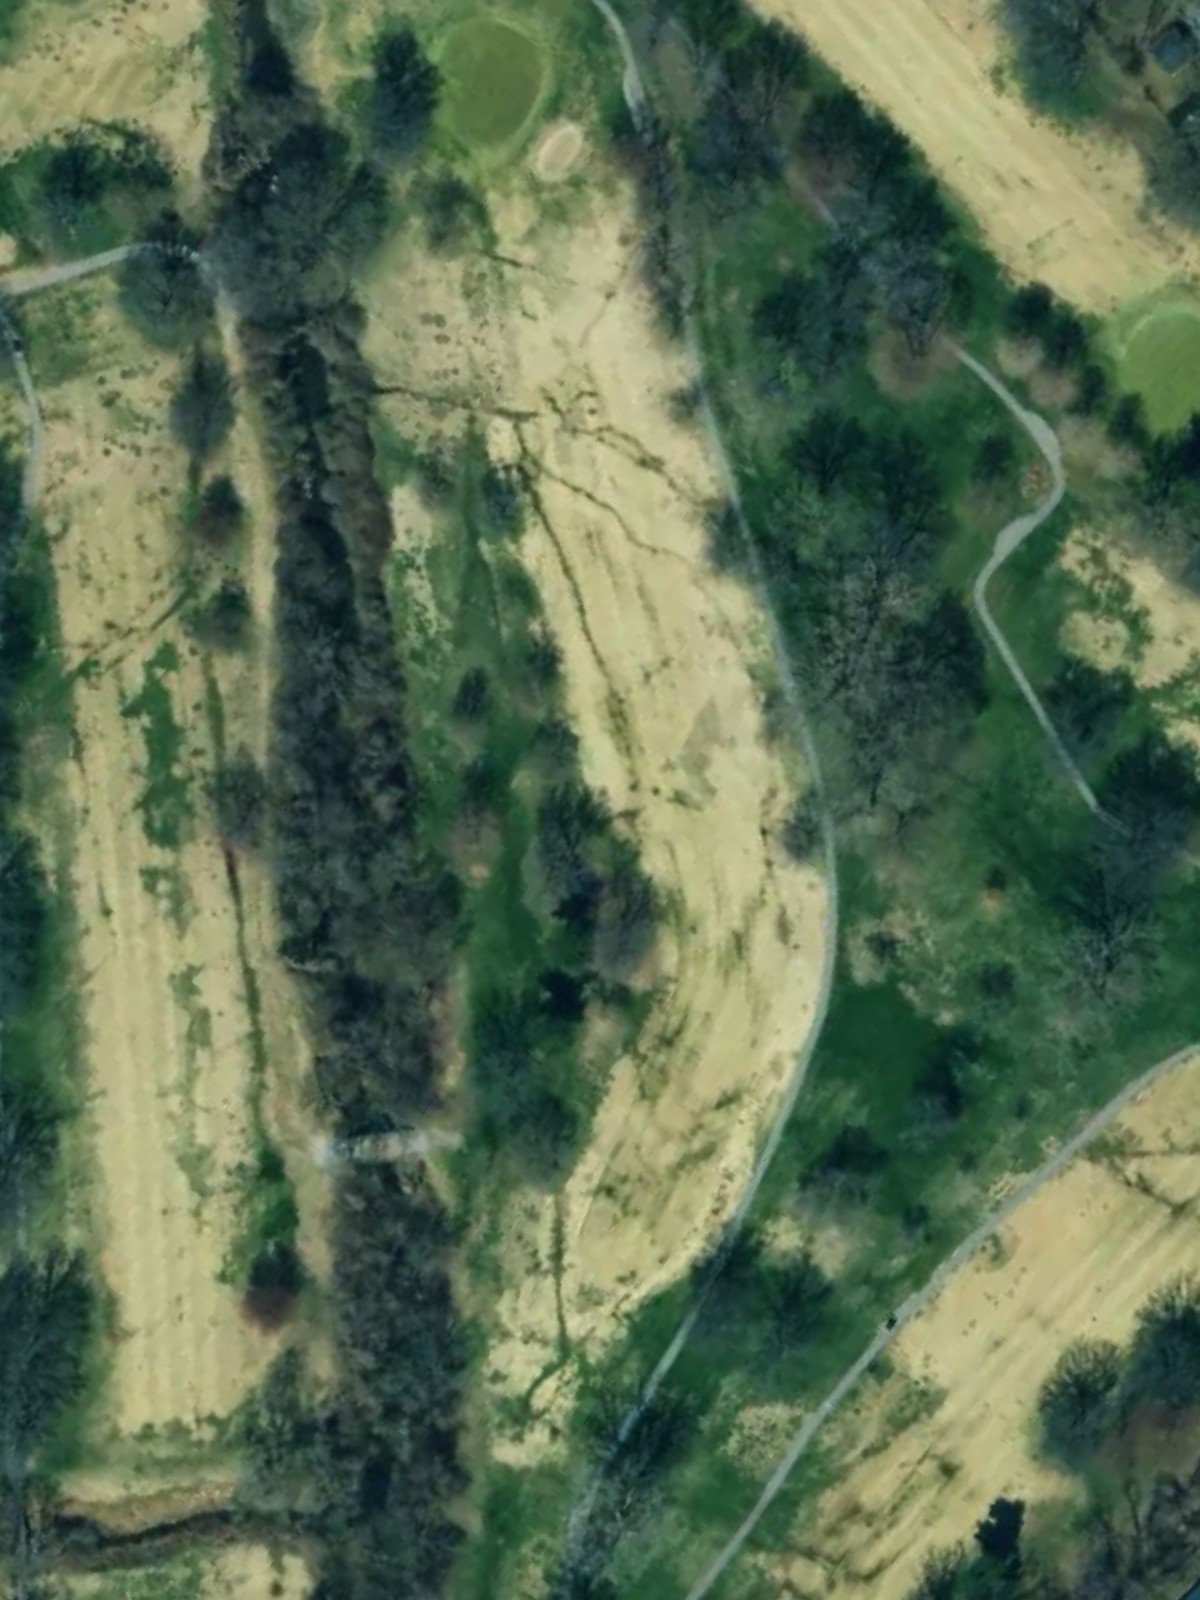
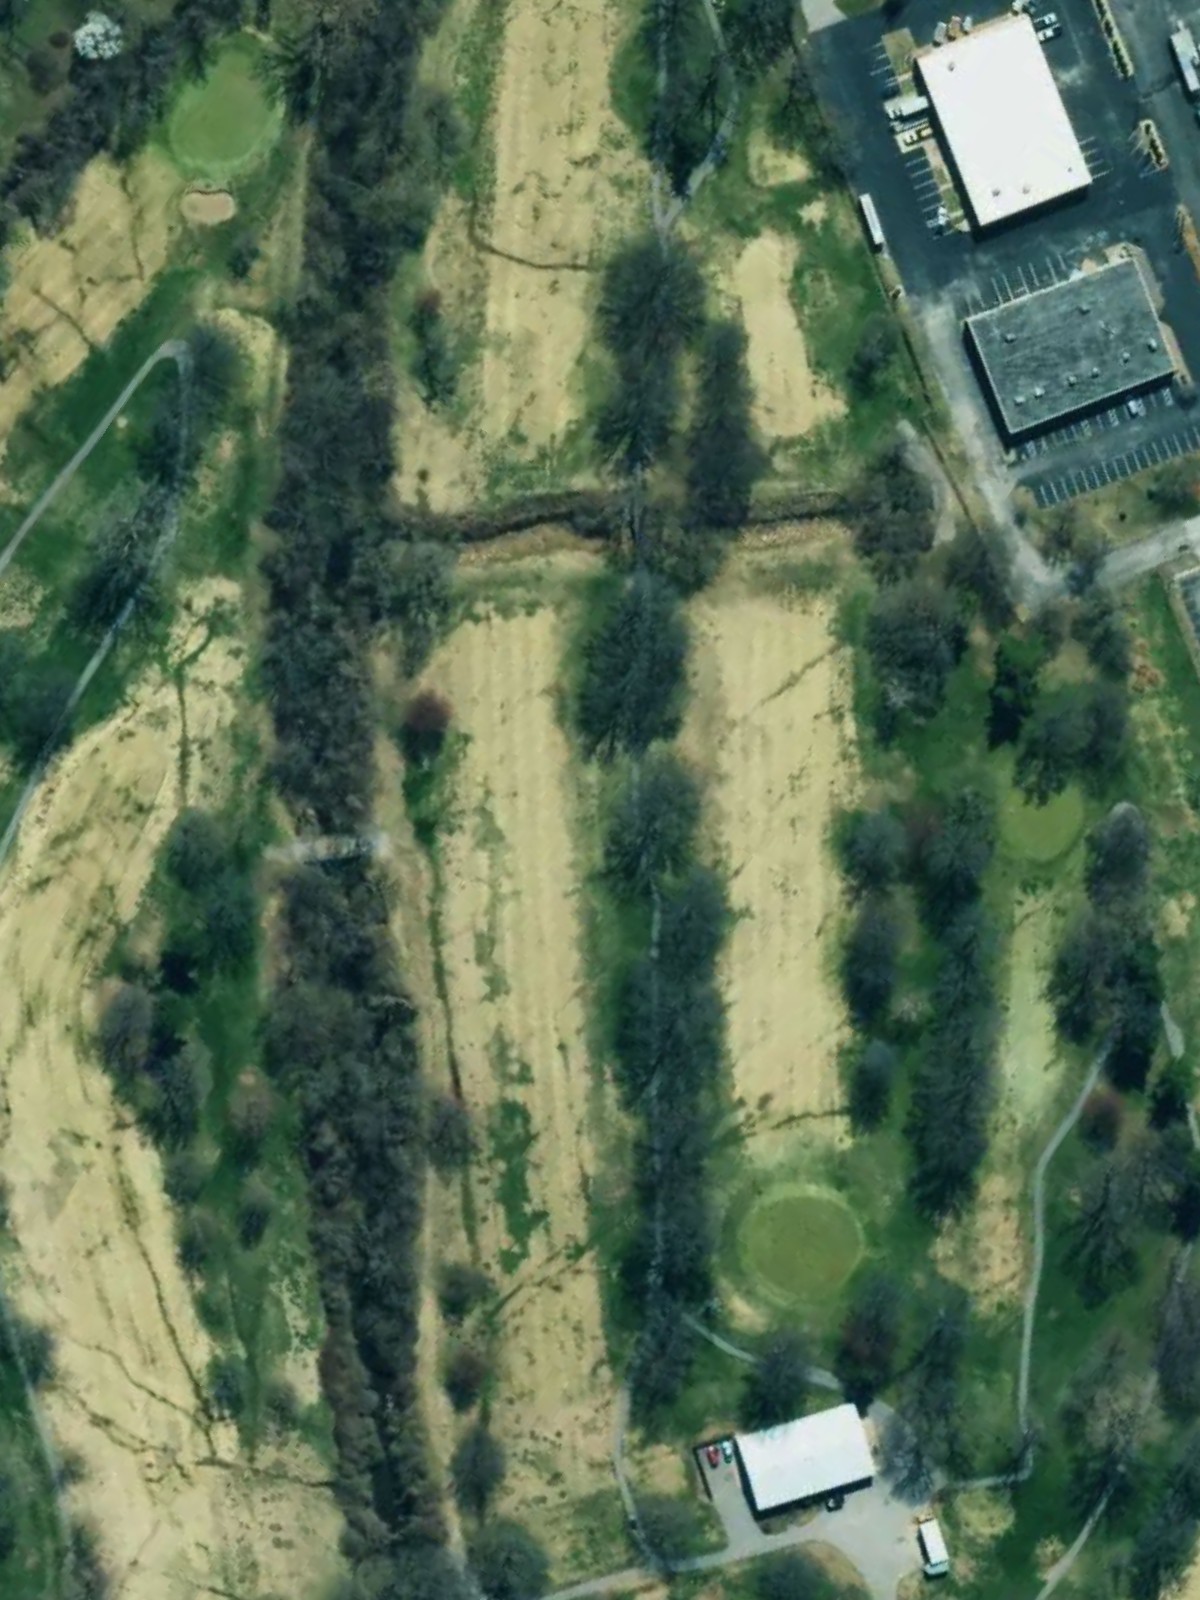
A substantial par 4 that demands length and accuracy, with the fairway tightening in the landing area and driving zone. Deep bunkers guard the left side of the green, making right-side positioning preferable for the approach.
A short par 3 with a simple design but deceptive difficulty, as the small green offers limited margin for error. Bunkers closely frame the green, punishing anything off the center line.
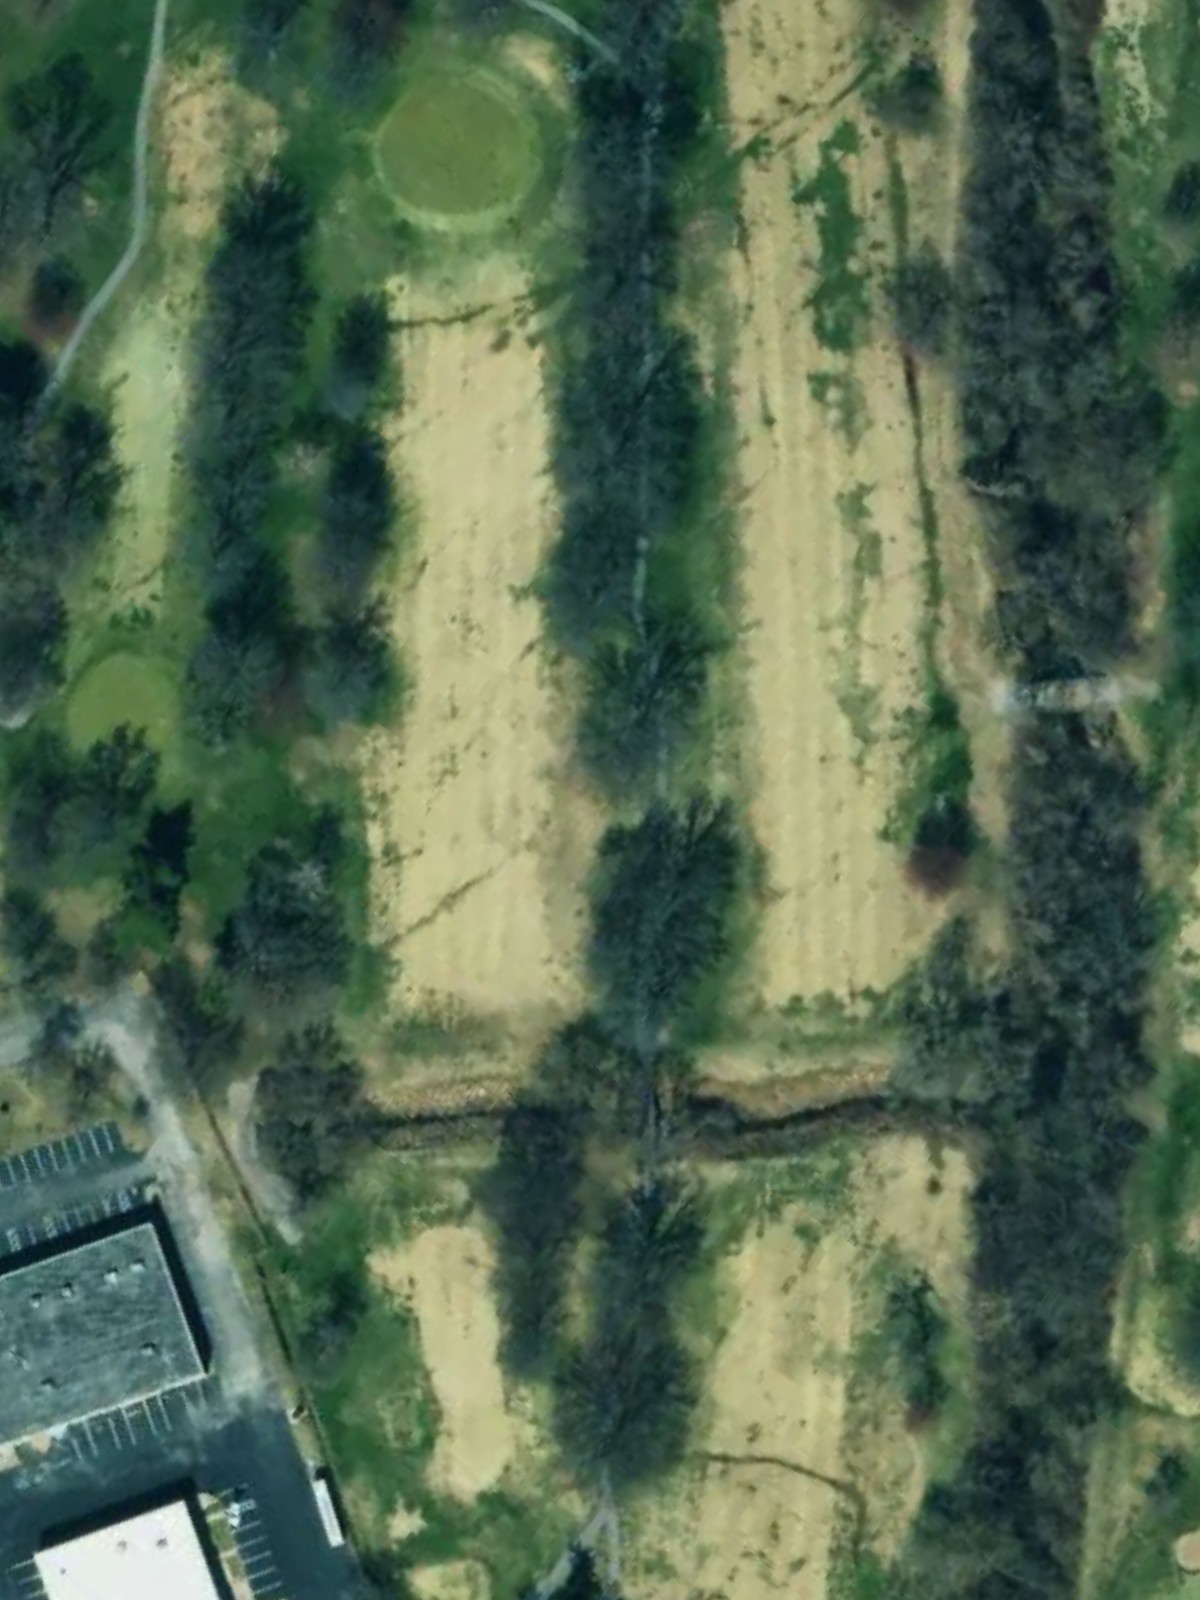
A lengthy par 4 that plays as one of the course's most demanding holes, with a narrow fairway that requires control from the tee. The approach is uphill to a well-bunkered green, with hazards left and right making scoring difficult.
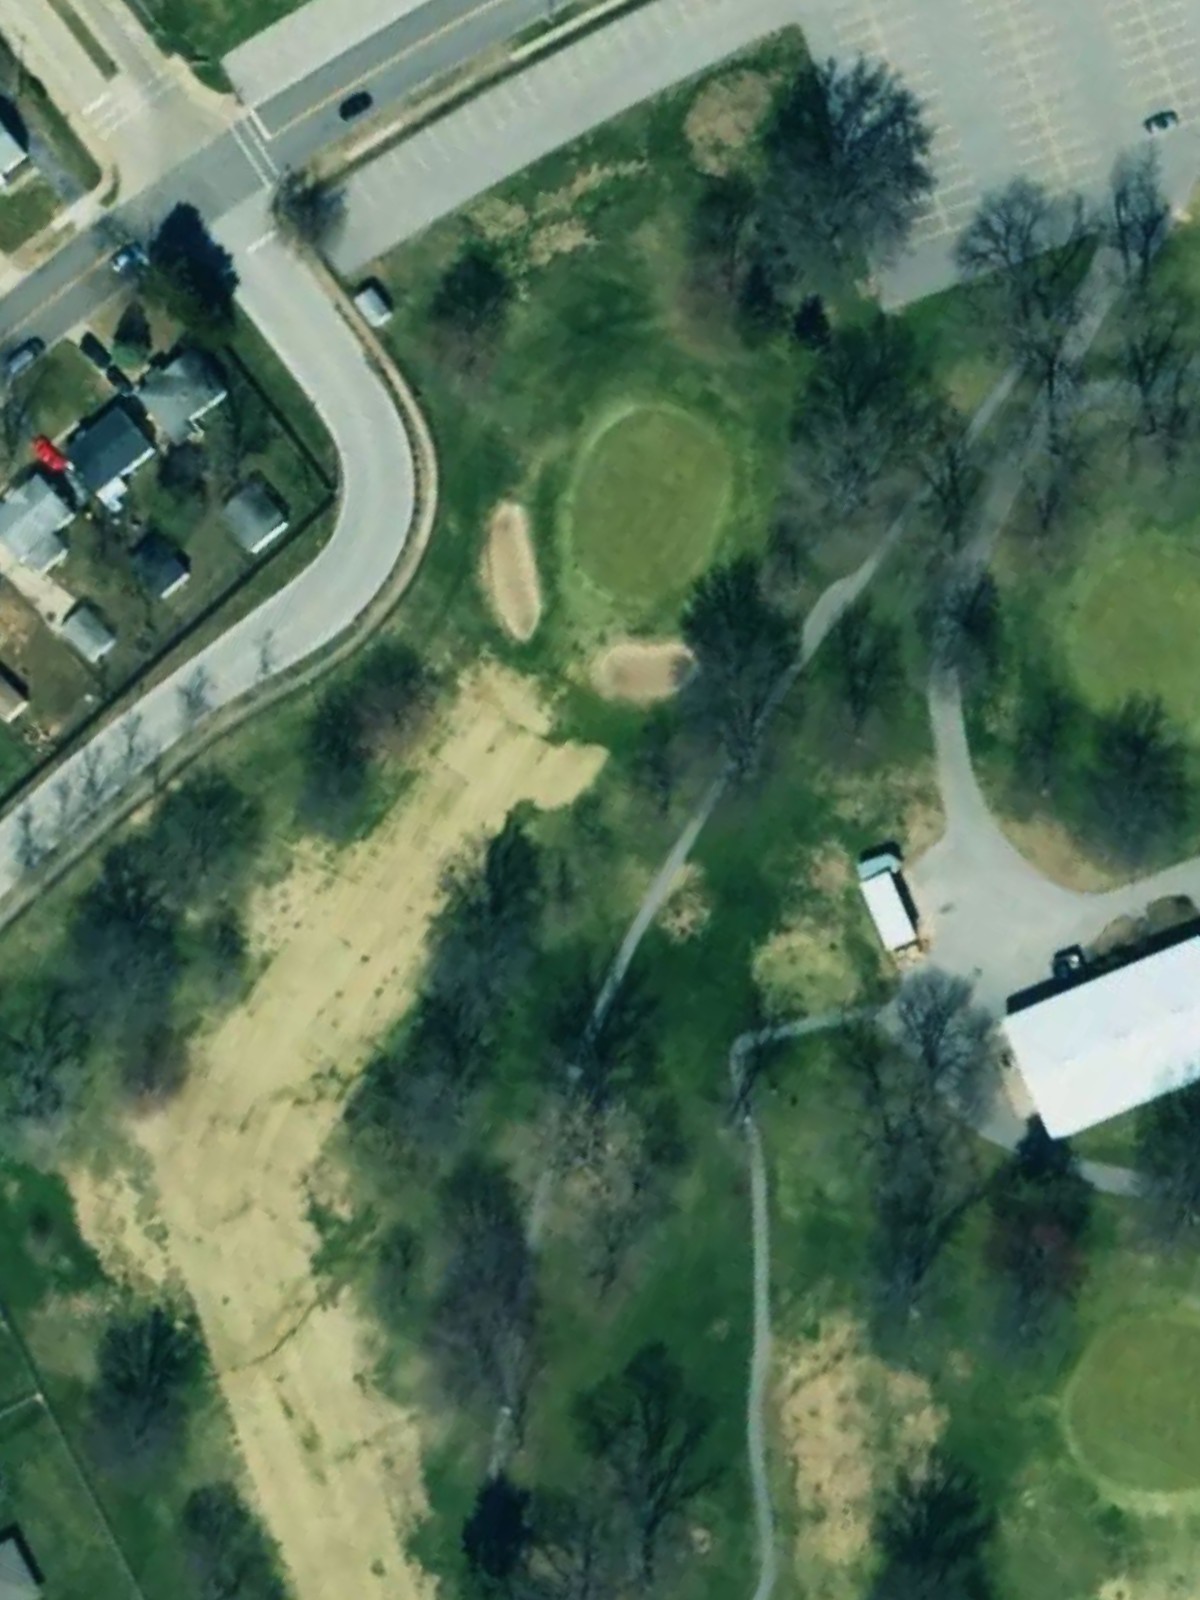
A dogleg configuration with a slightly elevated tee that obscures the lower fairway landing area. The fairway doglegs left toward a green that is protected by bunkers, and positioning off the tee is critical for a clean approach shot.

A mid-length par 3 with a green that sits on slightly elevated ground and is surrounded by defensive bunkers. The hole's length and protected green make it a stout one-shot test.
A solid par 4 finishing the front nine with a fairway that plays wide in the driving zone then narrows toward the green. Bunkers guard the approach area, particularly on the left side, creating a strategic challenge on the second shot.
A straightforward opening par 4 on the back nine with a generous fairway that narrows as it approaches the green. The green is well-bunkered on the right side, making accuracy on the approach shot essential.
A short par 3 played to an elevated green protected by bunkers on both sides. The modest length makes this a birdie opportunity, but the bunker placement demands a precise tee shot.
A mid-length par 4 that plays relatively straightforward with a fairway that widens toward the landing area. Bunkers frame both sides of the green, requiring accuracy on the approach rather than distance off the tee.
A substantial par 4 that demands length and accuracy, with the fairway tightening in the landing area and driving zone. Deep bunkers guard the left side of the green, making right-side positioning preferable for the approach.
A short par 3 with a simple design but deceptive difficulty, as the small green offers limited margin for error. Bunkers closely frame the green, punishing anything off the center line.
A lengthy par 4 that plays as one of the course's most demanding holes, with a narrow fairway that requires control from the tee. The approach is uphill to a well-bunkered green, with hazards left and right making scoring difficult.
A dogleg configuration with a slightly elevated tee that obscures the lower fairway landing area. The fairway doglegs left toward a green that is protected by bunkers, and positioning off the tee is critical for a clean approach shot.
A mid-length par 3 with a green that sits on slightly elevated ground and is surrounded by defensive bunkers. The hole's length and protected green make it a stout one-shot test.
A solid closing par 4 with a fairway that plays wide in the driving zone then narrows toward the green. Bunkers guard the approach area, particularly on the left side, creating a strategic challenge on the finishing hole.
Scorecard
| Hole | 1 | 2 | 3 | 4 | 5 | 6 | 7 | 8 | 9 | Out | 10 | 11 | 12 | 13 | 14 | 15 | 16 | 17 | 18 | In | Tot |
|---|---|---|---|---|---|---|---|---|---|---|---|---|---|---|---|---|---|---|---|---|---|
| Par | 4 | 3 | 4 | 4 | 3 | 4 | 4 | 3 | 4 | 33 | 4 | 3 | 4 | 4 | 3 | 4 | 4 | 3 | 4 | 33 | 66 |
| HCP | - | - | - | - | - | - | - | - | - | - | - | - | - | - | - | - | - | - | |||
| blue | 275 | 186 | 343 | 415 | 130 | 470 | 352 | 193 | 326 | 2690 | 275 | 186 | 343 | 415 | 130 | 470 | 352 | 193 | 326 | 2690 | 5380 |
| white | 261 | 172 | 317 | 395 | 124 | 455 | 308 | 175 | 313 | 2520 | 261 | 172 | 317 | 395 | 124 | 455 | 308 | 175 | 313 | 2520 | 5040 |
| red | 222 | 139 | 317 | 350 | 115 | 404 | 262 | 163 | 272 | 2244 | 222 | 139 | 317 | 350 | 115 | 404 | 262 | 163 | 272 | 2244 | 4488 |