Spring Brook Golf Course is an 18-hole golf course in Mora, MN with a par of 70. It offers 4 tee sets: black (6,202 yards, slope 132, rating 70.4), white (5,871 yards, slope 128, rating 68.9), gold (5,532 yards, slope 124, rating 67.4), red (4,794 yards, slope 118, rating 64.4). The hardest hole is #3, a par 4 playing 361 yards from the first tee.
Spring Brook Golf Course
Mora, MN
Get PDF Yardage Book
We'll email you the PDF link. No spam, ever.
Create Your Game Plan
Pick your tees, enter your bag, and get a personalized shot-by-shot strategy for every hole.
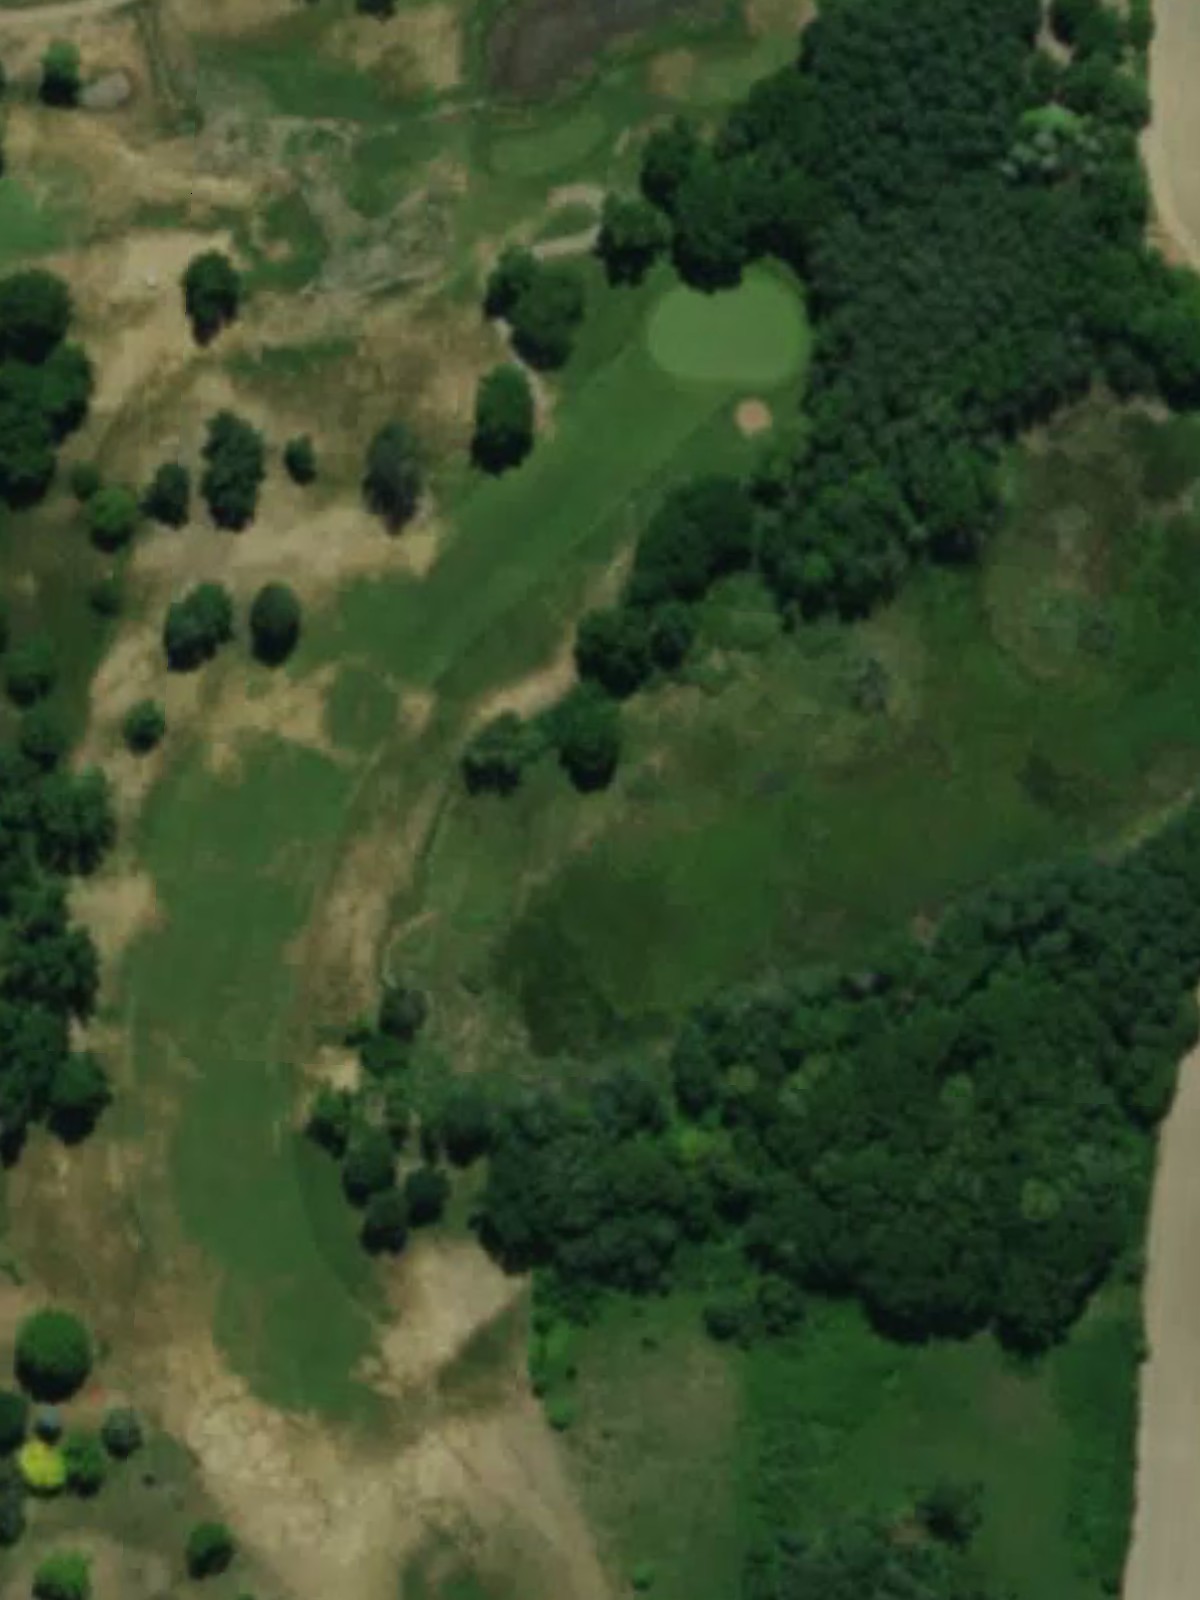
A straightforward opening par 4 with a fairly wide fairway that gradually narrows as it approaches the green. Bunkers protect the right side of the green, rewarding accuracy on the approach shot.

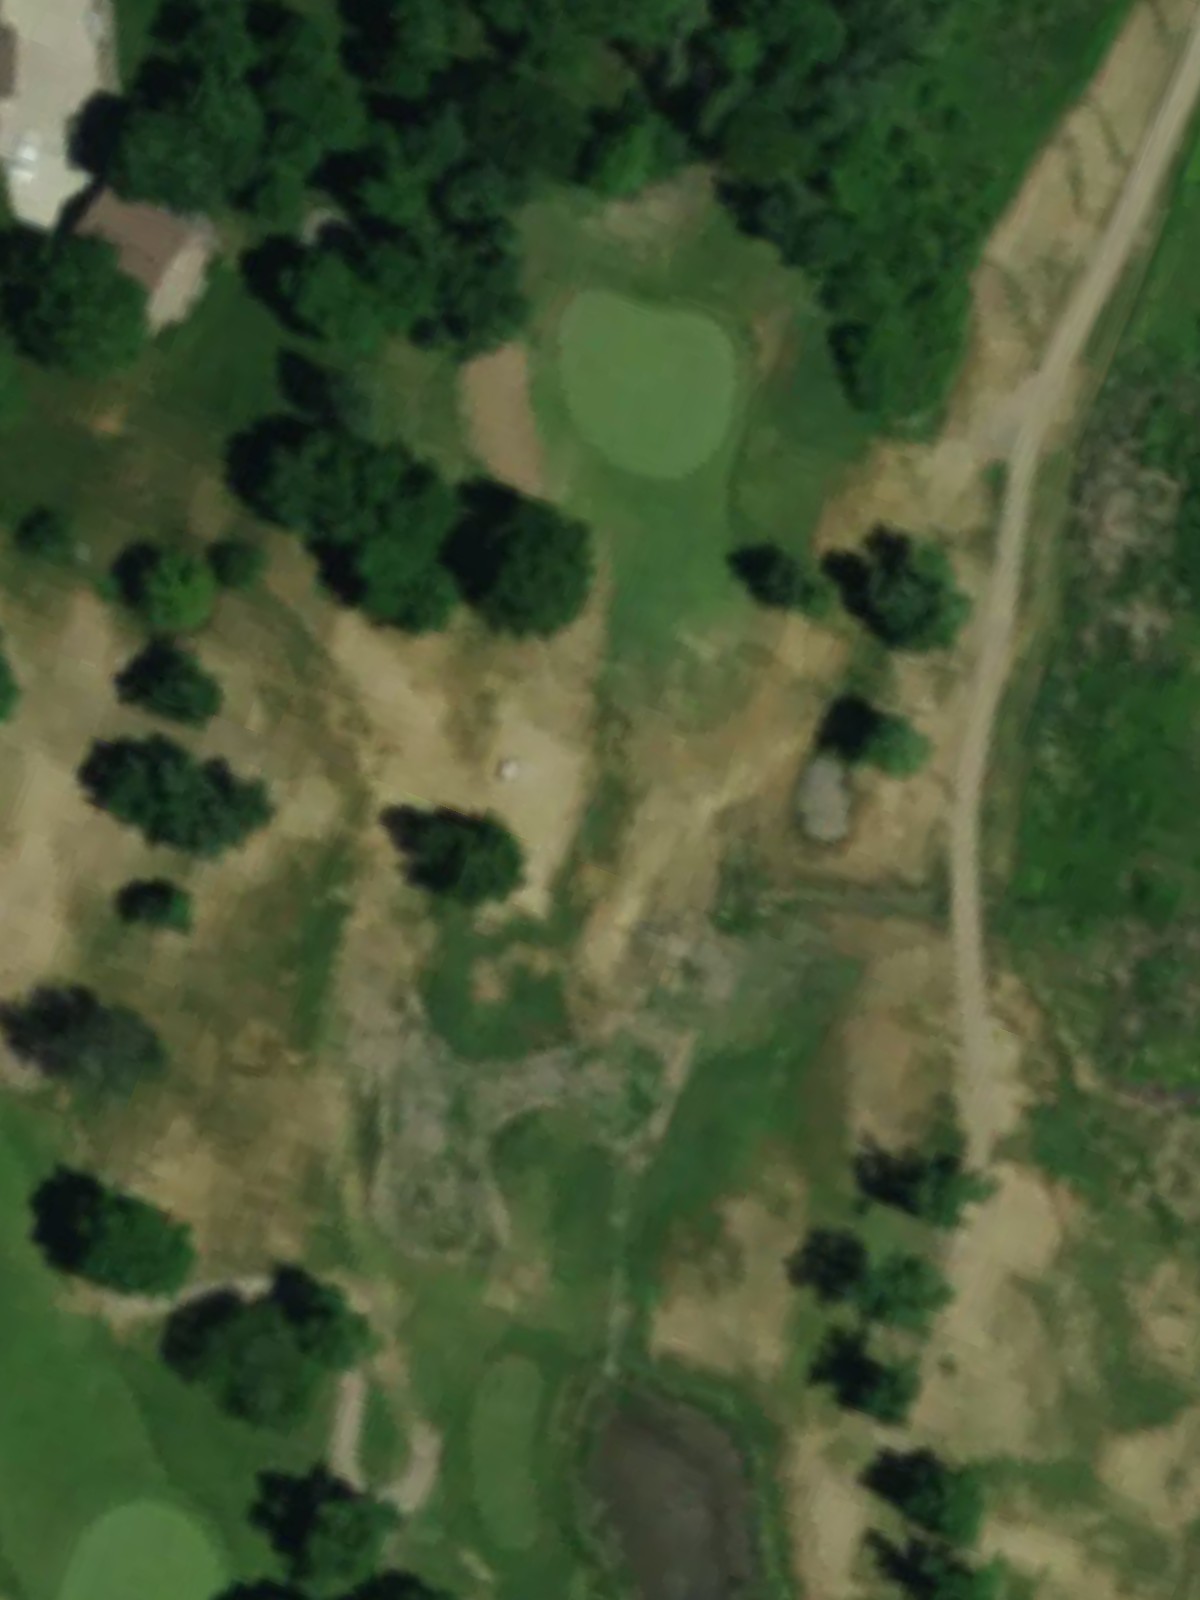
A short par 3 playing downhill to a well-bunkered green. The modest yardage belies the precision required to find the center of the putting surface and avoid the surrounding hazards.
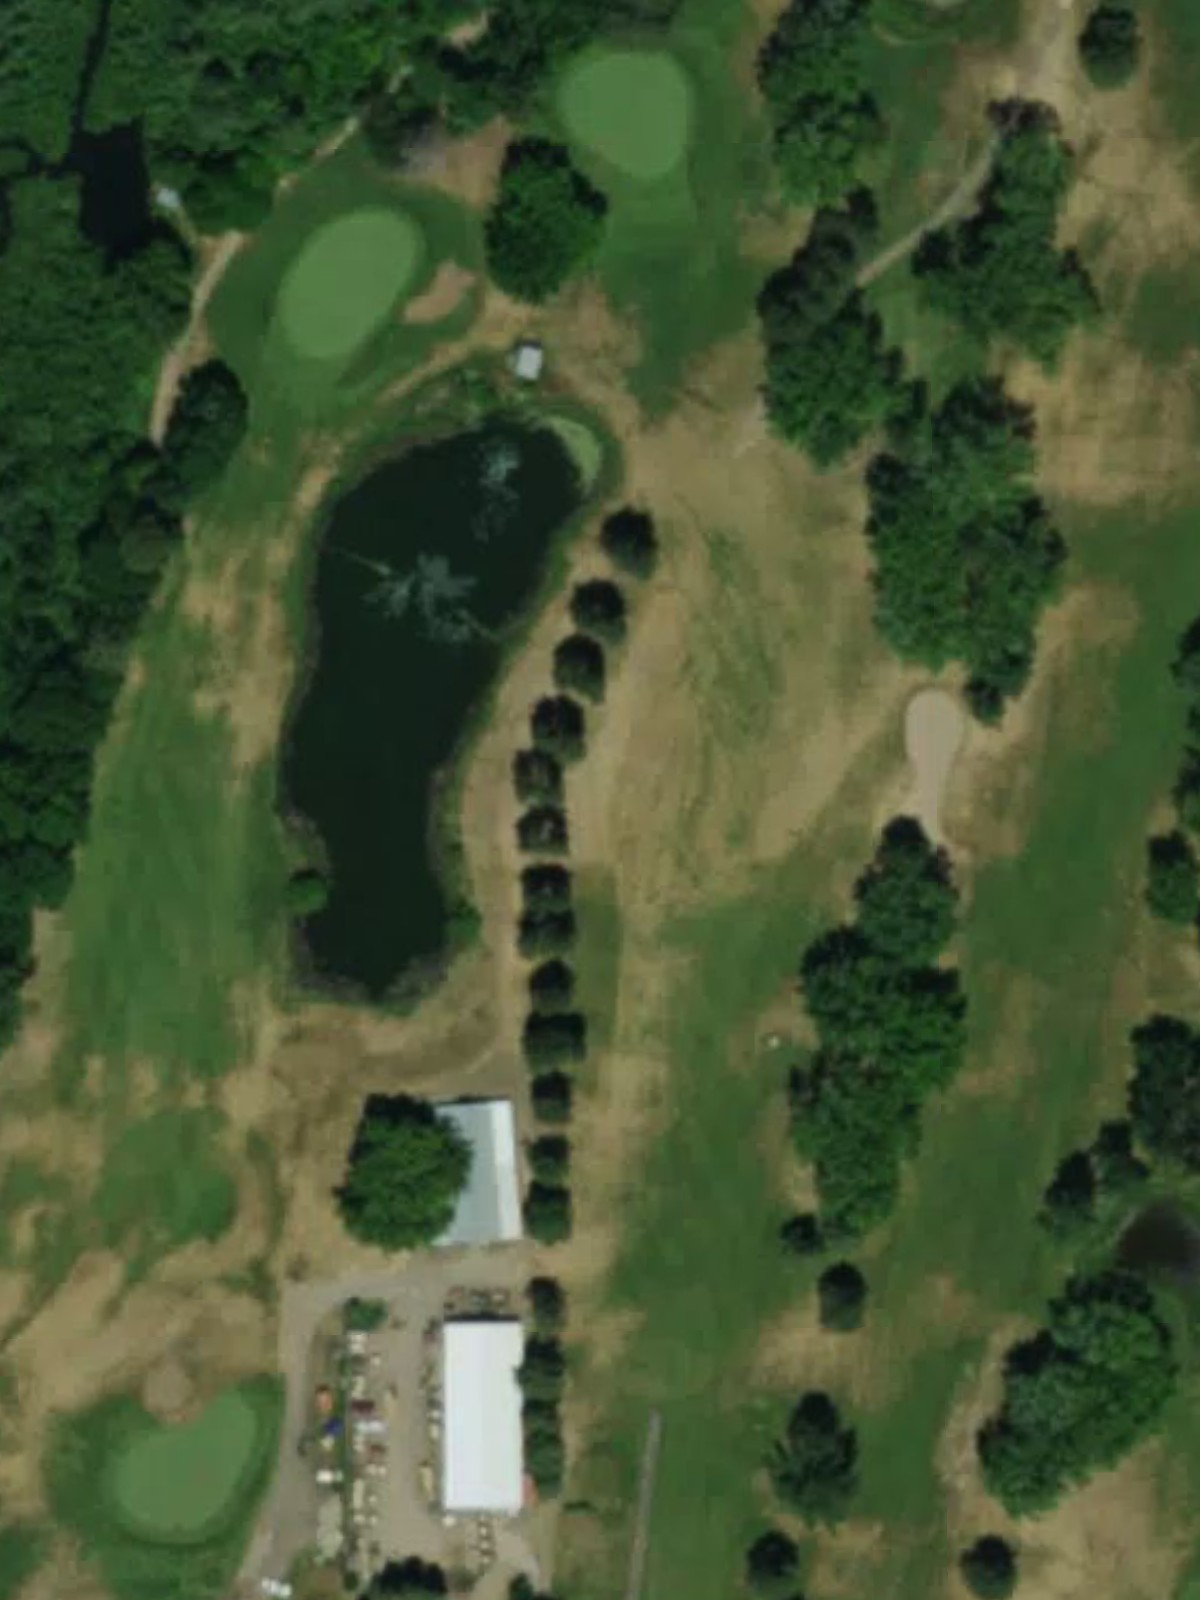
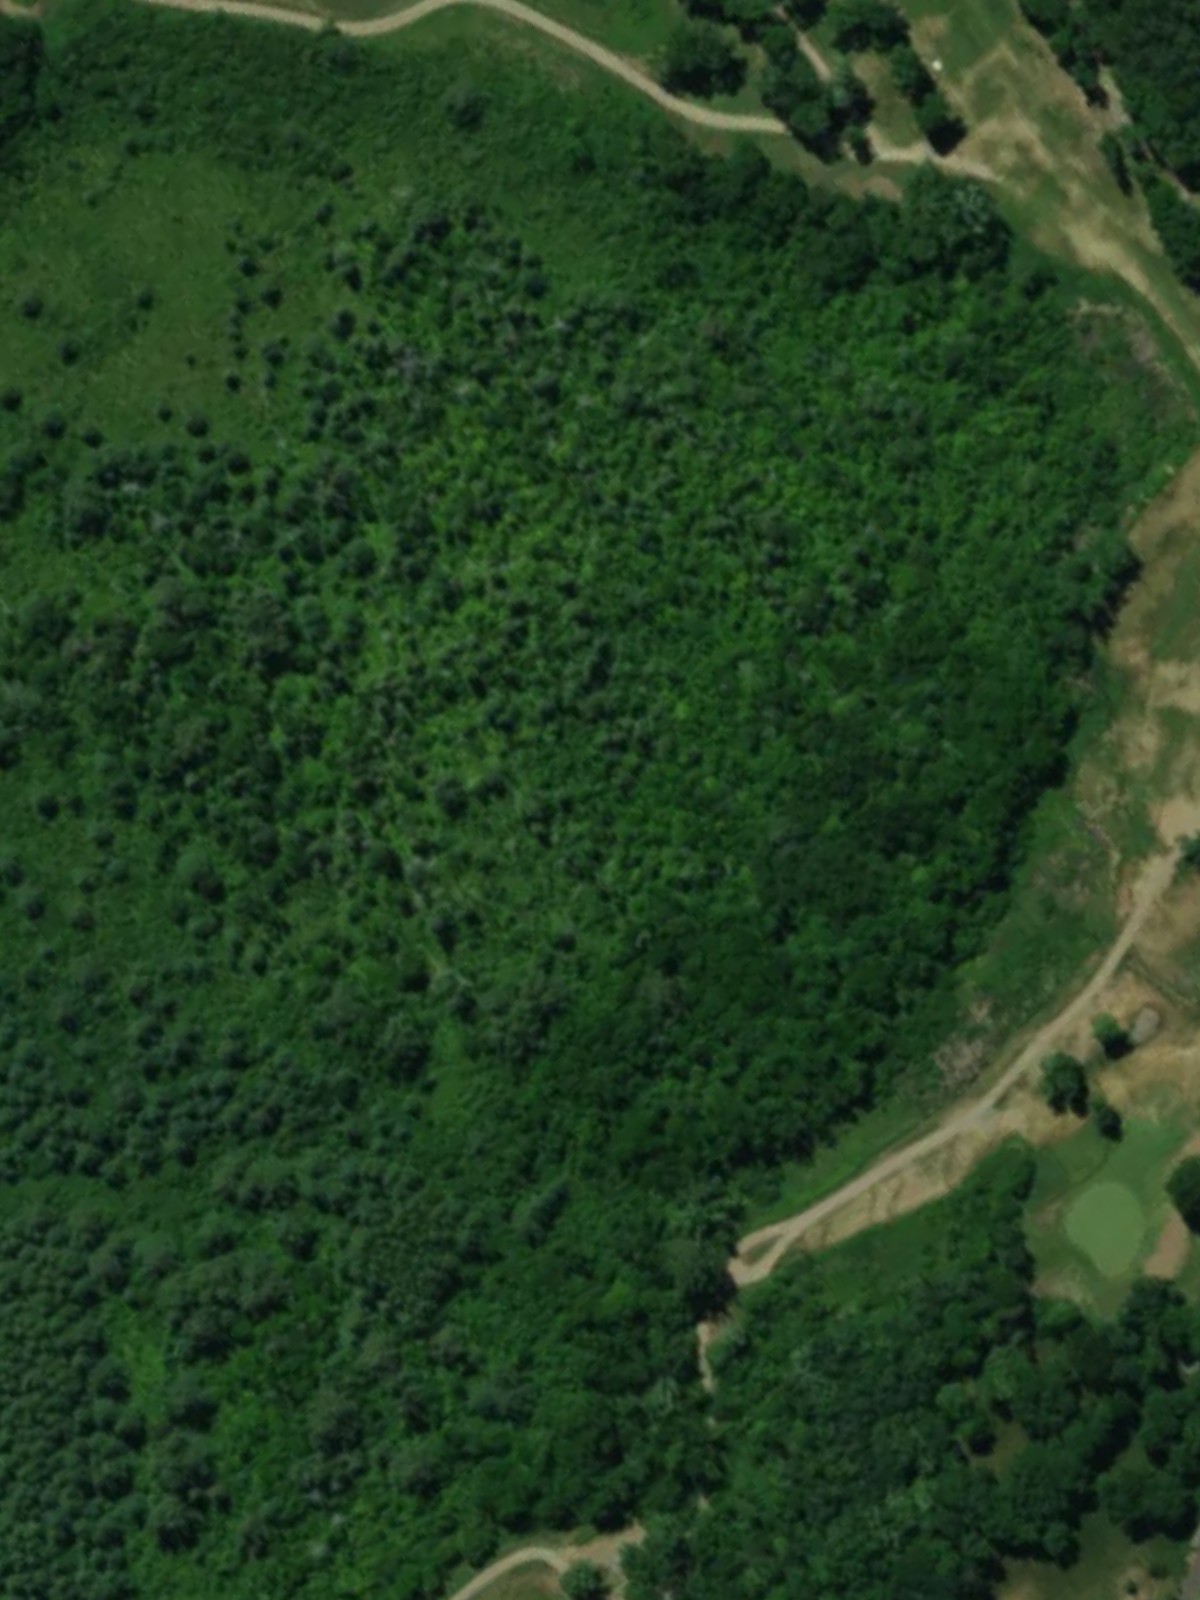
The number-one handicap hole, a demanding par 4 that plays longer than its yardage suggests. Water guards the left side throughout the hole, punishing any wayward tee shots or approach plays toward that flank.
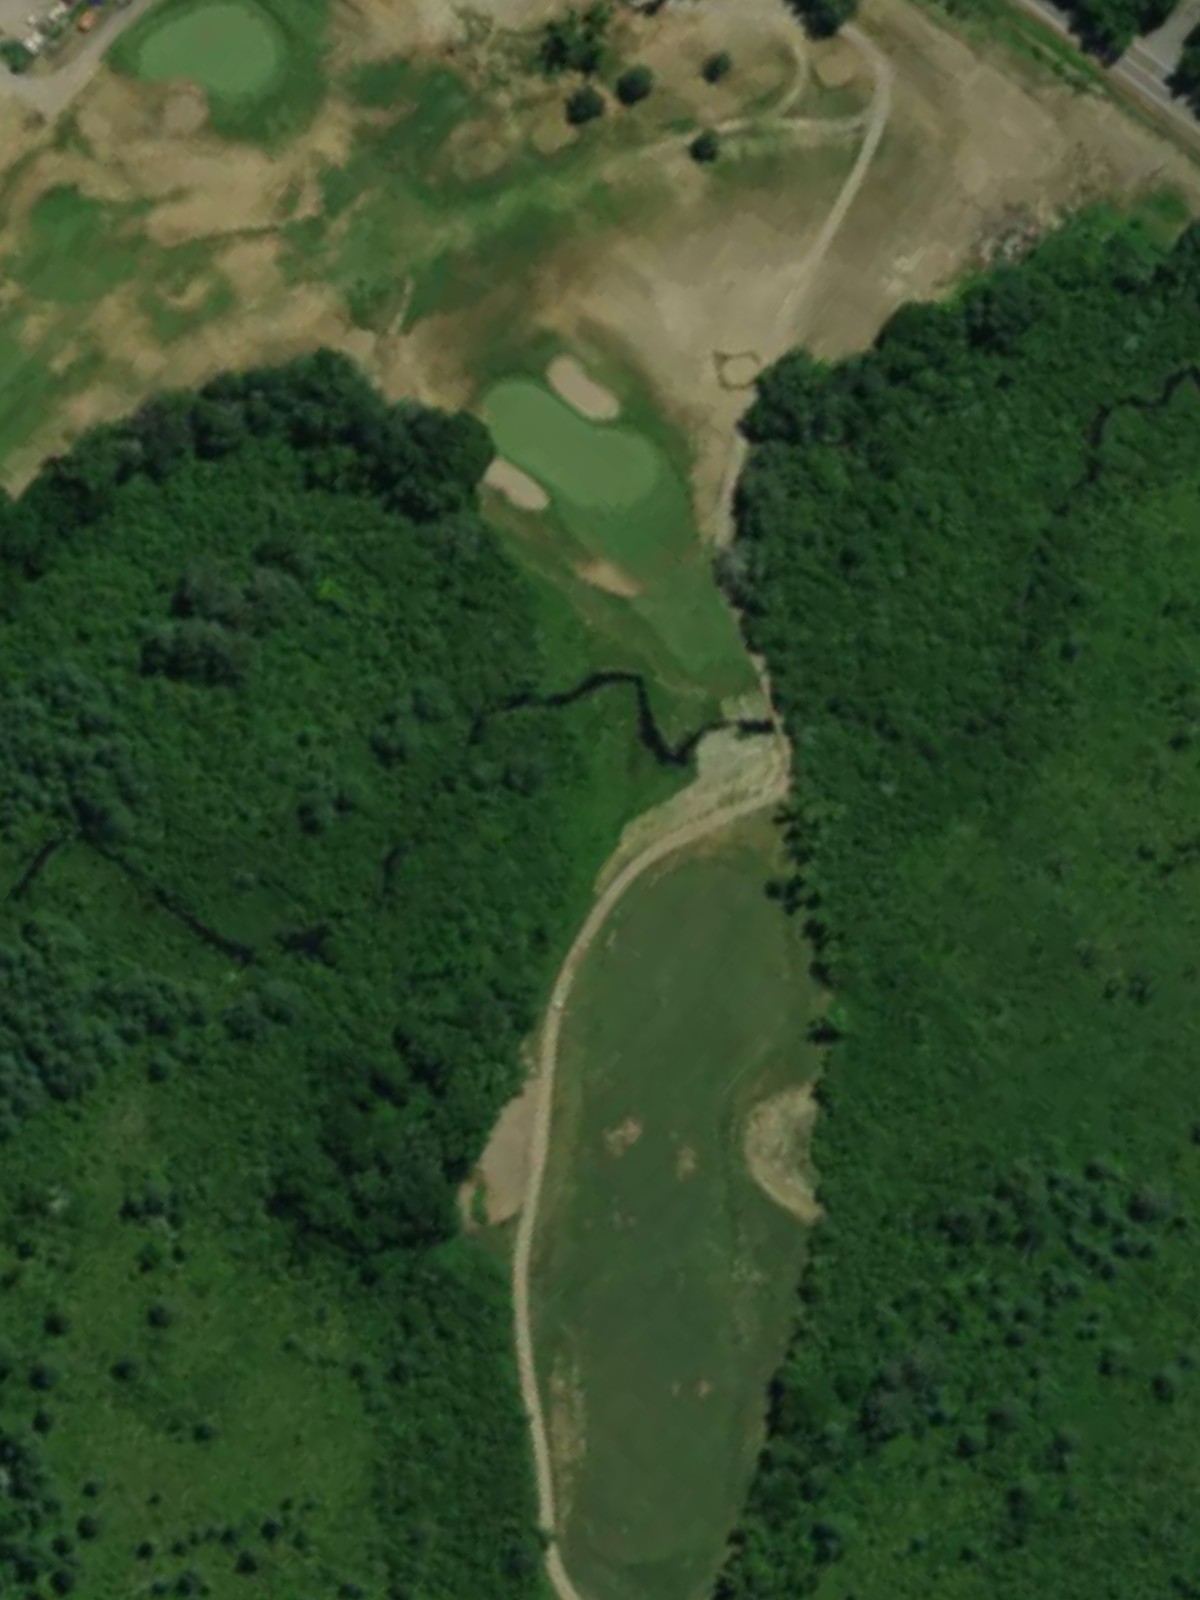
A substantial par 5 with a fairly open fairway inviting aggressive play. Water hazards come into play on the left side, requiring careful route selection for players attempting to reach the green in two.
A short par 3 with a green that sits isolated and demands precision from tee to target. Bunkers surround the putting surface, making this a deceptively tricky one-shotter despite its modest length.
A straightforward par 4 with plenty of room off the tee and a relatively open approach to the green. The hole's accessibility makes it an ideal scoring opportunity in the round.
A challenging par 4 with a fairway that tightens as it progresses toward the green. Strategic bunkering along both sides of the approach demands solid ball-striking to set up a clear path to the pin.
A par 5 that plays as a genuine three-shot hole for most players, with hazards strategically positioned to make aggressive play risky. The fairway offers multiple routes to the green depending on player capability and risk tolerance.
The third-hardest hole on the course, this par 4 plays significantly longer than its counterpart at hole 3 and demands power and precision. Water and bunkers guard critical areas, making this a true finishing challenge for the front nine.
A manageable par 4 with a fairway that allows for a smooth rhythm after the turn. The approach shot is relatively straightforward, providing players with a scoring opportunity early on the back side.
The easiest hole on the course, this short par 3 offers a welcome reprieve with minimal hazards. The wide green and forgiving layout make it an ideal birdie opportunity.
A short par 4 that plays nearly as a pitch-and-putt proposition, offering a rare chance for an aggressive tee shot. The brevity of the hole doesn't eliminate the need for accuracy on the approach to the well-defended green.
A mid-length par 3 requiring a precise tee shot to a moderately sized green. Bunkers frame the green on multiple sides, making club selection and execution critical to avoiding a scramble.

The fourth-hardest hole on the course, this par 4 presents a stern test with significant length and strategic hazards. The fairway narrows considerably near the green, penalizing imprecise approach shots.
A solid par 4 with a balanced test of driving and iron play. The fairway provides a reasonable landing area, but bunkers guard the green entrance, requiring an accurate approach to avoid missing birdie opportunities.
A short par 3 that plays straightforward with a modest green protected by bunkers. Its accessibility offers a scoring chance, though the surrounding hazards remain a constant threat to the casual player.
A lengthy par 5 that demands power and positioning to set up a manageable third shot. Water and bunkers come into play along the approach, making aggressive plays toward the green a high-risk proposition.
The second-hardest hole and a fitting finale, this par 4 plays long and demanding with hazards strategically placed to punish errant shots. A strong finishing hole that rewards solid fundamentals and punishes any lapse in concentration.
Scorecard
| Hole | 1 | 2 | 3 | 4 | 5 | 6 | 7 | 8 | 9 | Out | 10 | 11 | 12 | 13 | 14 | 15 | 16 | 17 | 18 | In | Tot |
|---|---|---|---|---|---|---|---|---|---|---|---|---|---|---|---|---|---|---|---|---|---|
| Par | 4 | 3 | 4 | 5 | 3 | 4 | 4 | 5 | 4 | 36 | 4 | 3 | 4 | 3 | 4 | 4 | 3 | 5 | 4 | 34 | 70 |
| HCP | 11 | 17 | 1 | 5 | 15 | 13 | 7 | 9 | 3 | 12 | 18 | 10 | 14 | 4 | 8 | 16 | 6 | 2 | |||
| black | 386 | 145 | 427 | 520 | 171 | 373 | 415 | 455 | 465 | 3357 | 364 | 142 | 290 | 177 | 408 | 379 | 172 | 505 | 408 | 2845 | 6202 |
| white | 370 | 130 | 414 | 507 | 157 | 366 | 399 | 439 | 434 | 3216 | 336 | 135 | 275 | 164 | 383 | 365 | 165 | 476 | 356 | 2655 | 5871 |
| gold | 358 | 120 | 365 | 483 | 145 | 354 | 389 | 425 | 392 | 3031 | 317 | 119 | 273 | 159 | 343 | 351 | 143 | 456 | 340 | 2501 | 5532 |
| red | 290 | 91 | 361 | 424 | 123 | 280 | 380 | 391 | 332 | 2672 | 275 | 106 | 210 | 143 | 293 | 304 | 110 | 409 | 272 | 2122 | 4794 |