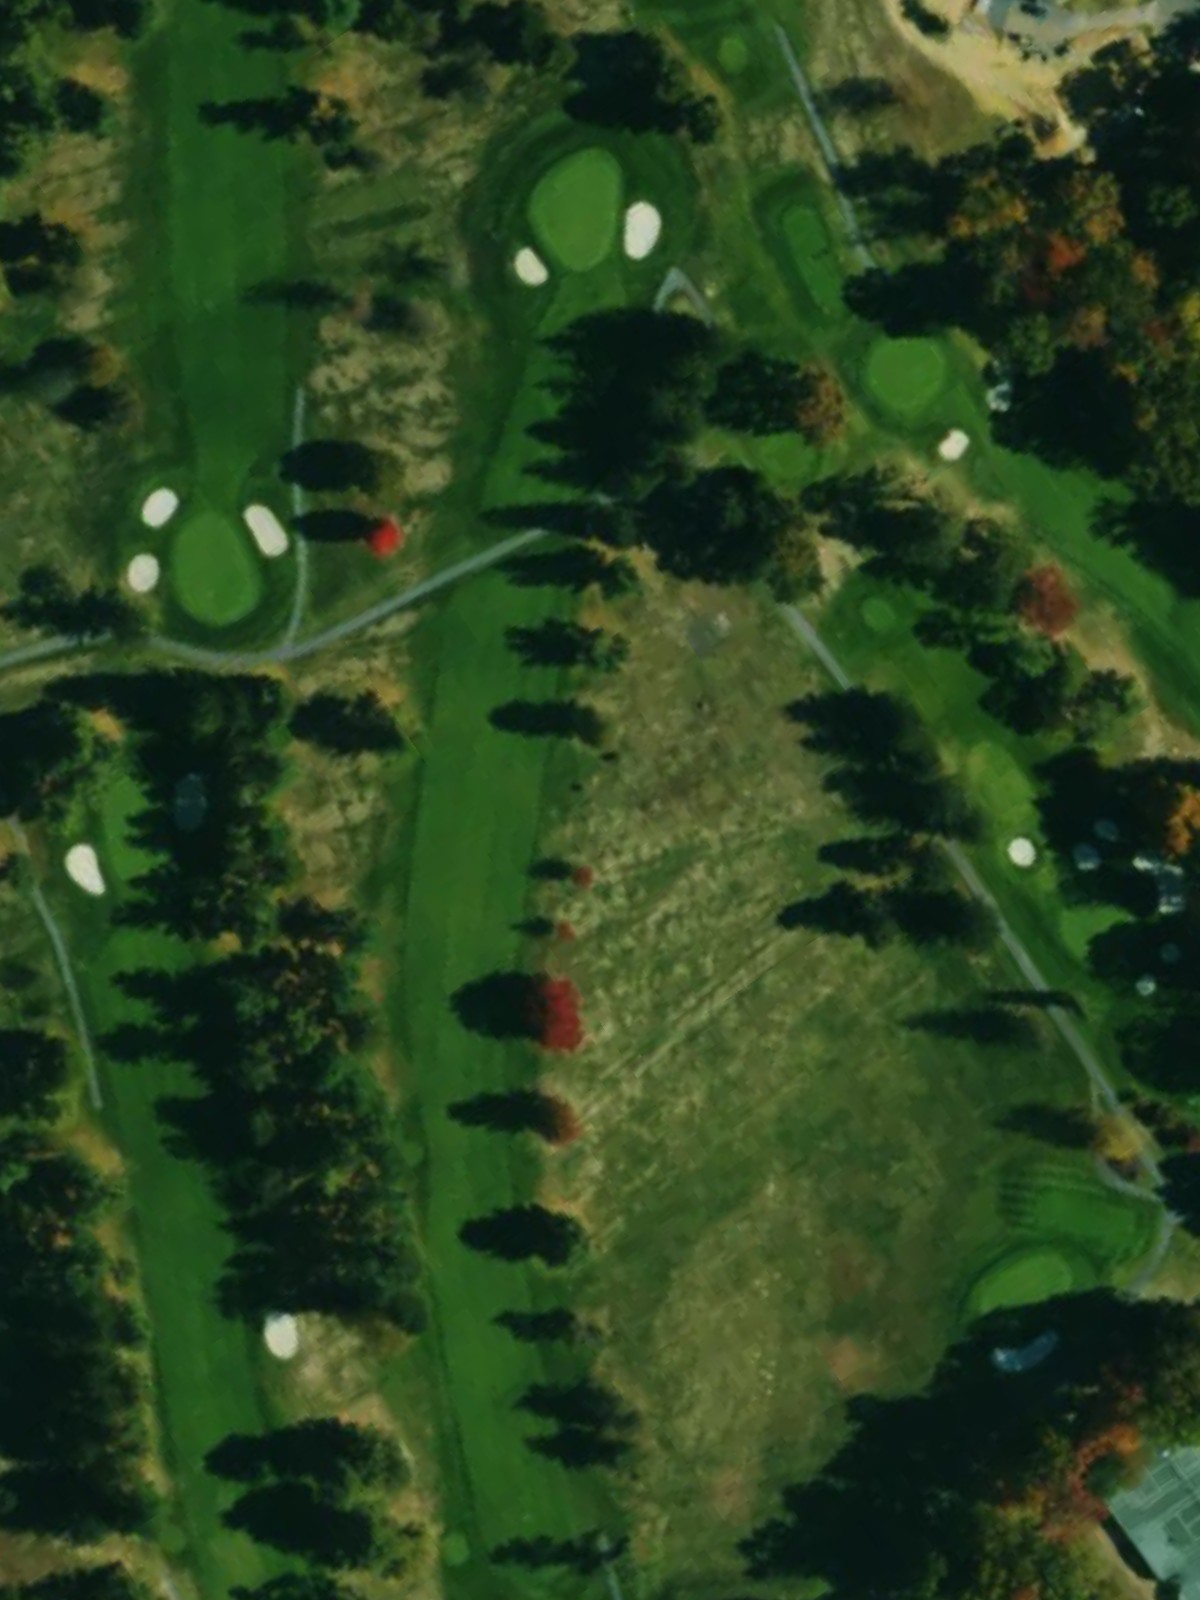
Spotswood Country Club is an 18-hole golf course in Harrisonburg, VA with a par of 72. It offers 6 tee sets: blue (6,451 yards, slope 133, rating 71), white (6,161 yards, slope 129, rating 69.7), senior ii (5,724 yards, slope 124, rating 67.7), red (5,307 yards, slope 119, rating 65.5), gold (4,754 yards, slope 114, rating 63.3), orange (3,431 yards, slope 98, rating 58.3). The hardest hole is #7, a par 4 playing 311 yards from the first tee.
Spotswood Country Club
Harrisonburg, VA
Get PDF Yardage Book
We'll email you the PDF link. No spam, ever.
Create Your Game Plan
Pick your tees, enter your bag, and get a personalized shot-by-shot strategy for every hole.
A long par 5 that plays straight away from the tee with a fairway that offers room for positioning on the first two shots. Bunkers come into play around the green, demanding accuracy on the approach to this three-shot hole.
A short par 3 with a well-defined green complex protected by bunkers. The modest length makes club selection straightforward, but finding the green remains the key challenge.
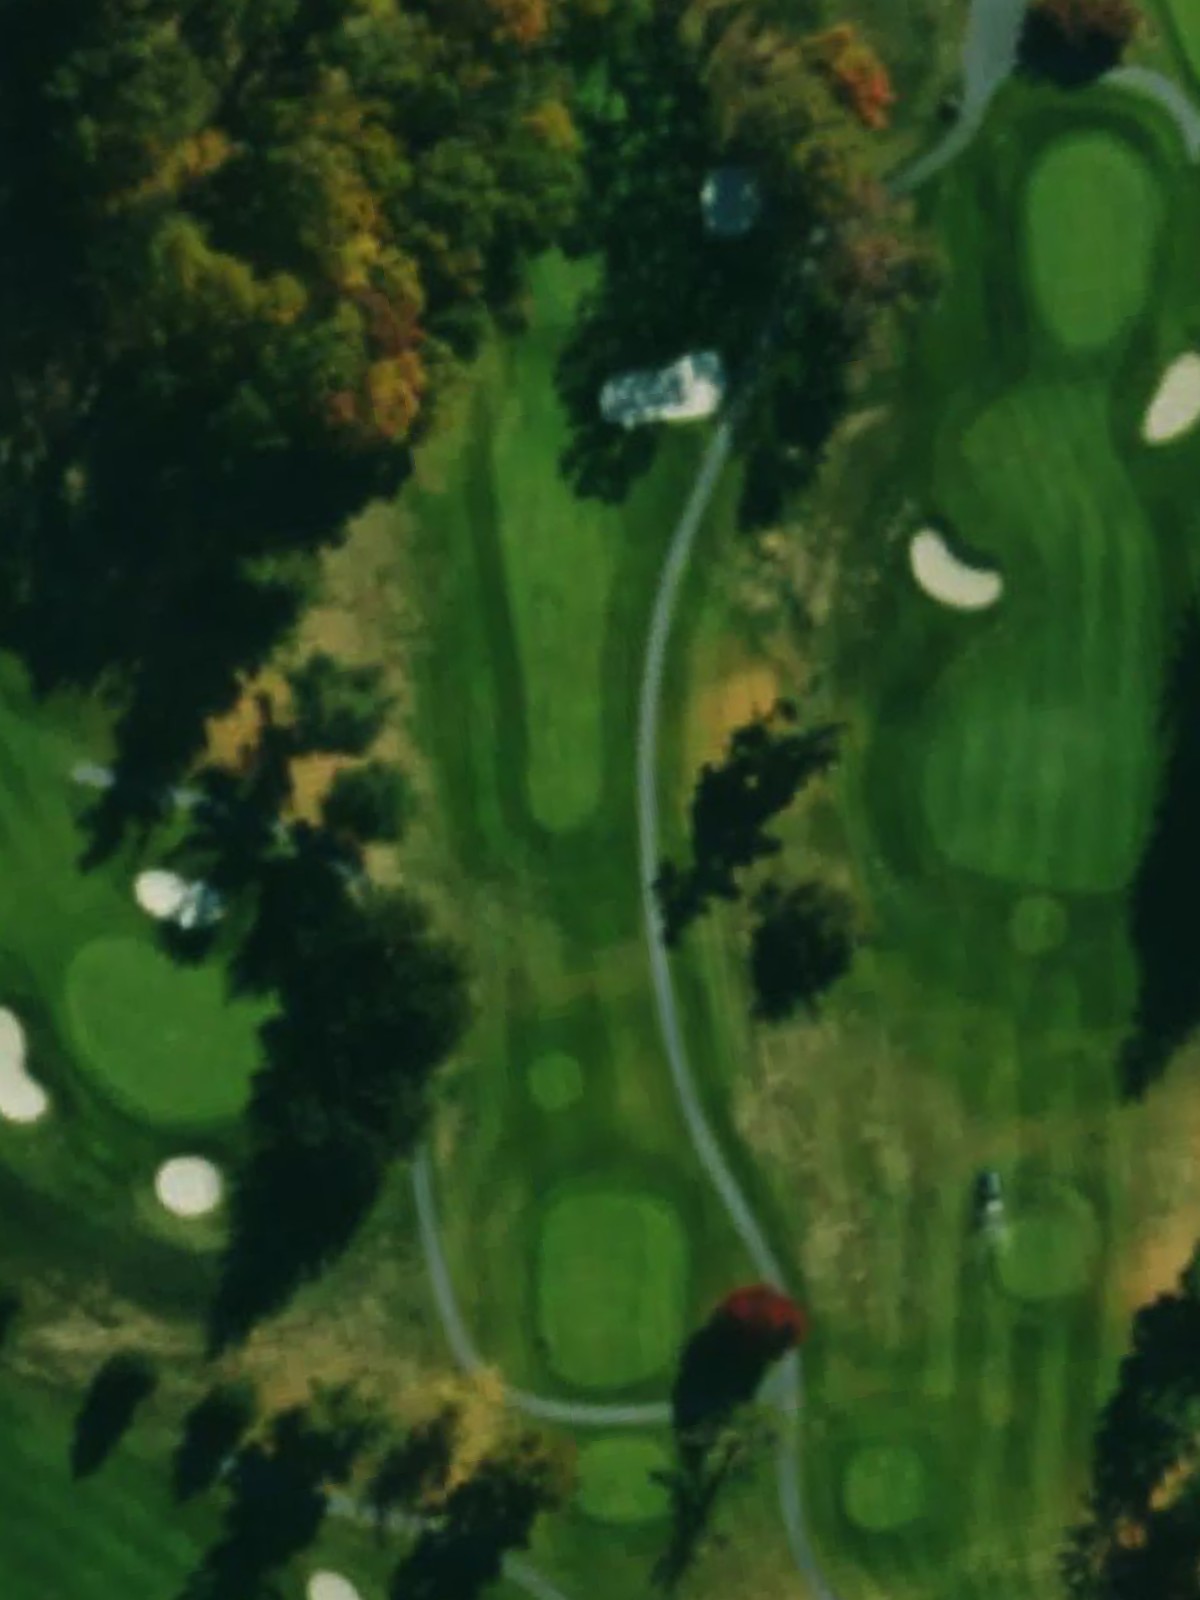
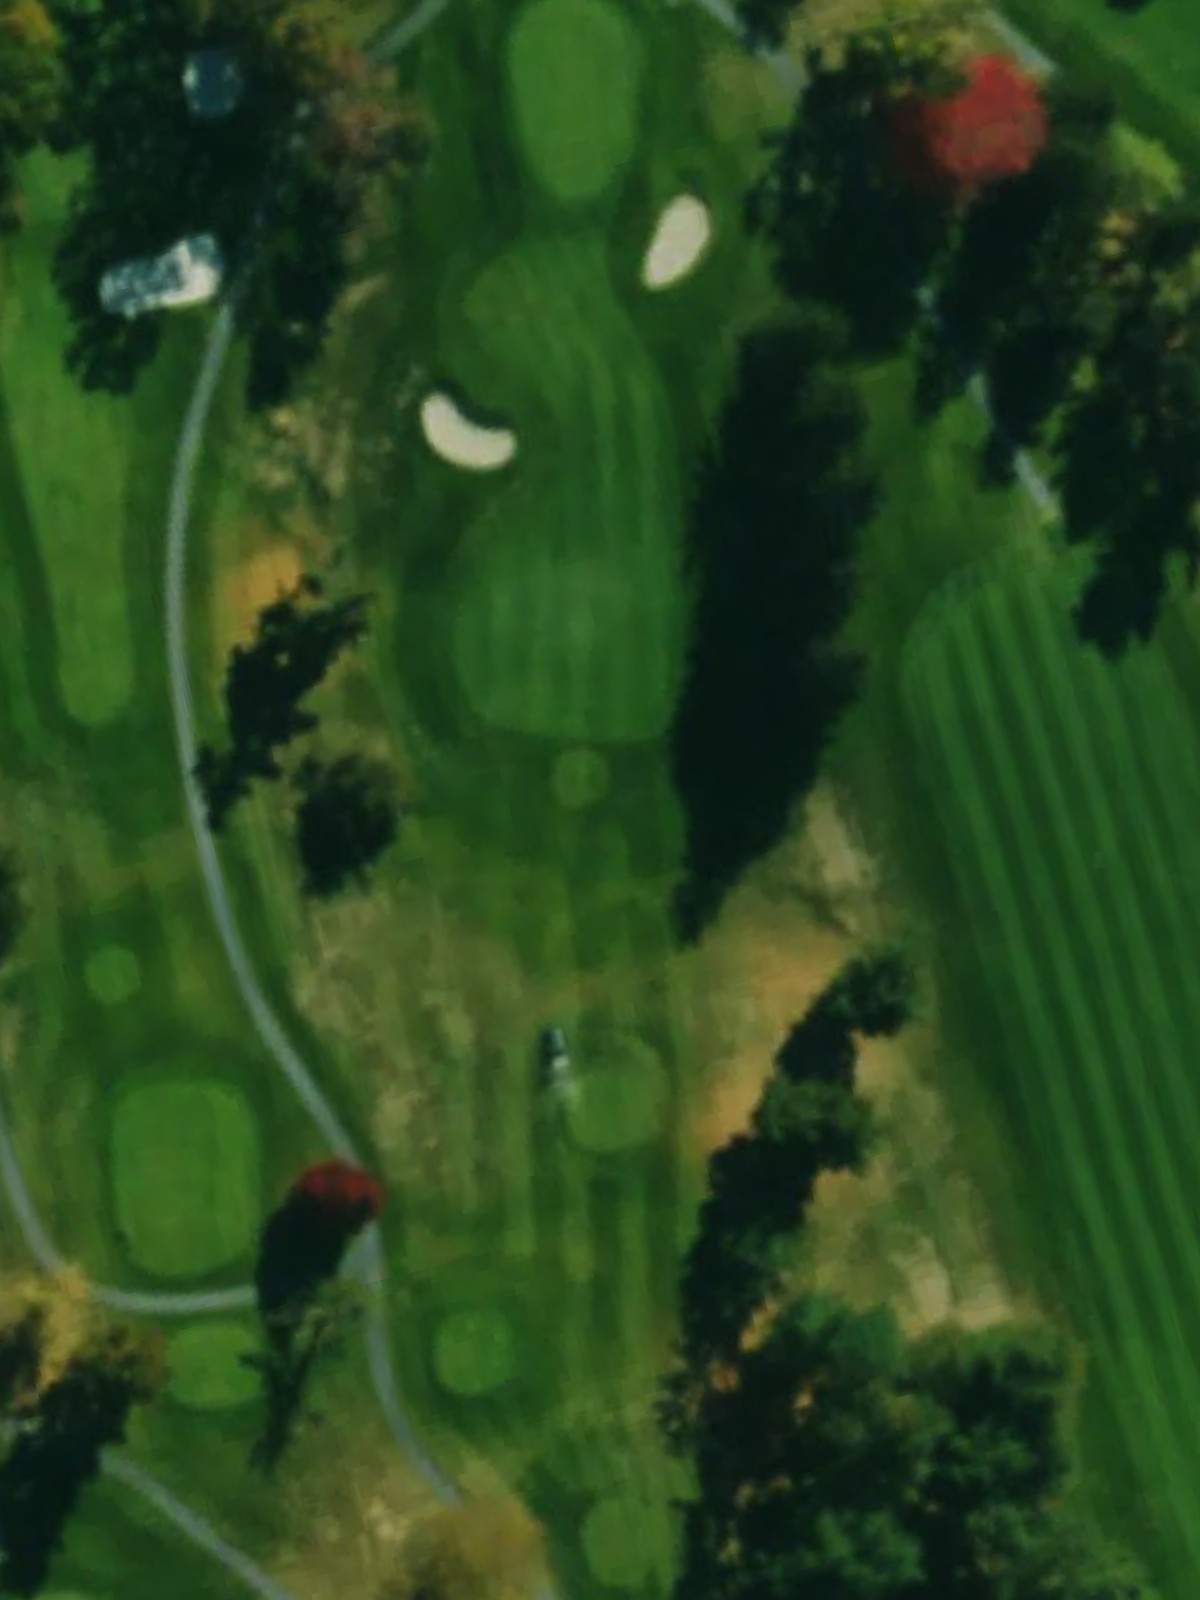
A par 4 that requires two solid shots to reach the green, with bunkers strategically placed to catch errant approaches. The combination of fairway width and green-side hazards creates a balanced test of accuracy.

A compact par 3 where bunker placement frames the green and demands precision with the tee shot. The modest yardage belies the importance of hitting the correct tier and distance.
A substantial par 5 that offers birdie opportunity for those who navigate the fairway cleanly, with bunkers positioned to catch wayward shots. Three shots are typically required to reach this green safely.

A strong par 4 with bunkers guarding the approach to the green, making the second shot the defining moment of the hole. The moderate length demands solid tempo and placement from tee to green.
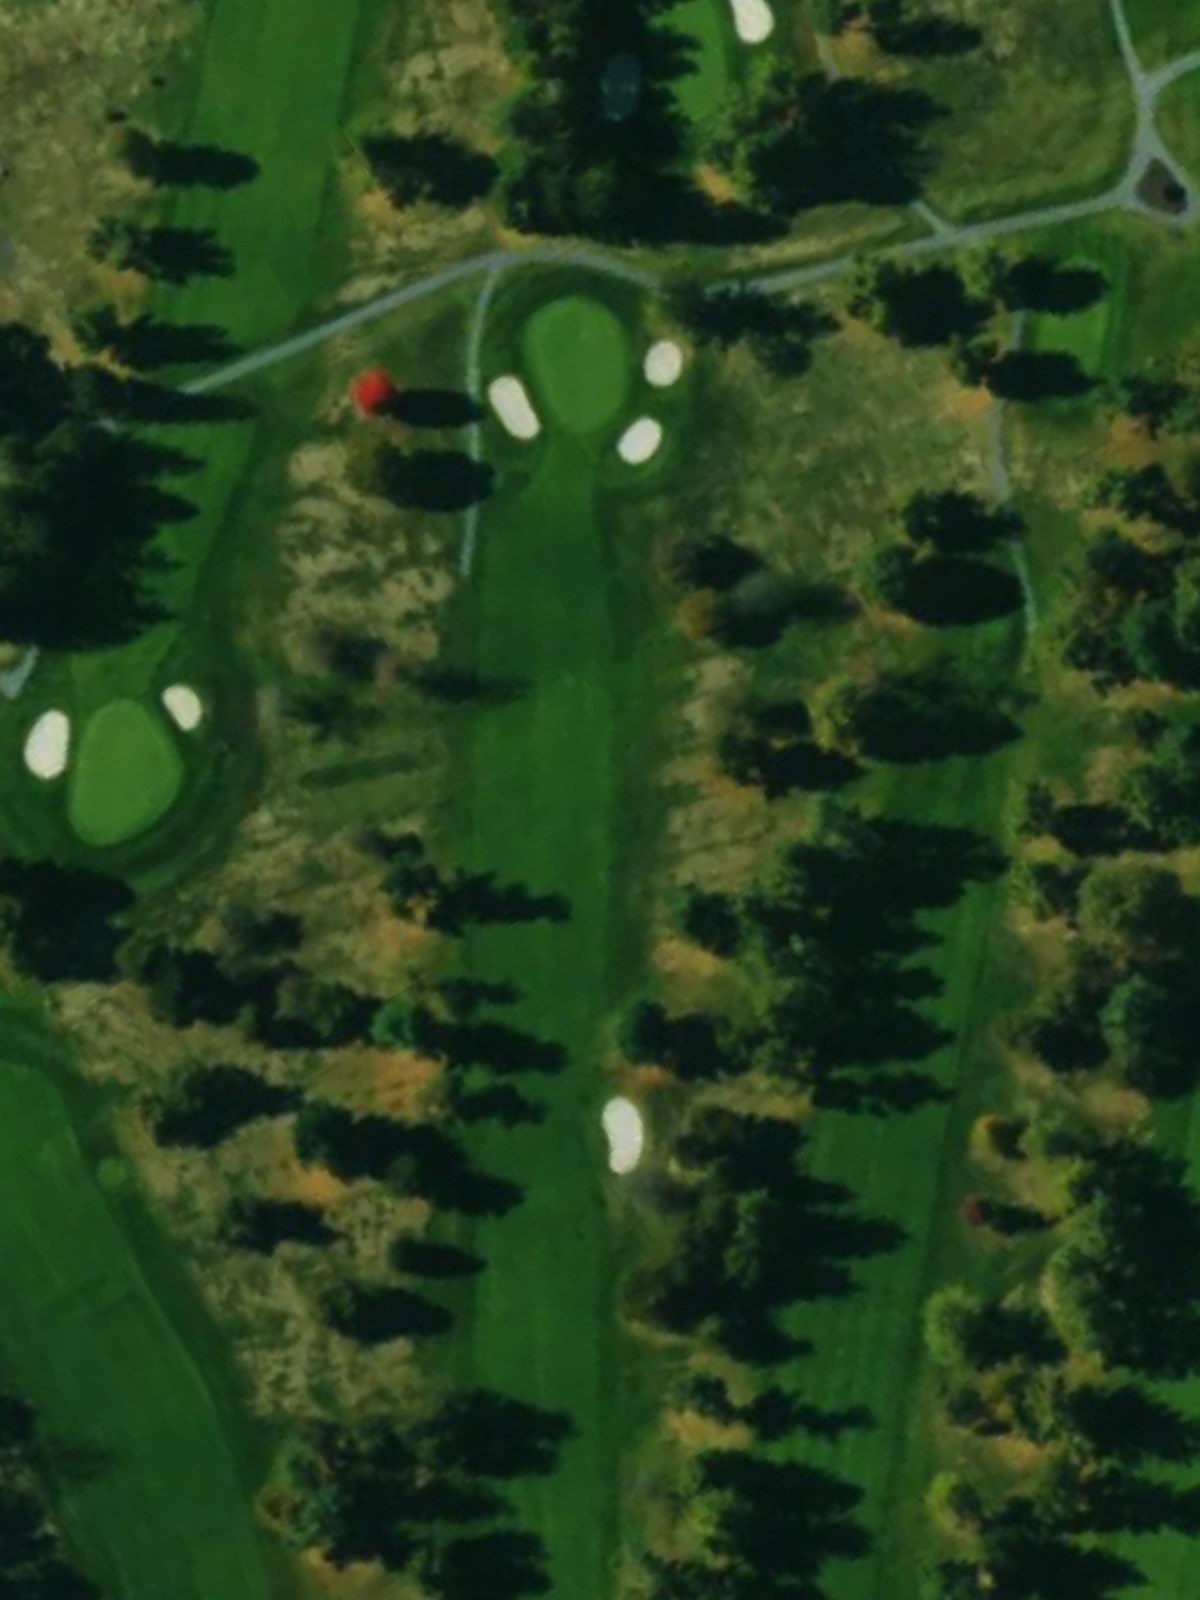
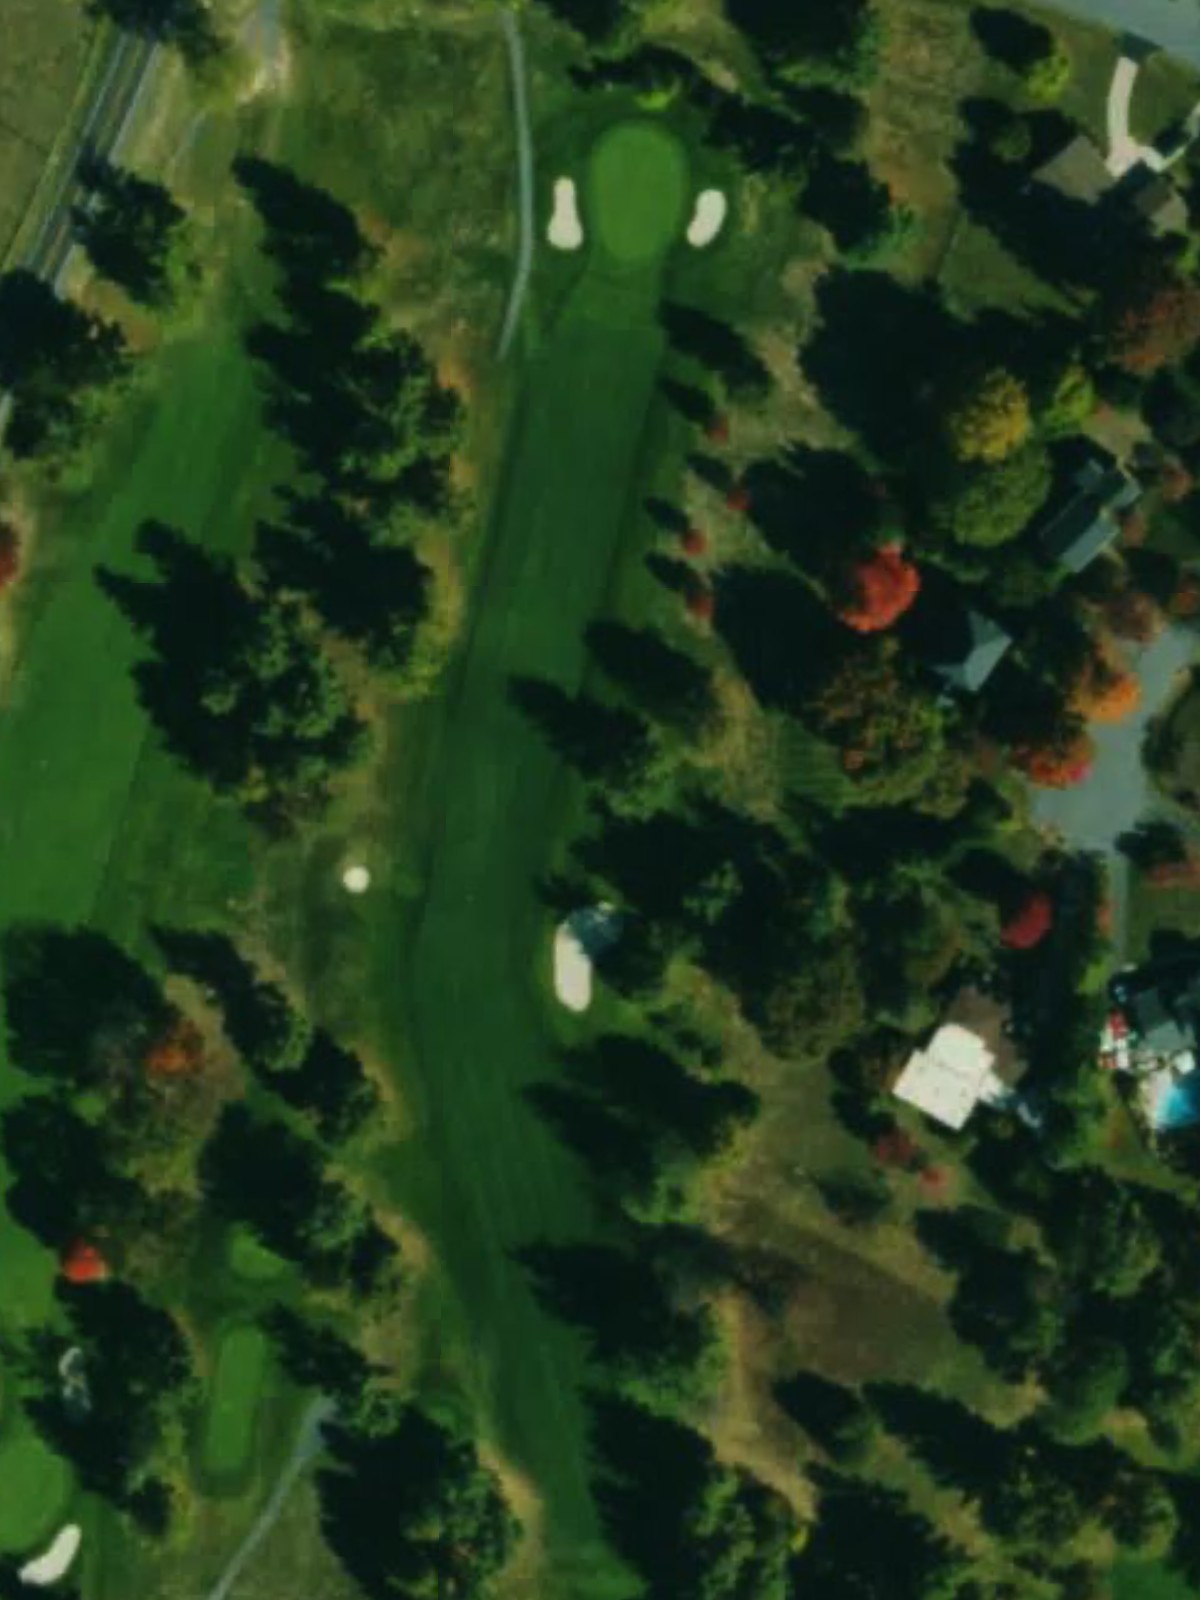
The course's most difficult hole, this par 4 plays at length with bunkers threatening both the driving zone and the approach. Every shot demands precision on this stern test.
A par 4 of medium length with bunkers positioned to challenge the approach shot and reward accurate play. The hole requires balance between distance off the tee and positioning for the second shot.
A brief par 3 that offers a chance to score well despite its hazards and bunker placement. The short length invites aggressive play while the green-side bunkers penalize misses.

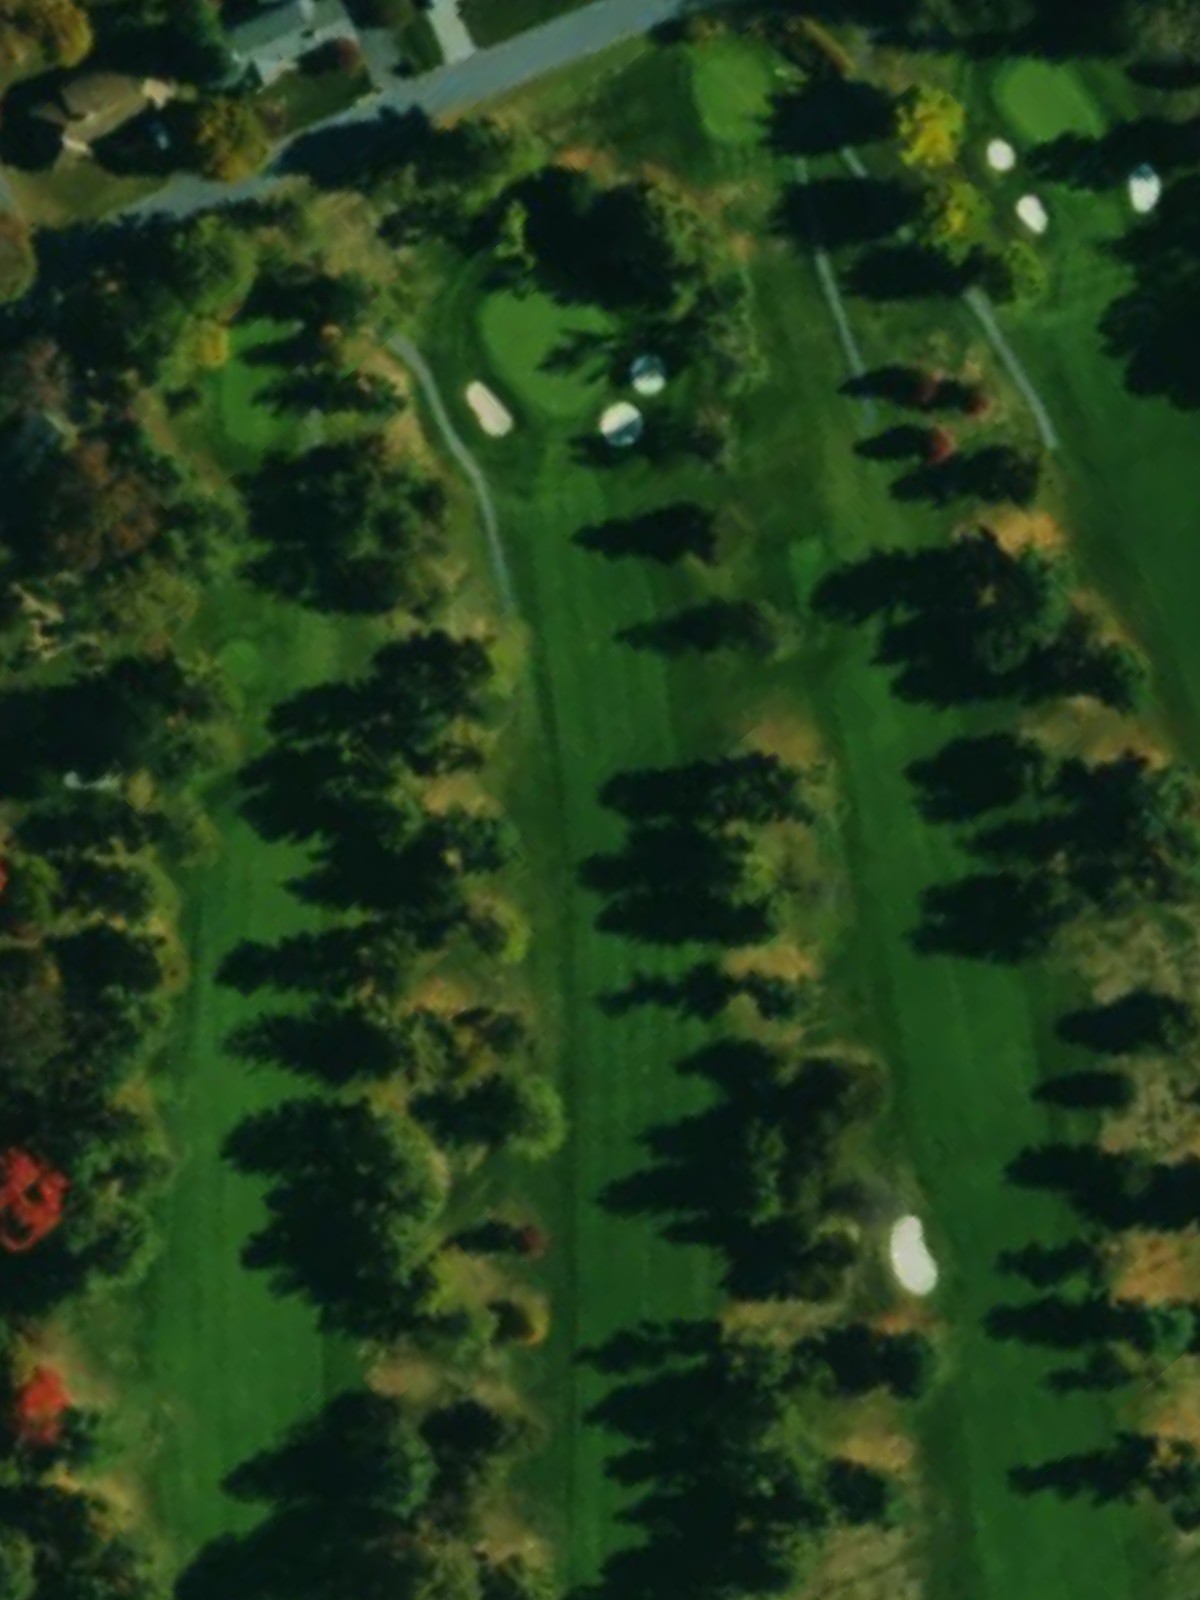
A par 4 of moderate difficulty where bunkers guard the green and frame the landing area off the tee. The hole presents a fair test of both power and accuracy.
A solid par 4 with bunkers positioned to influence both the tee shot and the approach to the green. The length and hazard placement create a challenging mid-range test.
A par 4 that plays without significant length yet carries hidden difficulty through its bunker placement and green complex. Smart positioning and a solid approach are essential here.
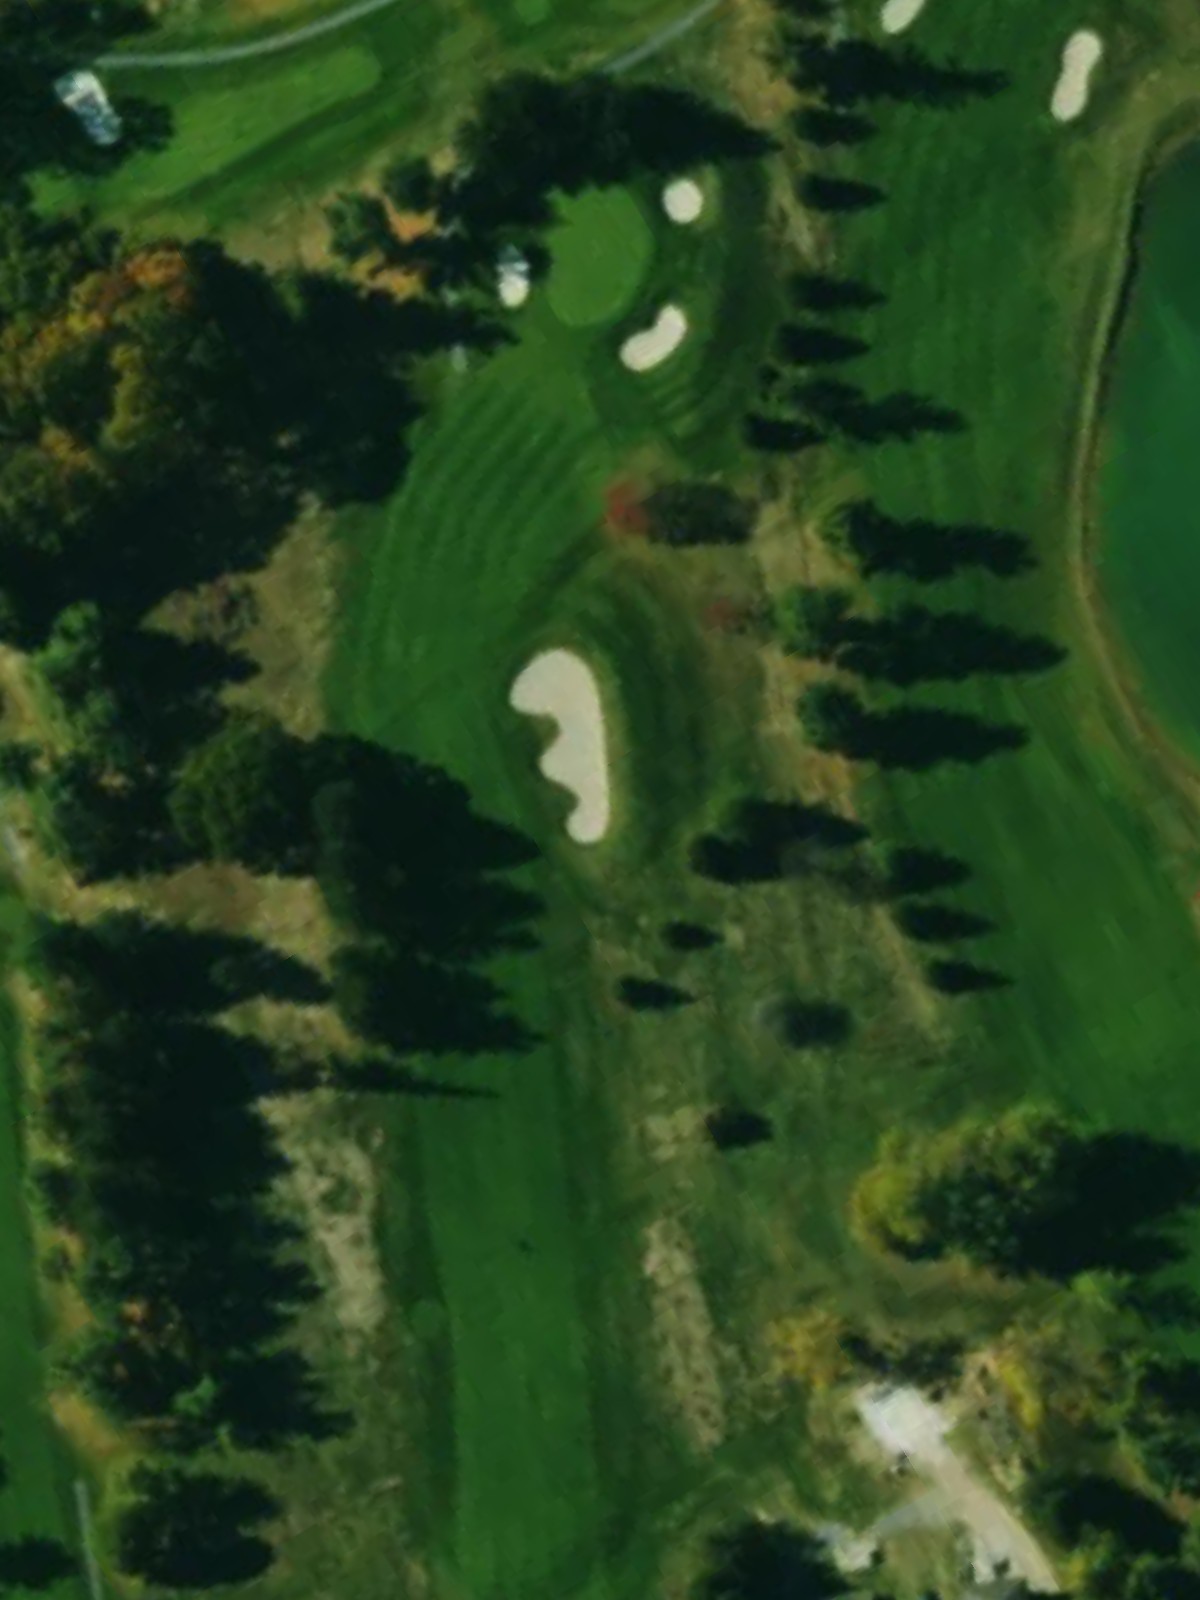
A formidable par 4 ranking as the course's second-most difficult, with bunkers and length combining to create a serious challenge. Strategic play off the tee is crucial to setting up a manageable approach.

A par 4 of modest length that offers scoring opportunity despite bunker protection around the green. The shorter yardage makes this a reachable hole for those who drive the fairway.
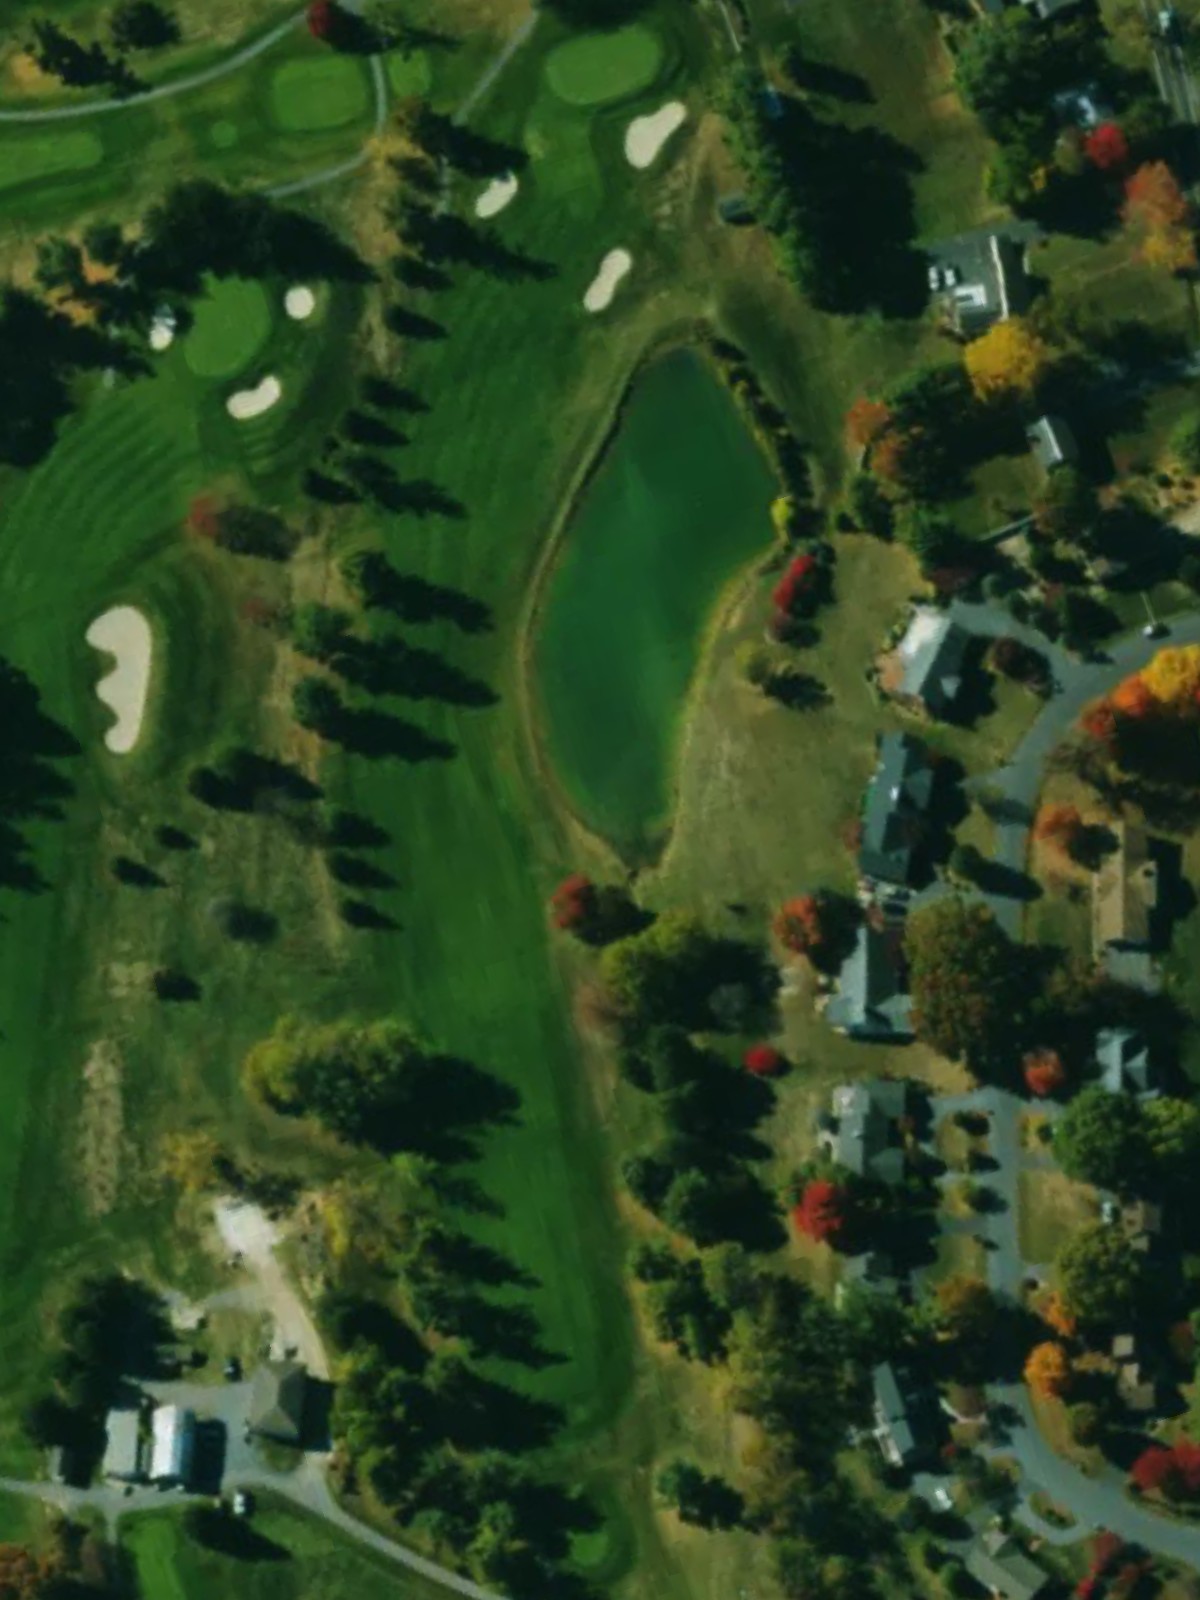
A long par 5 with considerable yardage that demands two quality shots before the approach to the green, with bunkers positioned to catch layups and approach shots. This three-shot hole rewards both distance and strategic course management.
A testing par 3 of mid-range length where bunker placement and green complexity create a demanding short-game test. The green's contours and surrounding hazards make hitting the correct section critical.

A par 4 that plays at length with bunkers influencing play throughout the hole from tee to green. The hazard placement requires careful strategy on both the drive and approach.

The closing par 5 provides a strong finishing test, with bunkers surrounding the green and requiring precision on the final approach. The hole's length offers birdie opportunity for those who navigate it cleanly.
Scorecard
| Hole | 1 | 2 | 3 | 4 | 5 | 6 | 7 | 8 | 9 | Out | 10 | 11 | 12 | 13 | 14 | 15 | 16 | 17 | 18 | In | Tot |
|---|---|---|---|---|---|---|---|---|---|---|---|---|---|---|---|---|---|---|---|---|---|
| Par | 5 | 3 | 4 | 3 | 5 | 4 | 4 | 4 | 3 | 35 | 4 | 4 | 4 | 4 | 4 | 5 | 3 | 4 | 5 | 37 | 72 |
| HCP | 7 | 15 | 11 | 13 | 5 | 3 | 1 | 9 | 17 | 14 | 8 | 18 | 2 | 16 | 4 | 6 | 12 | 10 | |||
| blue | 478 | 169 | 328 | 186 | 473 | 342 | 412 | 380 | 168 | 2936 | 367 | 389 | 365 | 405 | 349 | 553 | 227 | 390 | 470 | 3515 | 6451 |
| white | 451 | 155 | 311 | 155 | 460 | 333 | 407 | 356 | 146 | 2774 | 351 | 374 | 352 | 394 | 340 | 526 | 210 | 381 | 459 | 3387 | 6161 |
| senior ii | 418 | 155 | 311 | 125 | 460 | 333 | 311 | 356 | 133 | 2602 | 351 | 311 | 352 | 394 | 215 | 526 | 185 | 381 | 407 | 3122 | 5724 |
| red | 418 | 149 | 233 | 125 | 398 | 327 | 311 | 349 | 139 | 2449 | 344 | 311 | 344 | 260 | 334 | 404 | 162 | 292 | 407 | 2858 | 5307 |
| gold | 349 | 100 | 232 | 123 | 346 | 275 | 306 | 342 | 133 | 2206 | 251 | 308 | 292 | 257 | 215 | 400 | 129 | 292 | 404 | 2548 | 4754 |
| orange | 265 | 98 | 170 | 105 | 234 | 220 | 200 | 217 | 85 | 1594 | 185 | 222 | 224 | 172 | 168 | 304 | 95 | 199 | 268 | 1837 | 3431 |