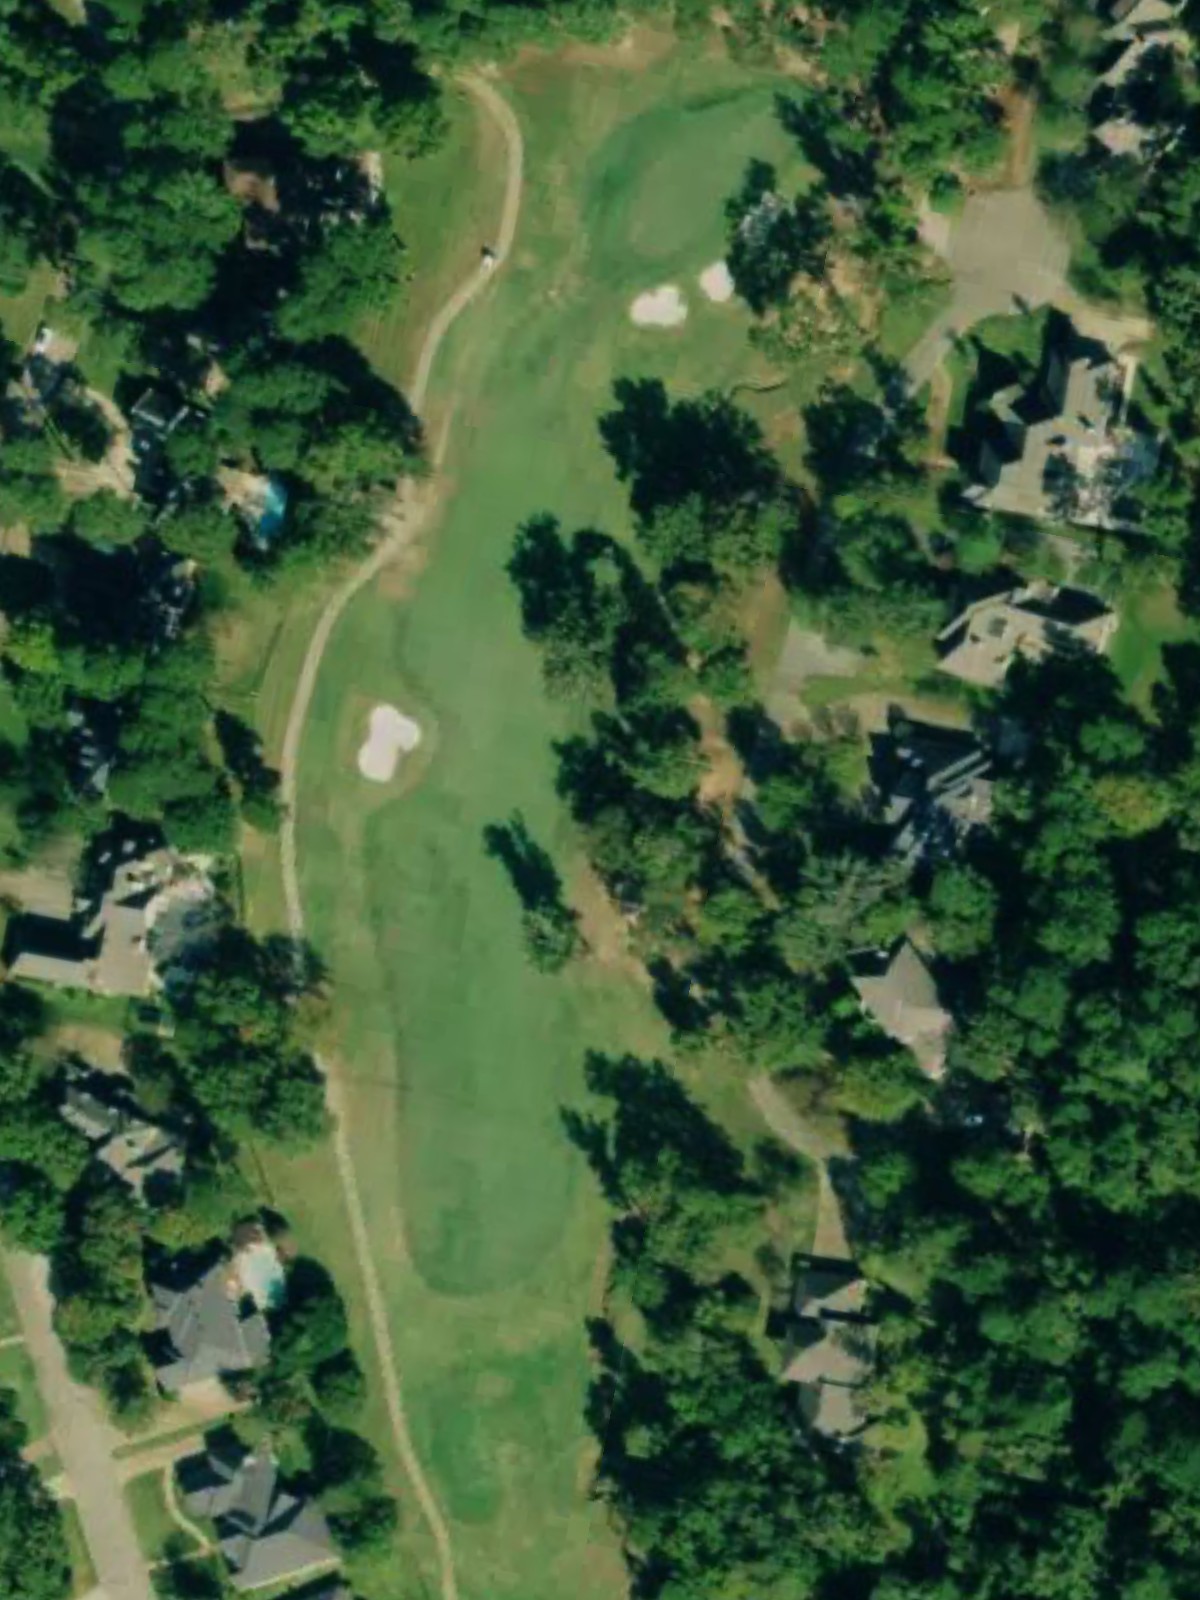
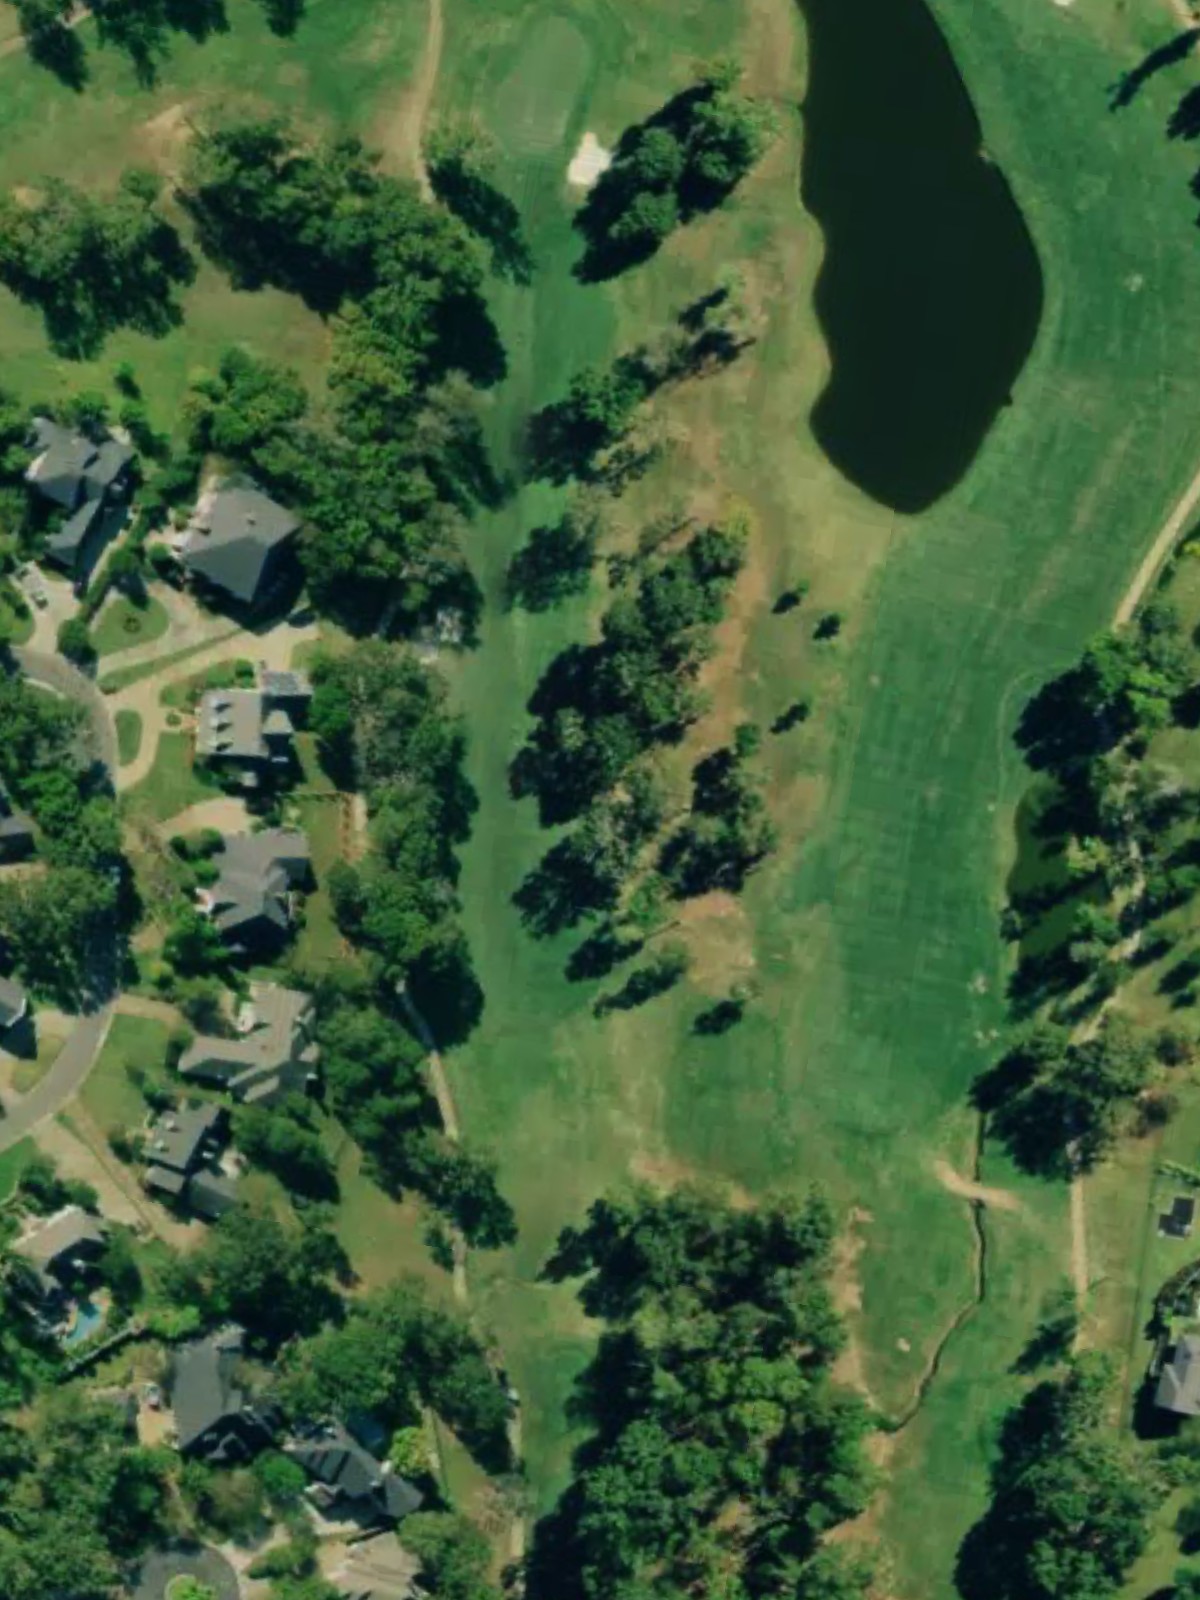
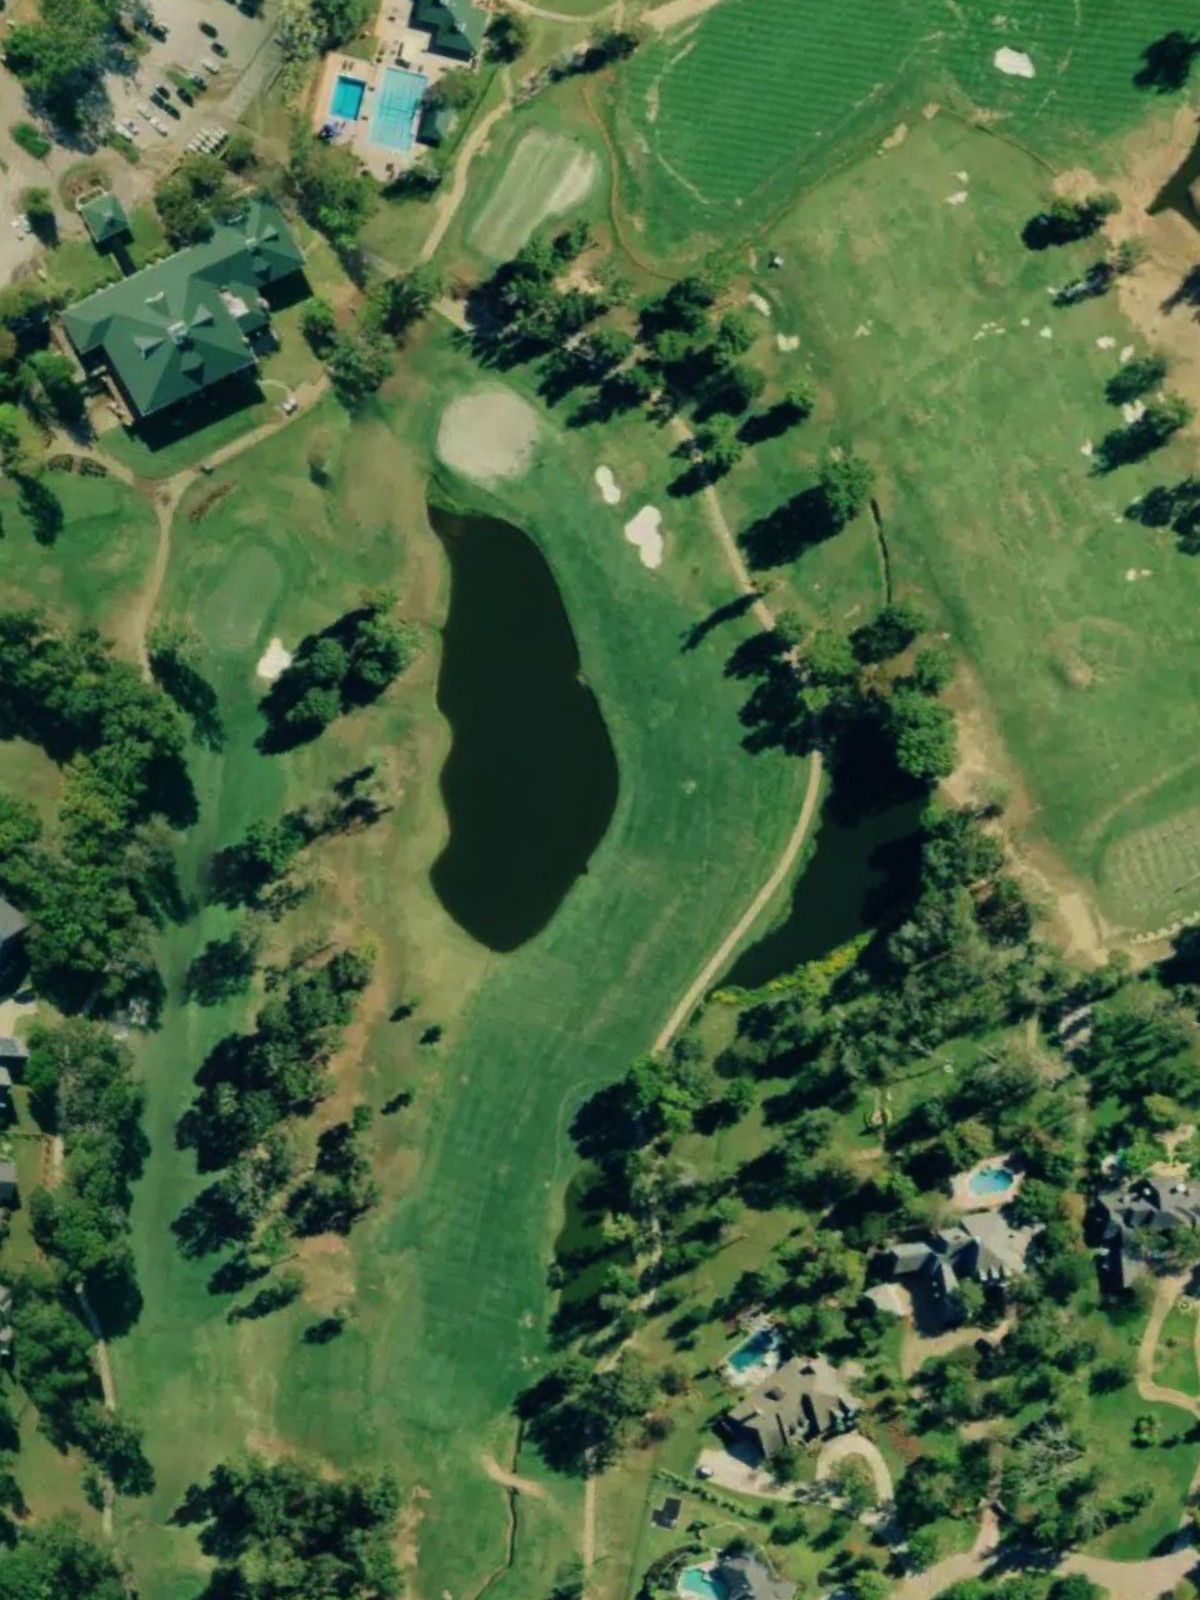
Southern Trace Country Club is an 18-hole golf course in Shreveport, LA with a par of 72. It offers 9 tee sets: black (7,061 yards, slope 135, rating 74.5), black/gold (6,831 yards, slope 133, rating 73.2), gold (6,604 yards, slope 128, rating 72.6), gold/blue (6,373 yards, slope 125, rating 71.5), blue (6,200 yards, slope 122, rating 70.6), blue/white (5,901 yards, slope 120, rating 68.9), white (5,544 yards, slope 118, rating 67.2), green (4,998 yards, slope 110, rating 65), green/red (4,635 yards, slope 104, rating 63.4). The hardest hole is #5, a par 4 playing 366 yards from the first tee.
Southern Trace Country Club
Shreveport, LA
Get PDF Yardage Book
We'll email you the PDF link. No spam, ever.
Create Your Game Plan
Pick your tees, enter your bag, and get a personalized shot-by-shot strategy for every hole.
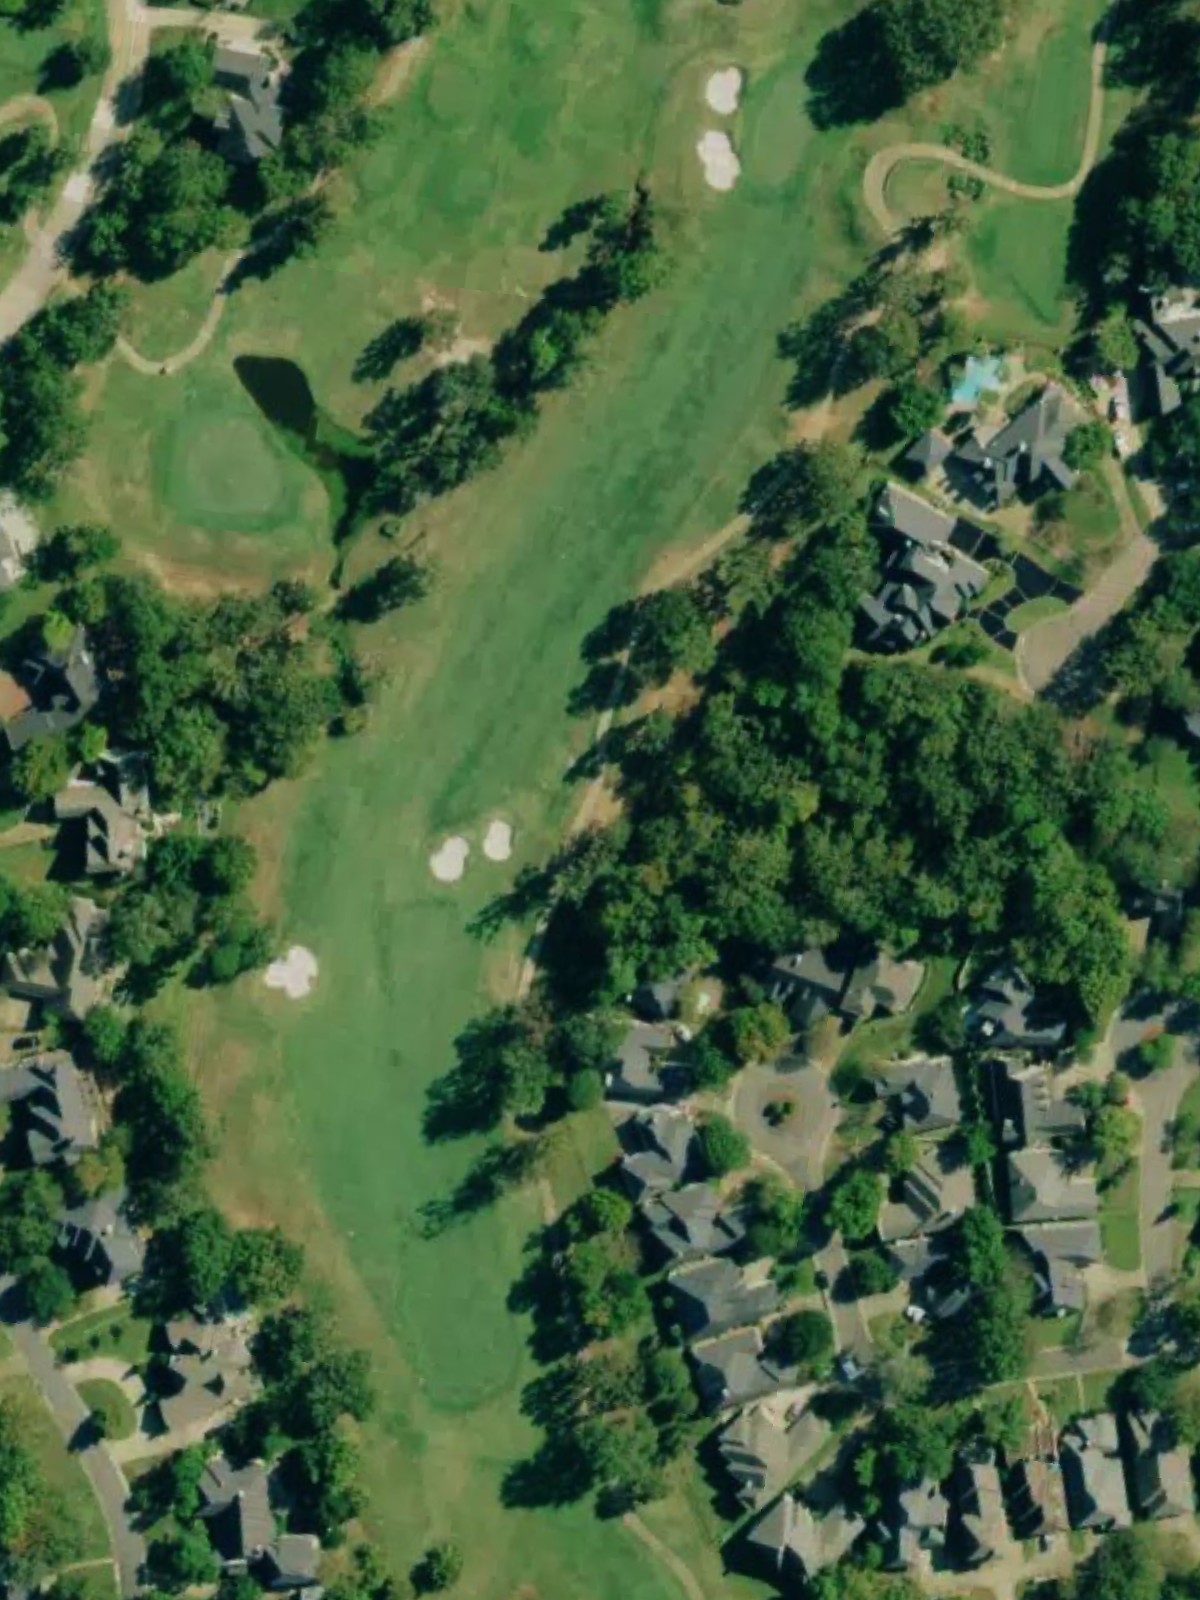
An opening par 5 that plays as a reachable three-shotter for most players, with a fairway that invites an aggressive approach. The hole's length and straightforward design make it an accessible beginning, though accuracy from the tee remains important to set up a manageable second shot.
A short par 4 that demands precision over distance, with a tight fairway that requires an accurate drive to position for the approach. The compact length makes this a birdie opportunity, but any wayward shot quickly complicates the hole.
The shortest par 4 on the course, this hole plays downhill and rewards a well-executed tee shot that finds the narrow fairway. The reduced length does not diminish the importance of accuracy, as the tight landing area leaves little room for error.
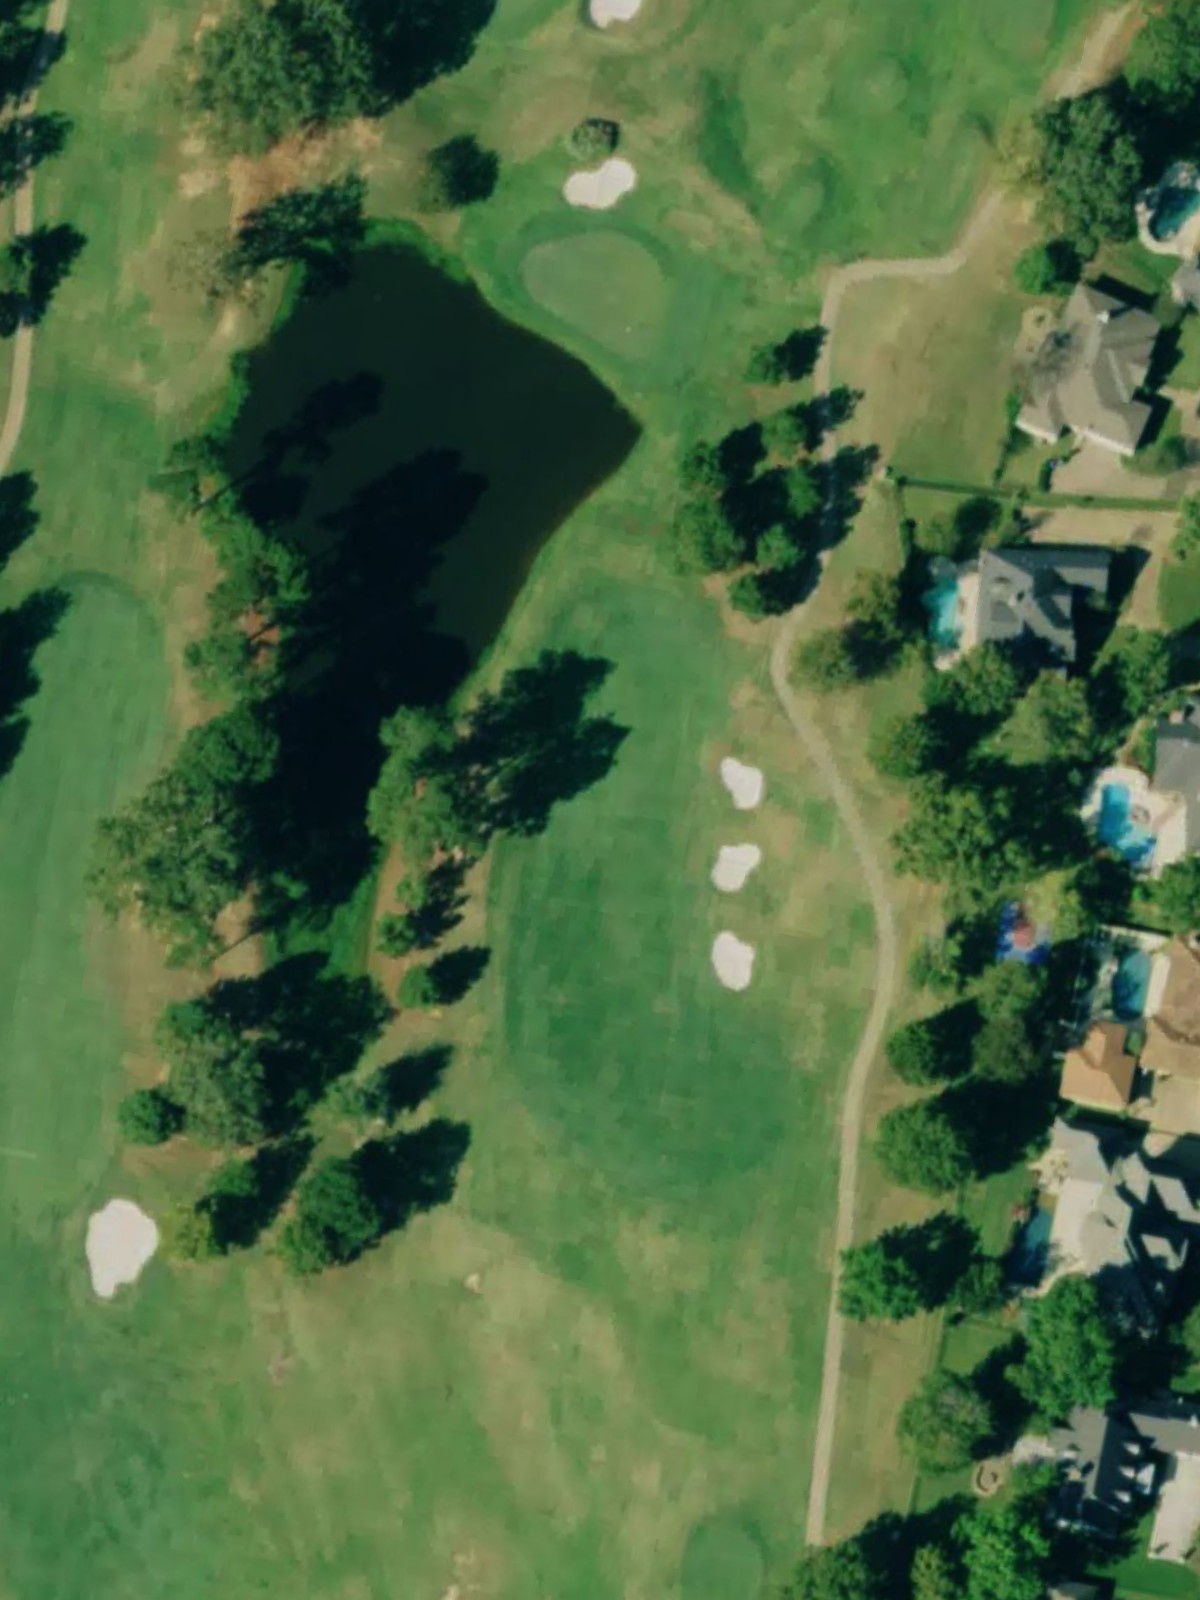
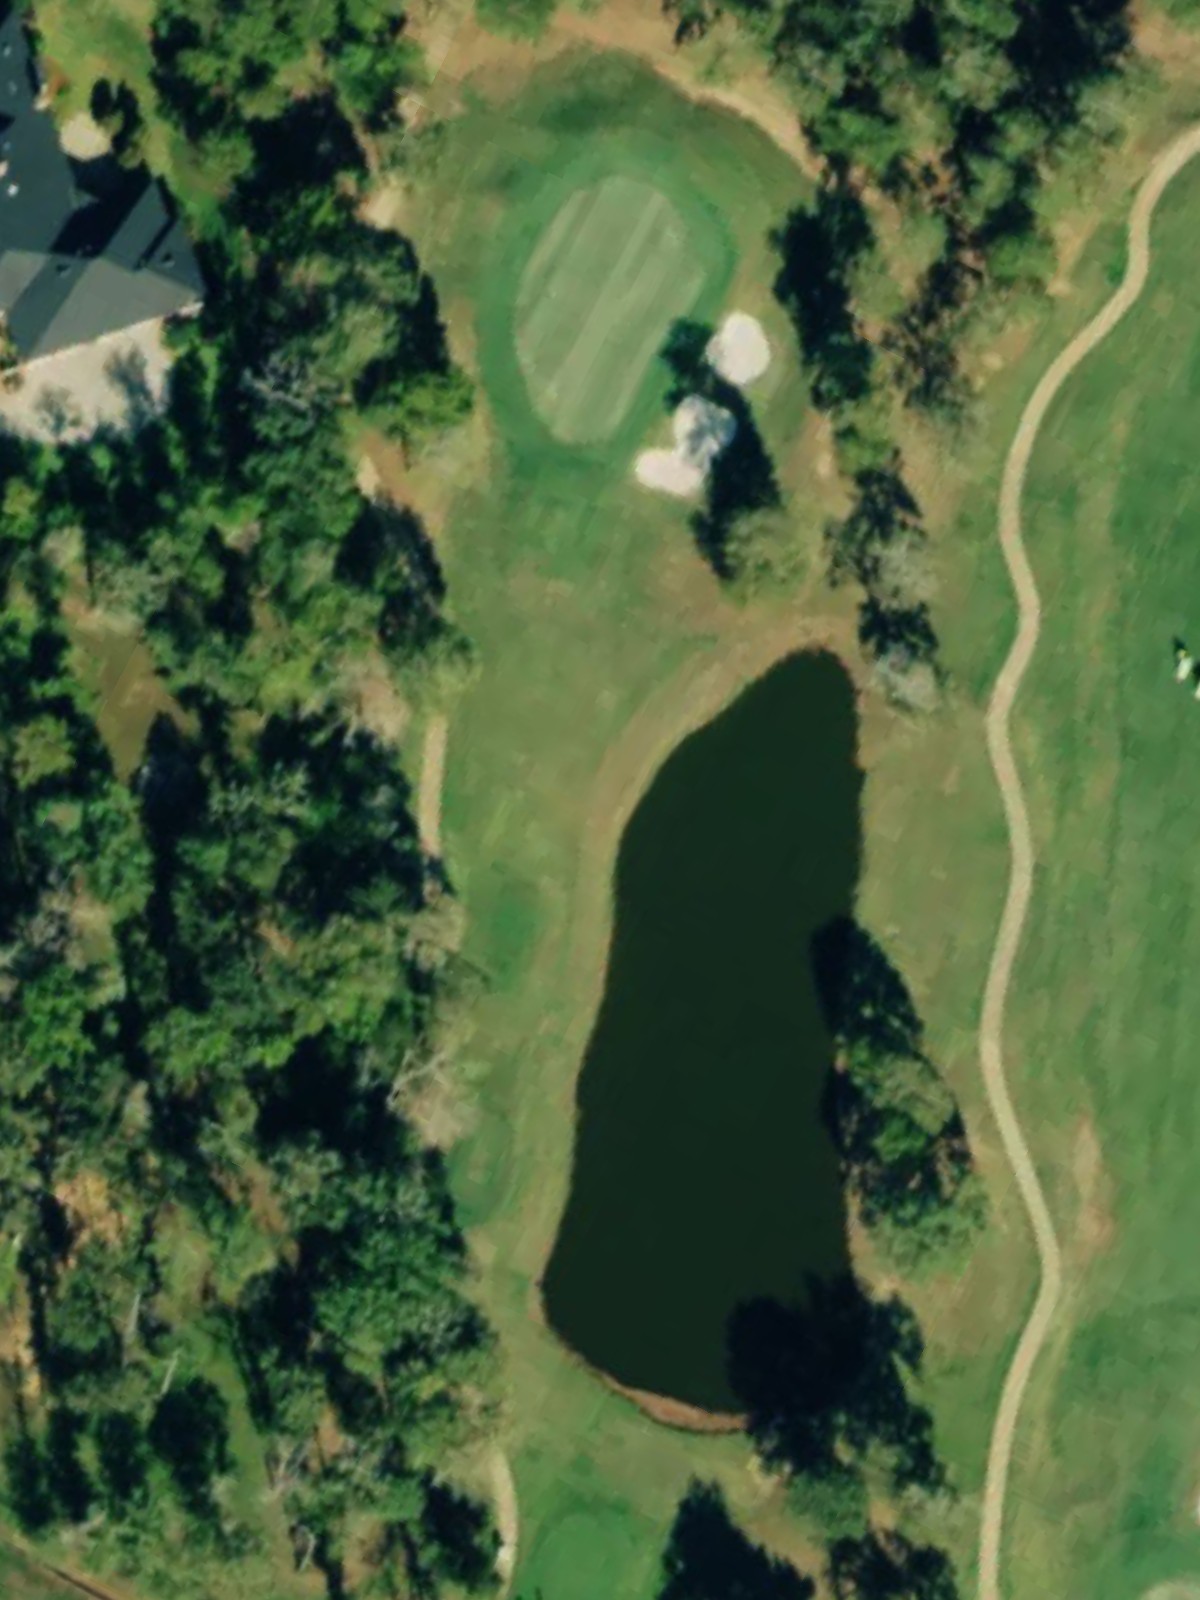
A short par 3 over a modest distance that requires only a mid-range approach to reach the green. Despite its brevity, precision to the putting surface is essential, and any miss can lead to an unforgiving recovery.
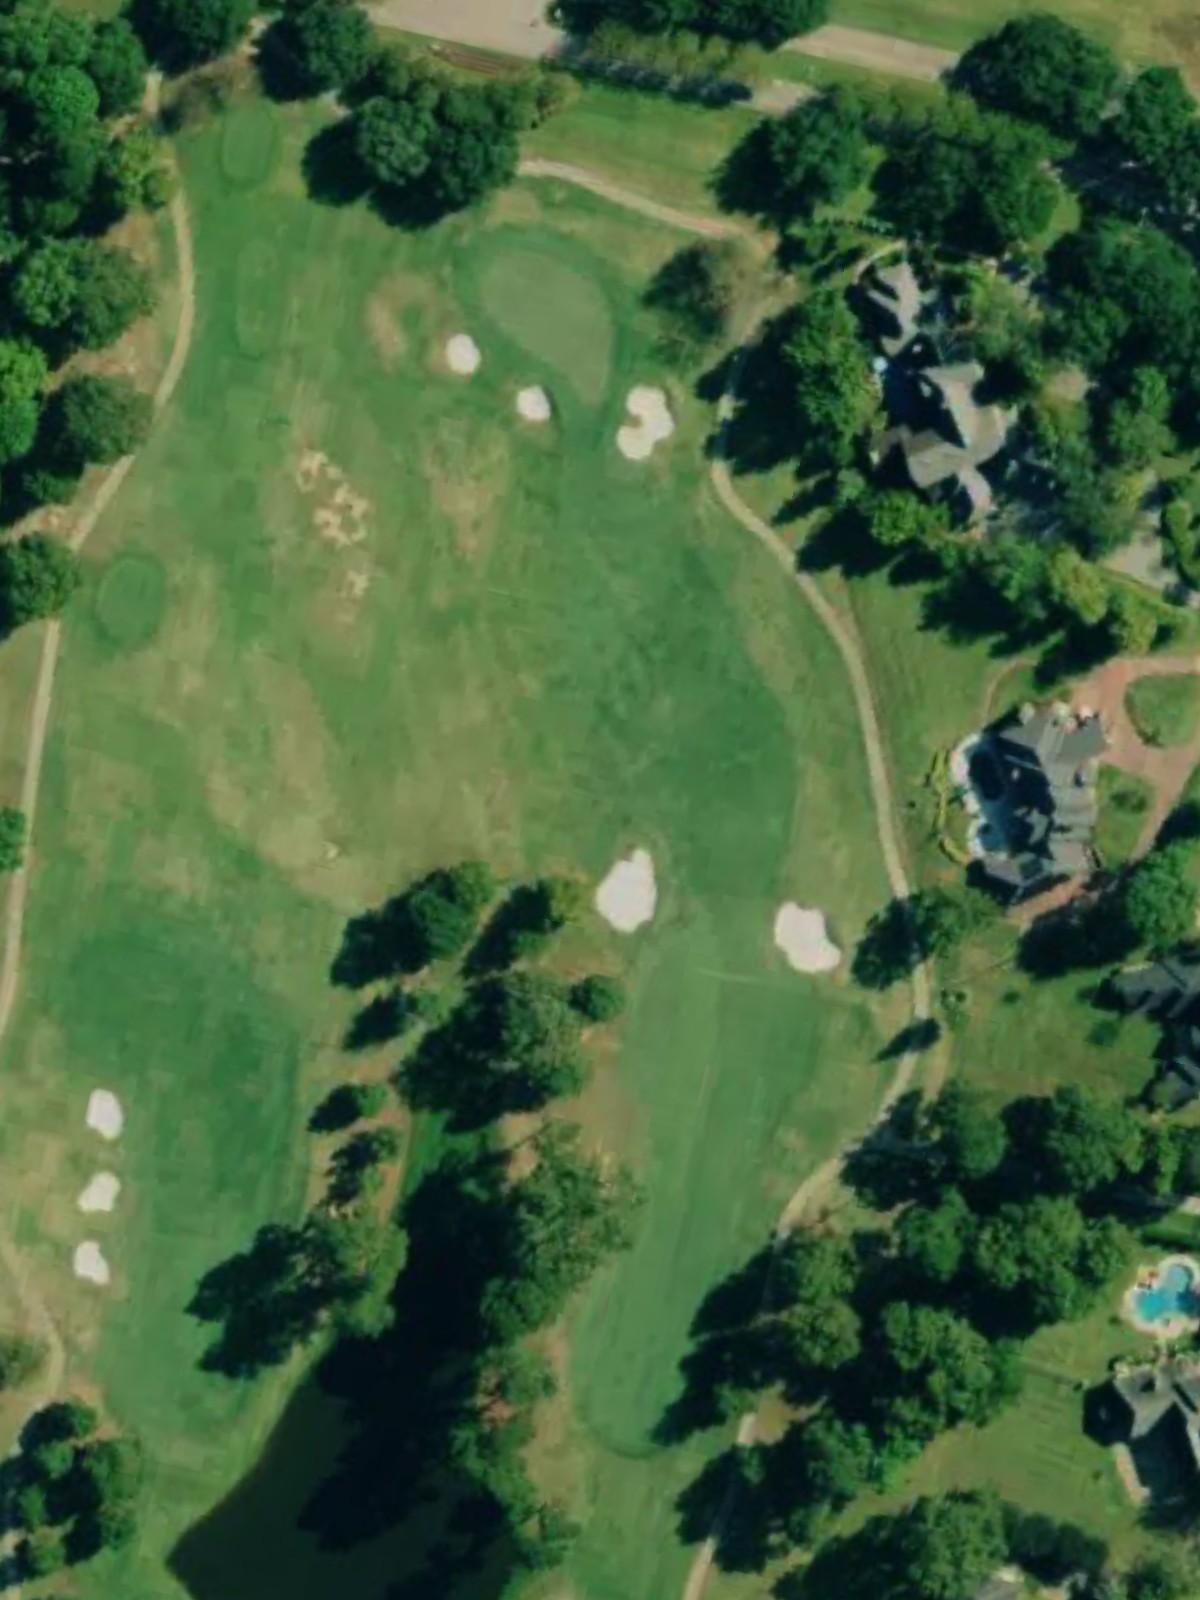
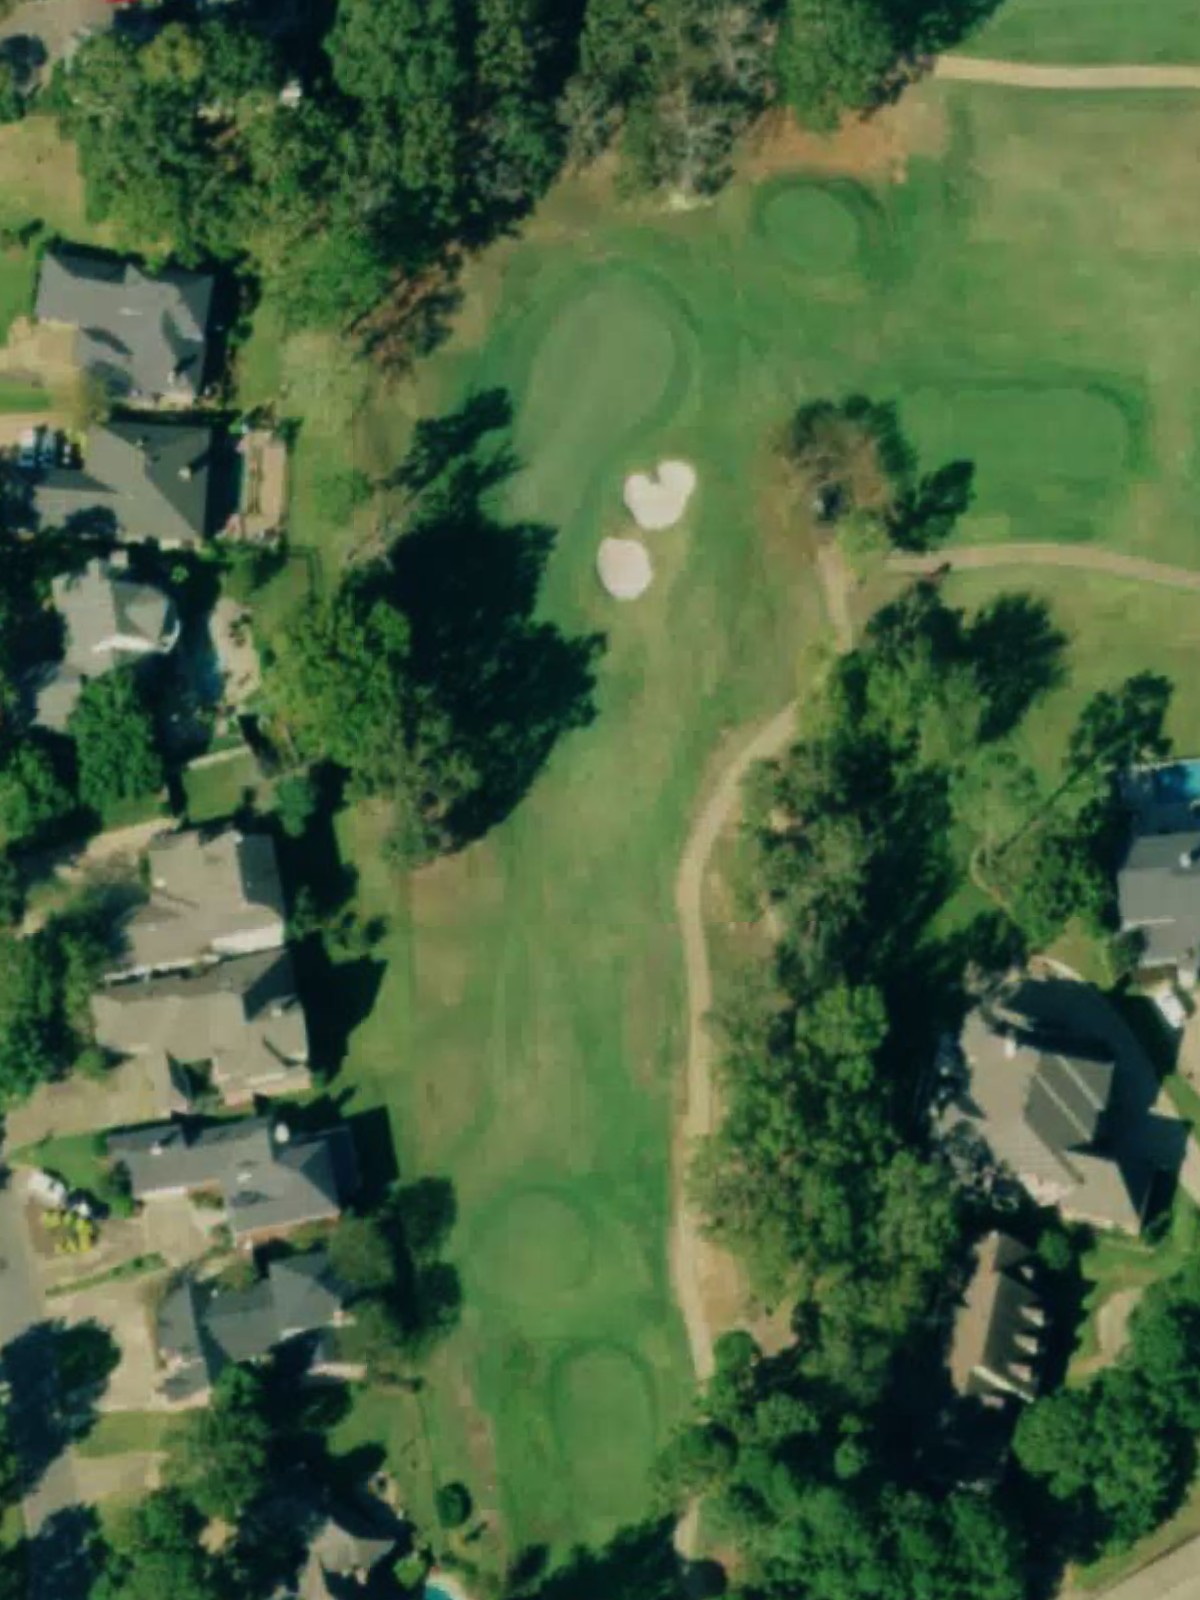
A demanding par 4 that ranks as the number-one handicap hole and presents a significant test from the back tees. The length and likely presence of key hazards make this a defining challenge early in the round that separates solid play from scrambling.
A mid-range par 3 with a straightforward design that plays over a modest distance to the green. The hole's character relies on accurate target golf, as the green complex presents the primary challenge to recording par.
A strong par 4 with a fairway that likely features strategic bunkering or other hazards that shape the ideal line from the tee. The hole's difficulty ranking reflects the precision required to navigate its demands and set up a manageable approach.
A par 5 that plays to a moderate length and offers a realistic birdie opportunity for those who find the fairway and position their second shot thoughtfully. The hole's character encourages an aggressive but controlled approach on the back nine.
The third-ranked handicap hole, this par 4 presents a formidable test with its length and strategic demands that punish loose golf. The significant yardage gap from the forward tees to the black tees indicates hazards and design elements that escalate difficulty considerably.
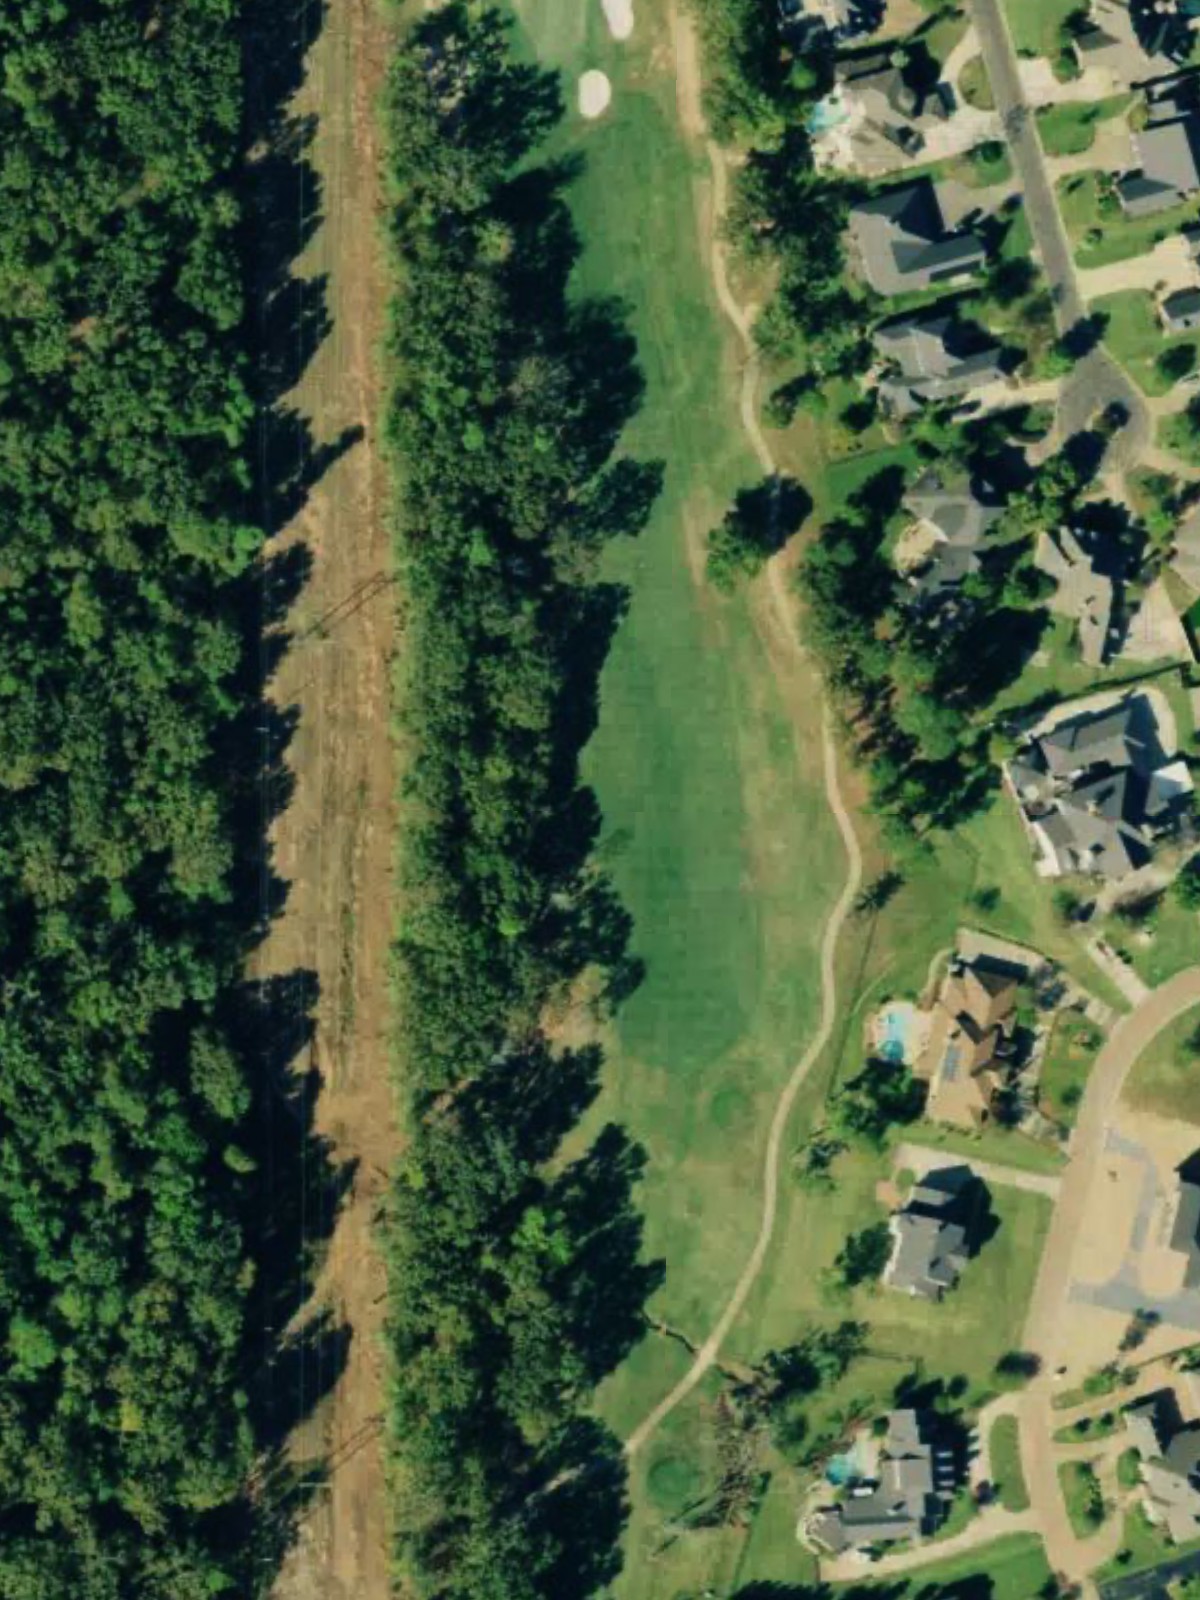
A solid par 4 that opens the back nine with a fairway that narrows toward the green, requiring both distance and accuracy from the tee. The hole's strategic design makes it a key scoring opportunity early in the closing stretch.
A shorter par 4 that offers a scoring chance despite its modest length, playing more like a birdie hole than a defensive test. The tight fairway demands accuracy, but the reduced distance allows players to focus on precision placement rather than maximum distance.
The fourth-ranked handicap hole, this par 4 stands as one of the course's most challenging and plays significantly longer from the back tees. The increased distance and difficulty mark this as a defining test of complete golf on the back nine.
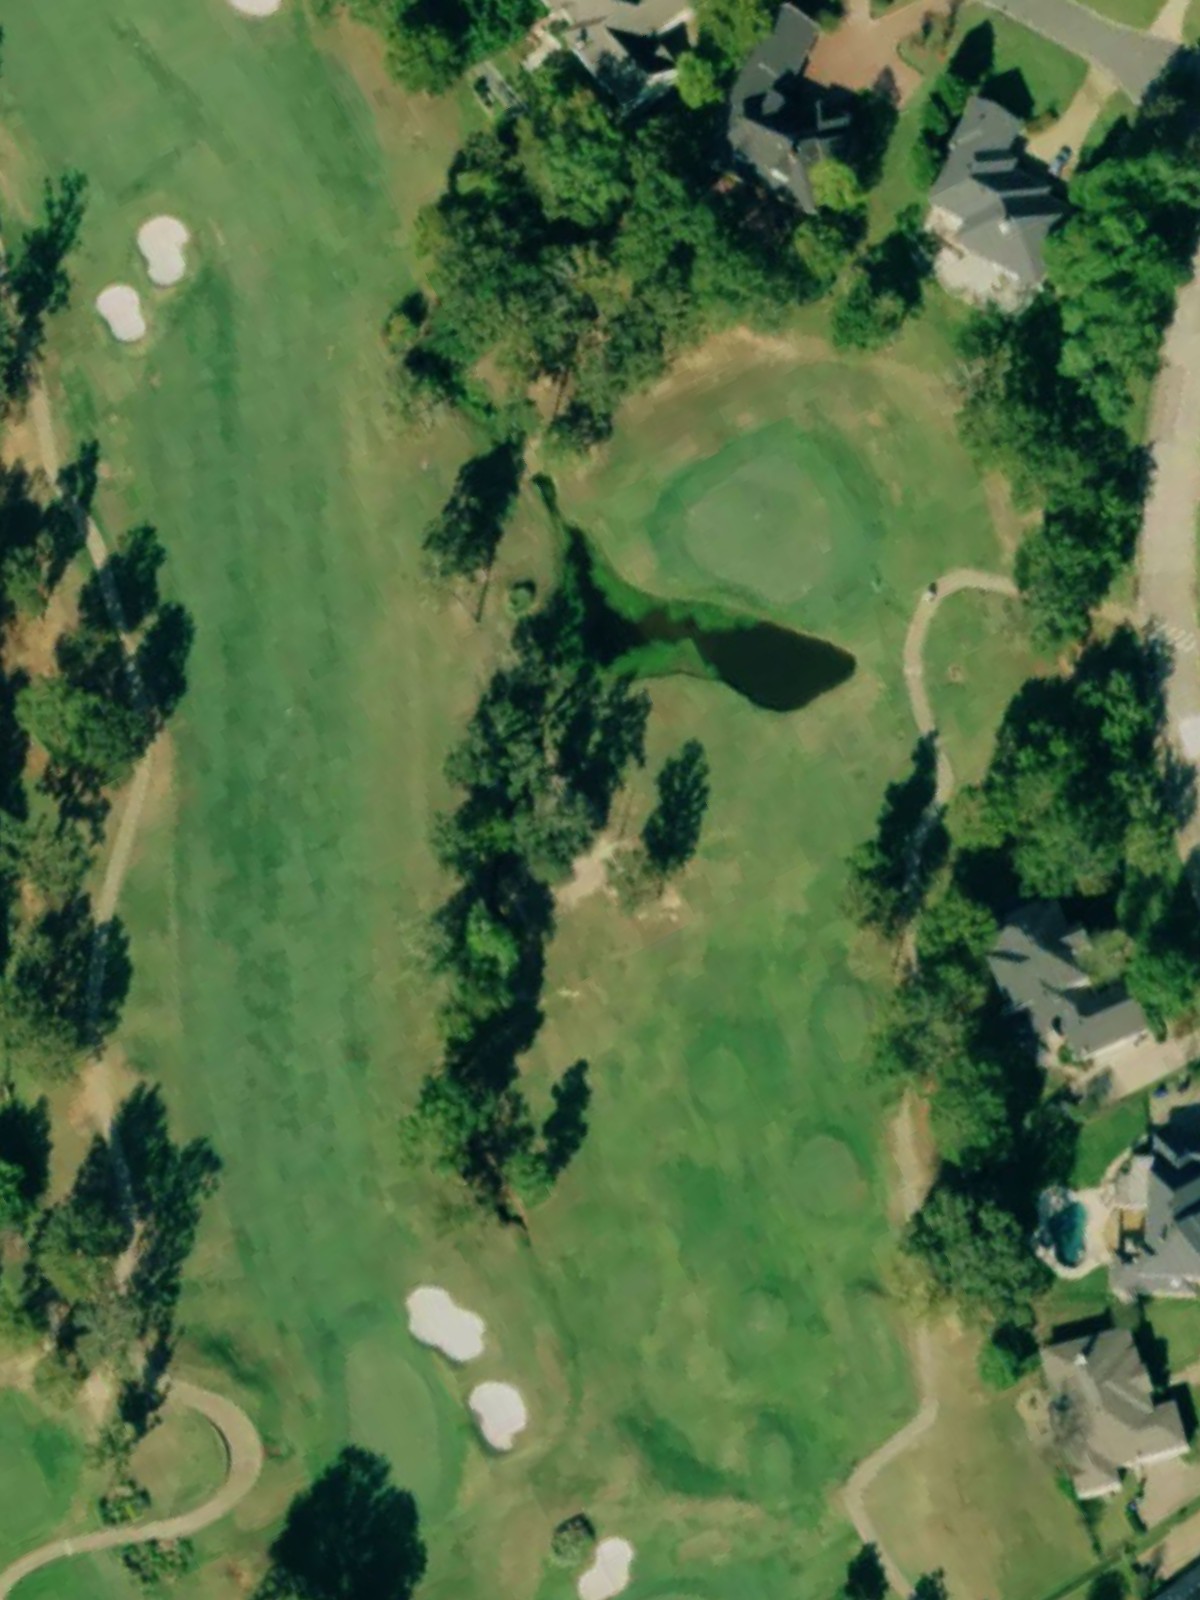
A par 3 of moderate length that presents a straightforward target golf challenge with a design that rewards accuracy to the green. The hole serves as a respite between the tougher tests surrounding it on the closing holes.

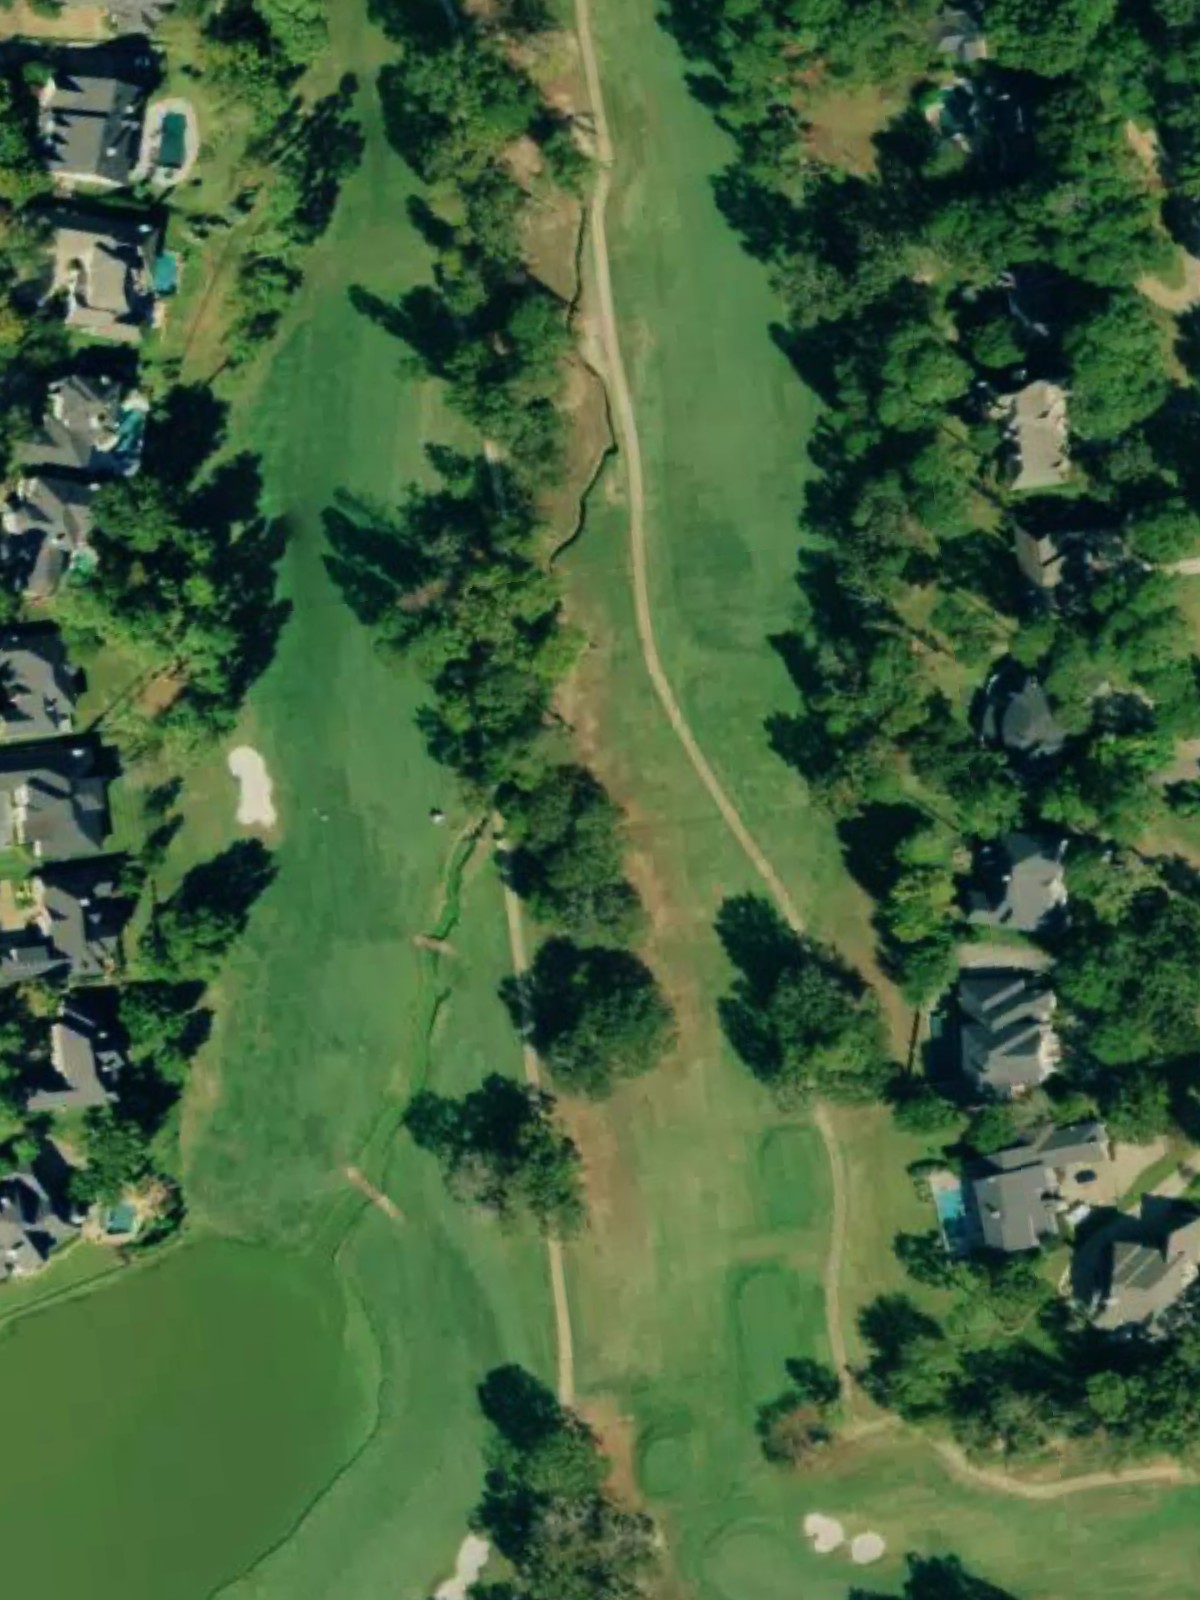
A long par 5 that ranks near the middle of the handicap scale, playing to nearly 575 yards from the black tees and requiring three solid shots to reach the green. The length and likely strategic hazards make this a defining hole in the round's overall narrative.
The second-ranked handicap hole and the third-longest par 4 on the course, this hole presents a severe test from the back tees with a yardage differential that indicates significant strategic difficulty. The length and hazard placement combine to make this one of the course's premier challenges.
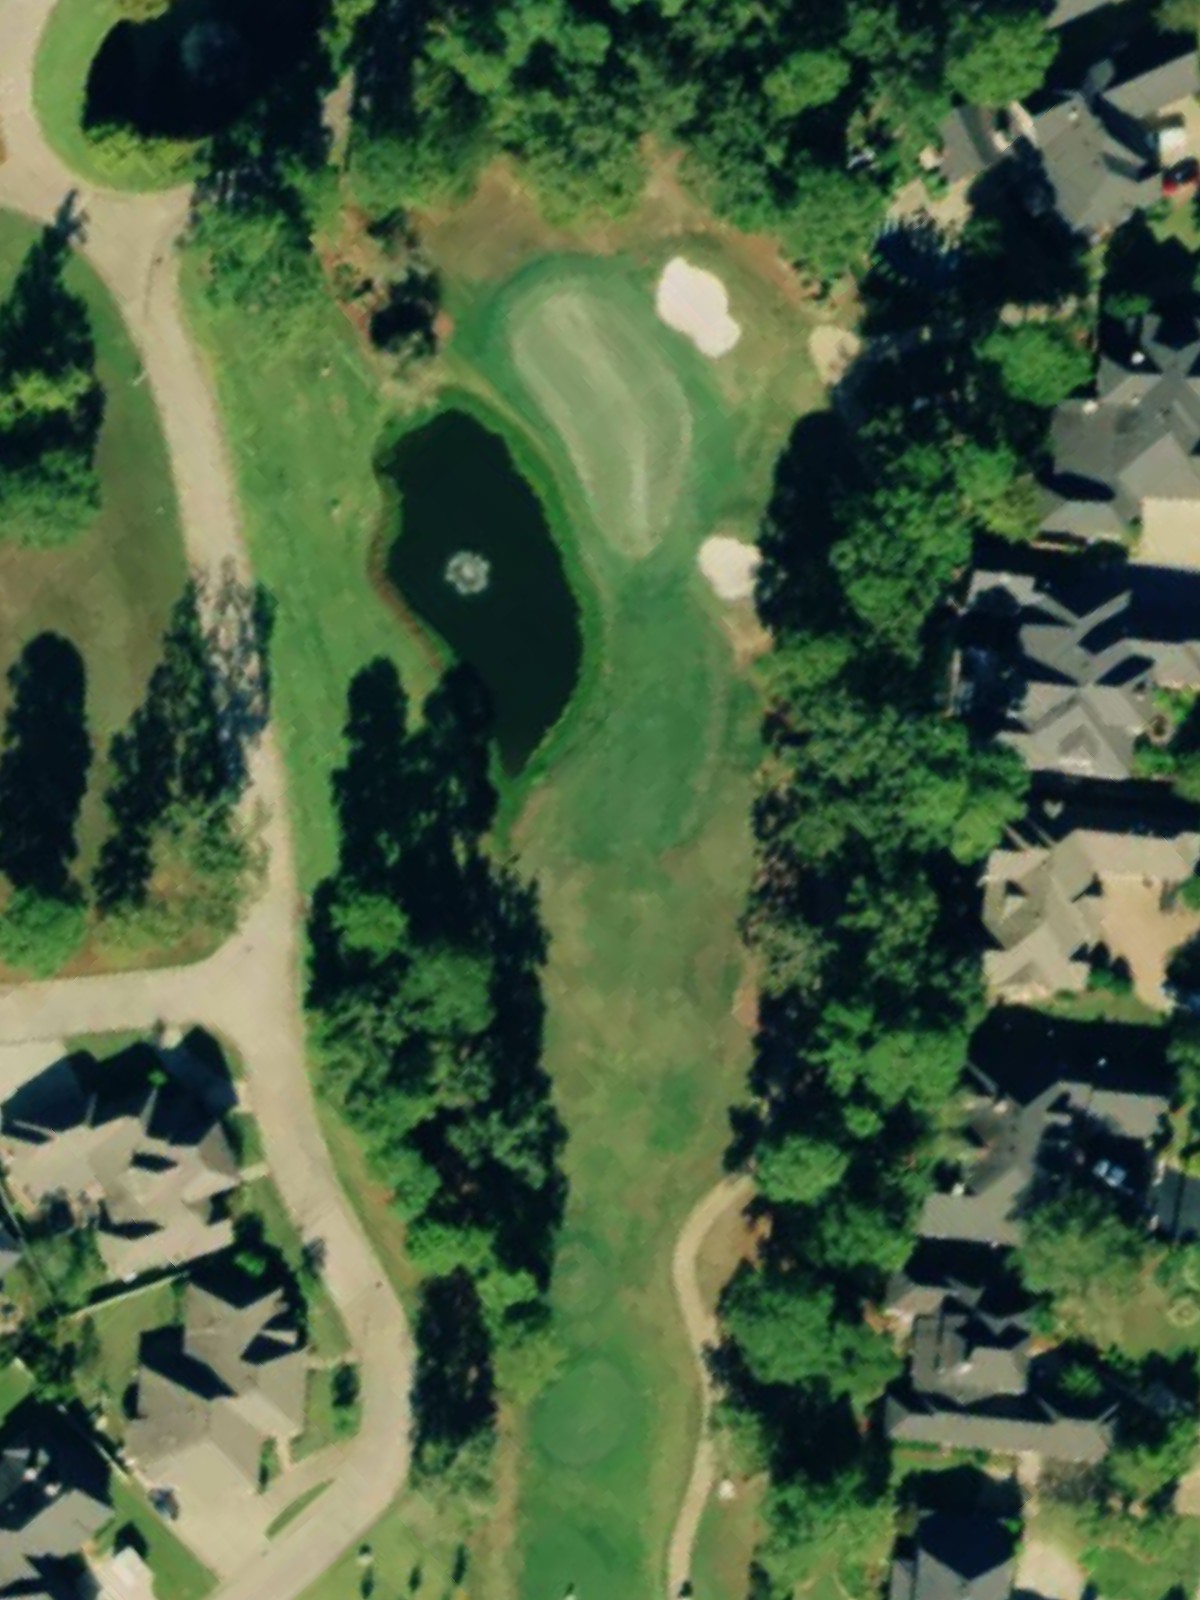
A mid-range par 3 that requires a controlled approach shot to a target green with likely greenside challenges awaiting any miss. The hole demands accuracy more than distance, serving as a technical test in the closing stretch.
The sixth-ranked handicap hole, this par 4 features a length and strategic design that make it a significant test despite not being the longest on the course. The hole's balanced difficulty throughout the tee-to-green routing creates a comprehensive examination of shotmaking.
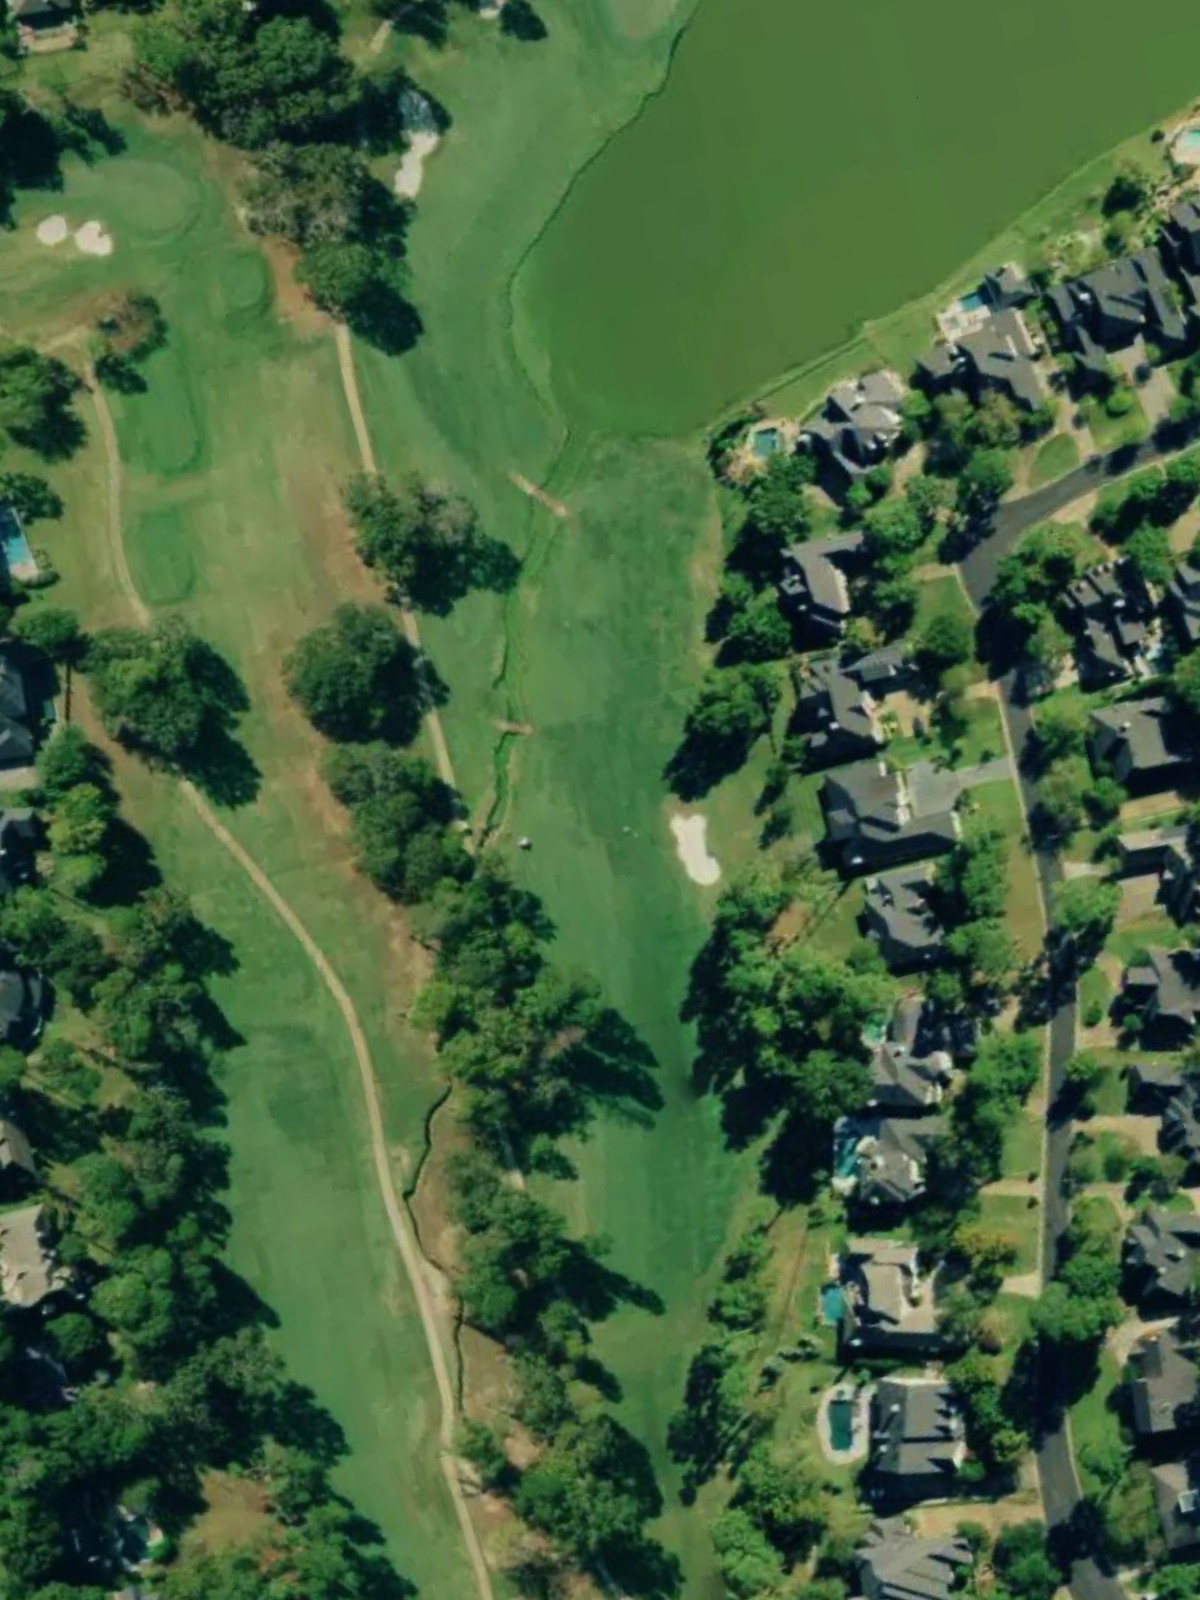
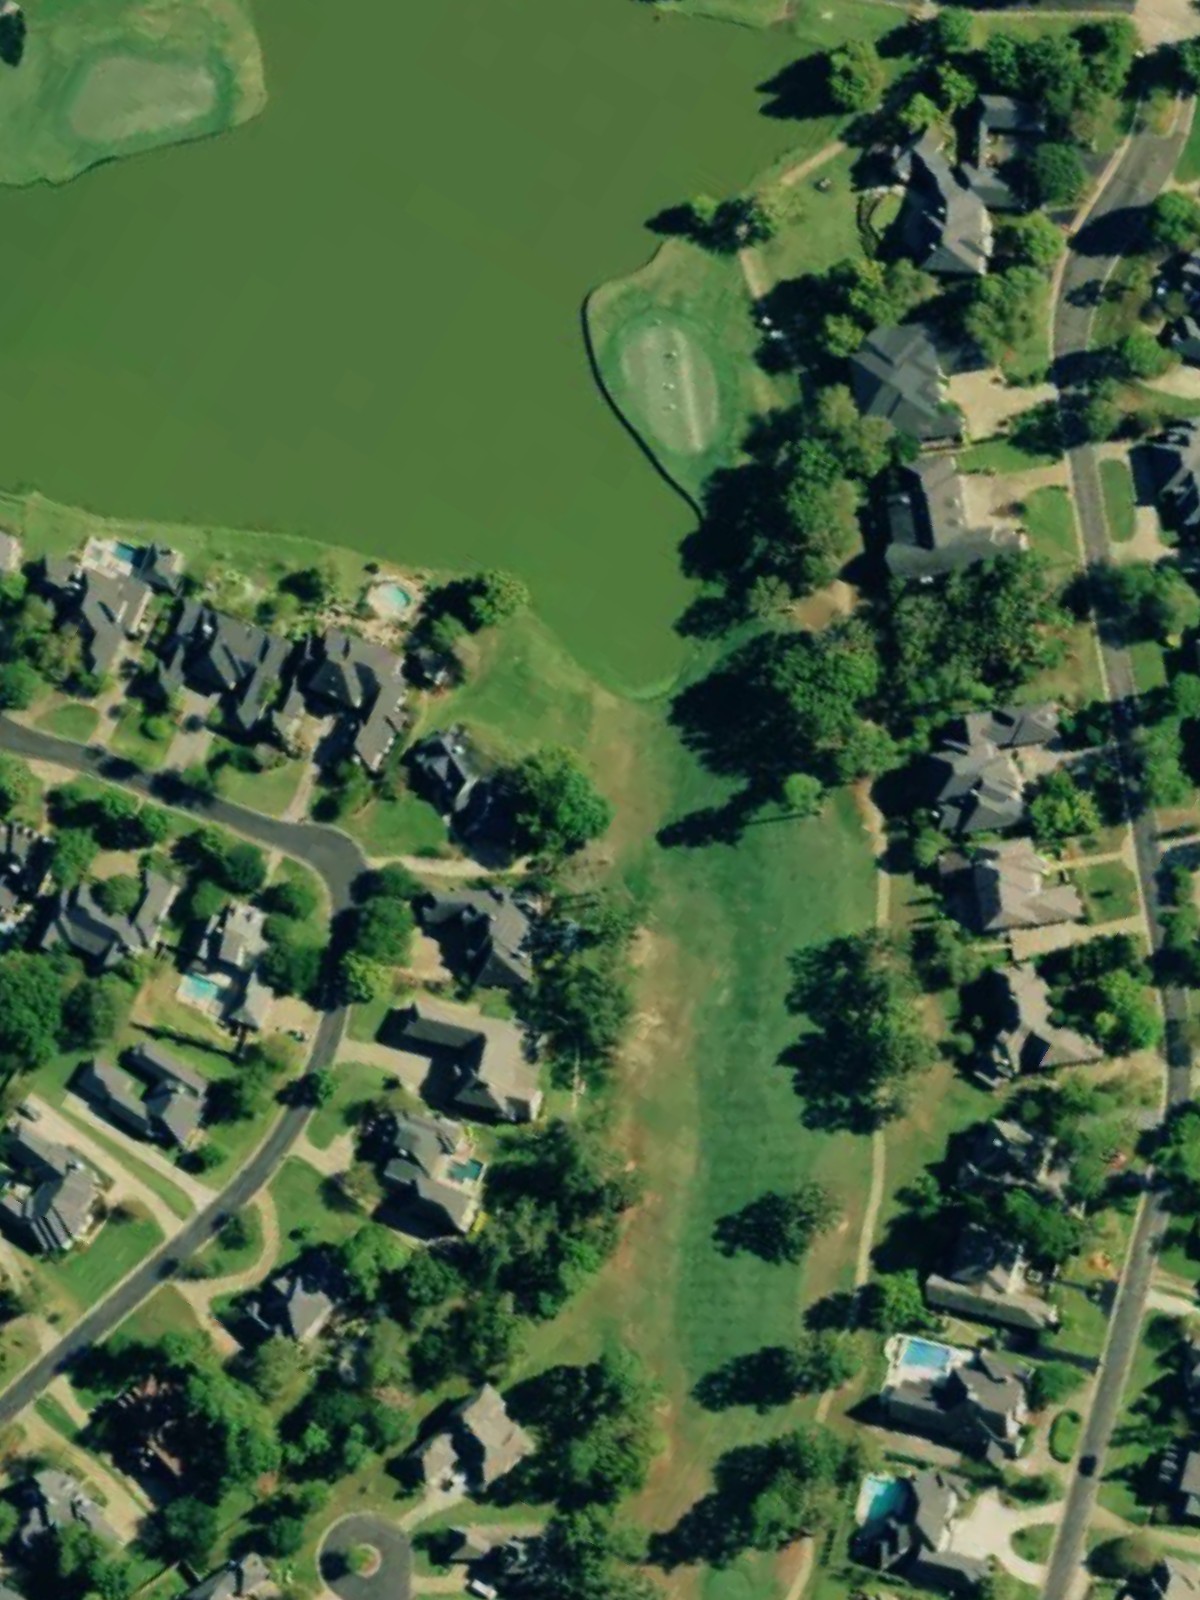
The finishing par 5 plays as the longest hole on the course from the back tees and ranks last in handicap as a relatively generous conclusion to the round. Despite its length, the straightforward character allows players to close their round with an aggressive approach and a scoring opportunity.
Scorecard
| Hole | 1 | 2 | 3 | 4 | 5 | 6 | 7 | 8 | 9 | Out | 10 | 11 | 12 | 13 | 14 | 15 | 16 | 17 | 18 | In | Tot |
|---|---|---|---|---|---|---|---|---|---|---|---|---|---|---|---|---|---|---|---|---|---|
| Par | 5 | 4 | 4 | 3 | 4 | 3 | 4 | 5 | 4 | 36 | 4 | 4 | 4 | 3 | 5 | 4 | 3 | 4 | 5 | 36 | 72 |
| HCP | 5 | 9 | 17 | 15 | 1 | 11 | 7 | 13 | 3 | 8 | 14 | 4 | 10 | 16 | 2 | 12 | 6 | 18 | |||
| black | 550 | 400 | 326 | 163 | 404 | 189 | 424 | 531 | 436 | 3423 | 427 | 330 | 453 | 222 | 574 | 482 | 194 | 415 | 541 | 3638 | 7061 |
| black/gold | 520 | 400 | 326 | 163 | 404 | 178 | 384 | 531 | 394 | 3300 | 427 | 330 | 419 | 199 | 552 | 454 | 194 | 415 | 541 | 3531 | 6831 |
| gold | 520 | 386 | 299 | 149 | 379 | 178 | 384 | 503 | 394 | 3192 | 392 | 312 | 419 | 199 | 552 | 454 | 183 | 388 | 513 | 3412 | 6604 |
| gold/blue | 479 | 358 | 299 | 149 | 379 | 146 | 384 | 503 | 378 | 3075 | 392 | 312 | 409 | 174 | 518 | 409 | 183 | 388 | 513 | 3298 | 6373 |
| blue | 479 | 358 | 288 | 122 | 366 | 146 | 368 | 489 | 378 | 2994 | 373 | 306 | 409 | 174 | 518 | 409 | 161 | 364 | 492 | 3206 | 6200 |
| blue/white | 479 | 358 | 288 | 122 | 366 | 135 | 336 | 420 | 348 | 2852 | 373 | 306 | 373 | 115 | 480 | 385 | 161 | 364 | 492 | 3049 | 5901 |
| white | 435 | 340 | 234 | 116 | 278 | 135 | 336 | 420 | 348 | 2642 | 343 | 280 | 373 | 115 | 480 | 385 | 136 | 337 | 453 | 2902 | 5544 |
| green | 407 | 302 | 229 | 94 | 266 | 117 | 300 | 410 | 317 | 2442 | 330 | 251 | 322 | 83 | 413 | 292 | 117 | 326 | 422 | 2556 | 4998 |
| green/red | 407 | 214 | 229 | 94 | 266 | 117 | 269 | 410 | 256 | 2262 | 330 | 251 | 234 | 83 | 413 | 292 | 117 | 282 | 371 | 2373 | 4635 |