South Park 9 Hole Golf Course is an 18-hole golf course in Pittsburgh, PA with a par of 72. It offers 4 tee sets: blue (5,652 yards, slope 116, rating 68), white (5,458 yards, slope 114, rating 67), gold (5,200 yards, slope 113, rating 65.6), red (5,100 yards, slope 112, rating 65.2). The hardest hole is #18, a par 4 playing 384 yards from the first tee.
South Park 9 Hole Golf Course
Pittsburgh, PA
Get PDF Yardage Book
We'll email you the PDF link. No spam, ever.
Create Your Game Plan
Pick your tees, enter your bag, and get a personalized shot-by-shot strategy for every hole.
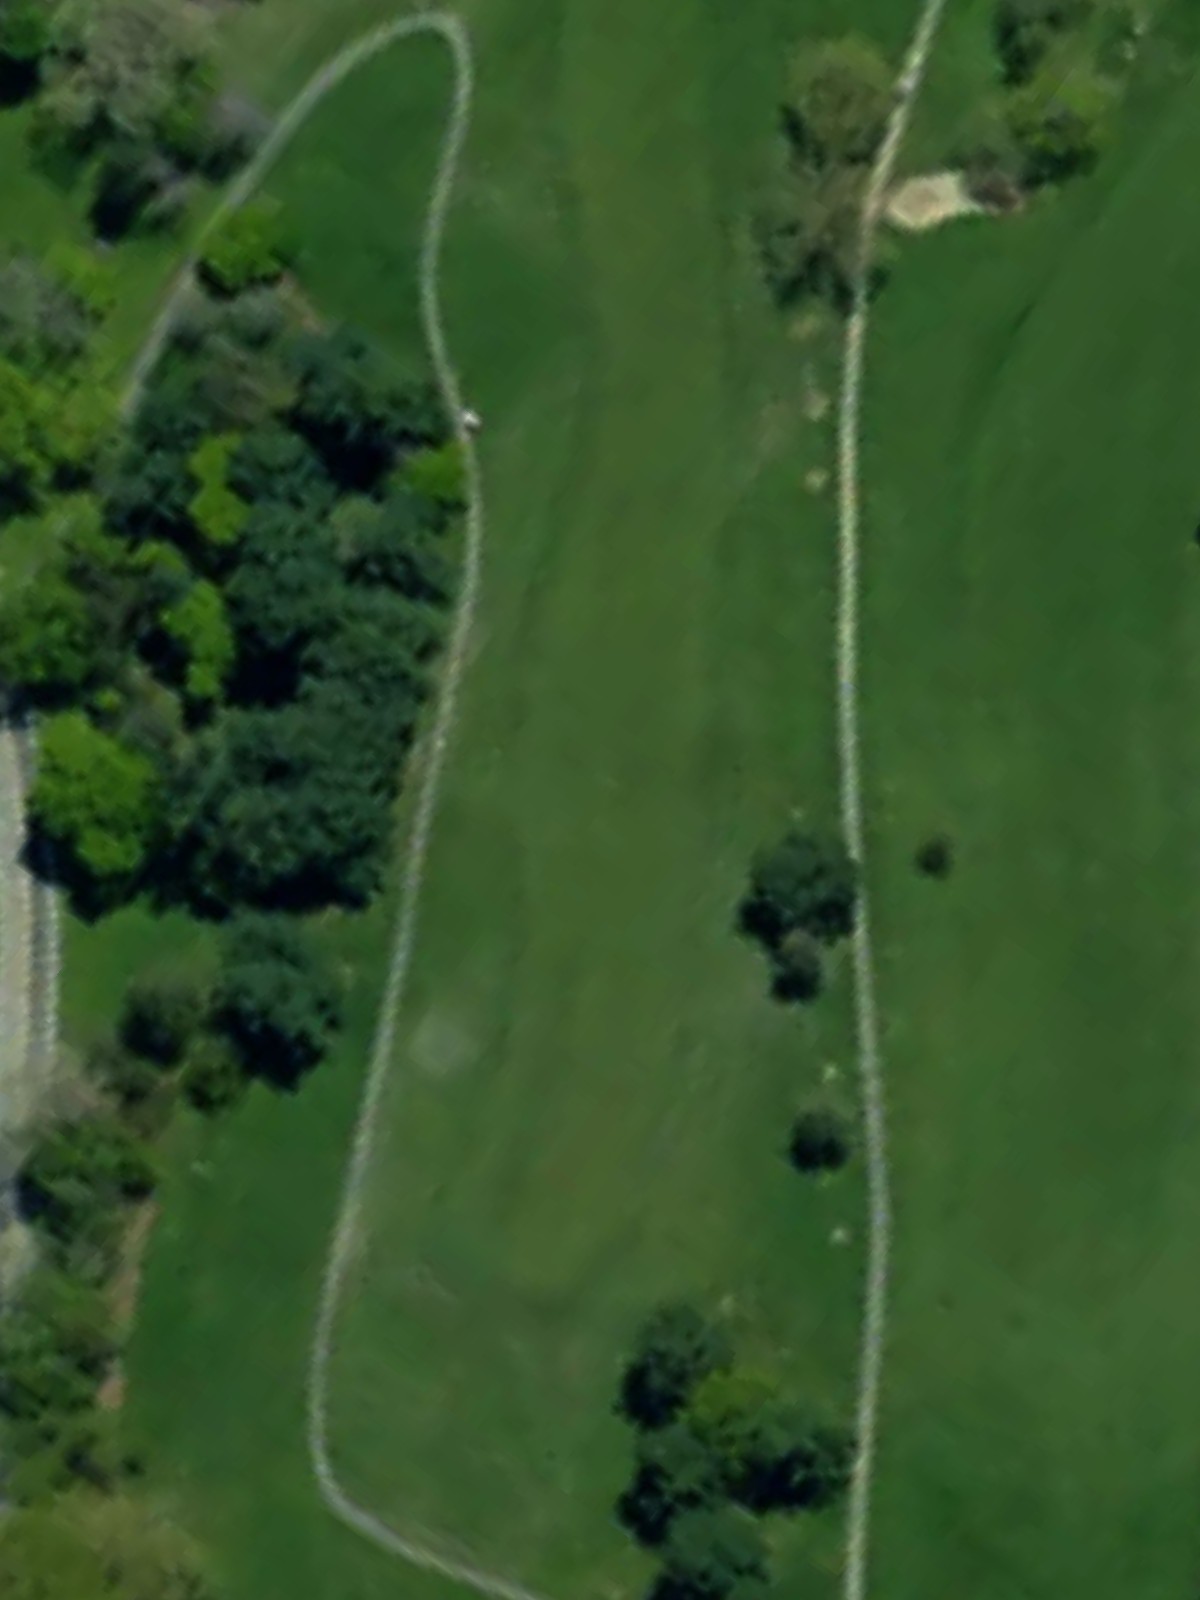
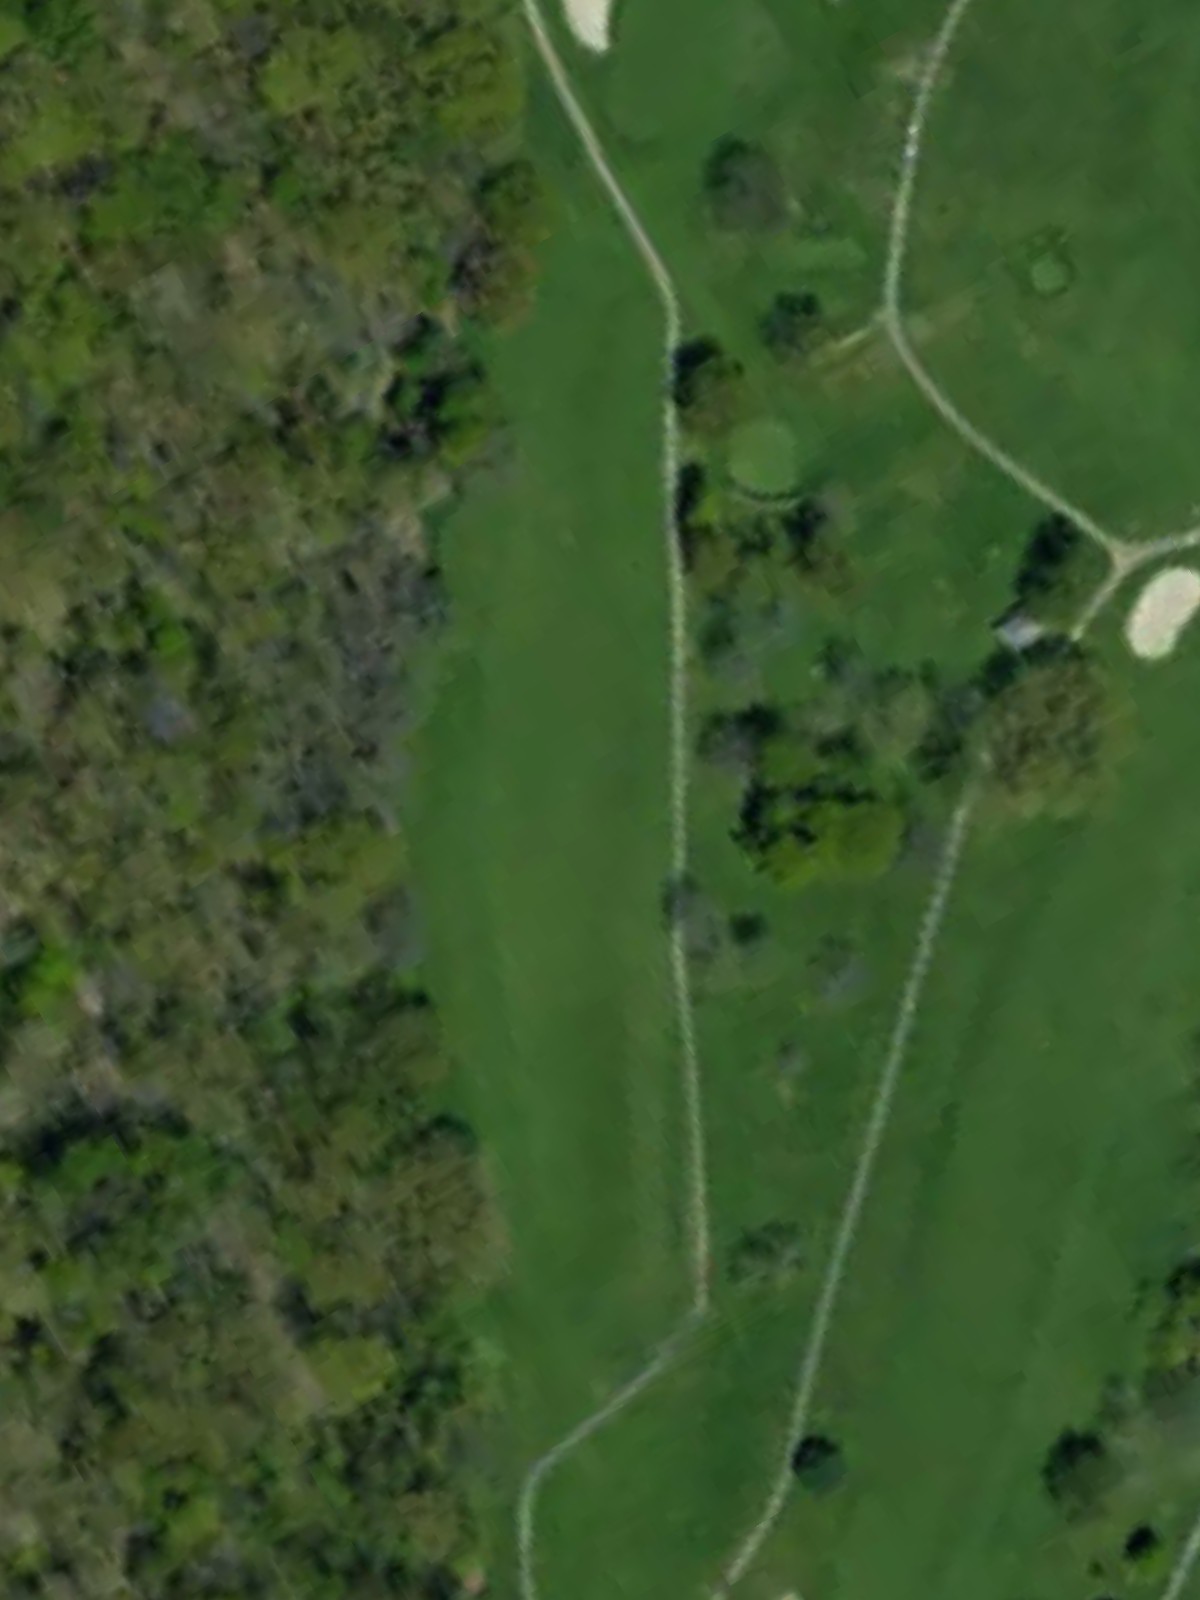
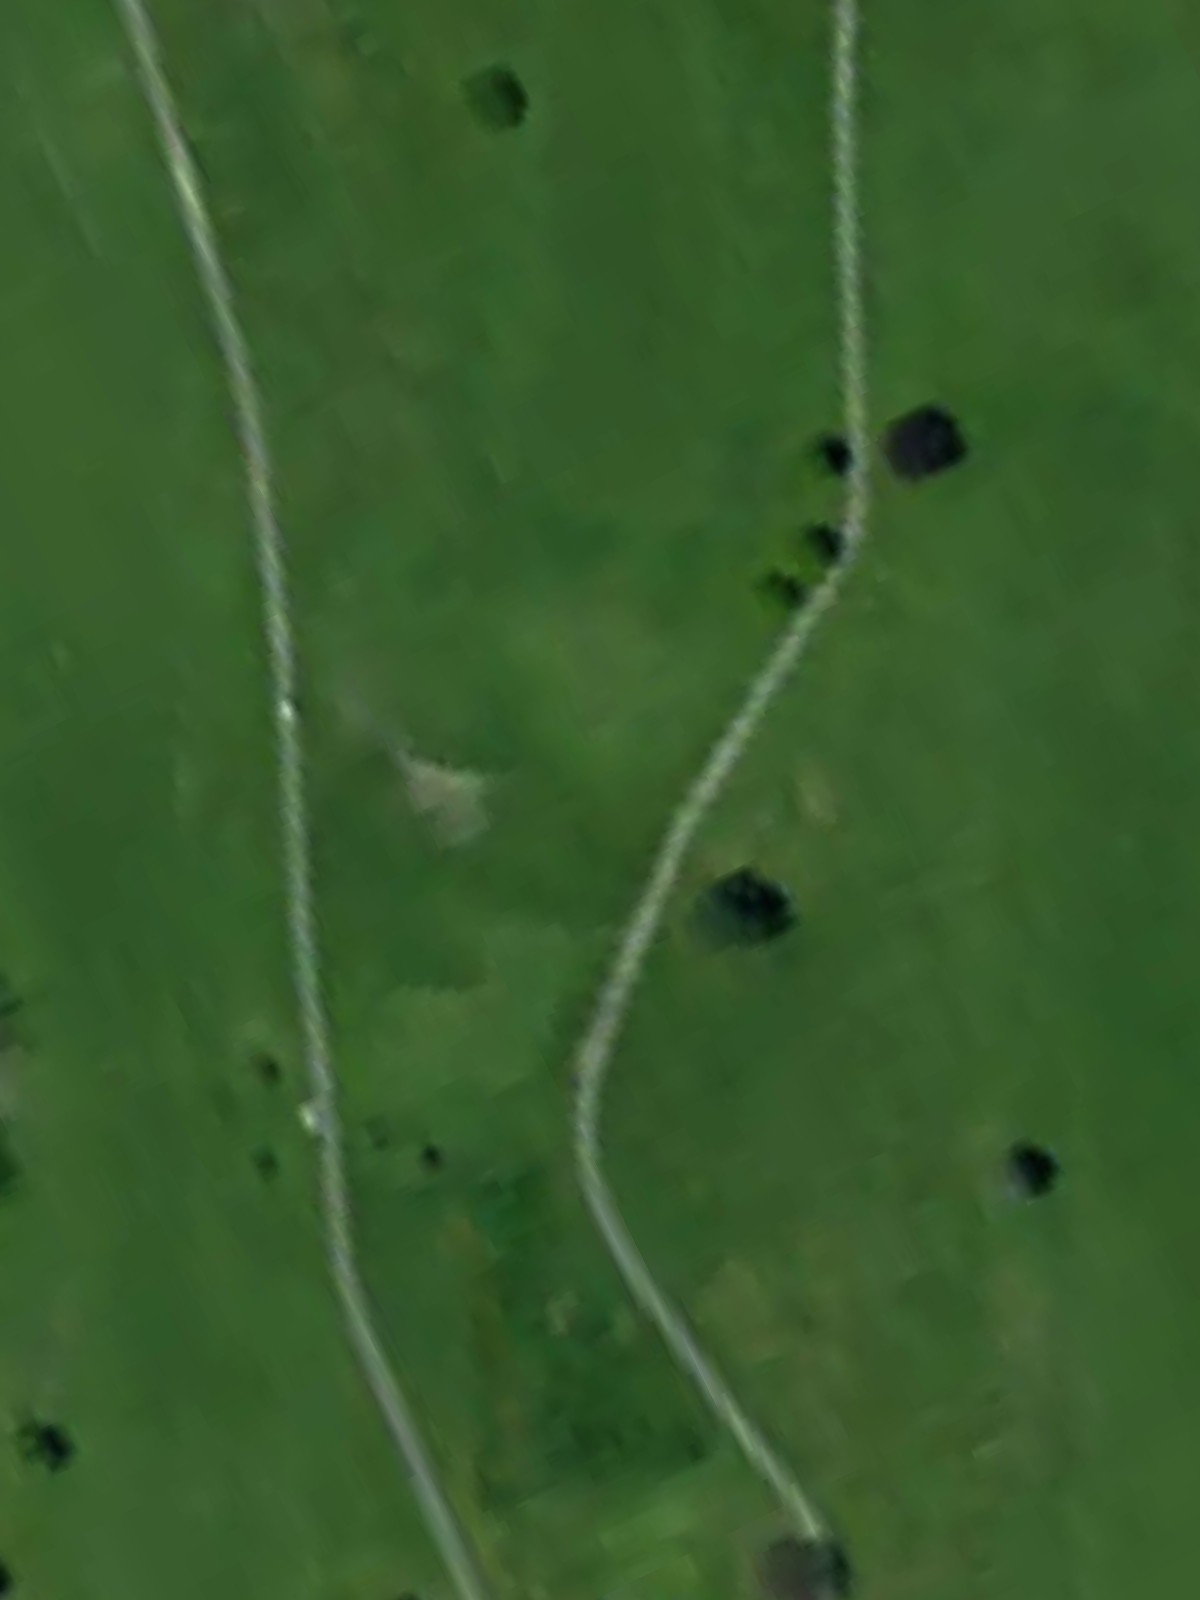
A straightforward par 4 with a wide-open fairway that gradually narrows as it approaches the green. Bunkers protect both sides of the green, demanding accuracy on the approach shot to find the putting surface cleanly.
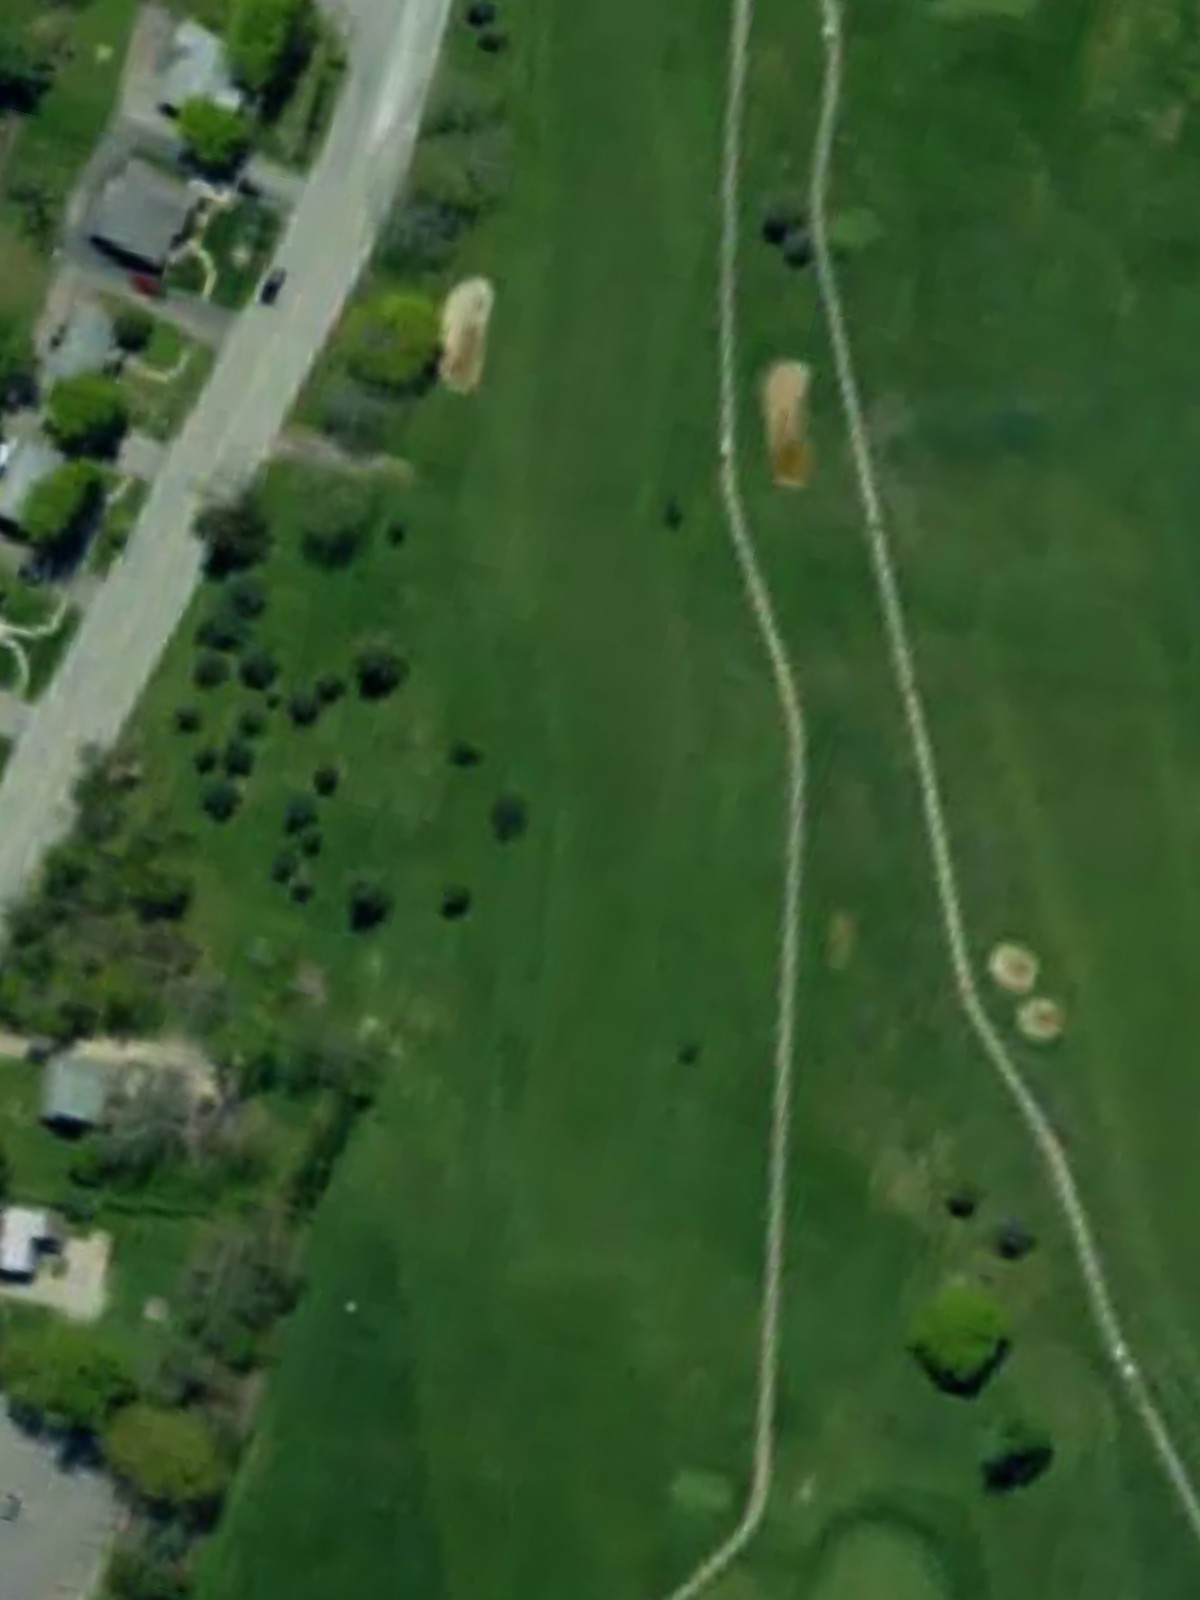
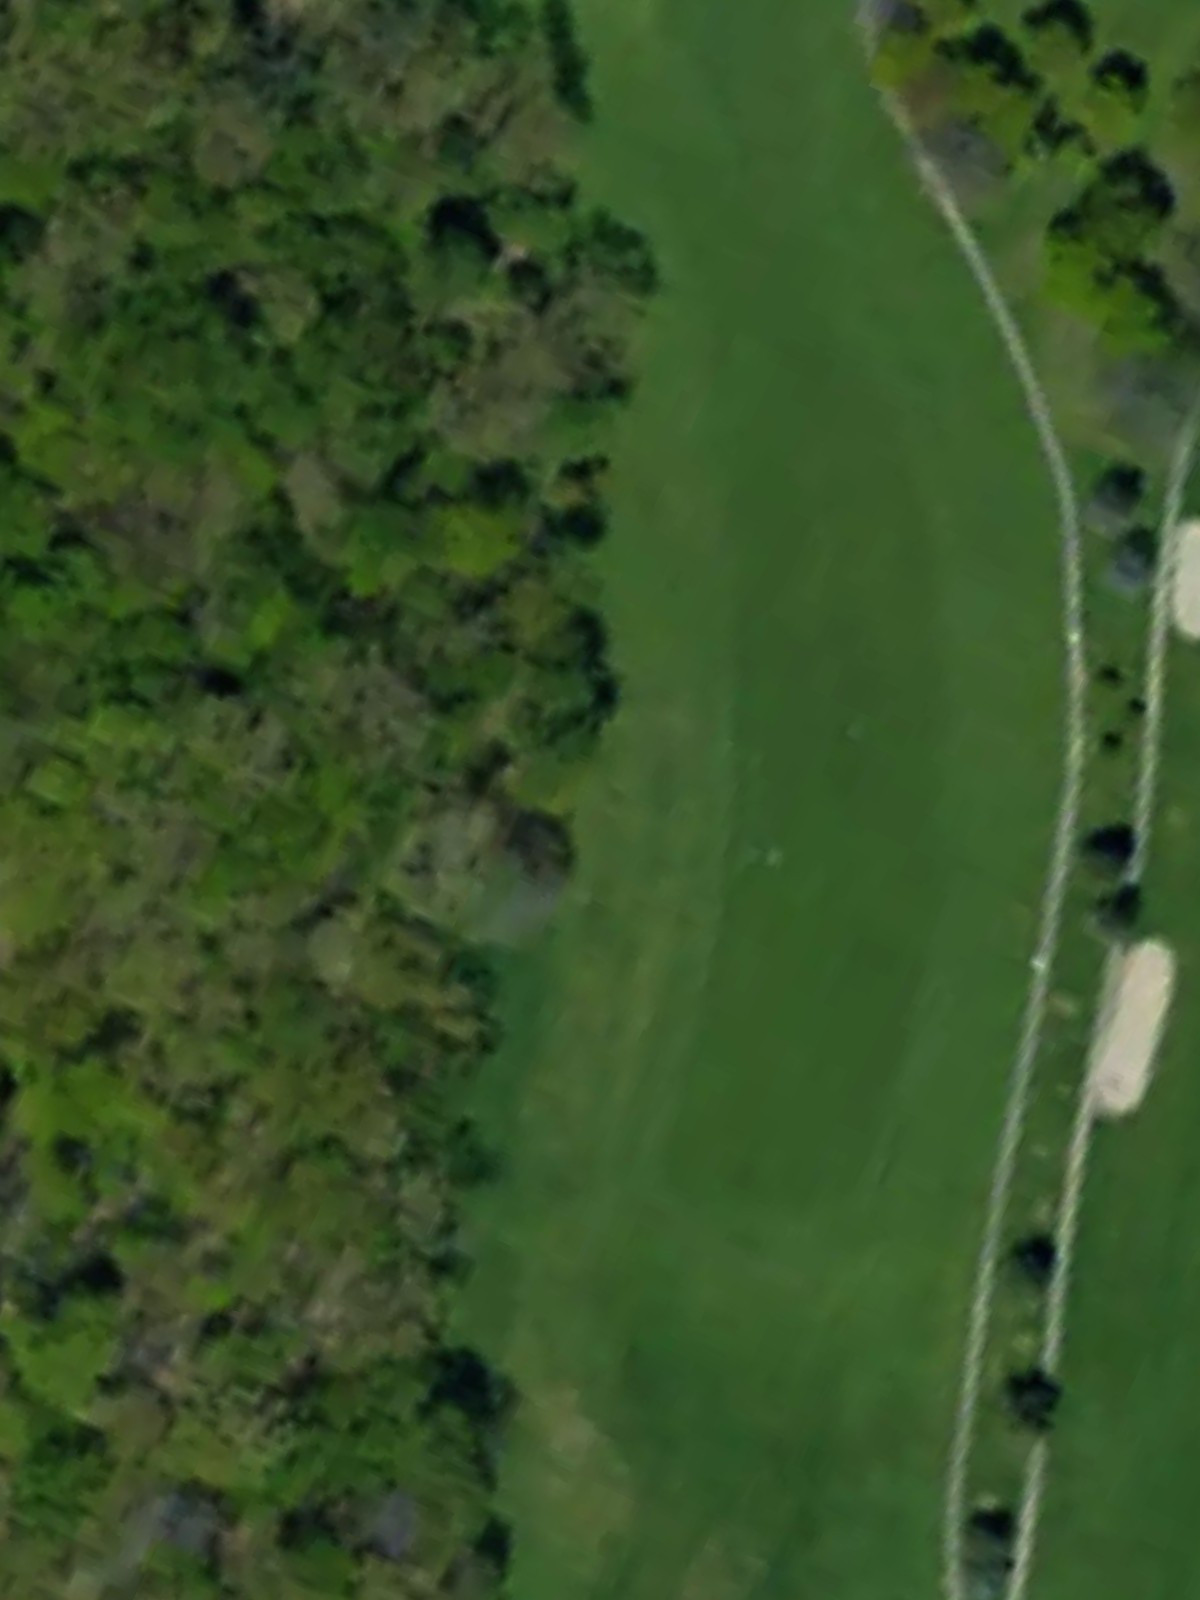
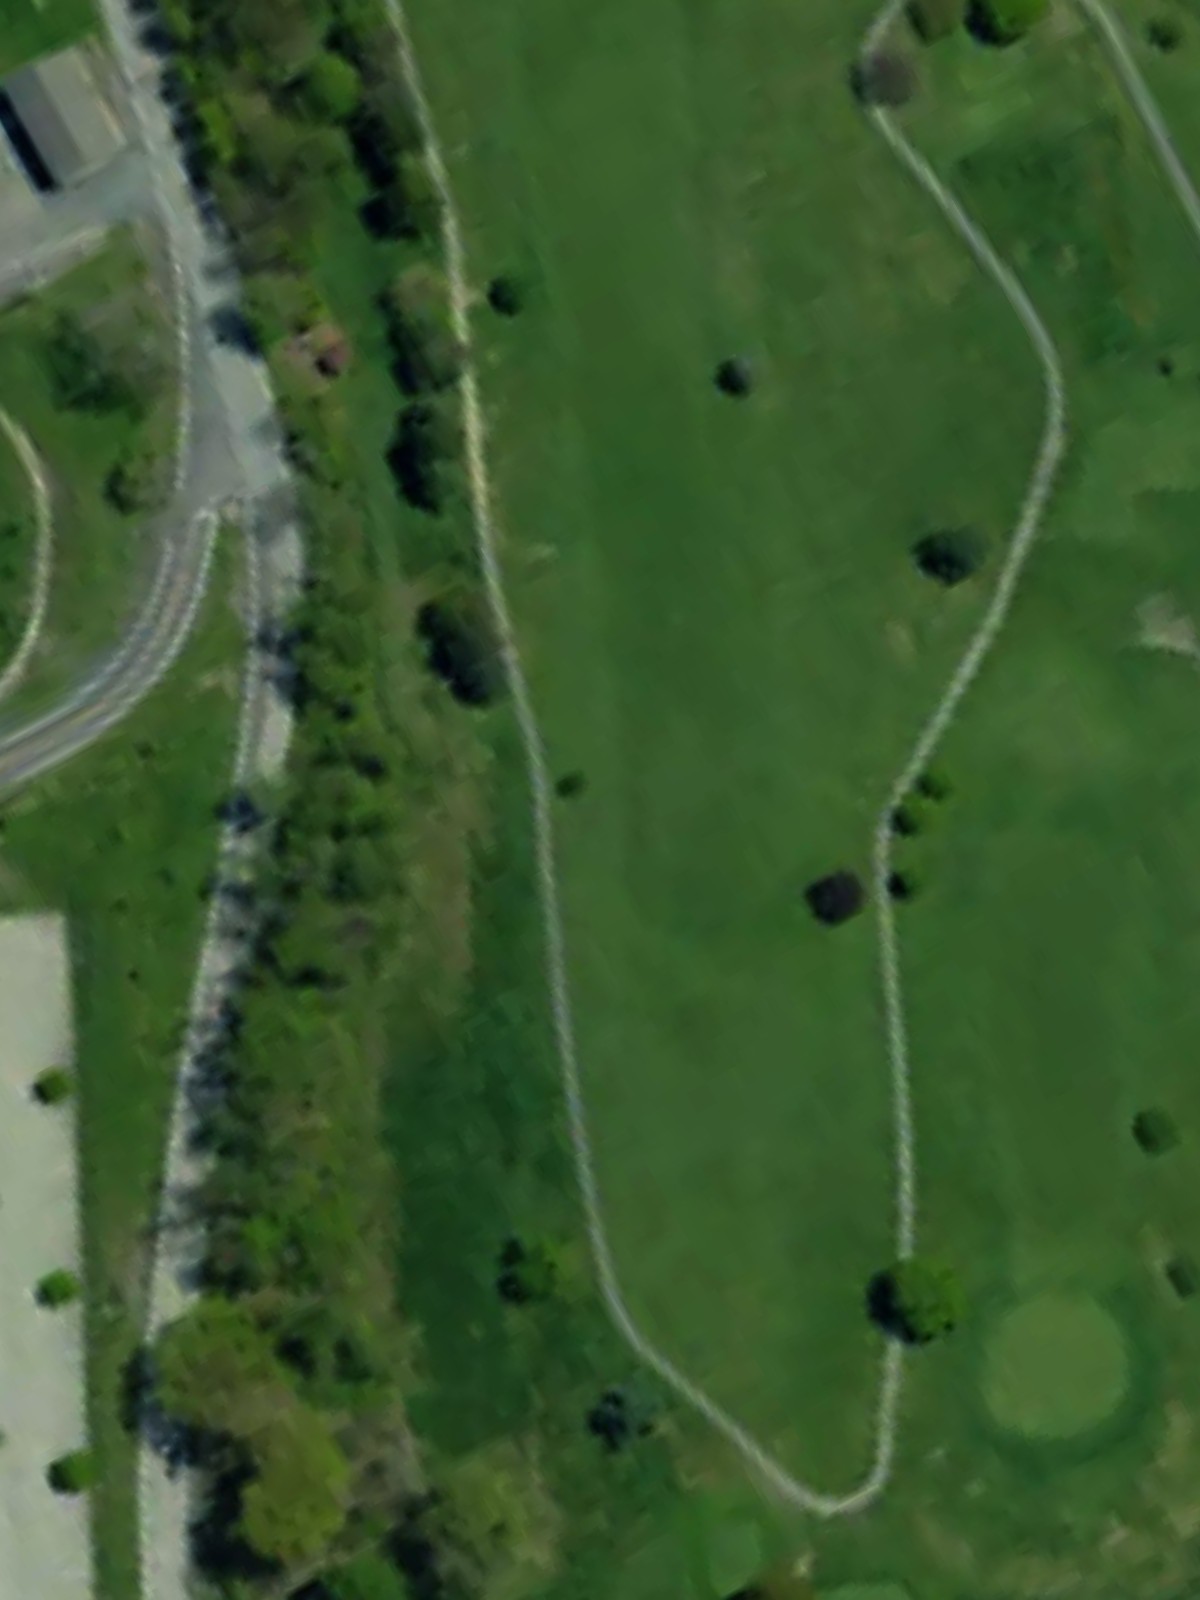
A short par 4 that plays downhill toward the green, offering a relatively forgiving layout with minimal hazards. The reduced length makes this an excellent scoring opportunity, though the slope of the green can make approach shots tricky.
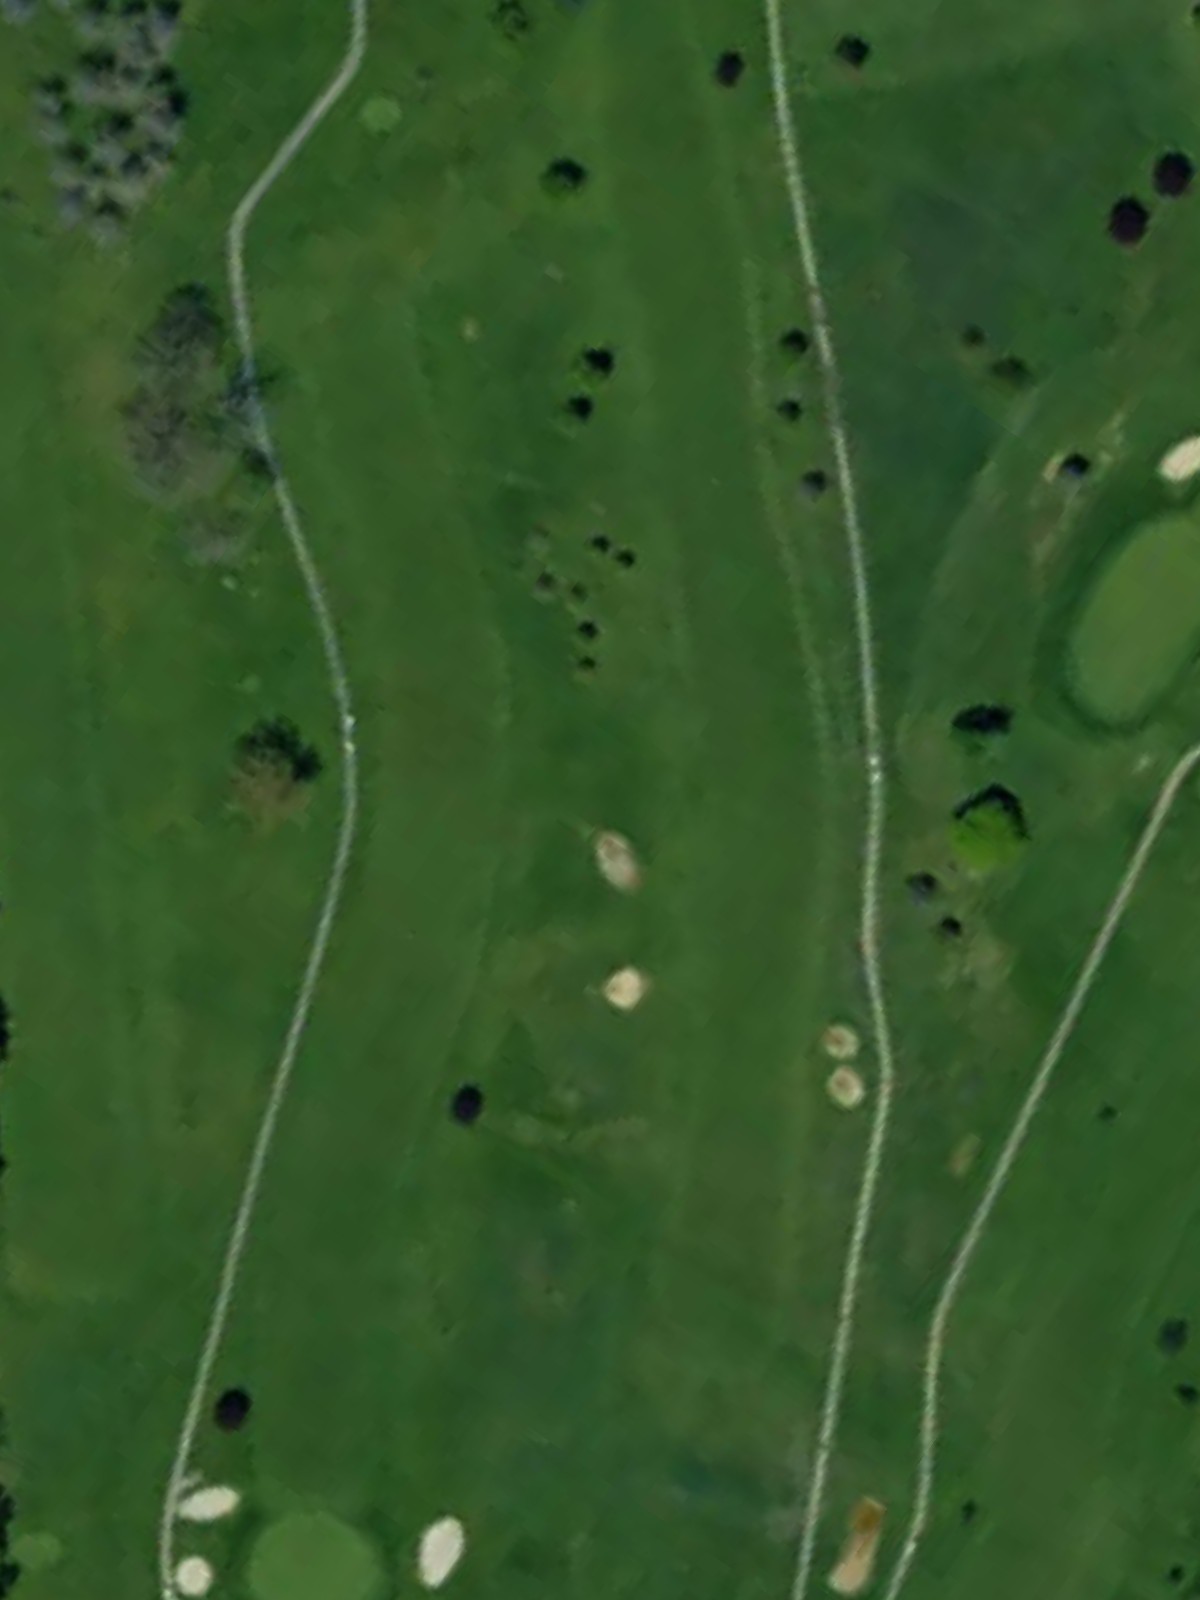
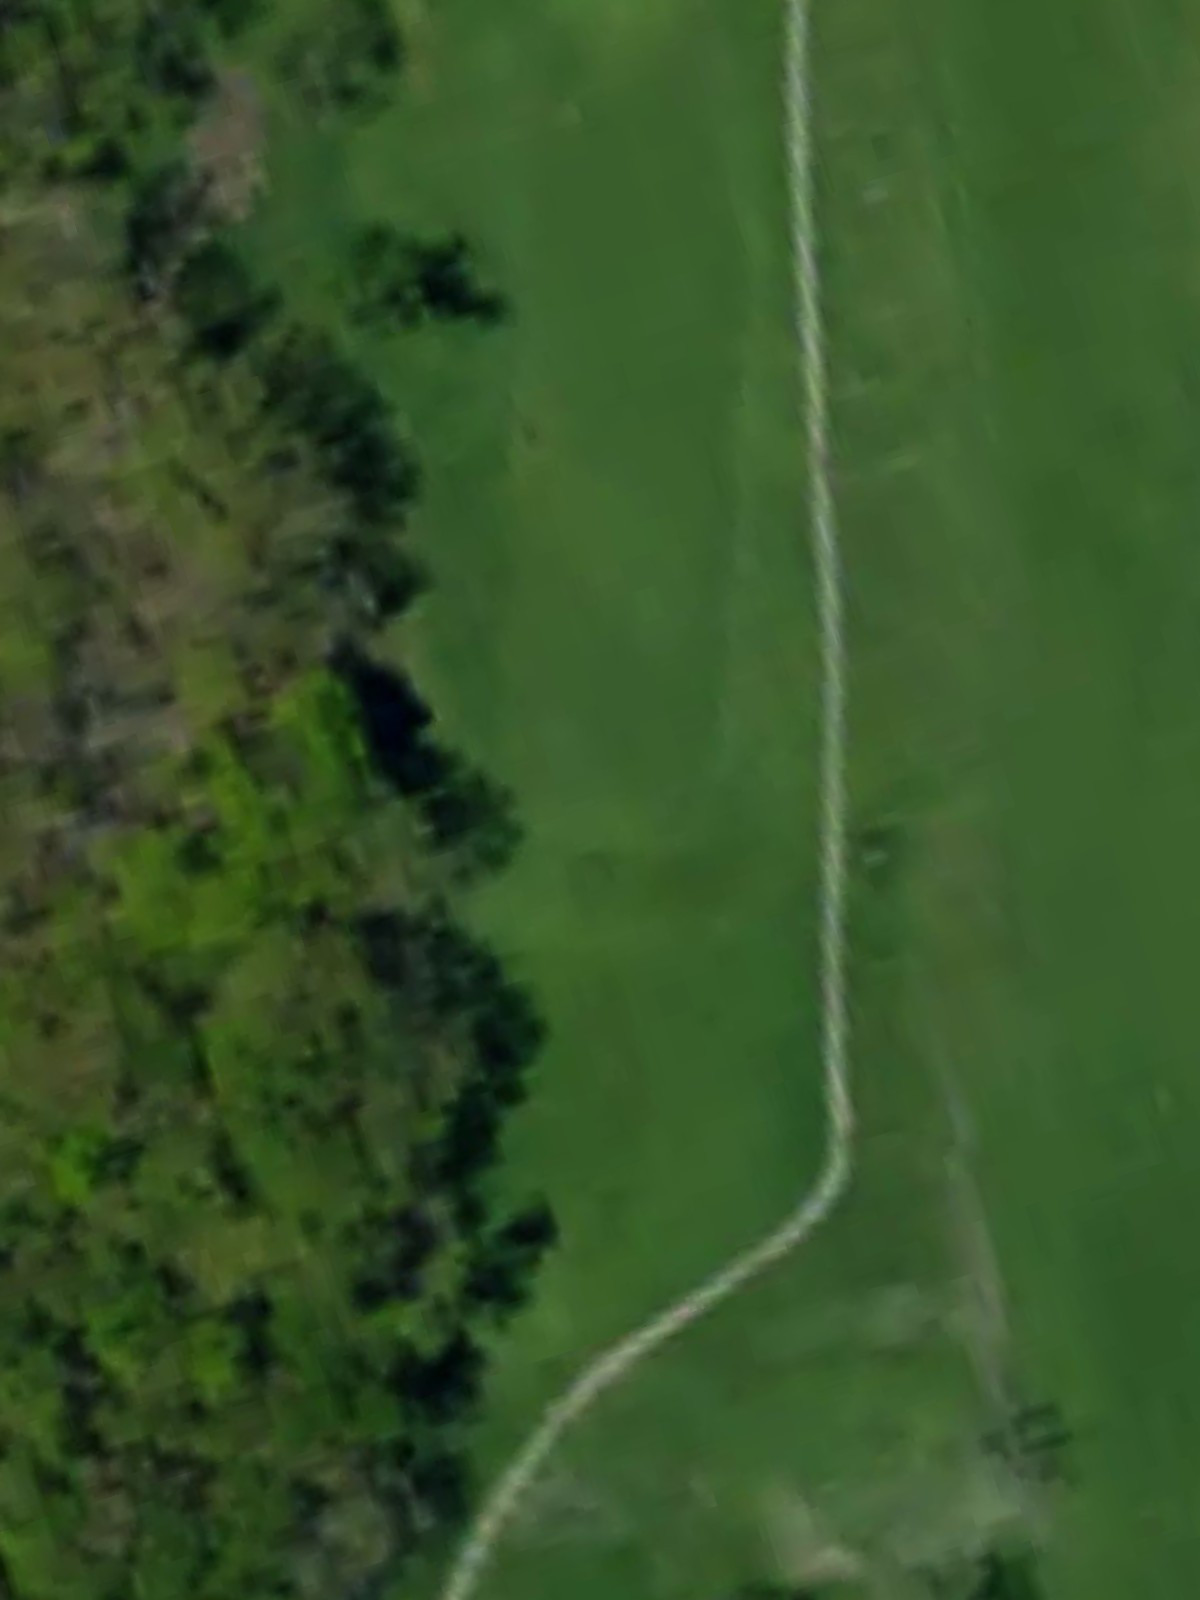
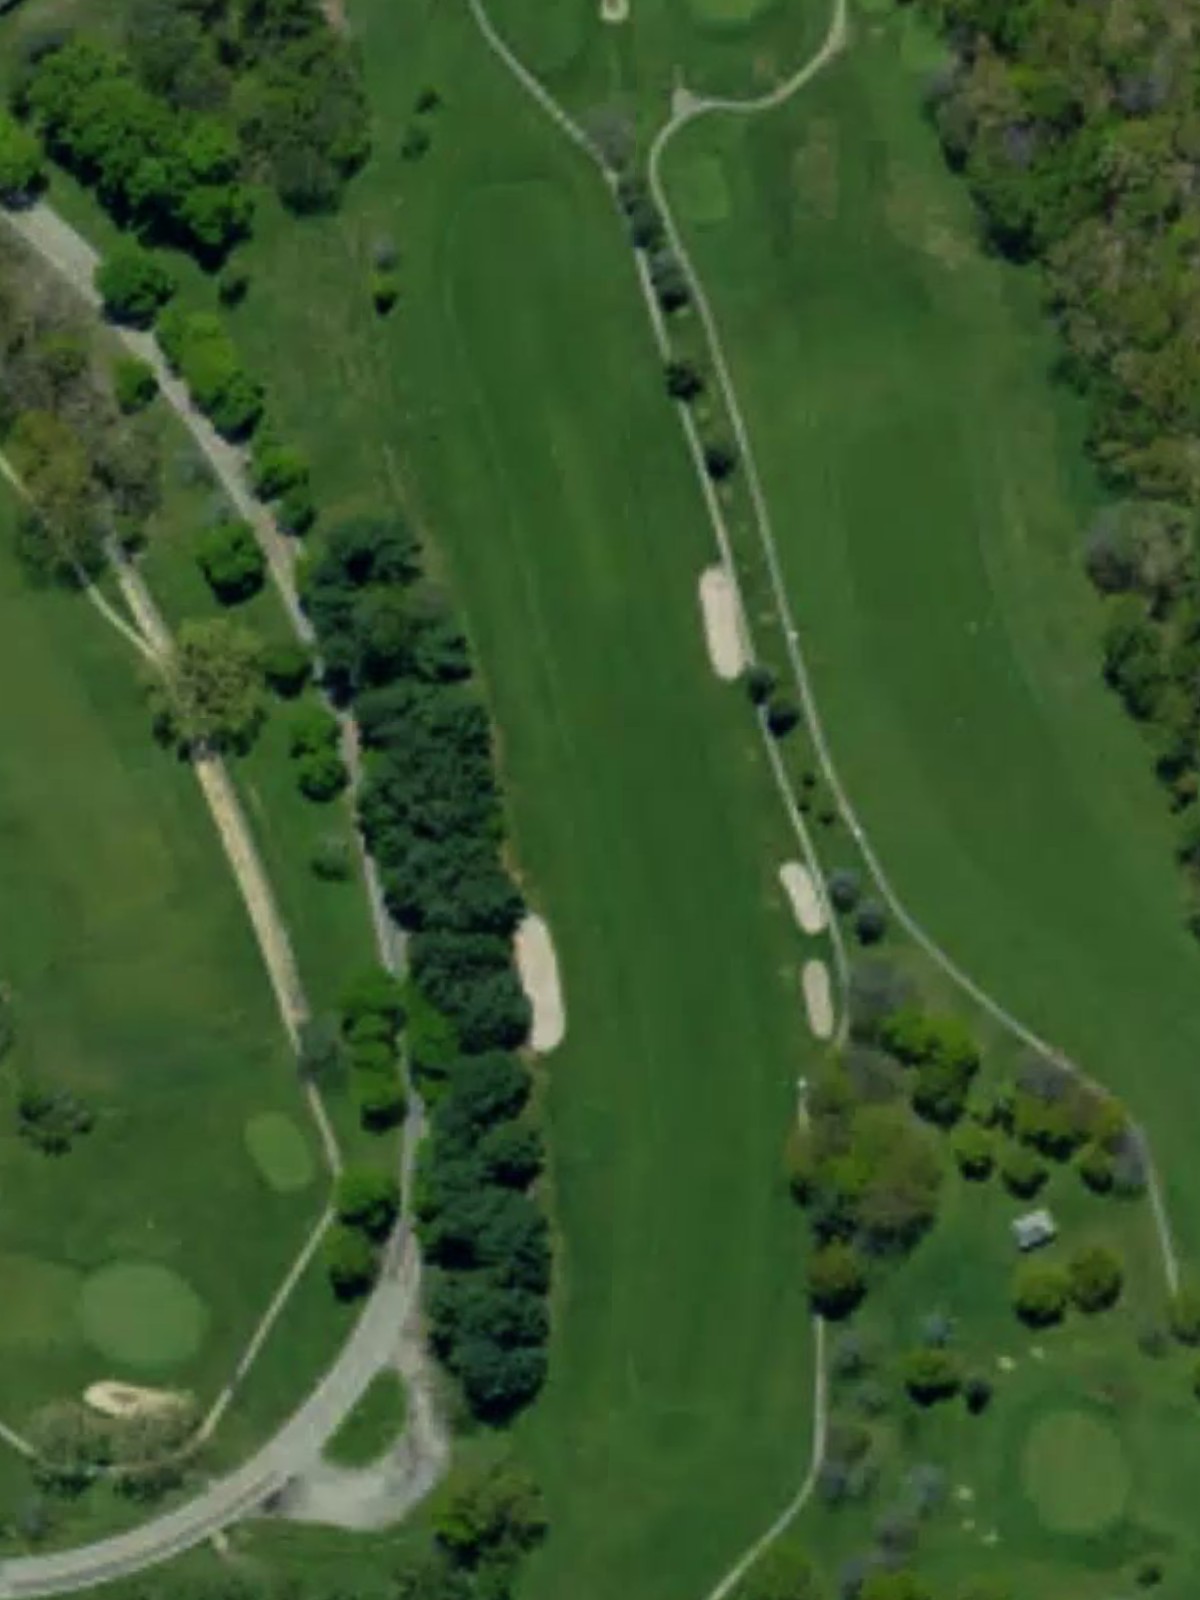
A straightforward par 3 over relatively short yardage with a clean, uncluttered green. This hole rewards solid contact and good distance control, with minimal trouble surrounding the putting surface.

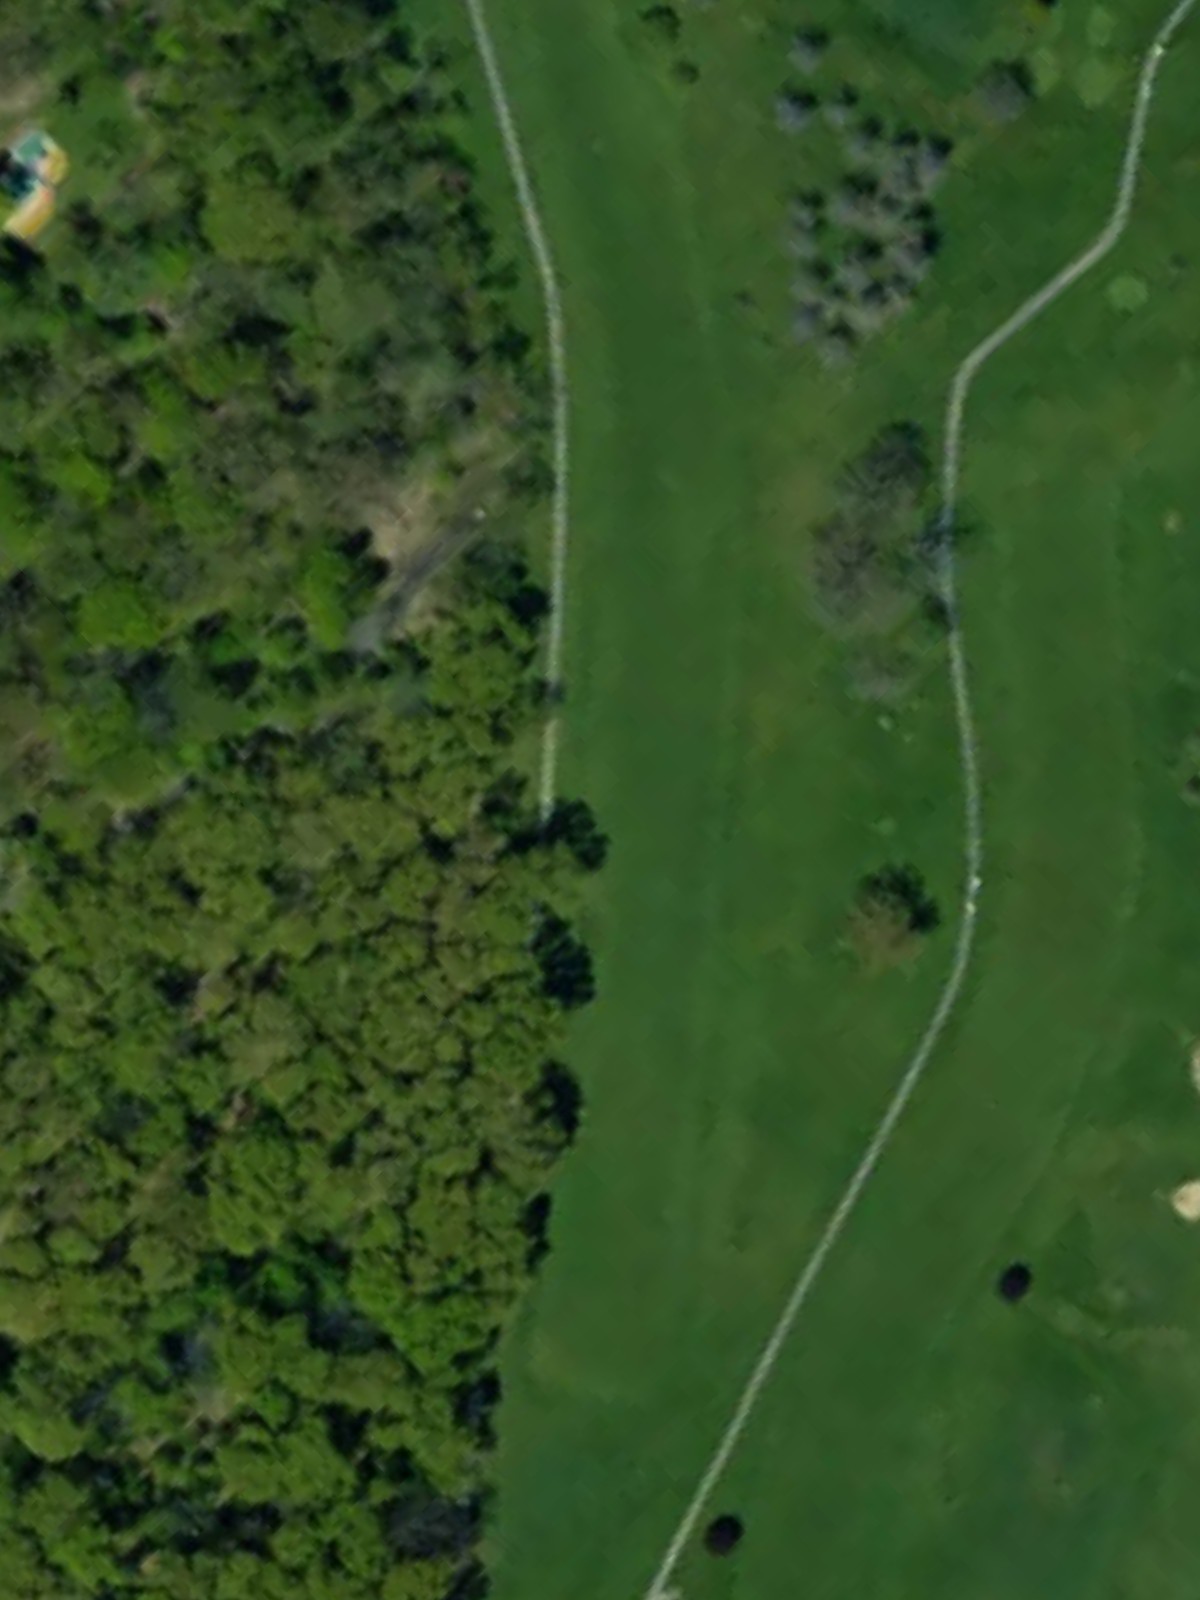
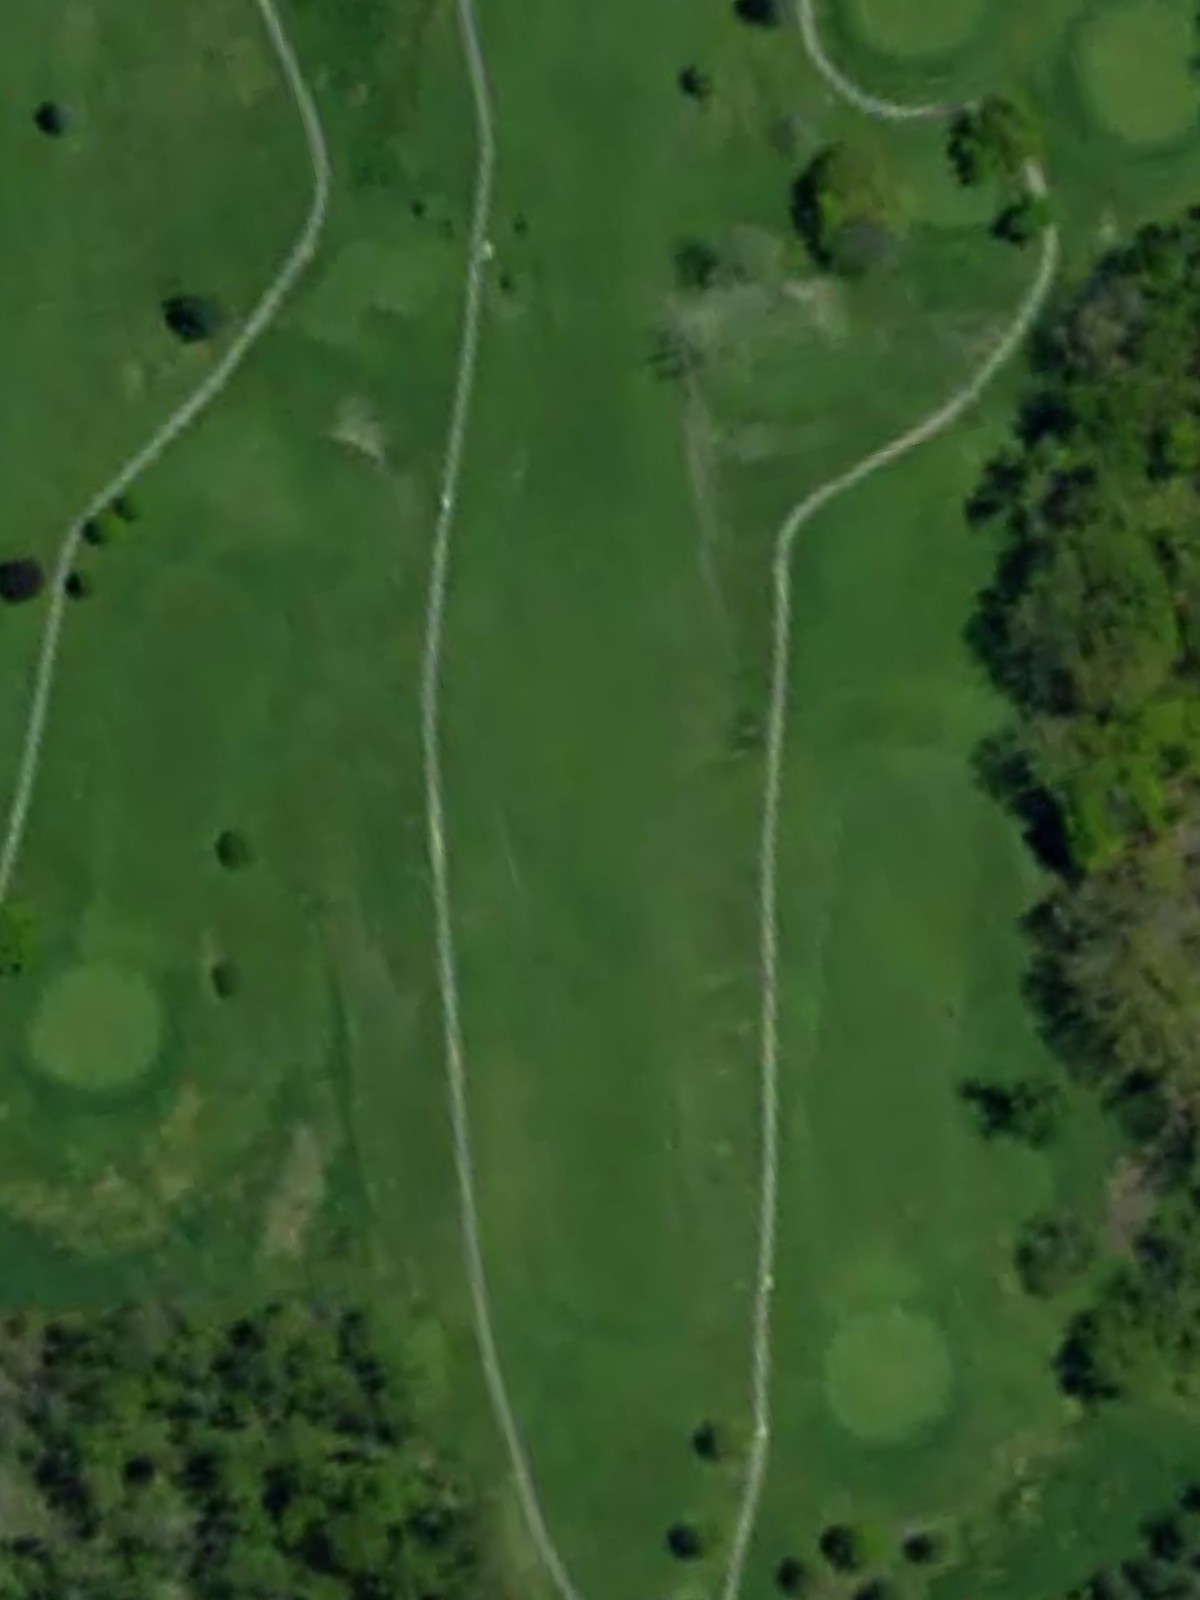
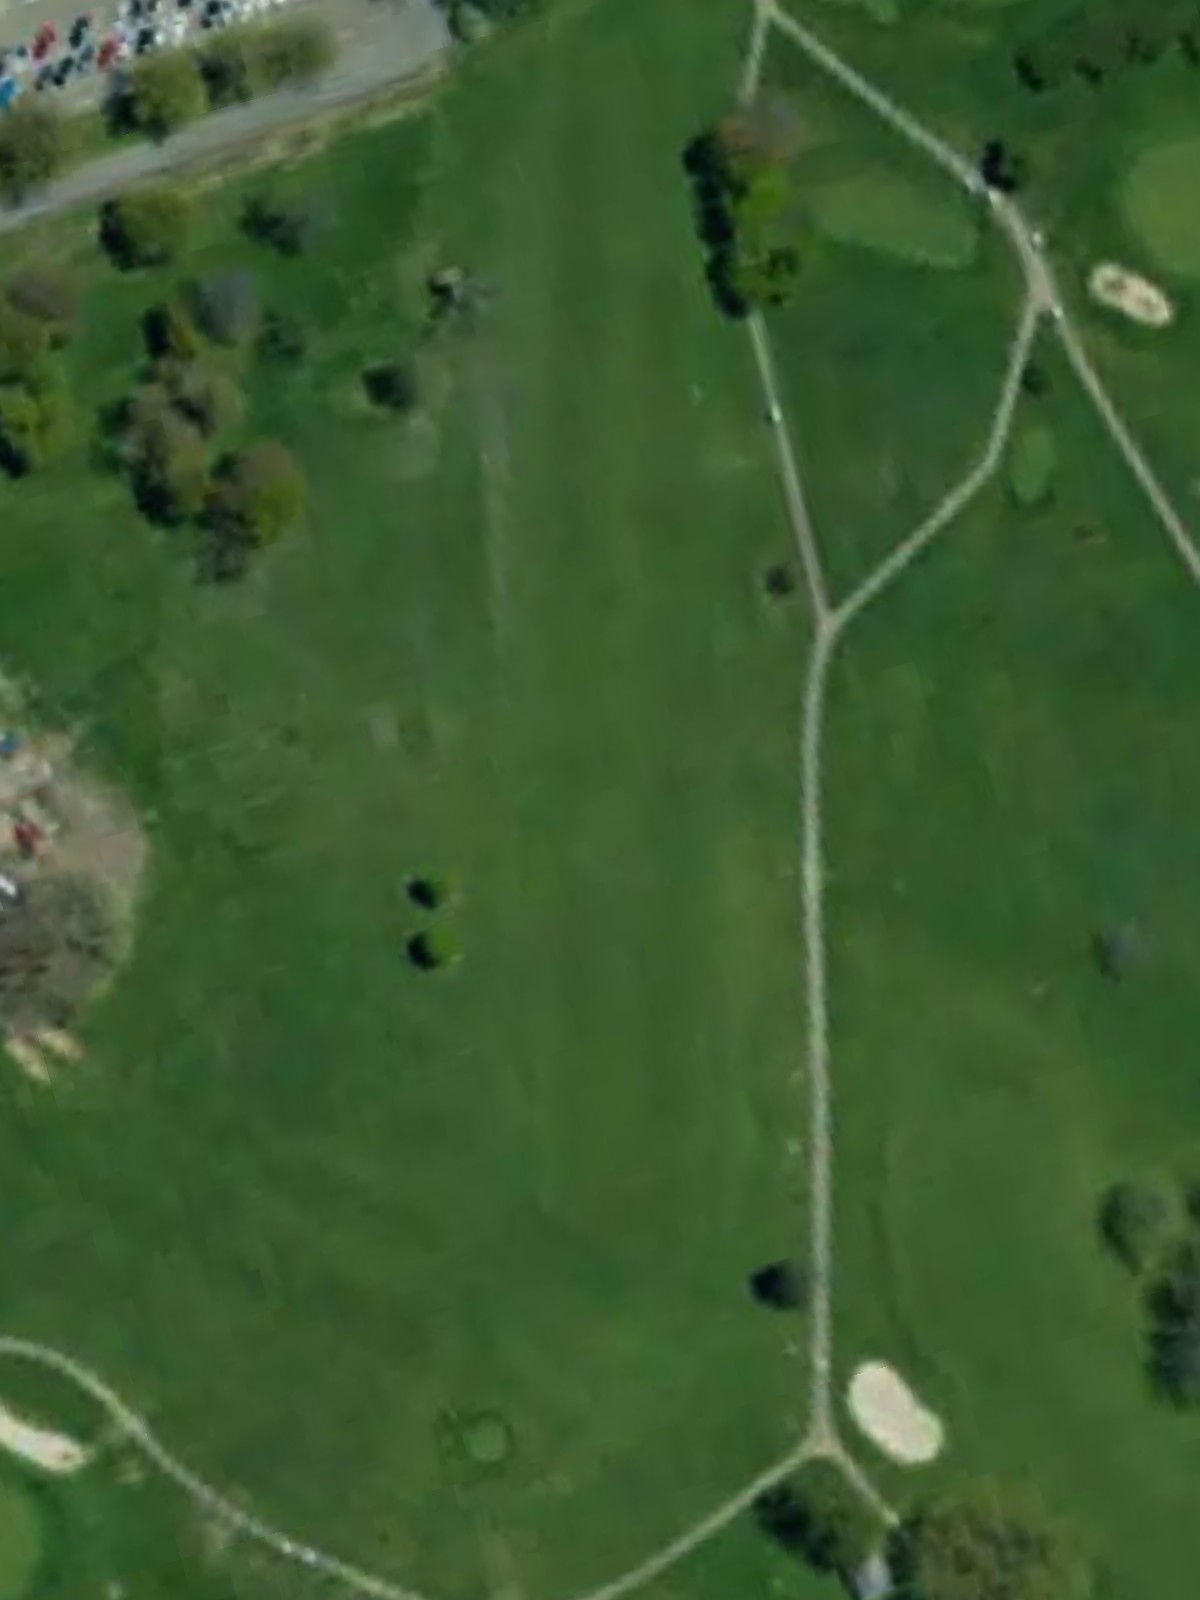
A mid-length par 4 with a fairway that tightens near the green, requiring controlled second shots. Strategic bunkering frames the landing areas, testing both accuracy off the tee and the ability to hit a precise approach.
A lengthy par 5 that demands power and precision over its full length, with the fairway requiring smart positioning on the second shot. The extended distance makes this the most demanding hole on the front nine, rewarding players who navigate strategically.

A compact par 4 that plays shorter than many on the course, offering an inviting target with a relatively open green complex. This short hole presents a genuine birdie opportunity despite modest length.
A strong par 5 with substantial yardage that requires careful management over three shots. The fairway shape and strategic hazard placement demand thoughtful shot selection to position for a productive approach to the green.
A mid-range par 3 that presents a straightforward target across clear space to a receptive green. While relatively short, the hole demands solid ball-striking to avoid the trouble surrounding the putting surface.
The most challenging hole on the front nine, this par 4 plays at substantial length and demands two strong, accurate shots to reach the green. The finishing hole tests overall course management and execution under pressure.
A straightforward par 4 with a wide-open fairway that gradually narrows as it approaches the green. Bunkers protect both sides of the green, demanding accuracy on the approach shot to find the putting surface cleanly.
A short par 4 that plays downhill toward the green, offering a relatively forgiving layout with minimal hazards. The reduced length makes this an excellent scoring opportunity, though the slope of the green can make approach shots tricky.
A straightforward par 3 over relatively short yardage with a clean, uncluttered green. This hole rewards solid contact and good distance control, with minimal trouble surrounding the putting surface.
A mid-length par 4 with a fairway that tightens near the green, requiring controlled second shots. Strategic bunkering frames the landing areas, testing both accuracy off the tee and the ability to hit a precise approach.
A lengthy par 5 that demands power and precision over its full length, with the fairway requiring smart positioning on the second shot. The extended distance makes this a premium test, rewarding players who navigate strategically.
A compact par 4 that plays shorter than many on the course, offering an inviting target with a relatively open green complex. This short hole presents a genuine birdie opportunity despite modest length.
A strong par 5 with substantial yardage that requires careful management over three shots. The fairway shape and strategic hazard placement demand thoughtful shot selection to position for a productive approach to the green.
A mid-range par 3 that presents a straightforward target across clear space to a receptive green. While relatively short, the hole demands solid ball-striking to avoid the trouble surrounding the putting surface.
The most challenging hole on the back nine, this par 4 plays at substantial length and demands two strong, accurate shots to reach the green. The closing hole tests overall course management and execution under pressure.
Scorecard
| Hole | 1 | 2 | 3 | 4 | 5 | 6 | 7 | 8 | 9 | Out | 10 | 11 | 12 | 13 | 14 | 15 | 16 | 17 | 18 | In | Tot |
|---|---|---|---|---|---|---|---|---|---|---|---|---|---|---|---|---|---|---|---|---|---|
| Par | 4 | 4 | 3 | 4 | 5 | 4 | 5 | 3 | 4 | 36 | 4 | 4 | 3 | 4 | 5 | 4 | 5 | 3 | 4 | 36 | 72 |
| HCP | 8 | 12 | 18 | 14 | 4 | 10 | 6 | 16 | 2 | 7 | 11 | 17 | 13 | 3 | 9 | 5 | 15 | 1 | |||
| blue | 314 | 290 | 164 | 312 | 461 | 258 | 454 | 177 | 396 | 2826 | 314 | 290 | 164 | 312 | 461 | 258 | 454 | 177 | 396 | 2826 | 5652 |
| white | 308 | 283 | 156 | 308 | 442 | 264 | 400 | 174 | 394 | 2729 | 308 | 283 | 156 | 308 | 442 | 264 | 400 | 174 | 394 | 2729 | 5458 |
| gold | 299 | 276 | 152 | 304 | 396 | 263 | 352 | 171 | 387 | 2600 | 299 | 276 | 152 | 304 | 396 | 263 | 352 | 171 | 387 | 2600 | 5200 |
| red | 293 | 255 | 152 | 304 | 388 | 264 | 344 | 166 | 384 | 2550 | 293 | 255 | 152 | 304 | 388 | 264 | 344 | 166 | 384 | 2550 | 5100 |