Souris Valley Golf Course is an 18-hole golf course in Minot, ND with a par of 72. It offers 2 tee sets: blue (6,429 yards, slope 121, rating 71.1), white (5,760 yards, slope 115, rating 68). The hardest hole is #5, a par 4 playing 416 yards from the first tee.
Souris Valley Golf Course
Minot, ND
Get PDF Yardage Book
We'll email you the PDF link. No spam, ever.
Create Your Game Plan
Pick your tees, enter your bag, and get a personalized shot-by-shot strategy for every hole.
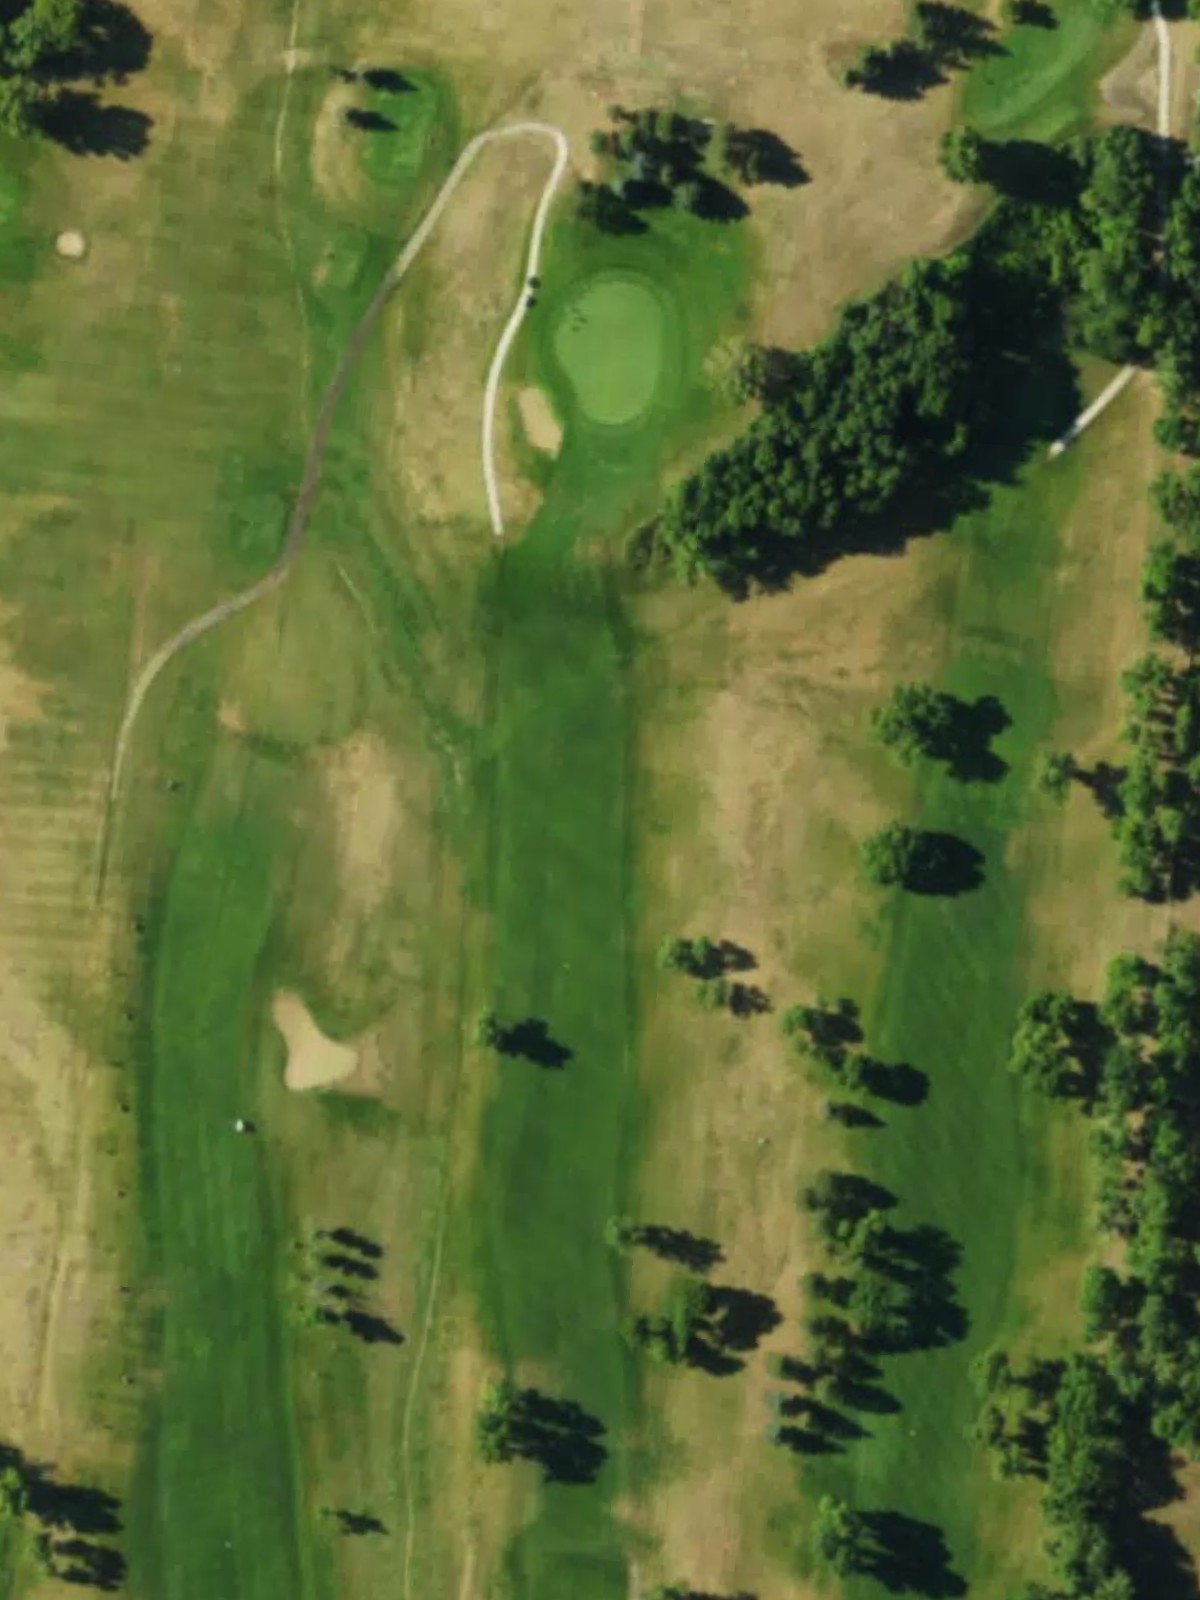
A straightforward par 4 that plays true to its length with a fairway that gradually narrows as it approaches the green. Bunkers flank both sides of the green, demanding accuracy on the approach shot to avoid sand play.
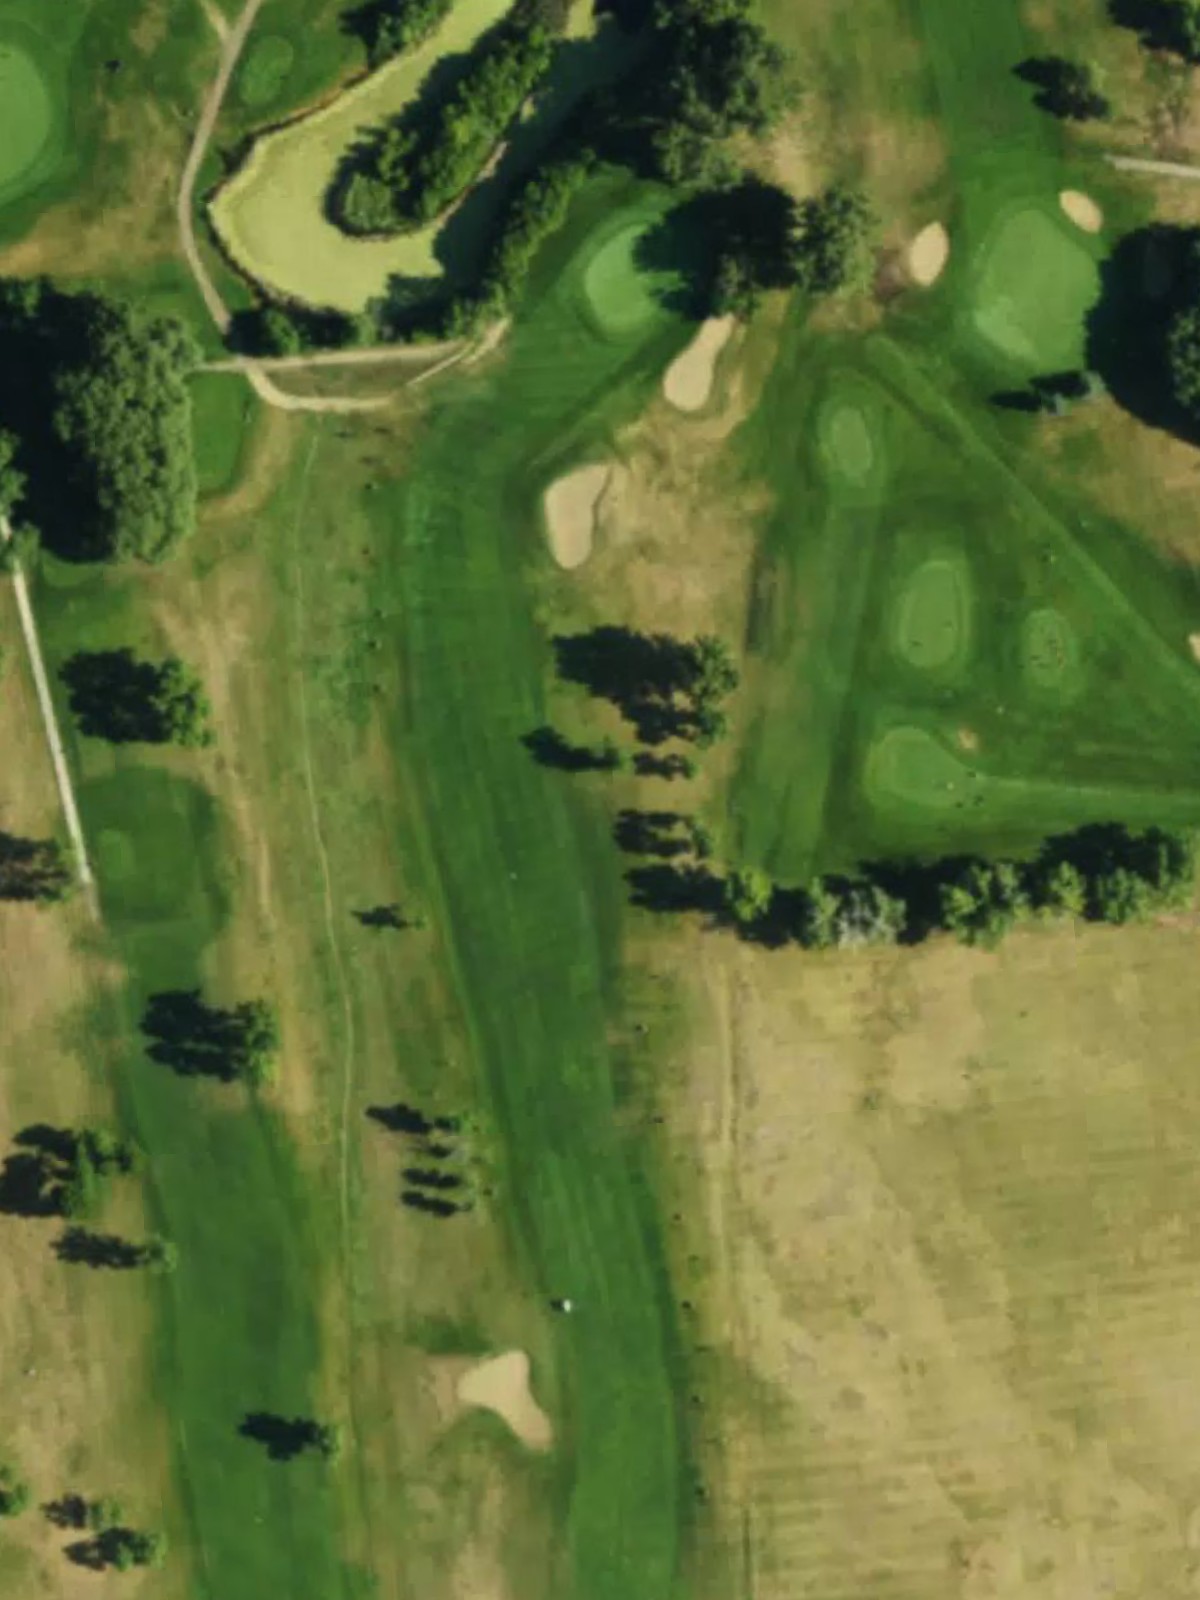
A long par 5 with a wide fairway that allows room for the opening shot. Water hazards come into play left of the fairway on the approach, requiring careful positioning for the second shot before a final attempt to reach the three-shot green.
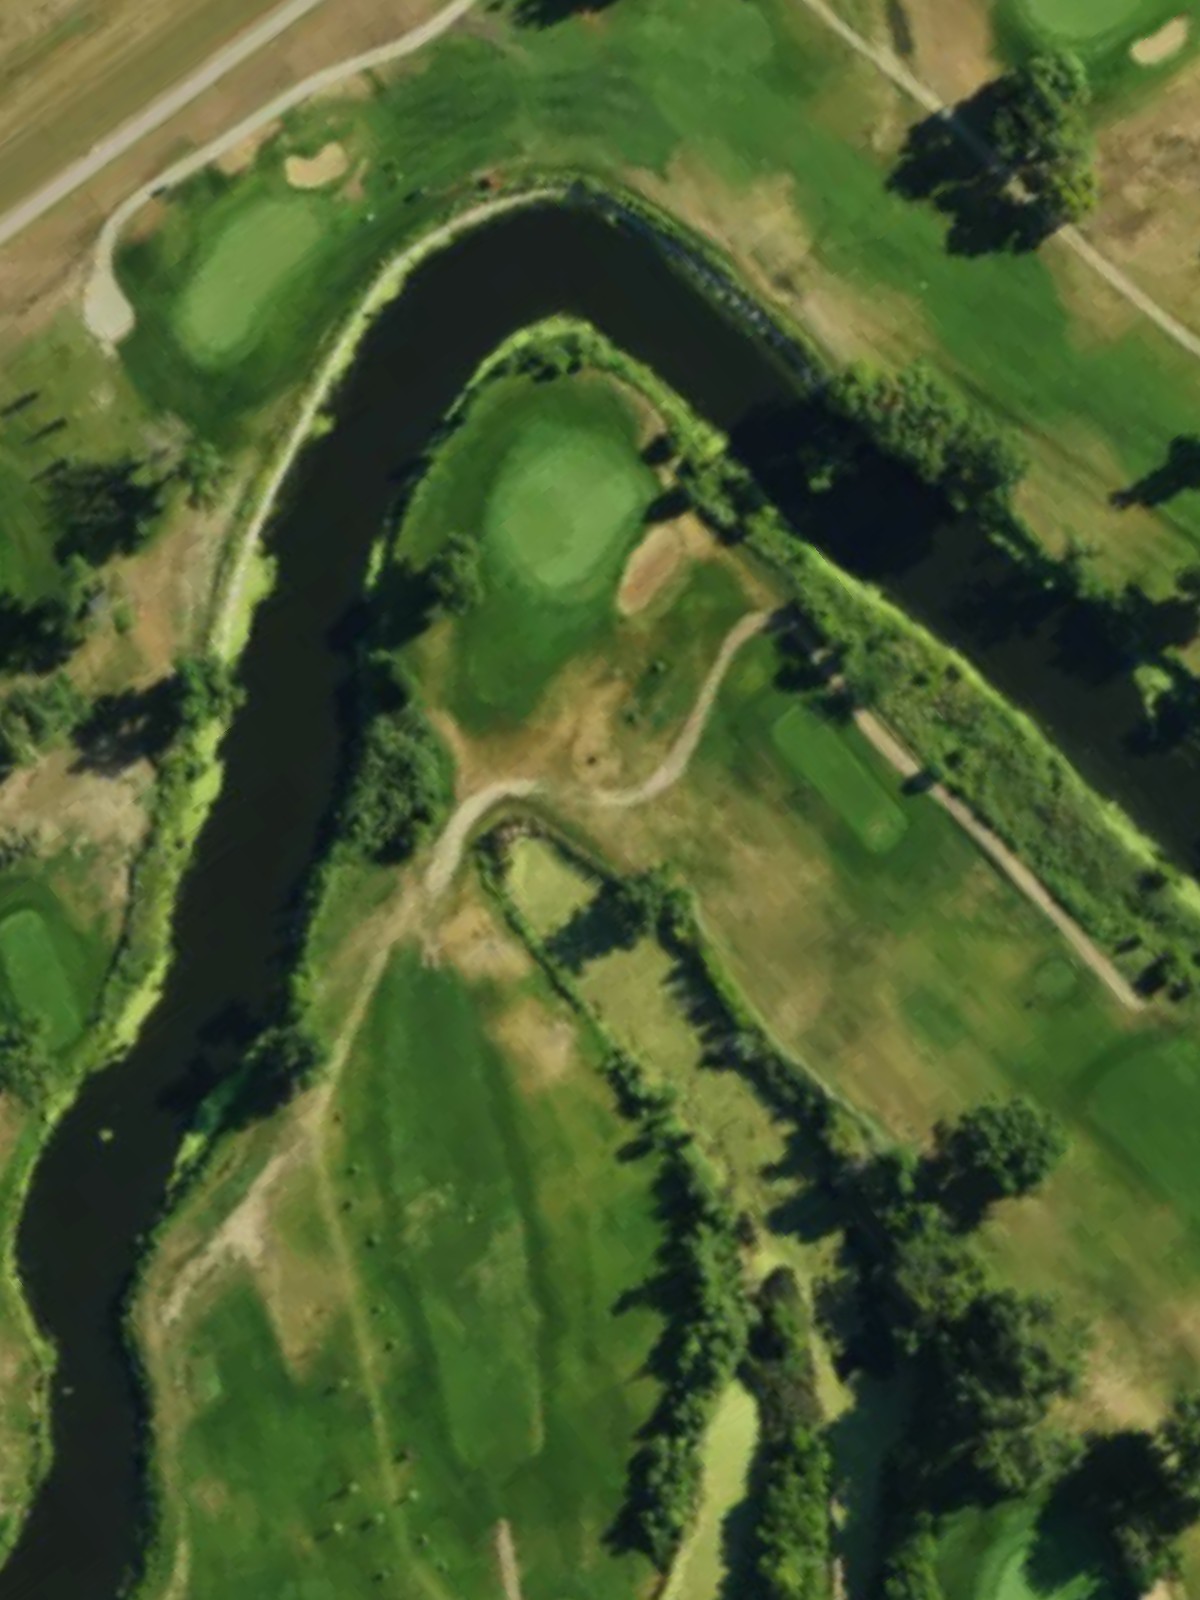
A short par 4 that belies its modest length with strategic hazard placement. Bunkers guard the left side of the fairway and frame the green, making precision more valuable than distance on this deceptive hole.
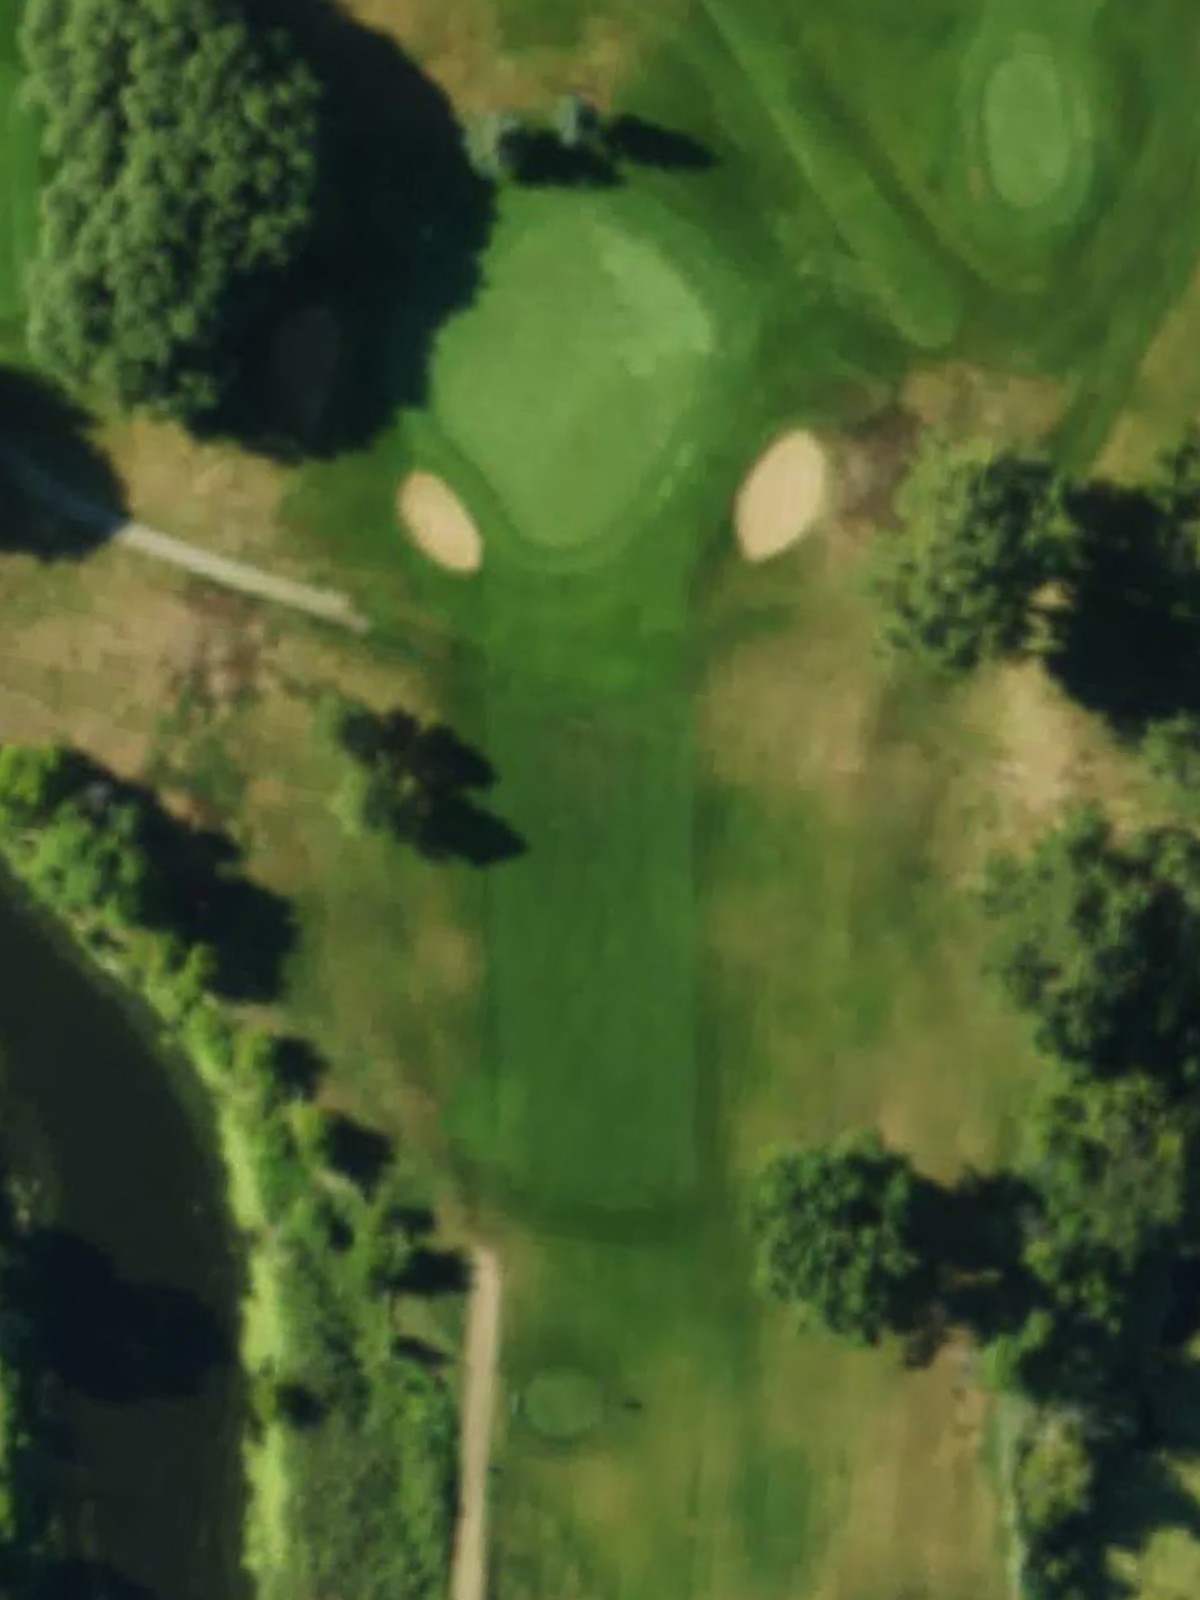
A brief par 3 over relatively open terrain to a well-bunkered green. The hazards surrounding the putting surface punish wayward shots, making club selection and accuracy paramount for this straightforward one-shotter.
The course's most challenging par 4, this hole demands two solid shots with no margin for error. Out of bounds lurks along one side of the fairway, while hazards near the green demand a precise approach to a severely protected putting surface.
A generous par 5 that opens with a wide fairway before narrowing on the approach. Strategic bunkering around the green and potential water hazards on the left side require thoughtful routing for the second and third shots.
A relatively short par 4 with a straightforward layout that relies on its narrow fairway to create challenge. Bunkers frame the green tightly, leaving little room for error on the approach despite the modest yardage.
A mid-length par 3 with a open approach to the green over level ground. Bunkers guard the left and right sides of the green, making this a straightforward test that rewards directional accuracy over distance.
The second-hardest hole on the course, this par 4 requires two quality shots with little forgiveness. Hazards frame the fairway and surround the green, leaving no safe miss on this demanding finishing hole for the front nine.
A solid par 4 with a fairway that plays relatively straight before widening near the green. Bunkers positioned strategically around the green demand a well-executed approach, though the fairway offers reasonable landing area for the tee shot.

The easiest hole on the course, this par 5 features a wide fairway and forgiving layout. The generous routing and minimal hazarding make this a birdie opportunity despite the length, offering a brief reprieve in the back nine.
A strong par 4 and the fourth-most difficult on the course, featuring a fairway that demands precision off the tee. Hazards frame the green on multiple sides, requiring an accurate approach to avoid trouble around a well-protected putting surface.
A mid-length par 3 with a straightforward approach to an open green. Bunkers positioned left and right of the green create a focal point for defense, testing the golfer's ability to find the center of the putting surface.
The second-hardest hole on the course, this par 4 requires precision and power in equal measure. Hazards penalize both sides of the fairway and guard the green aggressively, leaving little room for recovery on this demanding test.
A lengthy par 5 with a wide fairway that provides room for positioning the first two shots. Water hazards left and bunkers right around the green protect the putting surface, requiring strategic navigation through all three shots.
A short par 4 with a narrow fairway that demands accuracy off the tee despite the reduced length. Bunkers flank the green tightly, leaving minimal margin for error and making this a precision test rather than a power hole.
A brief par 3 played over open terrain to a relatively accessible green. Light bunkering around the green allows for some forgiveness, making this a gentler par 3 that offers a momentary respite before the demanding closing hole.
A fitting finisher, this par 4 demands two quality shots with hazards framing both the fairway and green. Bunkers guard the approaches left and right, creating a climactic challenge to close out the round at Souris Valley Golf Course.
Scorecard
| Hole | 1 | 2 | 3 | 4 | 5 | 6 | 7 | 8 | 9 | Out | 10 | 11 | 12 | 13 | 14 | 15 | 16 | 17 | 18 | In | Tot |
|---|---|---|---|---|---|---|---|---|---|---|---|---|---|---|---|---|---|---|---|---|---|
| Par | 4 | 5 | 4 | 3 | 4 | 5 | 4 | 3 | 4 | 36 | 4 | 5 | 4 | 3 | 4 | 5 | 4 | 3 | 4 | 36 | 72 |
| HCP | 5 | 7 | 15 | 17 | 1 | 9 | 11 | 13 | 3 | 8 | 18 | 4 | 10 | 2 | 14 | 12 | 16 | 6 | |||
| blue | 394 | 519 | 325 | 155 | 416 | 524 | 332 | 169 | 380 | 3214 | 376 | 485 | 380 | 183 | 387 | 507 | 324 | 174 | 399 | 3215 | 6429 |
| white | 364 | 440 | 306 | 148 | 362 | 403 | 268 | 151 | 337 | 2779 | 344 | 473 | 363 | 179 | 332 | 475 | 303 | 159 | 353 | 2981 | 5760 |