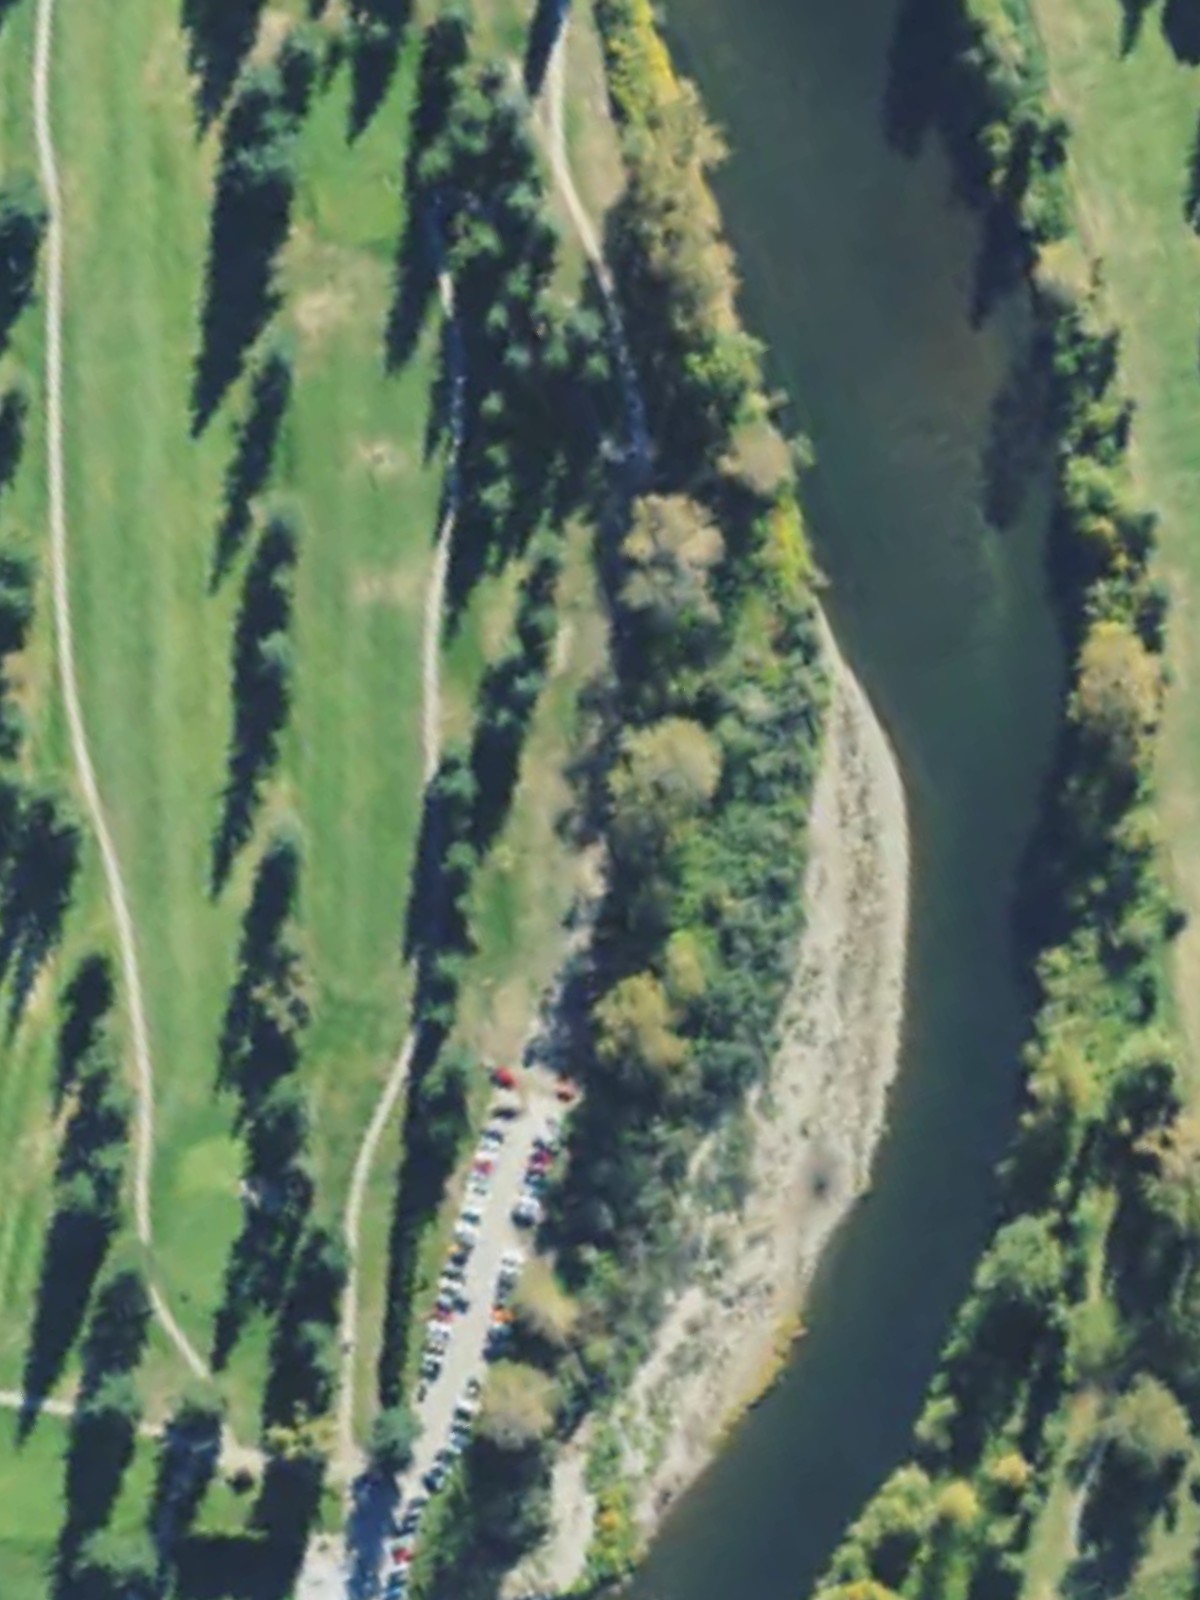
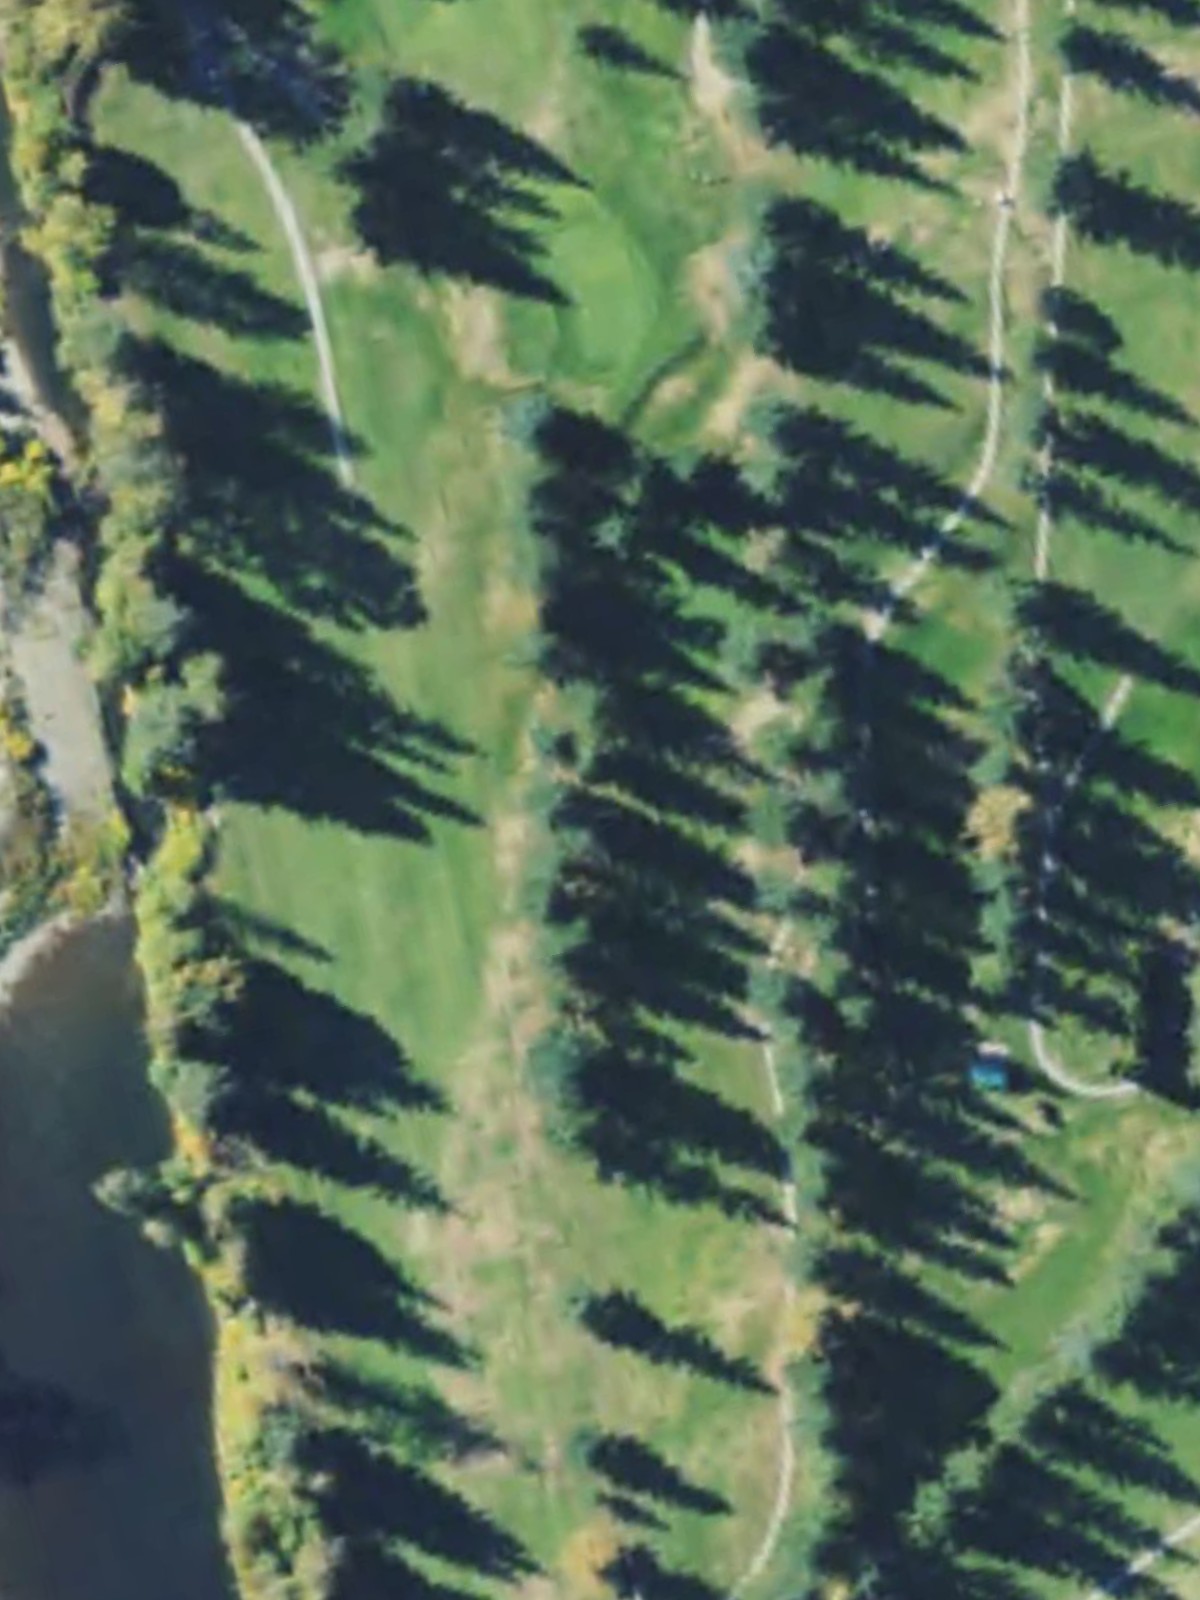
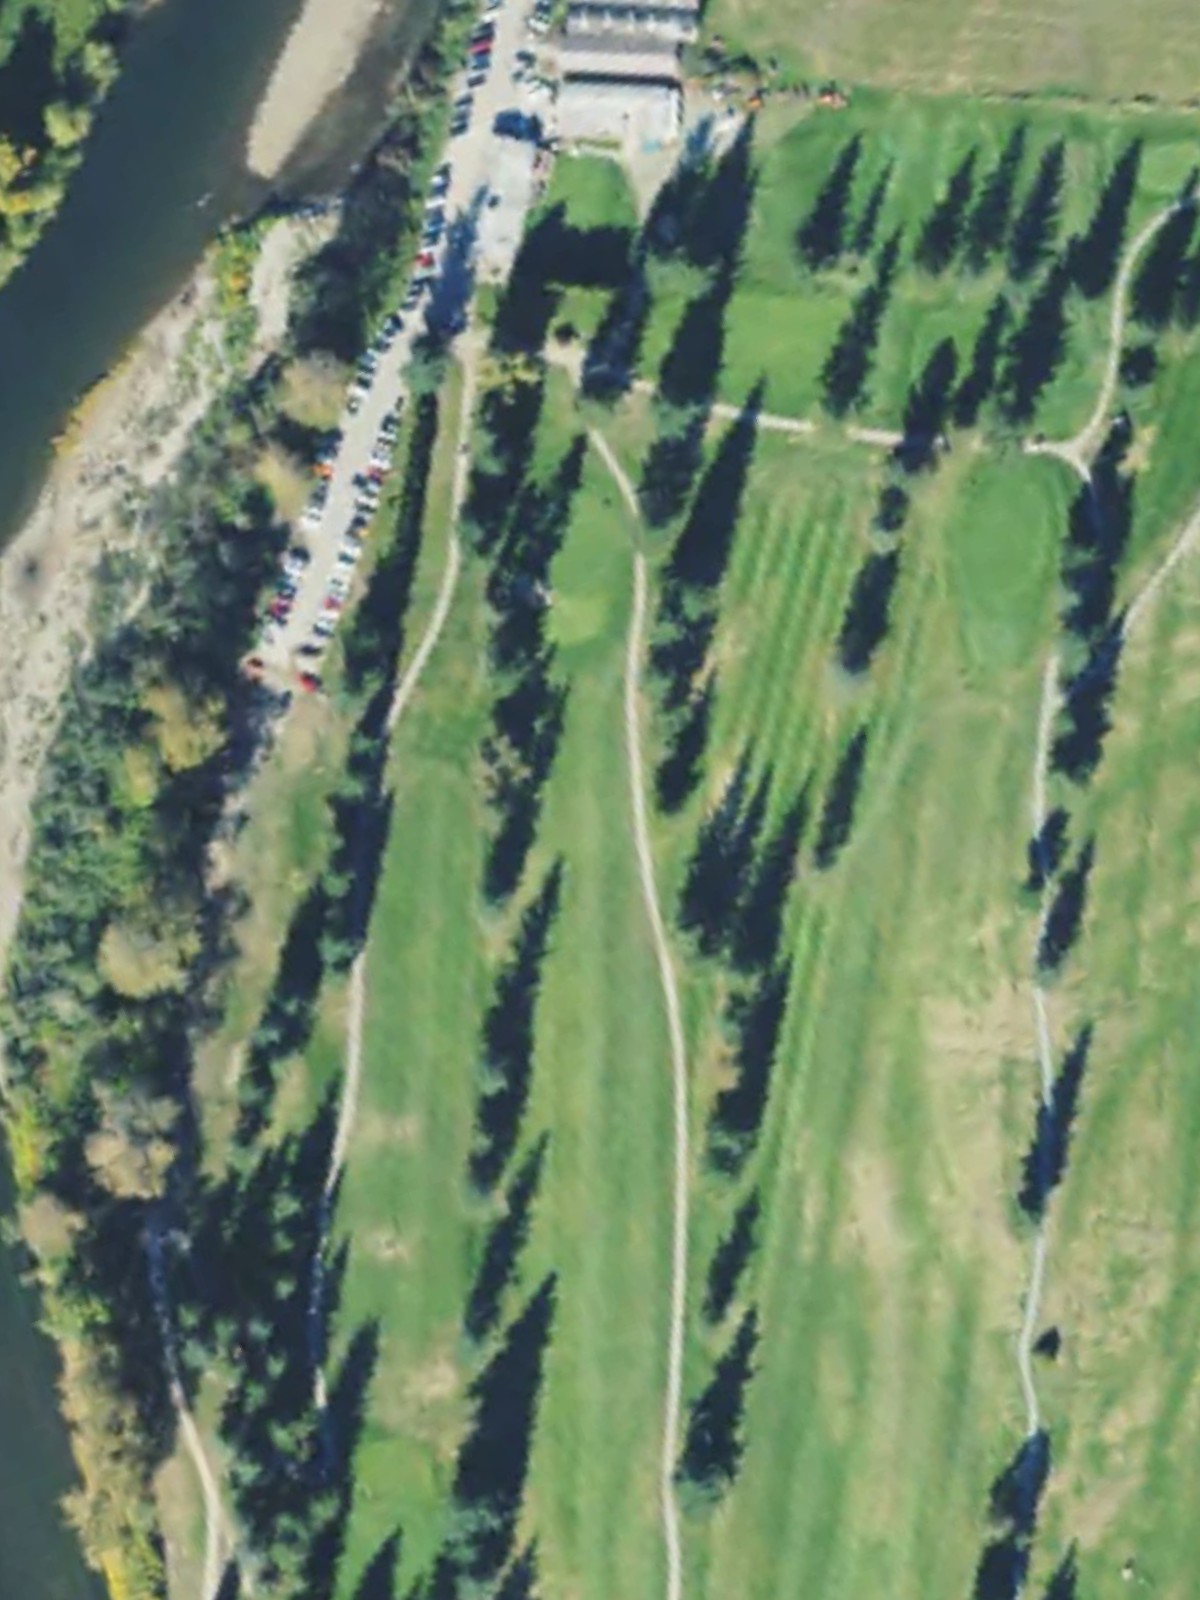
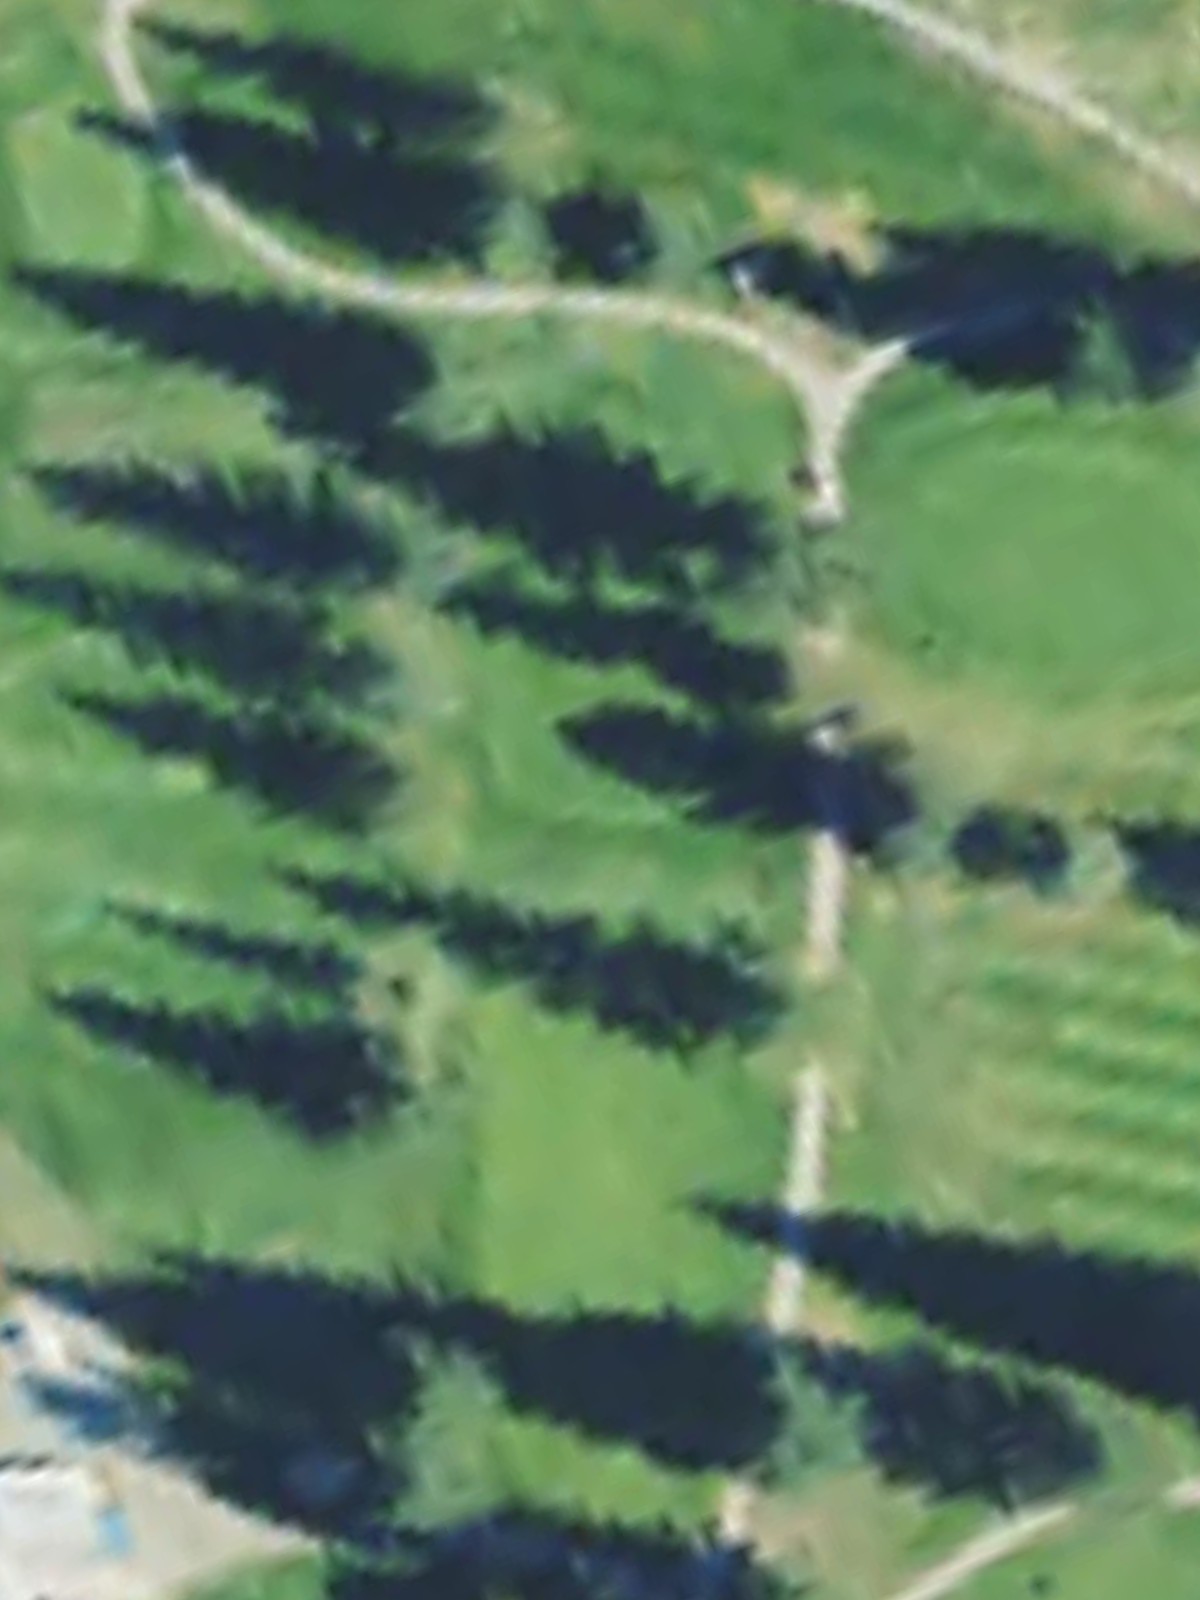
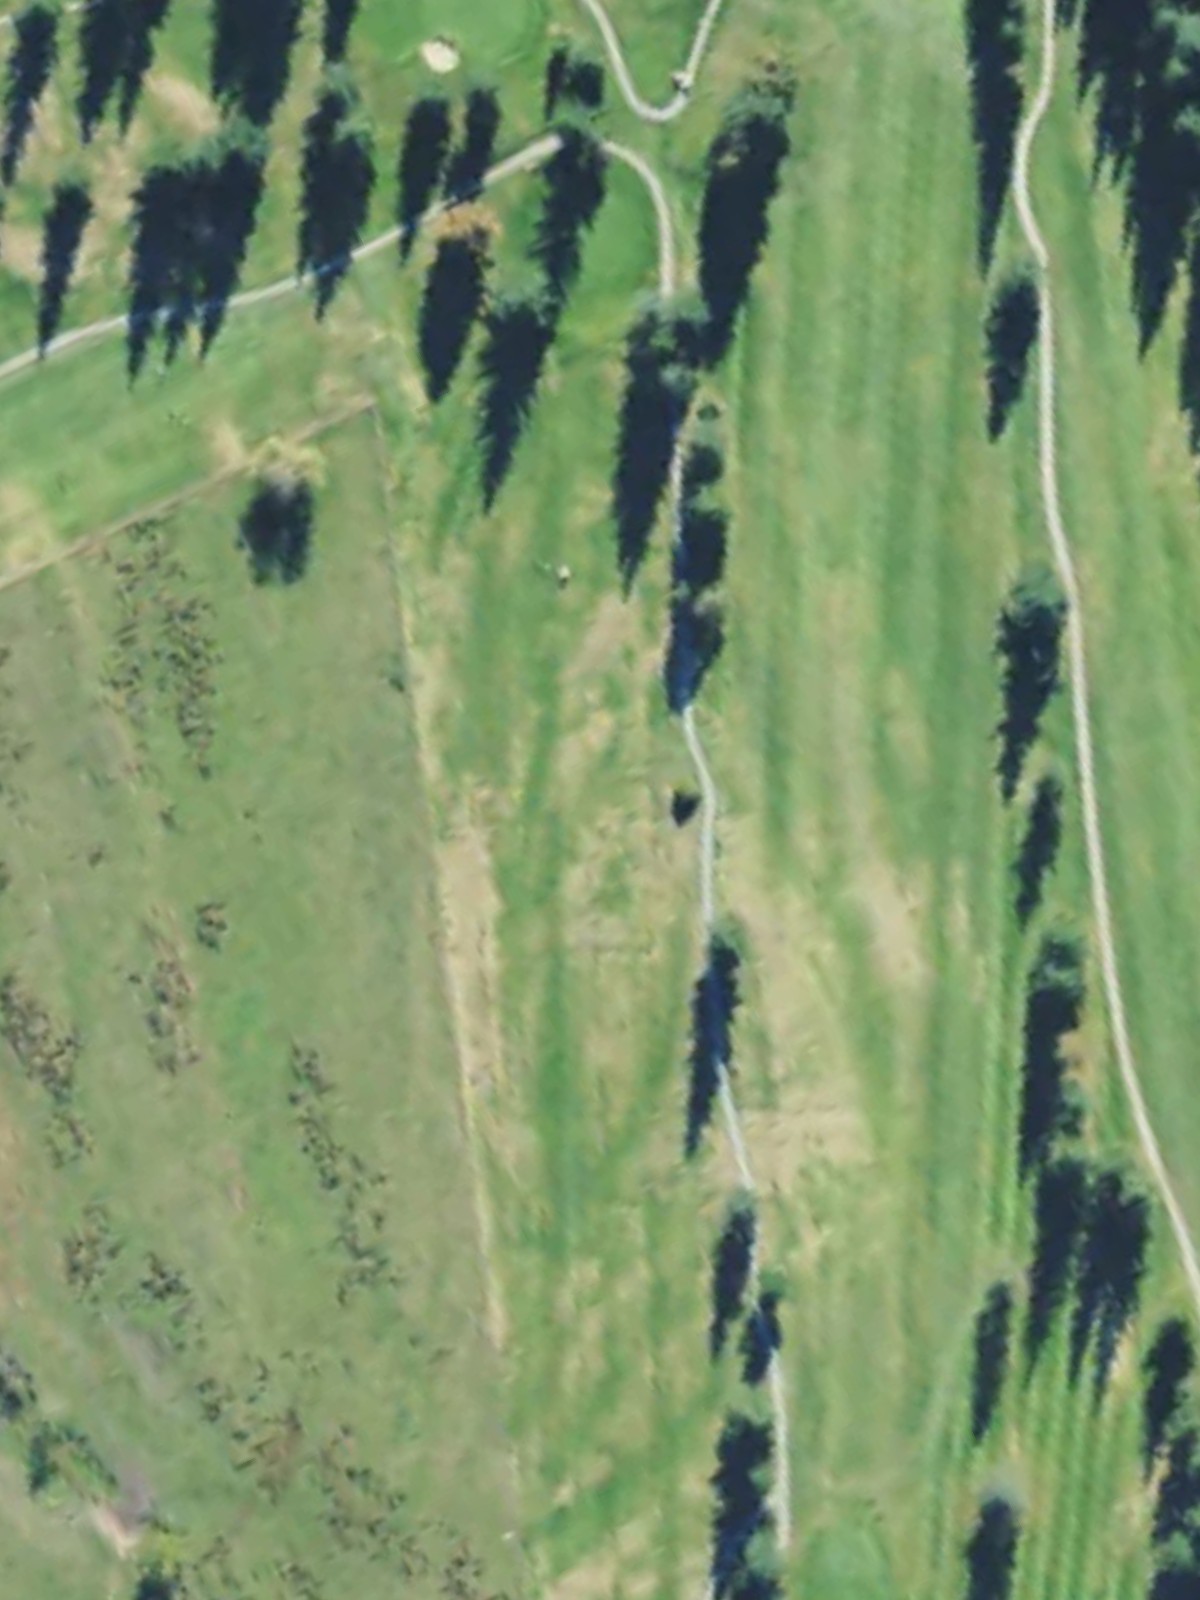
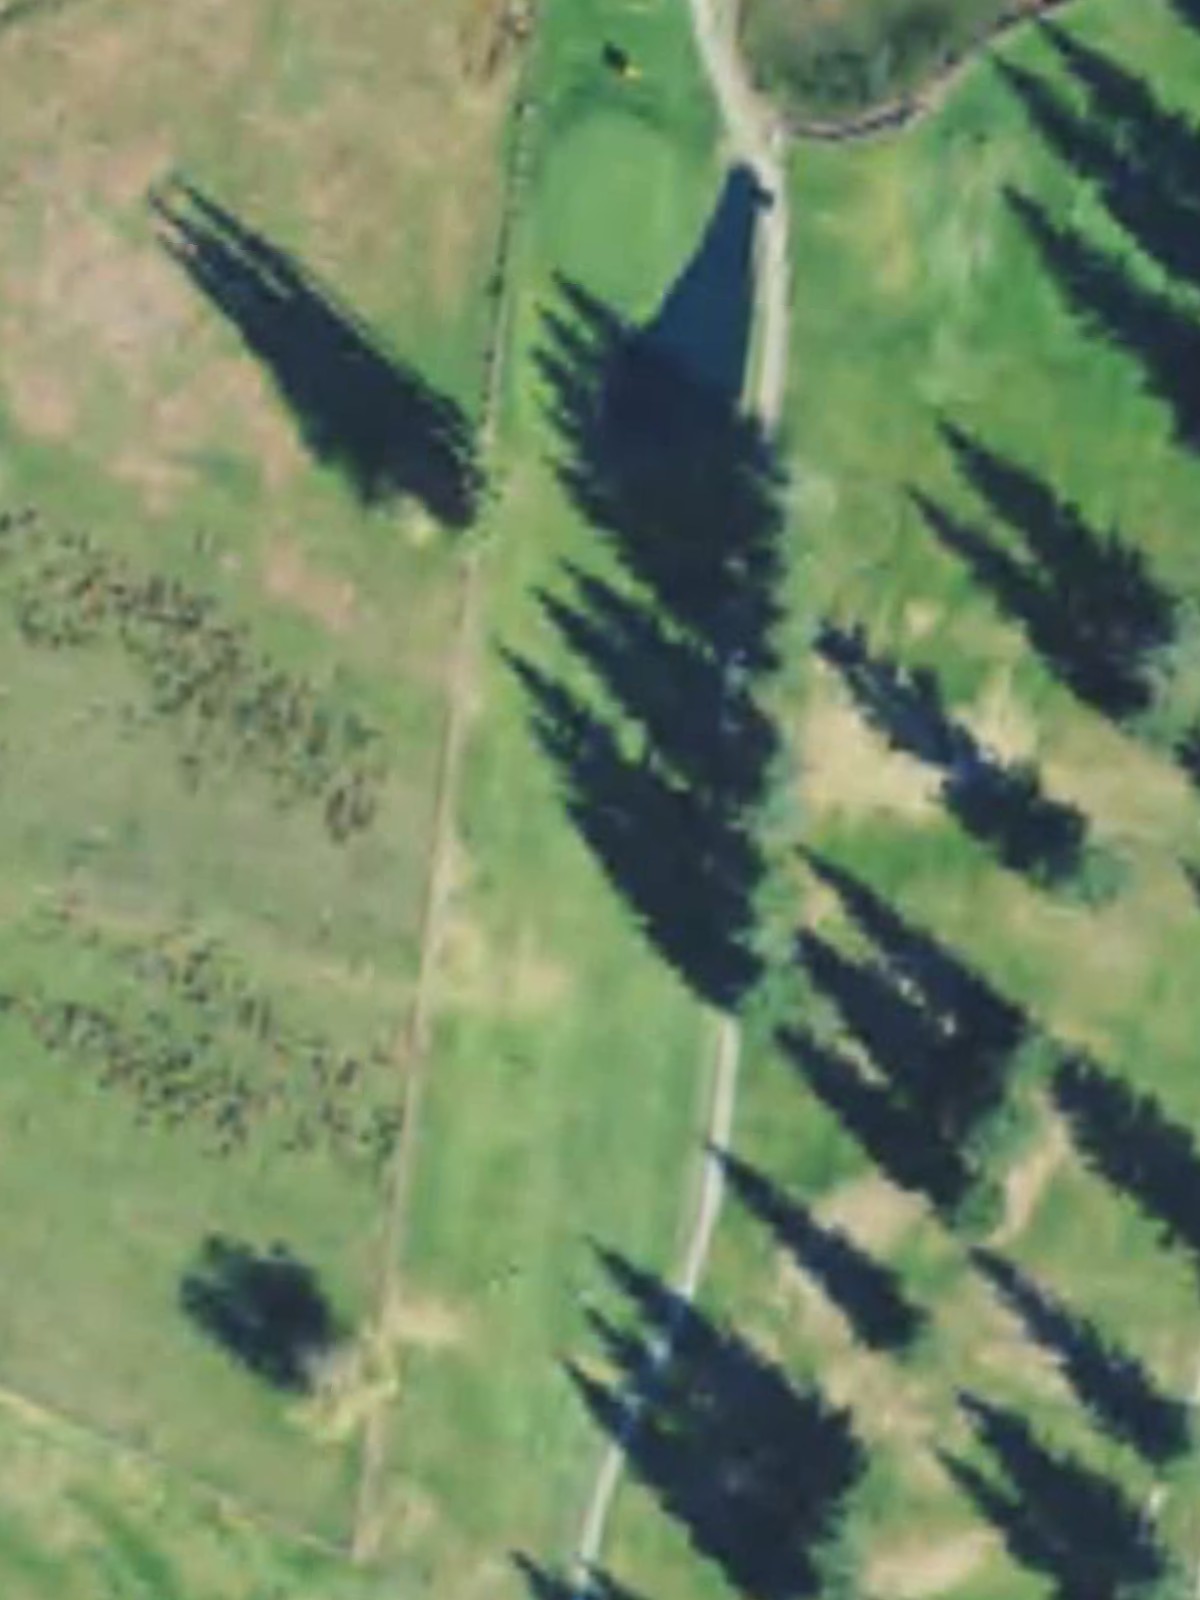
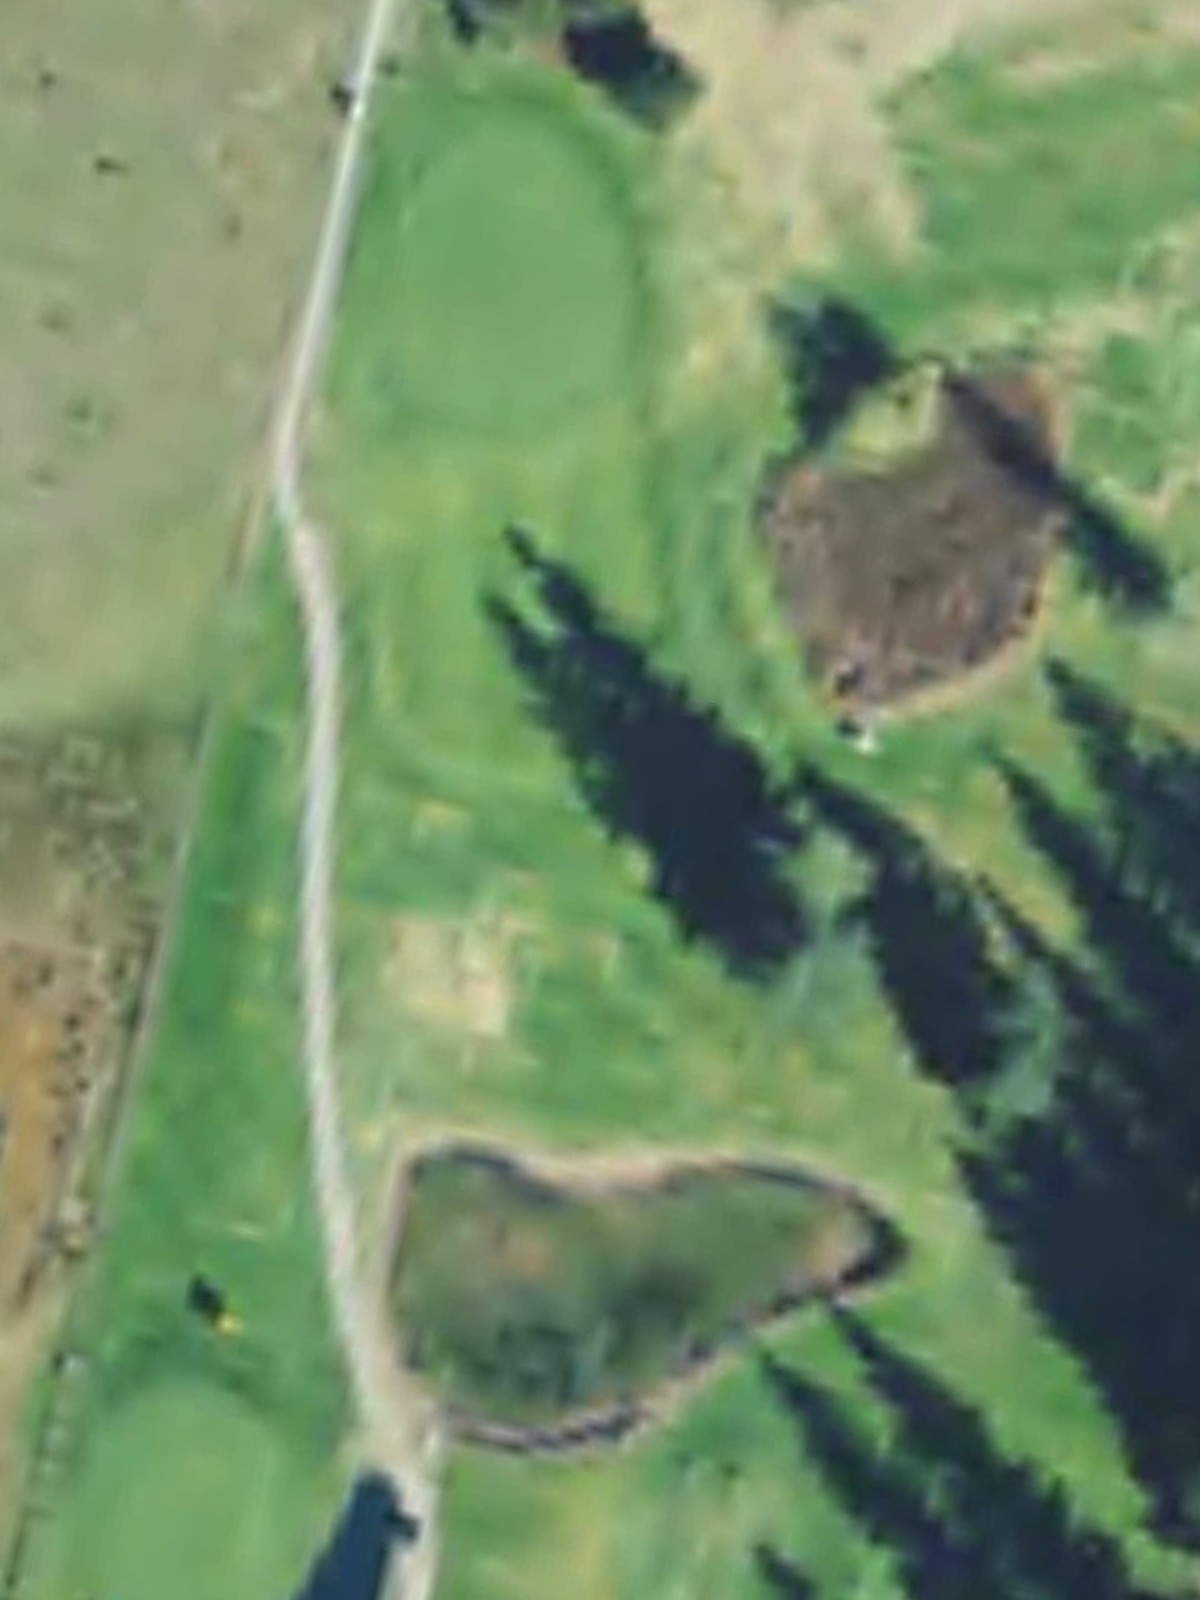
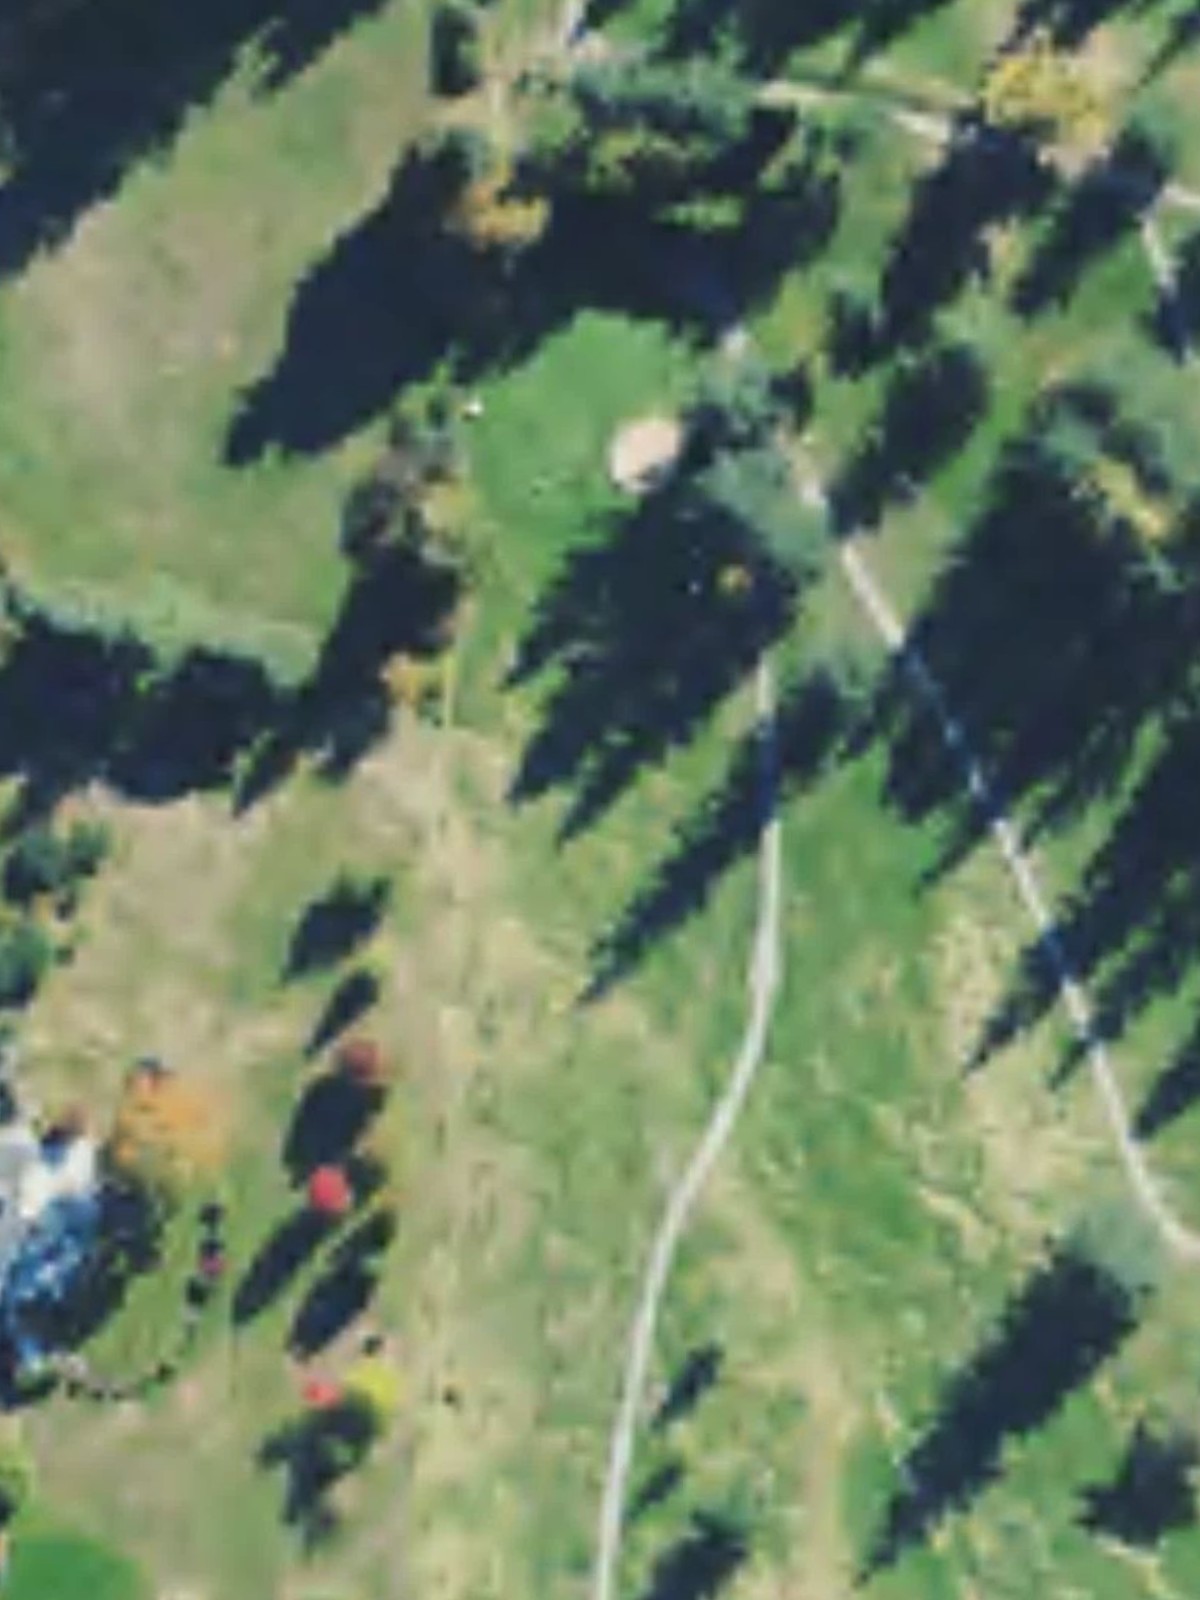
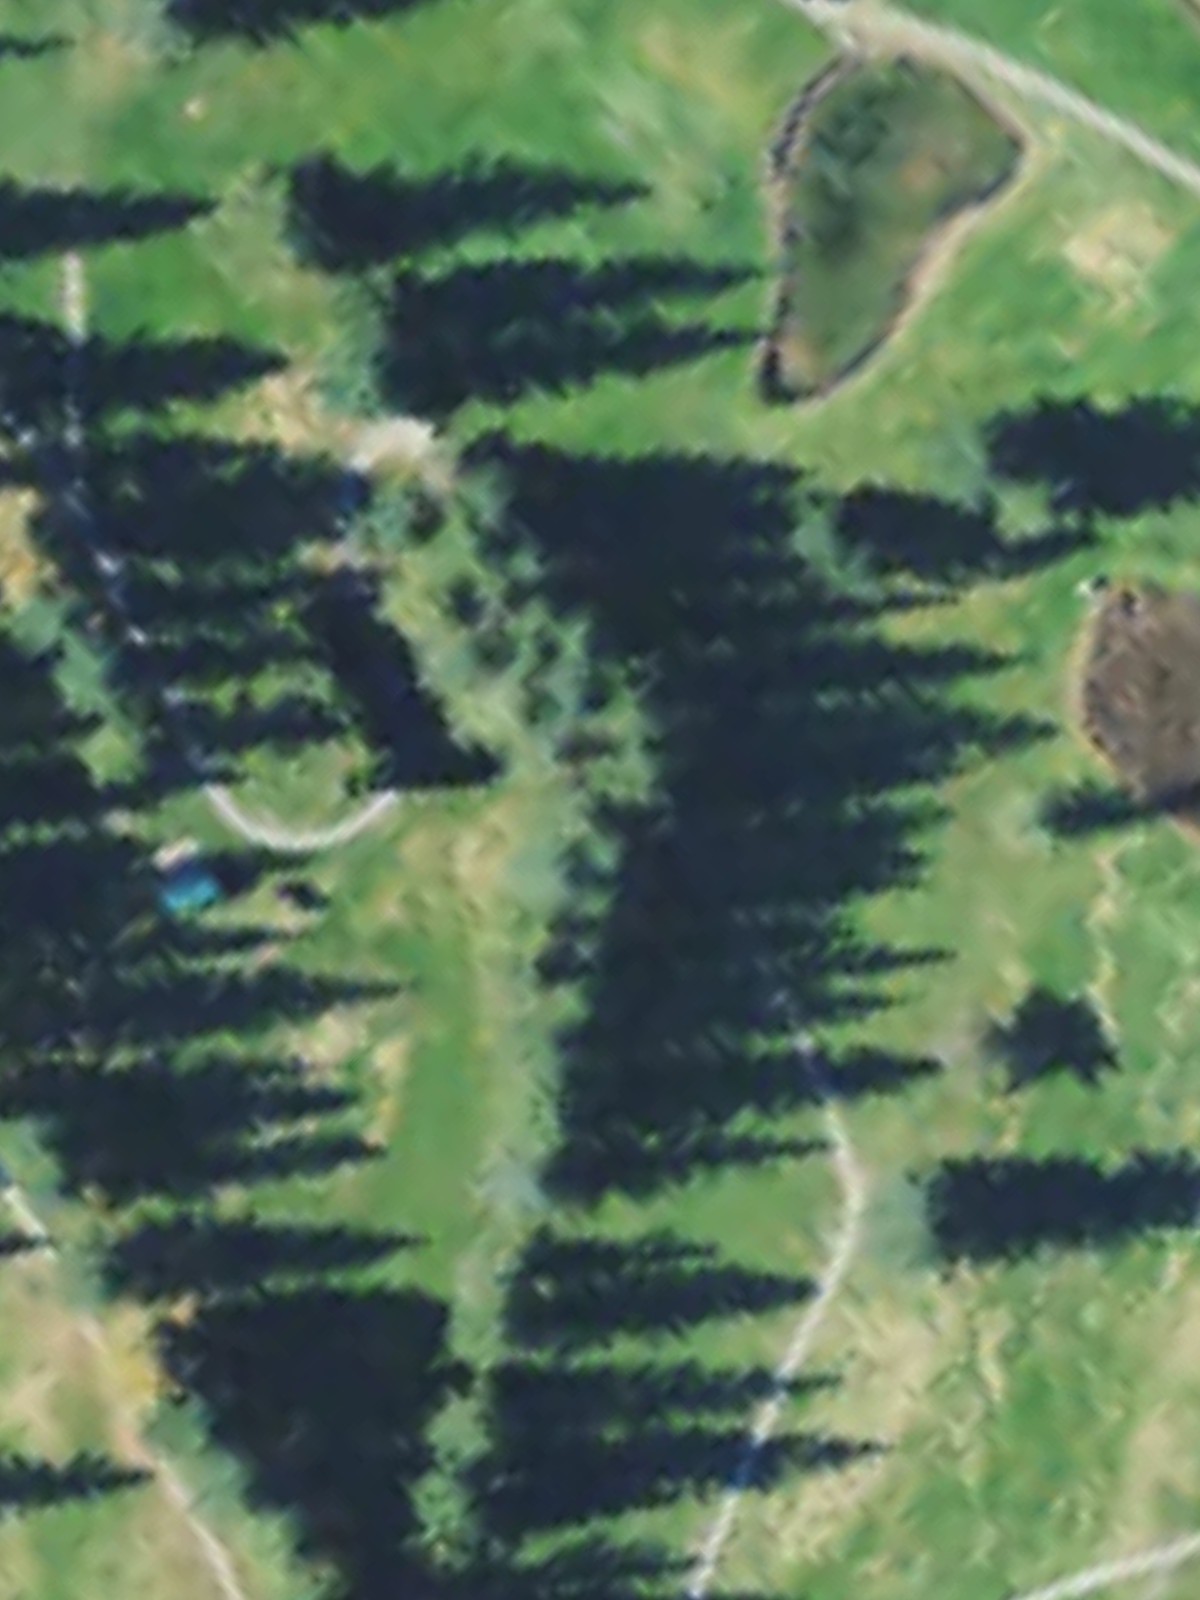
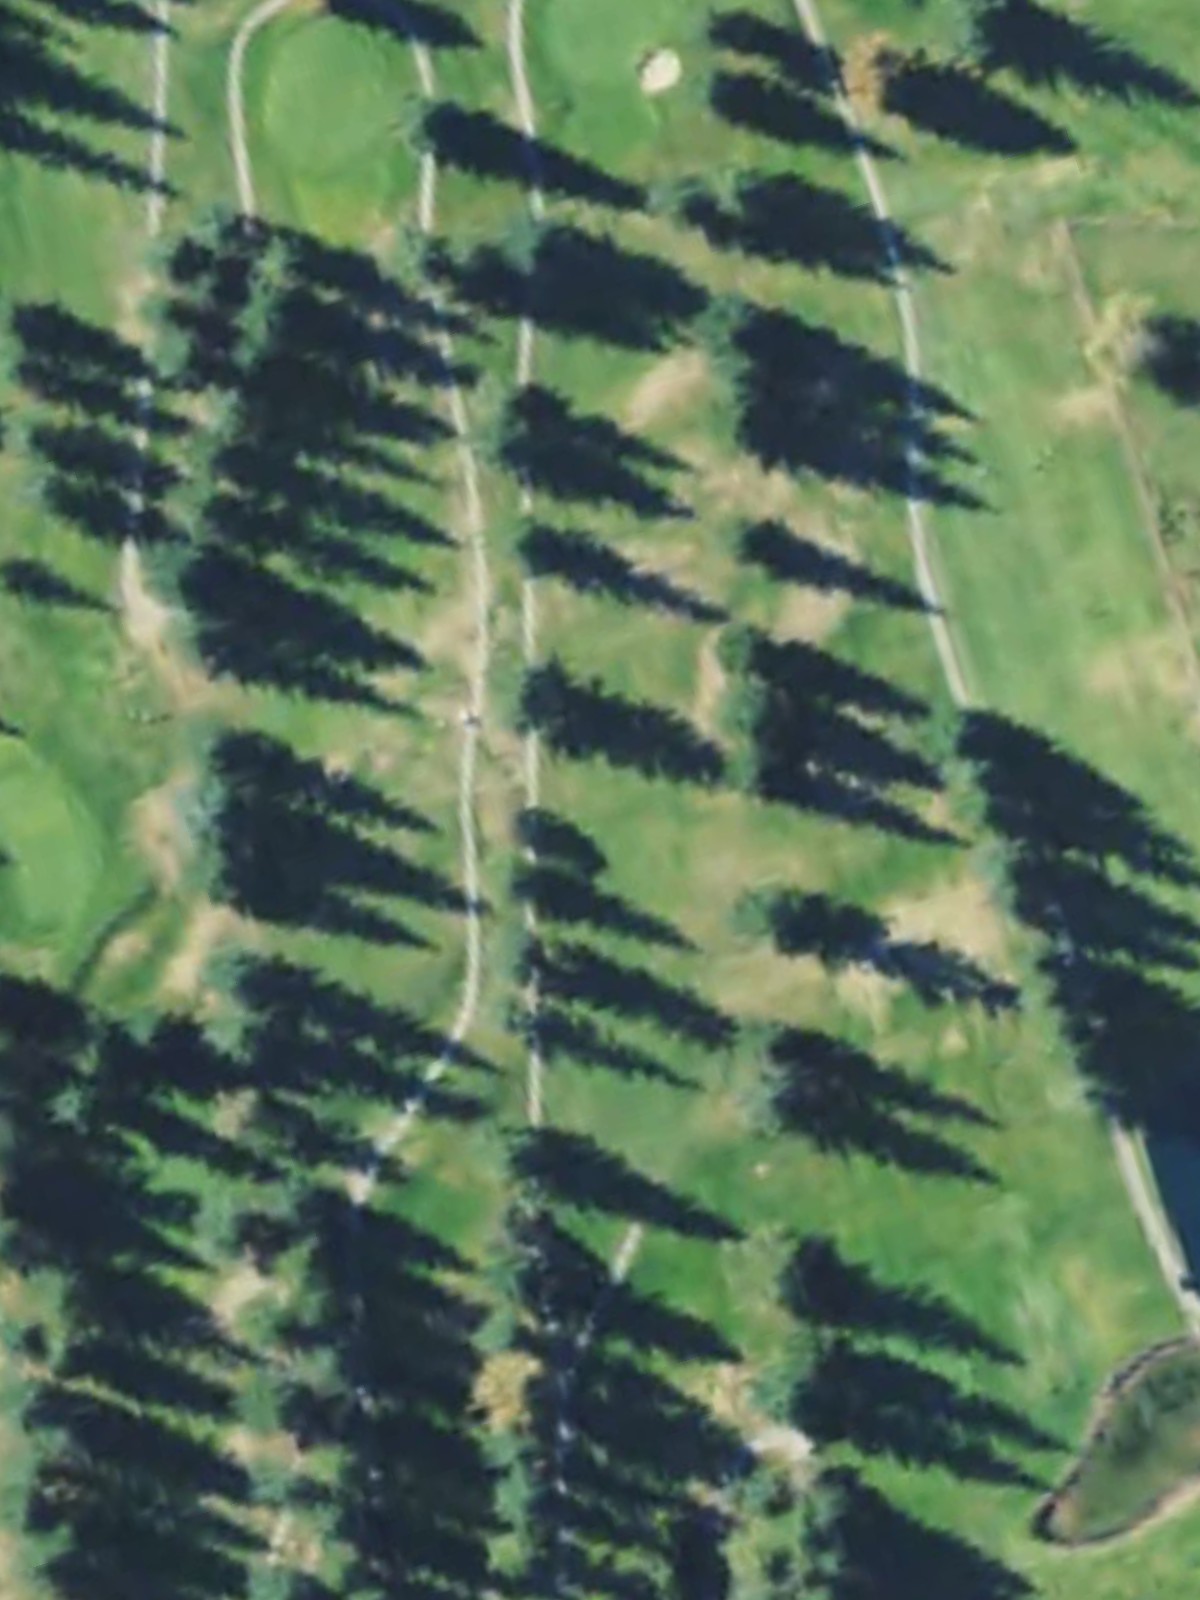
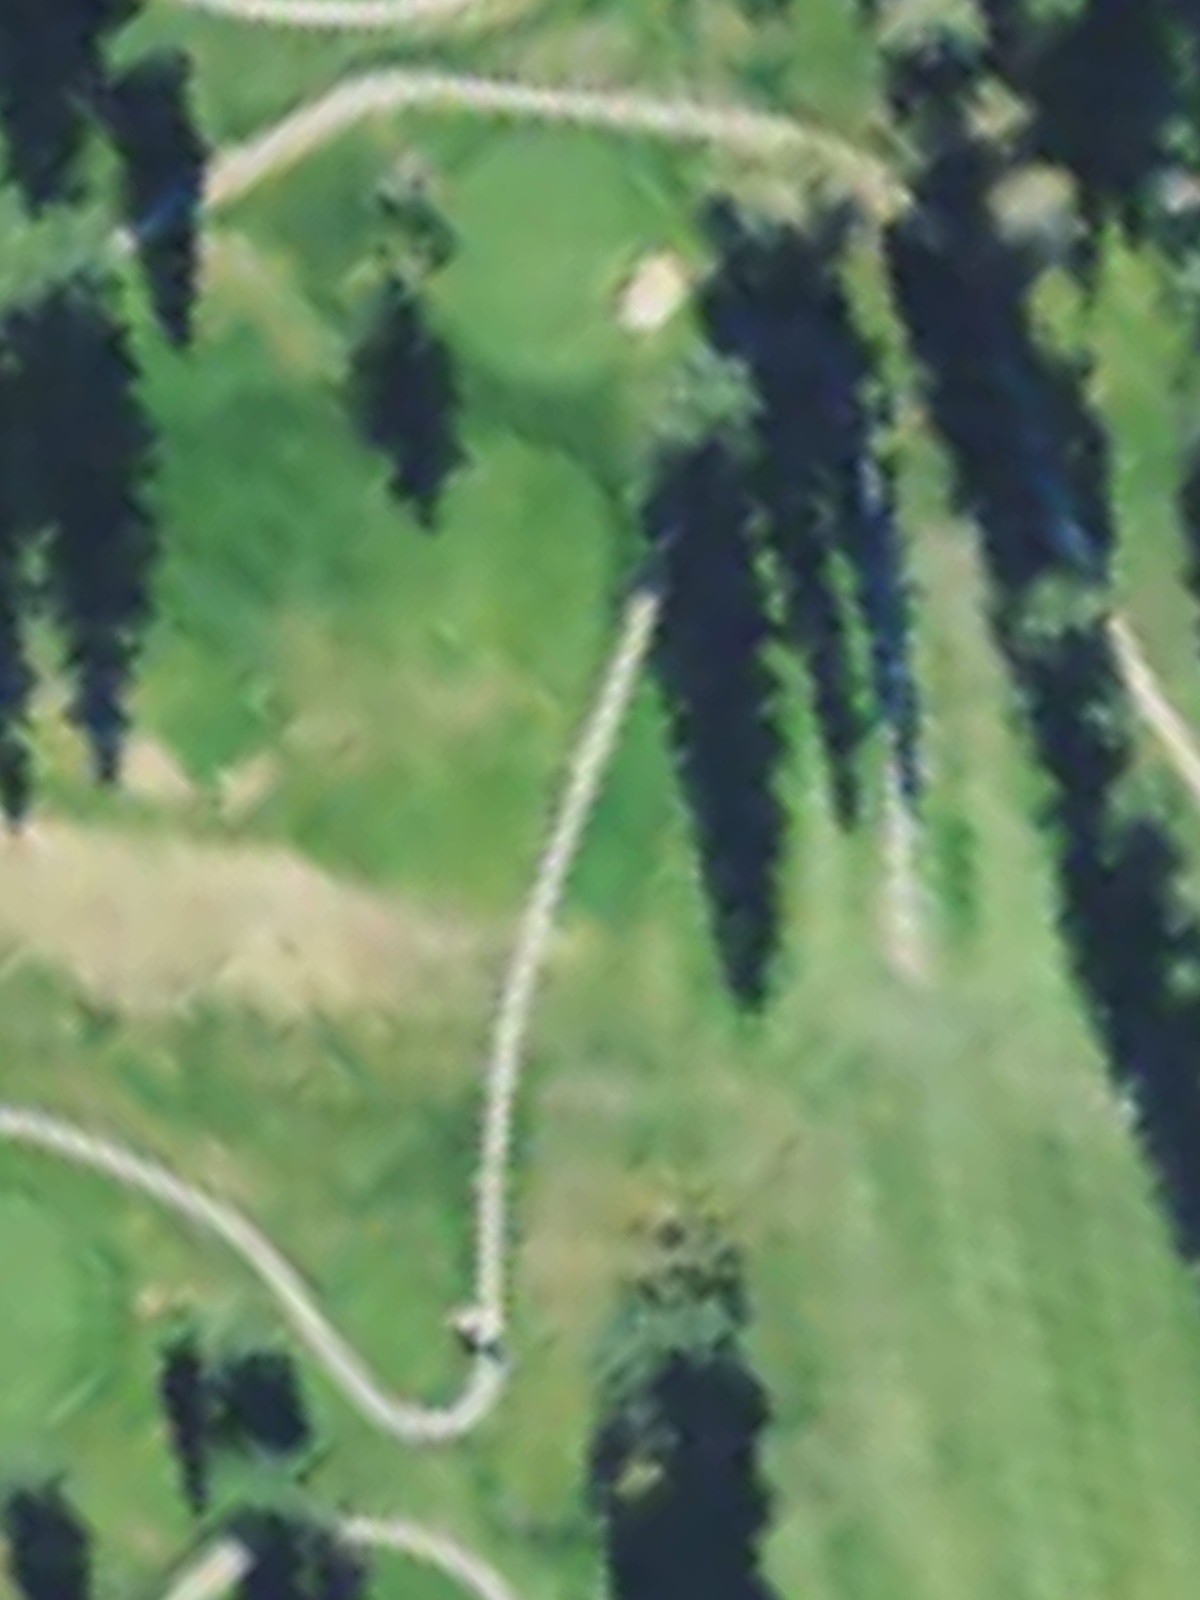
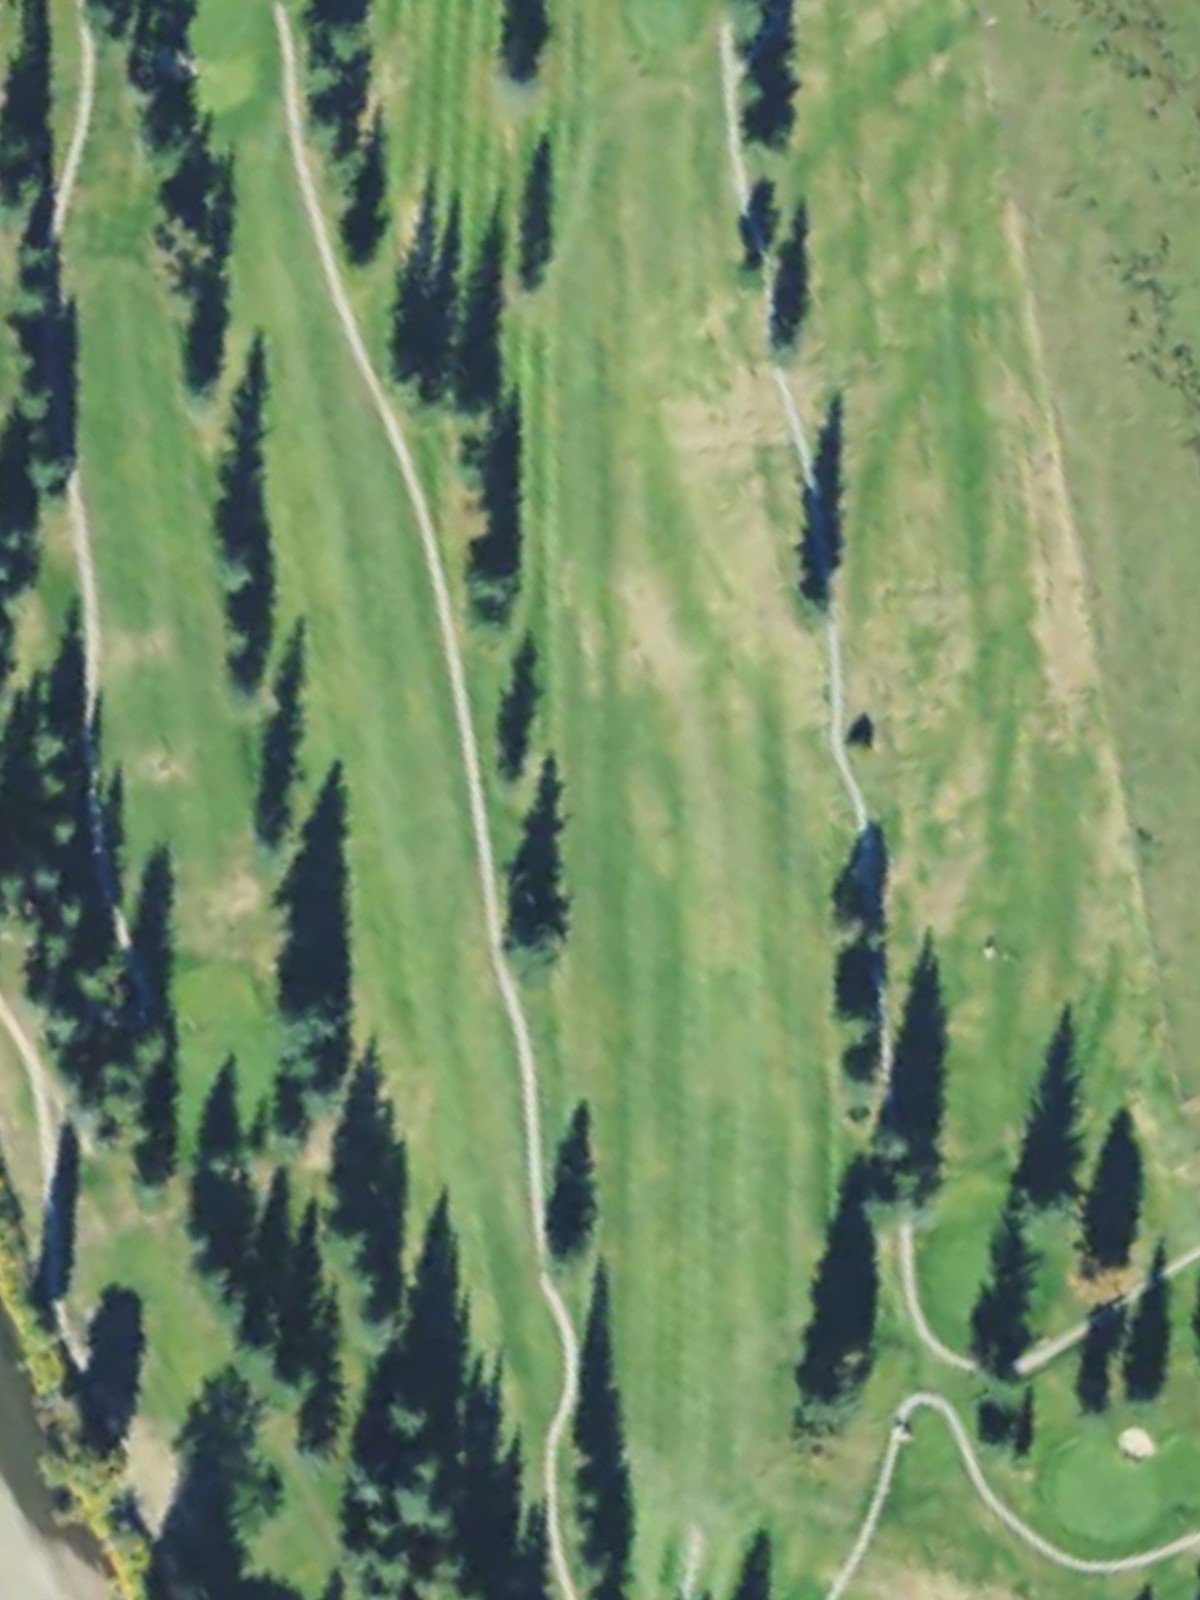
Snoqualmie Falls Golf Course is an 18-hole golf course in Fall City, WA with a par of 71. It offers 3 tee sets: blue (5,828 yards, slope 107, rating 66.7), white (5,460 yards, slope 104, rating 65.1), red (4,858 yards, slope 97, rating 62.5). The hardest hole is #5, a par 5 playing 365 yards from the first tee.
Snoqualmie Falls Golf Course
Fall City, WA
Get PDF Yardage Book
We'll email you the PDF link. No spam, ever.
Create Your Game Plan
Pick your tees, enter your bag, and get a personalized shot-by-shot strategy for every hole.
A relatively straightforward opening par 4 with a fairway that gradually narrows as it approaches the green. Bunkers protect the right side of the putting surface, requiring accuracy on the approach shot to avoid sand play.

A mild dogleg par 4 where the fairway bends slightly, offering a moderate scoring opportunity. Hazards tighten around the green, making precision off the tee important for setting up a clean approach.
A short but demanding par 3 with a well-bunkered green that requires a confident, accurate iron shot. The compact design offers little room for error around the putting surface.
A testing par 4 with strategic hazards that come into play off the tee and around the green. The hole's positioning as the 9-handicap makes it a key scoring moment on the front nine.
The course's #1 handicap, this long par 5 is the most difficult hole and a genuine three-shot test from the back tees. Water and/or rough terrain likely guarding the fairway, this hole demands careful management and distance control.
A well-crafted par 4 that combines length with strategic bunkering to create a significant challenge early on. The hole's #5 handicap ranking reflects balanced difficulty off the tee and into the green.
A par 4 with considerable length from the blue tees that plays as a demanding hole despite mid-range handicap rating. The extended yardage requires solid striking to reach the green in regulation.
A mid-length par 3 demanding an accurate mid-iron over hazards to reach the green safely. The moderate yardage belies the precision required to avoid missing the target area.
A strong par 5 closing the front nine with considerable length and likely strategic hazards that punish poor positioning. The #3 handicap ranking confirms this as one of the course's most formidable holes.
A short par 3 that offers potential relief after the long par 5, though hazards still protect the small green. The straightforward nature makes it a good birdie opportunity to open the back nine.
The #2 handicap hole, this lengthy par 5 stands as the second-hardest test on the course with significant hazards throughout. The extended yardage demands excellent positioning and distance management to score well.
A compact par 4 that plays shorter than many on the course, offering a more manageable hole with its own set of hazards. Despite the reduced yardage, it remains a well-designed test of accuracy.
A short par 3 that provides another birdie-scoring opportunity with its modest yardage. Greenside bunkers or water likely punish poor iron play despite the hole's reasonable length.
A shortened par 4 that plays as one of the course's more approachable scoring holes from the tee. The tight yardage allows more golfers to reach the green in regulation, setting up critical short-game opportunities.
A compact par 4 with an interesting design that yields neither to length nor simple approach play. Its #8 handicap ranking places it among the course's stronger holes despite modest yardage.
A substantial par 4 that stretches considerably from the blue tees, presenting one of the back nine's most demanding tee shots. Strategic hazards likely force golfers to make meaningful decisions off the tee to set up a reasonable approach.
The course's shortest par 3 and easiest hole overall, offering a straightforward pitch over minimal hazards to a relatively open green. This reprieve comes at a crucial juncture heading into the finishing hole.
A lengthy finishing par 5 that demands two strong shots to set up a third, with hazards likely guarding the fairway and green throughout. The dramatic final hole provides an exciting conclusion and tests the golfer's ability to manage pressure over distance.
Scorecard
| Hole | 1 | 2 | 3 | 4 | 5 | 6 | 7 | 8 | 9 | Out | 10 | 11 | 12 | 13 | 14 | 15 | 16 | 17 | 18 | In | Tot |
|---|---|---|---|---|---|---|---|---|---|---|---|---|---|---|---|---|---|---|---|---|---|
| Par | 4 | 4 | 3 | 4 | 5 | 4 | 4 | 3 | 5 | 36 | 3 | 5 | 4 | 3 | 4 | 4 | 4 | 3 | 5 | 35 | 71 |
| HCP | 7 | 13 | 17 | 9 | 1 | 5 | 11 | 15 | 3 | 16 | 2 | 6 | 14 | 12 | 8 | 10 | 18 | 4 | |||
| blue | 332 | 348 | 150 | 352 | 501 | 337 | 393 | 212 | 498 | 3123 | 150 | 498 | 304 | 151 | 270 | 299 | 381 | 135 | 517 | 2705 | 5828 |
| white | 323 | 305 | 124 | 322 | 490 | 329 | 306 | 176 | 490 | 2865 | 139 | 491 | 298 | 145 | 263 | 291 | 338 | 125 | 505 | 2595 | 5460 |
| red | 294 | 290 | 114 | 309 | 365 | 313 | 298 | 155 | 440 | 2578 | 125 | 377 | 290 | 137 | 259 | 272 | 307 | 103 | 410 | 2280 | 4858 |