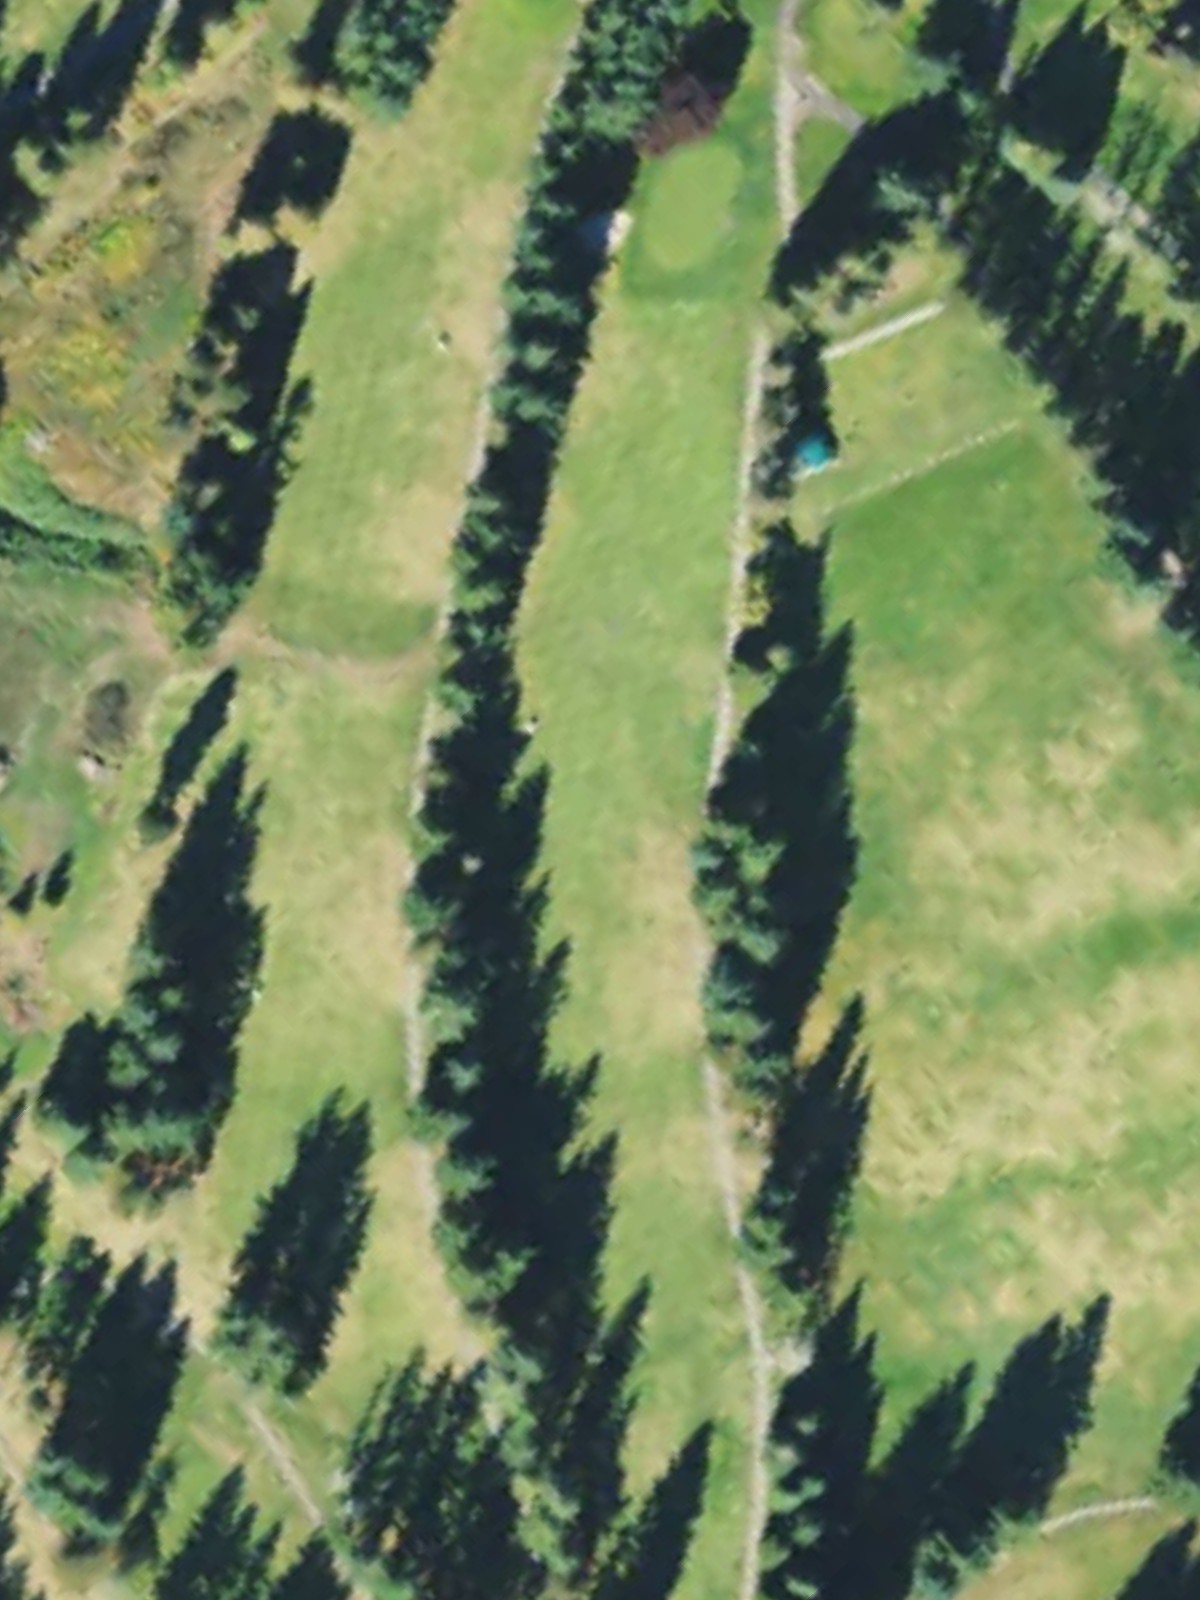
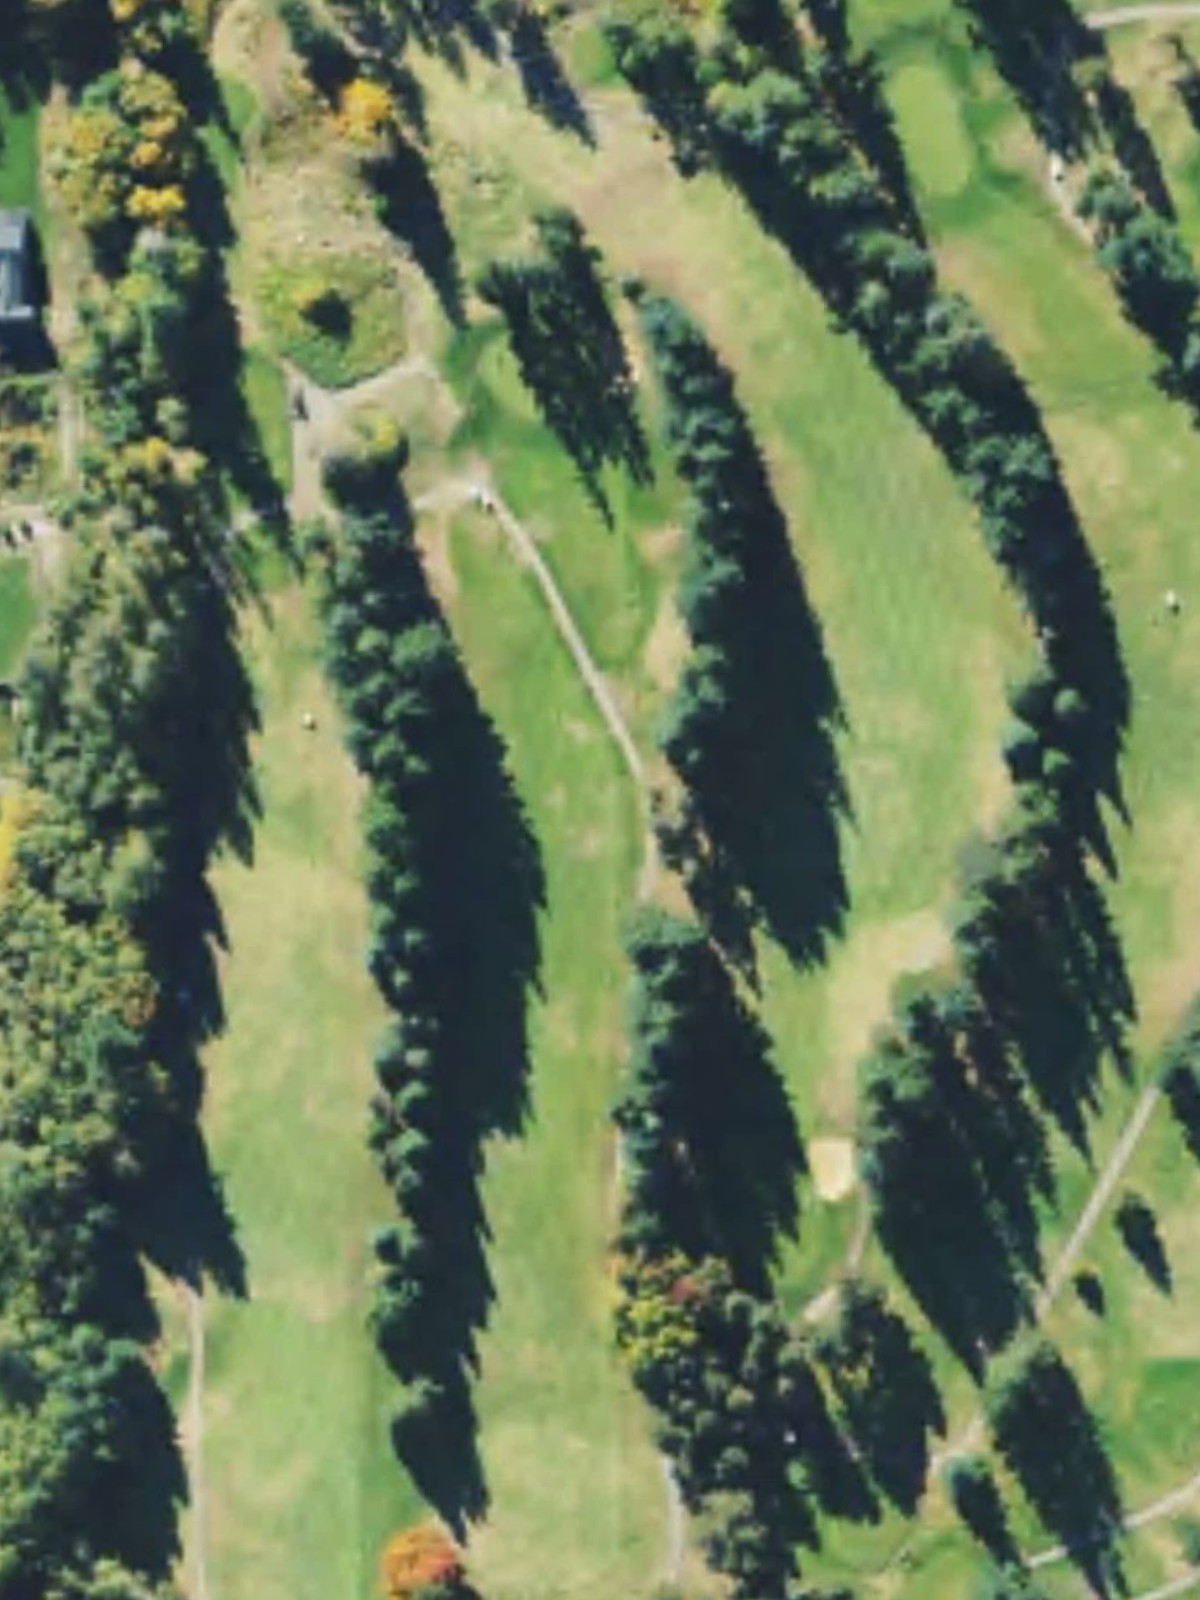
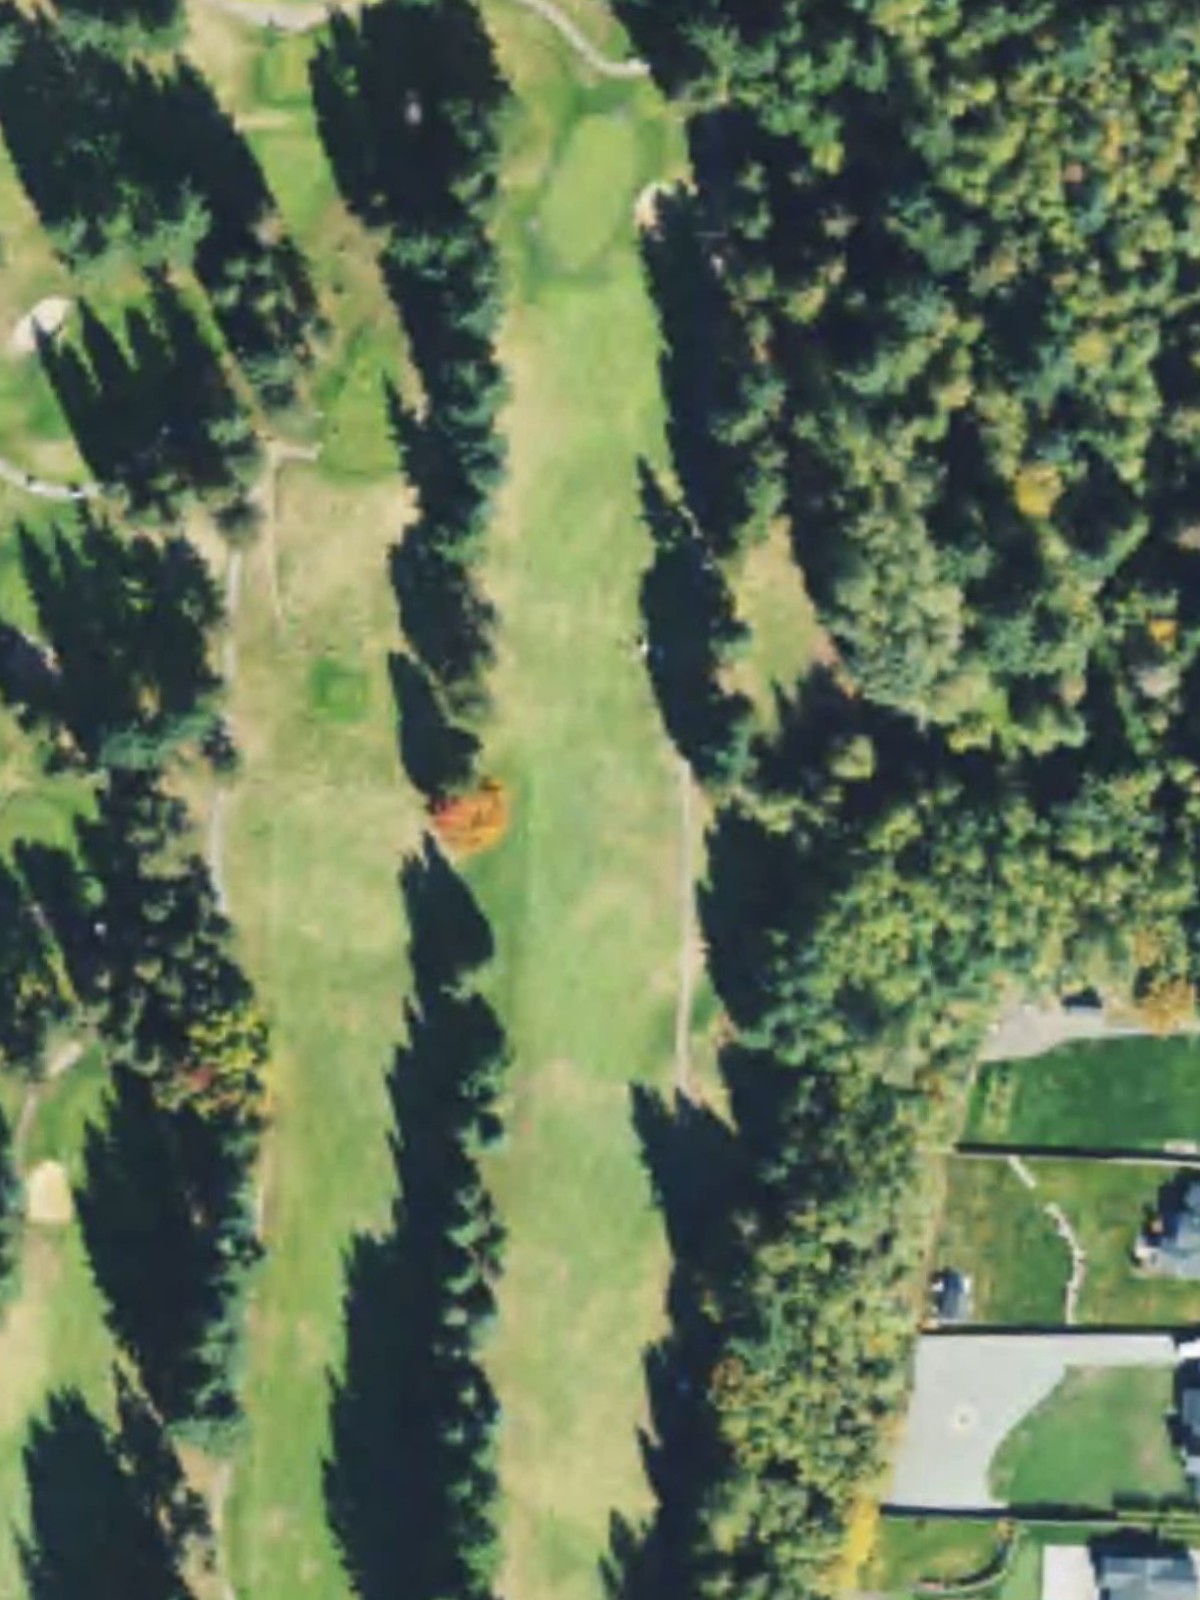
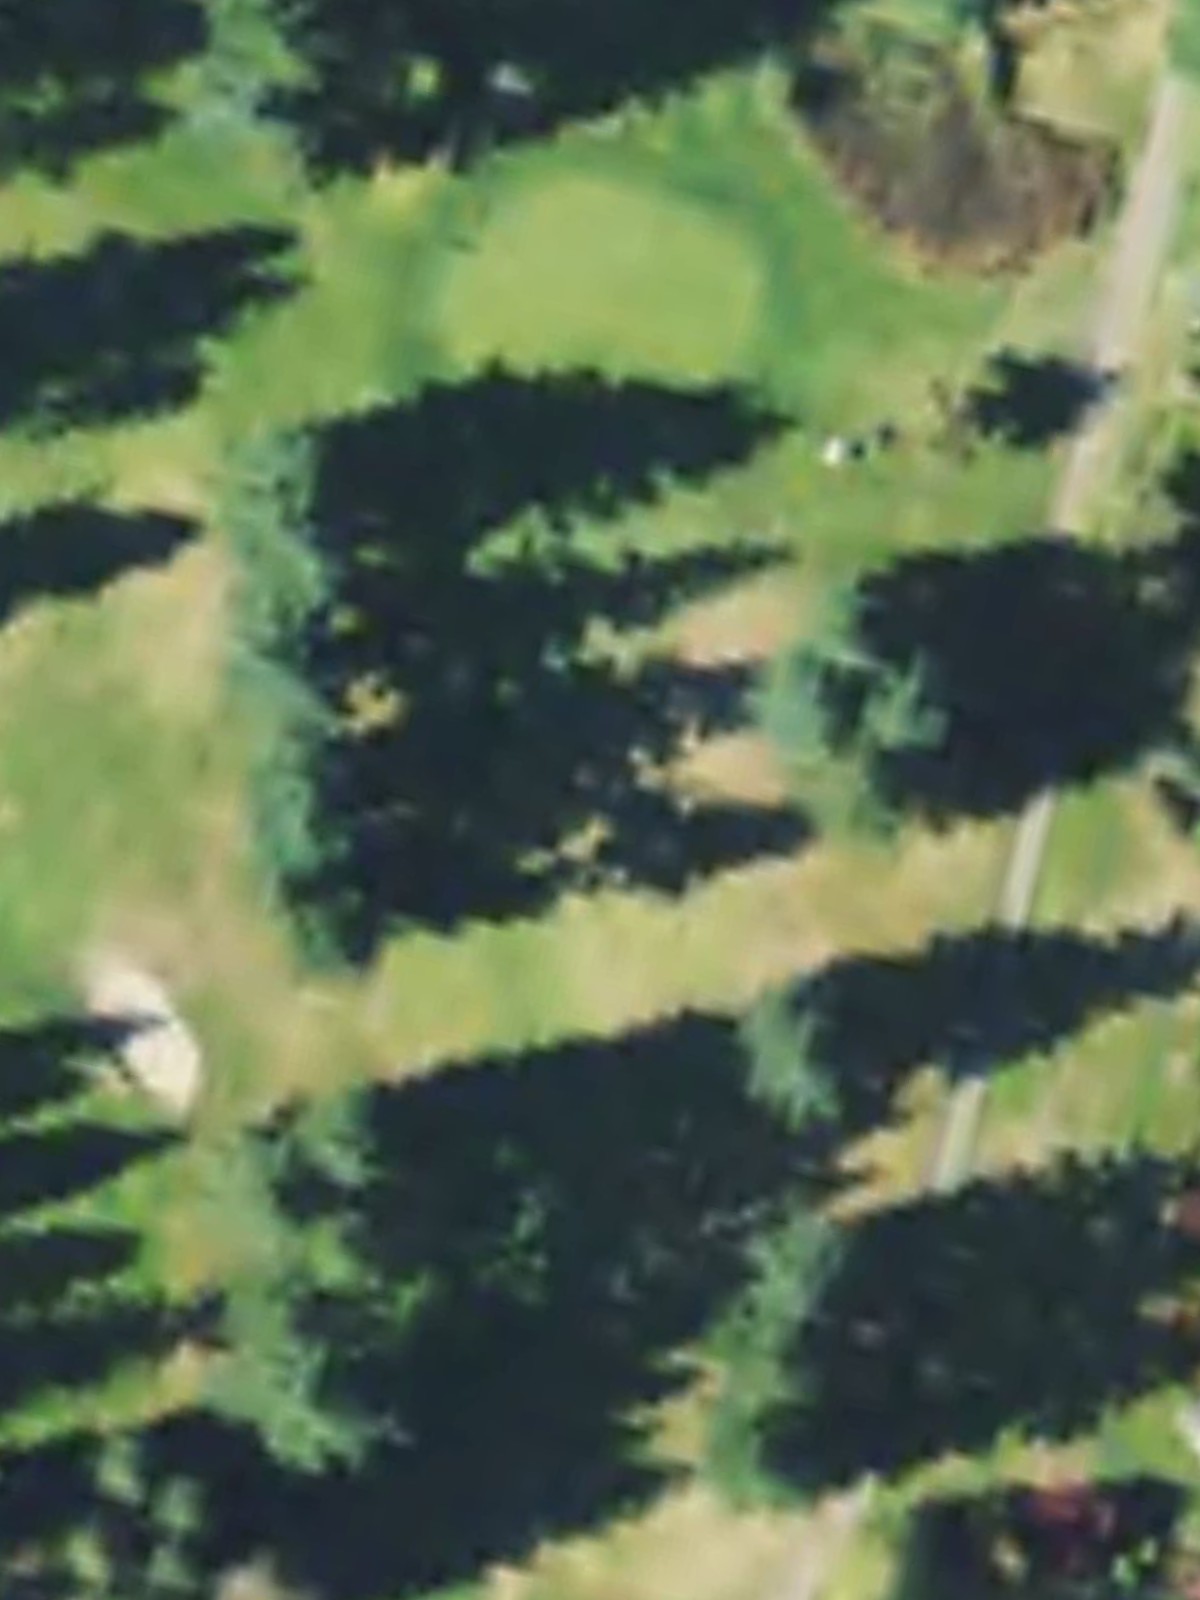
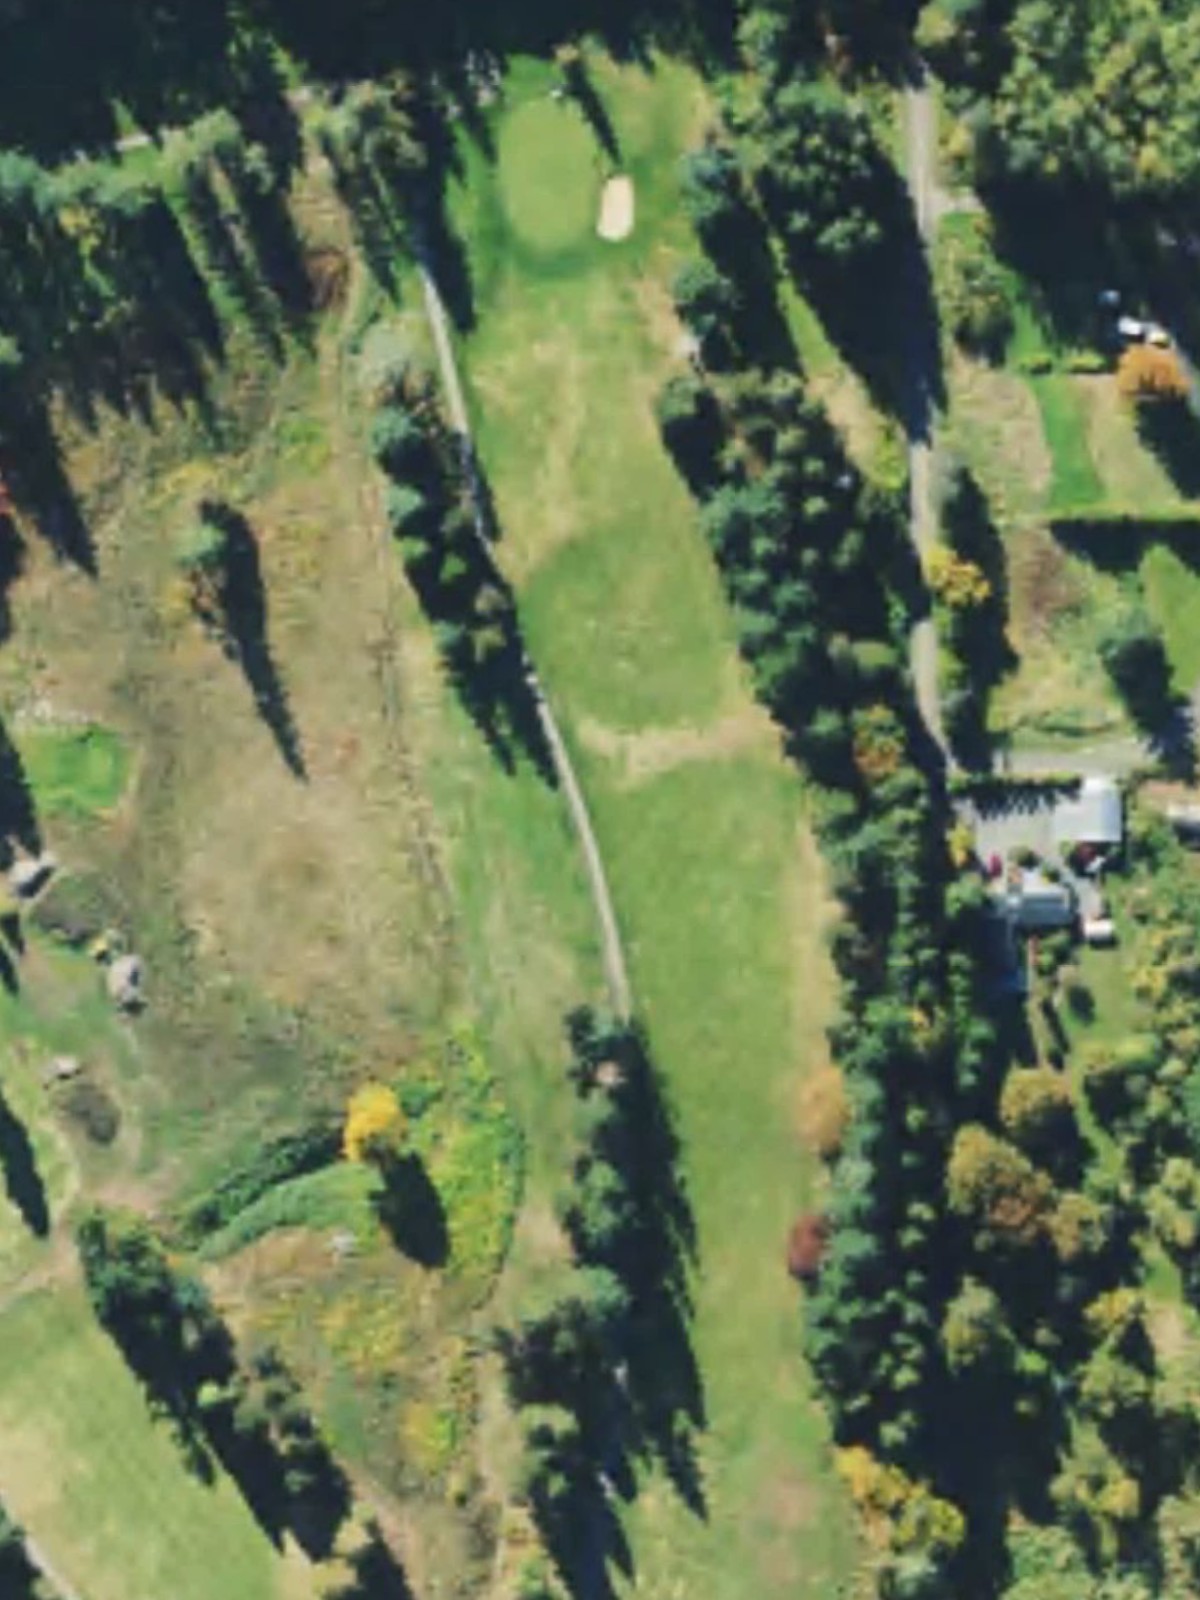
Snohomish Golf Club is an 18-hole golf course in Snohomish, WA with a par of 72. It offers 5 tee sets: black (6,748 yards, slope 125, rating 72), gold (6,293 yards, slope 122, rating 69.8), gold/silver combo (5,889 yards, slope 119, rating 67.6), silver (5,546 yards, slope 115, rating 66.4), copper (5,176 yards, slope 109, rating 65.1). The hardest hole is #16, a par 4 playing 436 yards from the first tee.
Snohomish Golf Club
Snohomish, WA
Get PDF Yardage Book
We'll email you the PDF link. No spam, ever.
Create Your Game Plan
Pick your tees, enter your bag, and get a personalized shot-by-shot strategy for every hole.

A substantial par 5 that plays relatively straight with a fairway that gradually narrows as it approaches the green. The hole's length and positioning of hazards require careful positioning to set up a manageable final approach.

A short par 4 and the easiest hole on the course, offering a straightforward opportunity with minimal trouble. The compact length makes this an ideal birdie chance early in the round.
A mid-length par 4 with moderate difficulty that demands accuracy off the tee and into the green. Strategic positioning of hazards rewards thoughtful play through the fairway and approach.

A short to mid-length par 4 that presents a reasonable scoring opportunity despite its moderate handicap ranking. The hole's character is defined by how hazards frame the fairway and green complex.

A short par 3 requiring precision over distance, with the green's surroundings presenting the primary challenge. The compact yardage makes this a confidence-building hole that can swing momentum quickly.
The second-most difficult hole on the course, this par 4 demands excellence in both tee shot and approach play. Hazards are strategically positioned to penalize wayward shots and make par a solid accomplishment.
A mid-length par 5 with a dogleg character that opens scoring opportunities for aggressive players who find the fairway. The hole's layout and hazard placement create distinct risk-reward decisions on the approach.
A short par 3 that offers a straightforward look to the green from the tee, making it the easiest par 3 on the course. The simplicity of the hole provides a reprieve before increasing pressure later in the round.

A relatively short par 4 that ranks among the course's more challenging holes despite its modest length. Precision is paramount, as the narrow fairway and well-protected green demand quality strikes.
The third-most difficult hole on the course, this lengthy par 5 commands respect with its yardage and hazard placement. The fairway's geometry and multiple scoring zones create a complex strategic puzzle.

A very short par 3 that presents an accessible birdie opportunity, even with the black tee at 153 yards providing a stiffer test. The hole's brevity makes it a momentum-builder if played cleanly.

A relatively short par 4 with the black tee extending to a more respectable length, offering a solid birdie chance from the forward tees. The hole's varied yardage across tee boxes creates different strategic considerations.

The shortest hole on the course, this diminutive par 3 is a clear birdie opportunity that should reward solid contact. The small target area means precision trumps power on this short-game test.

A challenging mid-length par 4 that ranks in the upper half of difficulty and requires both power and accuracy. The combination of length and hazard placement makes this a legitimate test of shot-making.
A mid-length par 4 with moderate difficulty that plays fairly across the tee boxes. The hole's length and hazard positioning create a balanced challenge that rewards disciplined play.

The most difficult hole on the course, this par 4 is a genuine test that demands excellent driving and a precise approach shot. The length and strategic hazard placement make par an excellent score and birdie a significant accomplishment.
A short to mid-length par 4 with significant variation based on tee selection, ranging from an accessible 266 yards to a demanding 400 yards from the back. The hole's strategic design makes it play quite differently depending on where the tee is positioned.
A substantial finishing par 5 that provides a climactic conclusion to the round with length and complexity. The hole's positioning of hazards and its yardage create a dramatic finale that can shift the day's narrative.
Scorecard
| Hole | 1 | 2 | 3 | 4 | 5 | 6 | 7 | 8 | 9 | Out | 10 | 11 | 12 | 13 | 14 | 15 | 16 | 17 | 18 | In | Tot |
|---|---|---|---|---|---|---|---|---|---|---|---|---|---|---|---|---|---|---|---|---|---|
| Par | 5 | 4 | 4 | 4 | 3 | 4 | 5 | 3 | 4 | 36 | 5 | 3 | 4 | 3 | 4 | 4 | 4 | 4 | 5 | 36 | 72 |
| HCP | 4 | 18 | 8 | 12 | 14 | 2 | 10 | 16 | 6 | 3 | 17 | 13 | 15 | 9 | 11 | 1 | 7 | 5 | |||
| black | 524 | 335 | 428 | 374 | 185 | 407 | 528 | 244 | 345 | 3370 | 507 | 153 | 378 | 132 | 430 | 391 | 443 | 400 | 544 | 3378 | 6748 |
| gold | 520 | 325 | 421 | 364 | 162 | 397 | 453 | 159 | 333 | 3134 | 489 | 150 | 305 | 124 | 418 | 386 | 436 | 322 | 529 | 3159 | 6293 |
| gold/silver combo | 520 | 325 | 322 | 298 | 162 | 397 | 453 | 151 | 333 | 2961 | 489 | 150 | 305 | 124 | 326 | 386 | 297 | 322 | 529 | 2928 | 5889 |
| silver | 438 | 304 | 322 | 298 | 150 | 331 | 436 | 151 | 322 | 2752 | 473 | 141 | 297 | 106 | 326 | 378 | 297 | 310 | 466 | 2794 | 5546 |
| copper | 438 | 263 | 322 | 298 | 129 | 327 | 410 | 151 | 256 | 2594 | 448 | 115 | 286 | 100 | 318 | 294 | 297 | 266 | 458 | 2582 | 5176 |