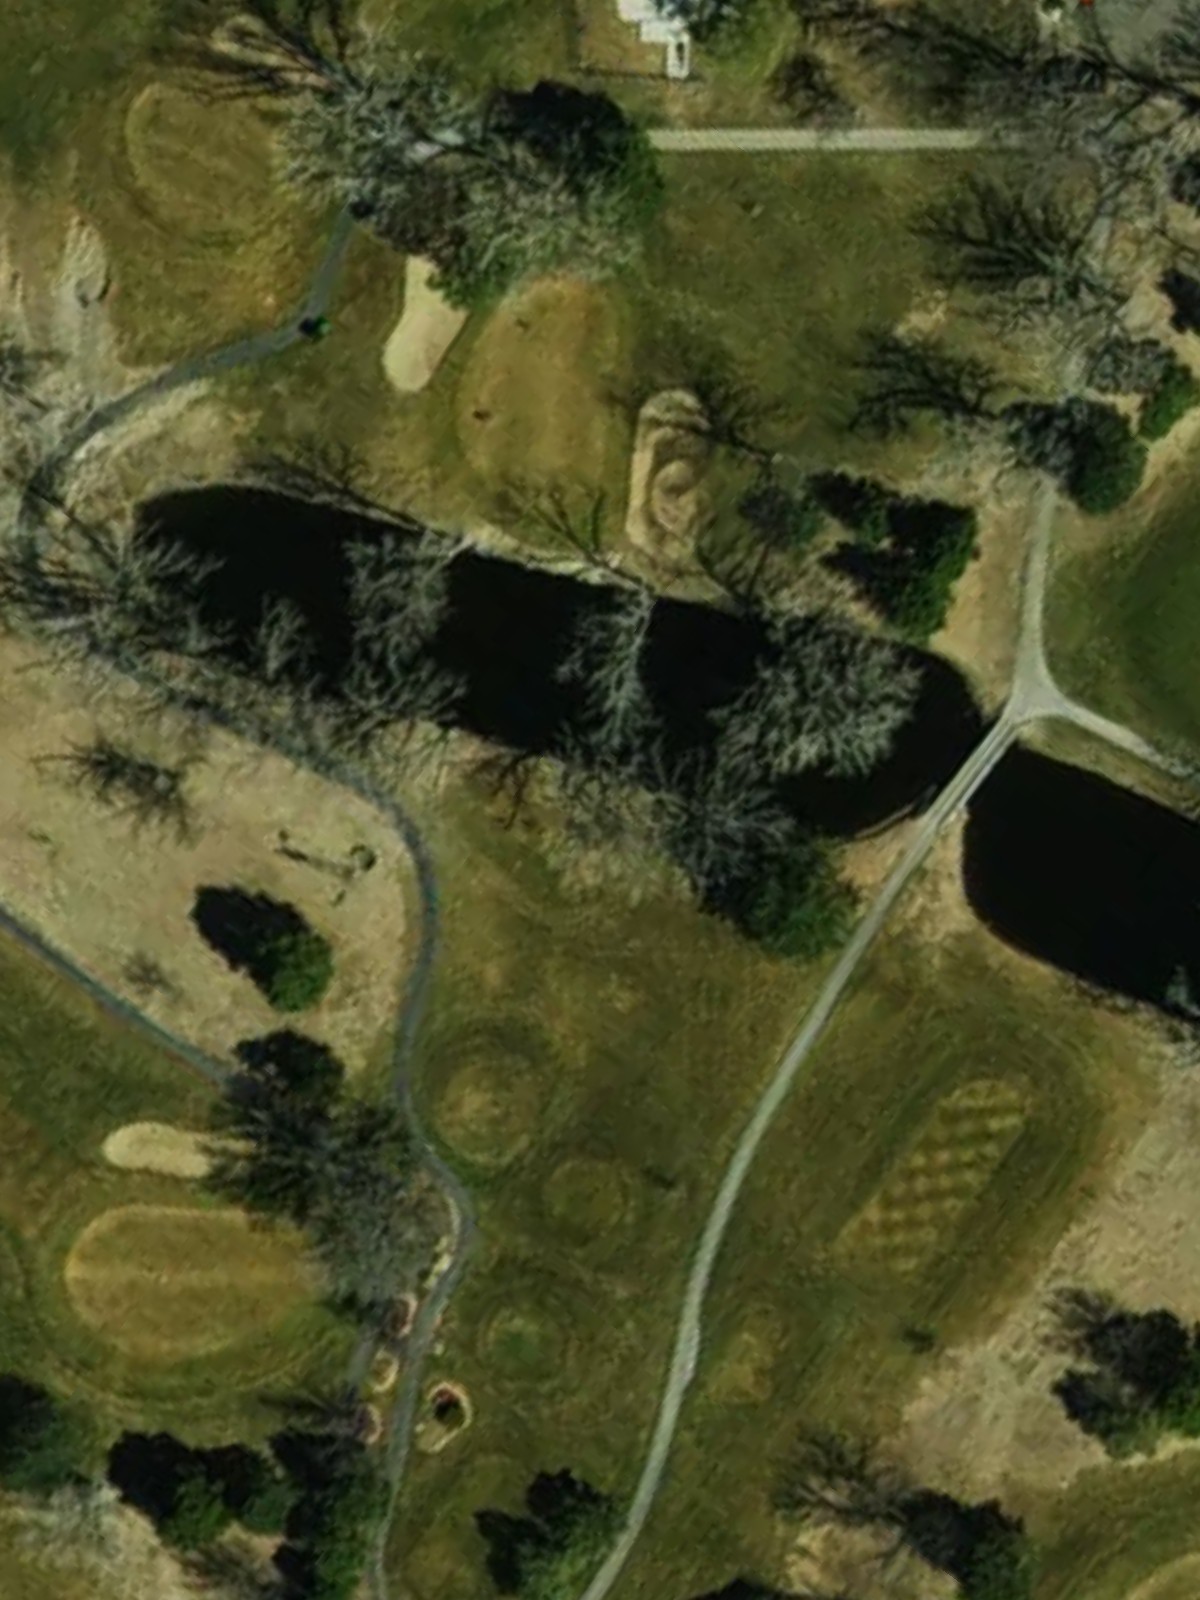
Smoky Hill Country Club is an 18-hole golf course in Hays, KS with a par of 71. It offers 3 tee sets: black (6,146 yards, slope 126, rating 70.6), white (5,798 yards, slope 120, rating 68.9), gold (5,095 yards, slope 111, rating 65.7). The hardest hole is #6, a par 5 playing 401 yards from the first tee.
Smoky Hill Country Club
Hays, KS
Get PDF Yardage Book
We'll email you the PDF link. No spam, ever.
Create Your Game Plan
Pick your tees, enter your bag, and get a personalized shot-by-shot strategy for every hole.
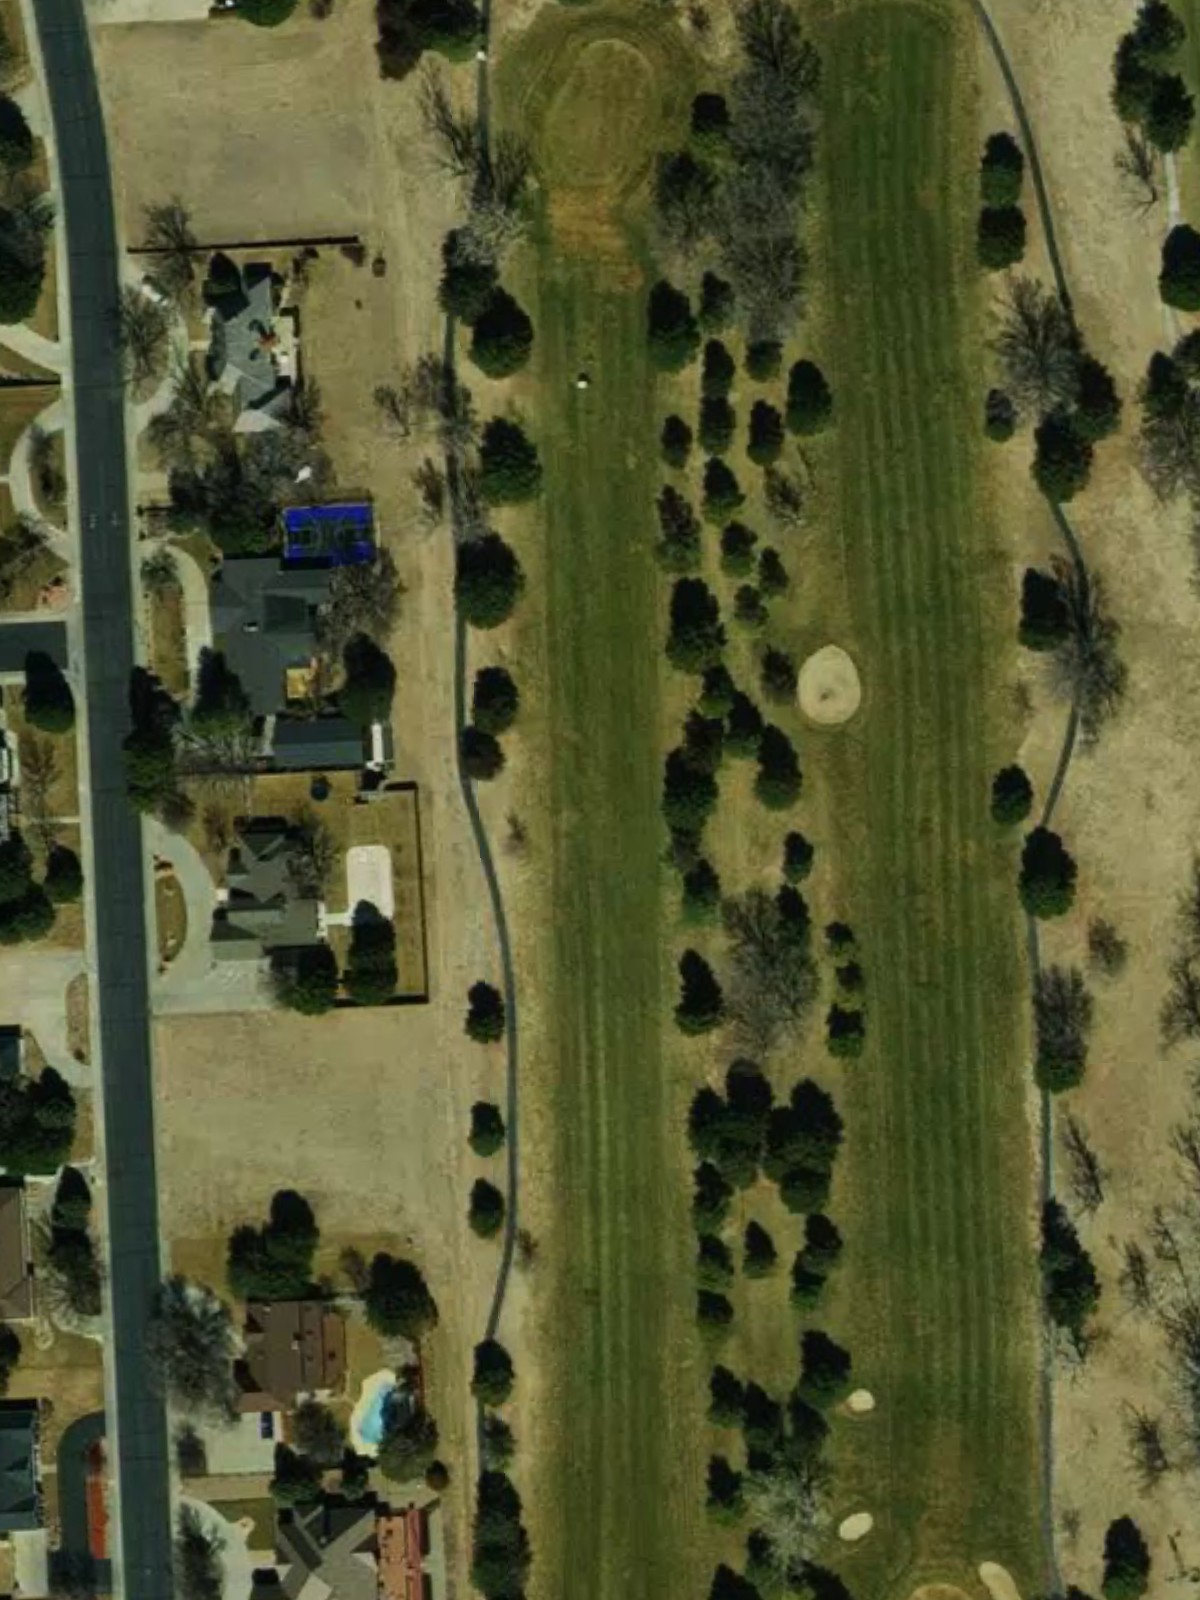
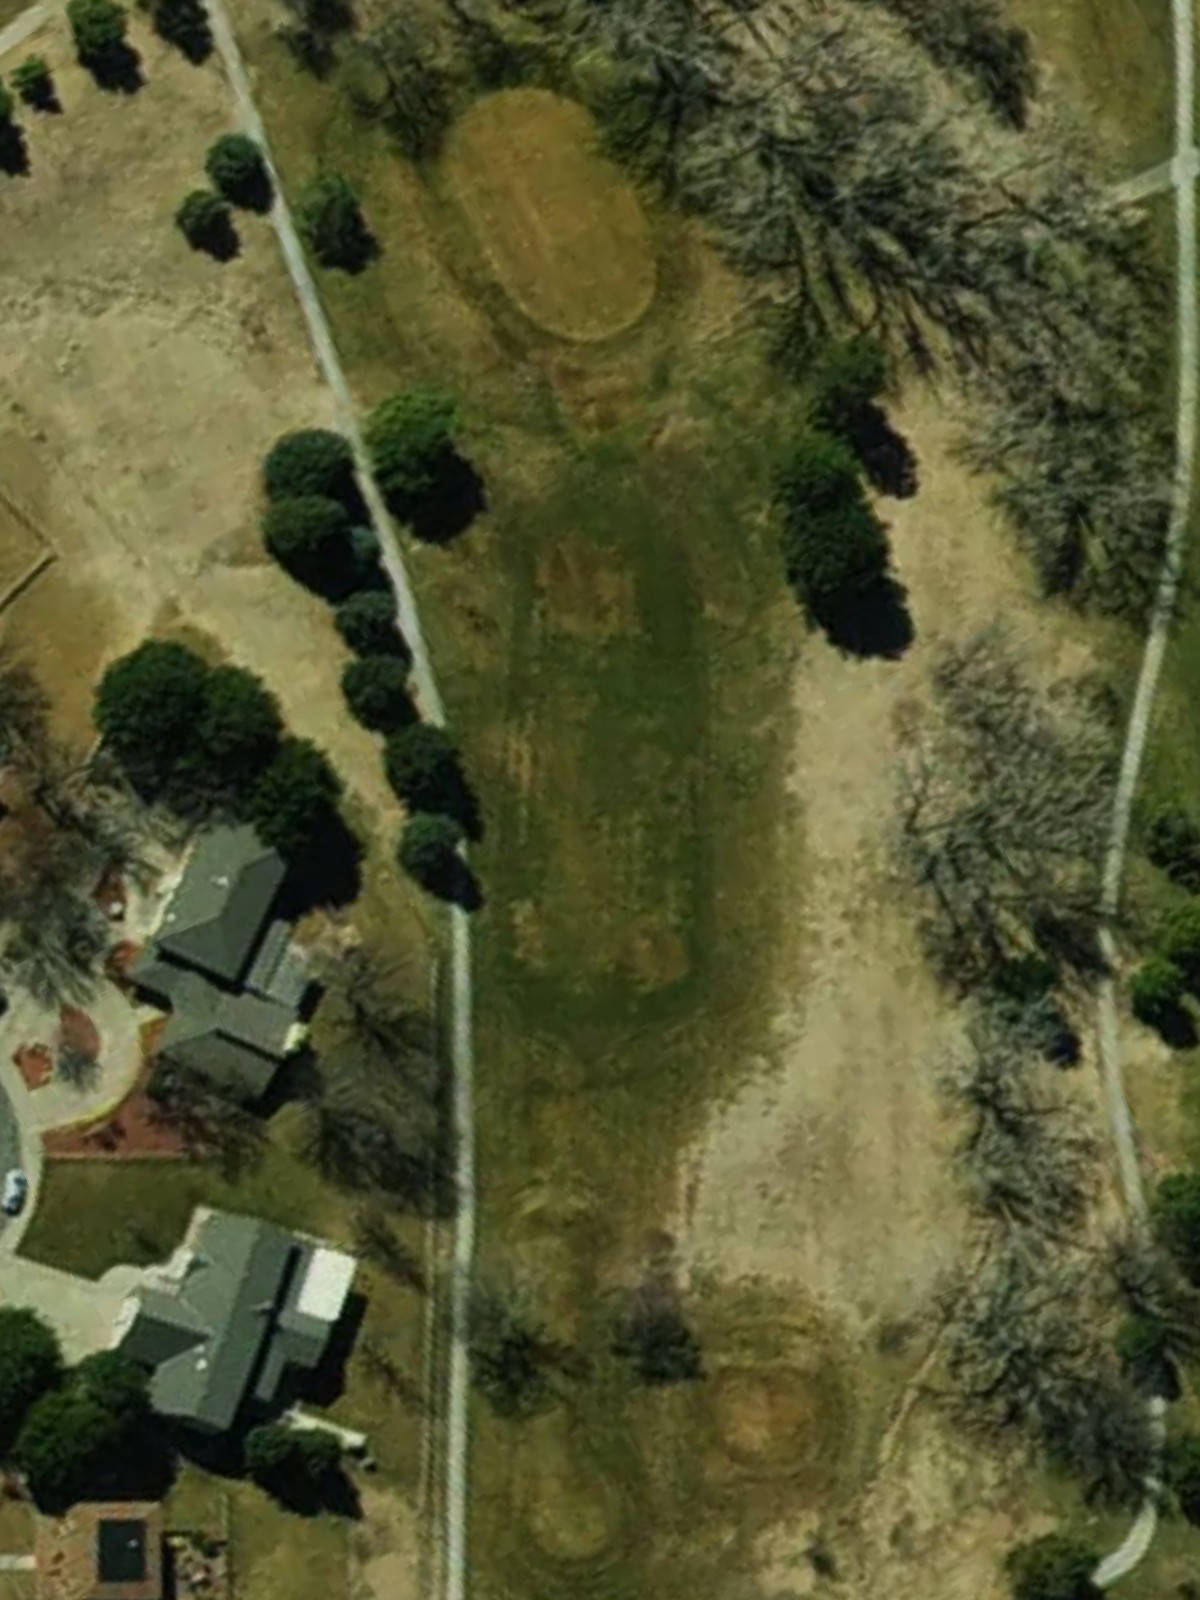
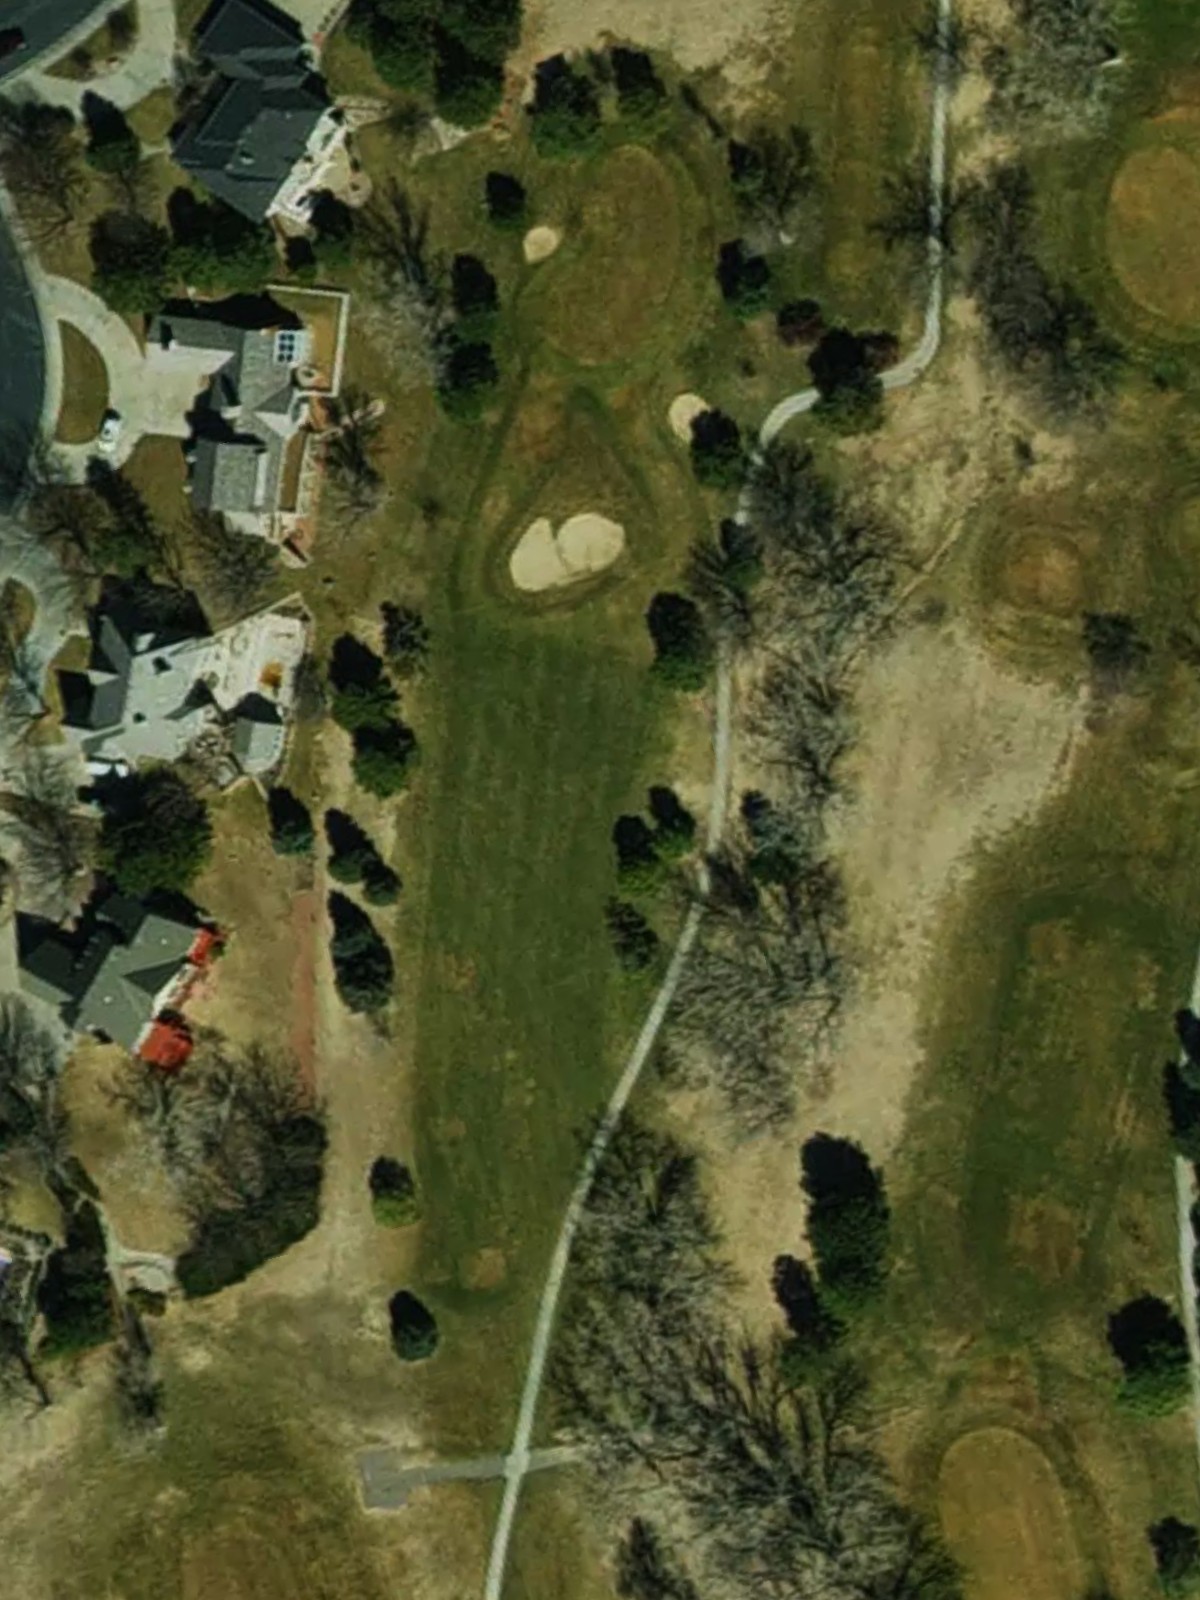
A short, straightforward par 4 that plays downhill to a narrow green. Bunkers protect the right side of the green, while the left side is open but features rough terrain that can affect approach shots.
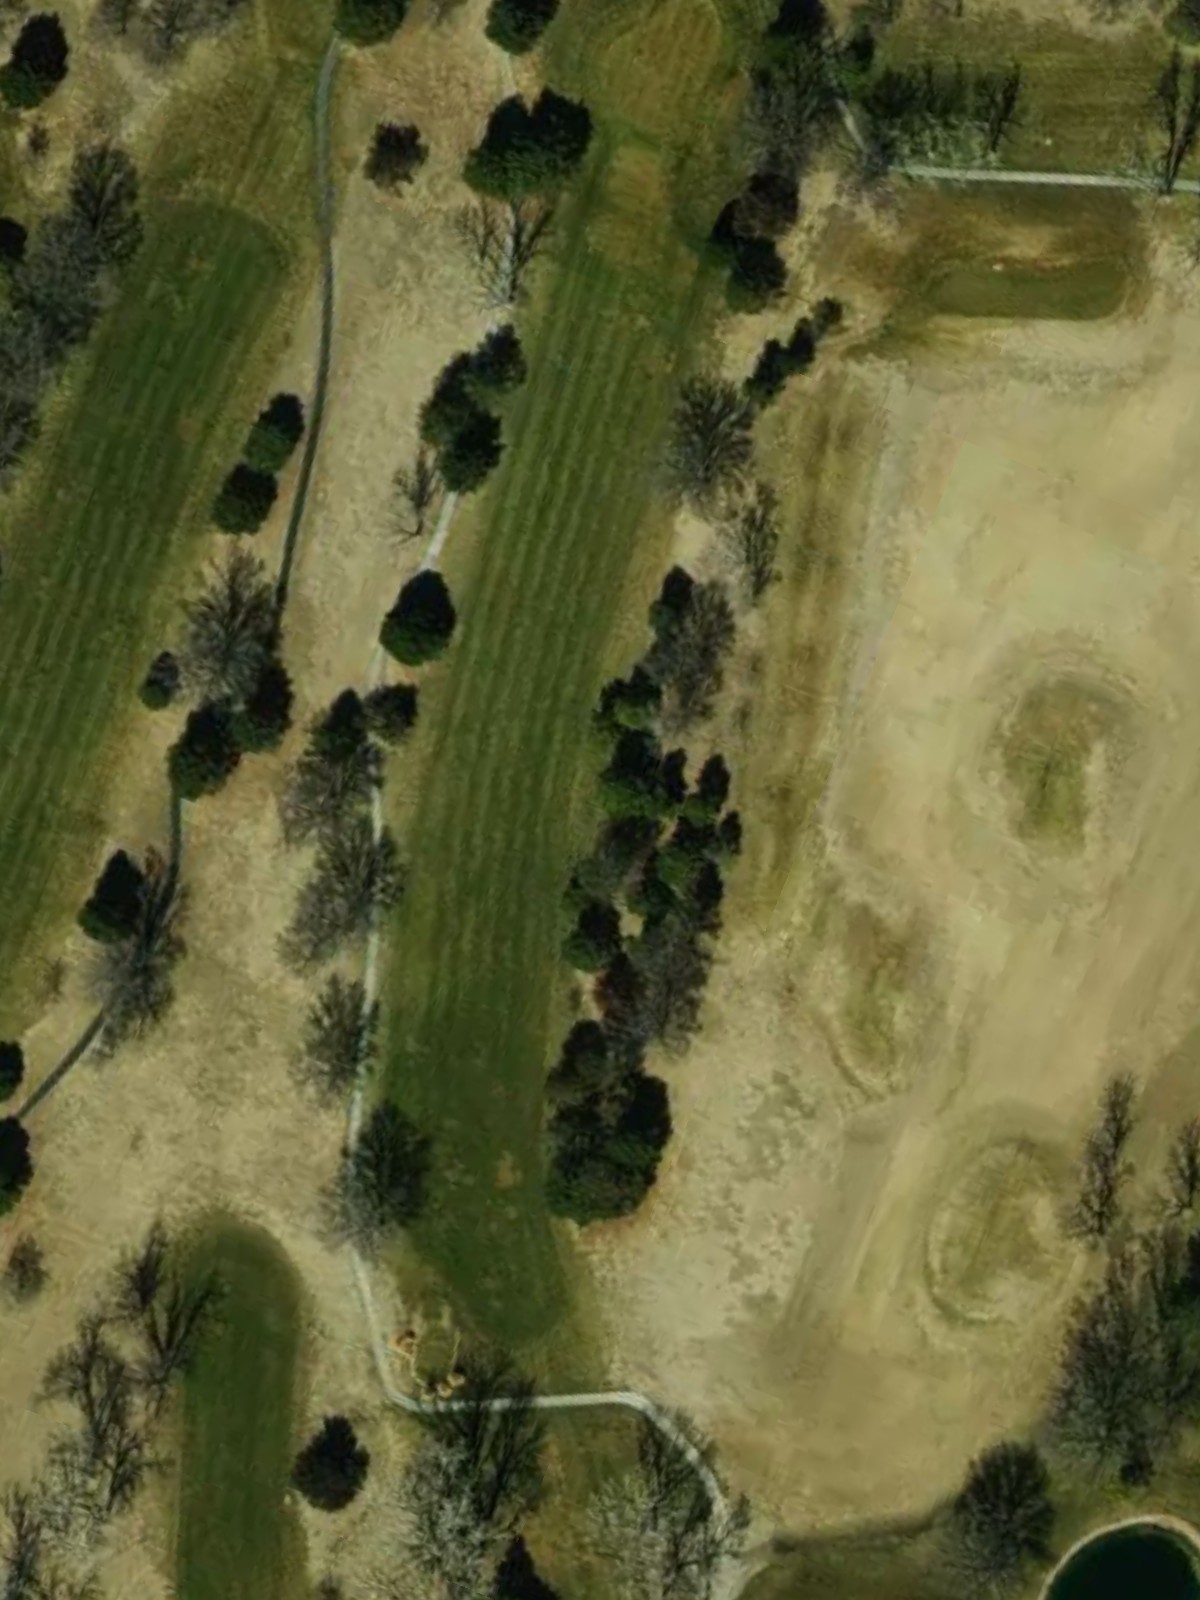
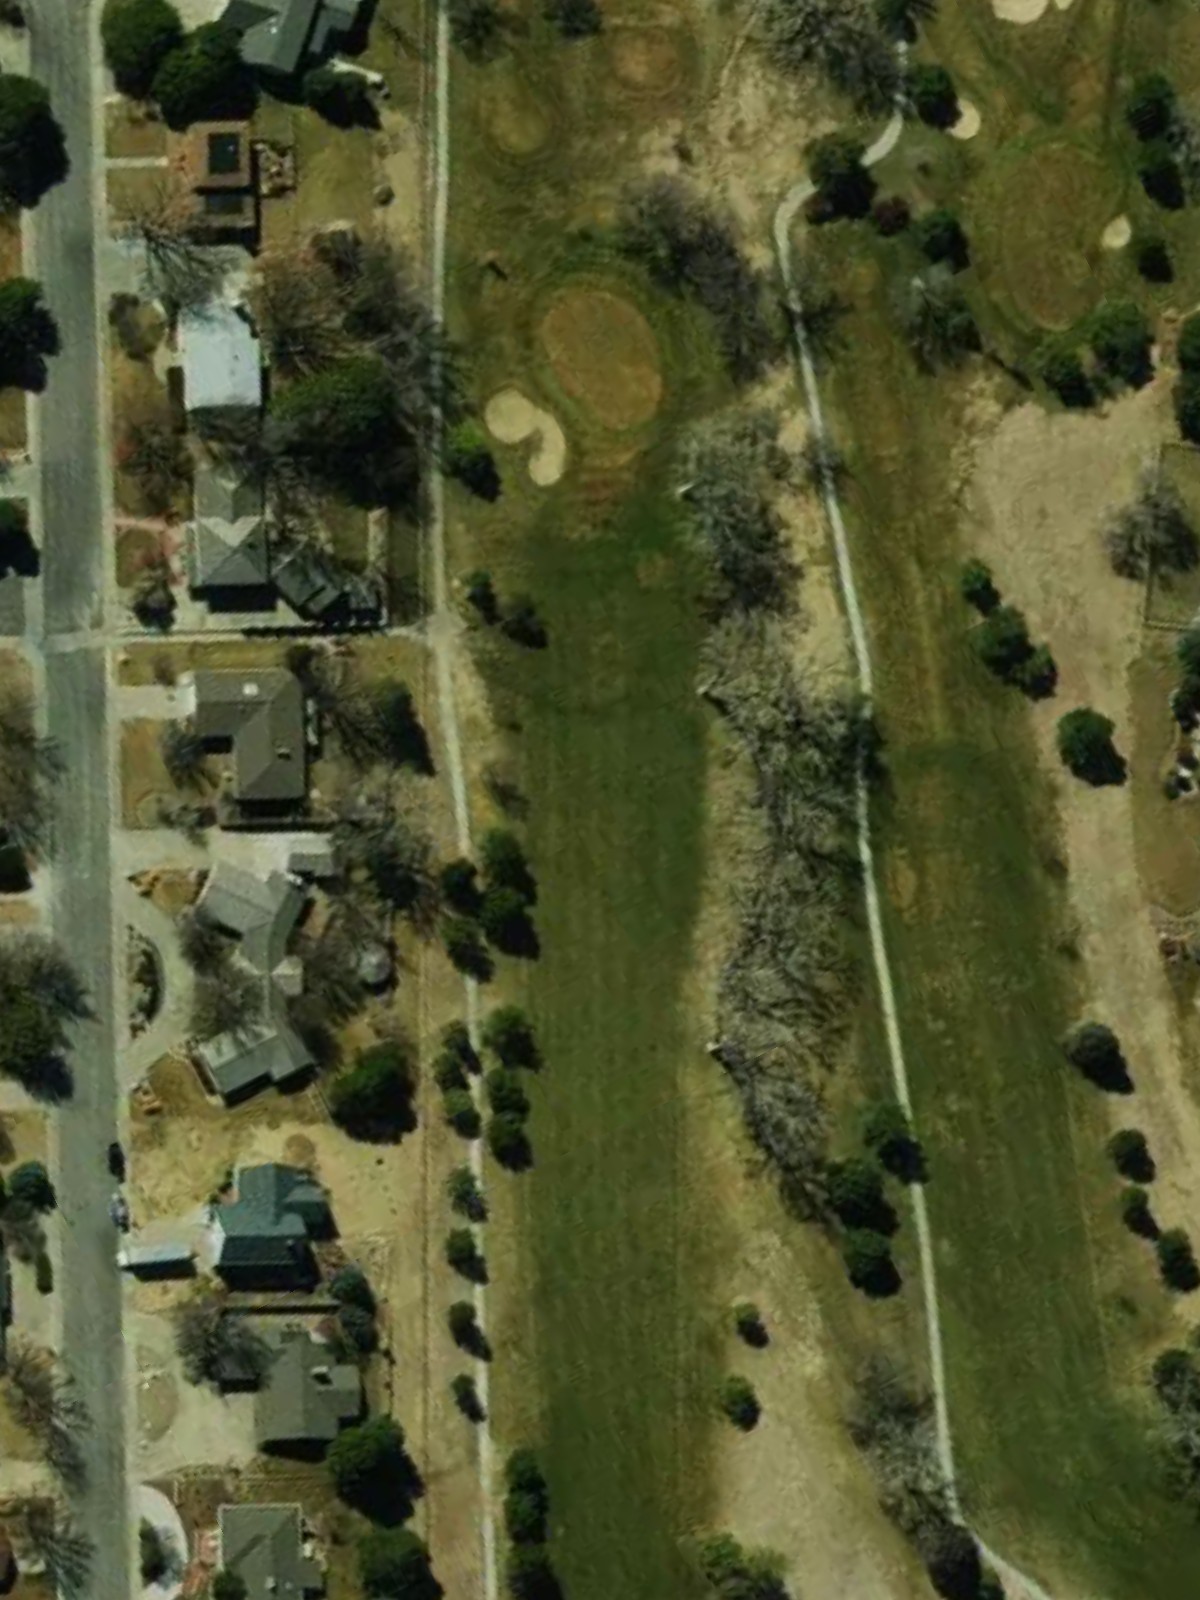
A long par 5 with a fairly open fairway that allows room for the tee shot. The hole requires two solid shots to reach the green in regulation, with bunkers guarding the approach and tight rough pinching the landing areas on the second shot.
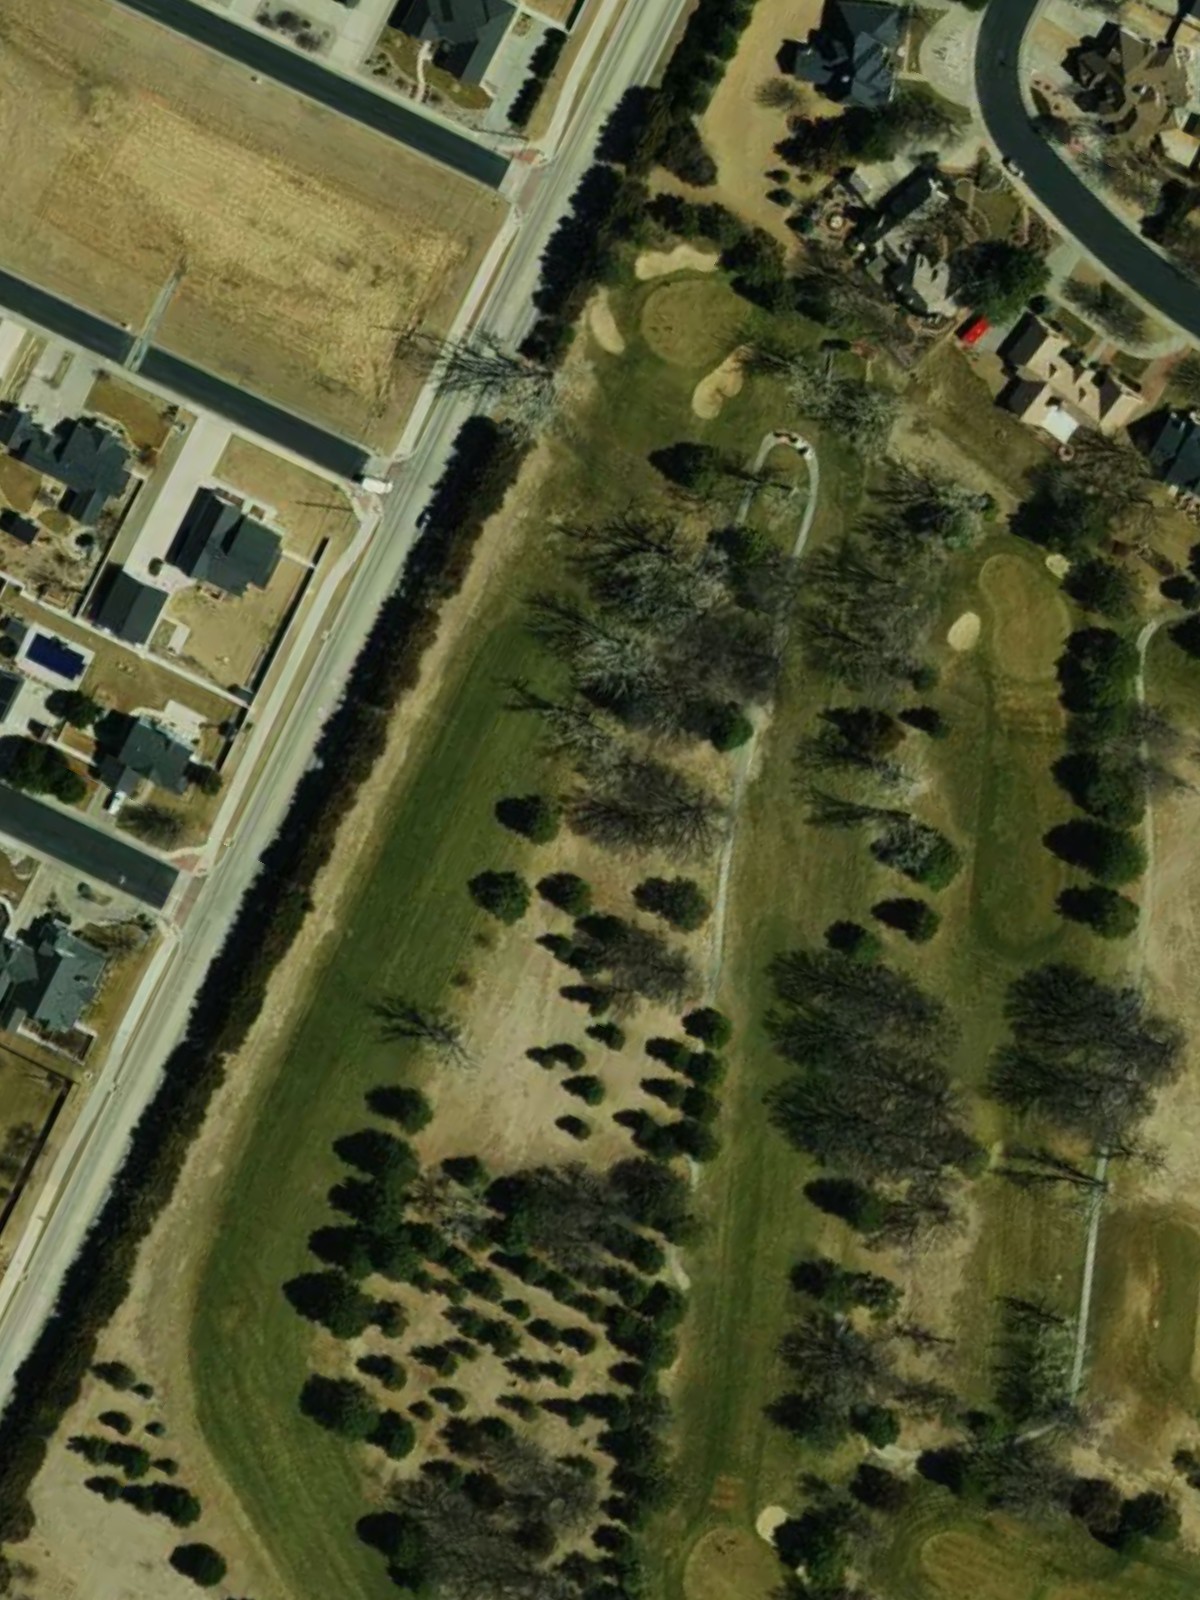
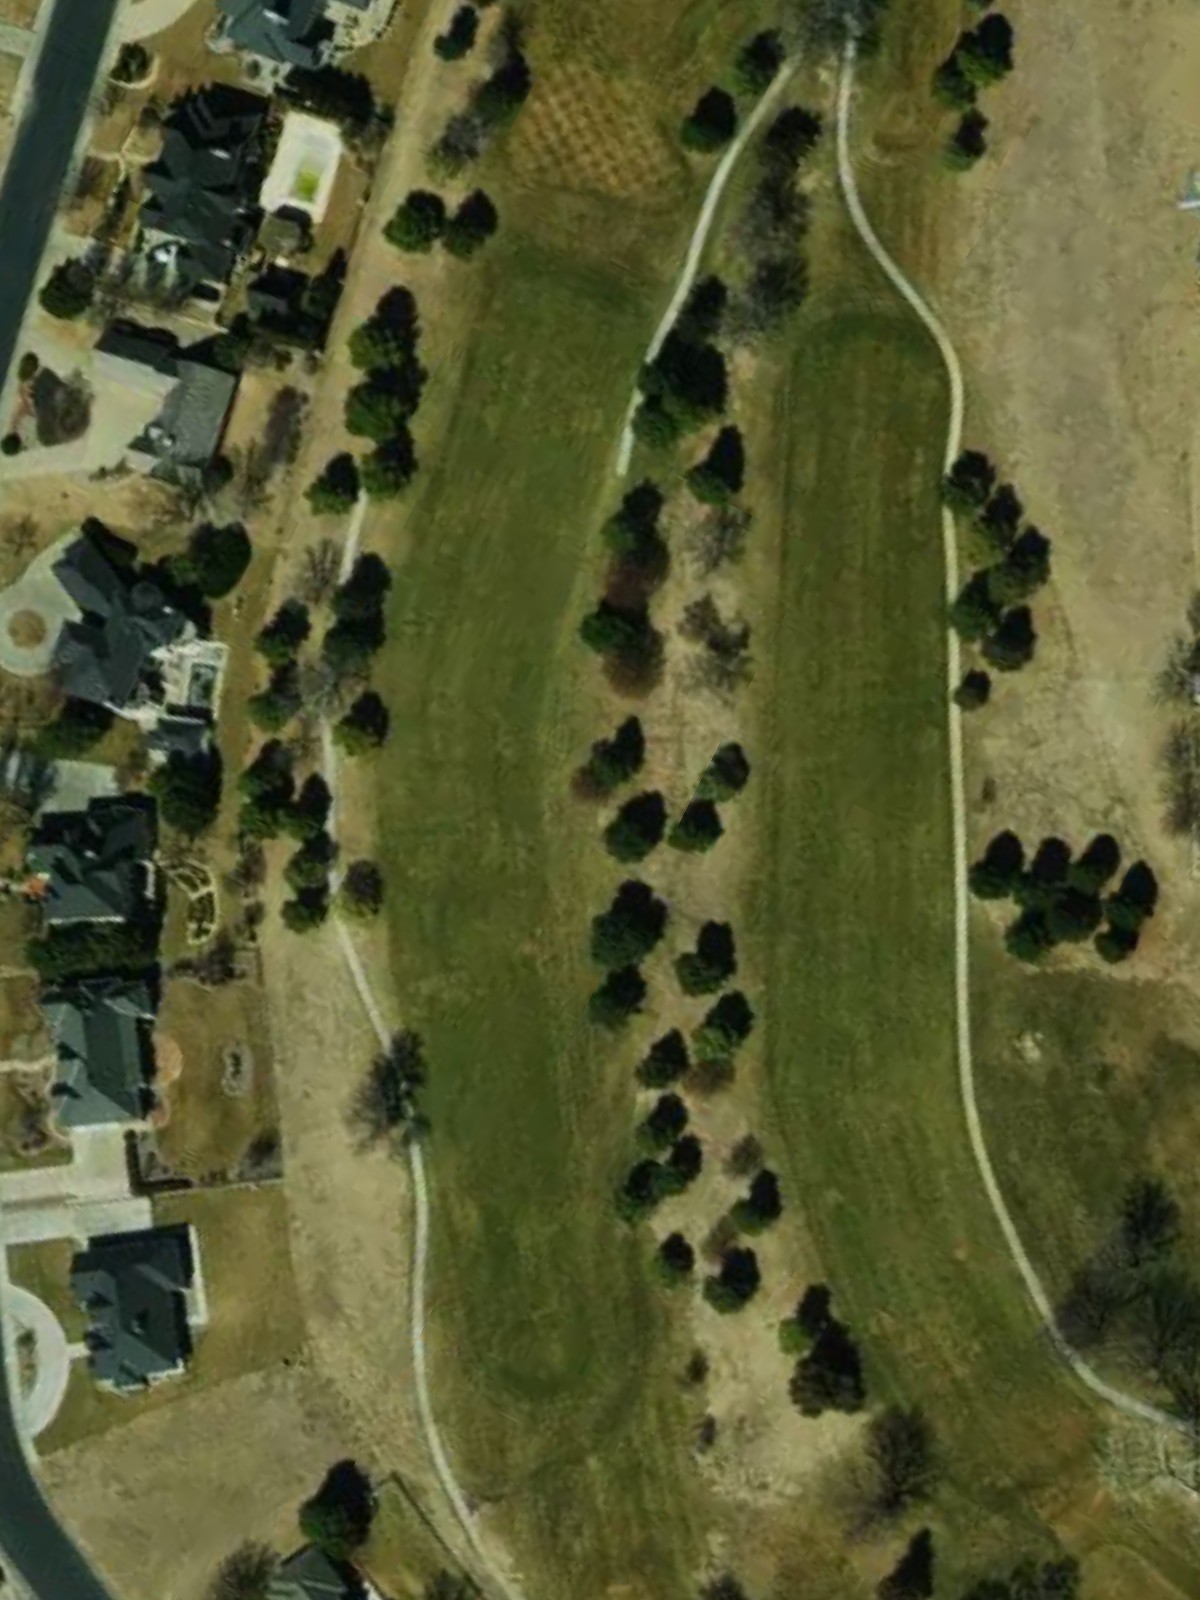
A short, demanding par 4 that plays as the course's third-toughest hole. The fairway is tight with hazards closing in on both sides, leaving little margin for error on either the drive or approach to a well-bunkered green.
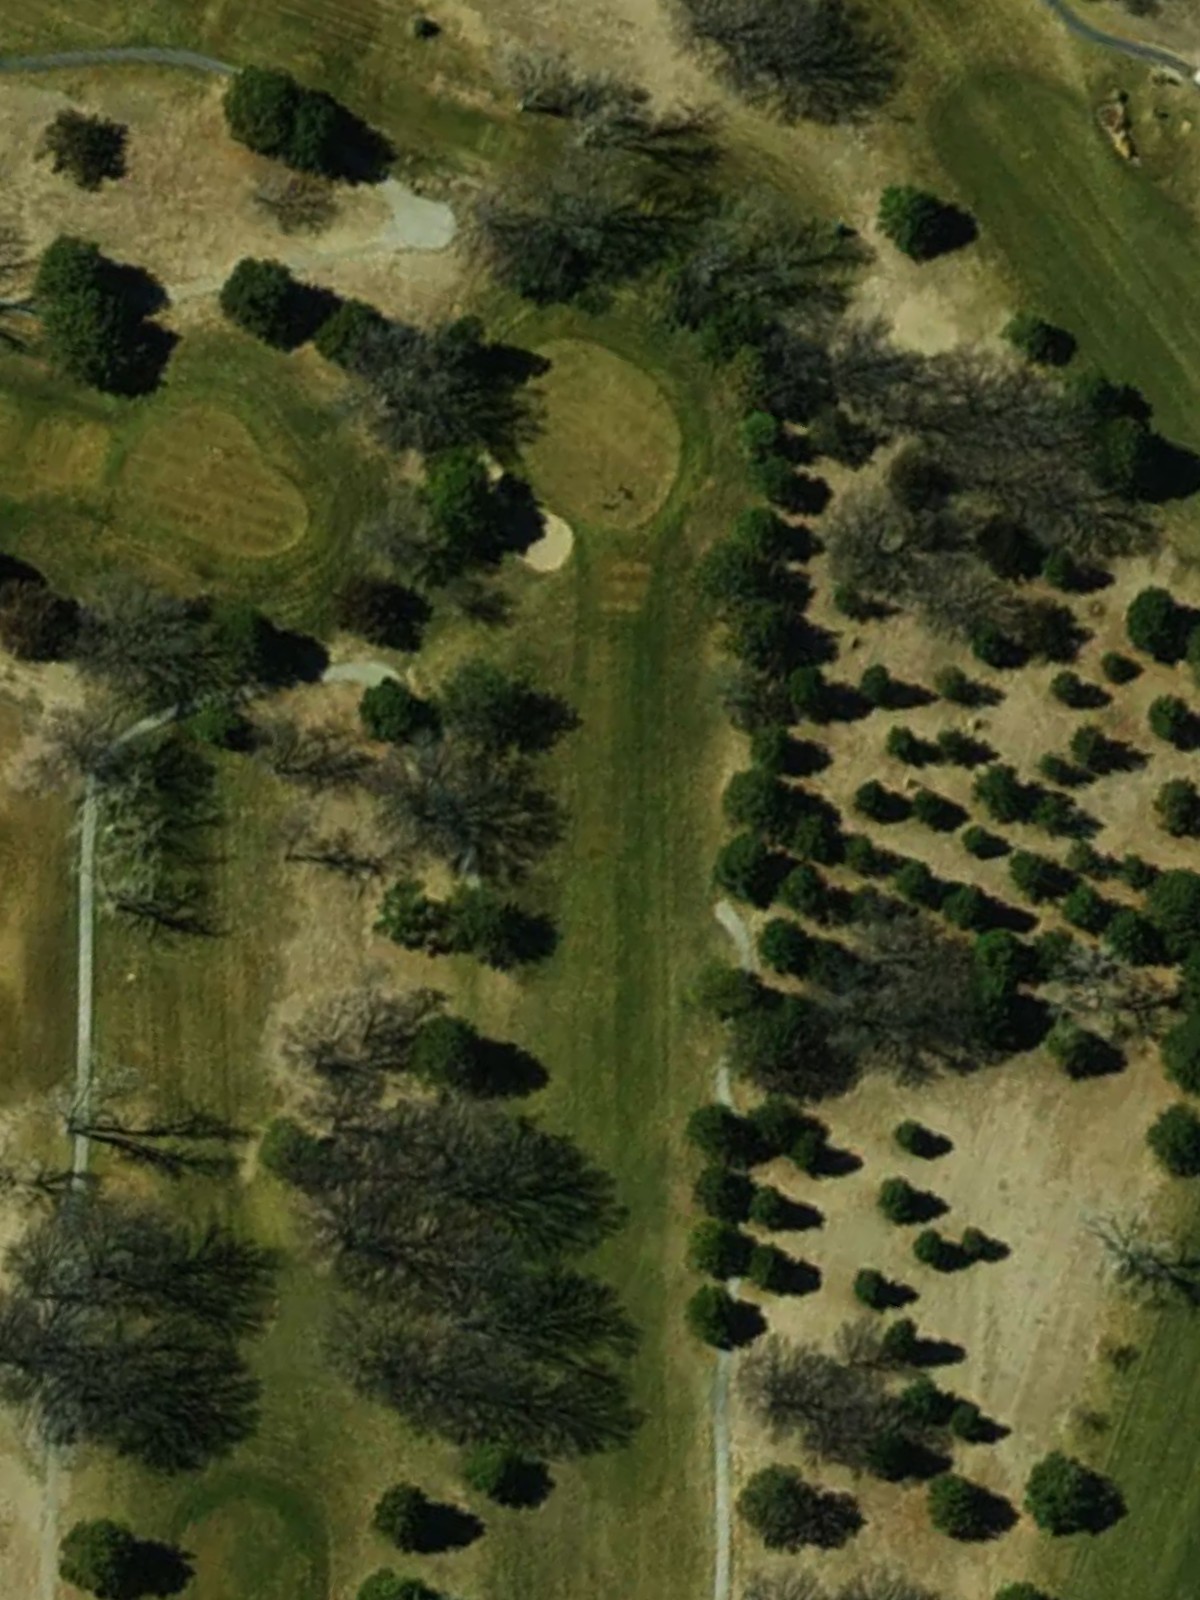
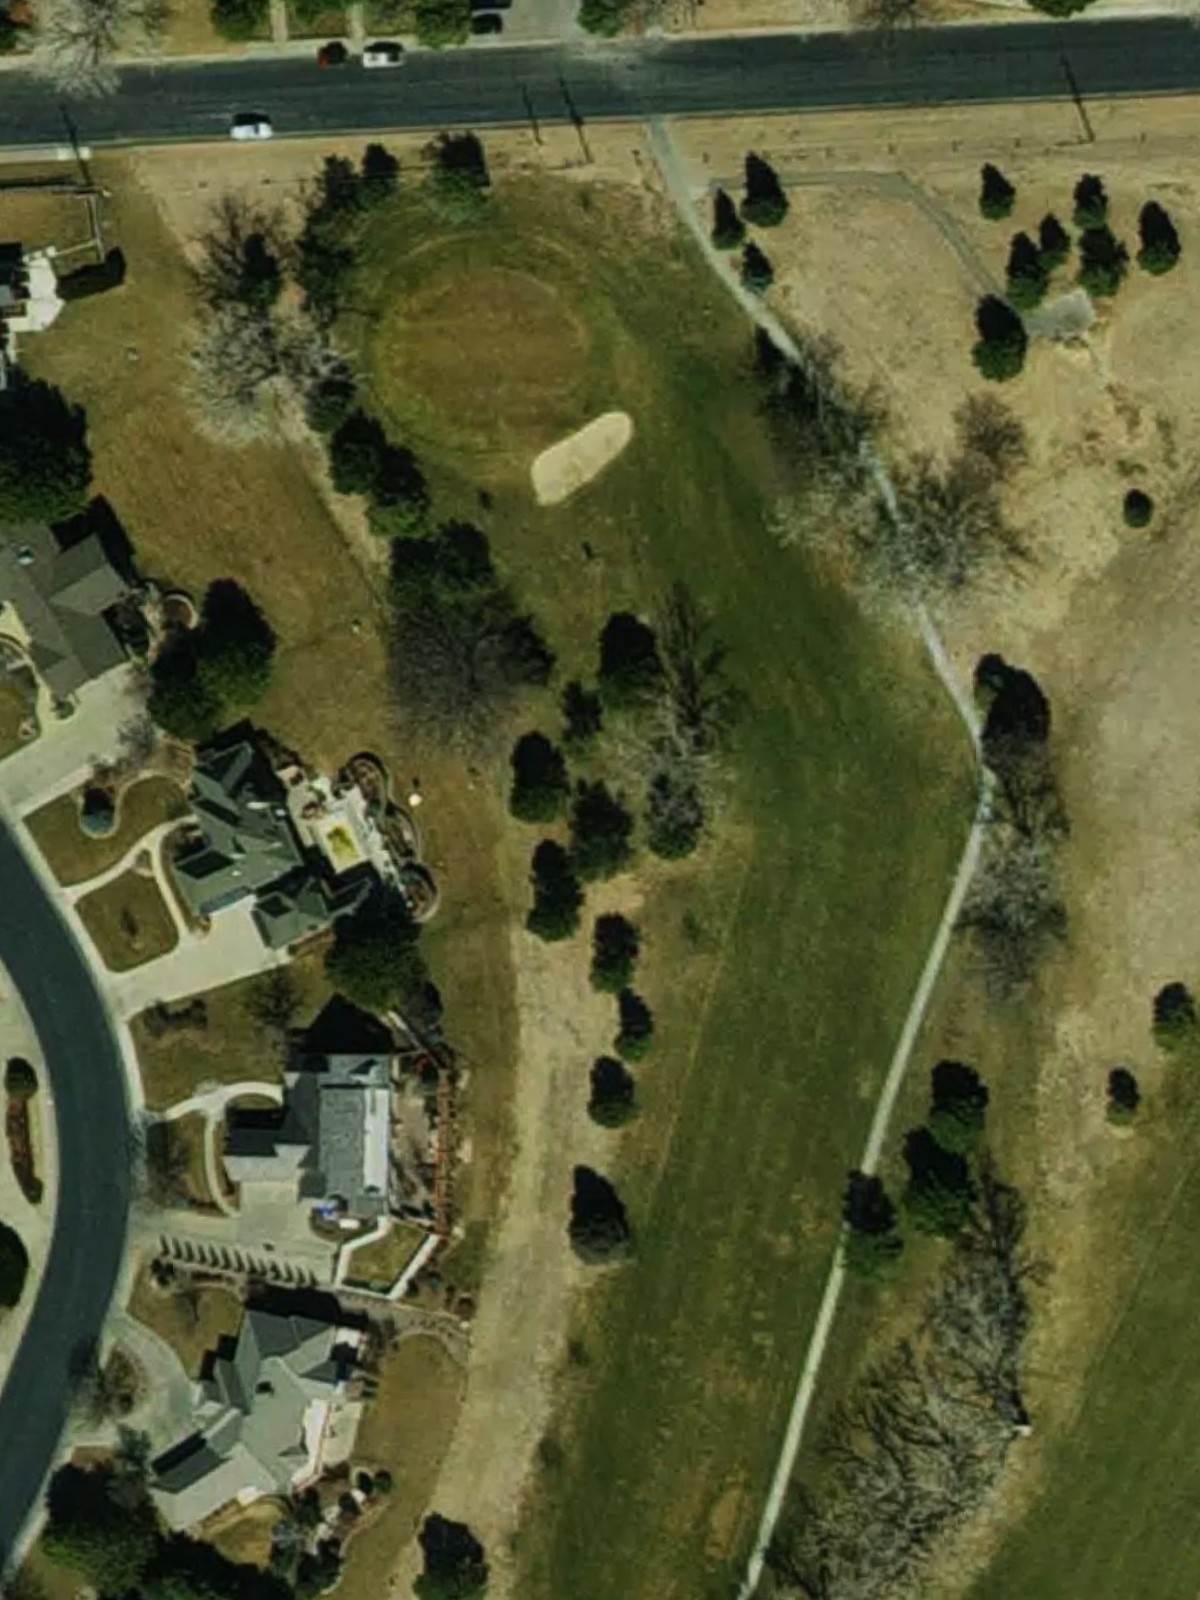
A modest par 3 with a straightforward approach to the green. A single bunker or water hazard fronts or guards one side of the green, requiring an accurate tee shot to avoid the hazard.
The second-toughest hole on the course, this par 4 stretches over 400 yards with a challenging dogleg or significant length. Bunkers and rough terrain frame both sides of the fairway and green, demanding precise execution throughout.
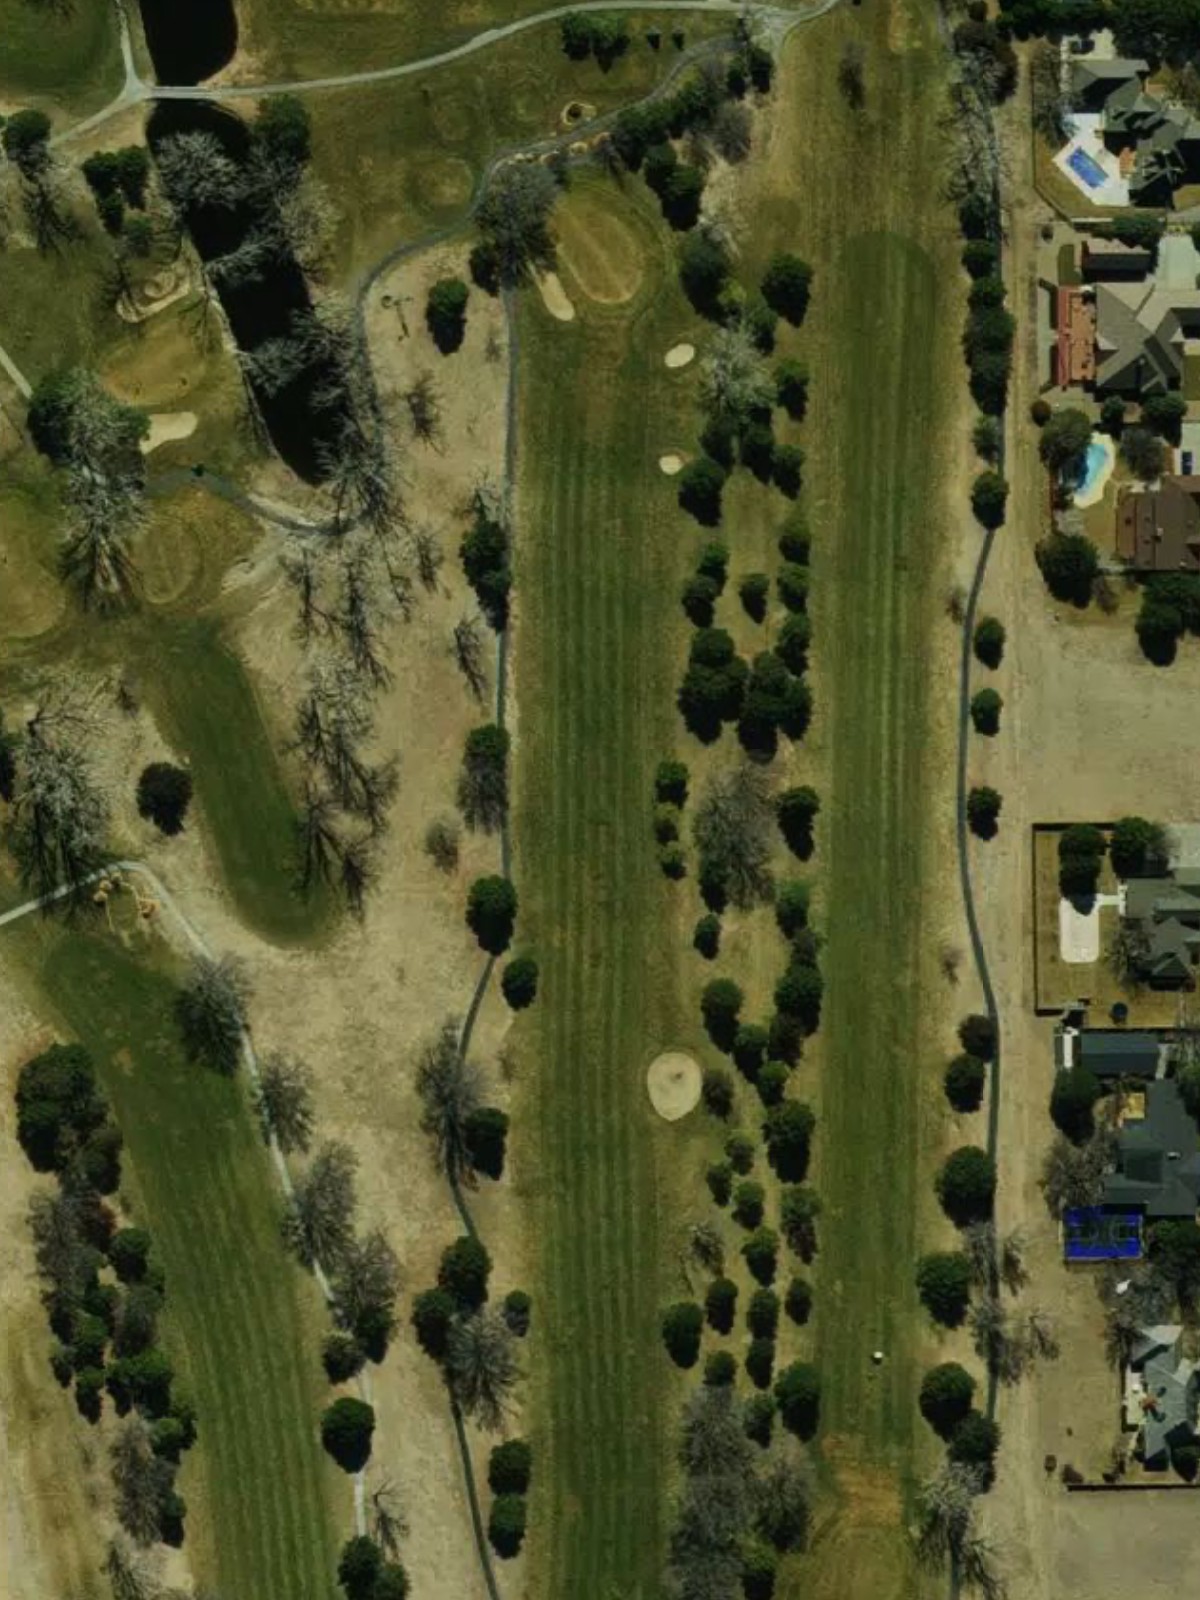
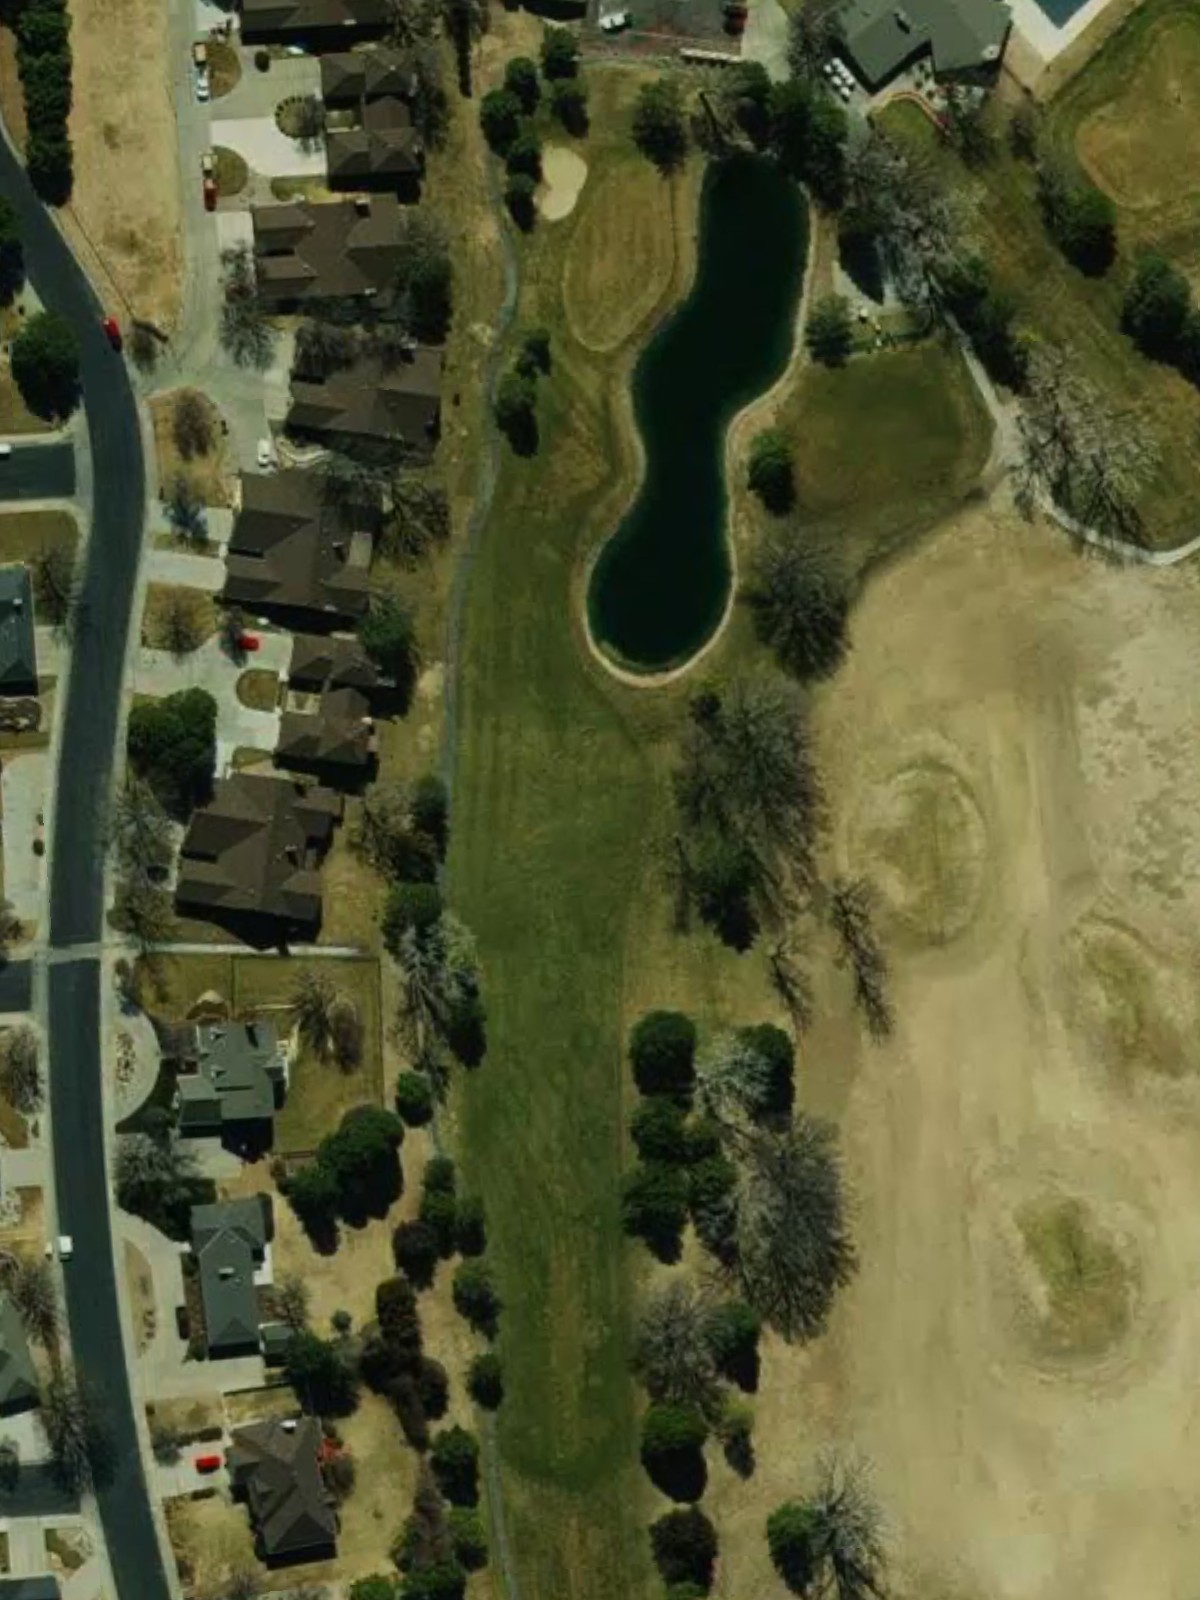
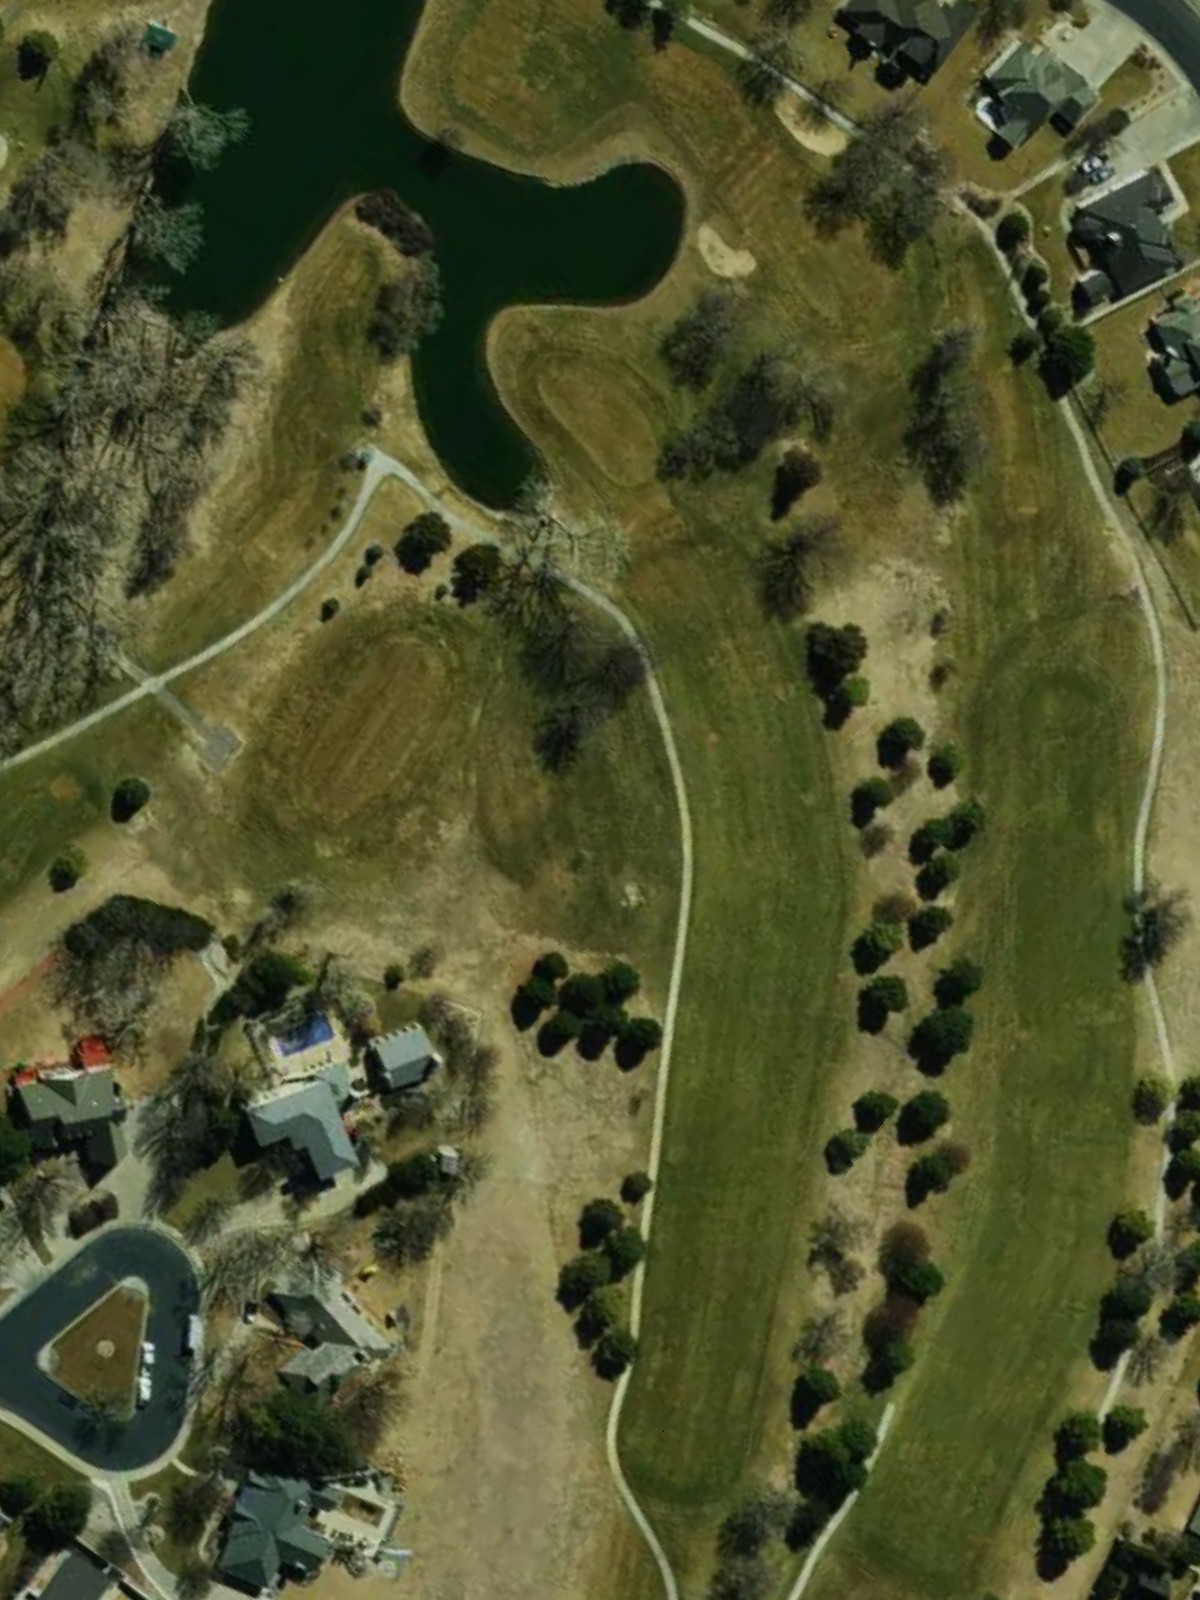
The course's signature hole and number-one handicap, this long par 5 demands two excellent shots to set up a third. Water or out-of-bounds creates a dramatic hazard on one side, while bunkers protect the green on the approach.
A modest par 4 with a relatively forgiving layout. The fairway opens up to allow room for the tee shot, though bunkers or a hazard near the green require careful positioning on the second shot.
A short par 3 playing under 200 yards from the back tees. The green is protected by one or more bunkers, making precision off the tee essential to avoid the sand.
The third-toughest hole on the course, this par 4 presents a significant challenge through length or a dramatic dogleg. Bunkers guard the landing area and green, requiring two well-struck shots to find the putting surface.
A strong par 4 that ranks among the course's most difficult. Hazards frame the fairway or guard the green, and the hole's design requires both distance and accuracy to navigate successfully.
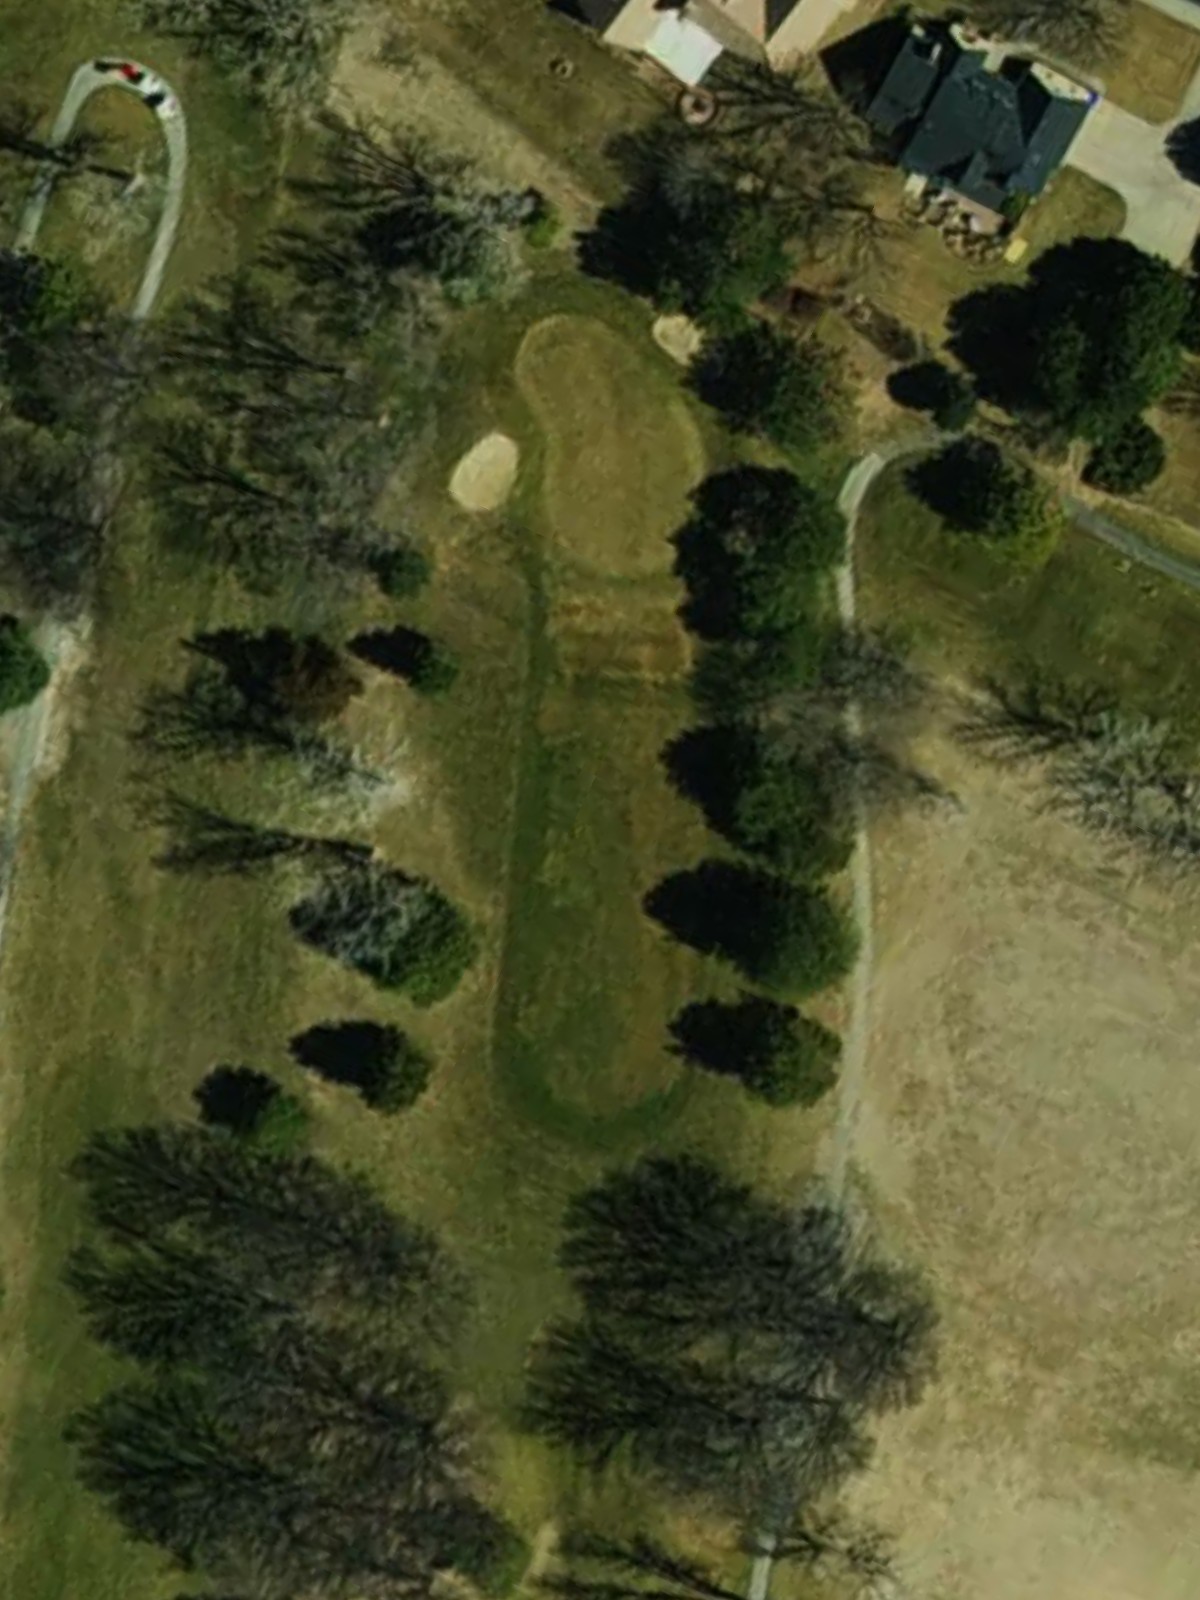
A short par 3 under 170 yards from the tips. The green is defended by a bunker or water hazard, though the relatively short distance allows for a direct approach.

A mid-length par 4 with a fairly open fairway. Bunkers or rough terrain near the green create a target for the second shot, while the fairway allows some room off the tee.
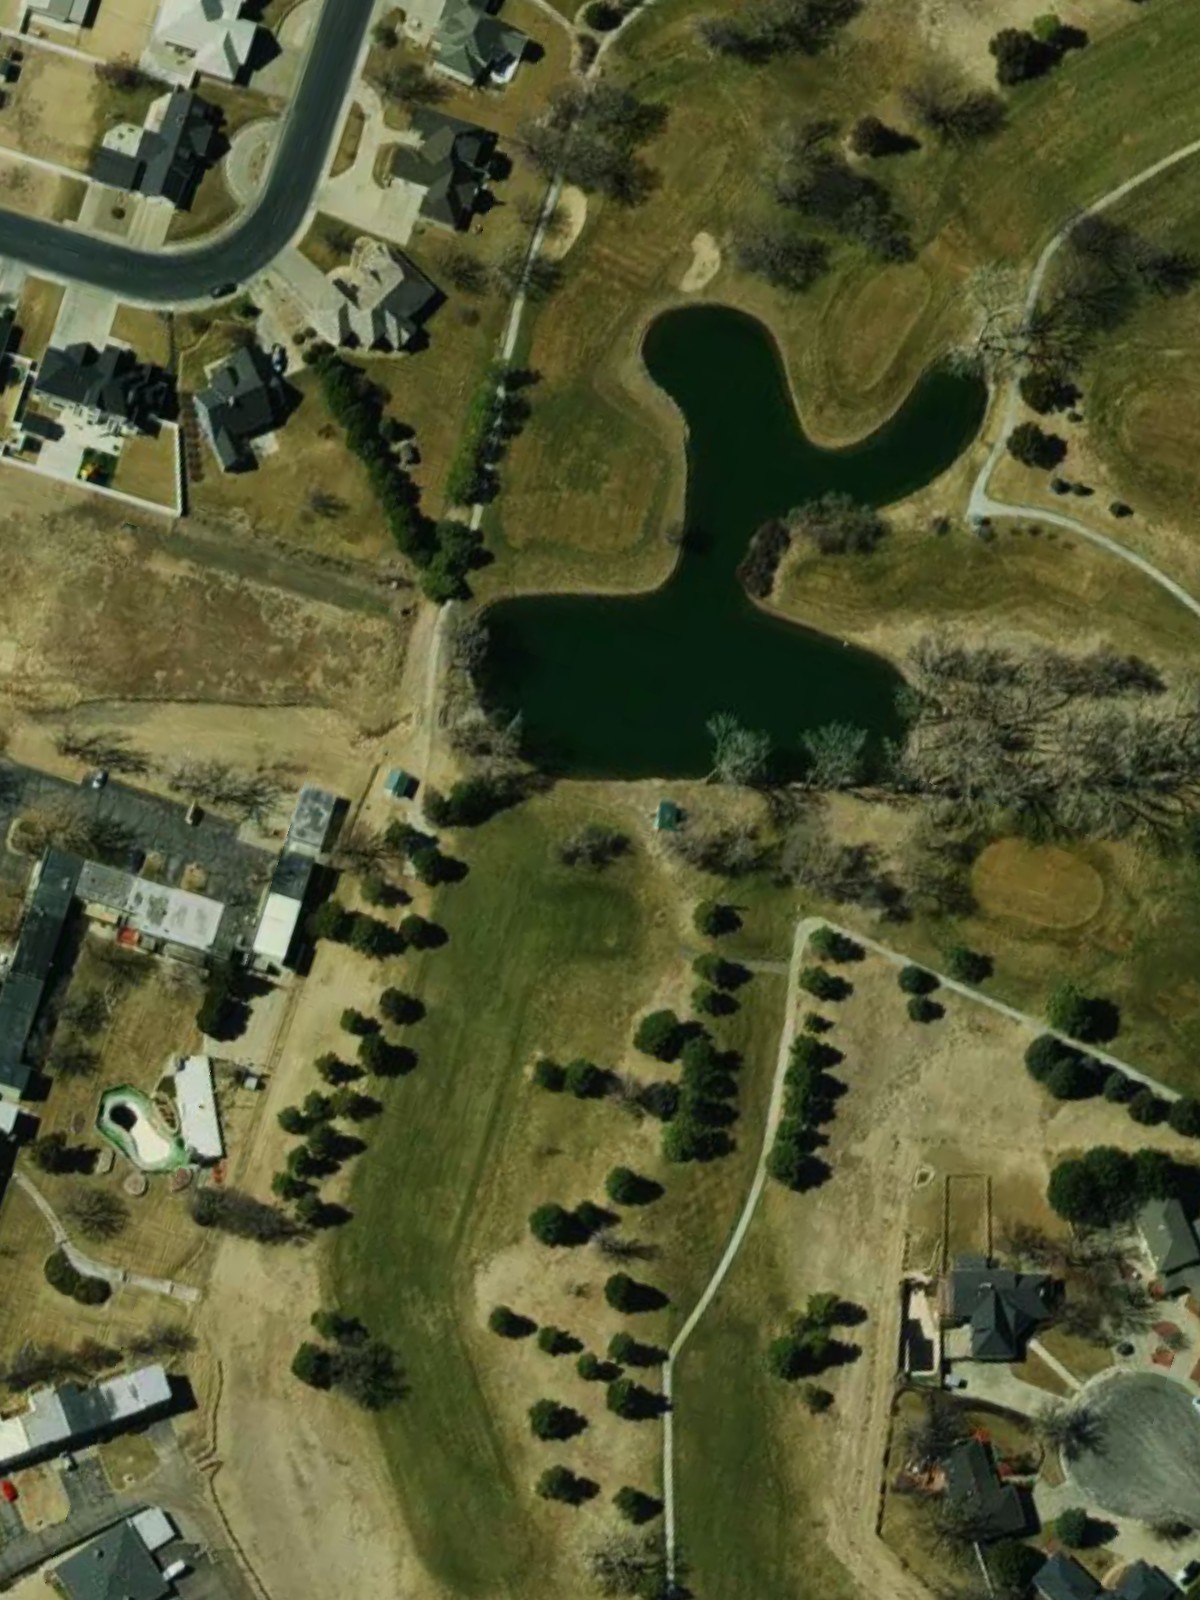
The second-toughest hole on the course, this long par 5 demands careful navigation over its full length. A significant hazard—water or out-of-bounds—comes into play on one side, with bunkers protecting the green and landing areas.
A challenging par 4 that ranks sixth in difficulty. Bunkers frame the fairway and/or guard the green, and the hole's design requires precise positioning to avoid the hazards on the approach.
A mid-length par 4 with moderate difficulty. The fairway allows reasonable room off the tee, but bunkers or a hazard near the green demands accuracy on the second shot.
A short par 4, the easiest hole on the course, that plays under 300 yards. The fairway is relatively open, providing an opportunity to reach the green in two with minimal hazard interference.
A mid-length par 4 with moderate length and challenge. Bunkers protect the green, and the fairway layout requires solid positioning off the tee to set up a clear approach.
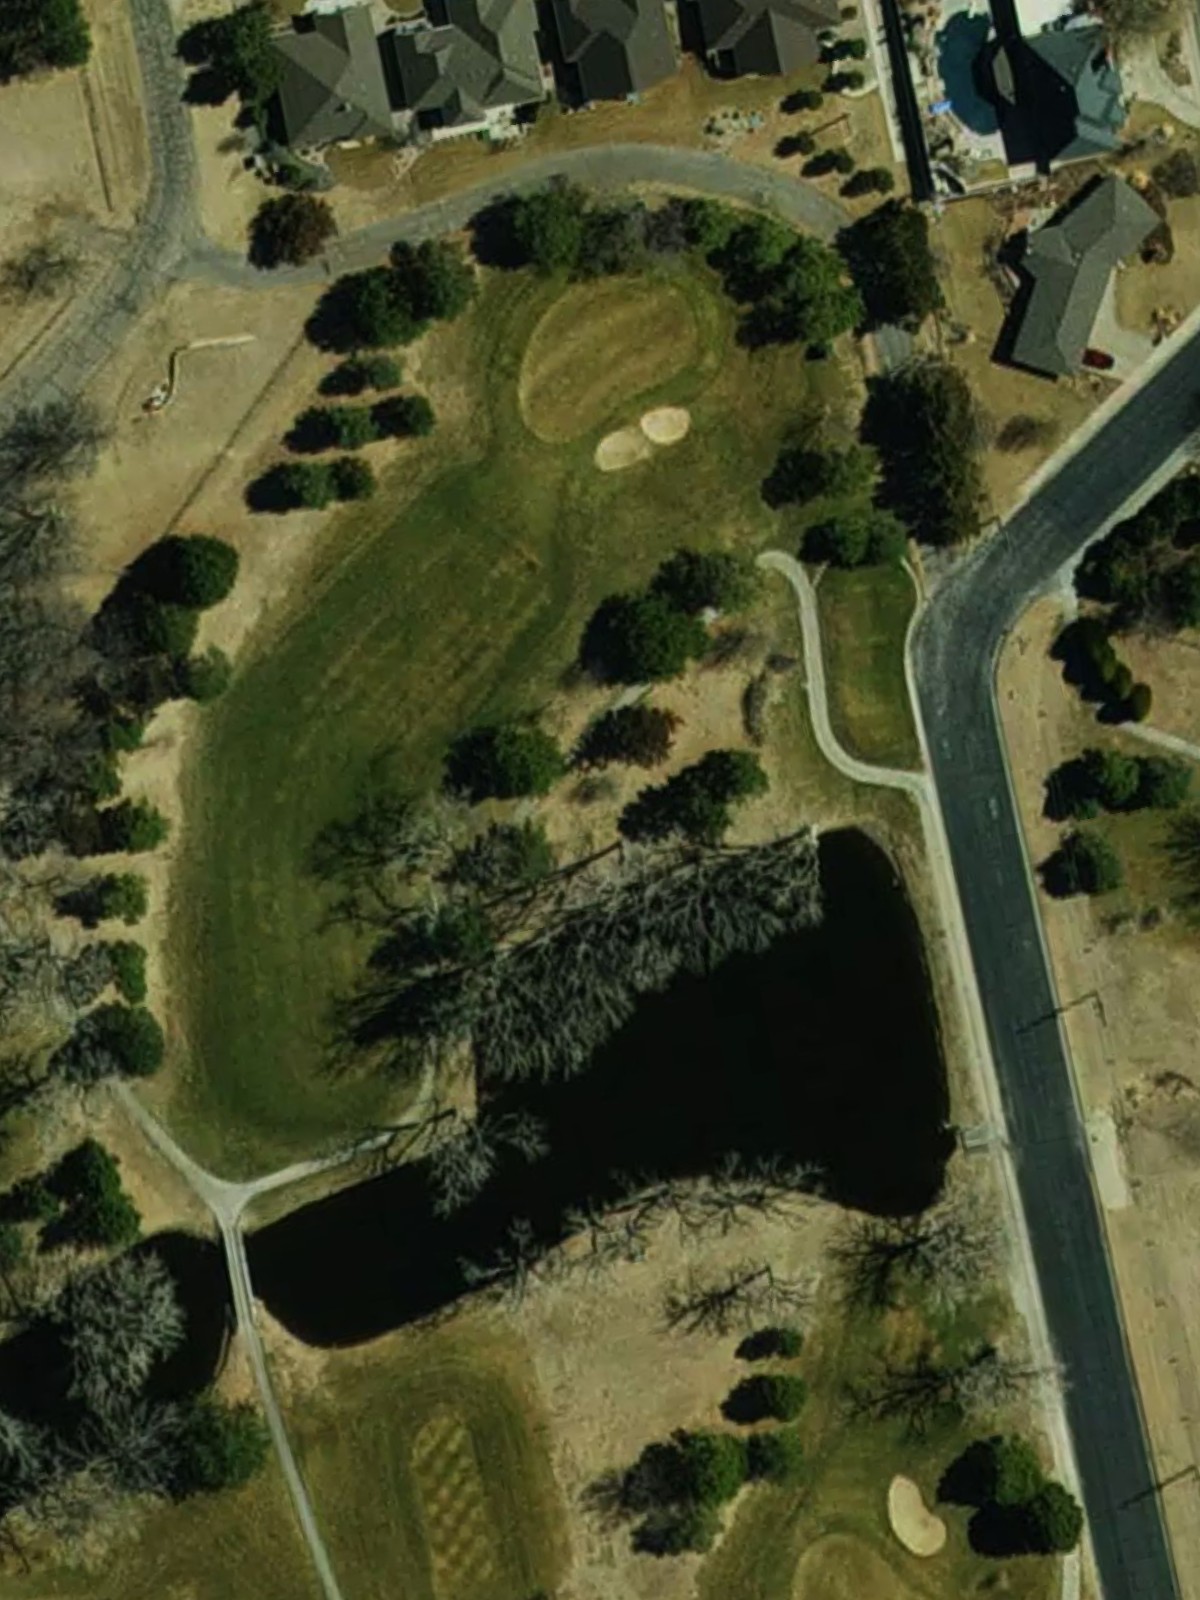
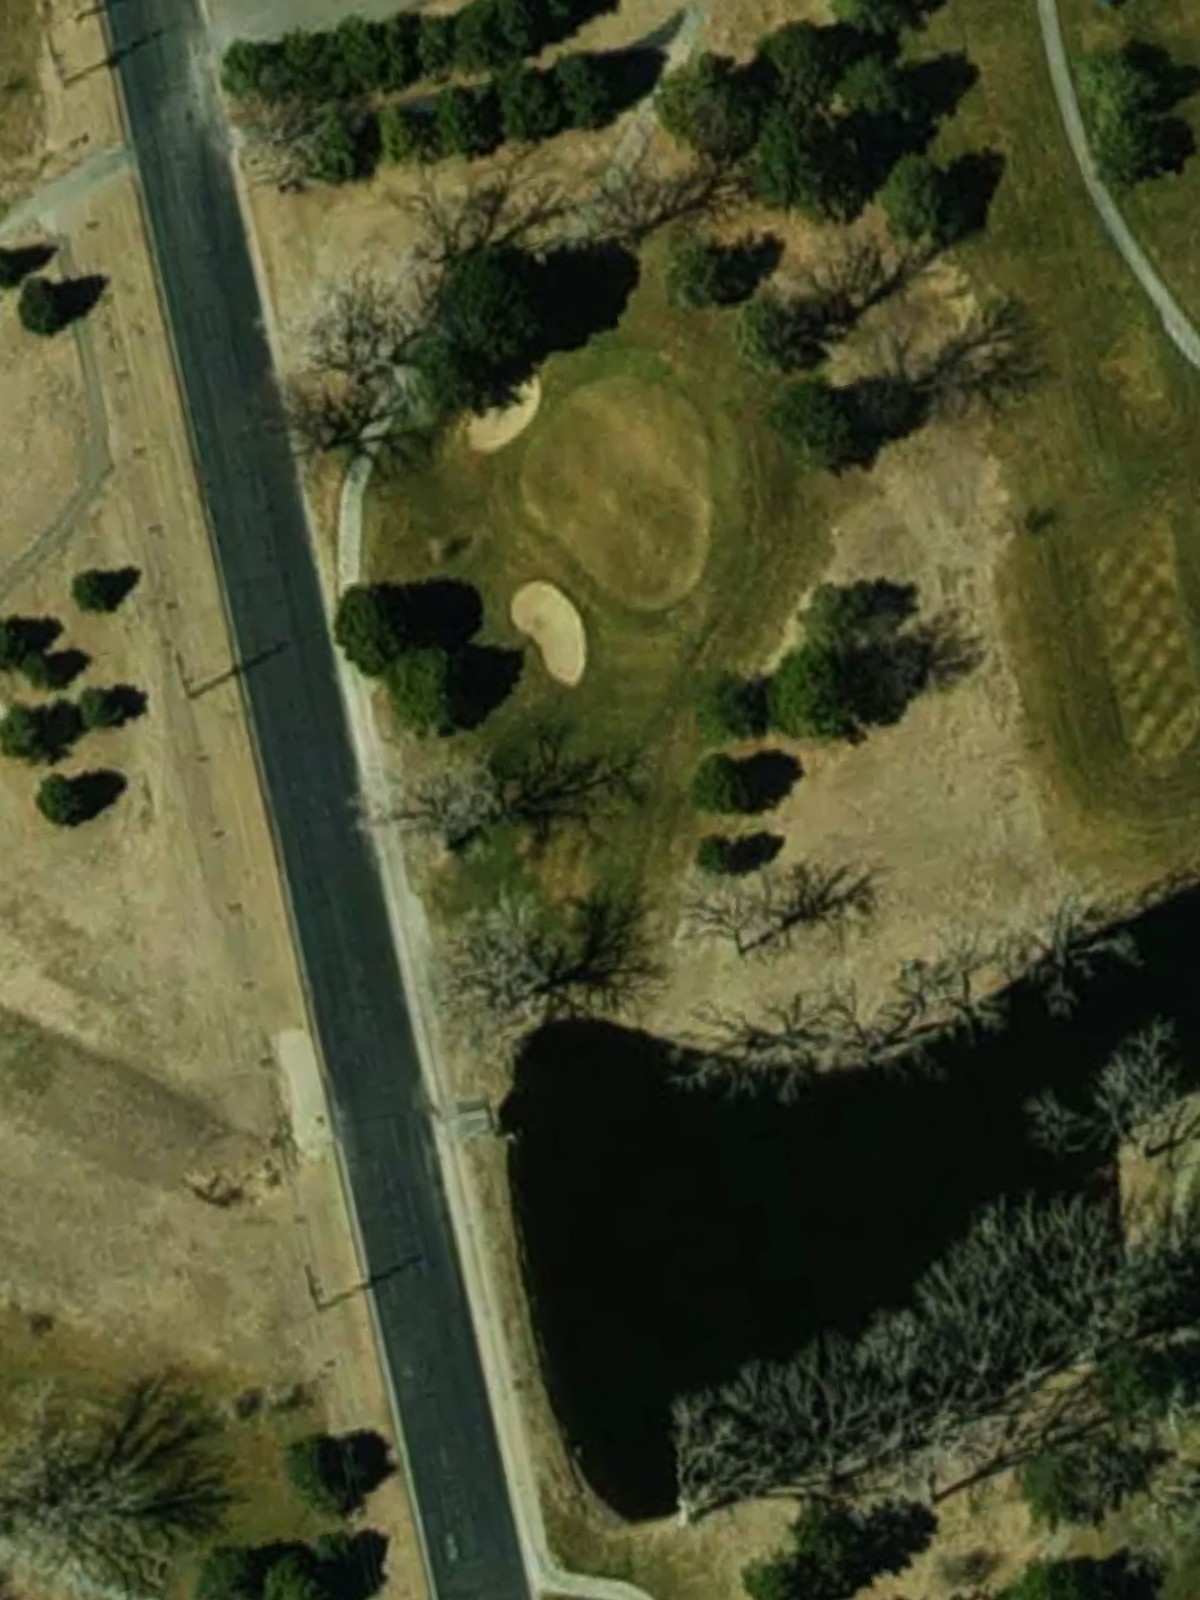
A finishing par 3 playing under 150 yards that provides a dramatic conclusion to the round. The green is protected by bunkers and/or water, making the final tee shot a critical test of nerve and accuracy.
Scorecard
| Hole | 1 | 2 | 3 | 4 | 5 | 6 | 7 | 8 | 9 | Out | 10 | 11 | 12 | 13 | 14 | 15 | 16 | 17 | 18 | In | Tot |
|---|---|---|---|---|---|---|---|---|---|---|---|---|---|---|---|---|---|---|---|---|---|
| Par | 4 | 5 | 4 | 3 | 4 | 5 | 4 | 3 | 4 | 36 | 4 | 3 | 4 | 5 | 4 | 4 | 4 | 4 | 3 | 35 | 71 |
| HCP | 9 | 17 | 7 | 13 | 5 | 1 | 15 | 11 | 3 | 4 | 14 | 12 | 2 | 6 | 10 | 18 | 8 | 16 | |||
| black | 391 | 501 | 327 | 170 | 431 | 551 | 315 | 202 | 392 | 3280 | 360 | 169 | 337 | 515 | 372 | 352 | 300 | 316 | 145 | 2866 | 6146 |
| white | 376 | 460 | 307 | 154 | 423 | 534 | 301 | 190 | 366 | 3111 | 340 | 152 | 318 | 500 | 345 | 328 | 278 | 306 | 120 | 2687 | 5798 |
| gold | 269 | 423 | 242 | 149 | 419 | 401 | 290 | 141 | 334 | 2668 | 319 | 135 | 314 | 405 | 318 | 305 | 245 | 294 | 92 | 2427 | 5095 |