Sleepy Ridge Gc is an 18-hole golf course in Orem, UT with a par of 72. It offers 4 tee sets: black (6,841 yards, slope 129, rating 72), blue (6,391 yards, slope 125, rating 70.2), white (5,960 yards, slope 117, rating 68.3), gold (5,064 yards, slope 106, rating 63.7). The hardest hole is #6, a par 4 playing 428 yards from the first tee.
Sleepy Ridge Gc
Orem, UT
Get PDF Yardage Book
We'll email you the PDF link. No spam, ever.
Create Your Game Plan
Pick your tees, enter your bag, and get a personalized shot-by-shot strategy for every hole.
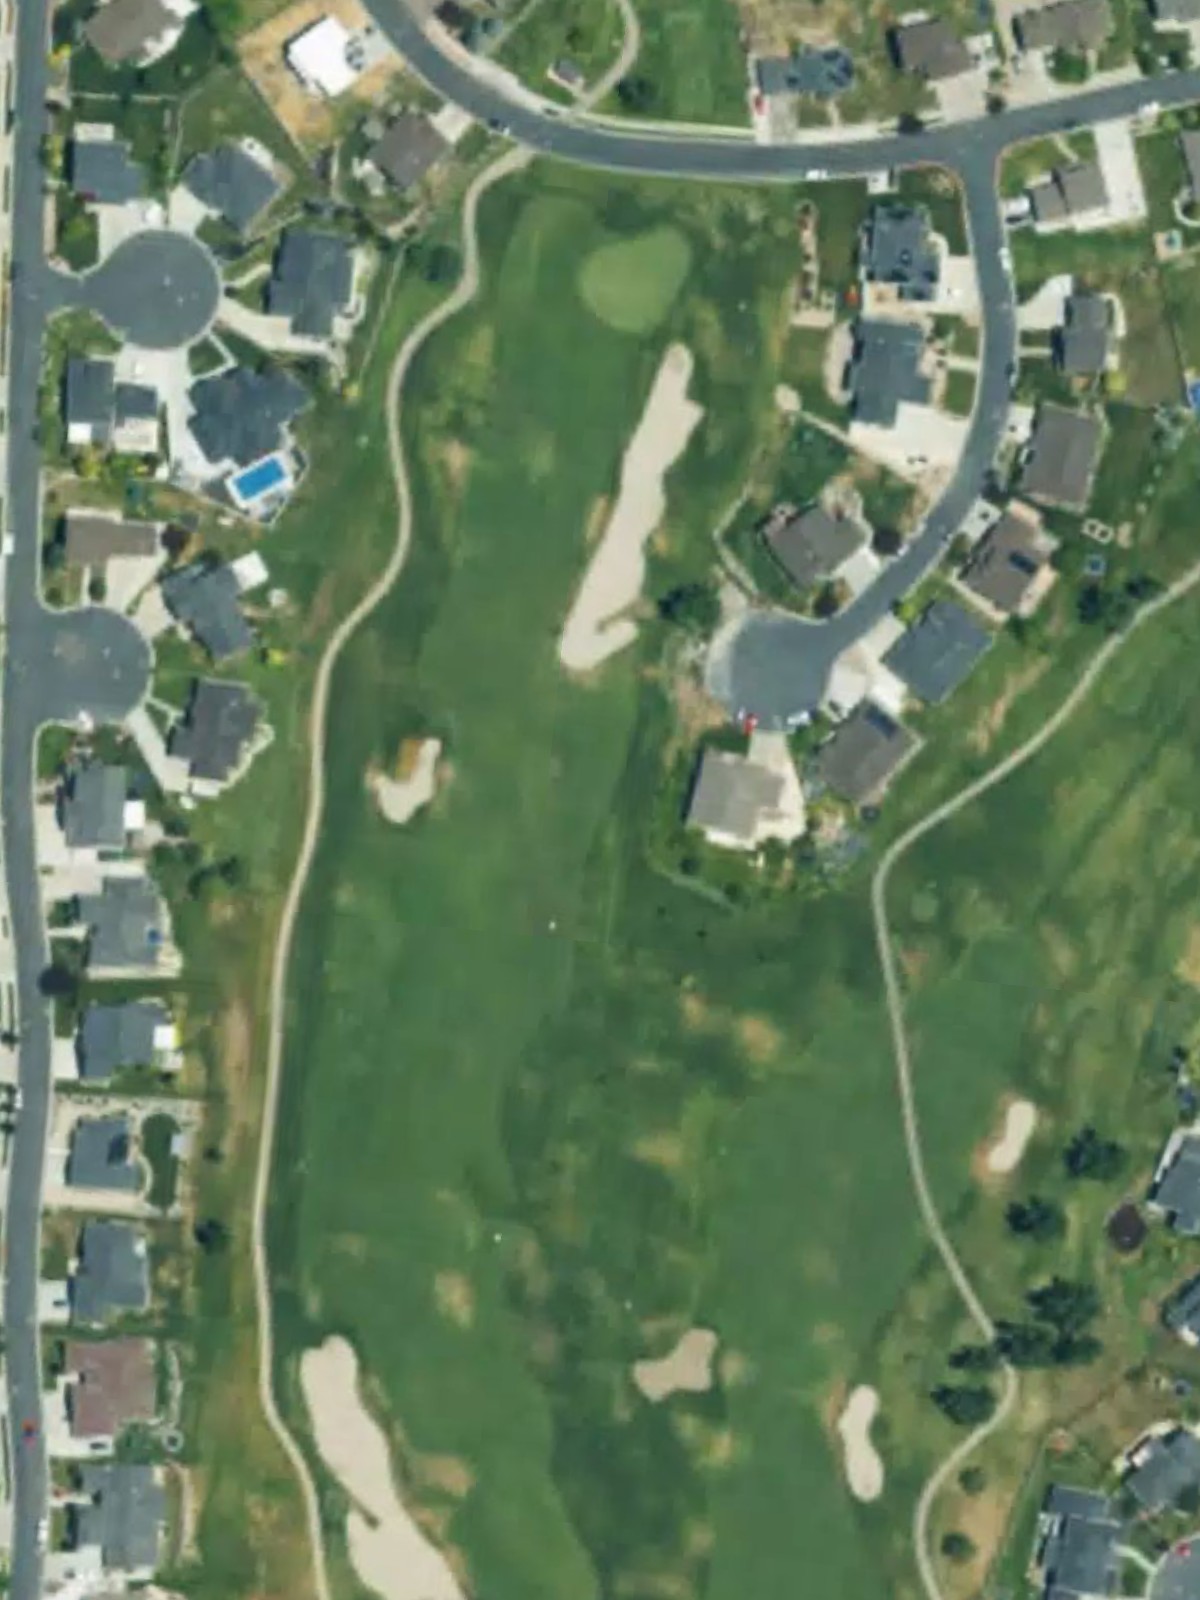
A straightforward opening par 4 with a narrow approach into the green. Bunkers guard the right side of the green, demanding accuracy on the second shot.
A reachable par 5 with a relatively open fairway that provides scoring opportunity for long hitters. Water hazards frame the approach, requiring careful positioning for the second shot.
A challenging par 4 that requires two solid strokes to reach the green in regulation. The fairway tightens considerably near the green, with bunkers threatening both sides of the approach.
A short par 3 that plays across a modest distance to a well-bunkered green. The small target area makes precision essential despite the reduced yardage.
A lengthy par 5 with a fairway that demands position over distance off the tee. Strategic bunkering in the landing zone influences play for the second and third shots.
The most difficult hole on the course, this par 4 features a narrow fairway bordered by hazards on both sides. The green is severely protected, making this a true test of shotmaking.

A mid-length par 3 with an island green surrounded by water and bunkers. The elevated tee provides a dramatic presentation, and precision is paramount.
A par 4 with a generous fairway that opens up for scoring opportunities. Water and bunkers guard the green's entrance, rewarding solid approach play.
A tight par 4 where positioning off the tee is critical for success. Bunkers frame the fairway throughout, and the green is guarded on multiple sides.
A strong finishing stretch begins with this demanding par 4 that features a narrow landing area off the tee. Deep bunkers and water hazards surround the green, requiring a precise approach.
A shorter par 4 that tempts aggressive play but rewards accuracy over distance. Water and sand hazards pinch the fairway at the critical yardage.
The shortest hole on the course, this par 3 is a gentle respite before the demanding finish. The small green is surrounded by bunkers, making club selection crucial.
A long par 5 with a fairway that widens in the landing zone, inviting a bold second shot. Hazards tighten around the green, requiring careful management of the approach.
A short par 3 with a tight green complex surrounded by bunkers and water. The reduced yardage belies the difficulty of finding the narrow target area.
The second-most difficult hole on the course, this par 4 features a narrow, sloping fairway bordered by hazards. The green is exceptionally well-protected, making this a crucial test down the stretch.
A challenging par 4 with a fairway that narrows significantly as it approaches the green. Bunkers and water hazards create a gauntlet for the approach shot, punishing any wayward play.
A dramatic par 5 that curves around a major water hazard on the left side of the fairway. The green sits on a peninsula, making the final approach one of the most spectacular shots on the course.
The finishing par 4 provides a strong conclusion to the round with a fairway that tightens toward the green. Bunkers guard both sides of the approach, making a steady second shot essential for a solid finish.
Scorecard
| Hole | 1 | 2 | 3 | 4 | 5 | 6 | 7 | 8 | 9 | Out | 10 | 11 | 12 | 13 | 14 | 15 | 16 | 17 | 18 | In | Tot |
|---|---|---|---|---|---|---|---|---|---|---|---|---|---|---|---|---|---|---|---|---|---|
| Par | 4 | 5 | 4 | 3 | 5 | 4 | 3 | 4 | 4 | 36 | 4 | 4 | 3 | 5 | 3 | 4 | 4 | 5 | 4 | 36 | 72 |
| HCP | 3 | 13 | 7 | 17 | 11 | 1 | 5 | 15 | 9 | 4 | 10 | 18 | 14 | 16 | 2 | 8 | 6 | 12 | |||
| black | 373 | 489 | 439 | 182 | 510 | 441 | 206 | 396 | 364 | 3400 | 391 | 328 | 163 | 550 | 195 | 403 | 456 | 505 | 450 | 3441 | 6841 |
| blue | 350 | 467 | 410 | 174 | 479 | 428 | 191 | 372 | 347 | 3218 | 366 | 305 | 143 | 524 | 178 | 376 | 414 | 469 | 398 | 3173 | 6391 |
| white | 339 | 459 | 371 | 152 | 468 | 372 | 179 | 345 | 328 | 3013 | 335 | 265 | 129 | 466 | 157 | 368 | 407 | 460 | 360 | 2947 | 5960 |
| gold | 282 | 418 | 312 | 122 | 382 | 324 | 154 | 268 | 287 | 2549 | 299 | 210 | 110 | 350 | 138 | 346 | 361 | 399 | 302 | 2515 | 5064 |