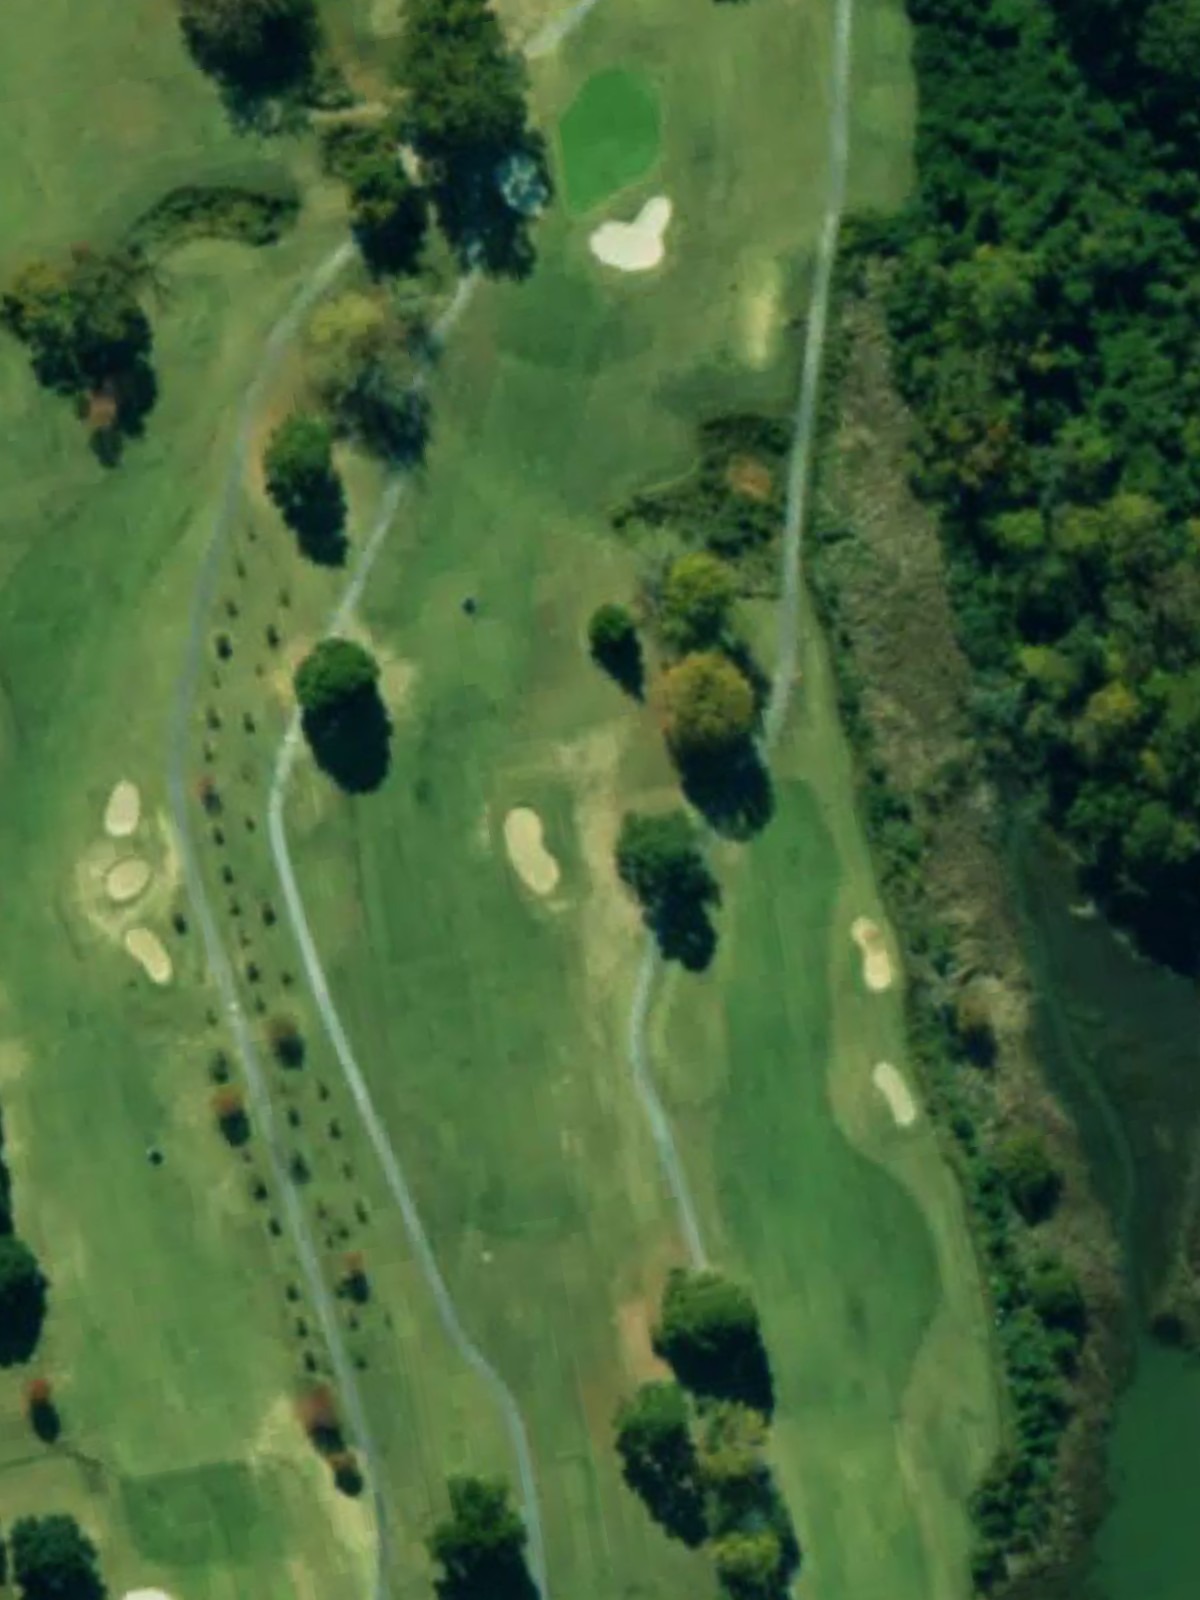
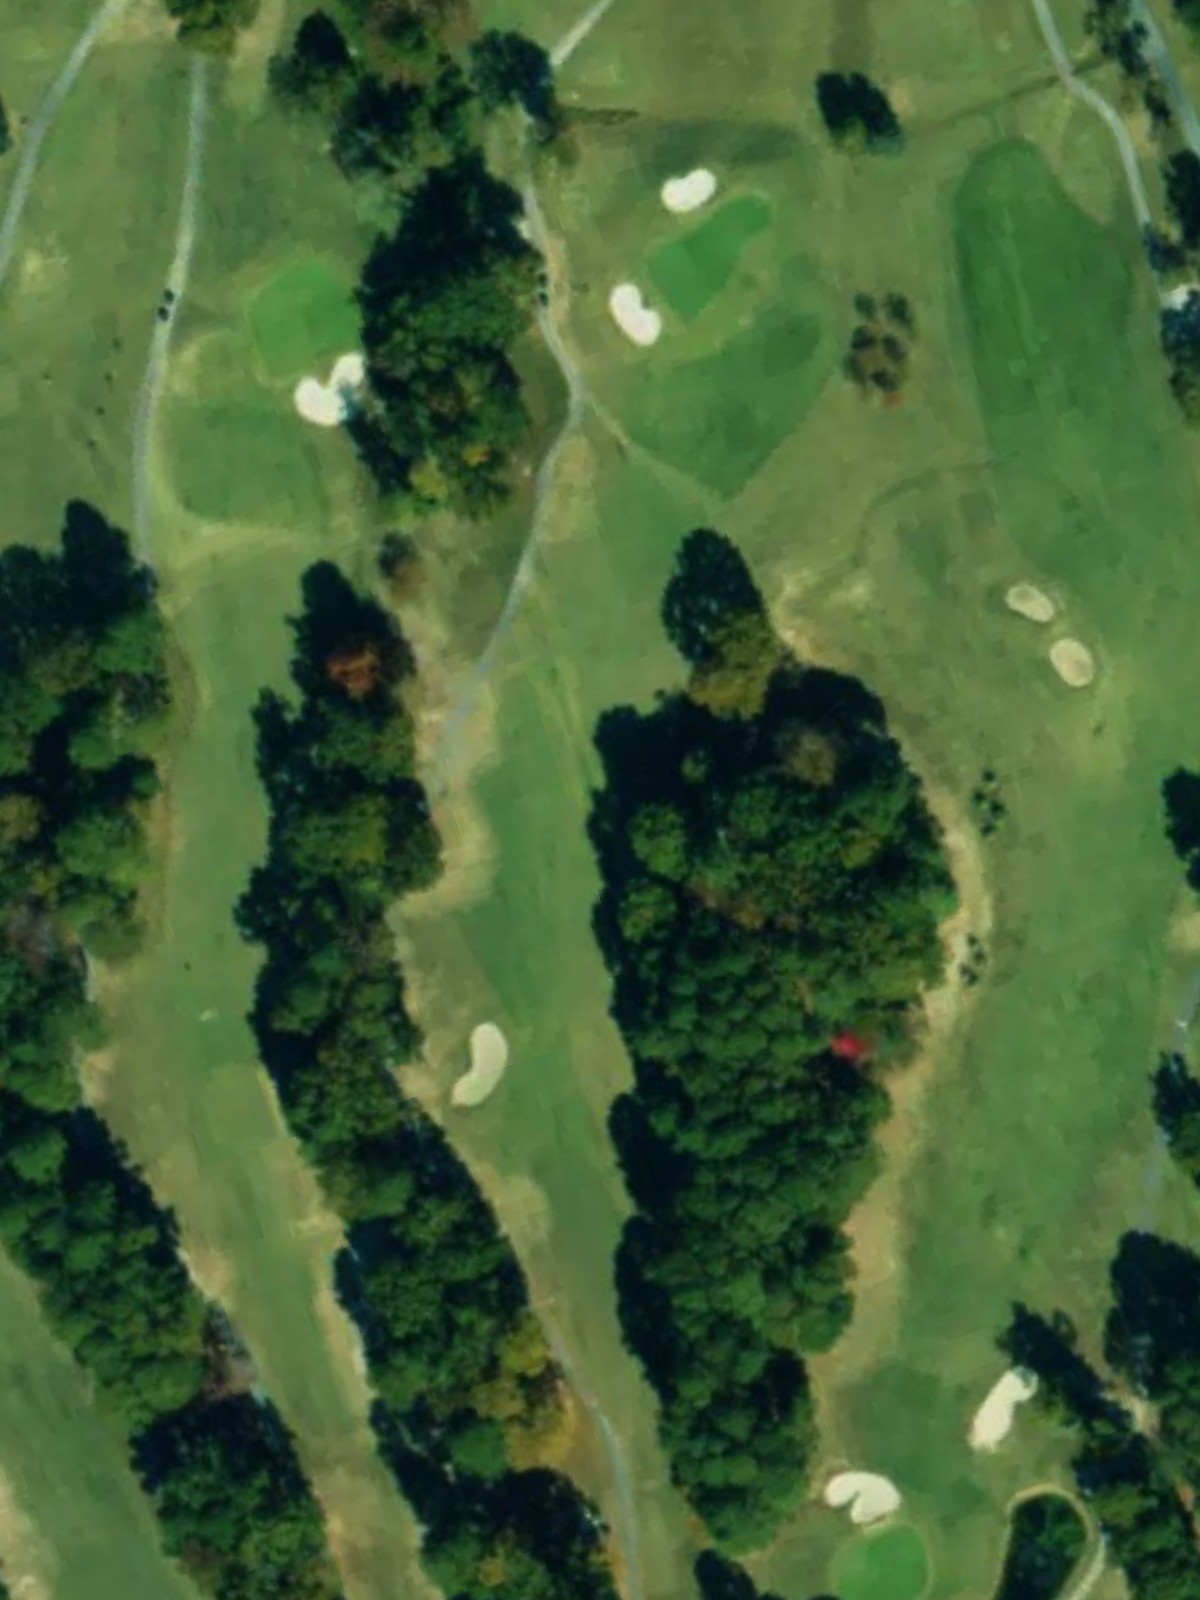
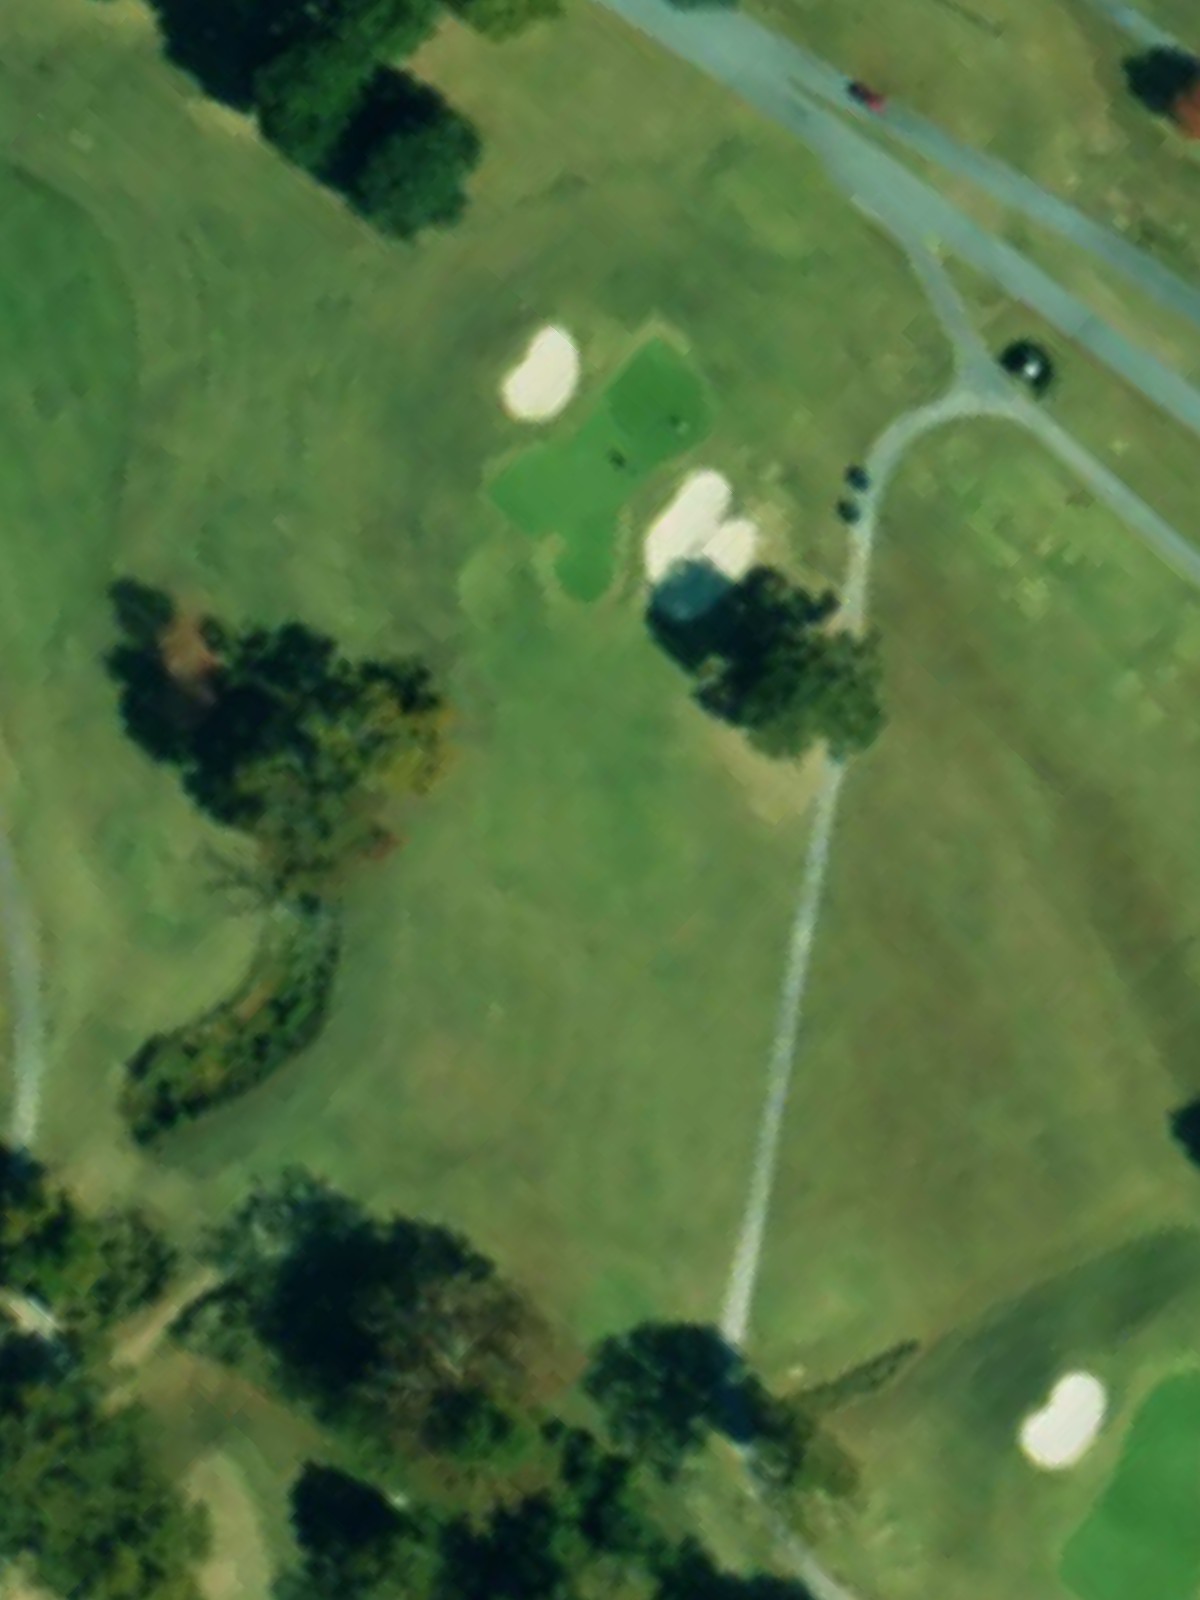
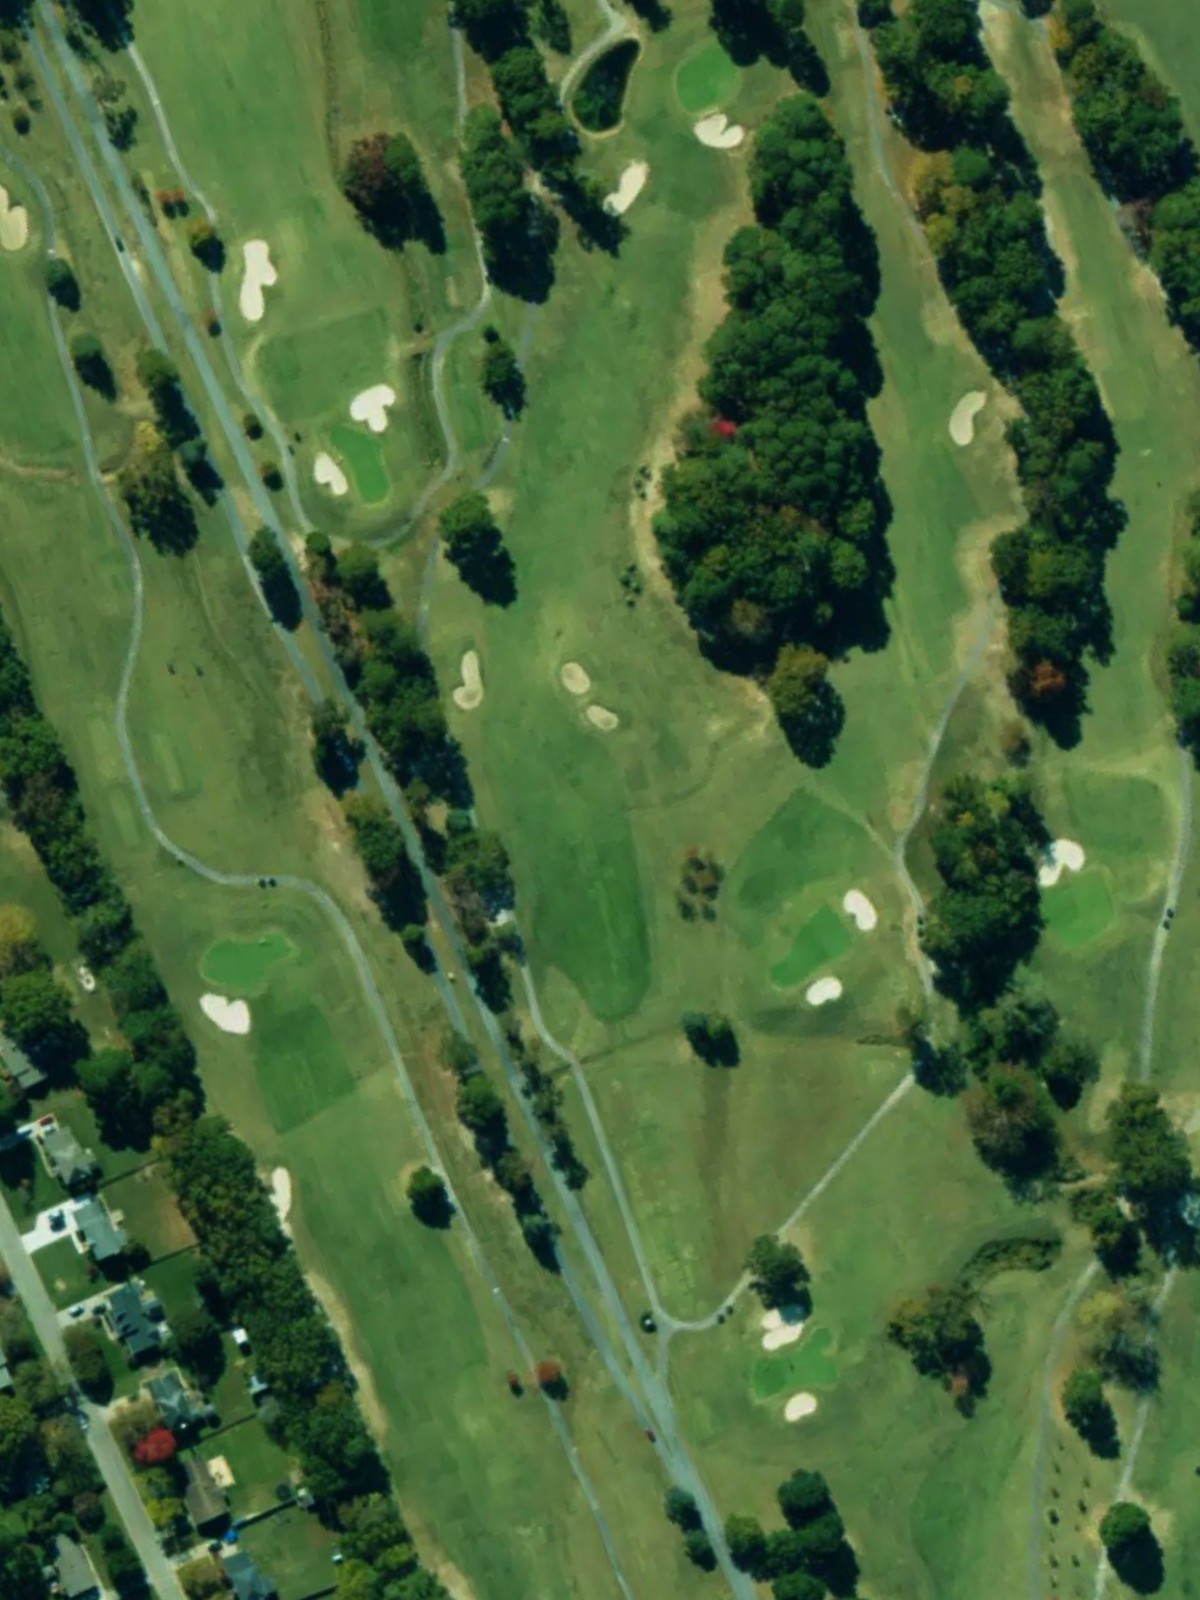
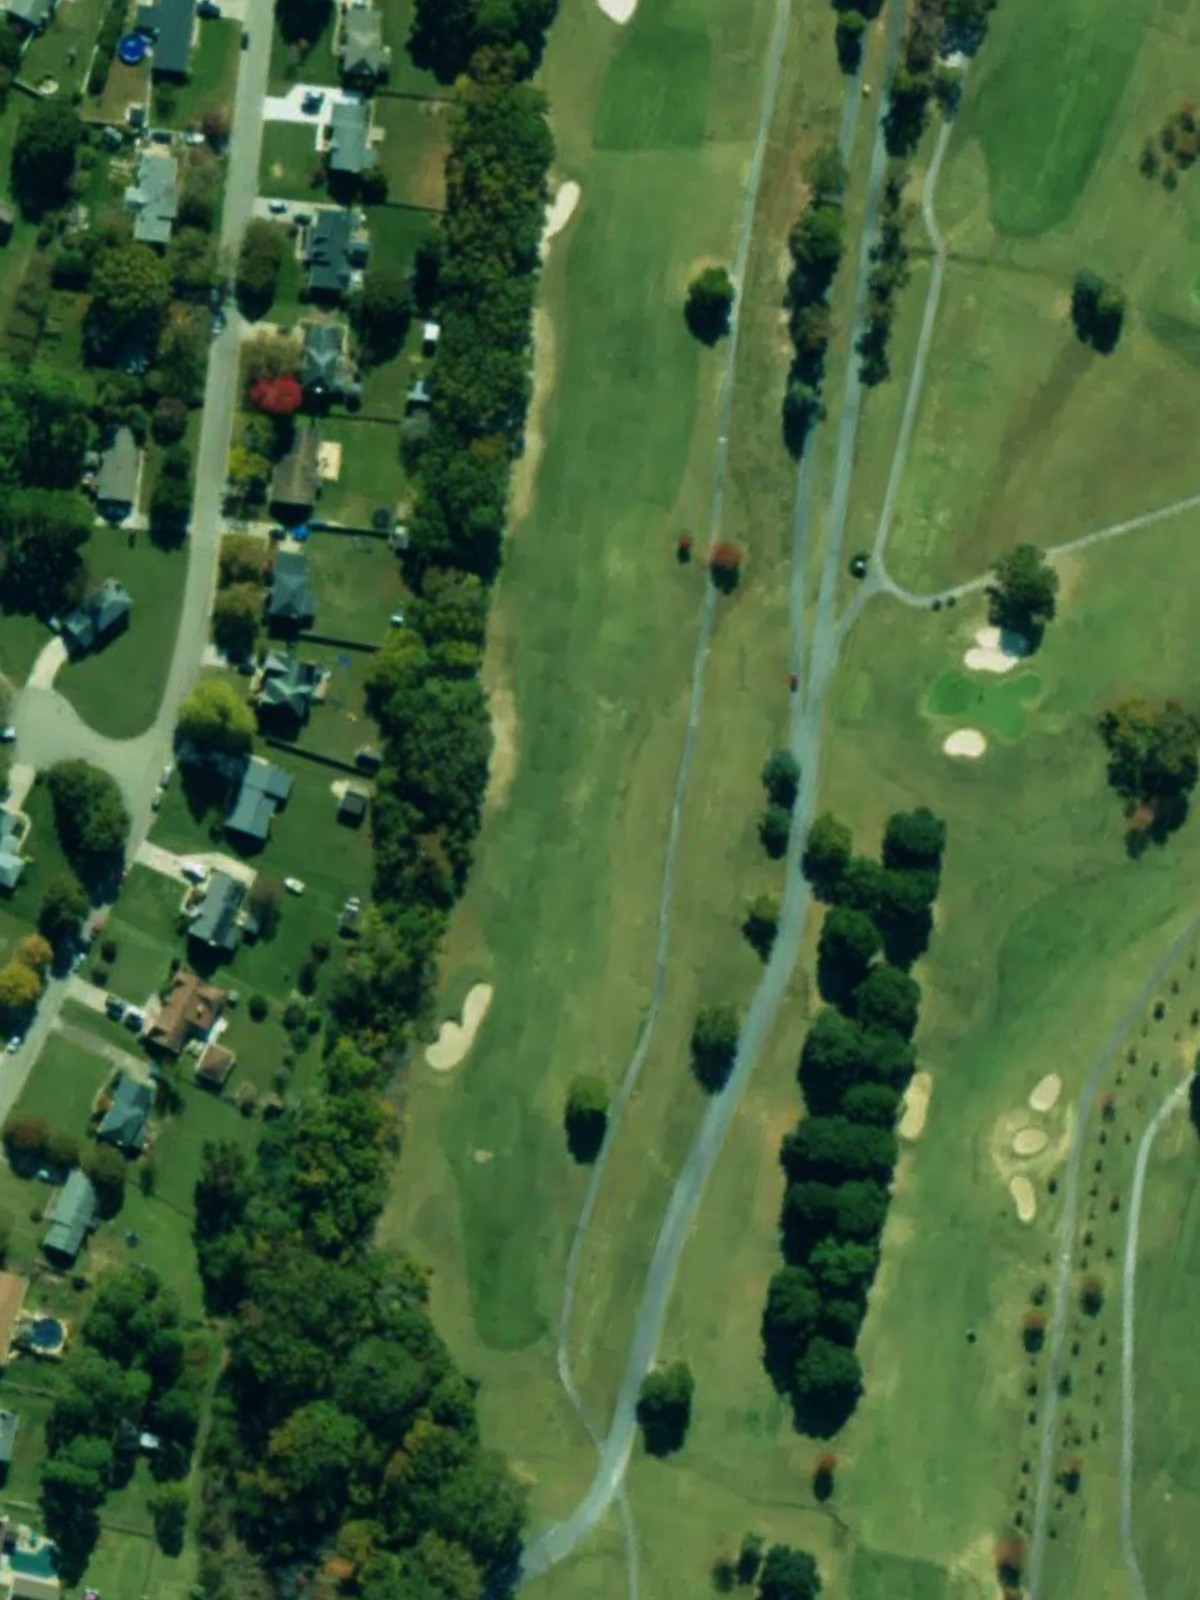
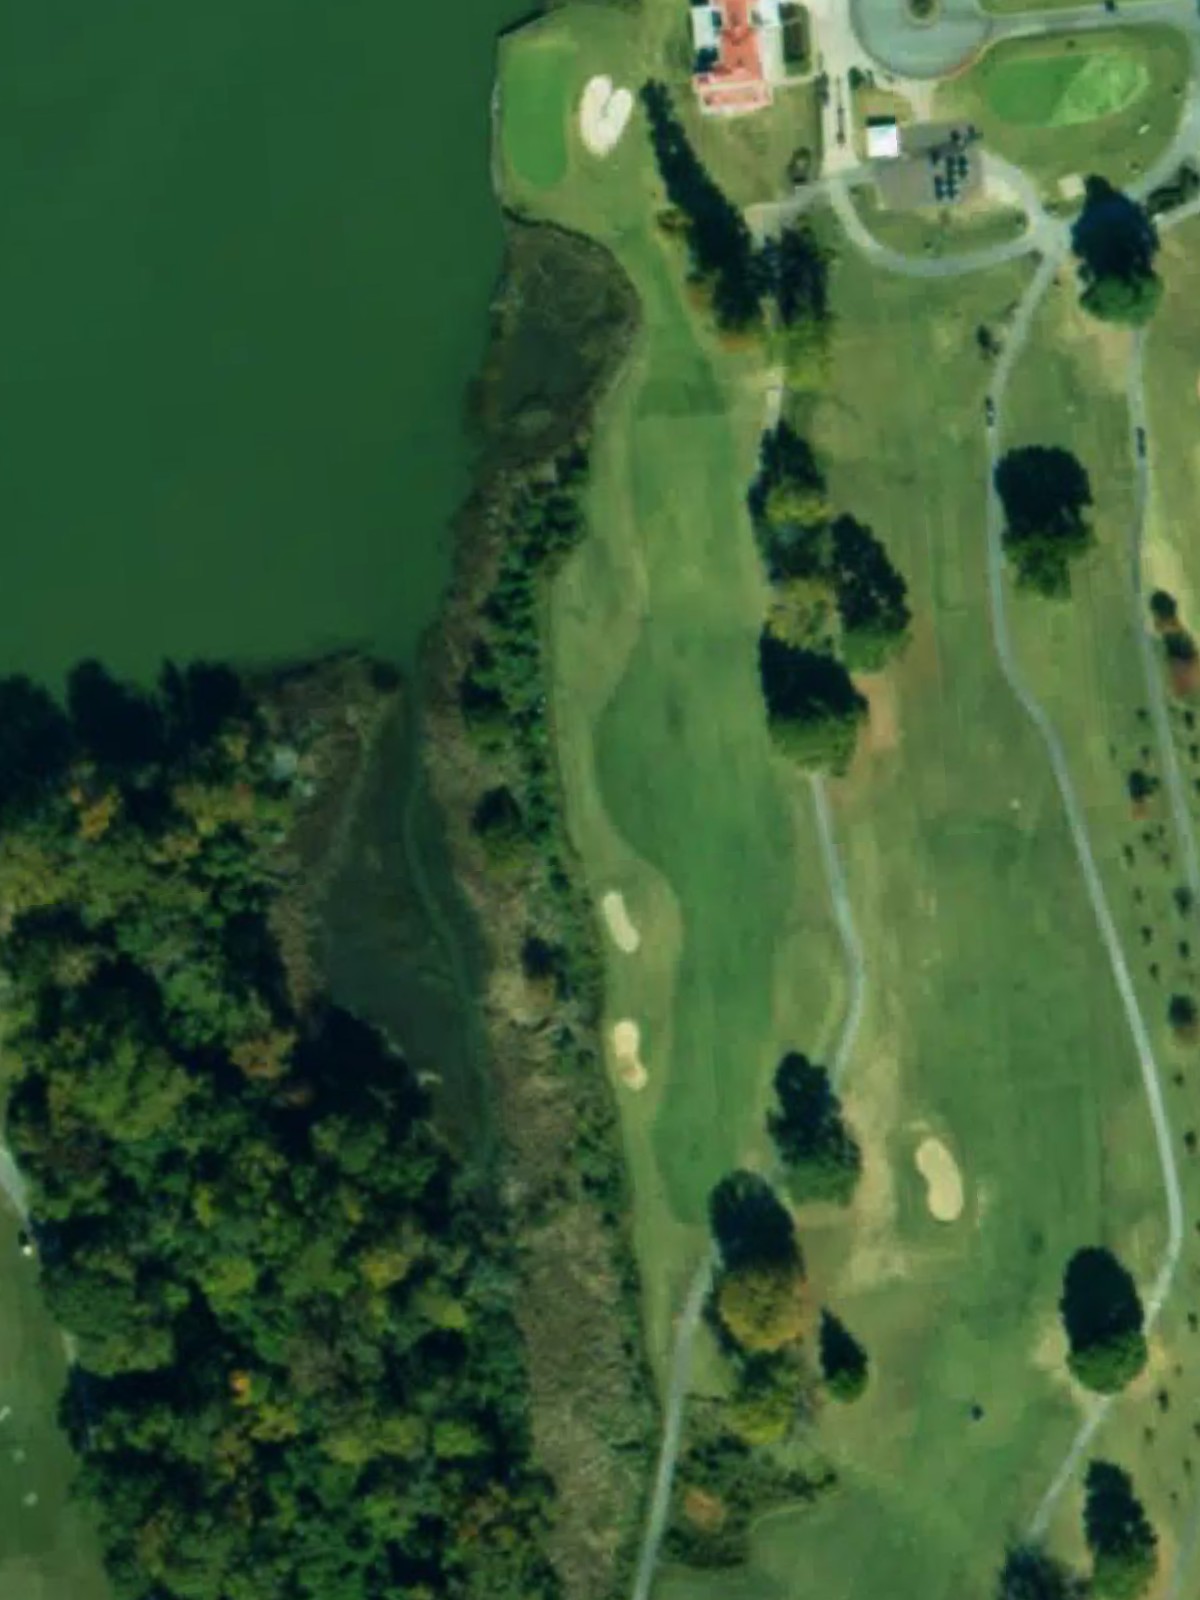
Sleepy Hole Golf Course is an 18-hole golf course in Suffolk, VA with a par of 72. It offers 5 tee sets: black (6,951 yards, slope 138, rating 74.3), blue (6,499 yards, slope 133, rating 72.3), white (5,955 yards, slope 128, rating 69.7), yellow (5,327 yards, slope 122, rating 66.5), red (4,985 yards, slope 117, rating 65.2). The hardest hole is #6, a par 4 playing 234 yards from the first tee.
Sleepy Hole Golf Course
Suffolk, VA
Get PDF Yardage Book
We'll email you the PDF link. No spam, ever.
Create Your Game Plan
Pick your tees, enter your bag, and get a personalized shot-by-shot strategy for every hole.
A straightforward par 4 with a fairway that narrows as it approaches the green. Bunkers guard the right side of the green, requiring accuracy on the approach shot.

A long par 5 that offers birdie potential for those who can navigate the fairway. Bunkers positioned strategically along the hole demand careful positioning for the second shot.
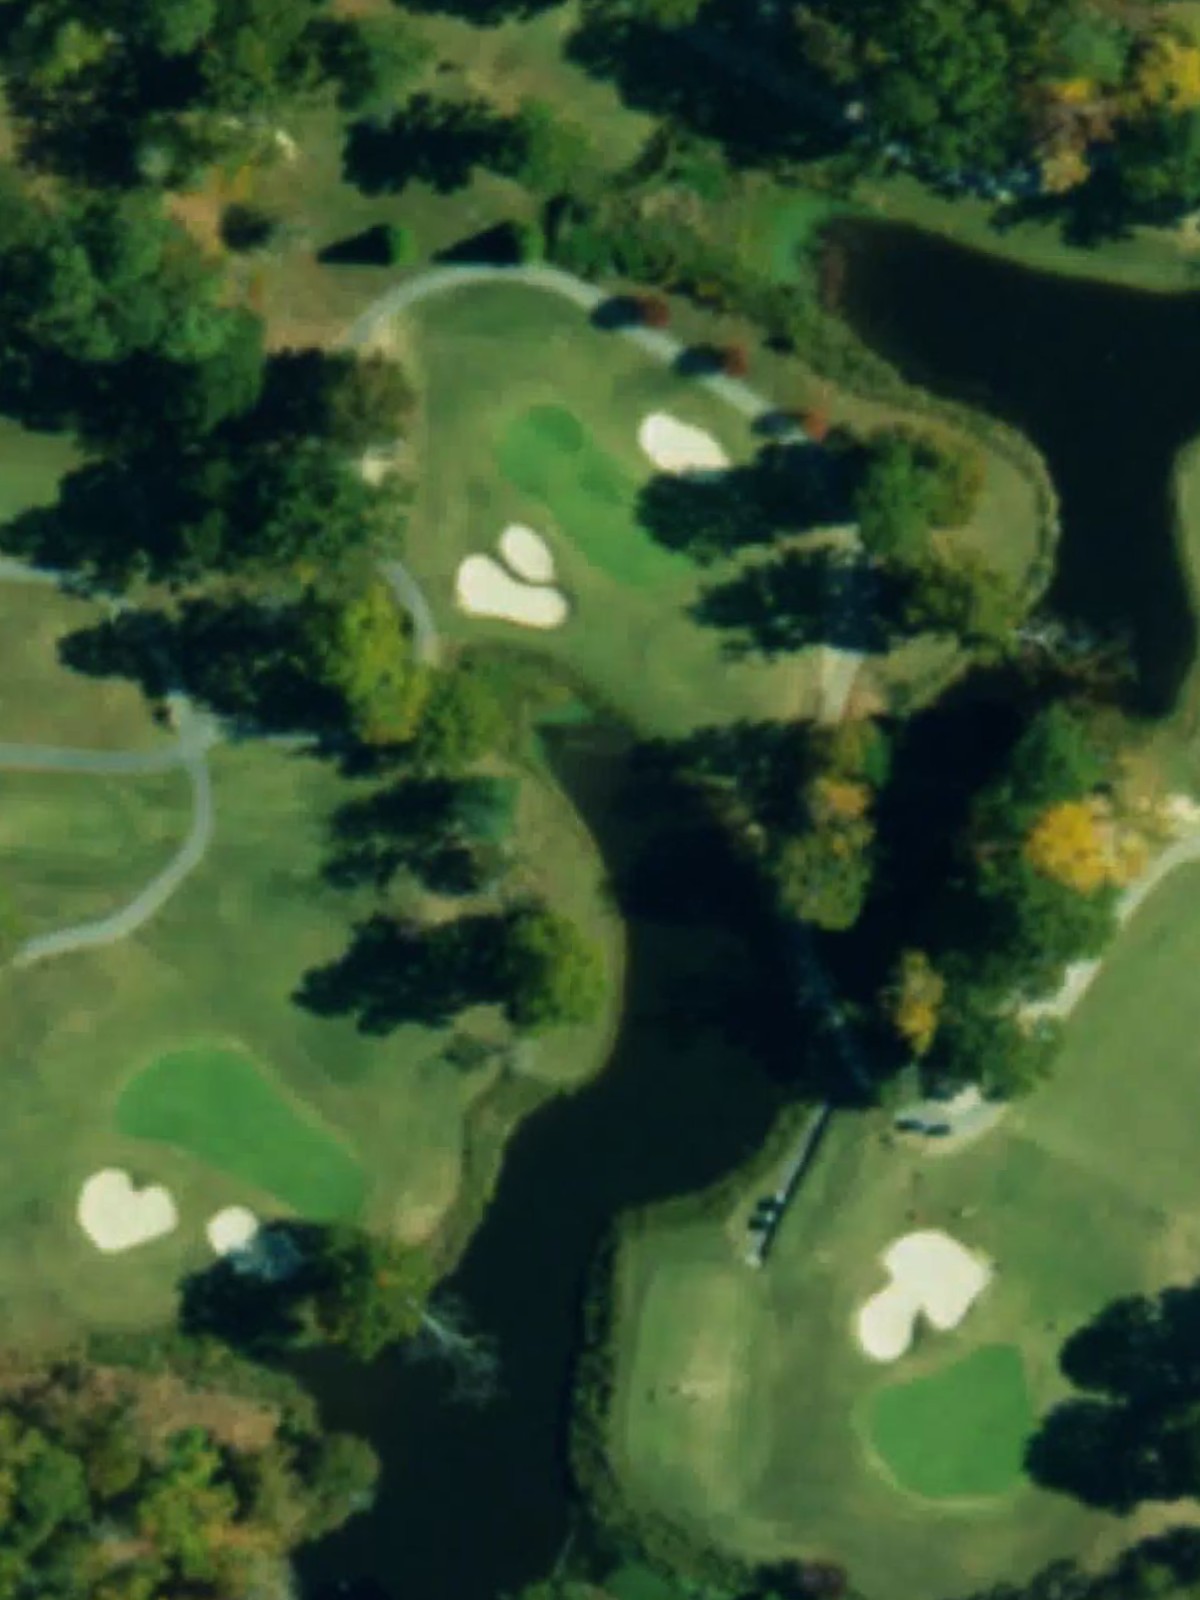
A solid par 4 and one of the course's most difficult holes, featuring bunkers that come into play throughout the hole. Precision off the tee and into the green is essential on this challenging layout.
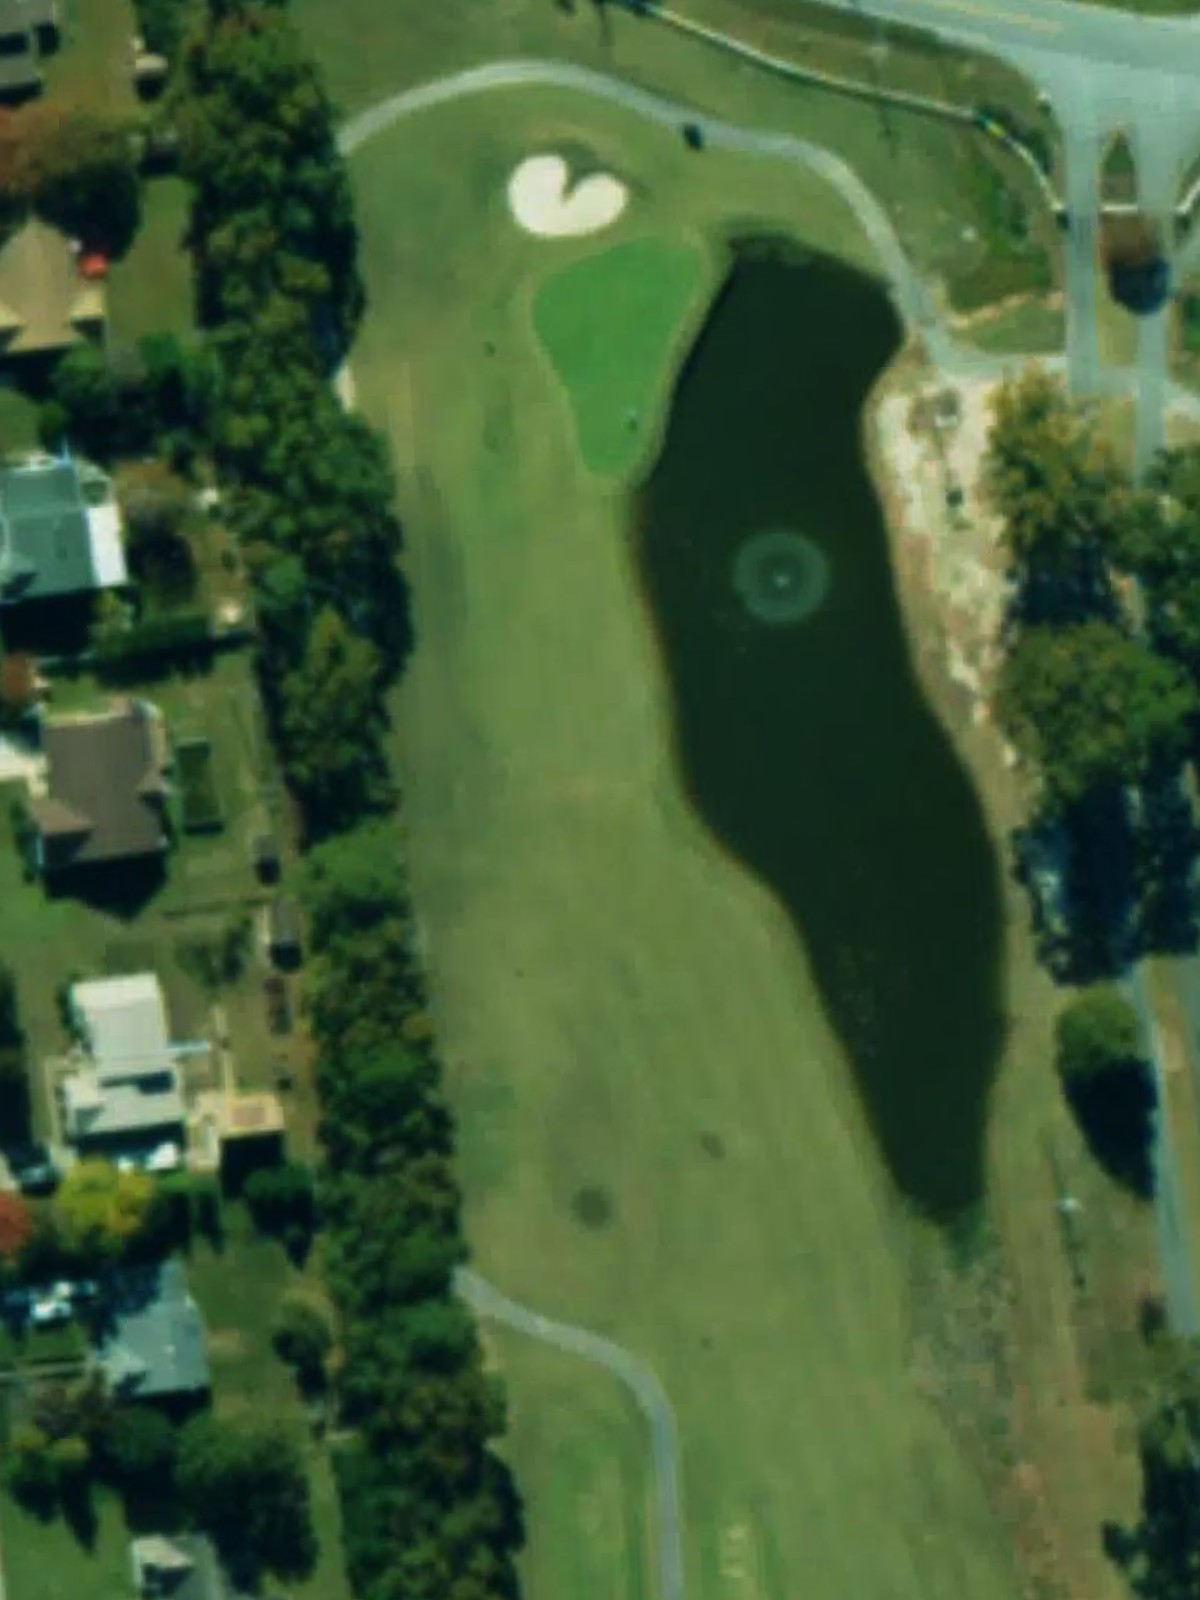
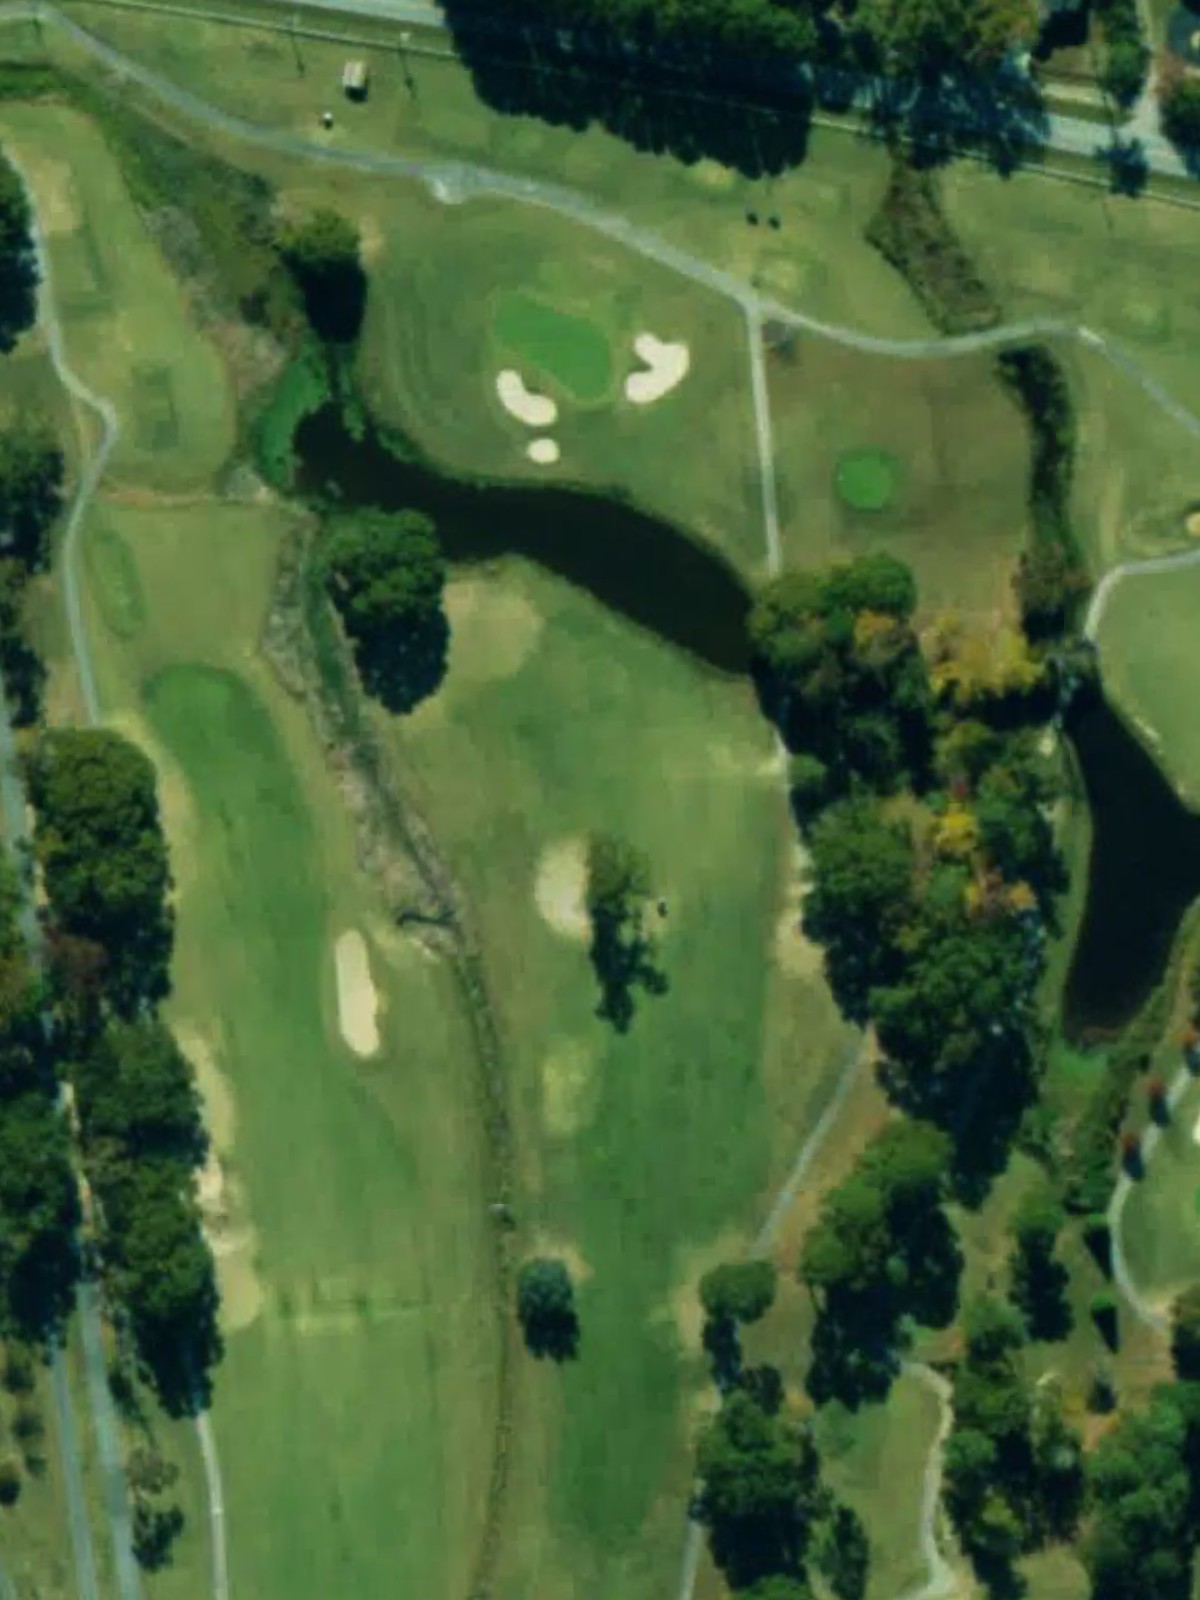
A short par 3 with a bunker guarding the green. The modest length makes this a good scoring opportunity, though the bunker placement demands accuracy.
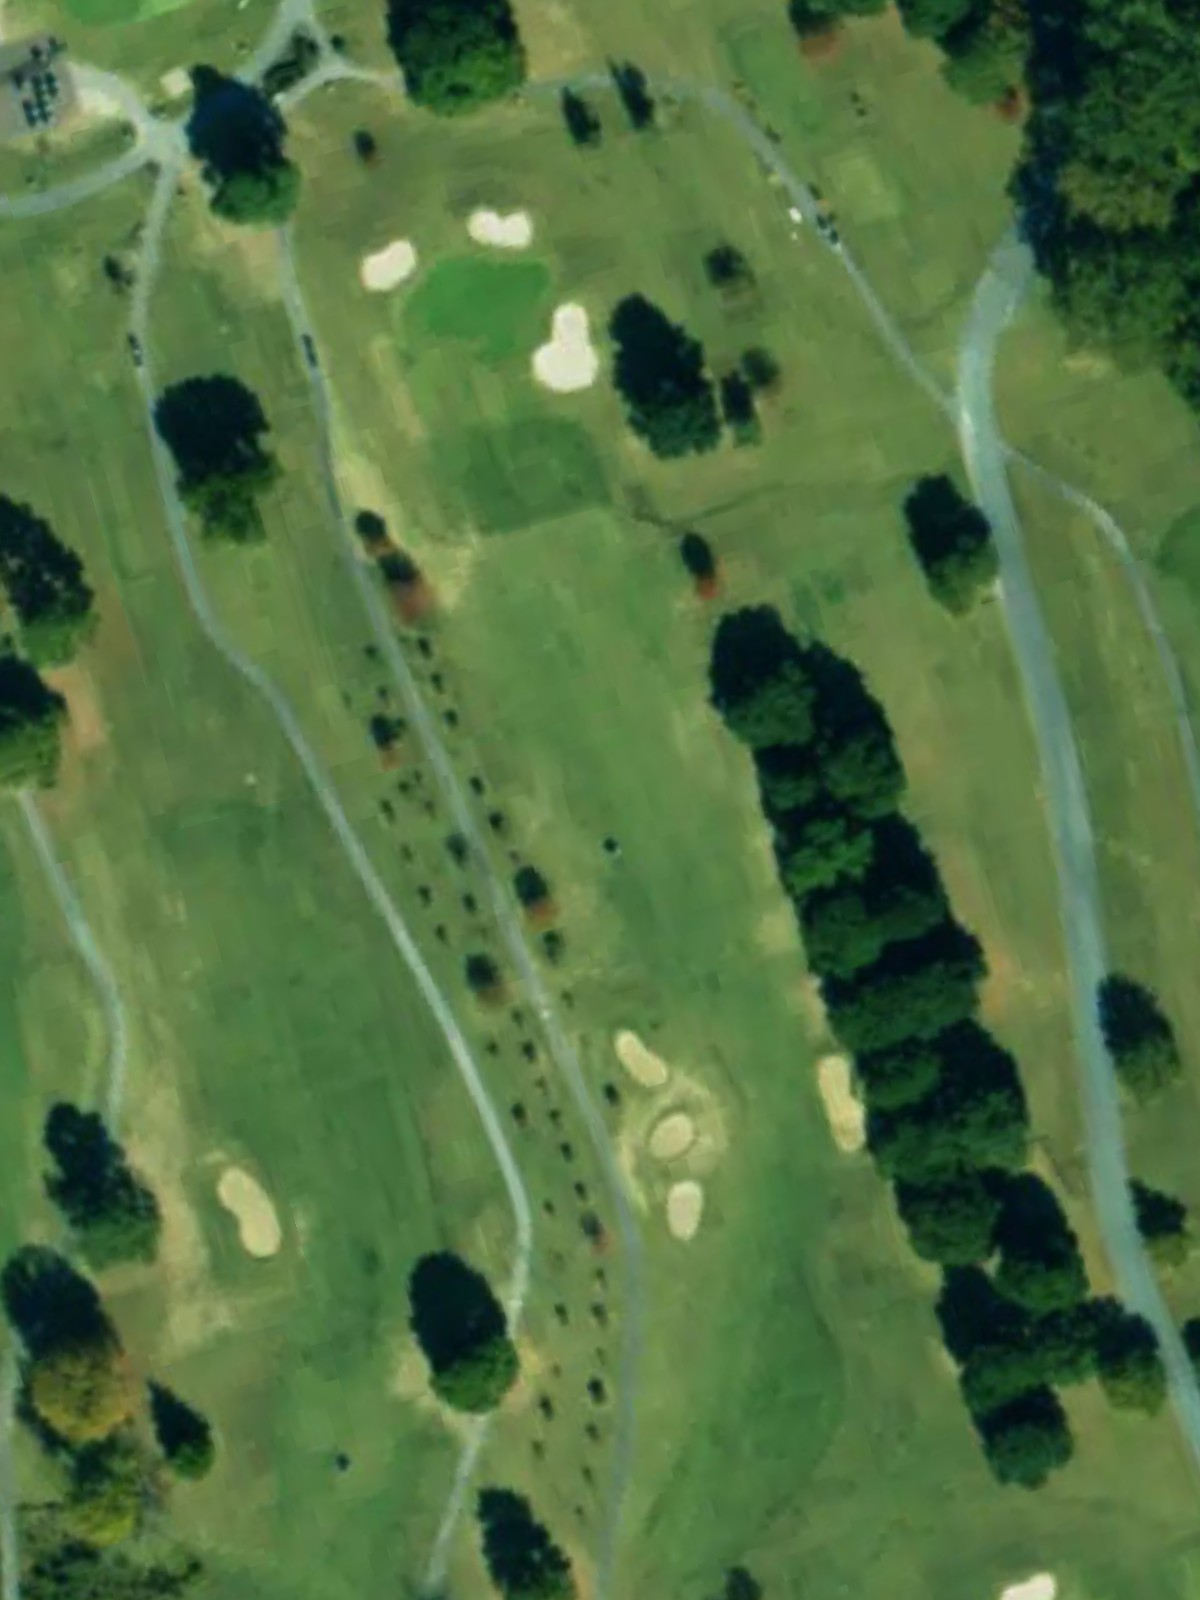
A generous par 5 with plenty of fairway to work with off the tee. Bunkers are positioned to catch wayward shots, rewarding straight play with a manageable third shot.
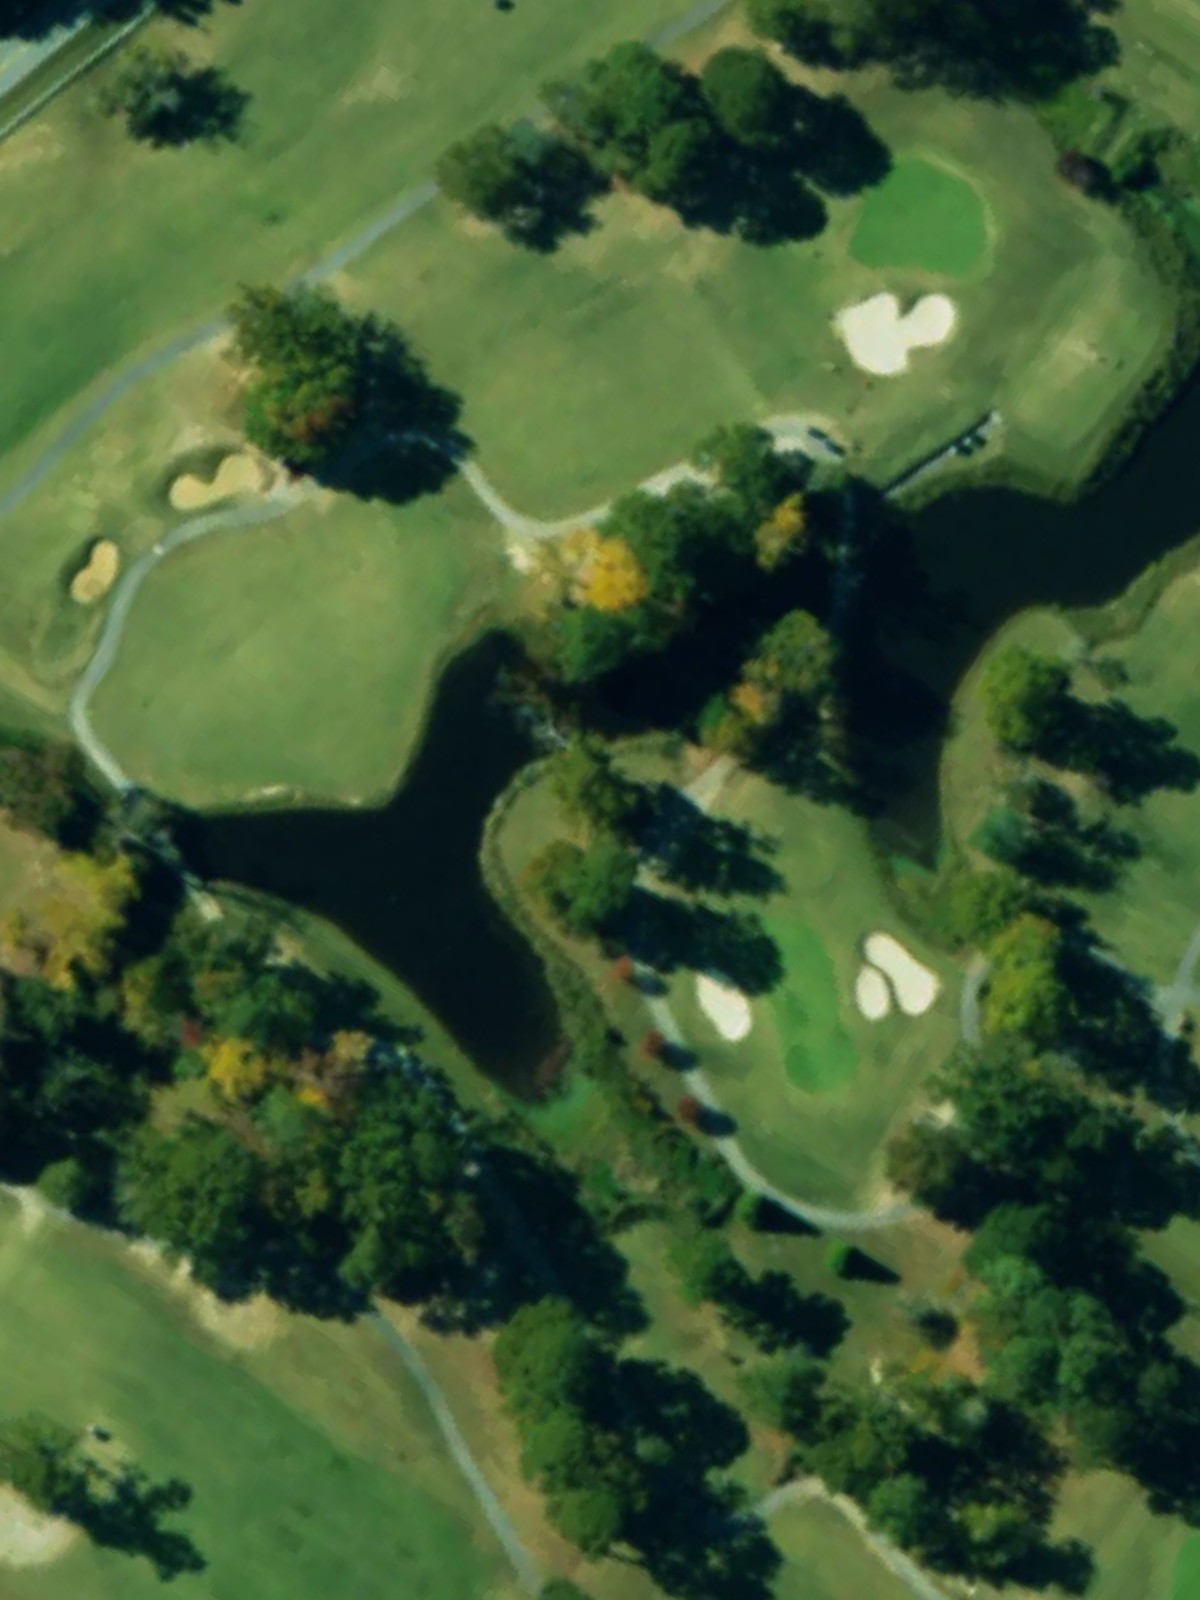
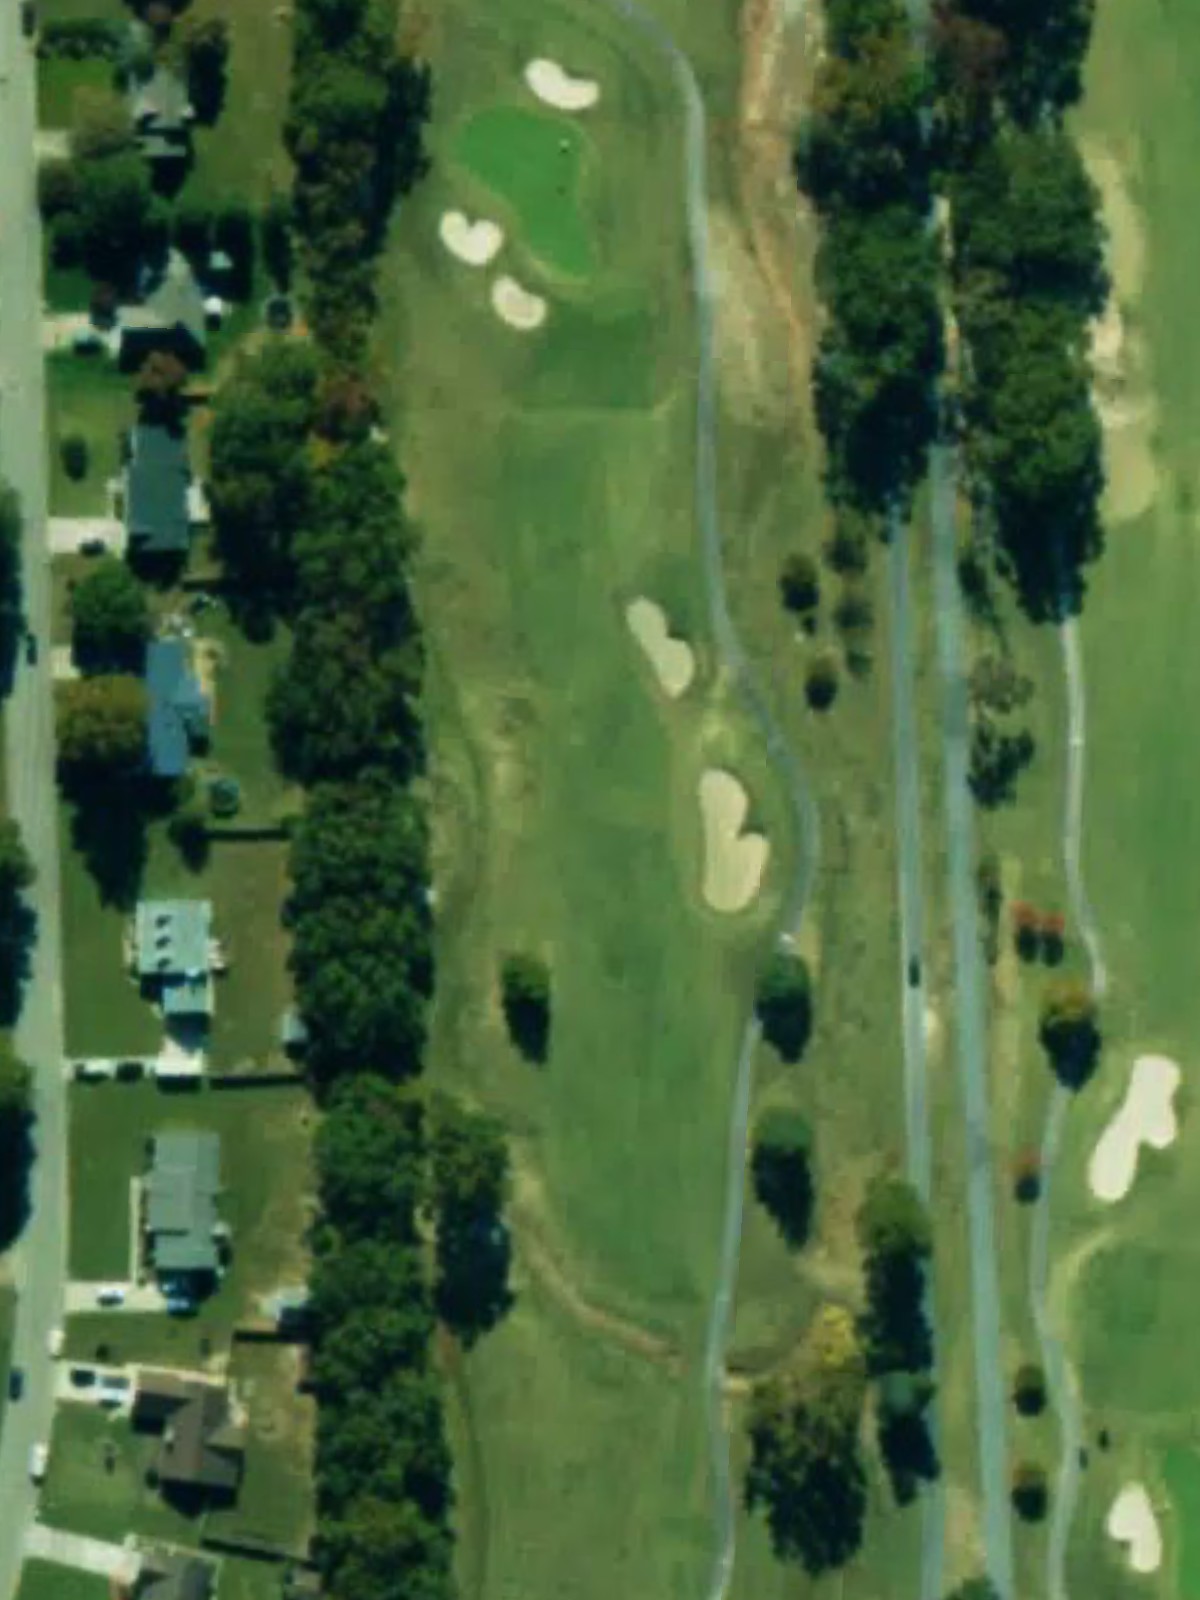
The course's most demanding hole, a par 4 that plays deceptively long despite modest yardage. Bunkers frame the approach, making this a key test of shot-making ability.
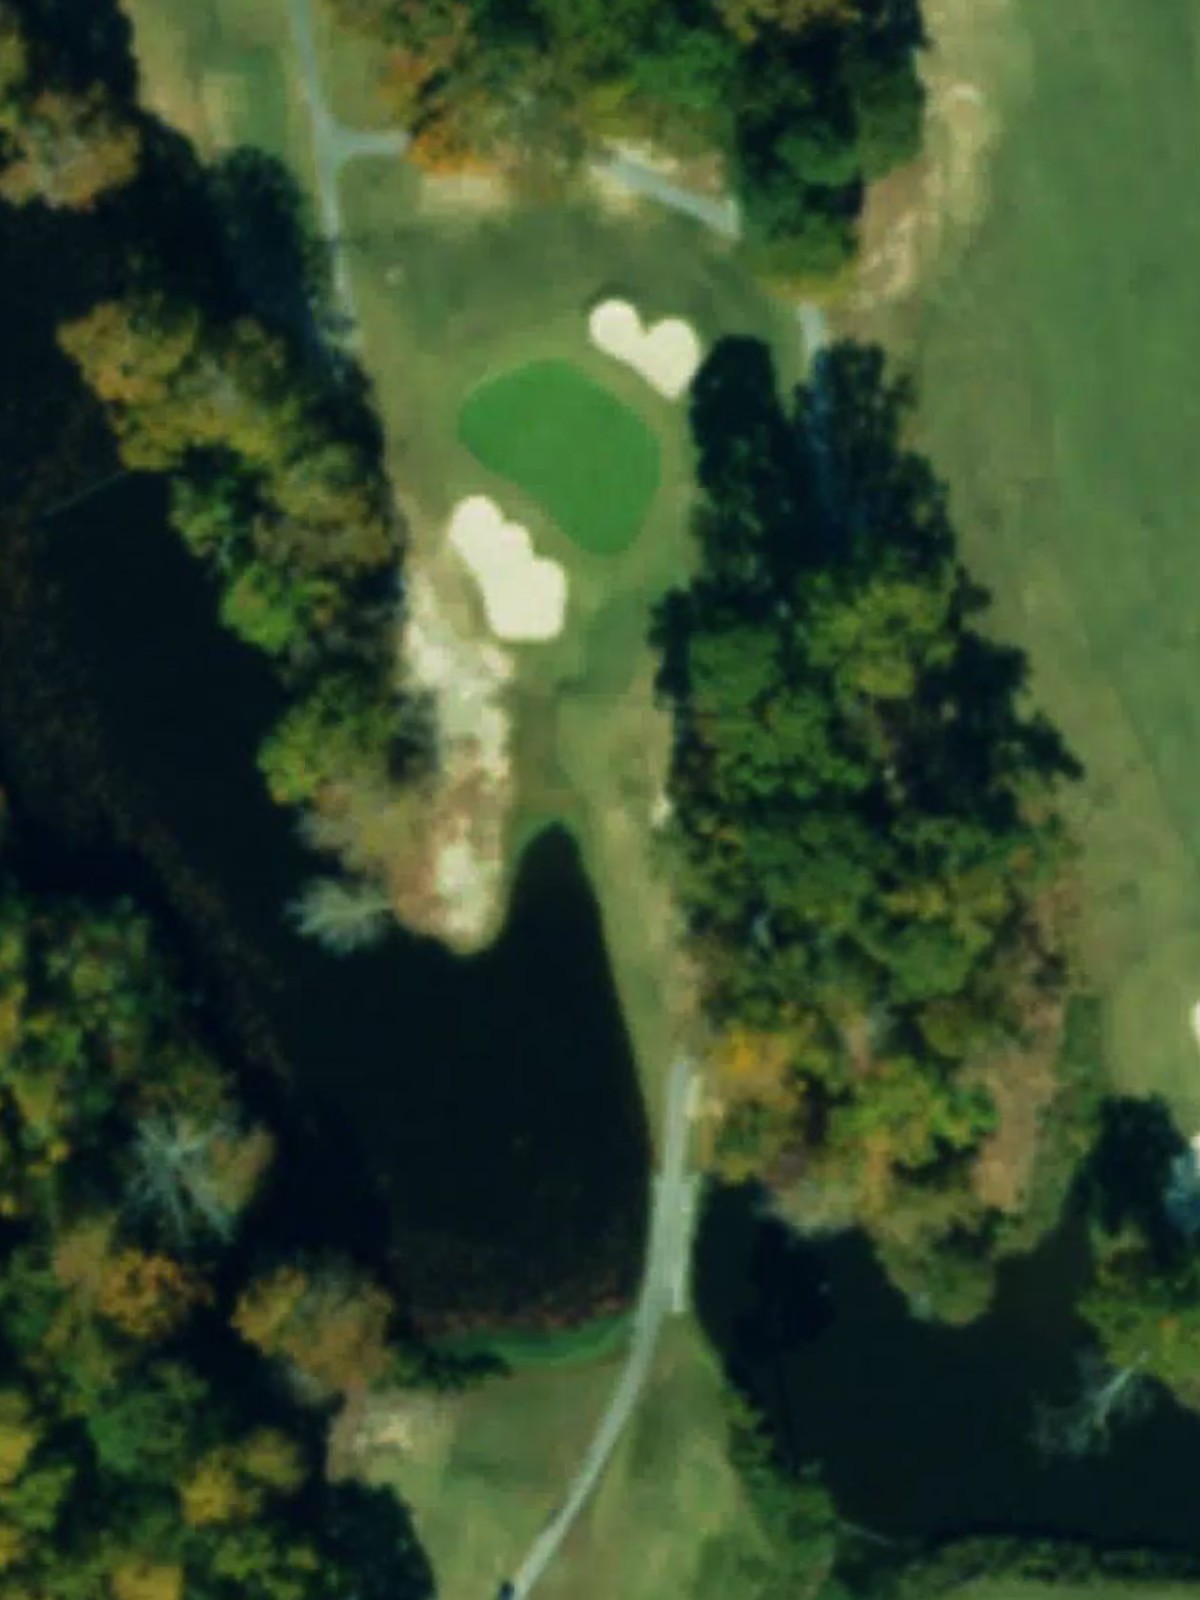
A short but testing par 3 with a bunker protecting the green. The hole's brevity can be deceptive, as accuracy is paramount to avoid the greenside hazard.
A tough par 4 ranking among the course's most difficult, with bunkers positioned to penalize both errant tee shots and poor approaches. Strategic placement off the tee is critical here.
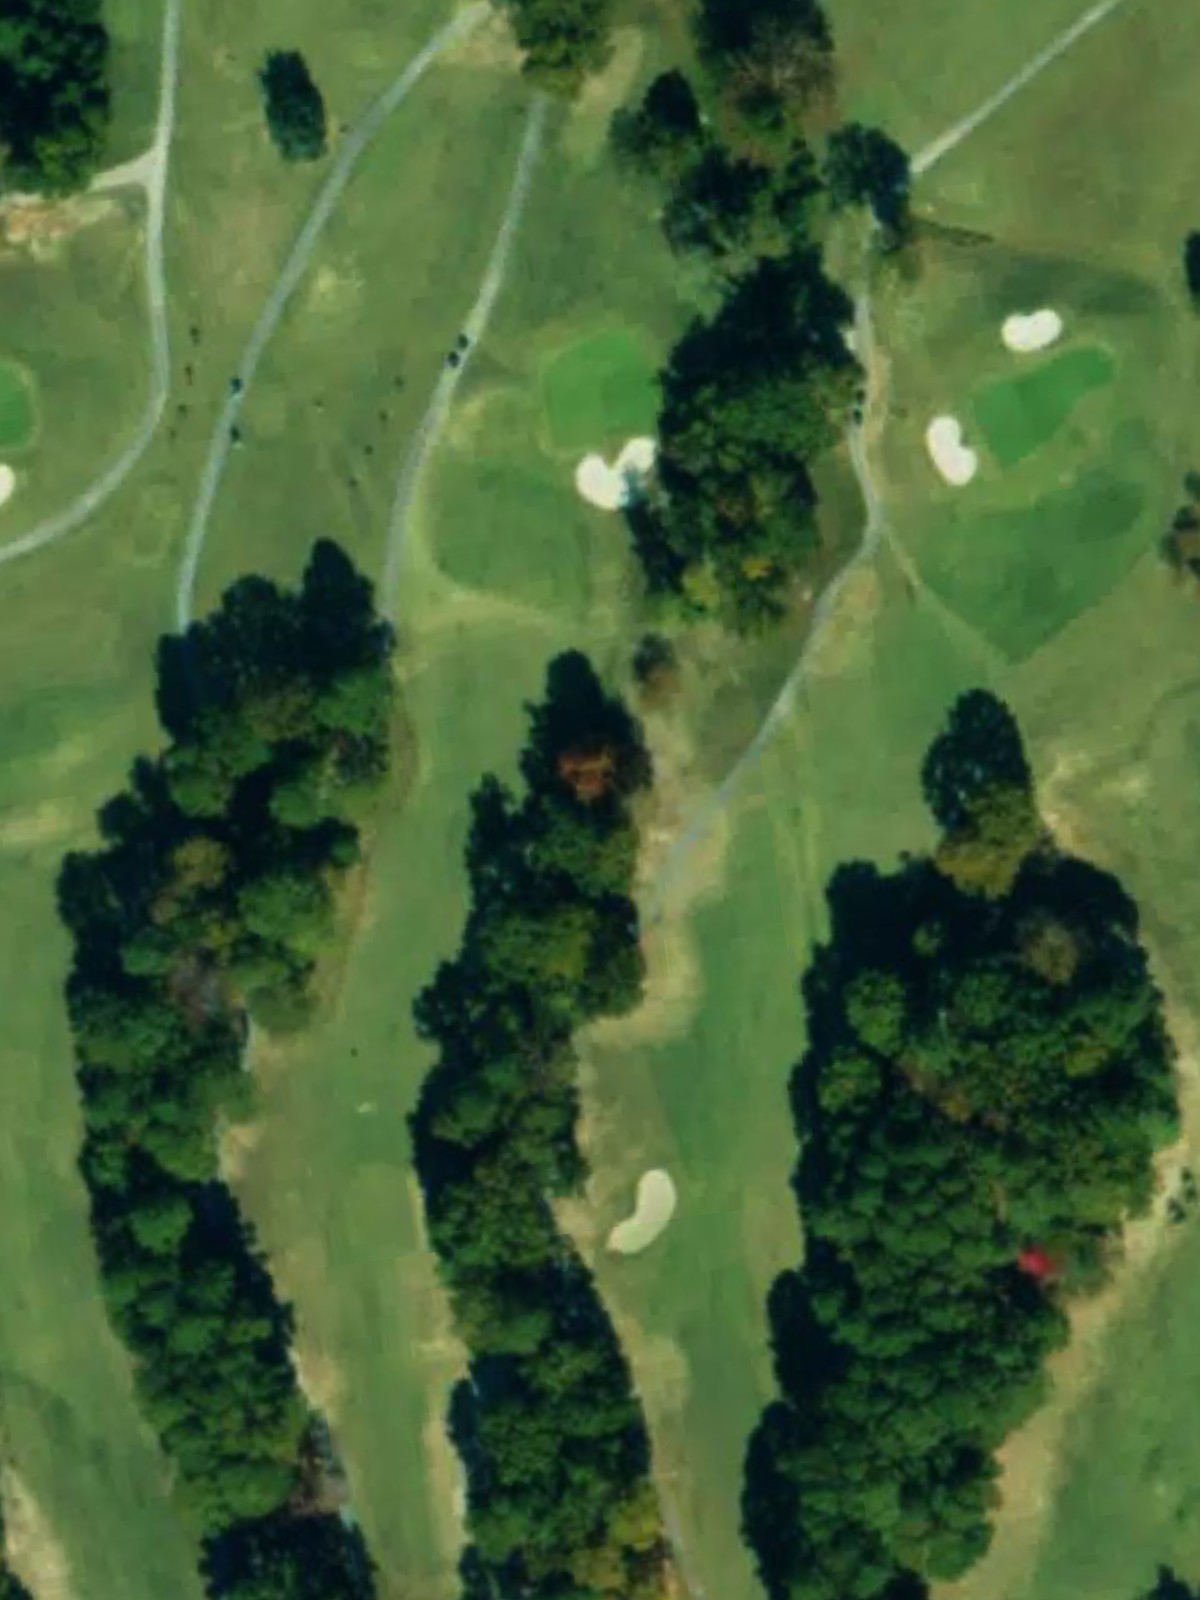
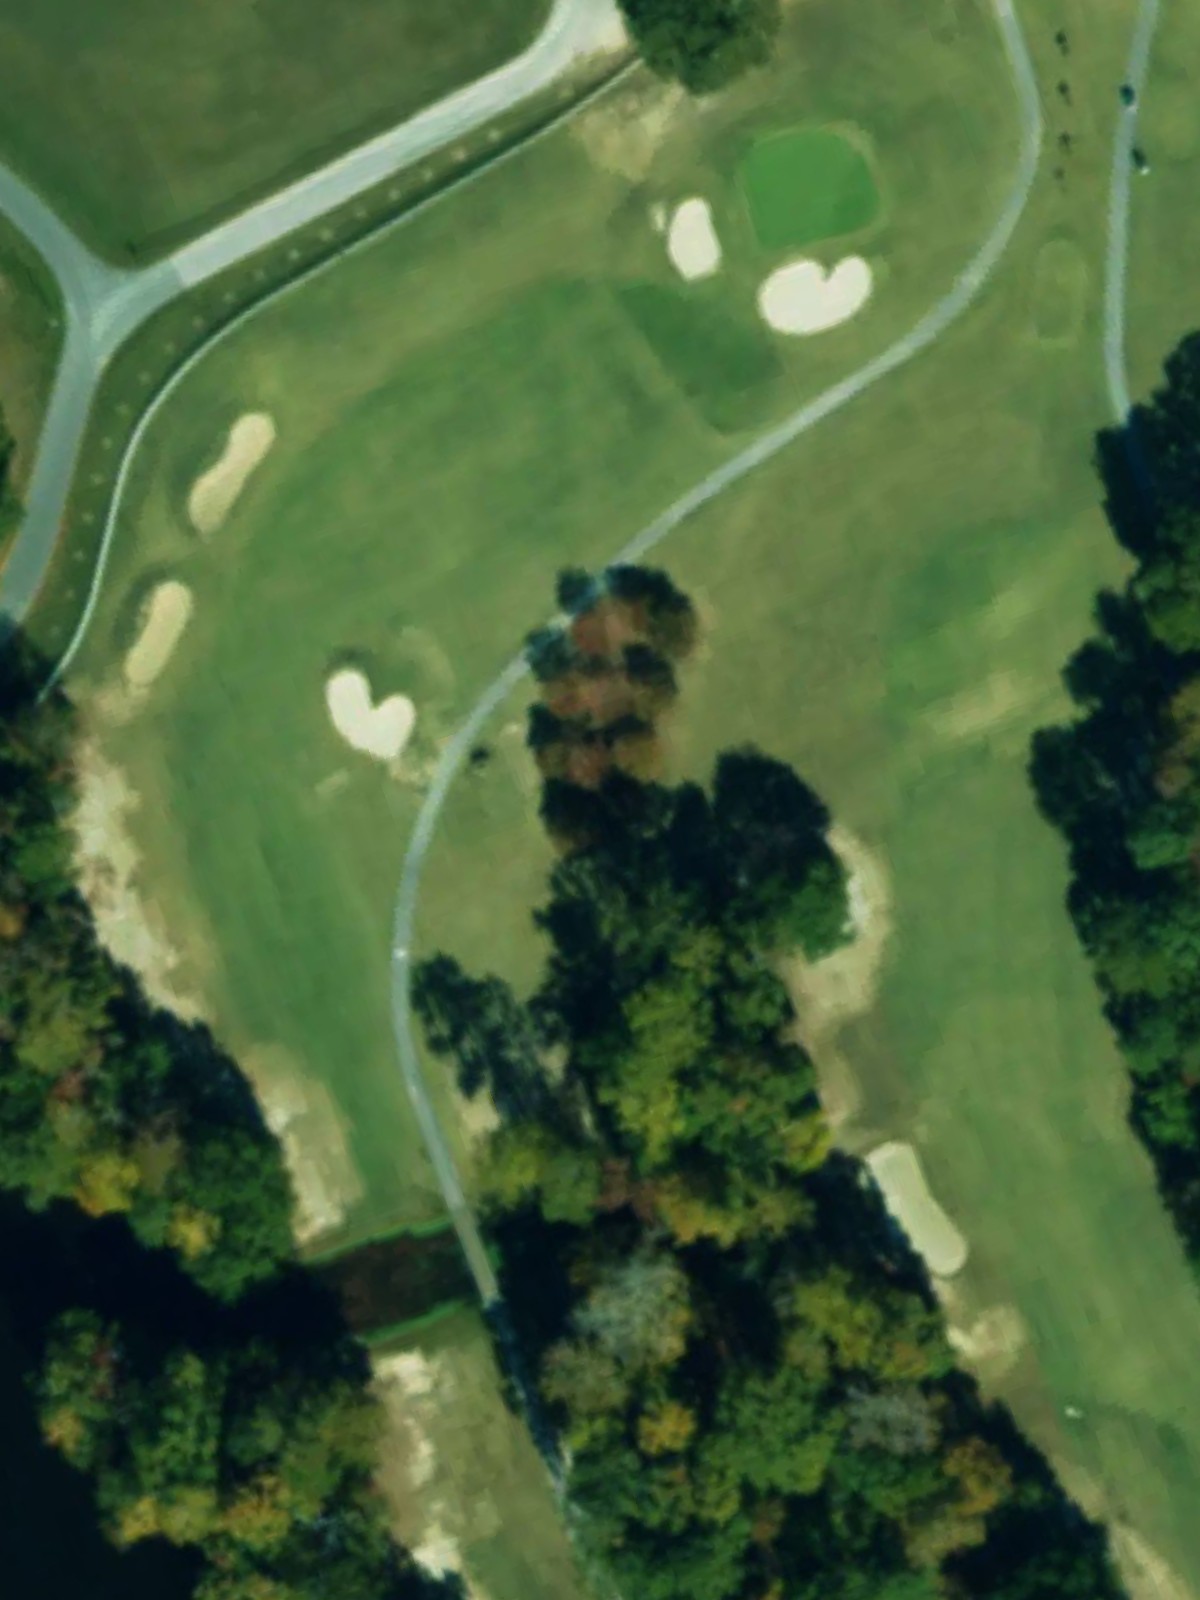
A mid-length par 4 with bunkers guarding key areas of the fairway and green. The hole rewards steady play and punishes mistakes on both tee and approach shots.
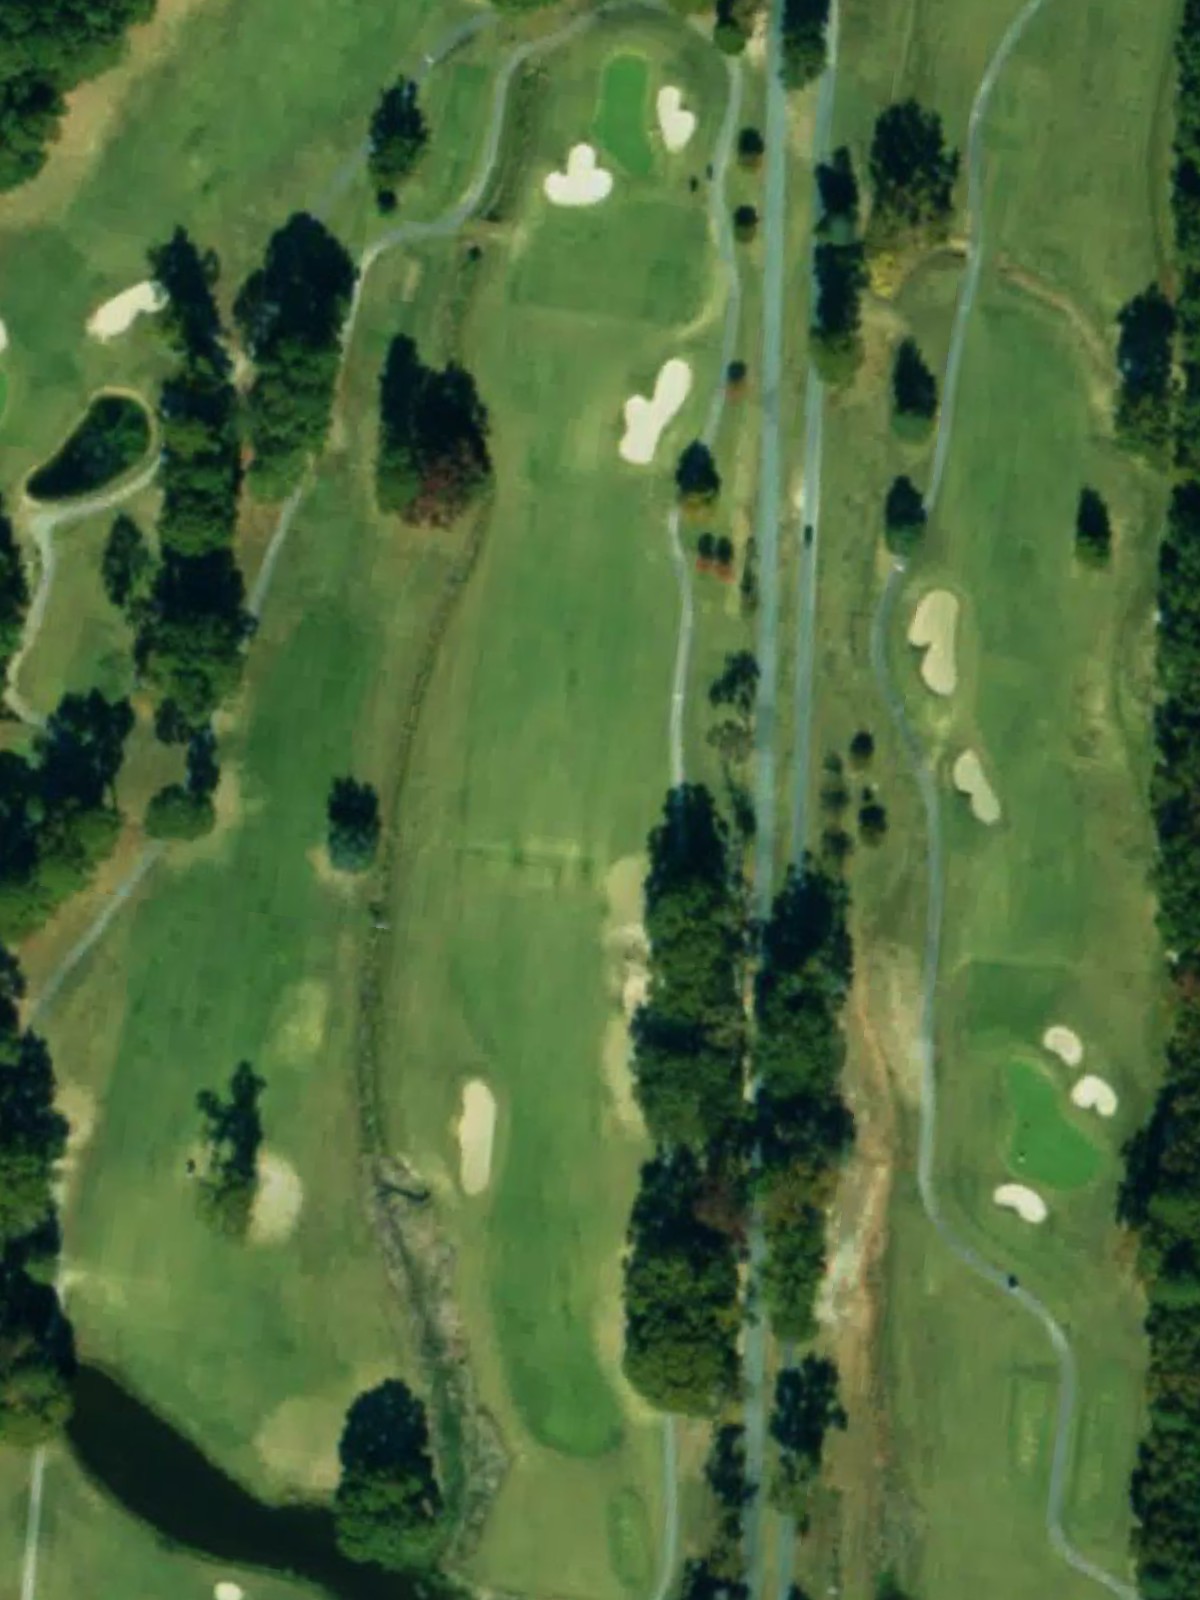
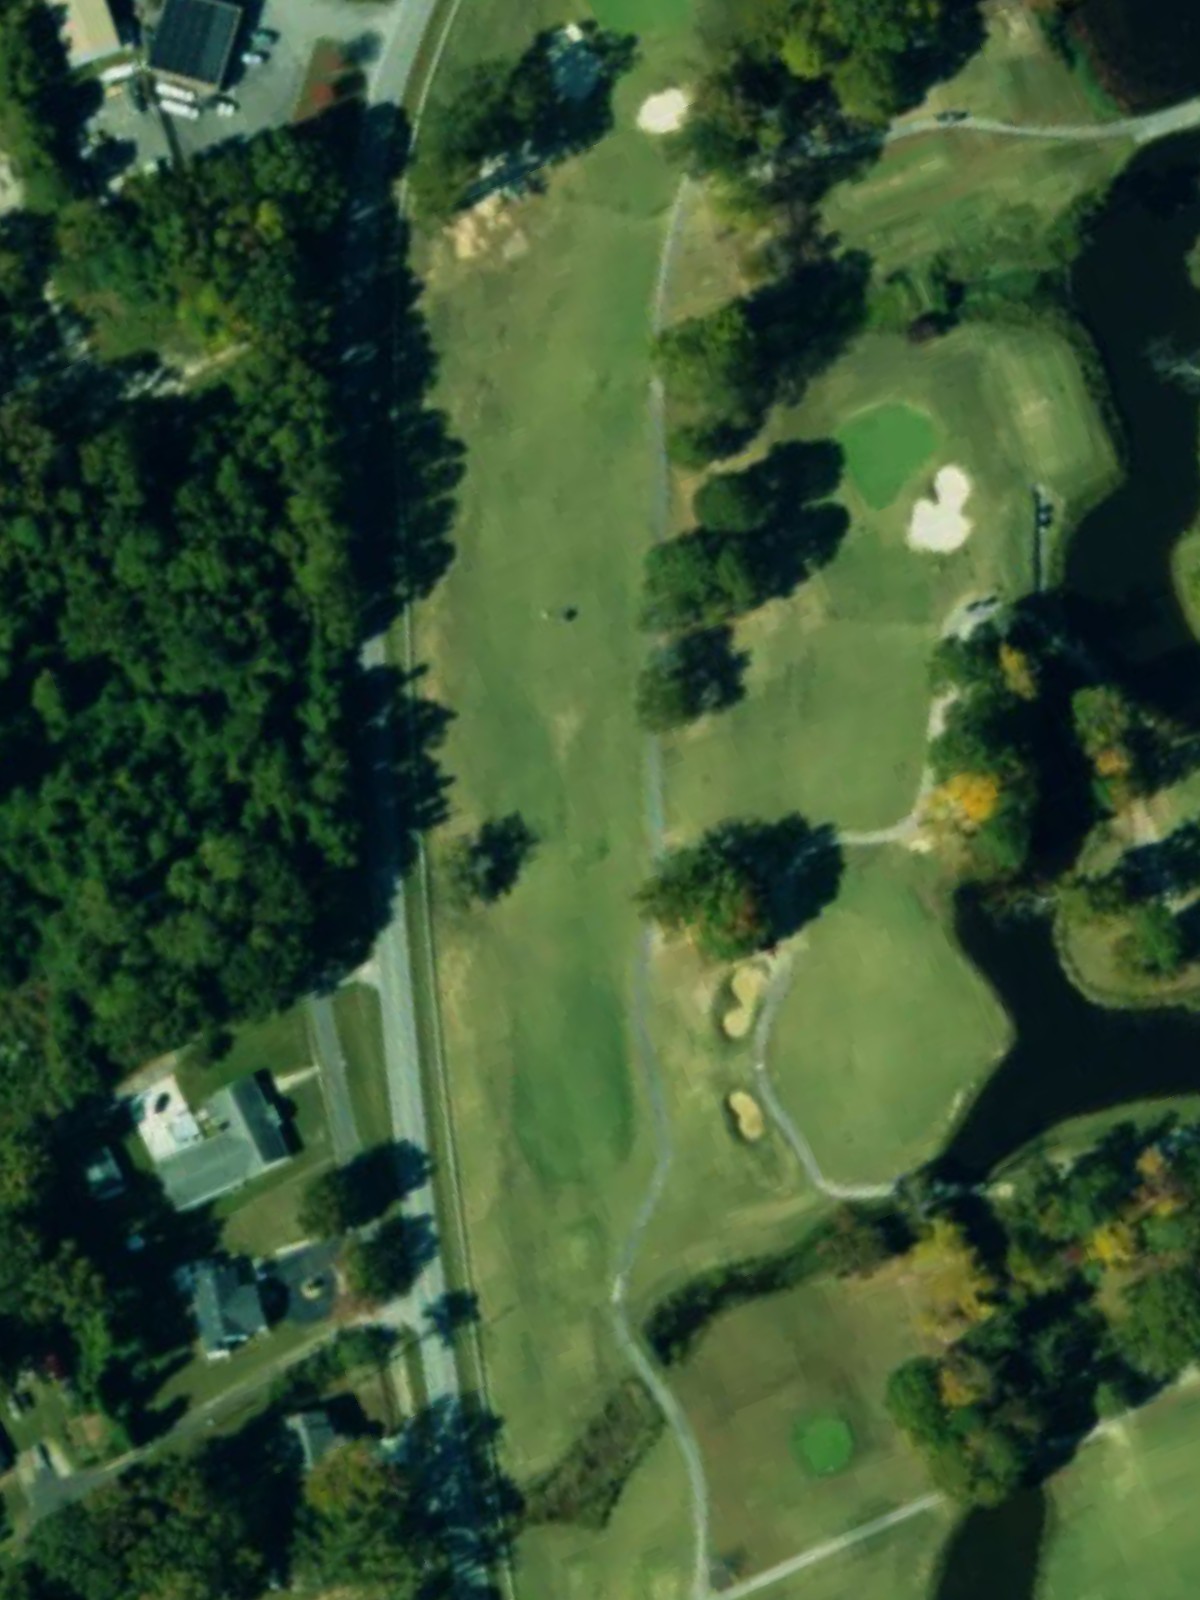
A lengthy par 5 that stretches across the landscape with bunkers strategically placed to challenge second and third shots. The hole demands power and accuracy to reach the green in regulation.
A shorter par 4 with bunkers framing the fairway and green. The modest length offers a birdie opportunity for solid ballstrikers who can avoid the hazards.
A mid-range par 3 with a bunker protecting the green and a fairway that can help shots roll toward the target. The hole provides a balanced short-iron test.
A par 5 with plenty of room off the tee but bunkers positioned throughout the hole to catch wayward shots. The layout encourages aggressive play for those seeking scoring opportunities.
The second-most difficult hole on the course, a demanding par 4 with bunkers and fairway hazards that test every aspect of ball-striking. Strategic positioning is crucial for success.
A challenging par 4 featuring bunkers that come into play on the approach to the green. The hole punishes poor positioning and demands careful course management.
A par 3 with a bunker guarding the green and fairway space that offers some margin for error. The hole plays as a moderate-length one-shotter with defined hazards.
A mid-length par 4 with bunkers strategically placed along the fairway and near the green. The hole offers a reasonable scoring opportunity for those who can find the fairway.
A strong finishing par 4 with significant length and bunkers framing both the fairway and green. The hole demands quality tee and approach shots to close out the round.
Scorecard
| Hole | 1 | 2 | 3 | 4 | 5 | 6 | 7 | 8 | 9 | Out | 10 | 11 | 12 | 13 | 14 | 15 | 16 | 17 | 18 | In | Tot |
|---|---|---|---|---|---|---|---|---|---|---|---|---|---|---|---|---|---|---|---|---|---|
| Par | 4 | 5 | 4 | 3 | 5 | 4 | 3 | 4 | 4 | 36 | 5 | 4 | 3 | 5 | 4 | 4 | 3 | 4 | 4 | 36 | 72 |
| HCP | 11 | 7 | 5 | 13 | 17 | 1 | 15 | 3 | 9 | 10 | 16 | 8 | 18 | 2 | 6 | 14 | 12 | 4 | |||
| black | 414 | 510 | 397 | 153 | 512 | 373 | 179 | 444 | 421 | 3403 | 604 | 356 | 178 | 501 | 427 | 459 | 180 | 378 | 465 | 3548 | 6951 |
| blue | 371 | 492 | 385 | 145 | 458 | 343 | 145 | 402 | 415 | 3156 | 556 | 334 | 173 | 455 | 409 | 443 | 166 | 364 | 443 | 3343 | 6499 |
| white | 348 | 470 | 343 | 135 | 440 | 321 | 130 | 385 | 401 | 2973 | 530 | 326 | 155 | 413 | 372 | 335 | 149 | 327 | 375 | 2982 | 5955 |
| yellow | 300 | 412 | 337 | 113 | 357 | 269 | 121 | 370 | 325 | 2604 | 524 | 318 | 150 | 379 | 313 | 309 | 144 | 285 | 301 | 2723 | 5327 |
| red | 294 | 407 | 305 | 99 | 353 | 234 | 106 | 315 | 320 | 2433 | 483 | 261 | 106 | 372 | 309 | 305 | 138 | 281 | 297 | 2552 | 4985 |