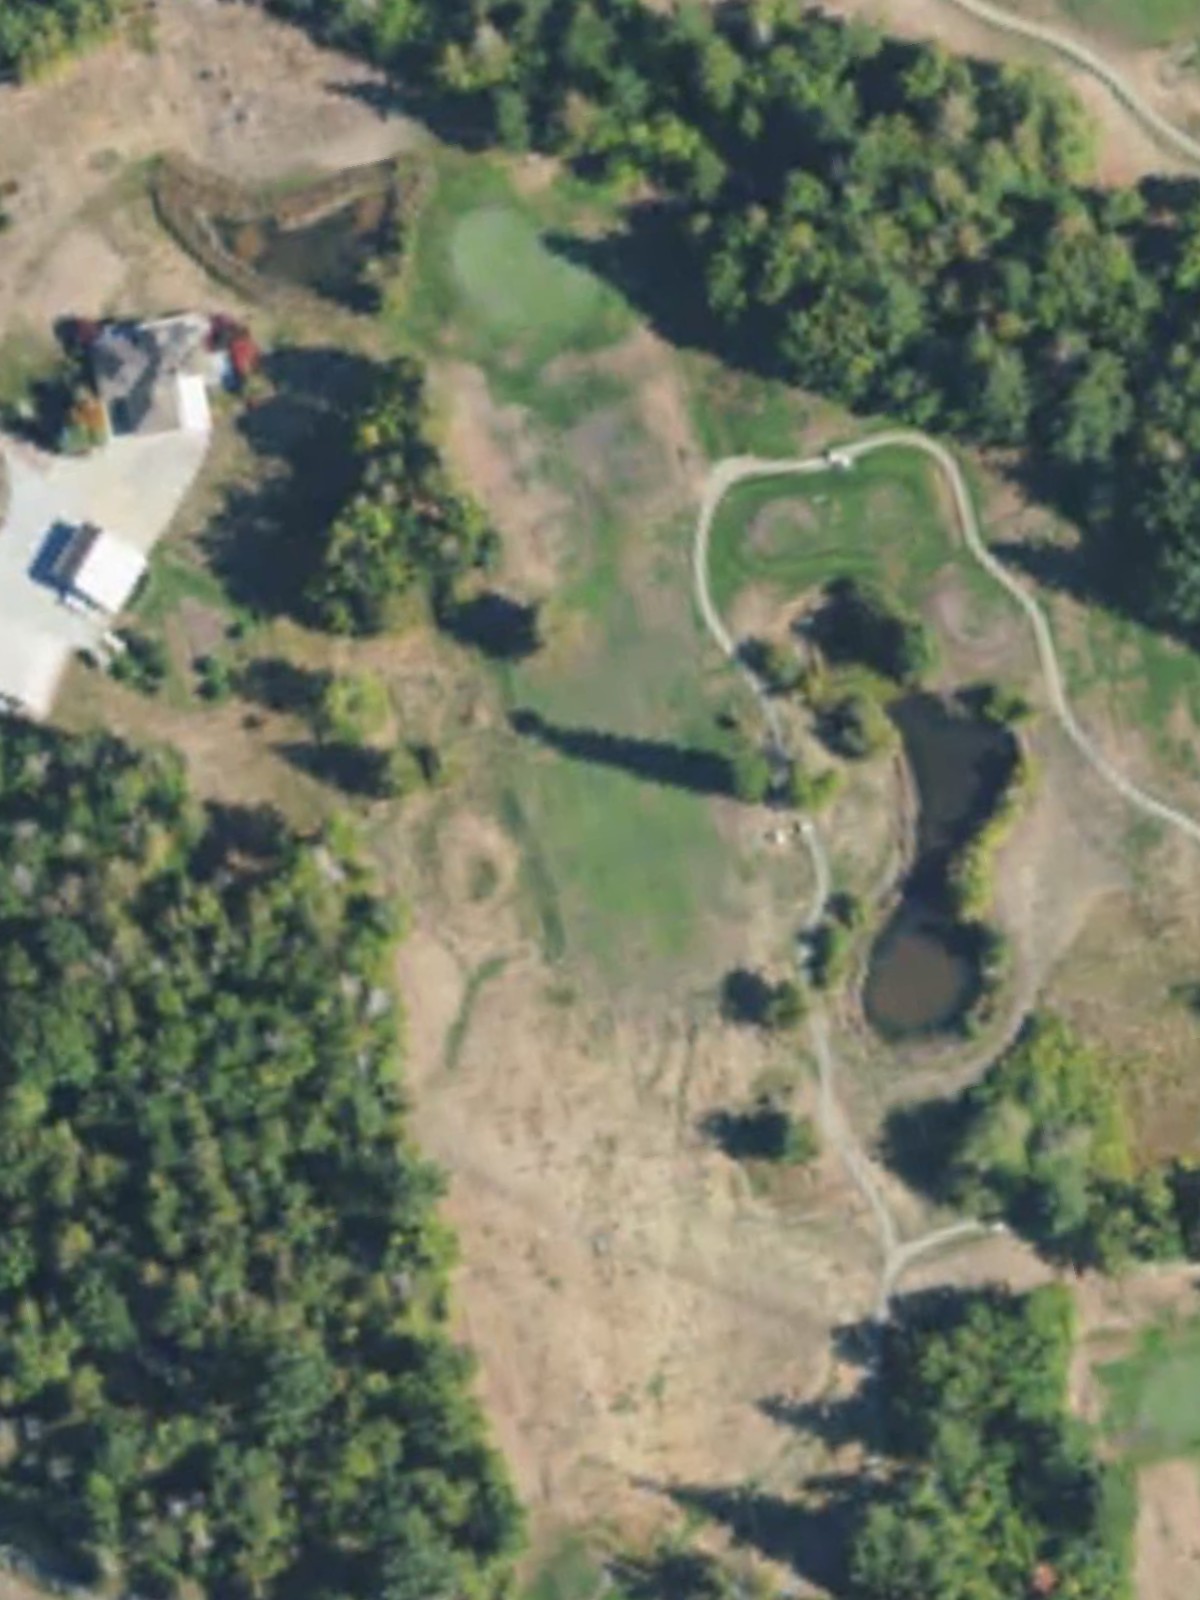
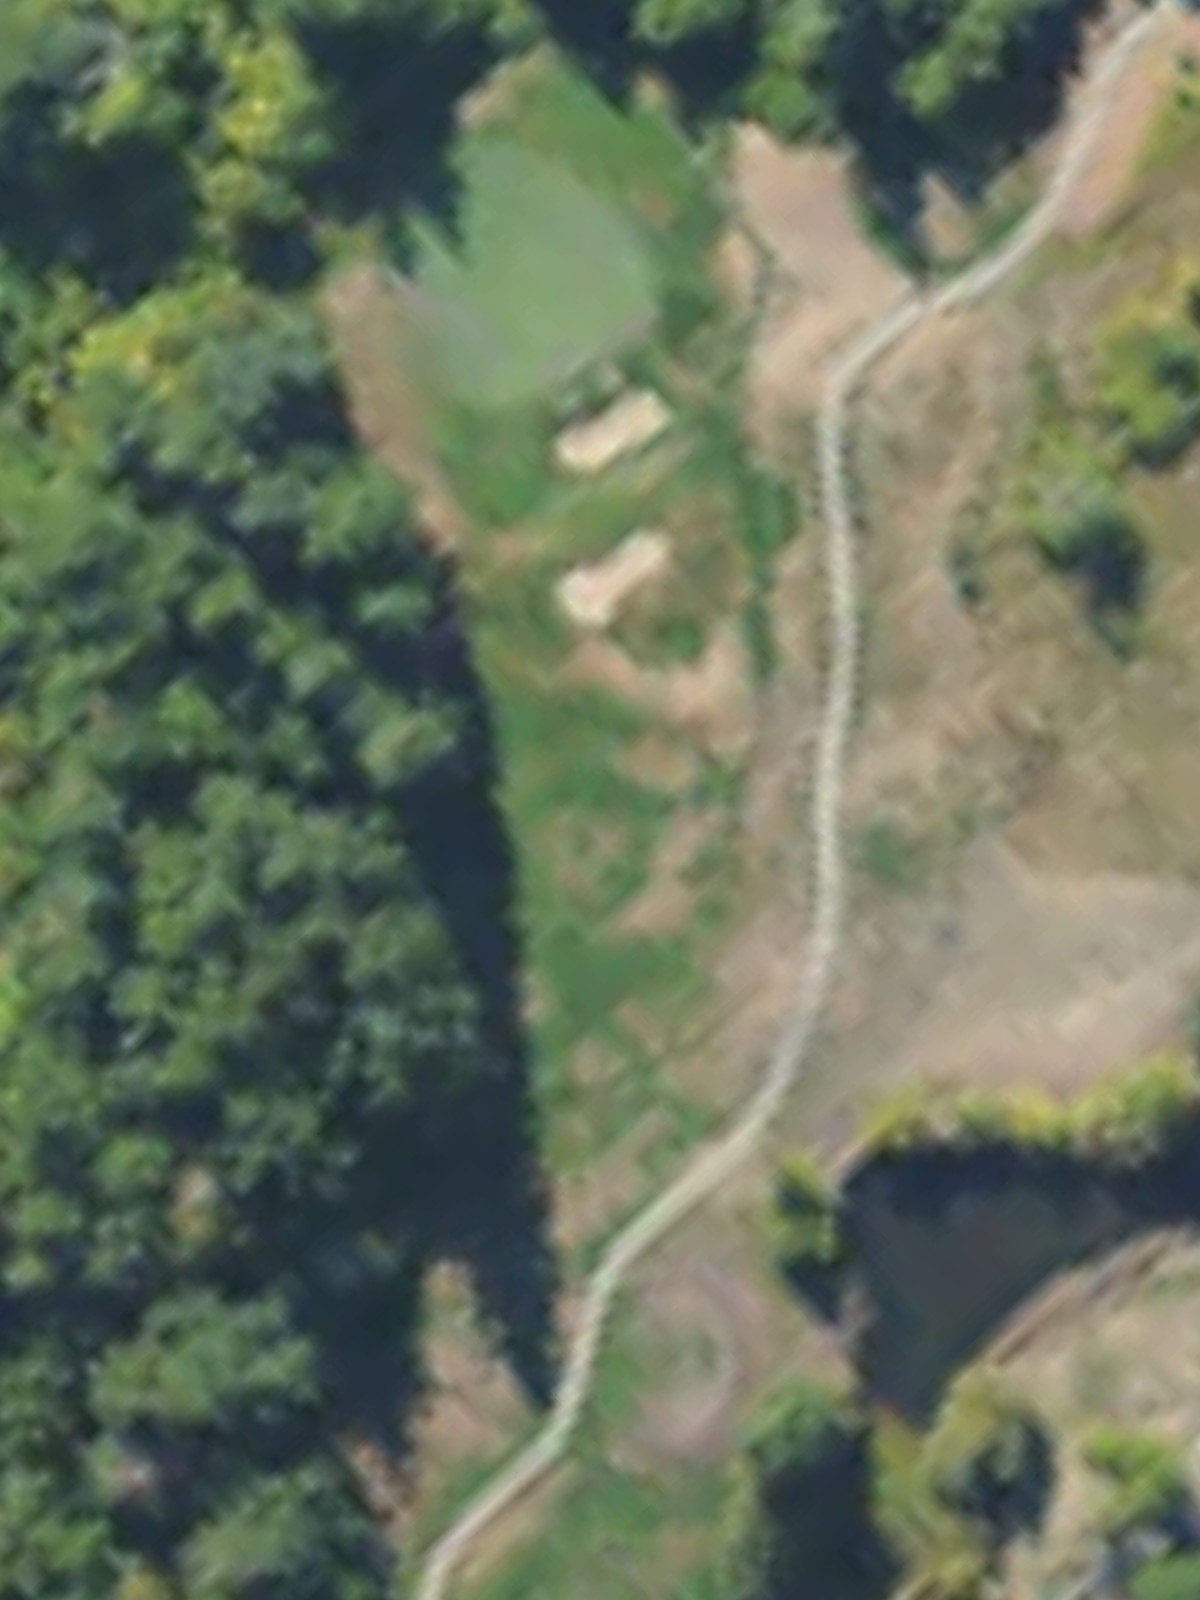
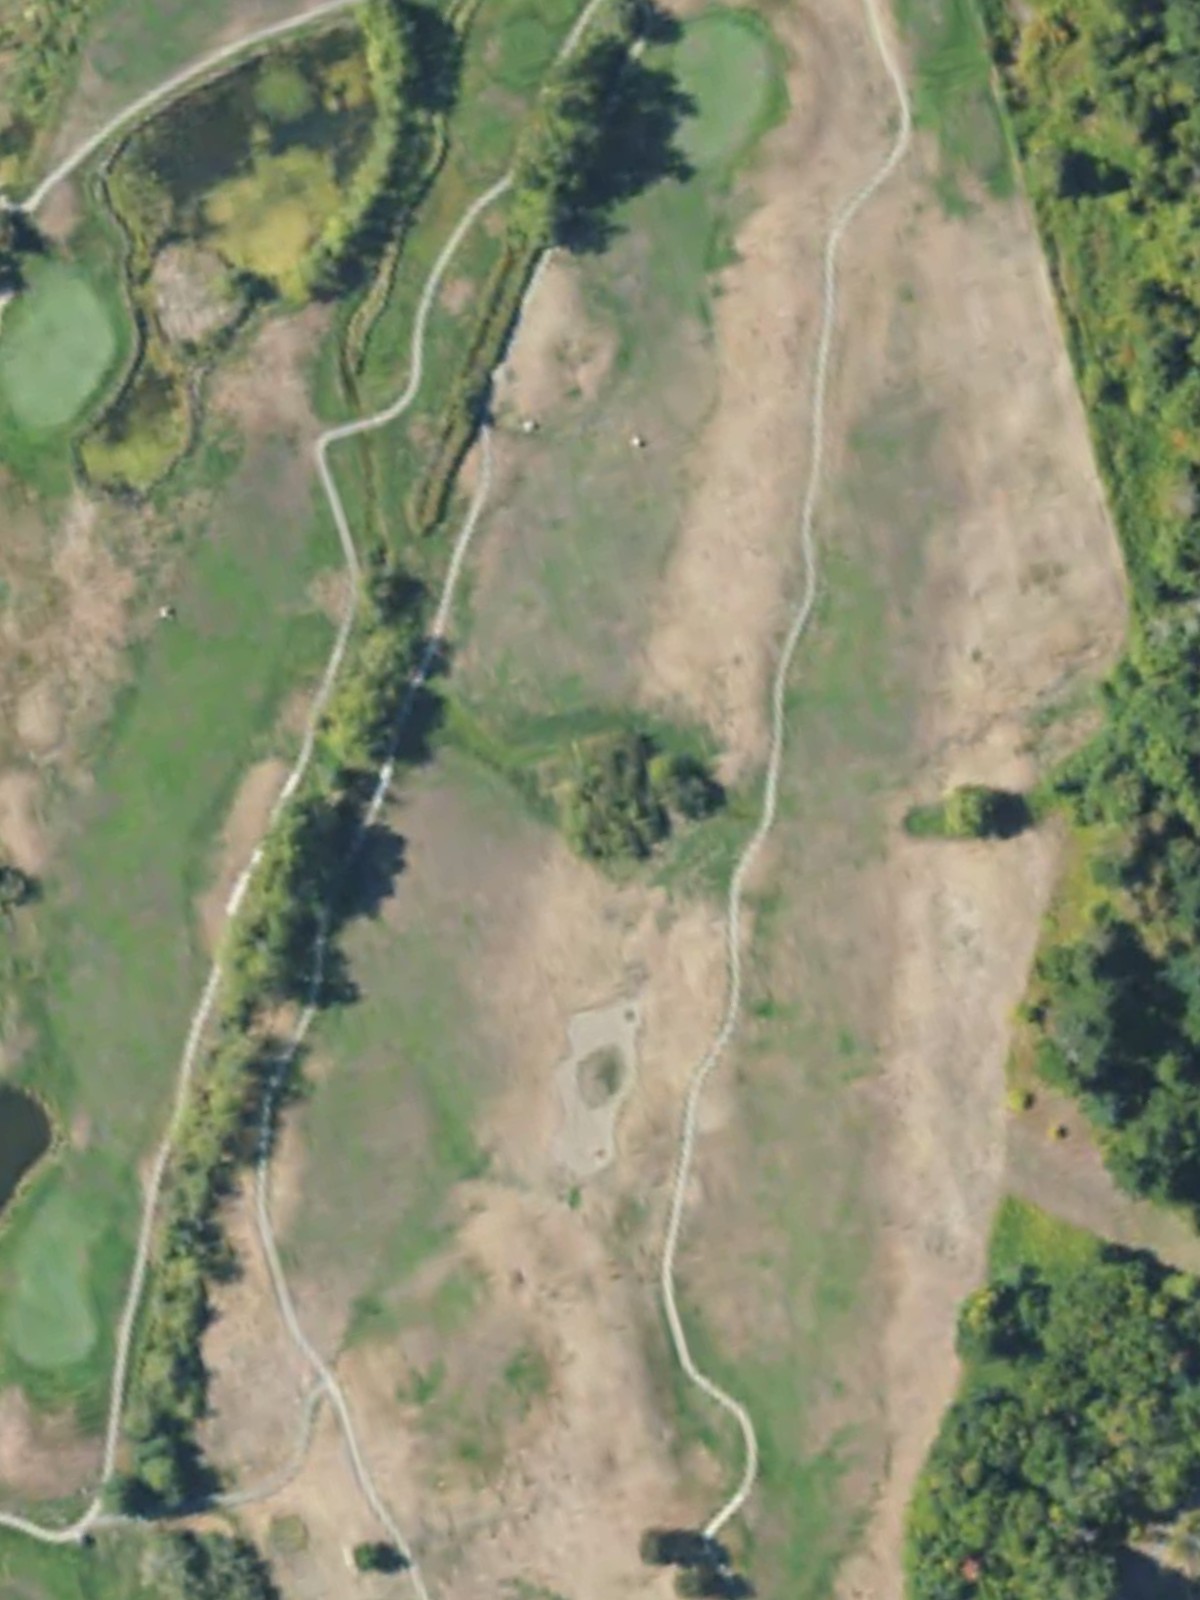
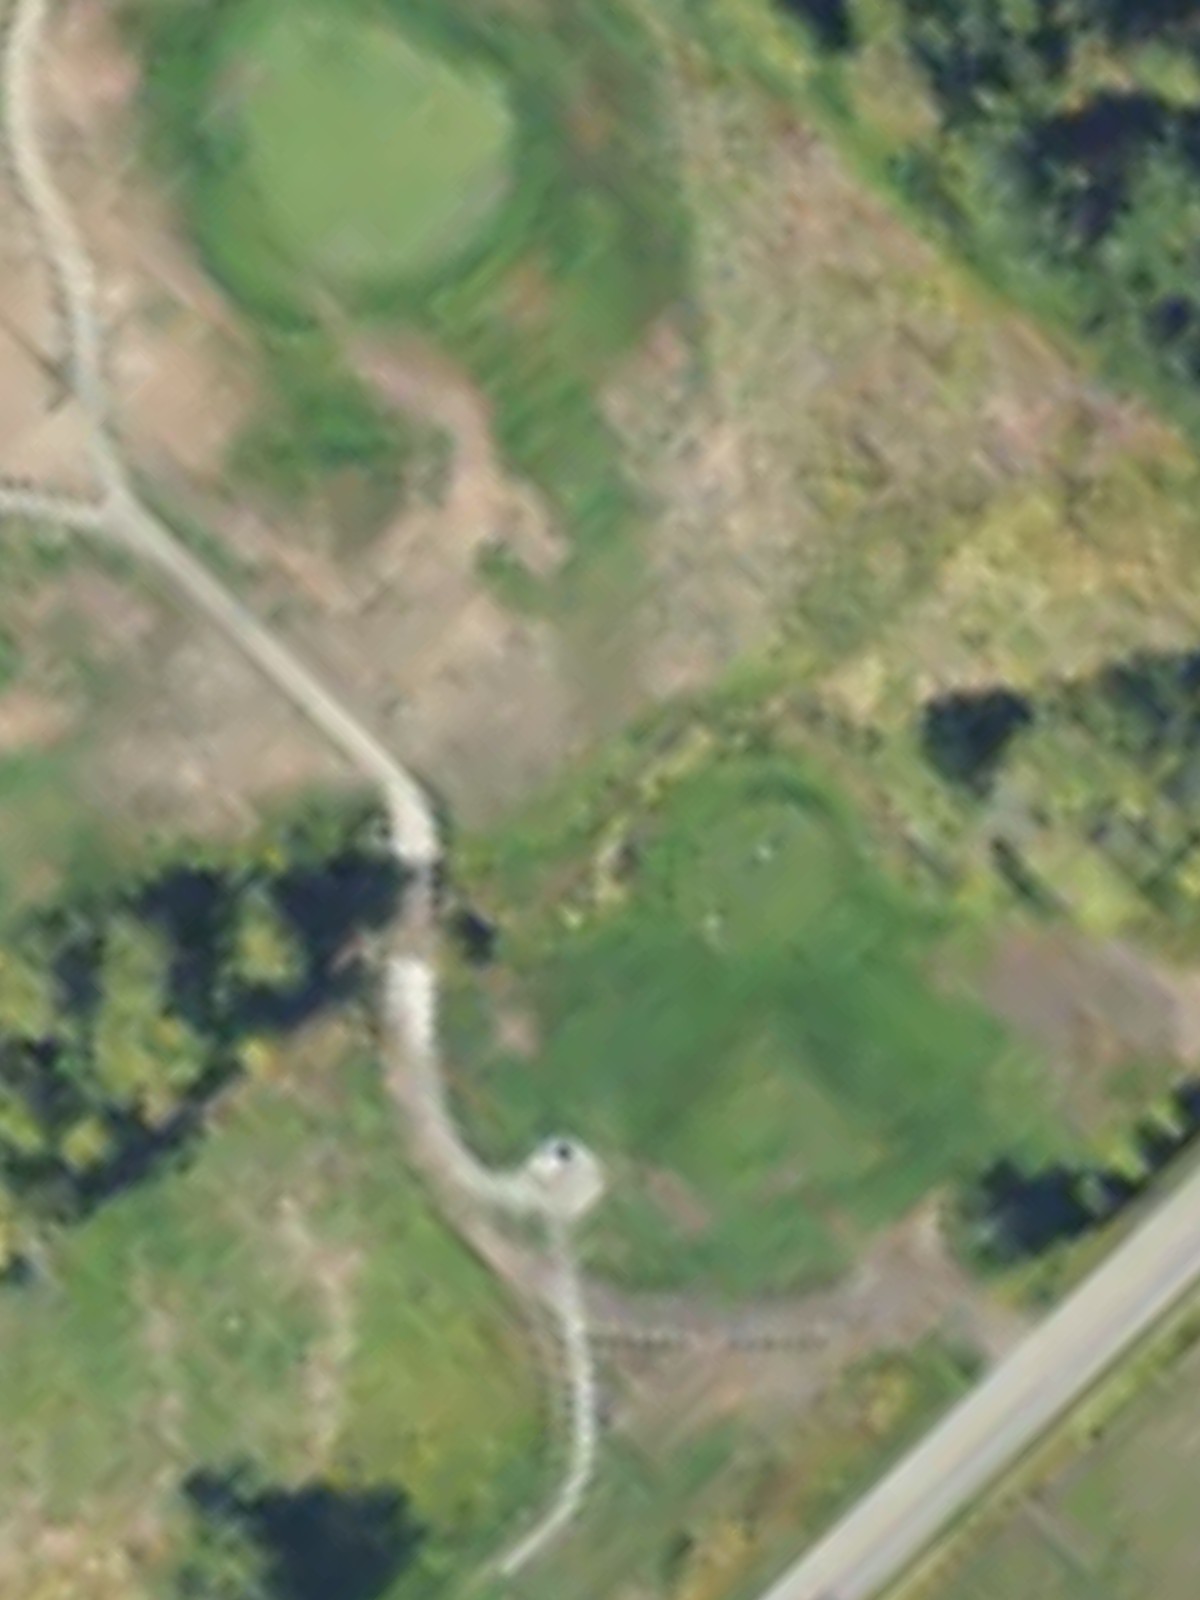
Shuksan Golf Club is an 18-hole golf course in Bellingham, WA with a par of 72. It offers 4 tee sets: blue (6,508 yards, slope 128, rating 70.5), white (5,877 yards, slope 116, rating 68.2), gold (5,133 yards, slope 104, rating 65.1), red (4,994 yards, slope 102, rating 64.3). The hardest hole is #4, a par 5 playing 457 yards from the first tee.
Shuksan Golf Club
Bellingham, WA
Get PDF Yardage Book
We'll email you the PDF link. No spam, ever.
Create Your Game Plan
Pick your tees, enter your bag, and get a personalized shot-by-shot strategy for every hole.
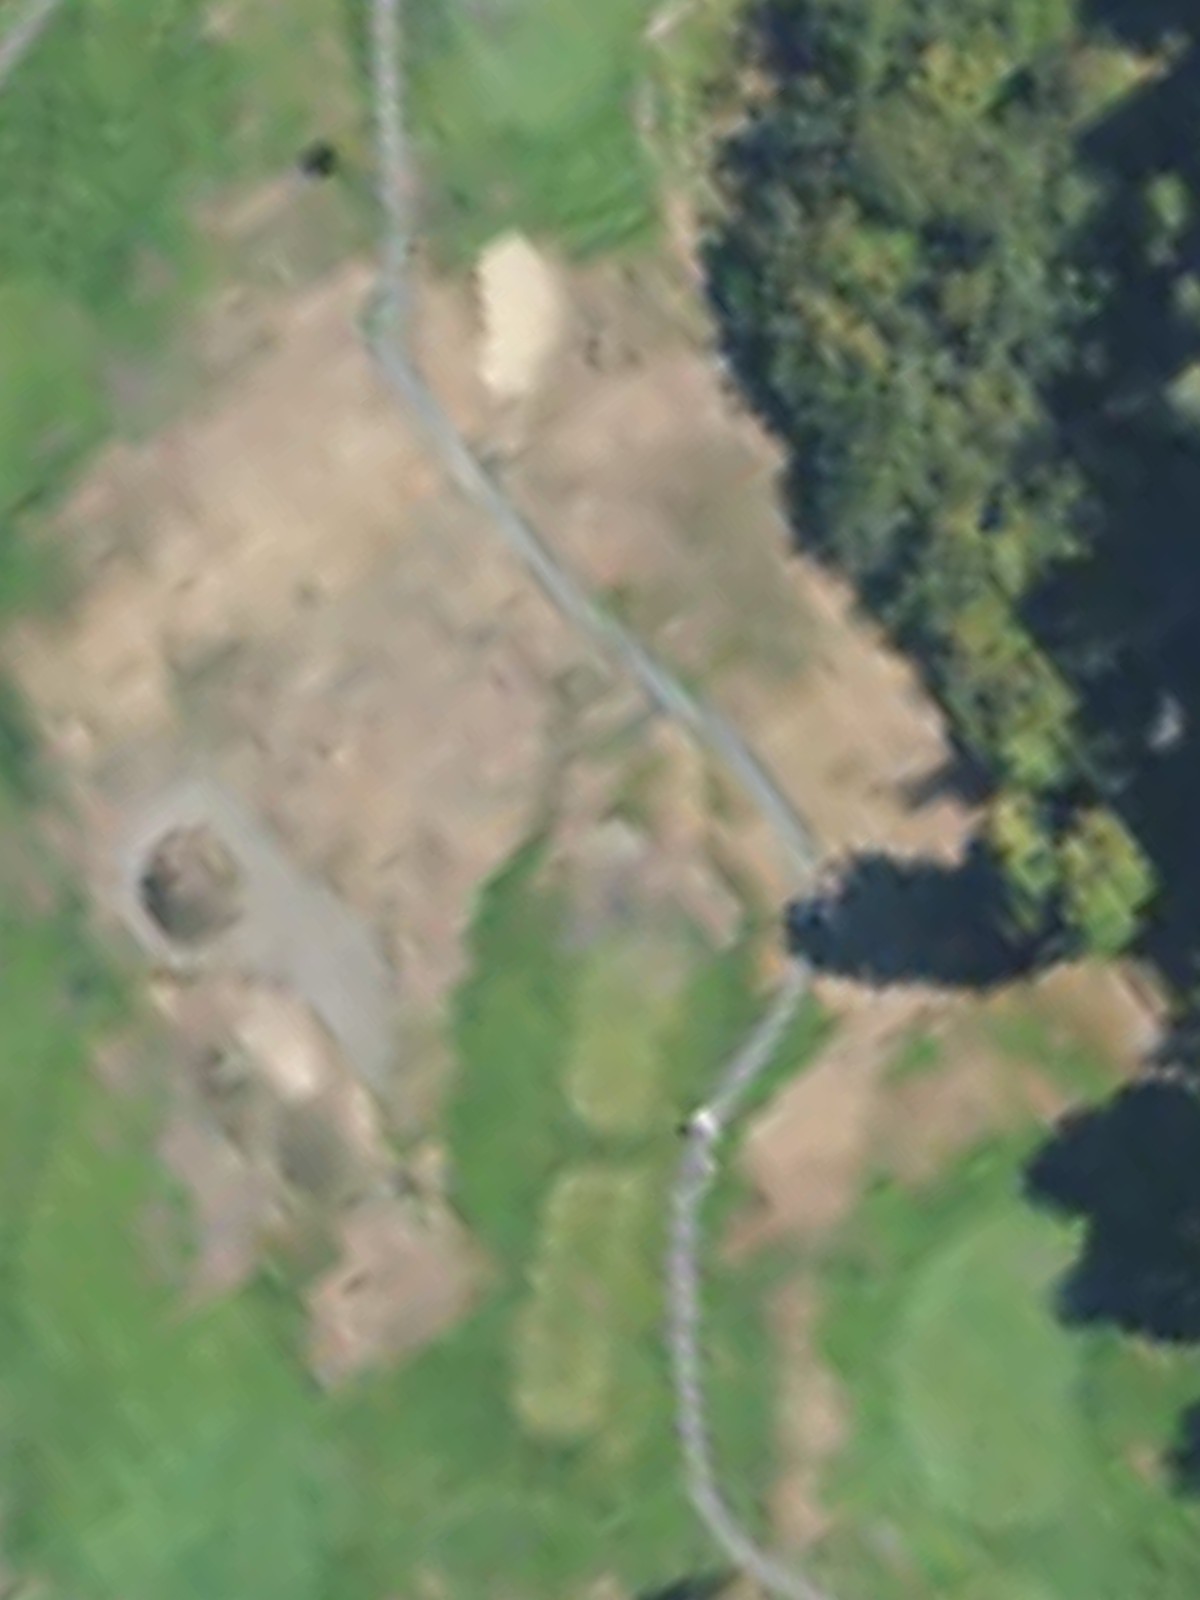
A welcoming opening par 4 playing relatively short with a fairway that gradually narrows as it approaches the green. Bunkers protect the right side of the green, rewarding accurate approach play on this straightforward hole.
A short par 3 requiring a precise tee shot to a modest green. Water hazards frame the left side, making accuracy more important than distance on this opening test of shot-making.
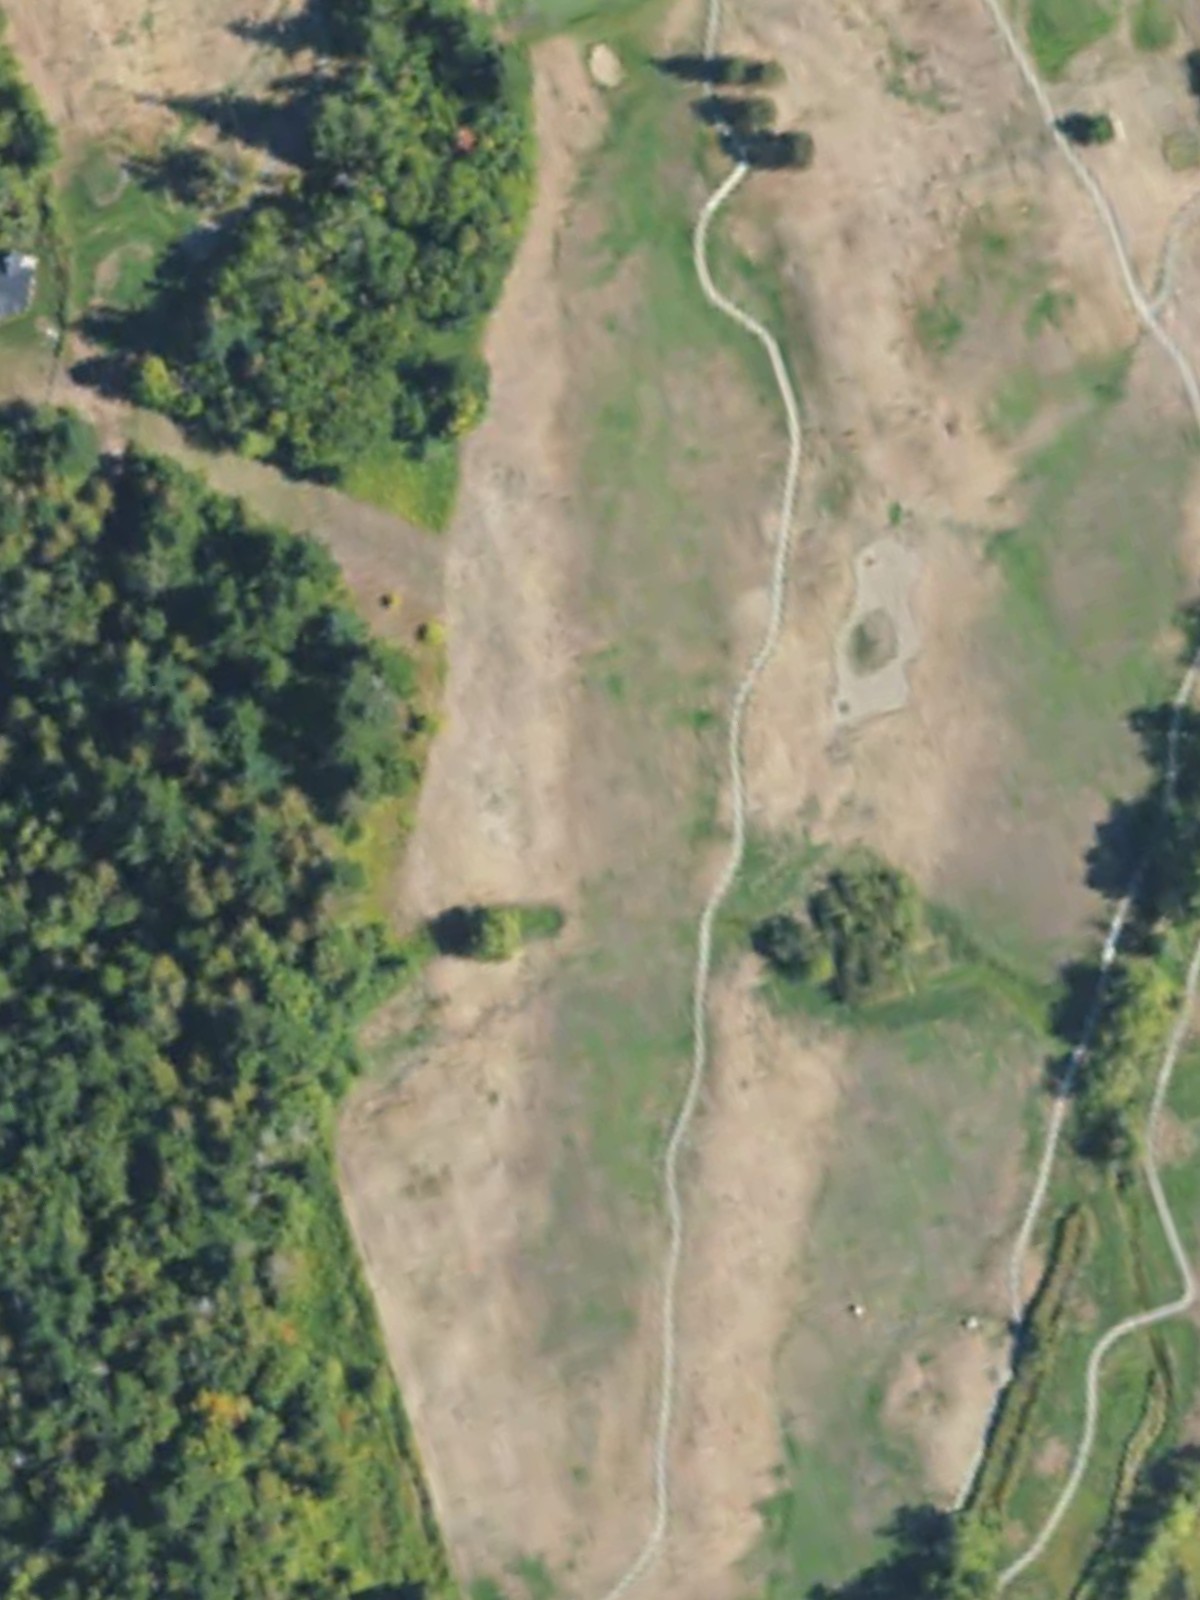
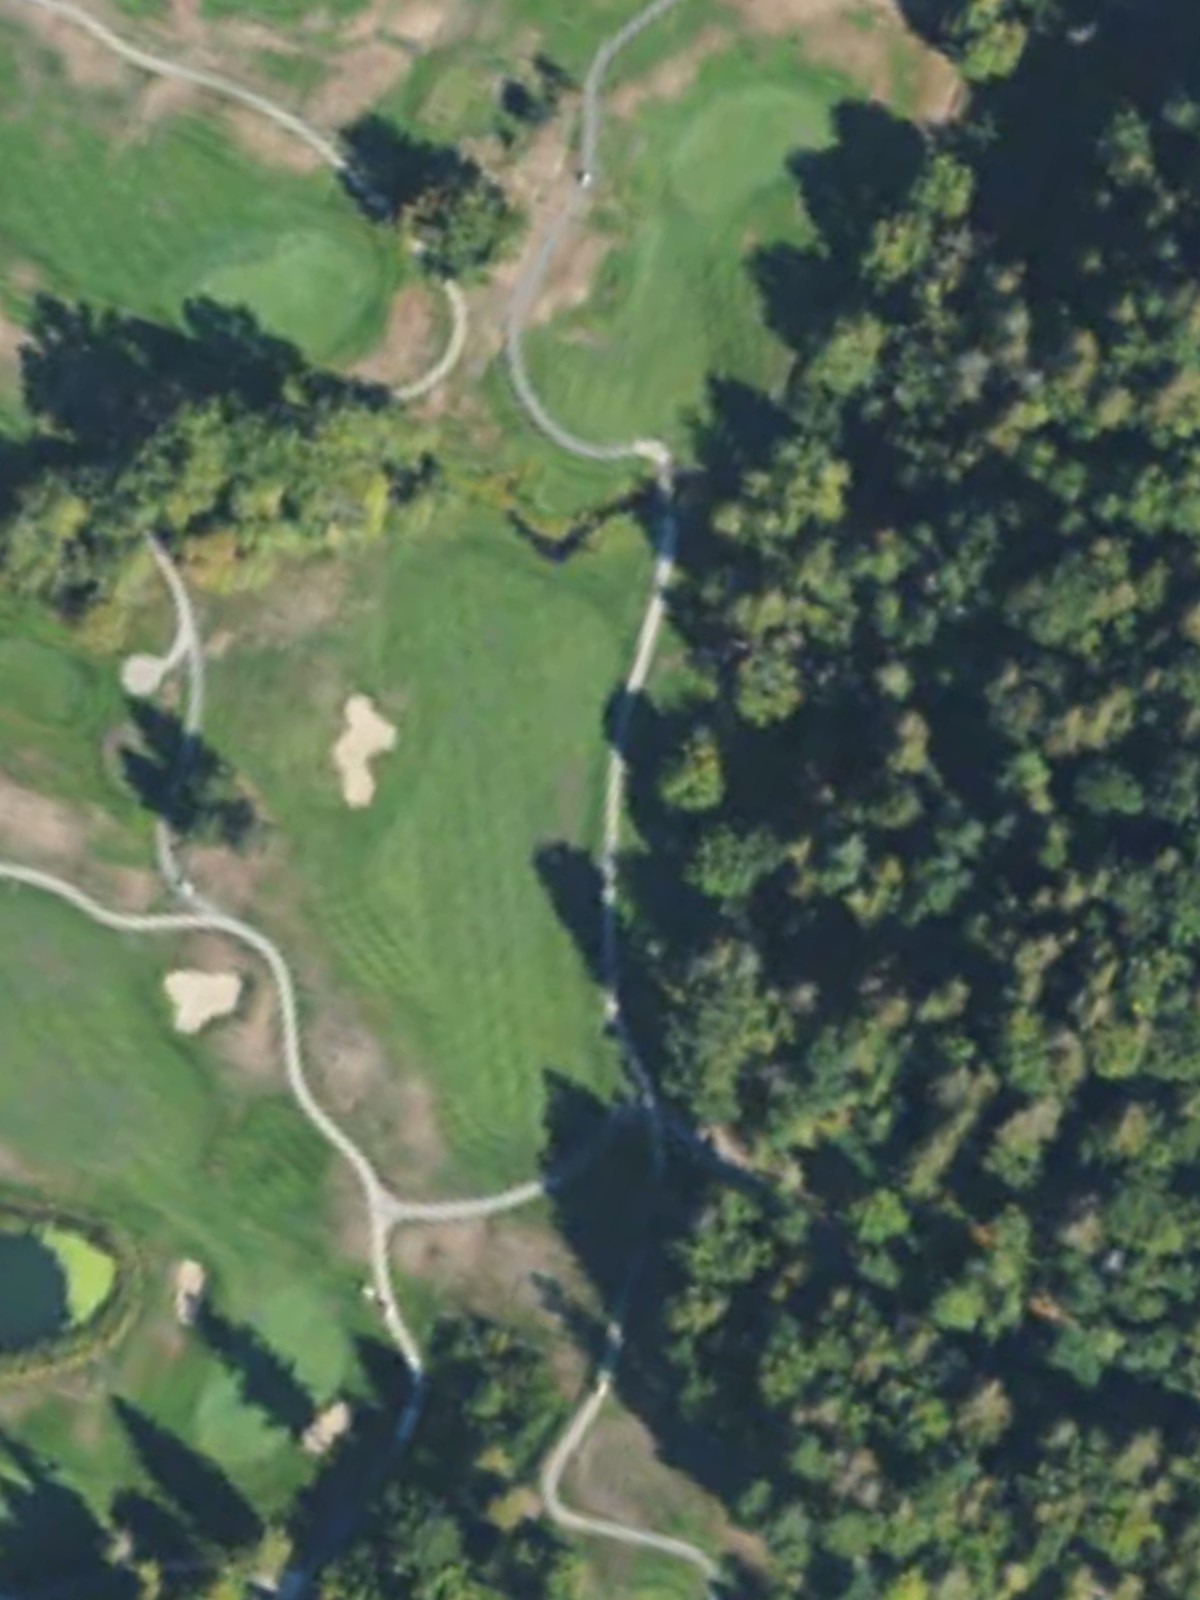
The course's first major test, this par 4 is the third-hardest hole and demands a quality drive and approach. Significant trouble lurks left and right of the fairway, with the green well-protected by bunkers and natural hazards.
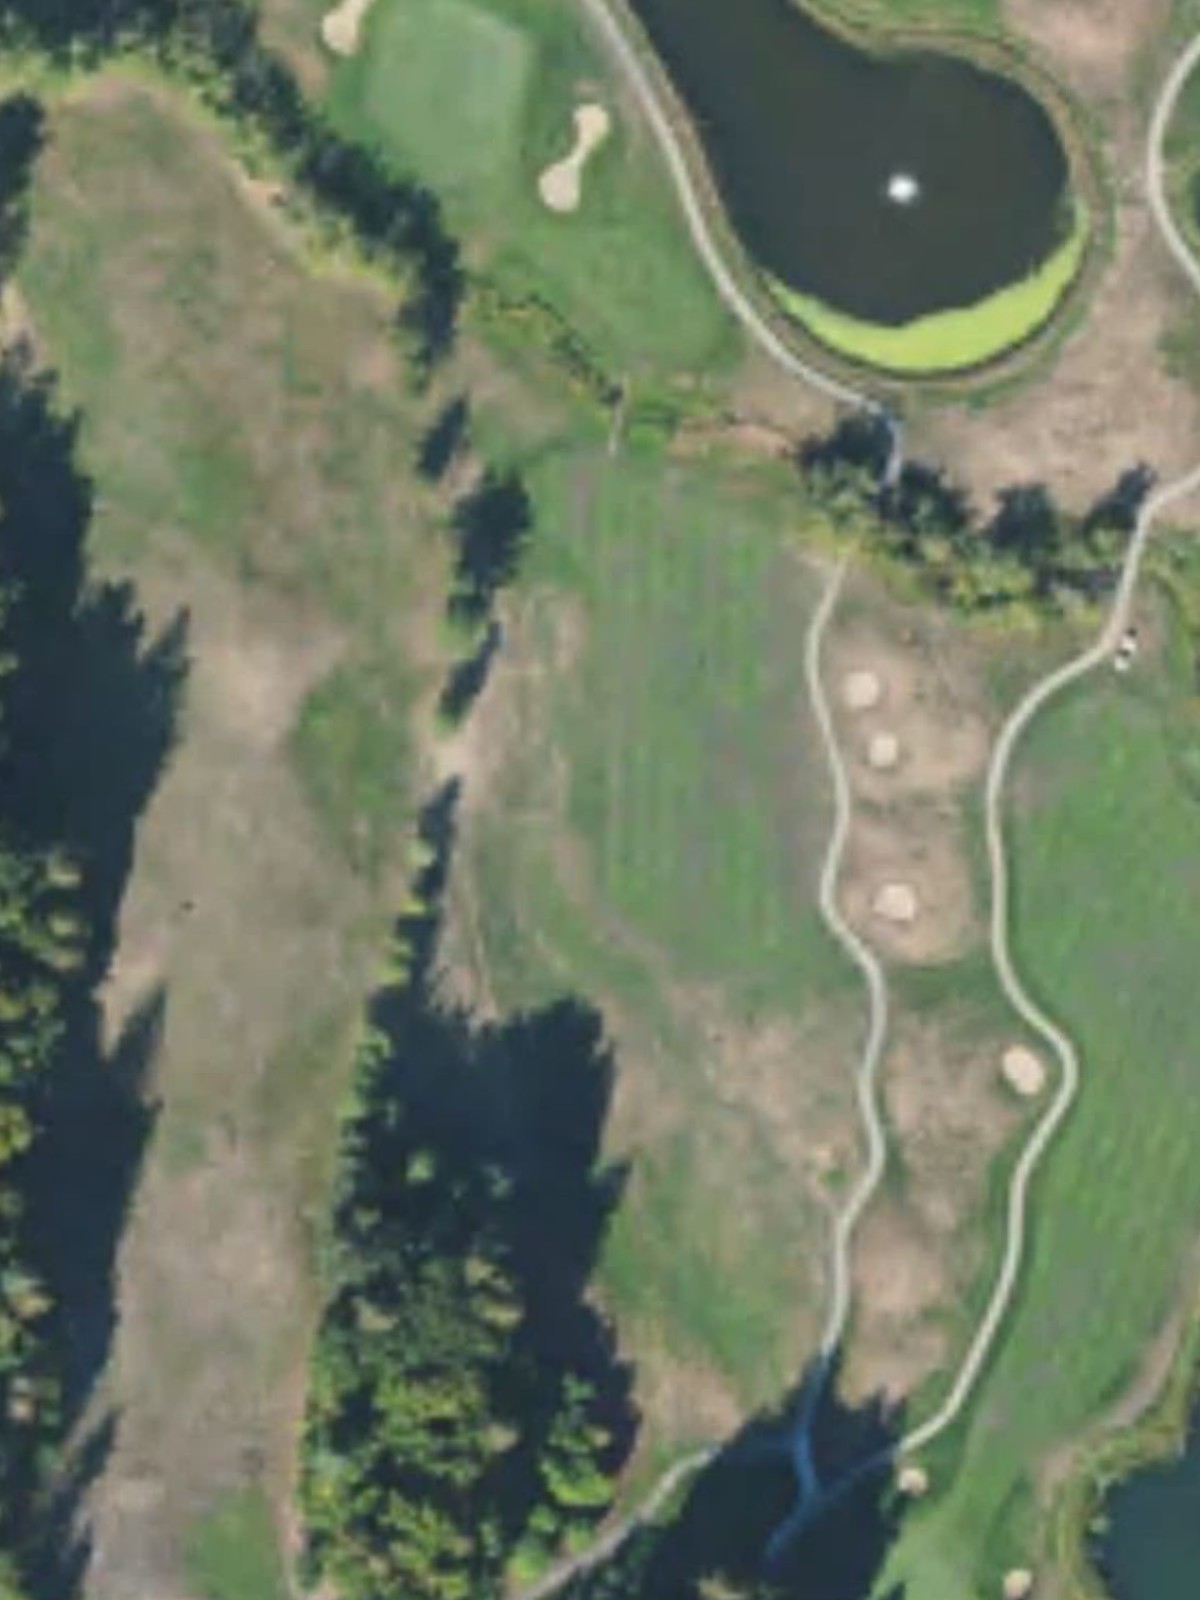
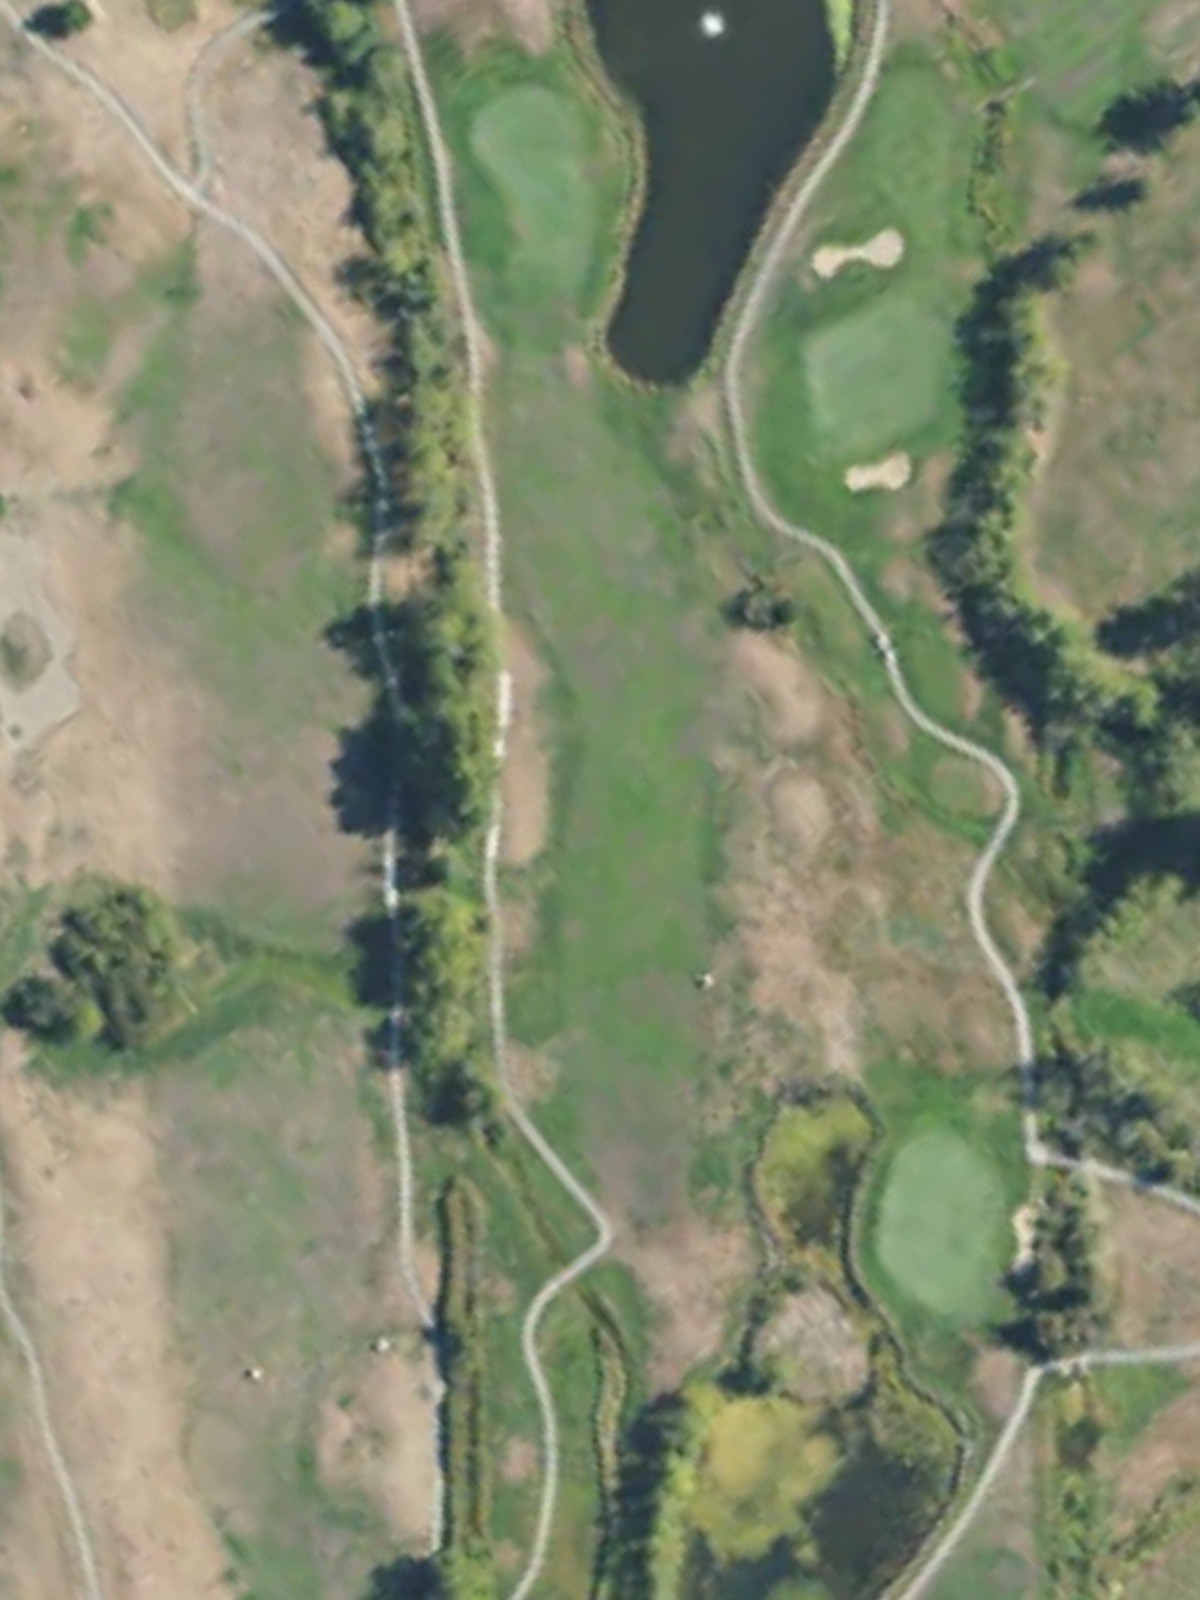
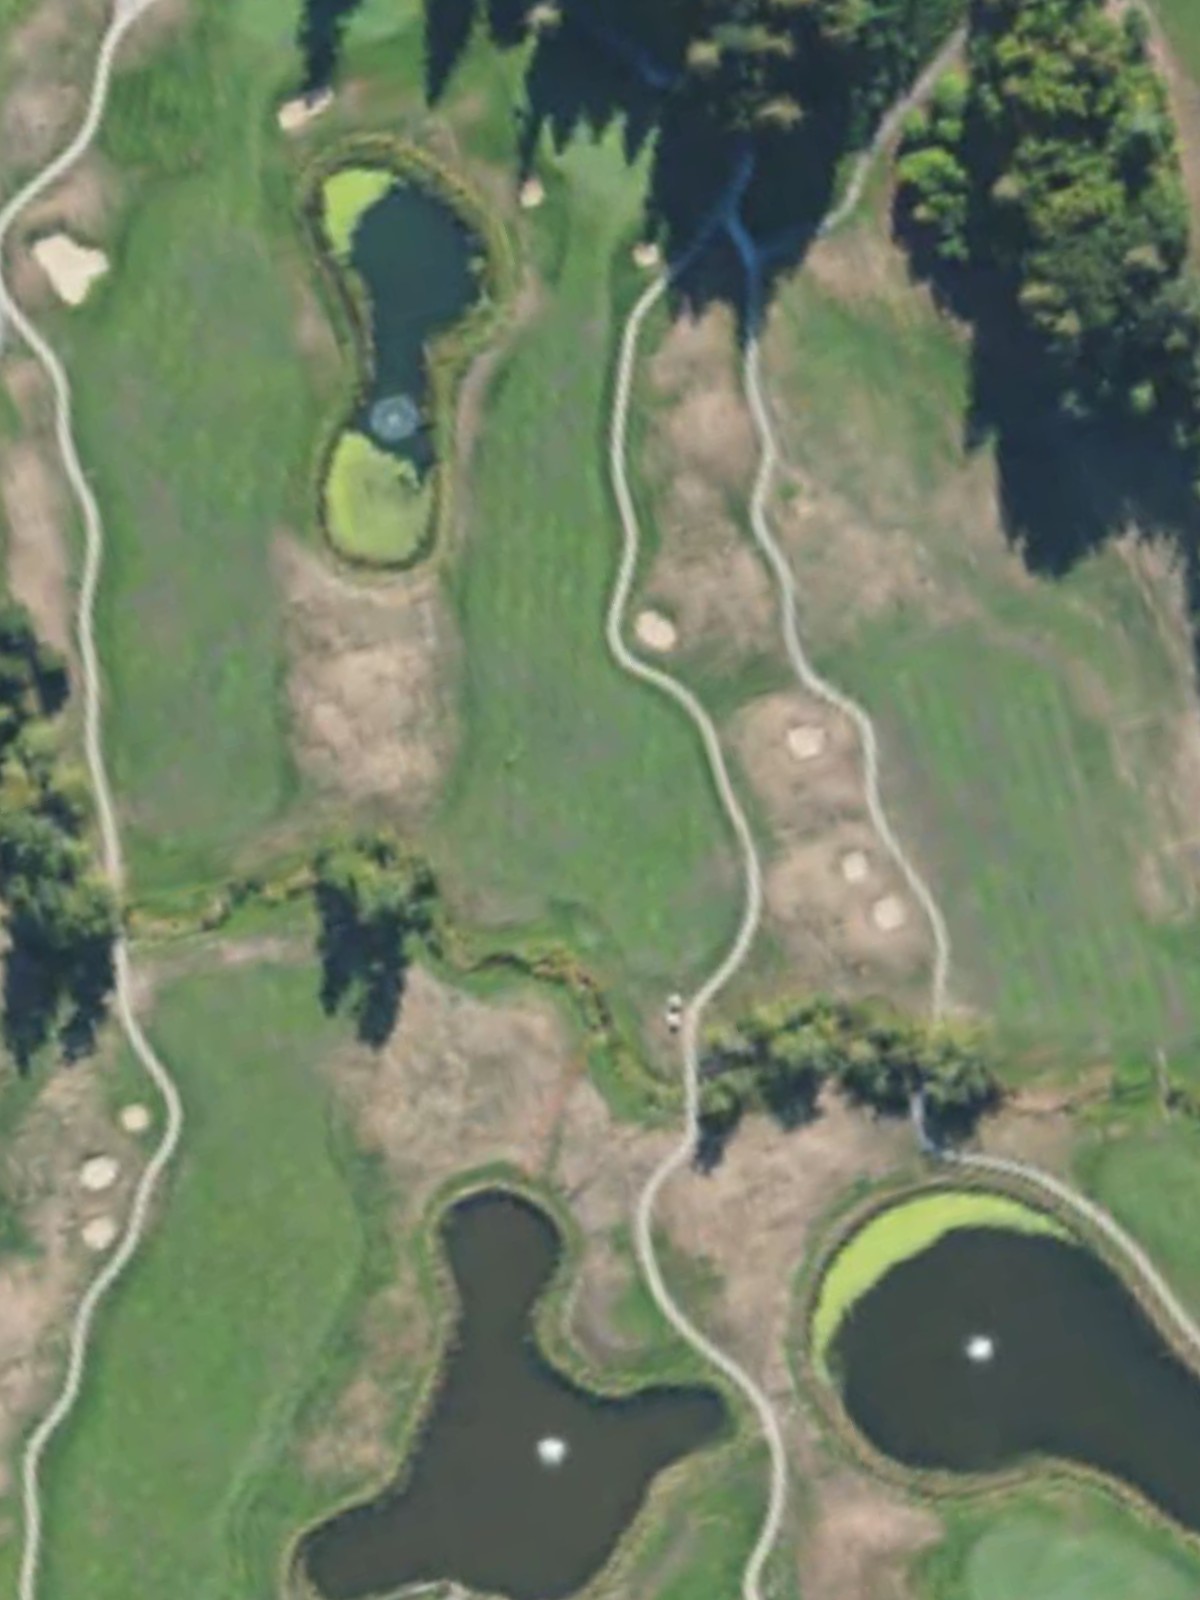
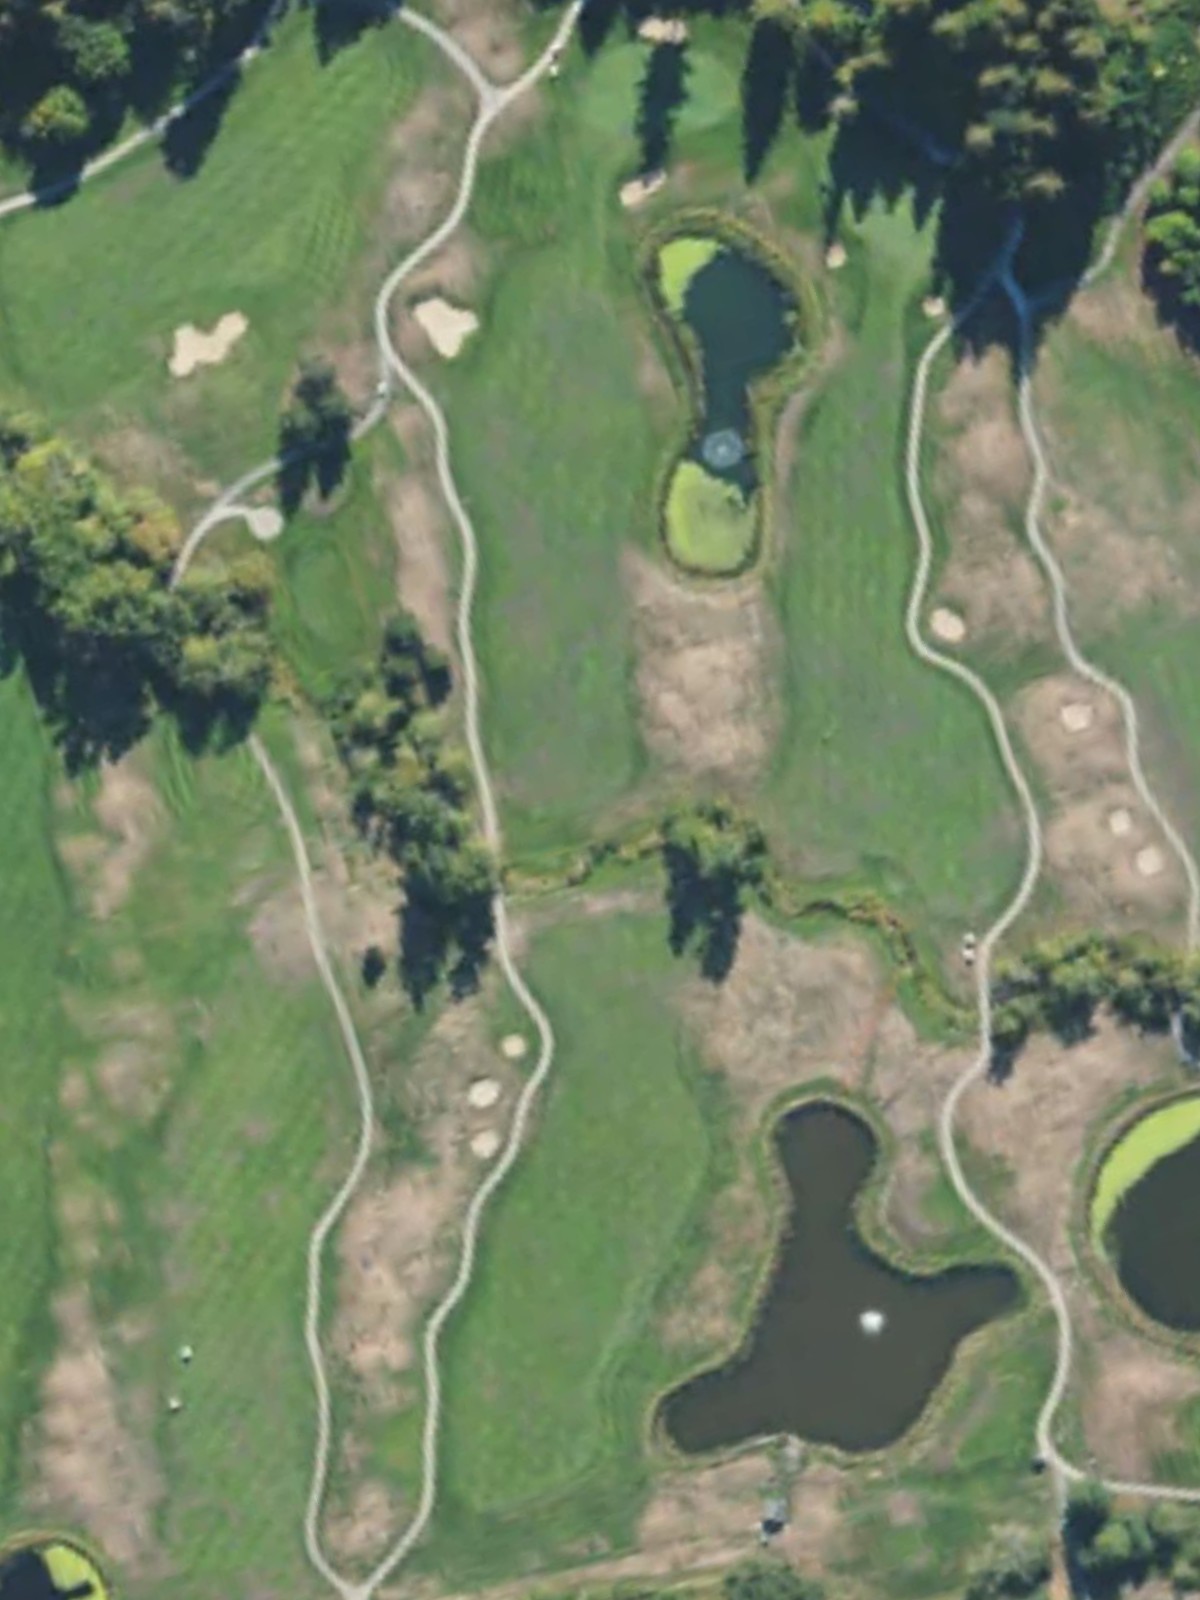
Playing as the course's hardest hole, this par 5 is a formidable three-shot challenge with water in play along the entire left side. The fairway doglegs slightly left, and the green is heavily guarded, making this a test of nerve and precision.
A shorter par 4 that plays deceptively challenging due to its tight corridor of fairway bordered by hazards on both sides. The green requires a careful approach shot to avoid the trouble surrounding it.
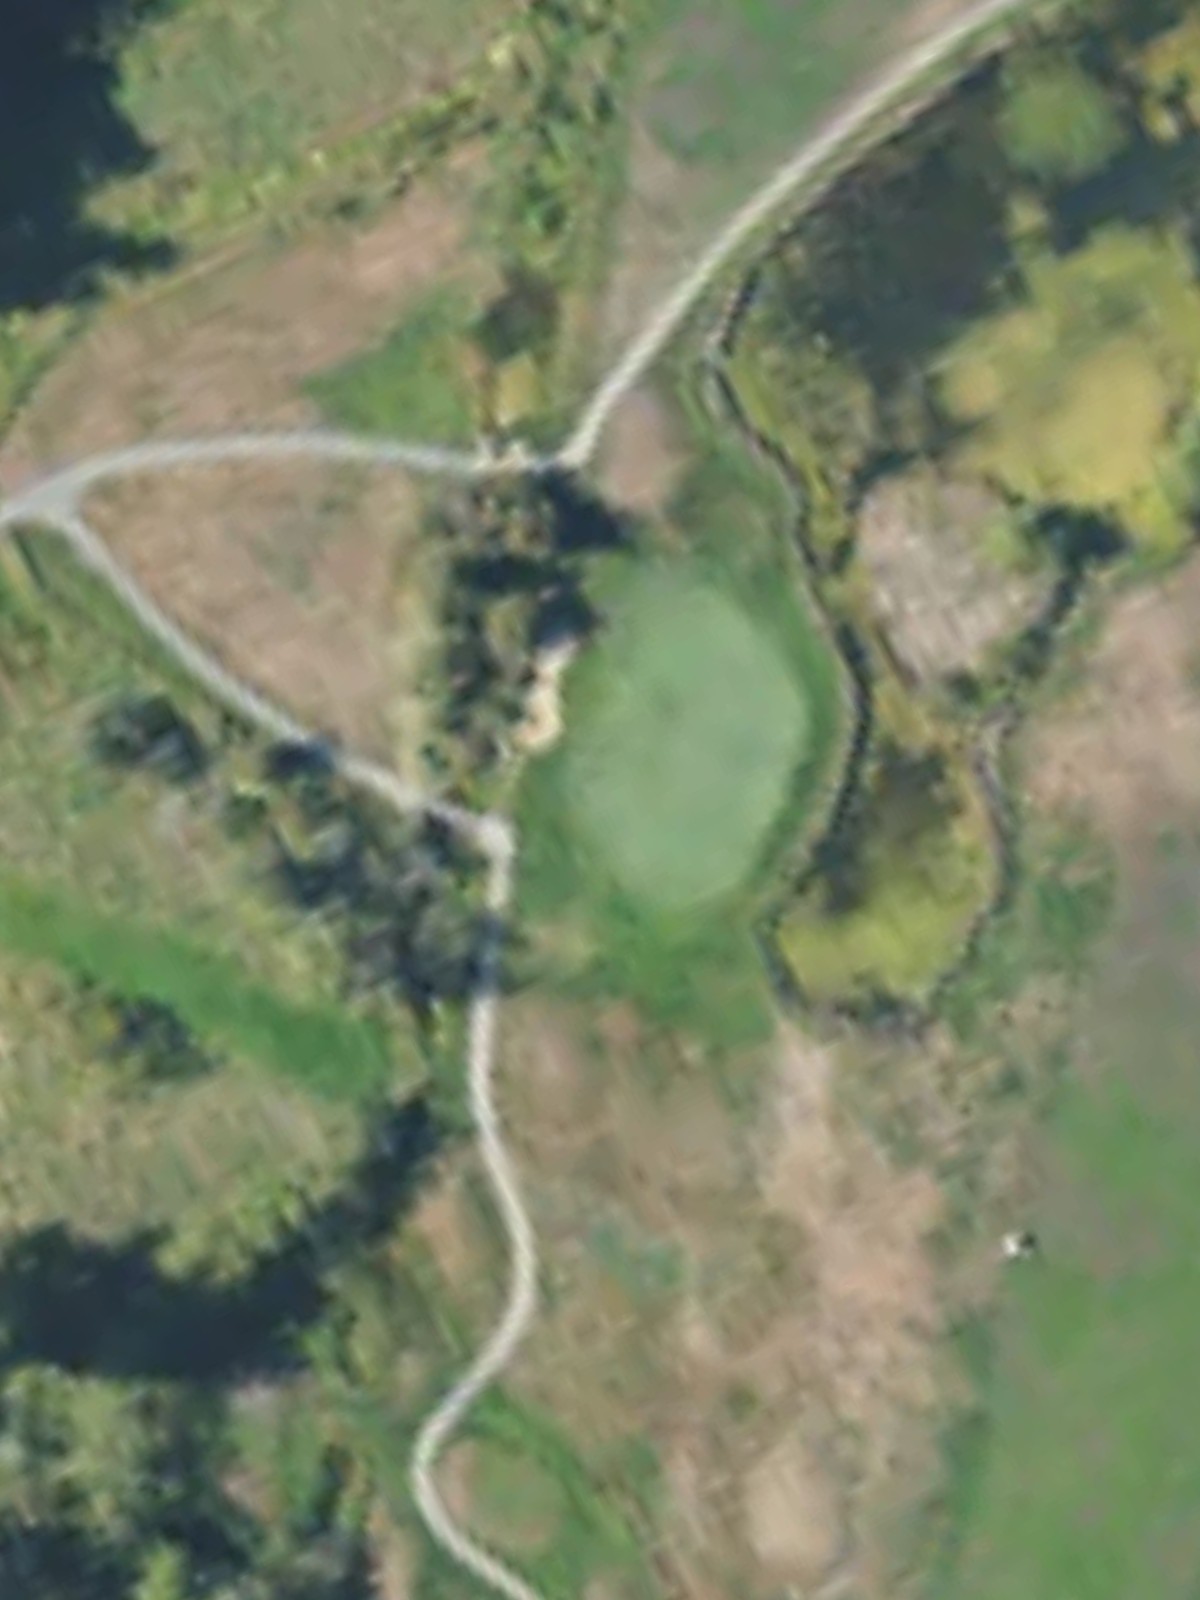
A short but demanding par 3 with water hazard threats and bunker protection around the green. The compact playing area leaves little margin for error on this peninsula-style green.
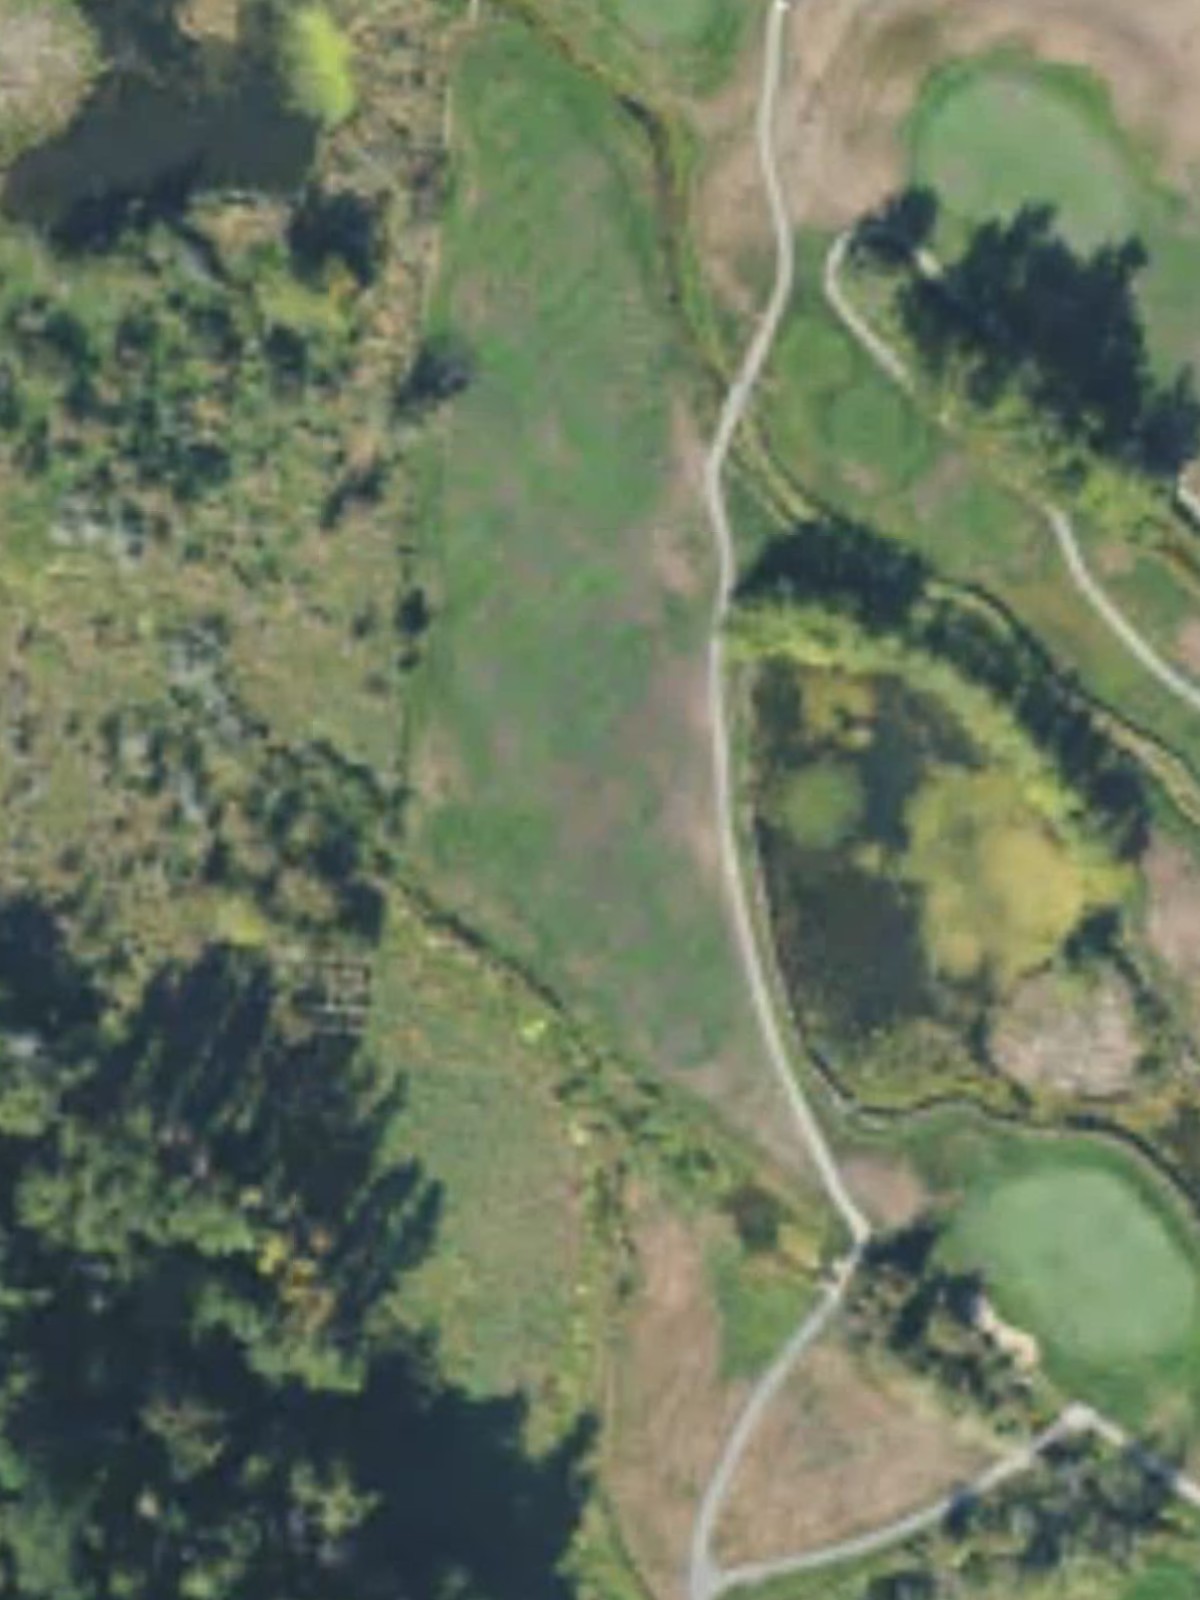
A strategic par 5 where positioning off the tee is critical as the fairway shapes and narrows at key distances. Multiple bunkers and water features come into play on the approach, creating a complex puzzle for the second and third shots.
This par 4 plays through a corridor defined by hazards on both sides, with the fairway narrowing significantly as it approaches the green. The challenge is maintaining position while avoiding trouble that penalizes any wayward shot.
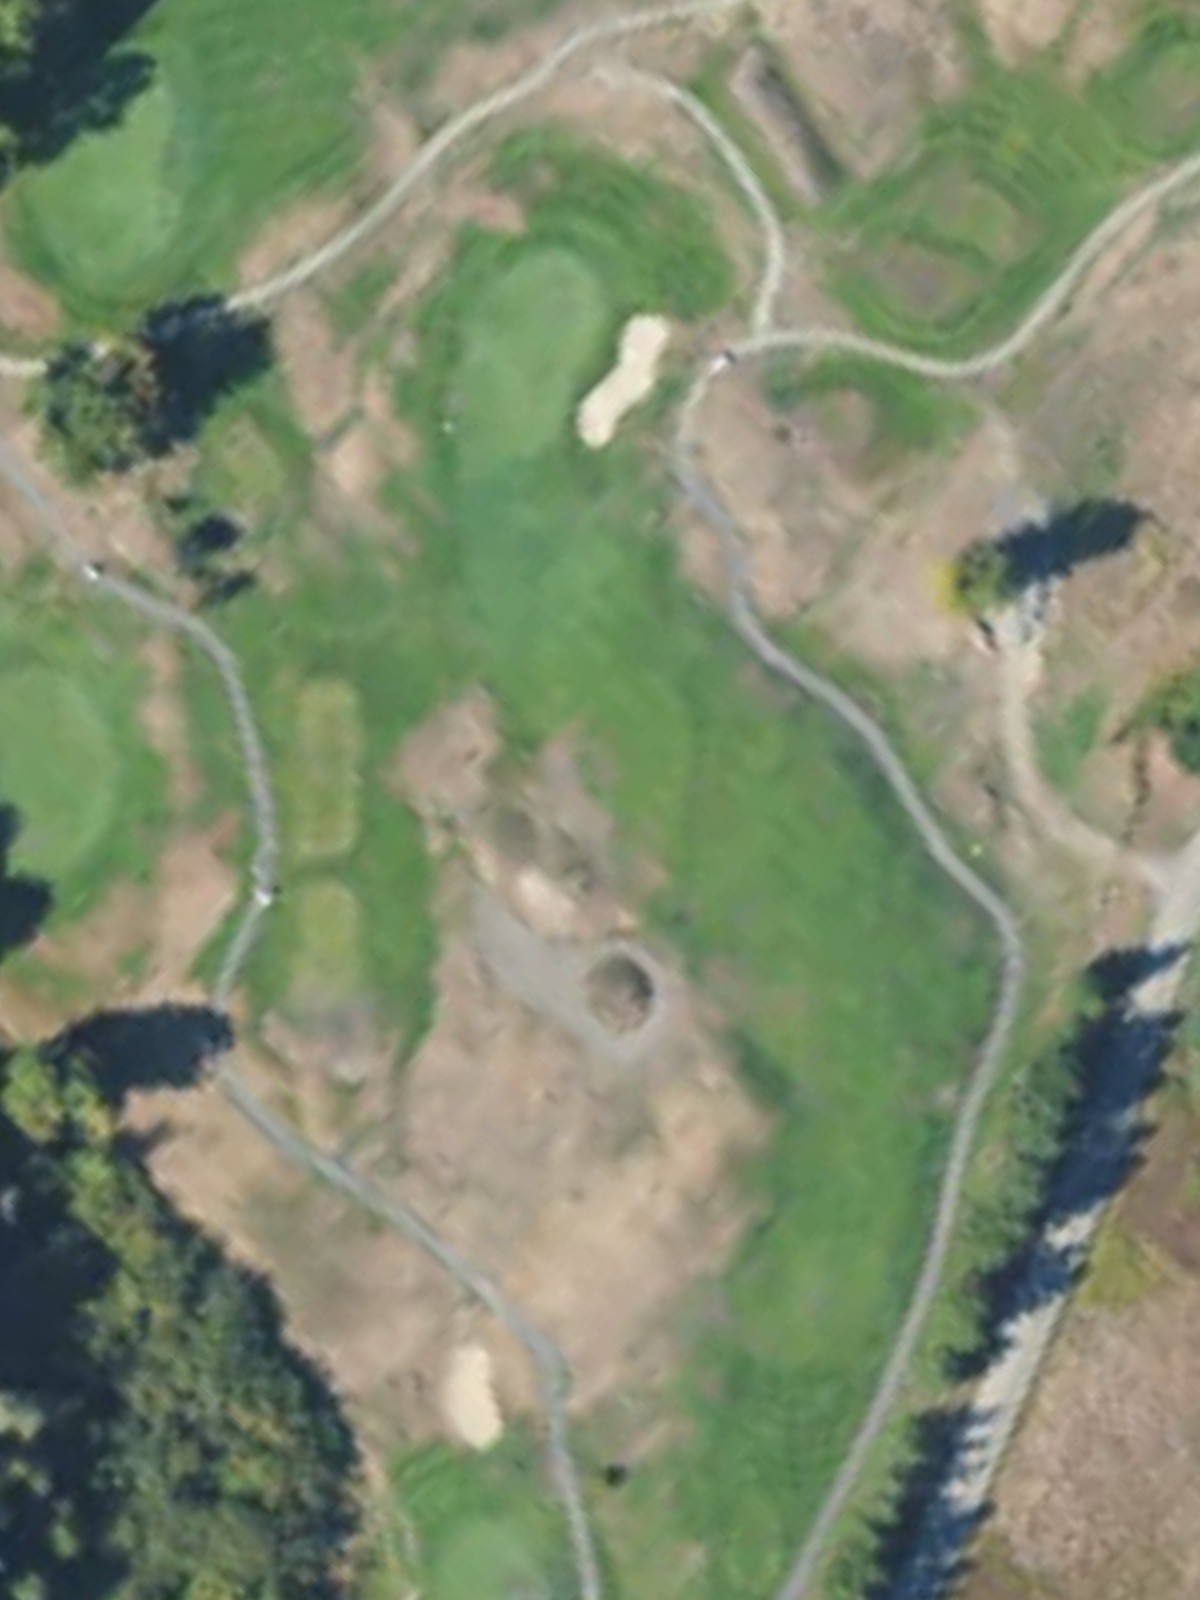
A mid-length par 4 with a relatively open fairway that tightens near the green. Bunkers and water guard the approach area, demanding a well-struck second shot to a protected green.
A solid par 4 that plays uphill with bunkers and natural hazards defining the left side of the fairway and green. The elevation change adds length and makes this a stout two-shot hole.
A mid-range par 3 where the tee shot must clear water or other hazards to reach an elevated green. The green's size and bunker protection make club selection and accuracy paramount on this scenic hole.
A manageable par 4 with a relatively open fairway that allows for some room off the tee. The green sits in a setting with protective bunkering, rewarding accurate approach shots.

The second-hardest hole on the course, this par 5 is a demanding three-shot test with water and bunkers strategically positioned throughout. The fairway requires careful navigation, and the approach to the green is particularly treacherous.
The course's shortest hole, this par 3 is a dramatic one-shot challenge with significant hazards surrounding a small green. The risk-reward nature makes this a memorable short hole that demands precision over power.
A short par 4 that plays downhill with a relatively open fairway that encourages aggressive play. The green is protected by bunkers and hazards, providing a deceptive finishing challenge despite the hole's modest yardage.
A mid-length par 4 with a fairway bordered by hazards that require careful positioning off the tee. The approach shot must navigate around well-placed bunkers and natural features to reach a well-guarded green.
The fourth-hardest hole on the course, this par 4 is a strategic test with a fairway that narrows significantly at landing areas. Water, bunkers, and out-of-bounds threats create a complex risk-reward situation for the drive and approach.
A dramatic finishing par 5 with water and bunkers winding through the hole from tee to green. The fairway curves and narrows, creating strategic decisions on layup positioning and a challenging approach to a well-protected finishing green.
Scorecard
| Hole | 1 | 2 | 3 | 4 | 5 | 6 | 7 | 8 | 9 | Out | 10 | 11 | 12 | 13 | 14 | 15 | 16 | 17 | 18 | In | Tot |
|---|---|---|---|---|---|---|---|---|---|---|---|---|---|---|---|---|---|---|---|---|---|
| Par | 4 | 3 | 4 | 5 | 4 | 3 | 5 | 4 | 4 | 36 | 4 | 3 | 4 | 5 | 3 | 4 | 4 | 4 | 5 | 36 | 72 |
| HCP | 7 | 13 | 3 | 1 | 17 | 15 | 9 | 5 | 11 | 6 | 12 | 14 | 2 | 18 | 16 | 10 | 4 | 8 | |||
| blue | 388 | 155 | 384 | 531 | 363 | 175 | 589 | 399 | 357 | 3341 | 376 | 211 | 356 | 494 | 167 | 307 | 400 | 351 | 505 | 3167 | 6508 |
| white | 365 | 134 | 339 | 496 | 313 | 156 | 520 | 375 | 327 | 3025 | 350 | 163 | 333 | 463 | 119 | 264 | 366 | 326 | 468 | 2852 | 5877 |
| gold | 297 | 108 | 262 | 467 | 286 | 122 | 474 | 294 | 272 | 2582 | 326 | 146 | 281 | 419 | 95 | 232 | 331 | 282 | 439 | 2551 | 5133 |
| red | 294 | 102 | 259 | 457 | 281 | 115 | 469 | 290 | 263 | 2530 | 323 | 109 | 270 | 412 | 89 | 225 | 326 | 274 | 436 | 2464 | 4994 |