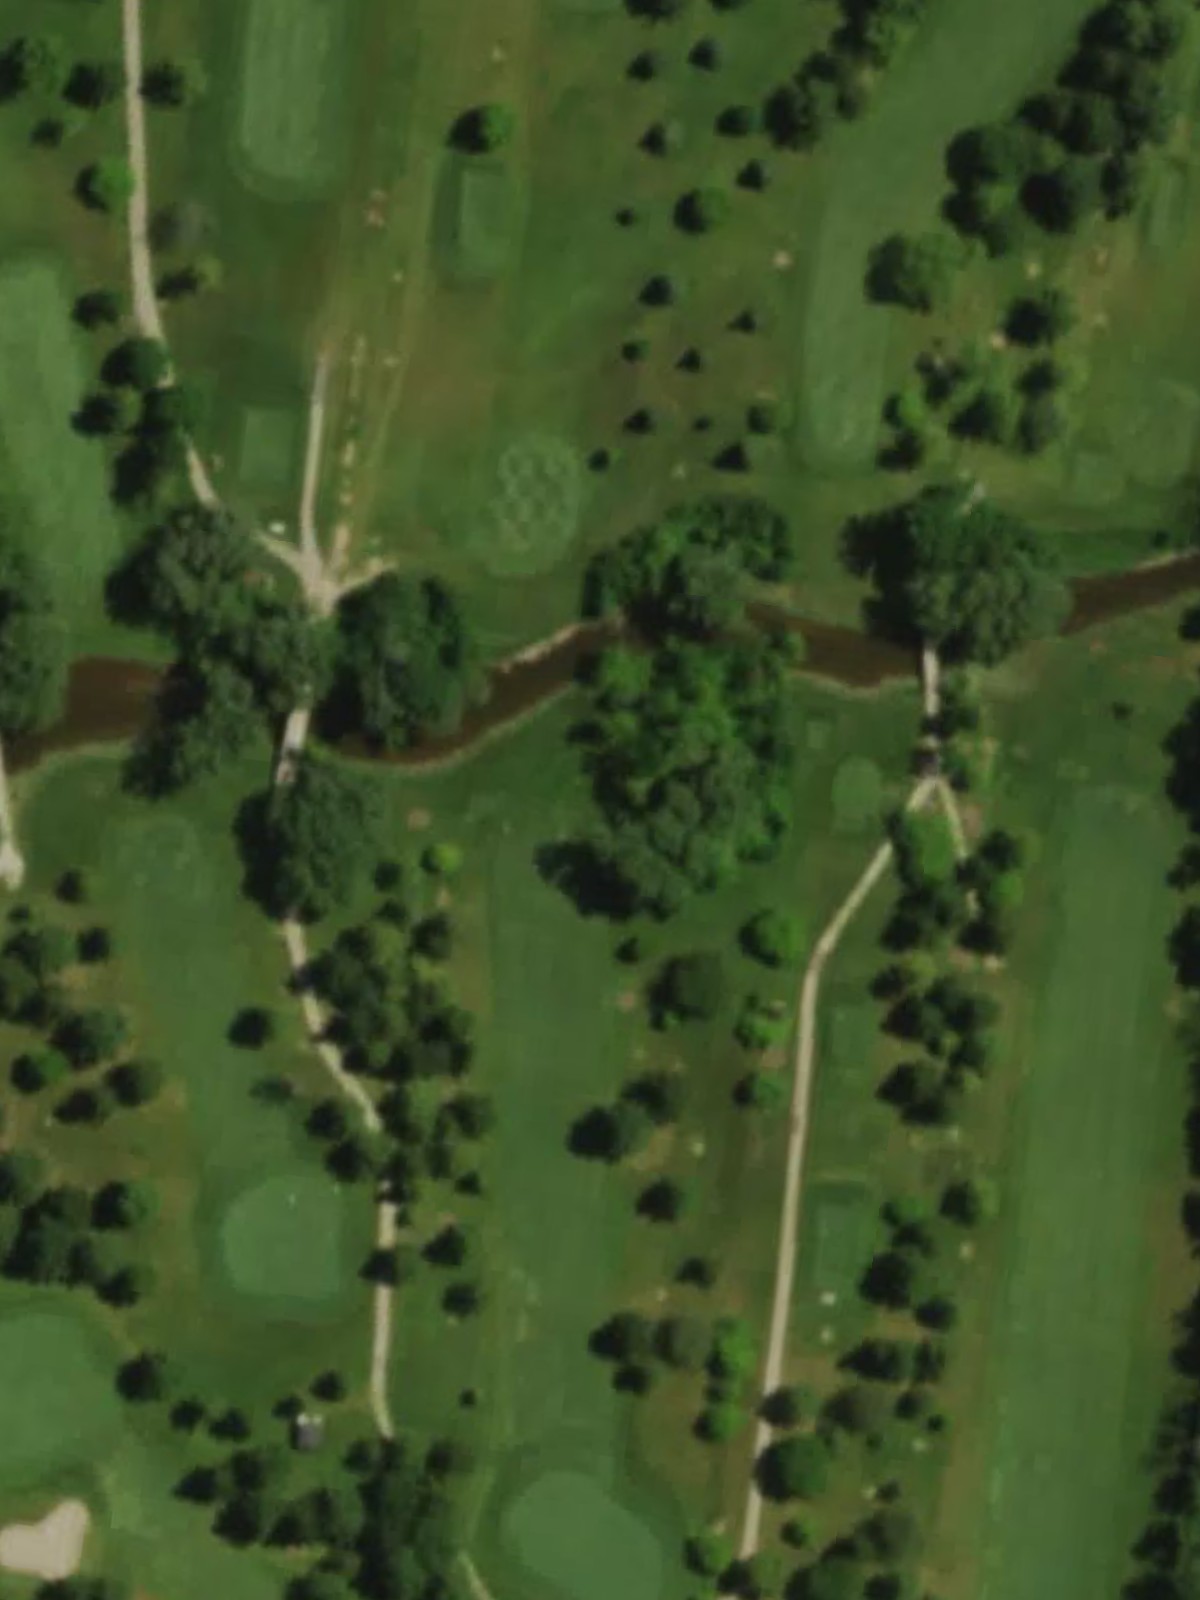
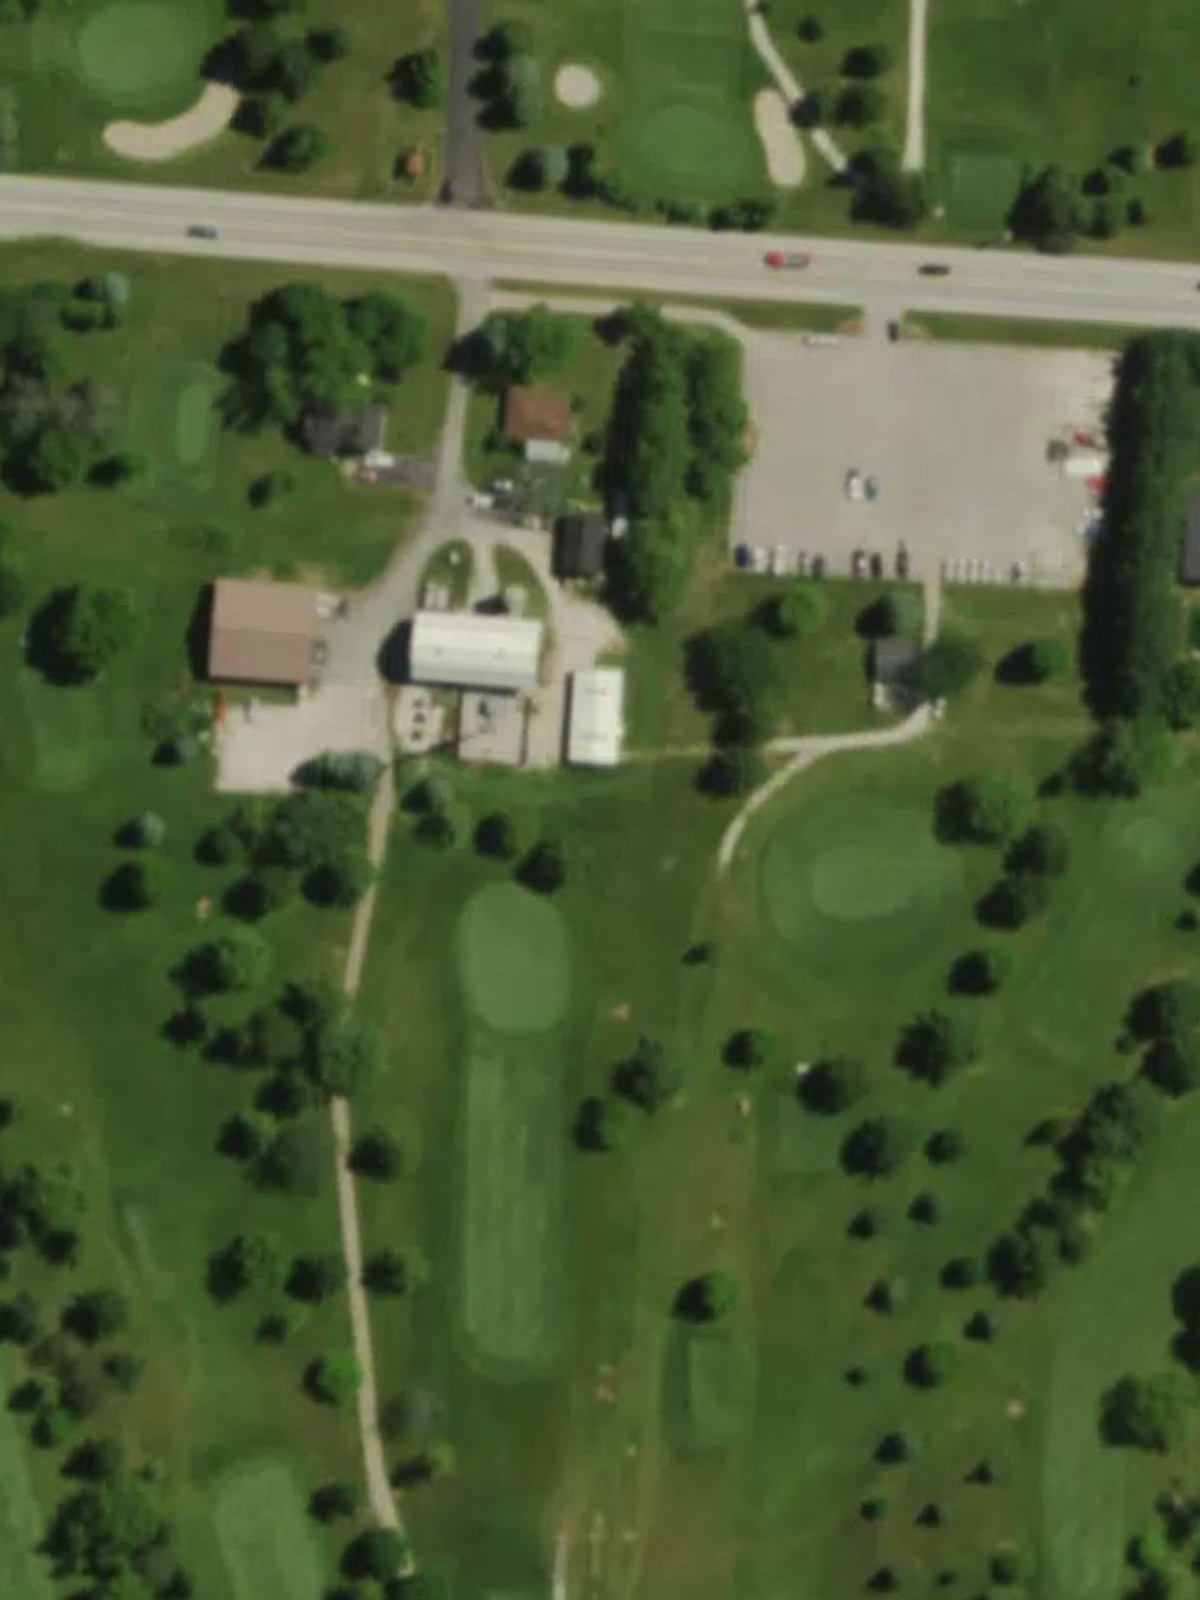
Sheboygan Town And Country Club is an 18-hole golf course in Sheboygan, WI with a par of 71. It offers 3 tee sets: blue (6,058 yards, slope 118, rating 69.1), white (5,579 yards, slope 114, rating 67), red (5,055 yards, slope 109, rating 64.7). The hardest hole is #2, a par 5 playing 461 yards from the first tee.
Sheboygan Town And Country Club
Sheboygan, WI
Get PDF Yardage Book
We'll email you the PDF link. No spam, ever.
Create Your Game Plan
Pick your tees, enter your bag, and get a personalized shot-by-shot strategy for every hole.
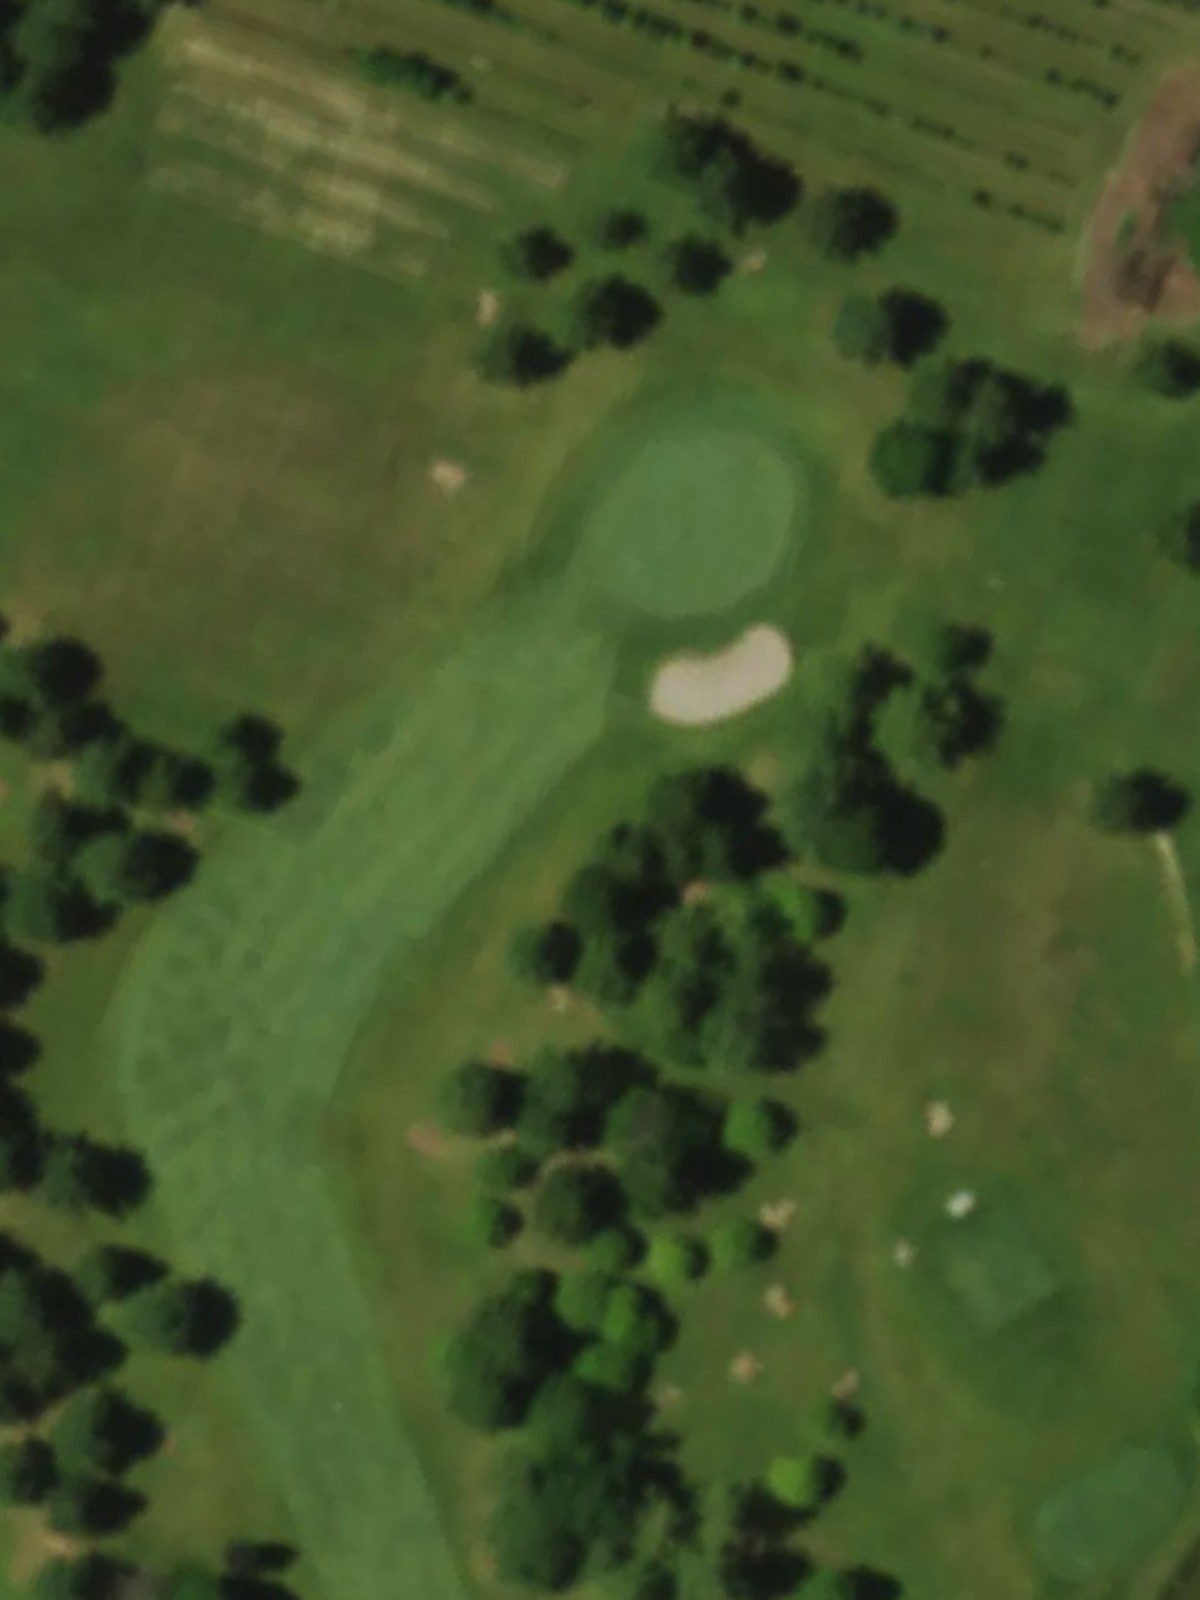
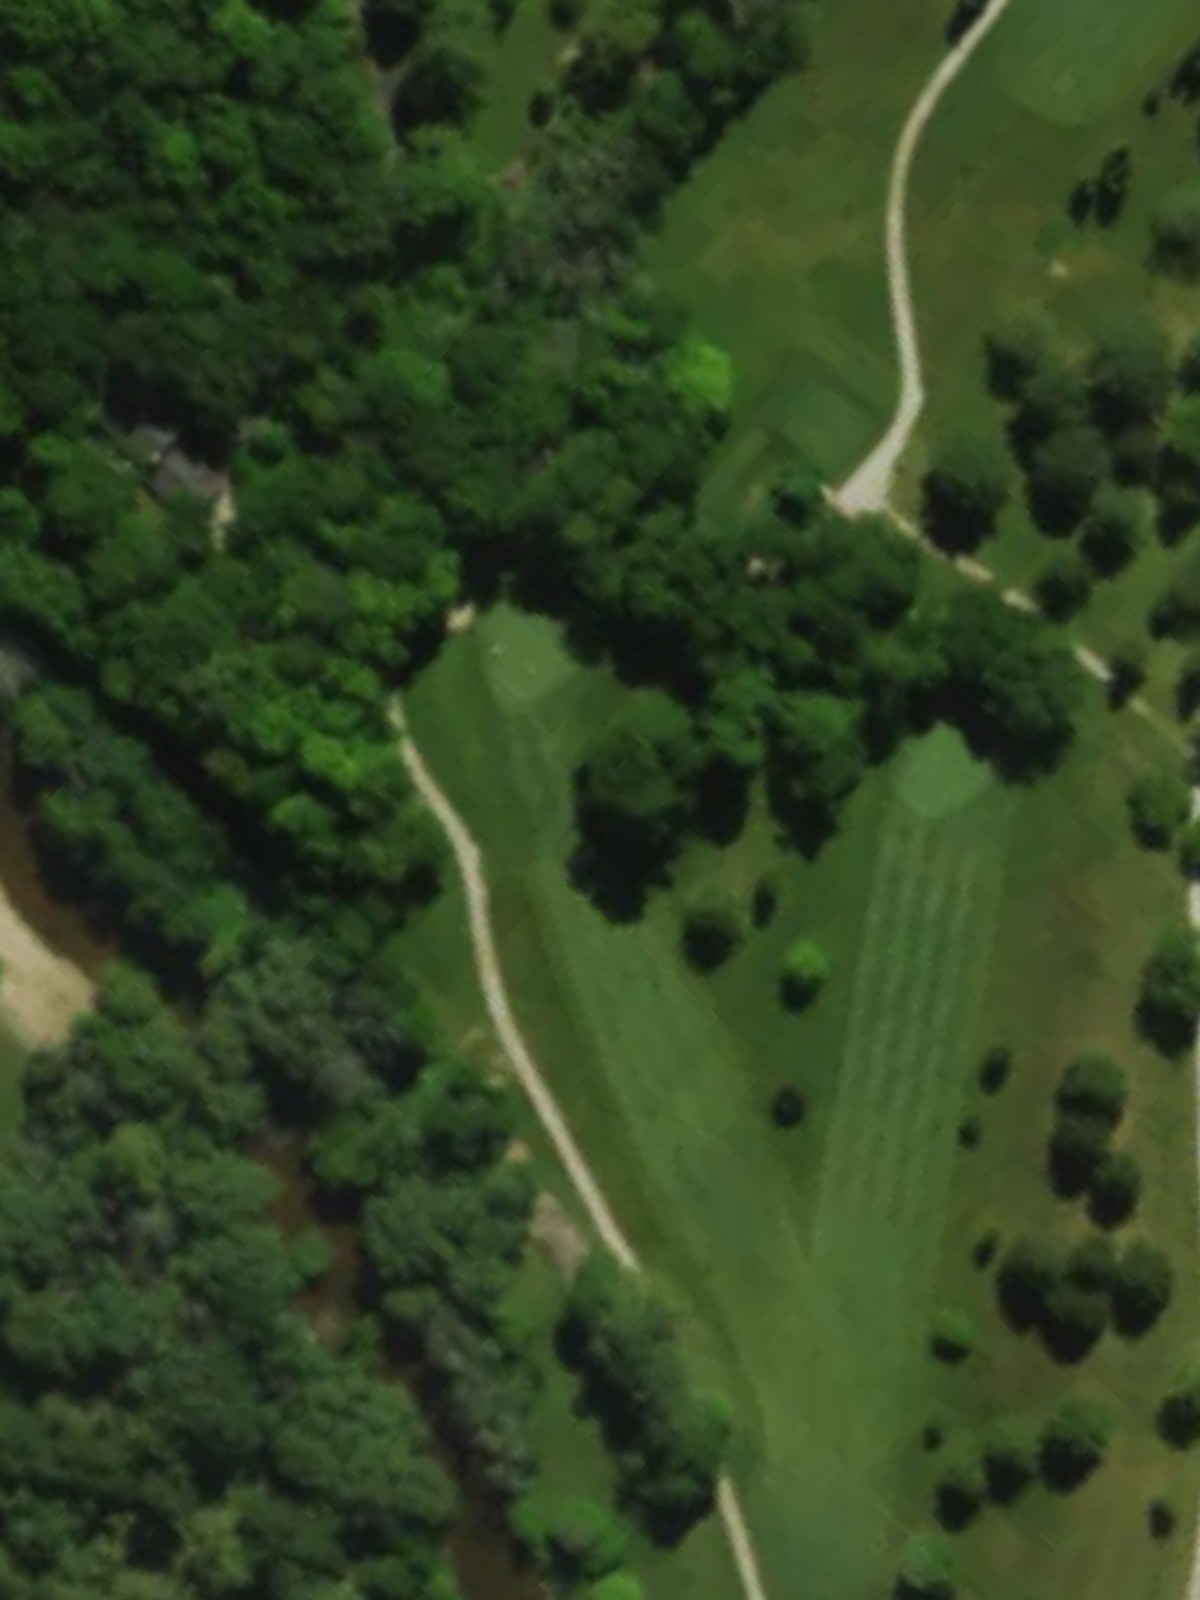
A straightforward par 4 that plays shorter than most opening holes, with a fairway that gradually narrows as it approaches the green. Bunkers guard both sides of the putting surface, demanding accuracy on the approach shot.
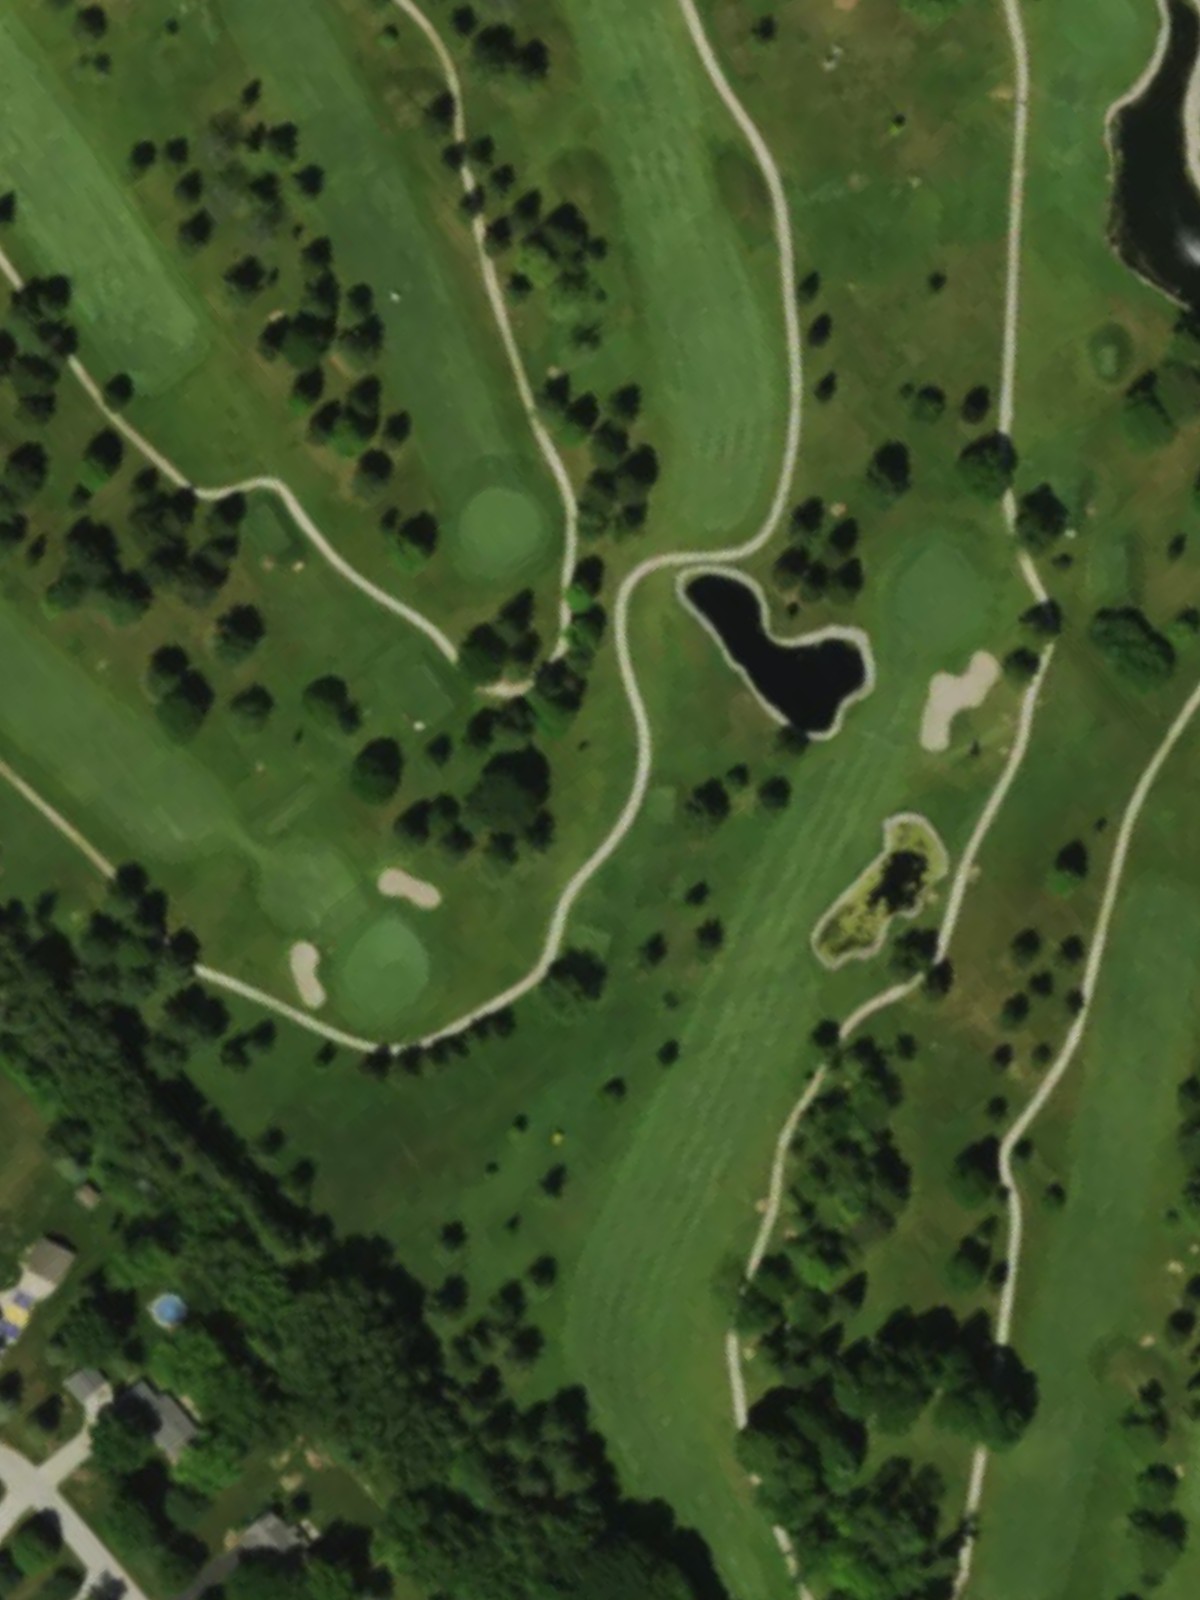
The course's number one handicap hole, this lengthy par 5 presents a significant challenge off the tee with a narrow driving corridor. Water hazards and strategic bunkering throughout the hole reward accurate positioning over distance.
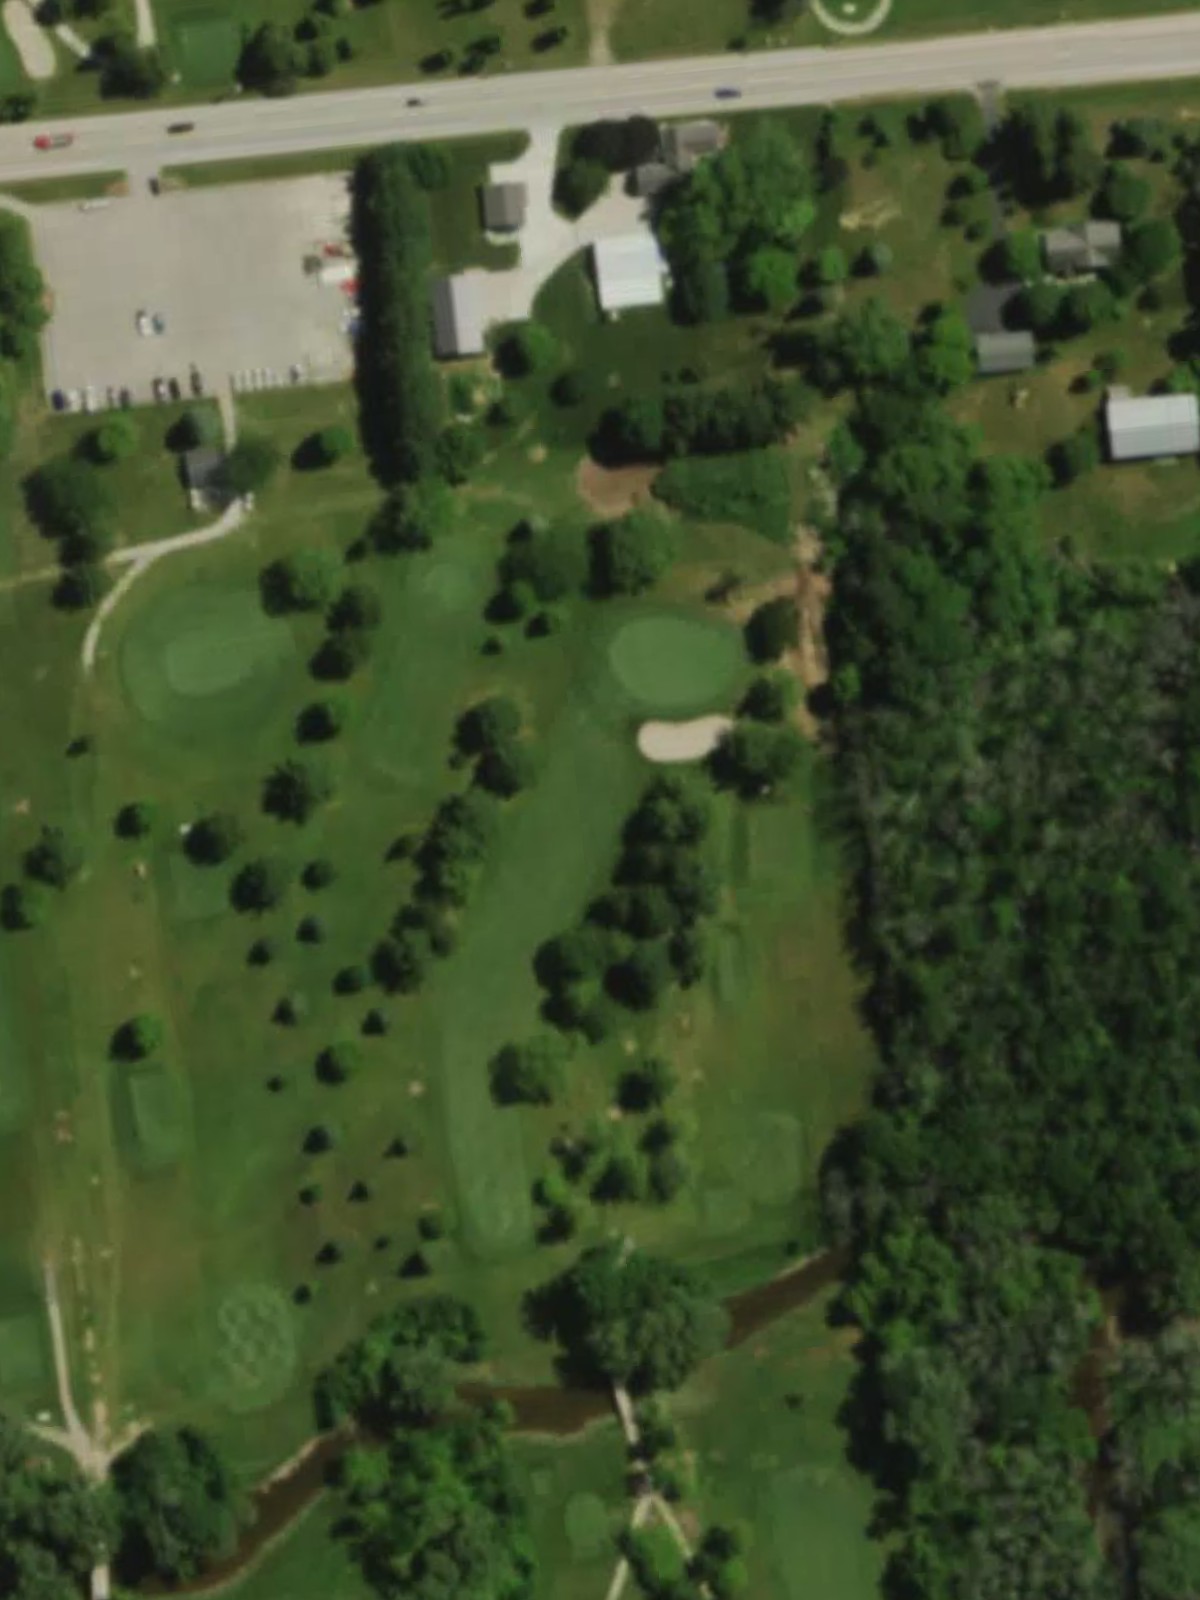
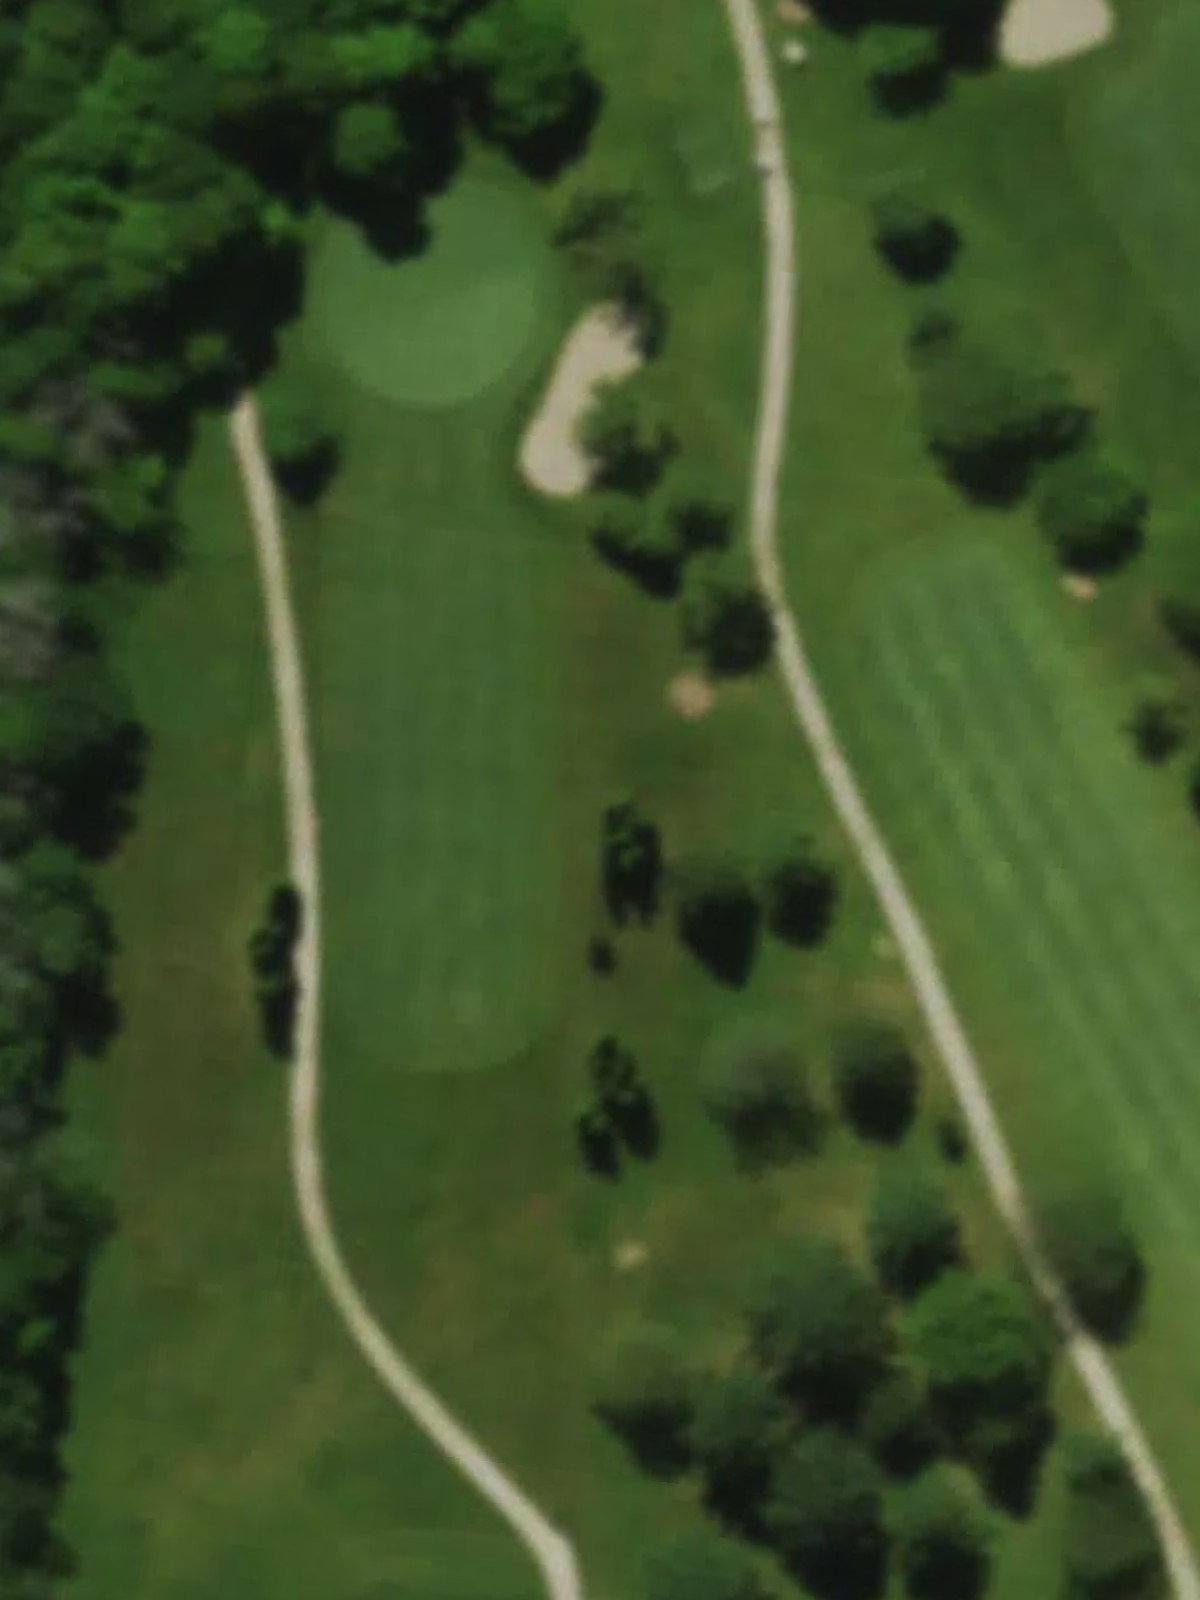
A short par 3 over water to a well-bunkered green that requires a precise tee shot. The small target area and aquatic hazard make this deceptively difficult despite the modest yardage.
A dramatic uphill par 4 that plays considerably longer than its yardage suggests due to elevation gain. The green is protected by bunkers, and the severity of the slope affects club selection and distance control.
A mid-length par 3 with a relatively open green complex that offers some forgiveness compared to other short holes on the course. Bunkers frame the green's perimeter and demand a solid tee shot.
The third-toughest hole on the course, this par 4 features a narrow fairway that demands accuracy off the tee before presenting a challenging approach to a well-protected green. Multiple hazards on both sides create a claustrophobic driving corridor.
A moderate par 4 with a relatively open layout that allows for strategic shot placement. The fairway widens toward the green, though bunkers remain a consideration on the approach.
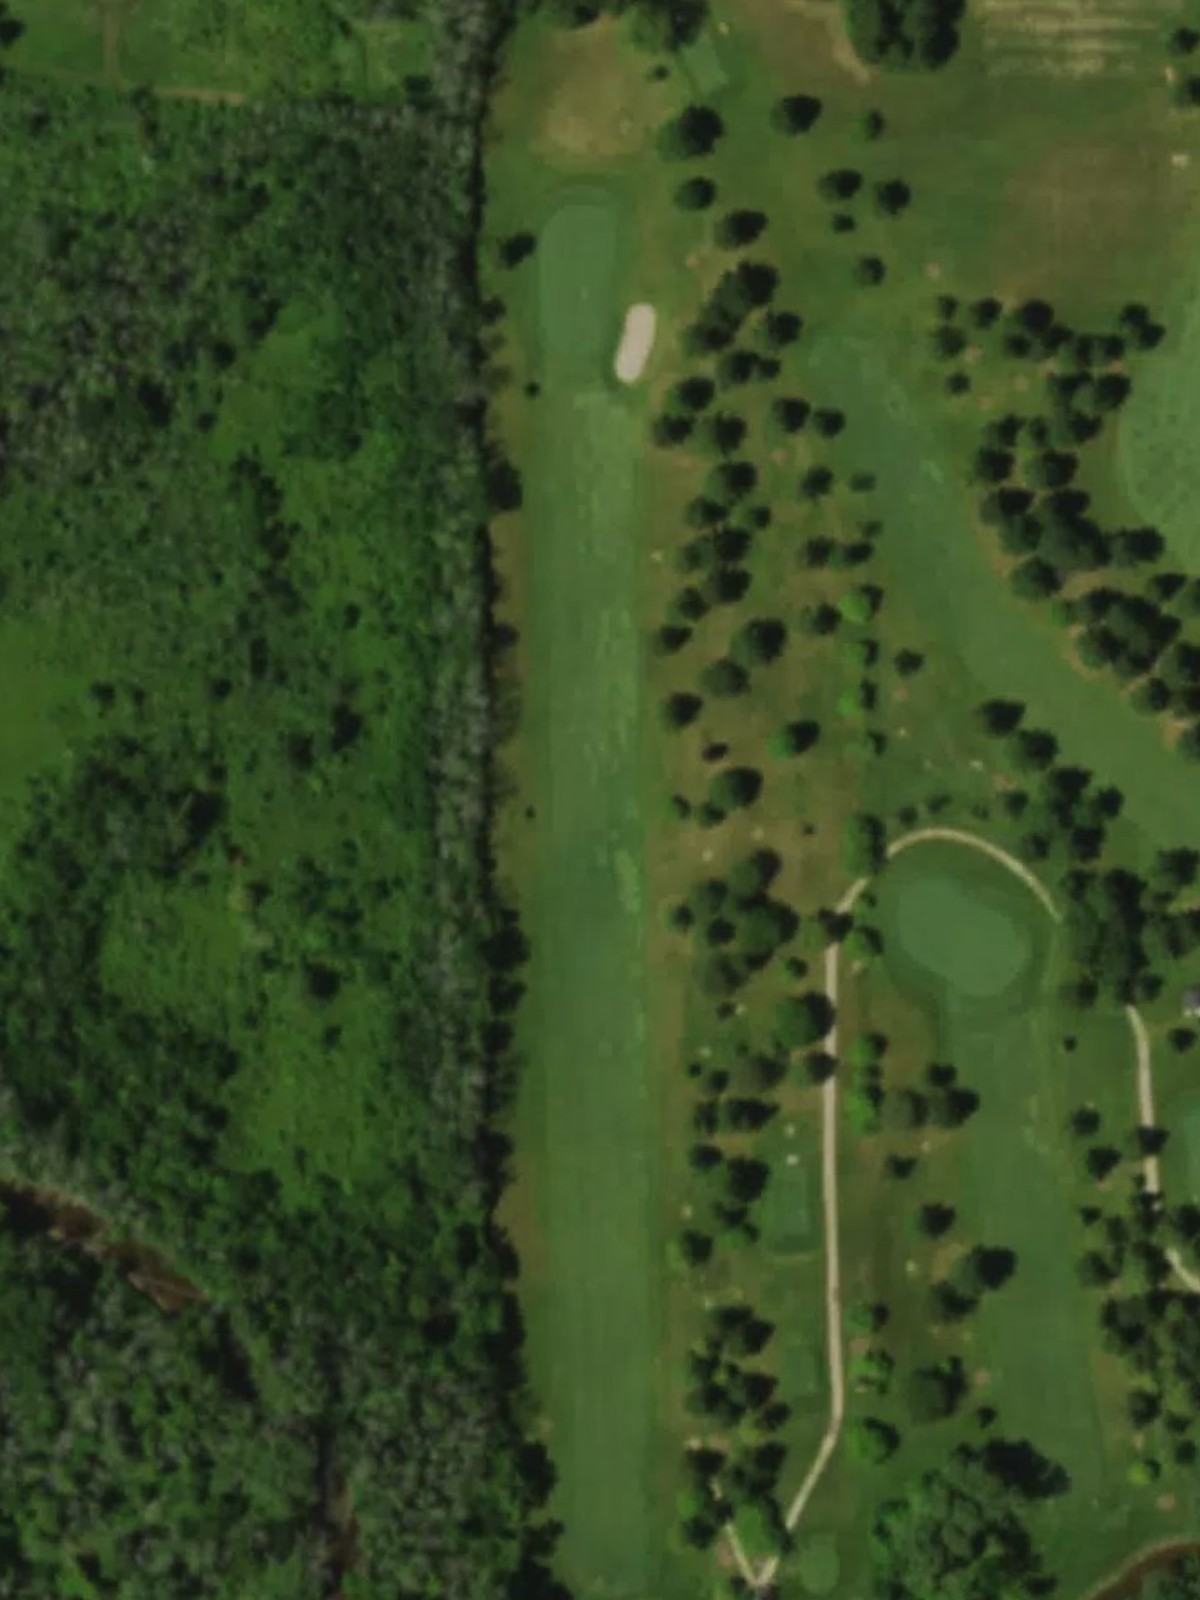
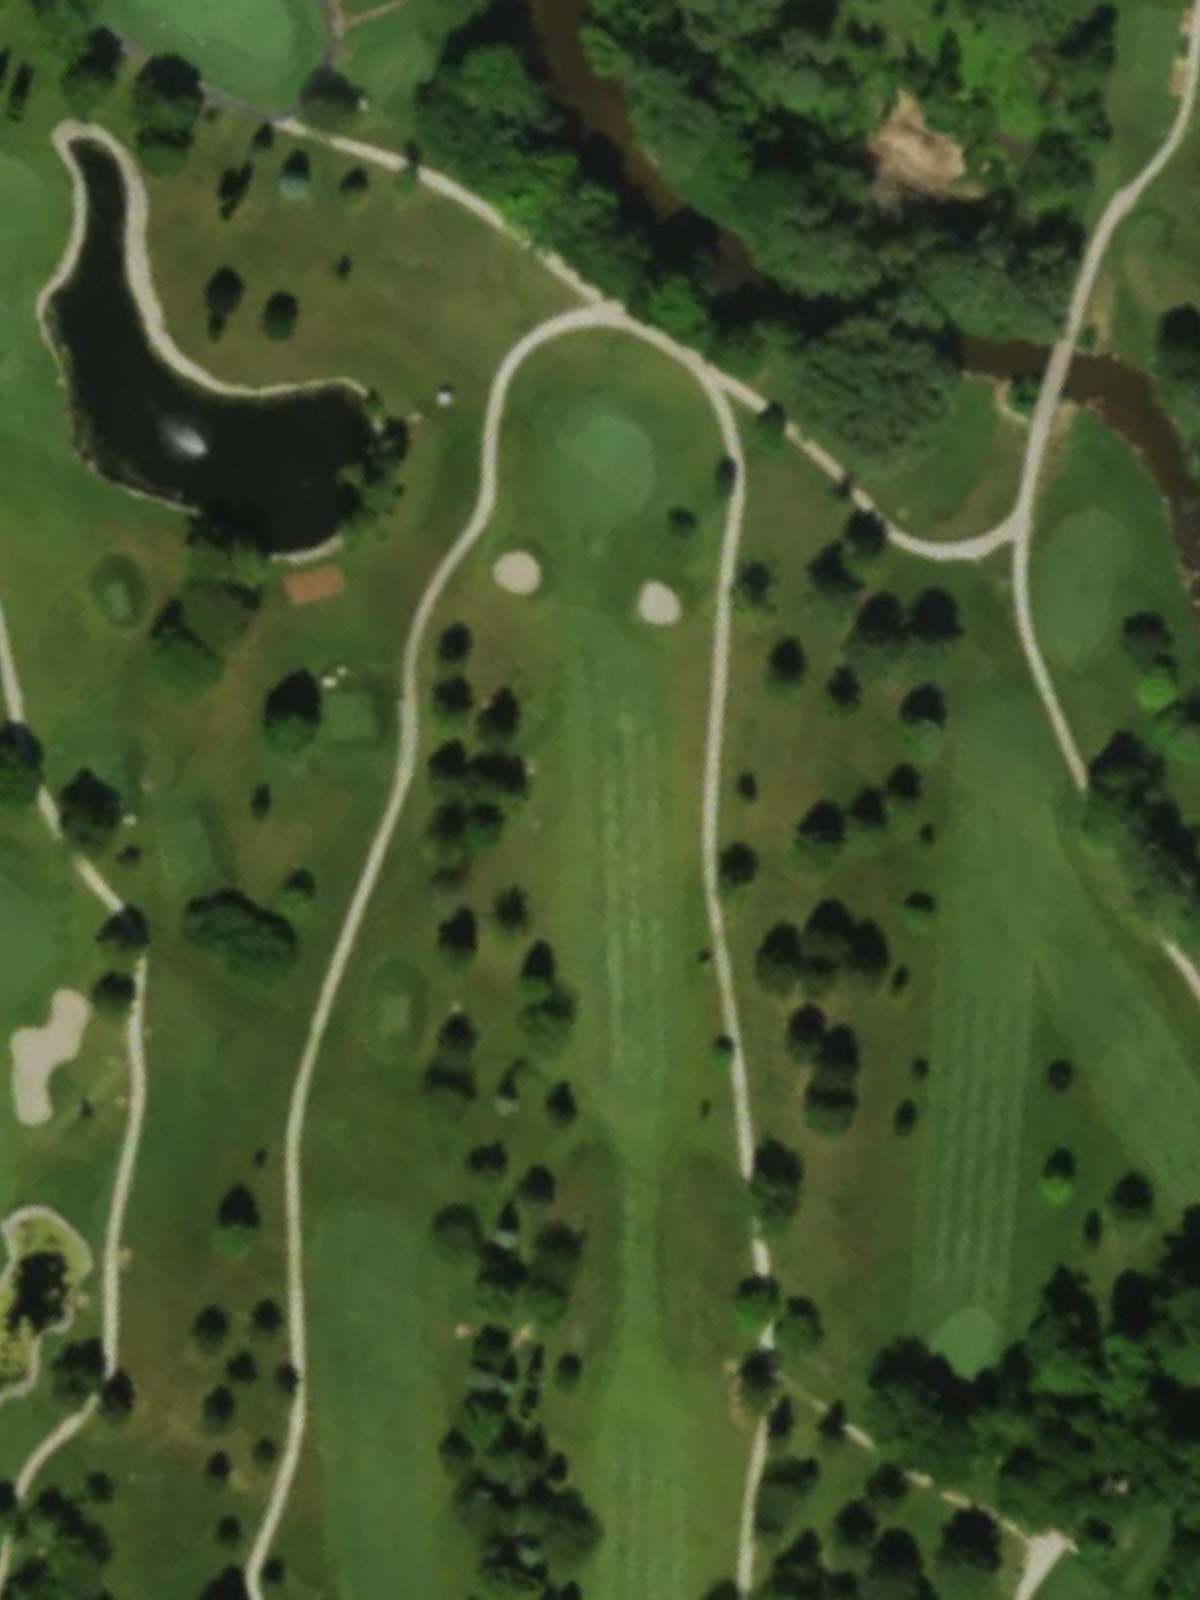
A strong par 5 featuring elevation changes and strategic bunkering throughout the hole. Water and sand hazards guide play along a winding routing that rewards smart positioning.
A straightforward par 4 with a fairway that offers decent width off the tee before narrowing near the green. Greenside bunkers and gentle elevation changes add subtle complexity.
A mid-length par 3 with a moderately sized green surrounded by protective bunkering. The open approach offers less margin for error than appearances might suggest.
A balanced par 4 with a fairway that gradually tightens toward a green guarded by strategic bunkers. The hole's consistent difficulty makes it a fair test from all tee positions.
A shorter par 4 that plays deceptively simple despite its modest length. Bunkers and elevation changes around the green demand accuracy on the approach shot.
The second-hardest hole on the course, this par 4 presents a significant test with narrow fairways and formidable greenside bunkering. The combination of length and precision required creates a compelling challenge.
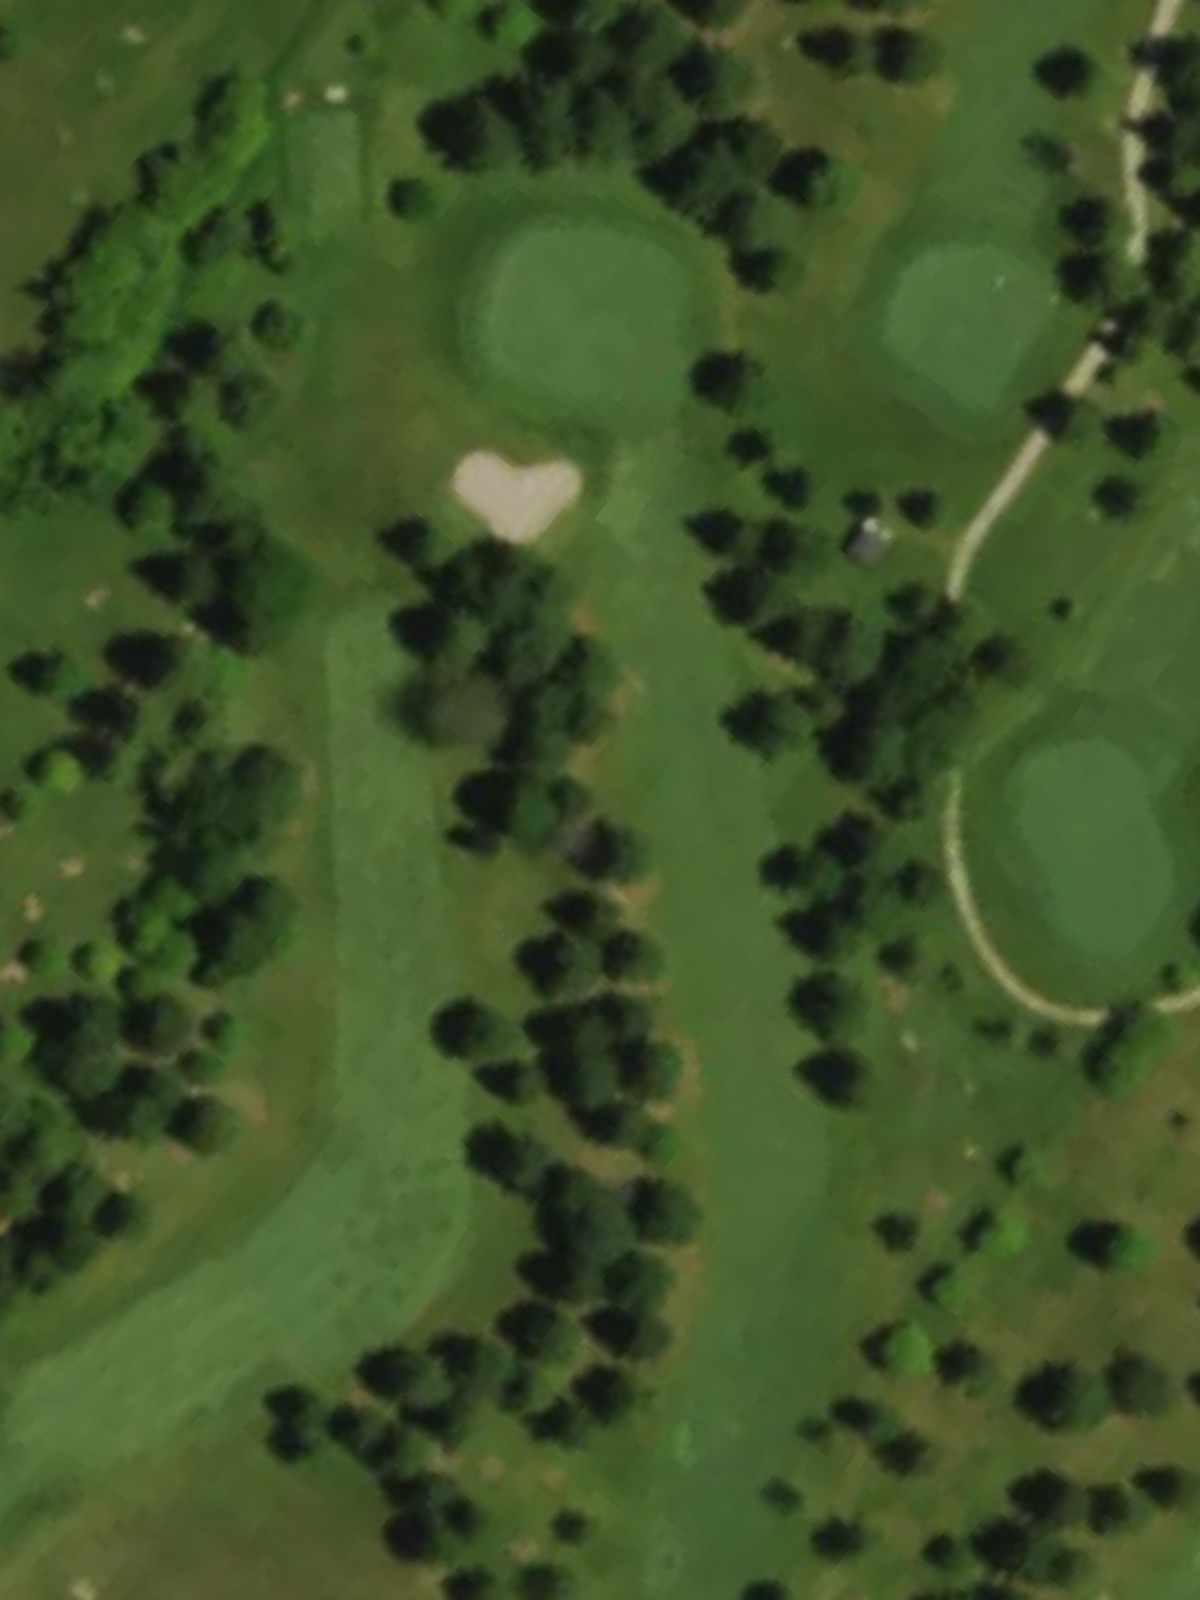
A short par 3 with a small, well-defended green that sits amid strategic bunker placement. Water hazards and sand combine to create a hole that punishes inaccurate tee shots.
A strong par 5 that demands accurate positioning throughout its routing to set up a manageable approach. Strategic hazards and bunkering reward thoughtful play and penalize wayward shots.
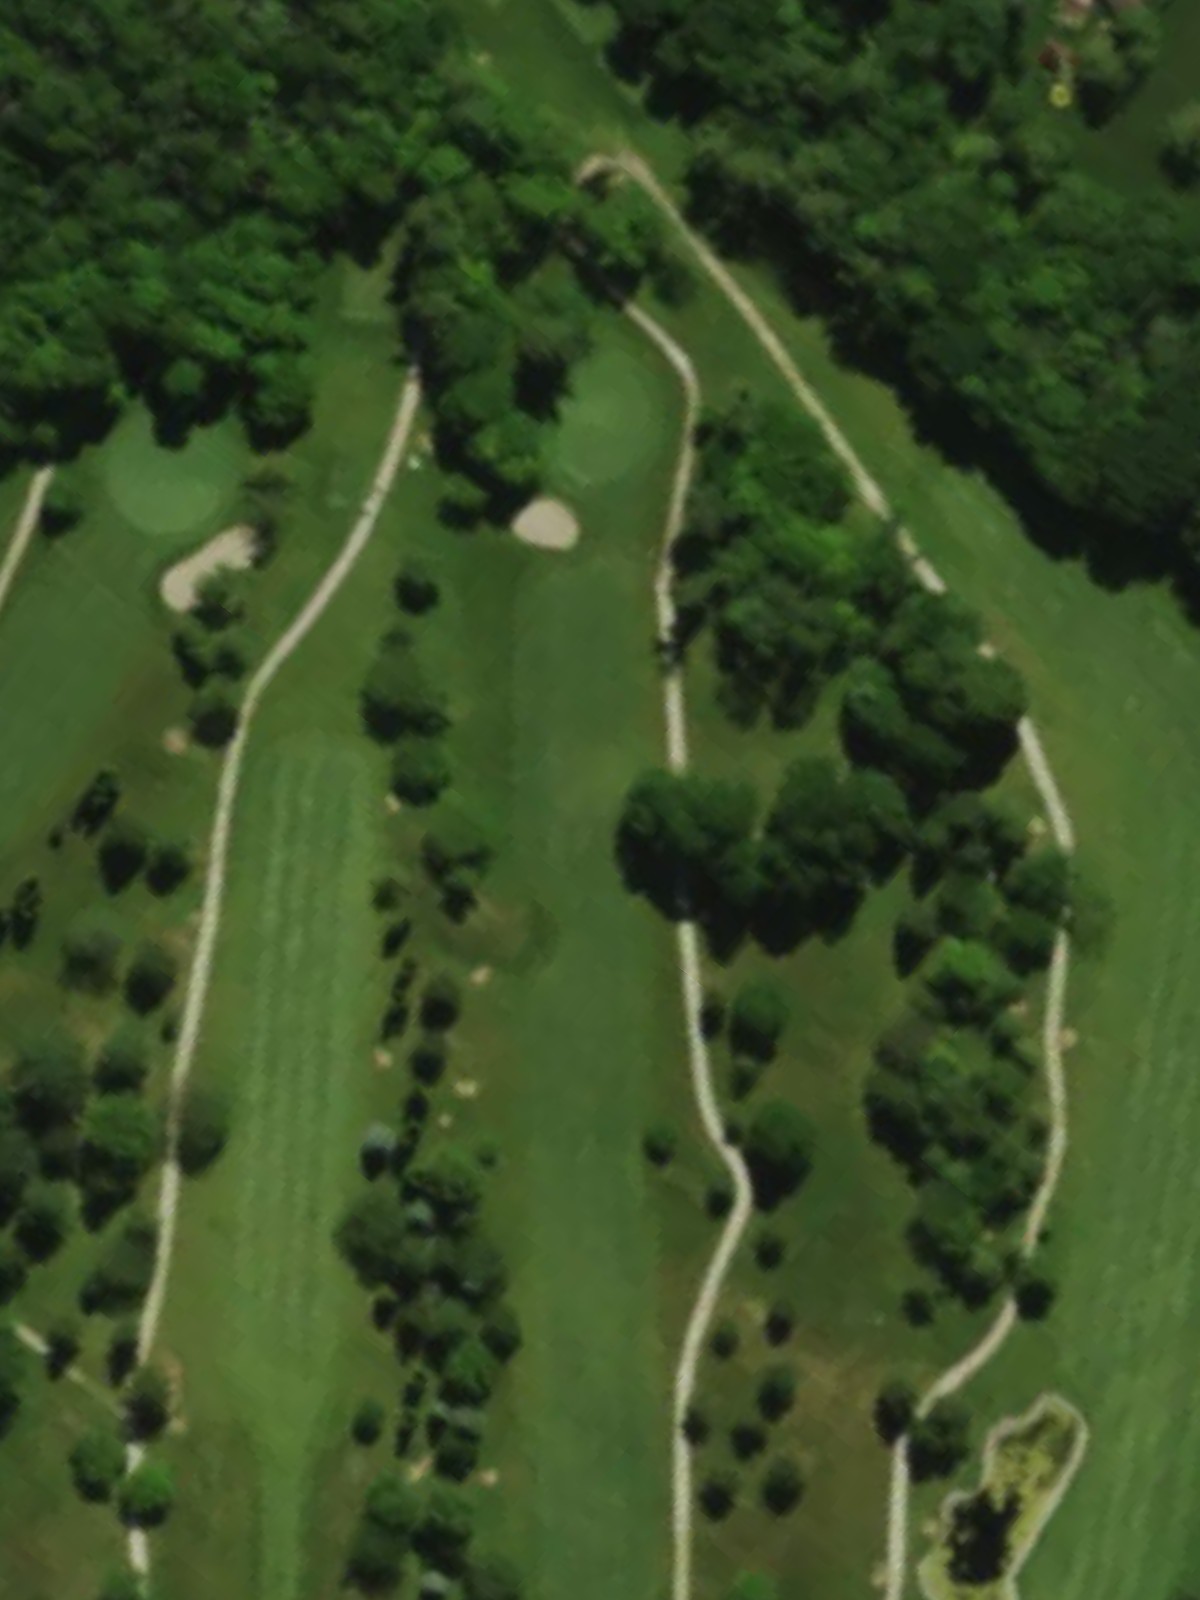
A challenging par 4 featuring a dogleg routing with hazards that influence the ideal line off the tee. Strategic bunkering near the green creates a dramatic finishing approach.
The fourth-toughest hole on the course, this lengthy par 5 demands power and precision over distance, with water and sand hazards strategically placed throughout the hole. The fairway routing requires careful navigation to set up a reasonable third shot.
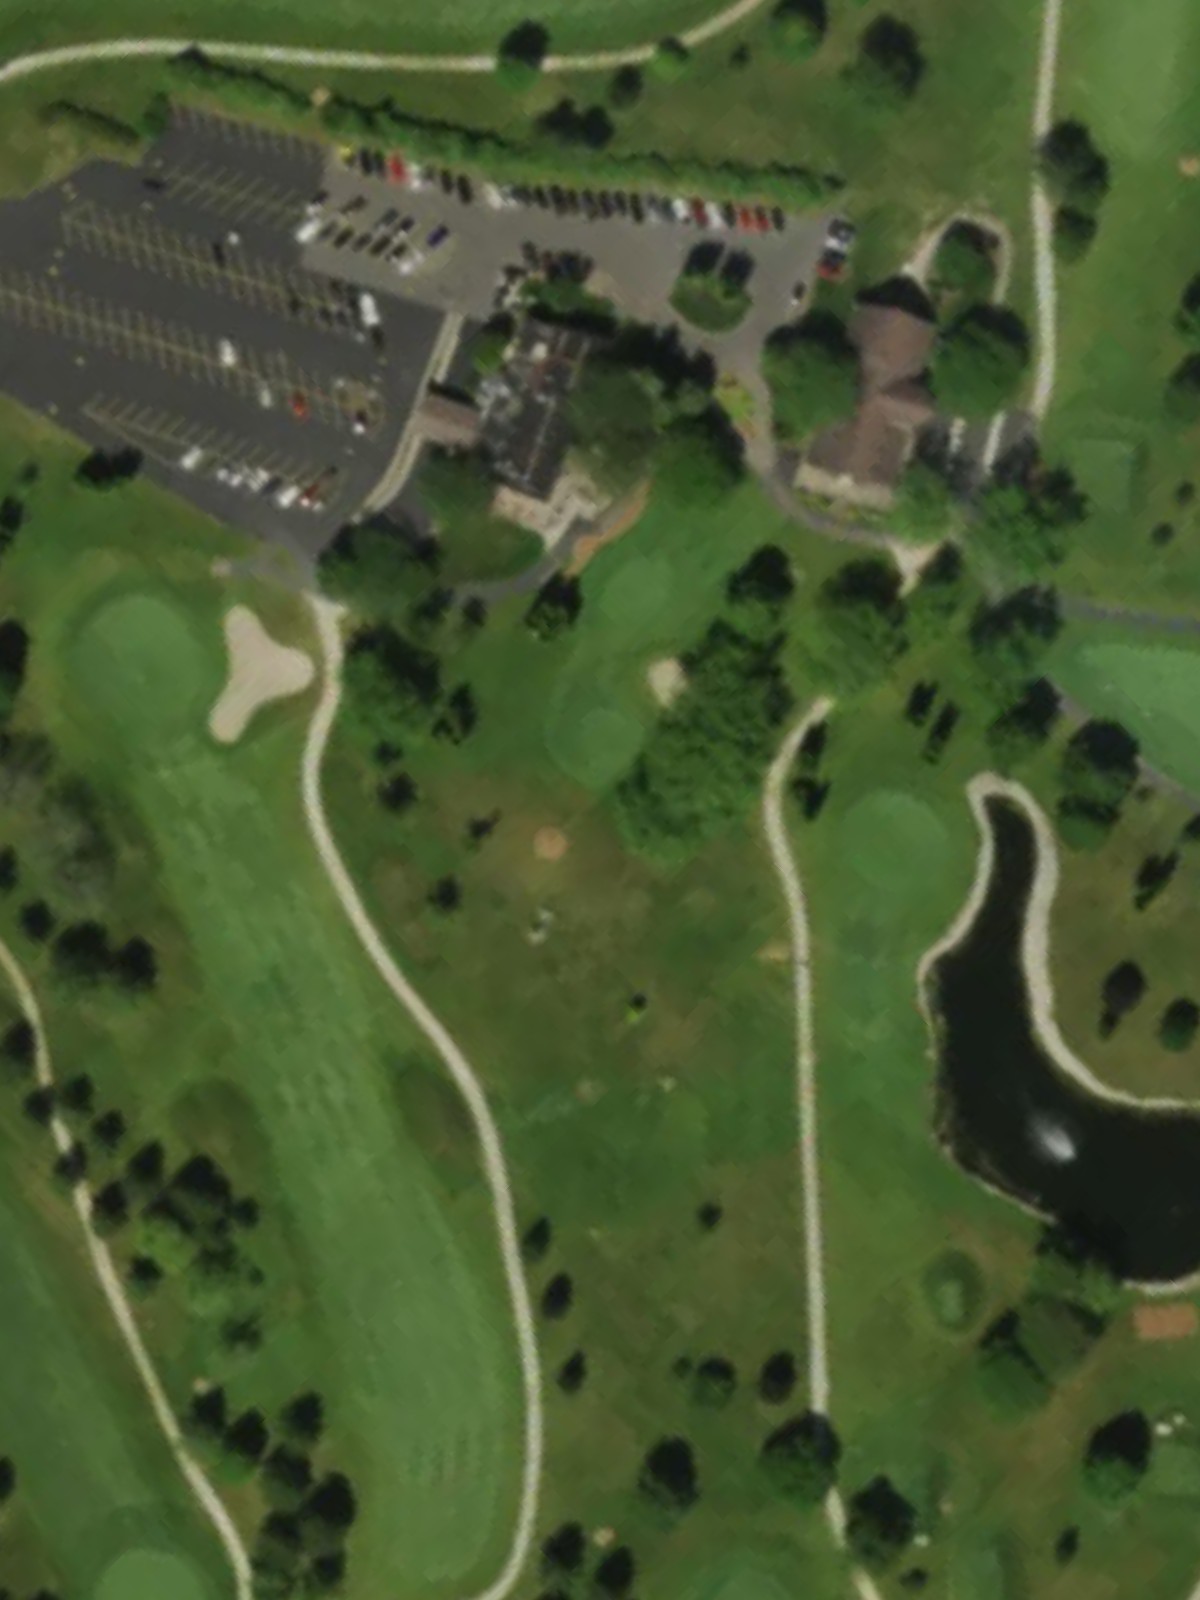
The easiest hole on the course, this diminutive par 3 serves as a forgiving conclusion to the round. Despite its brevity, bunkers and water still require an accurate tee shot to finish well.
Scorecard
| Hole | 1 | 2 | 3 | 4 | 5 | 6 | 7 | 8 | 9 | Out | 10 | 11 | 12 | 13 | 14 | 15 | 16 | 17 | 18 | In | Tot |
|---|---|---|---|---|---|---|---|---|---|---|---|---|---|---|---|---|---|---|---|---|---|
| Par | 4 | 5 | 3 | 4 | 3 | 4 | 4 | 5 | 4 | 36 | 3 | 4 | 4 | 4 | 3 | 5 | 4 | 5 | 3 | 35 | 71 |
| HCP | 11 | 1 | 17 | 7 | 15 | 3 | 9 | 5 | 13 | 14 | 10 | 12 | 2 | 16 | 6 | 8 | 4 | 18 | |||
| blue | 326 | 549 | 160 | 364 | 167 | 390 | 361 | 476 | 356 | 3149 | 183 | 354 | 331 | 364 | 187 | 471 | 374 | 474 | 171 | 2909 | 6058 |
| white | 321 | 471 | 150 | 353 | 159 | 342 | 297 | 420 | 346 | 2859 | 173 | 344 | 286 | 353 | 162 | 459 | 355 | 442 | 146 | 2720 | 5579 |
| red | 315 | 461 | 141 | 271 | 150 | 284 | 291 | 385 | 301 | 2599 | 163 | 334 | 282 | 312 | 155 | 418 | 300 | 389 | 103 | 2456 | 5055 |