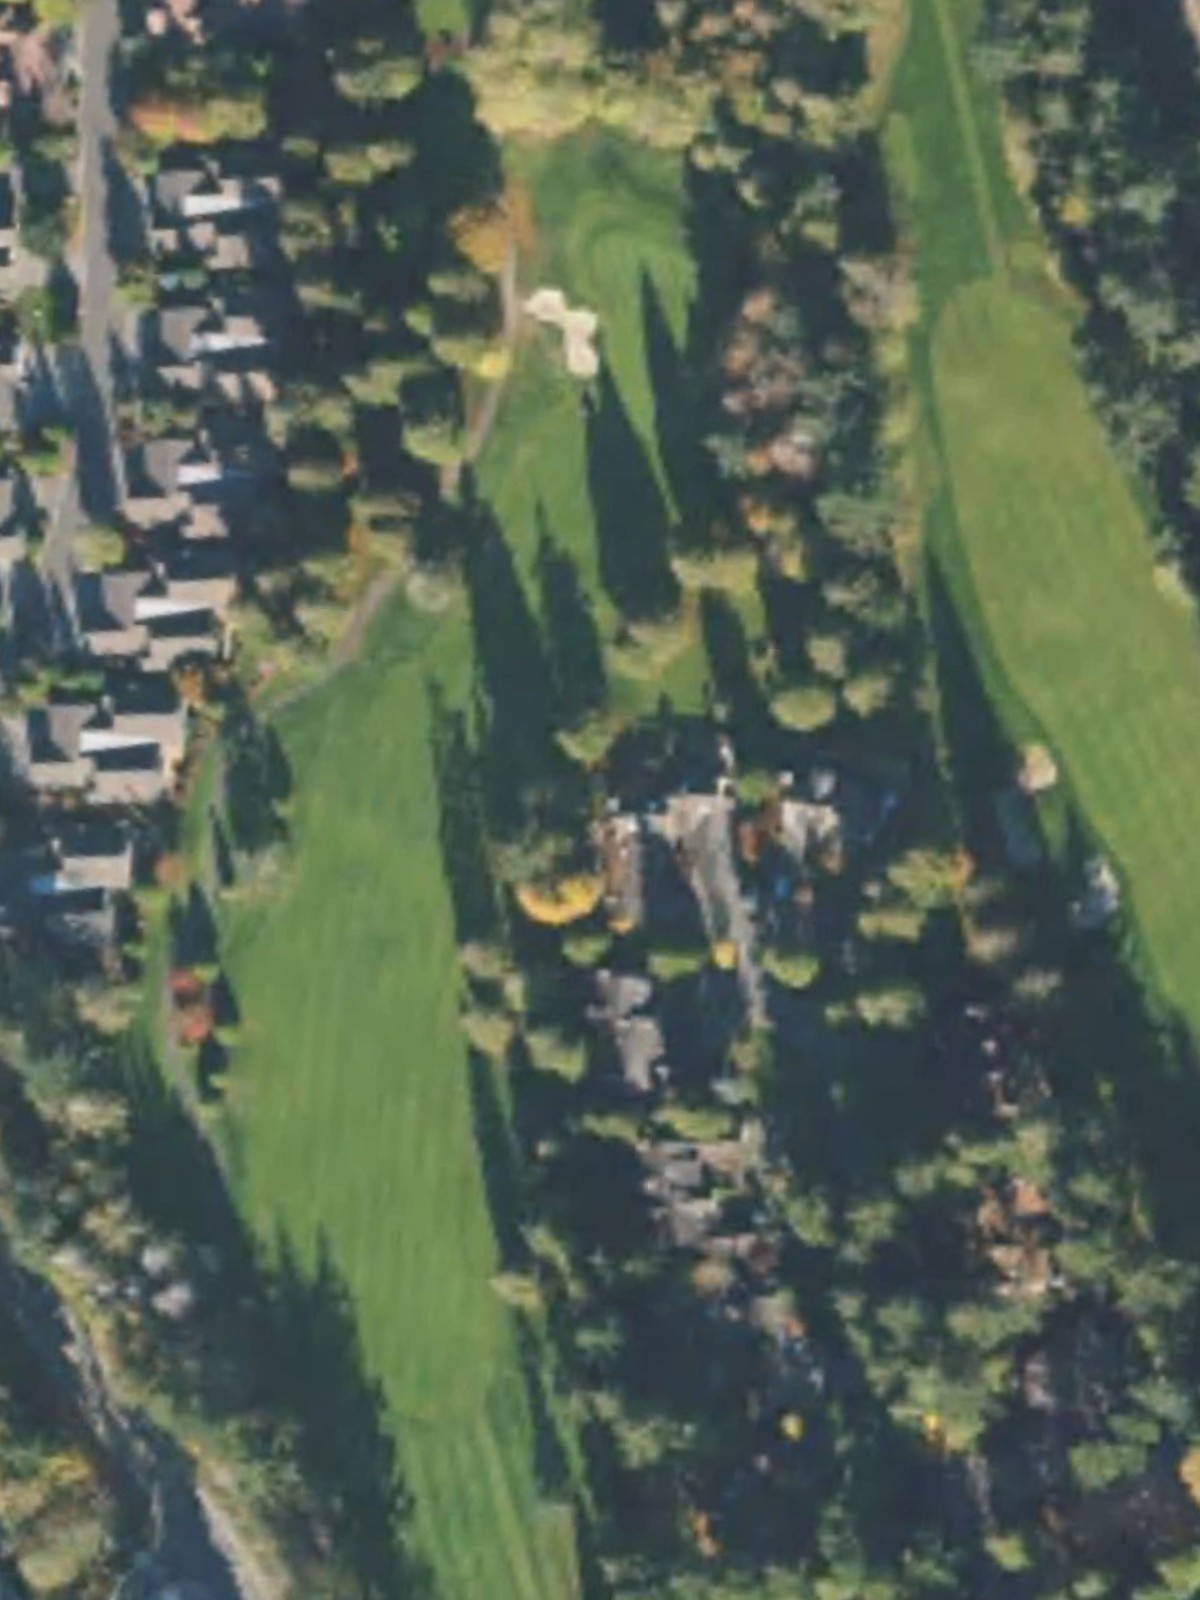
Semiahmoo G&Cc is an 18-hole golf course in Blaine, WA with a par of 72. It offers 7 tee sets: green (6,857 yards, slope 133, rating 72.7), blue (6,314 yards, slope 129, rating 70.3), white/blue (6,101 yards, slope 128, rating 69.2), white (5,959 yards, slope 124, rating 68.6), white/yellow (5,738 yards, slope 120, rating 67.8), yellow (5,494 yards, slope 117, rating 66.6), orange (4,324 yards, slope 101, rating 61.3). The hardest hole is #4, a par 4 playing 392 yards from the first tee.
Semiahmoo G&Cc
Blaine, WA
Get PDF Yardage Book
We'll email you the PDF link. No spam, ever.
Create Your Game Plan
Pick your tees, enter your bag, and get a personalized shot-by-shot strategy for every hole.
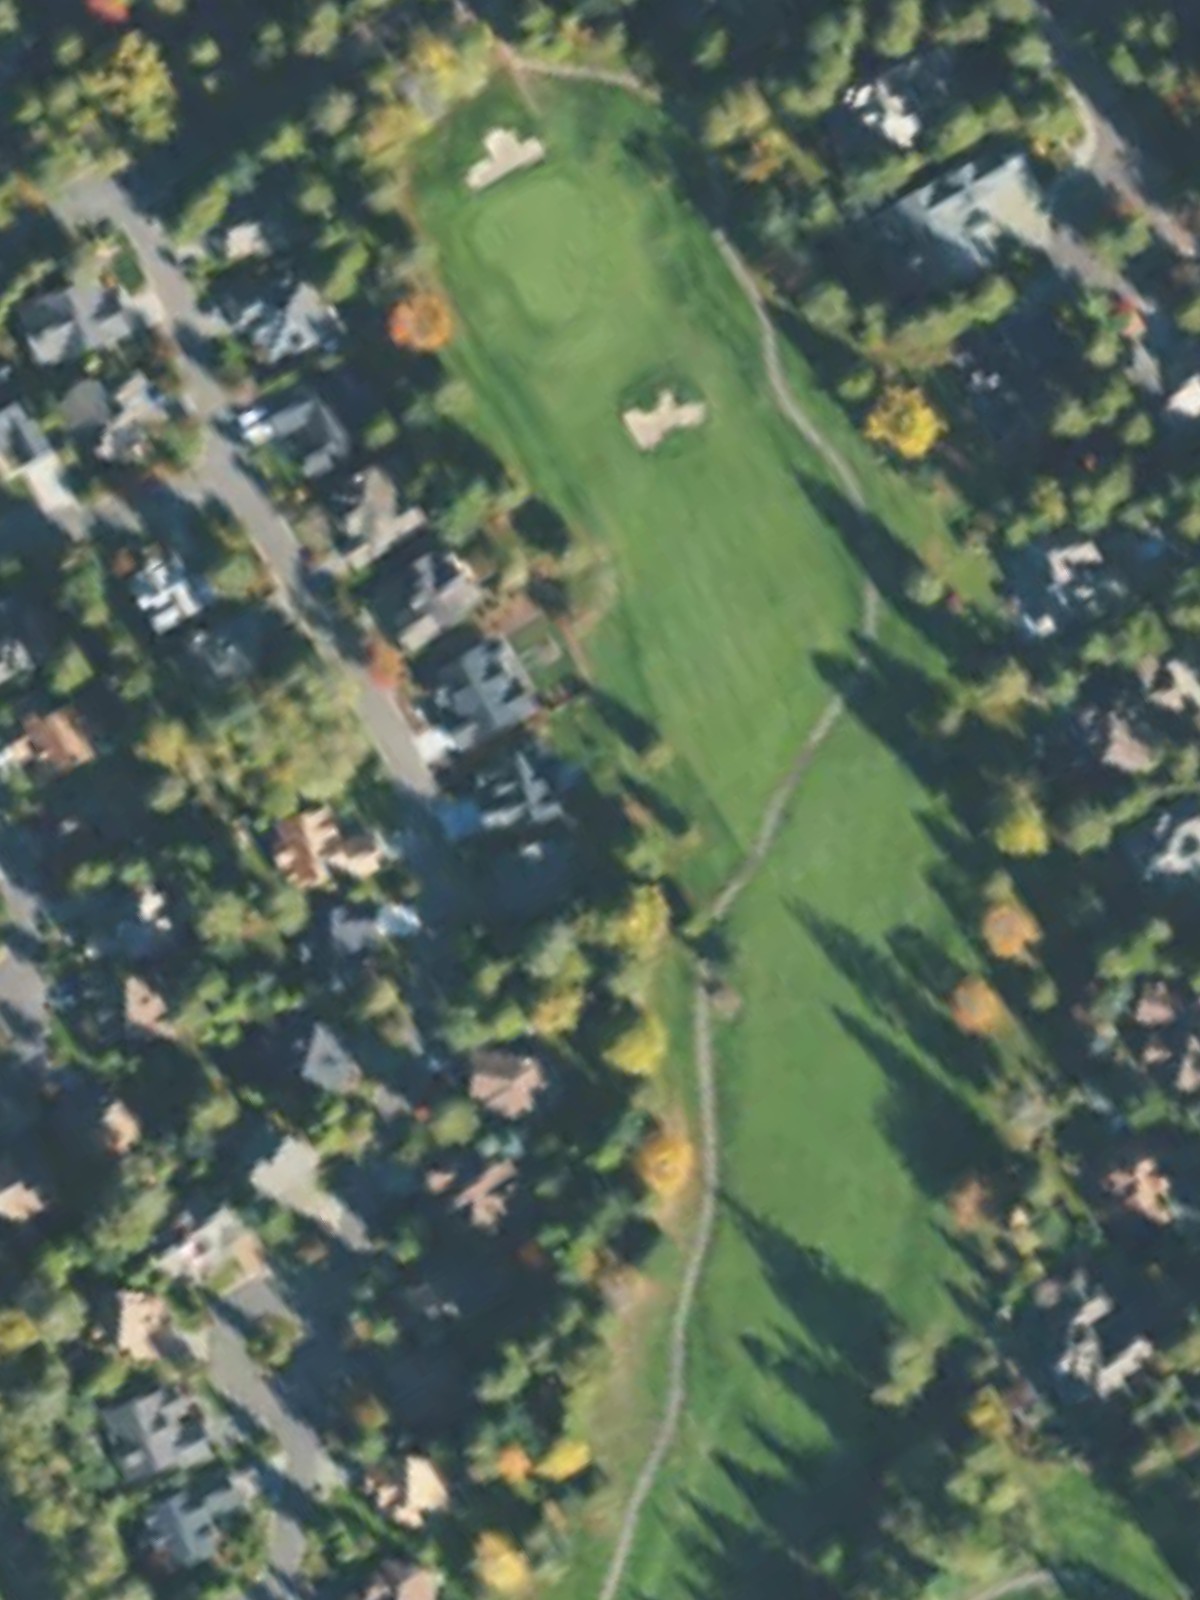
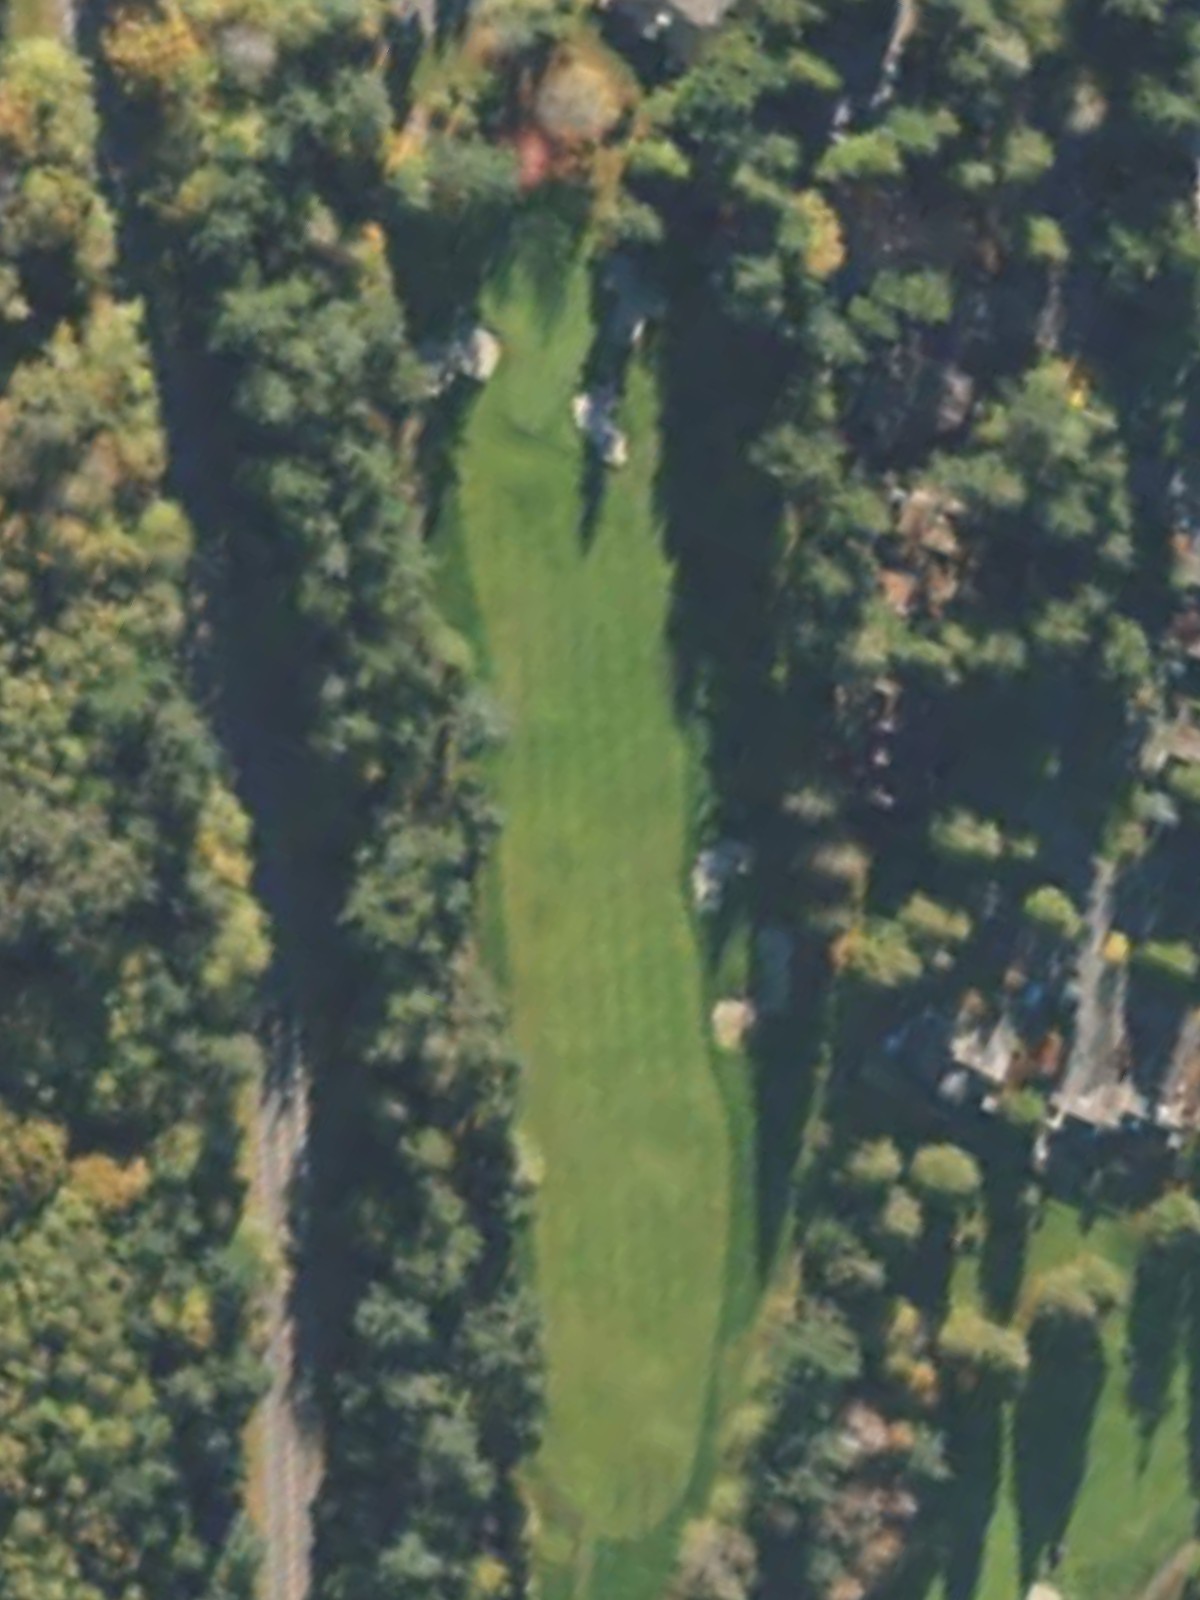
A long par 5 that requires two solid shots to reach the green in regulation. The hole's length and strategic layout demand accurate placement to set up an approach to a well-bunkered green.
A short par 4 with a compact design that rewards accuracy over distance. The relatively tight fairway and green complex make precision off the tee essential.
A short par 3 playing to an accessible green with minimal hazards. This is the most forgiving par 3 on the course, offering a straightforward target.
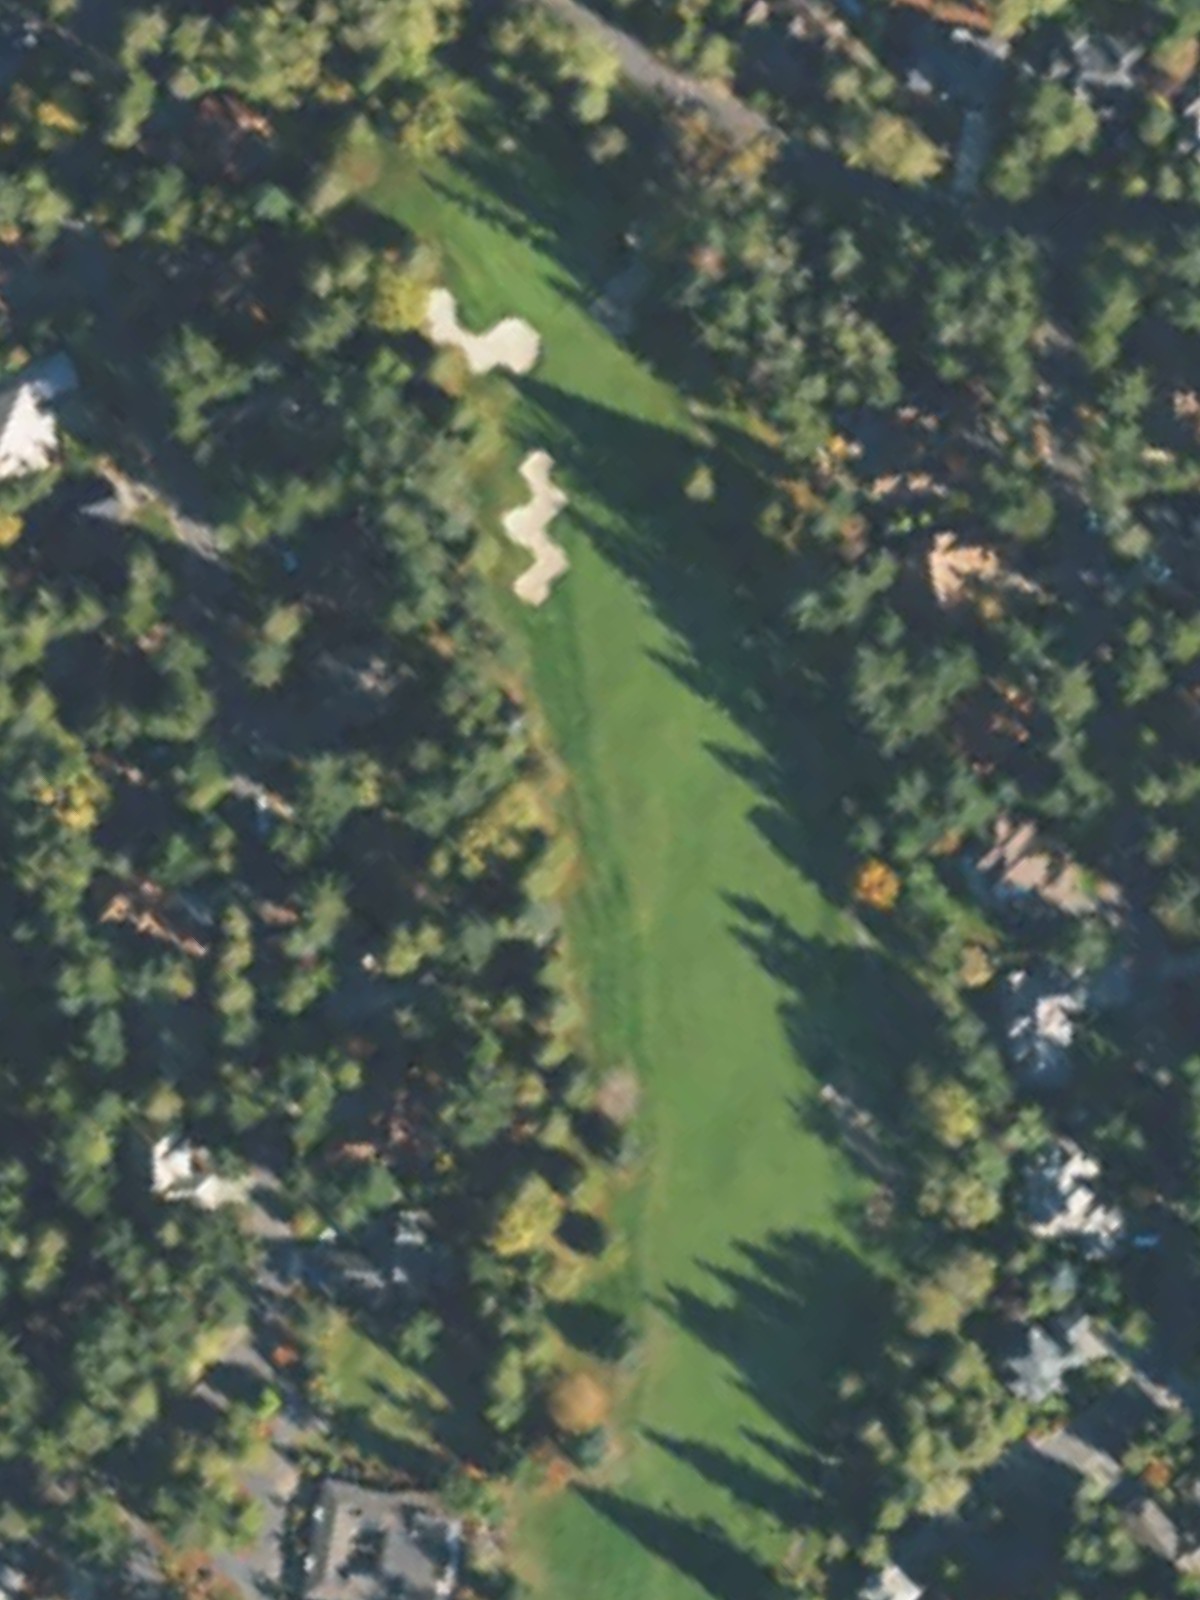
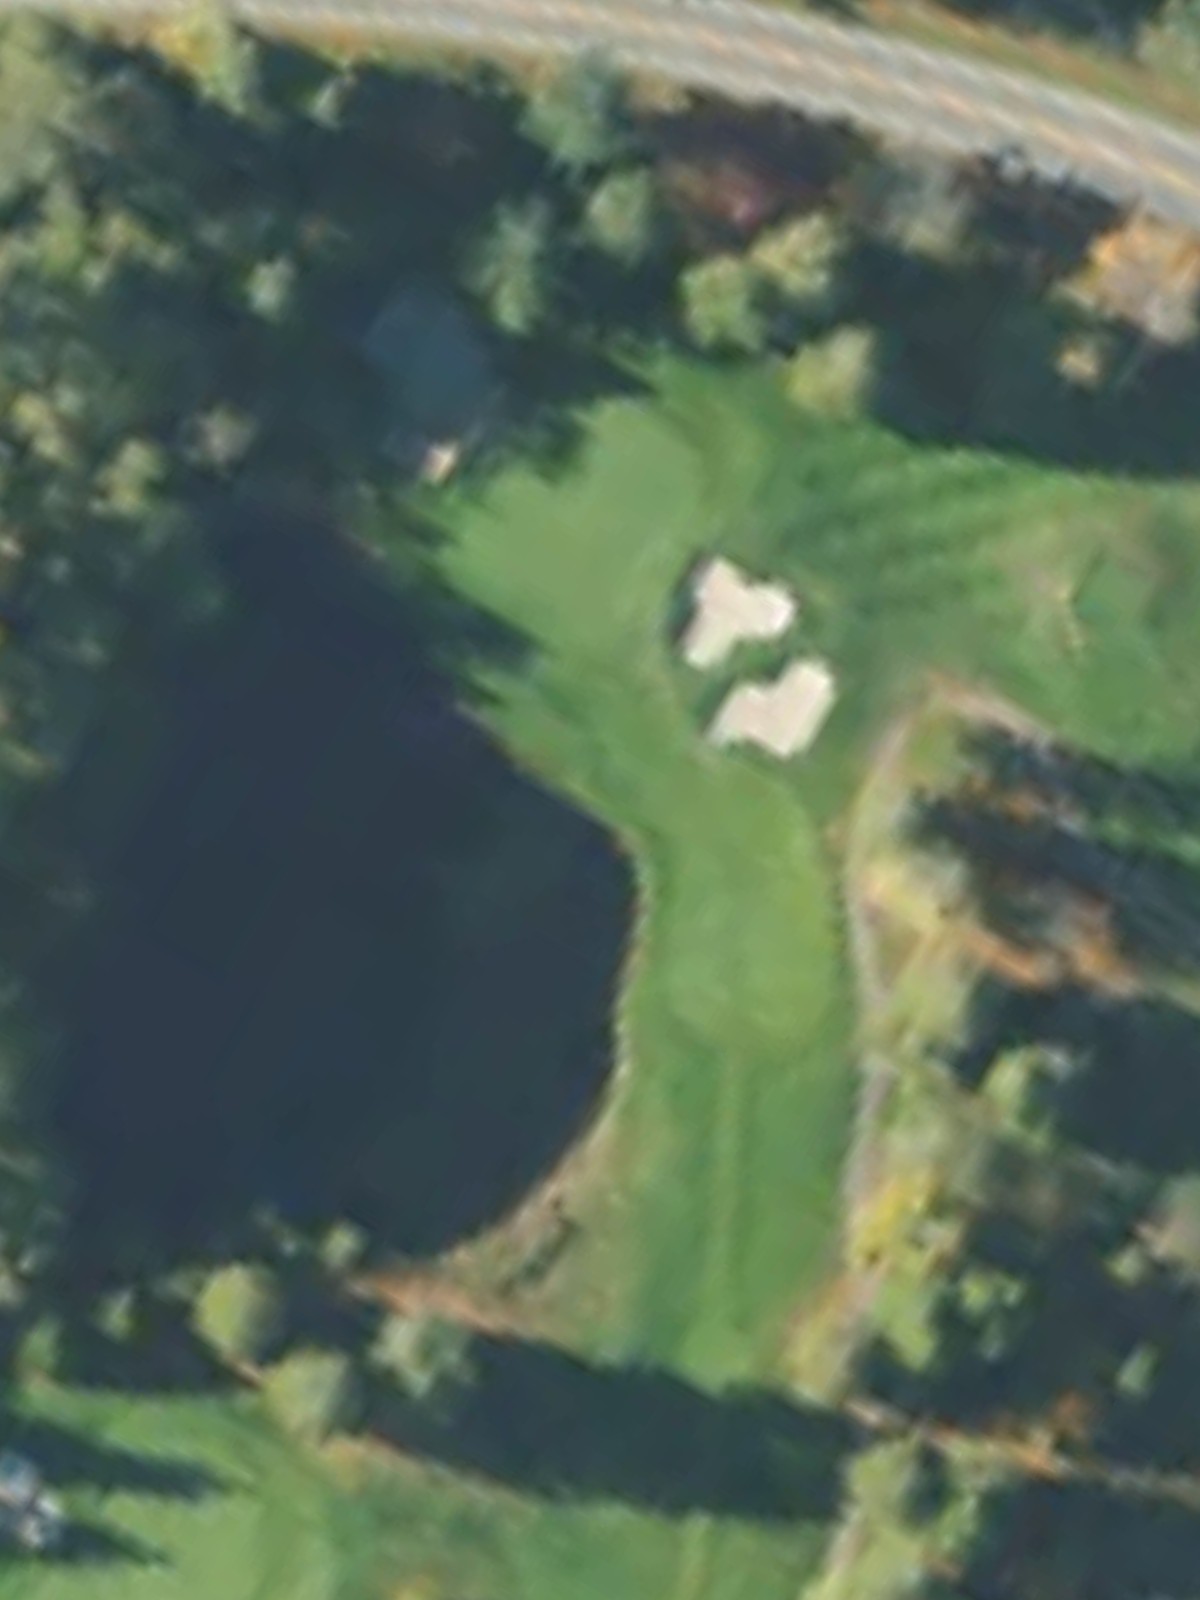
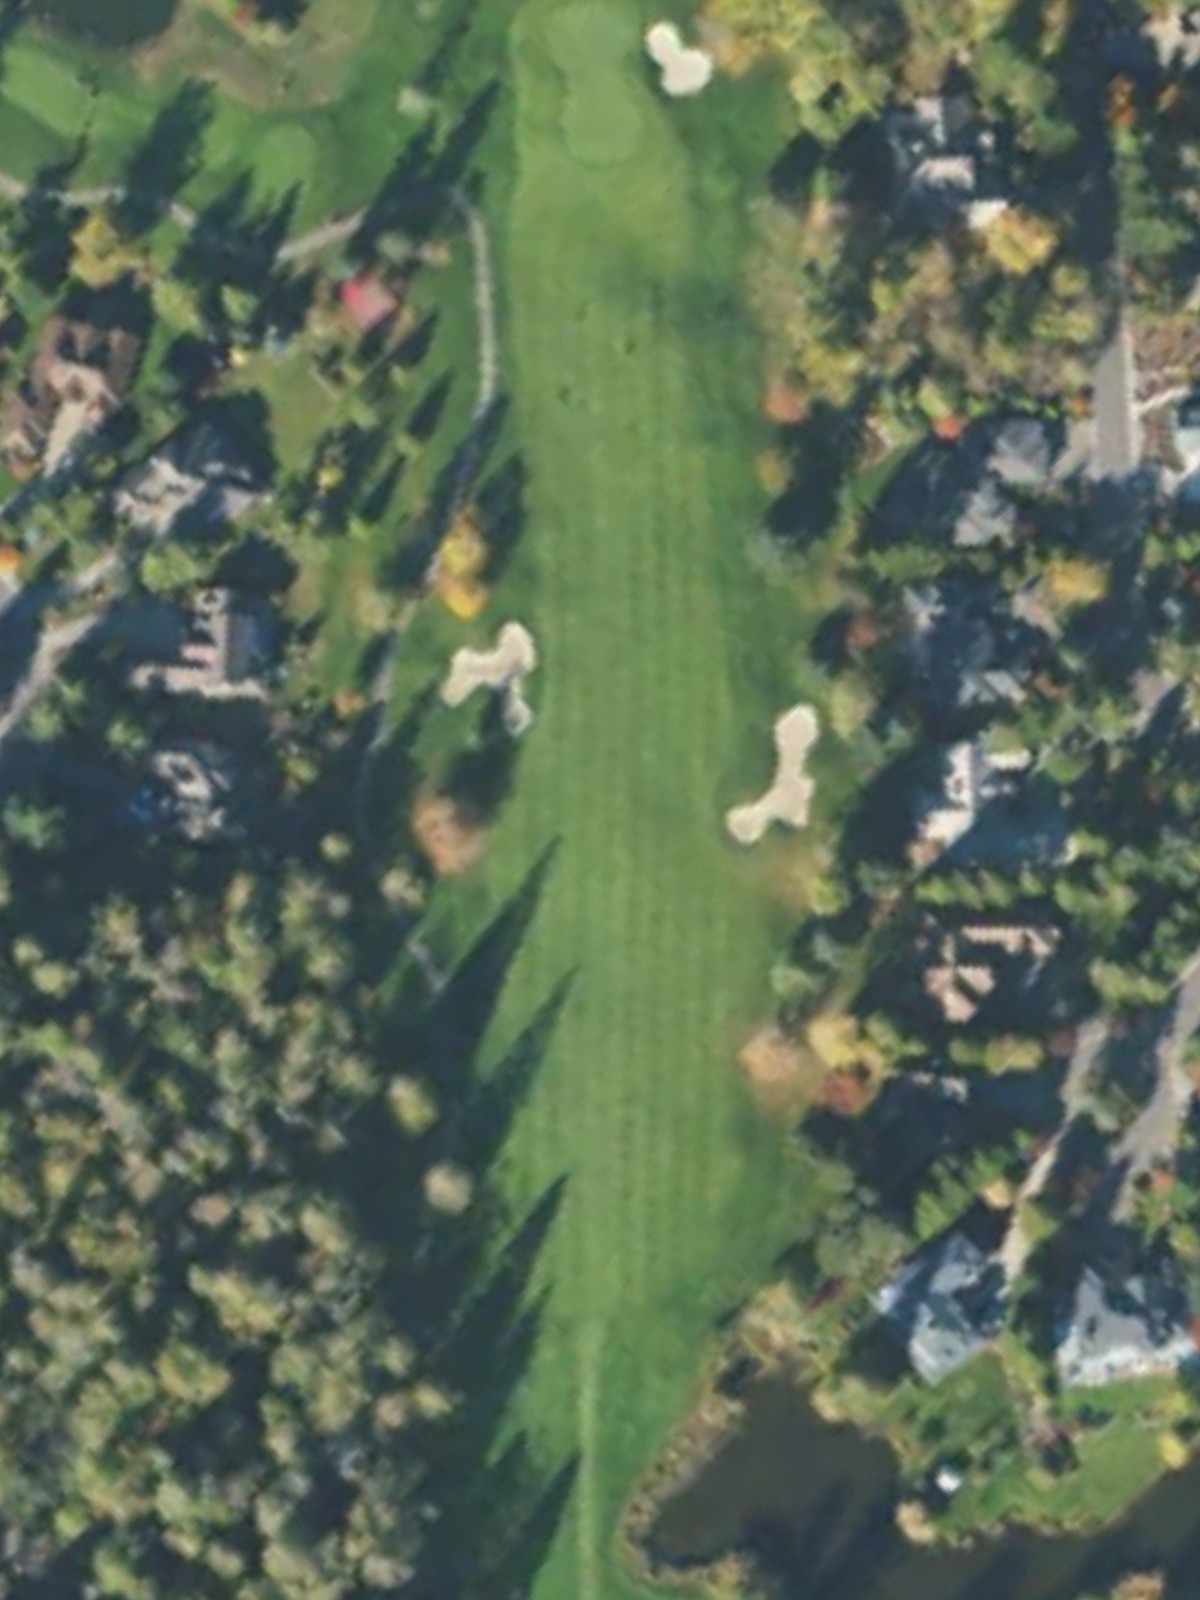
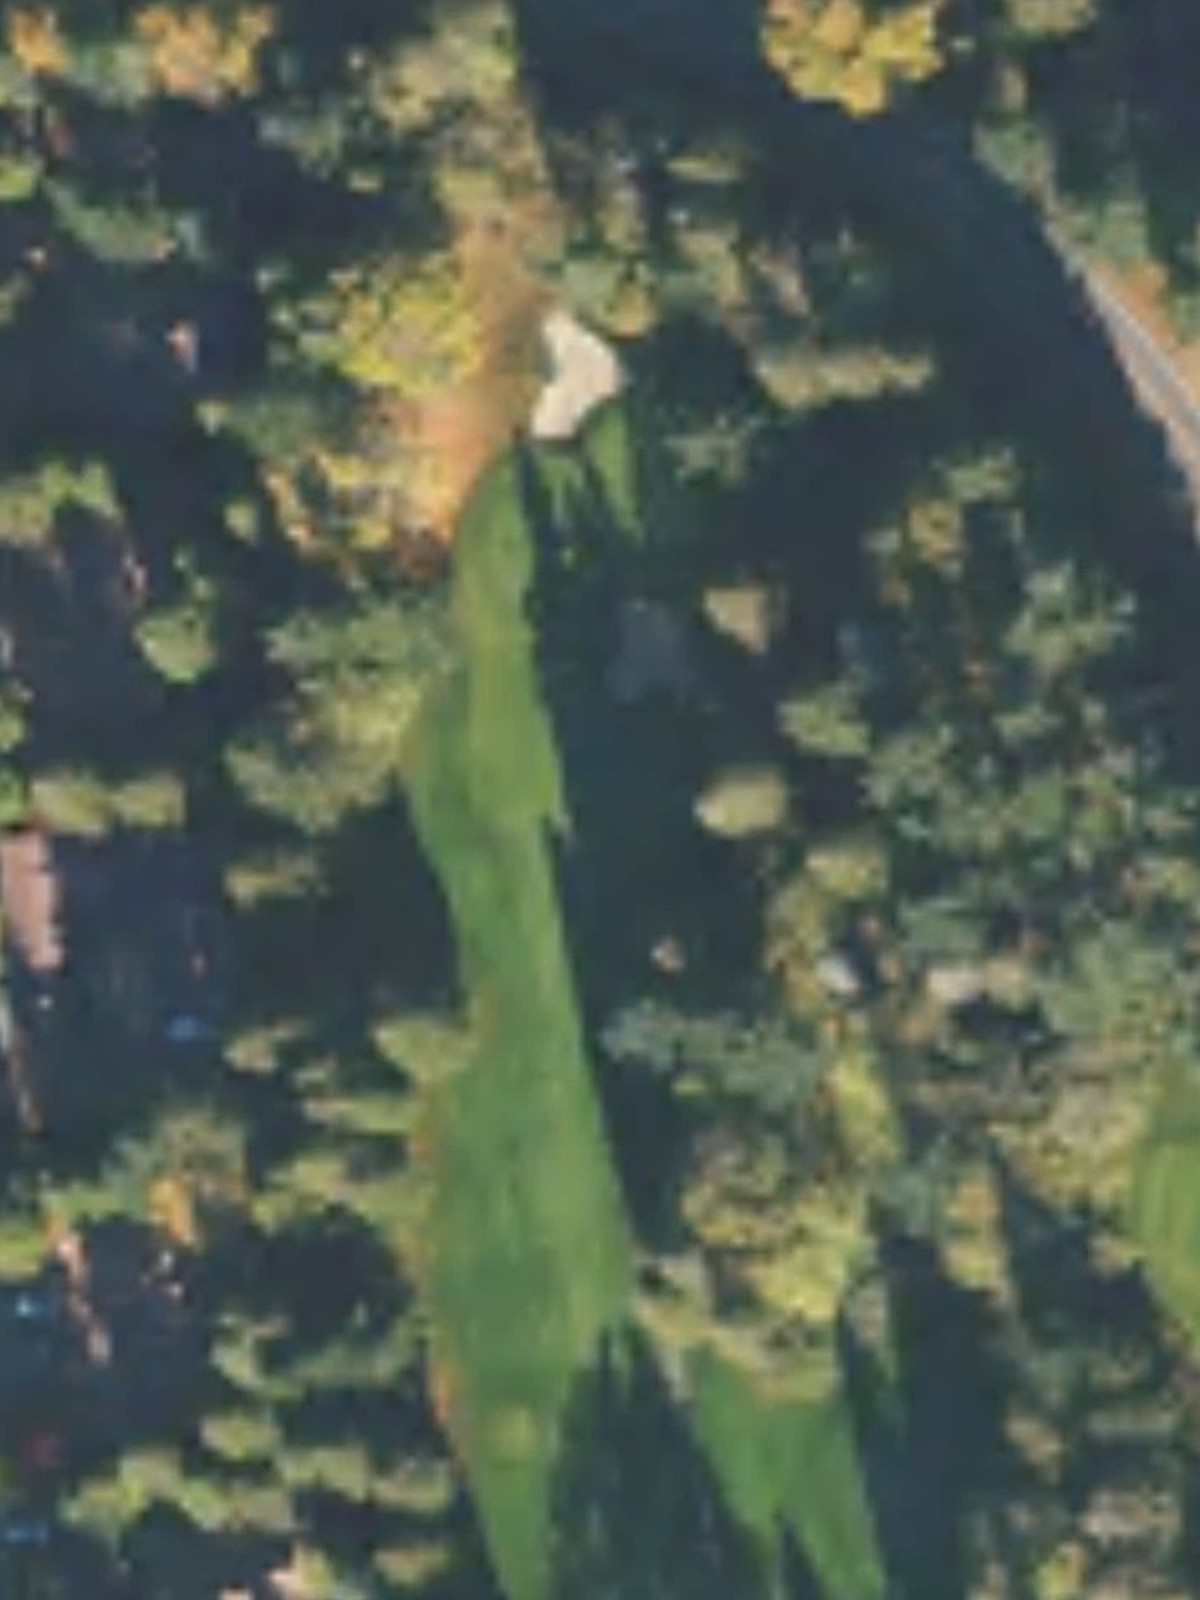
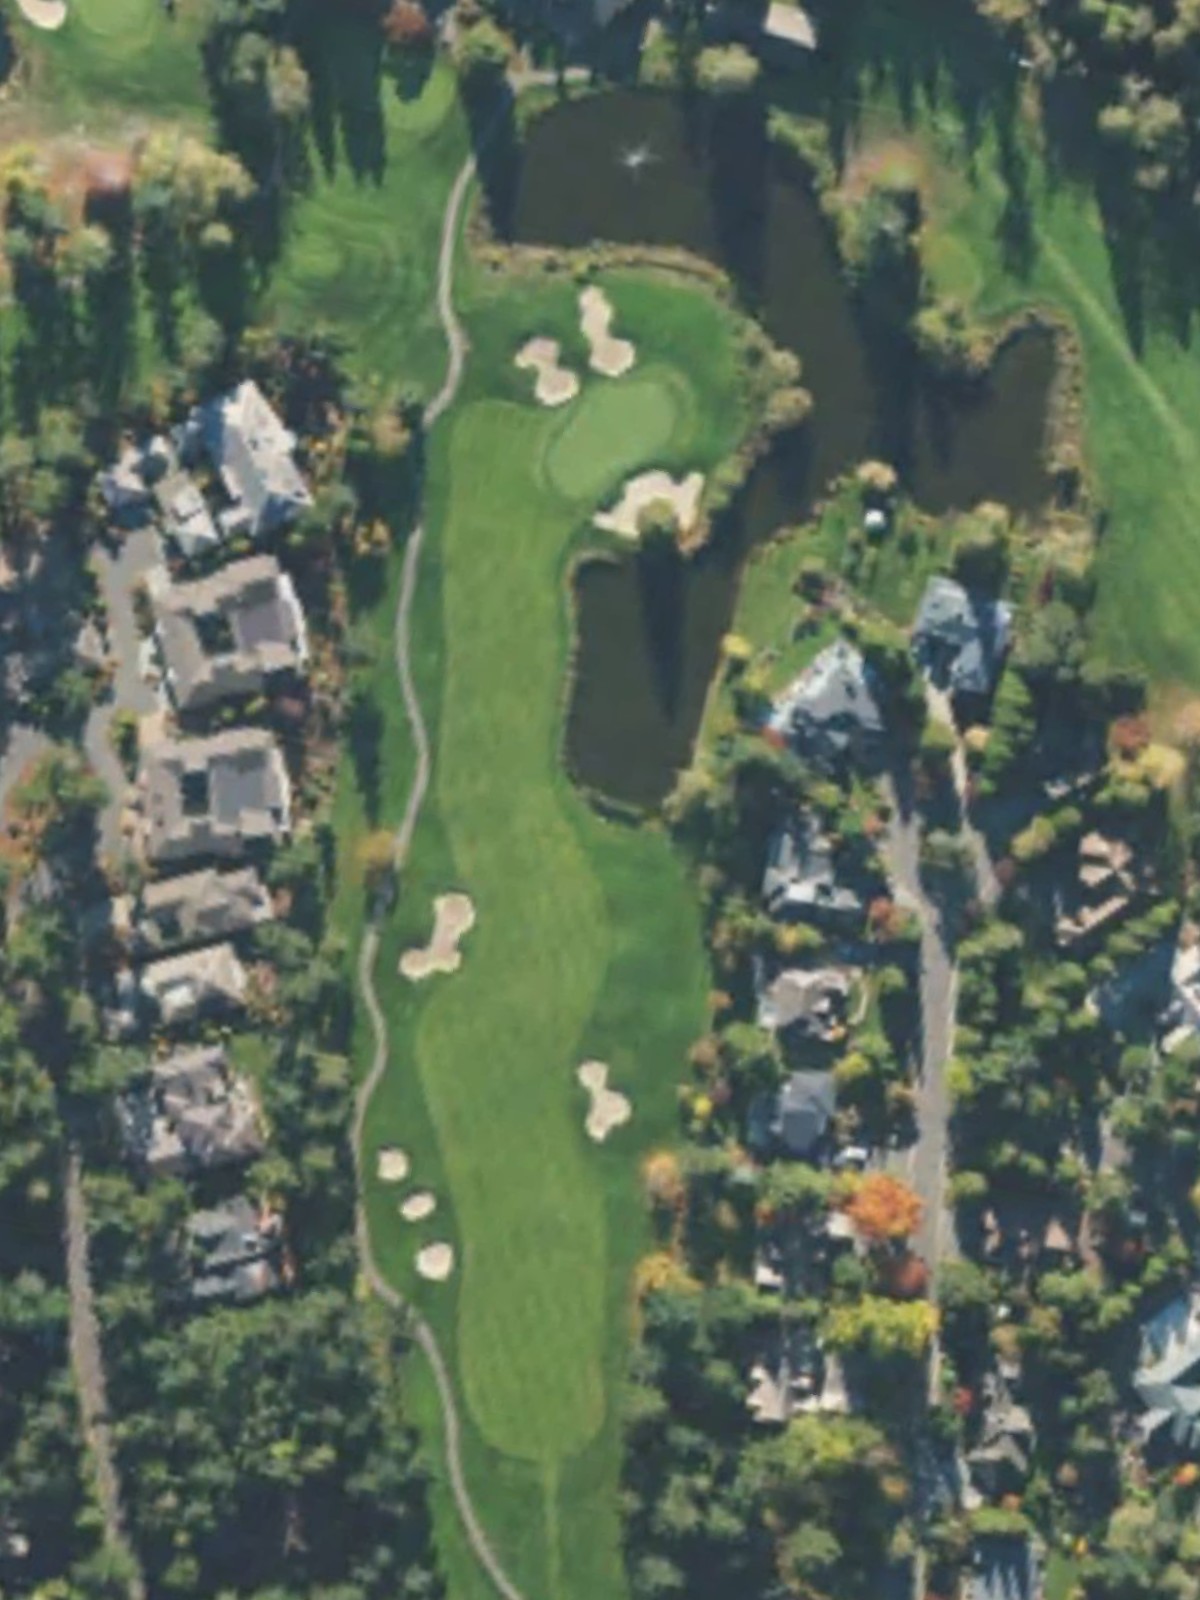
The most difficult hole on the course, this par 4 presents a formidable challenge with strategic hazards and a demanding approach. The combination of length and complexity makes this the course's primary handicap hole.

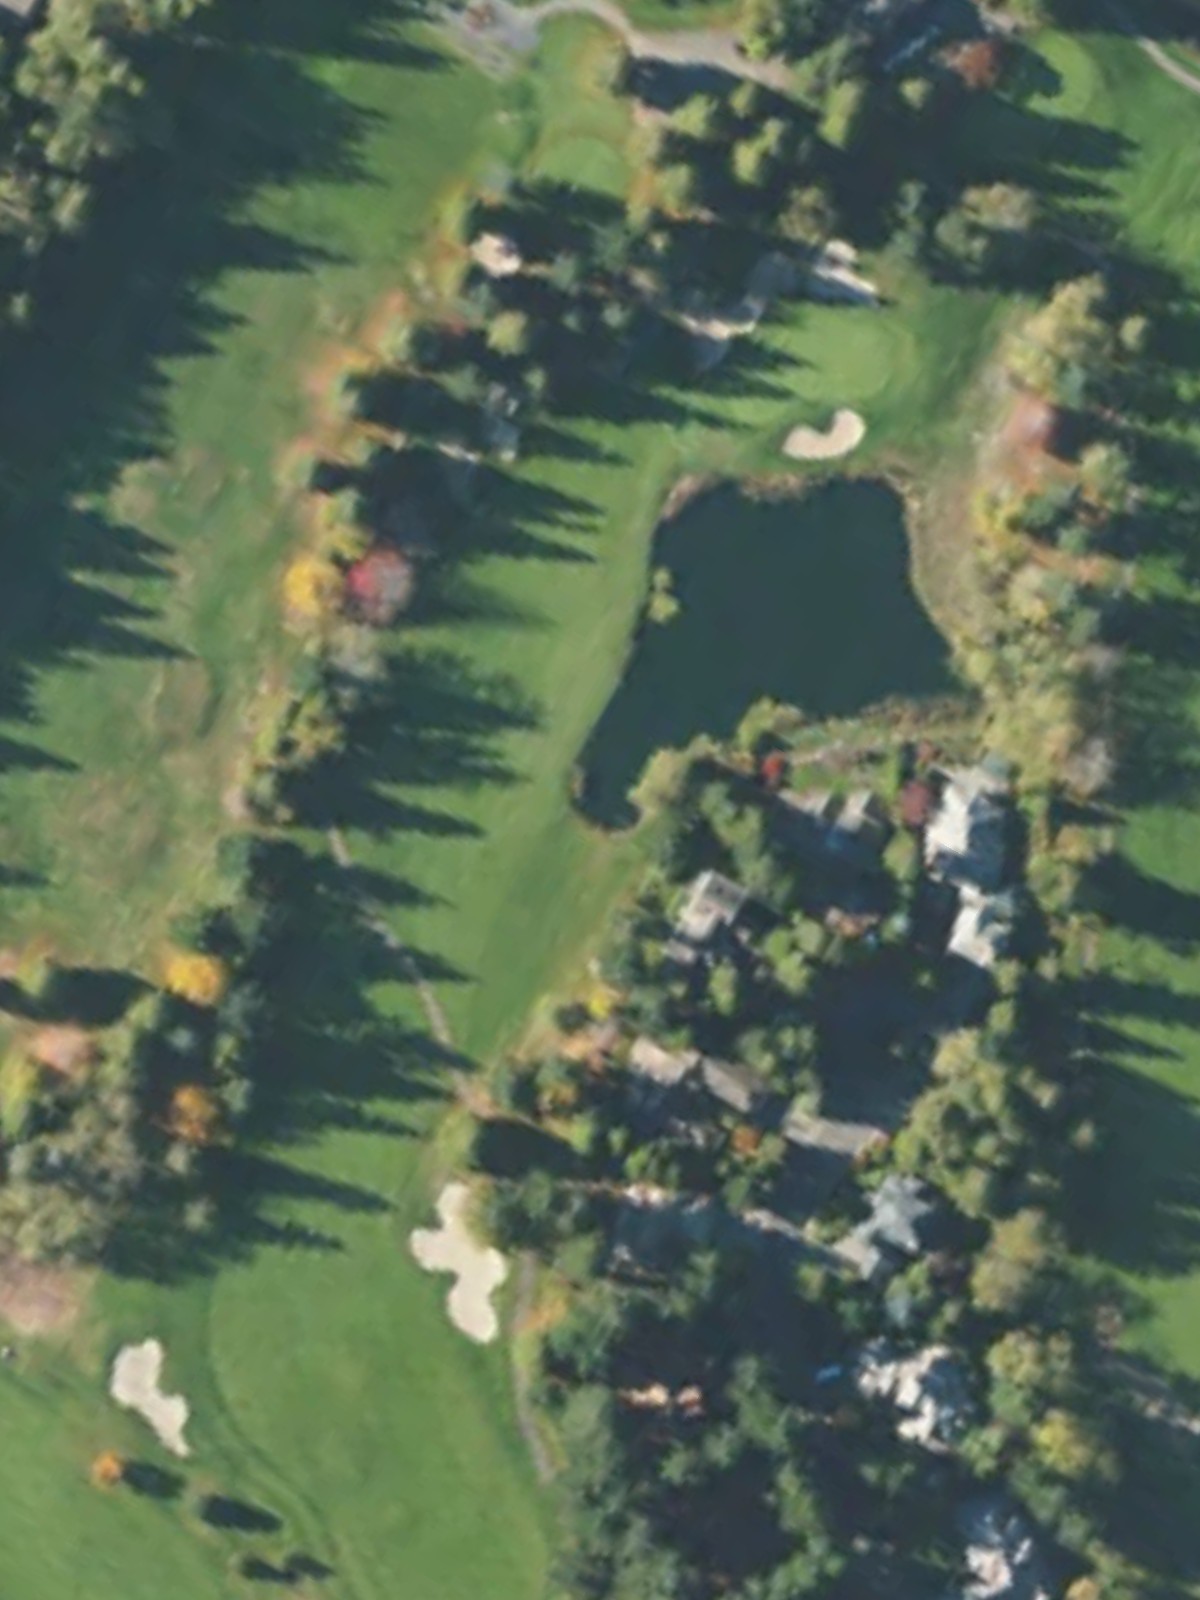
A mid-length par 4 with a balanced design that tests both accuracy and distance management. Hazards frame the hole strategically to penalize wayward shots.
A straightforward par 3 of moderate length with a relatively open approach to the green. This hole provides a more comfortable scoring opportunity on the front nine.
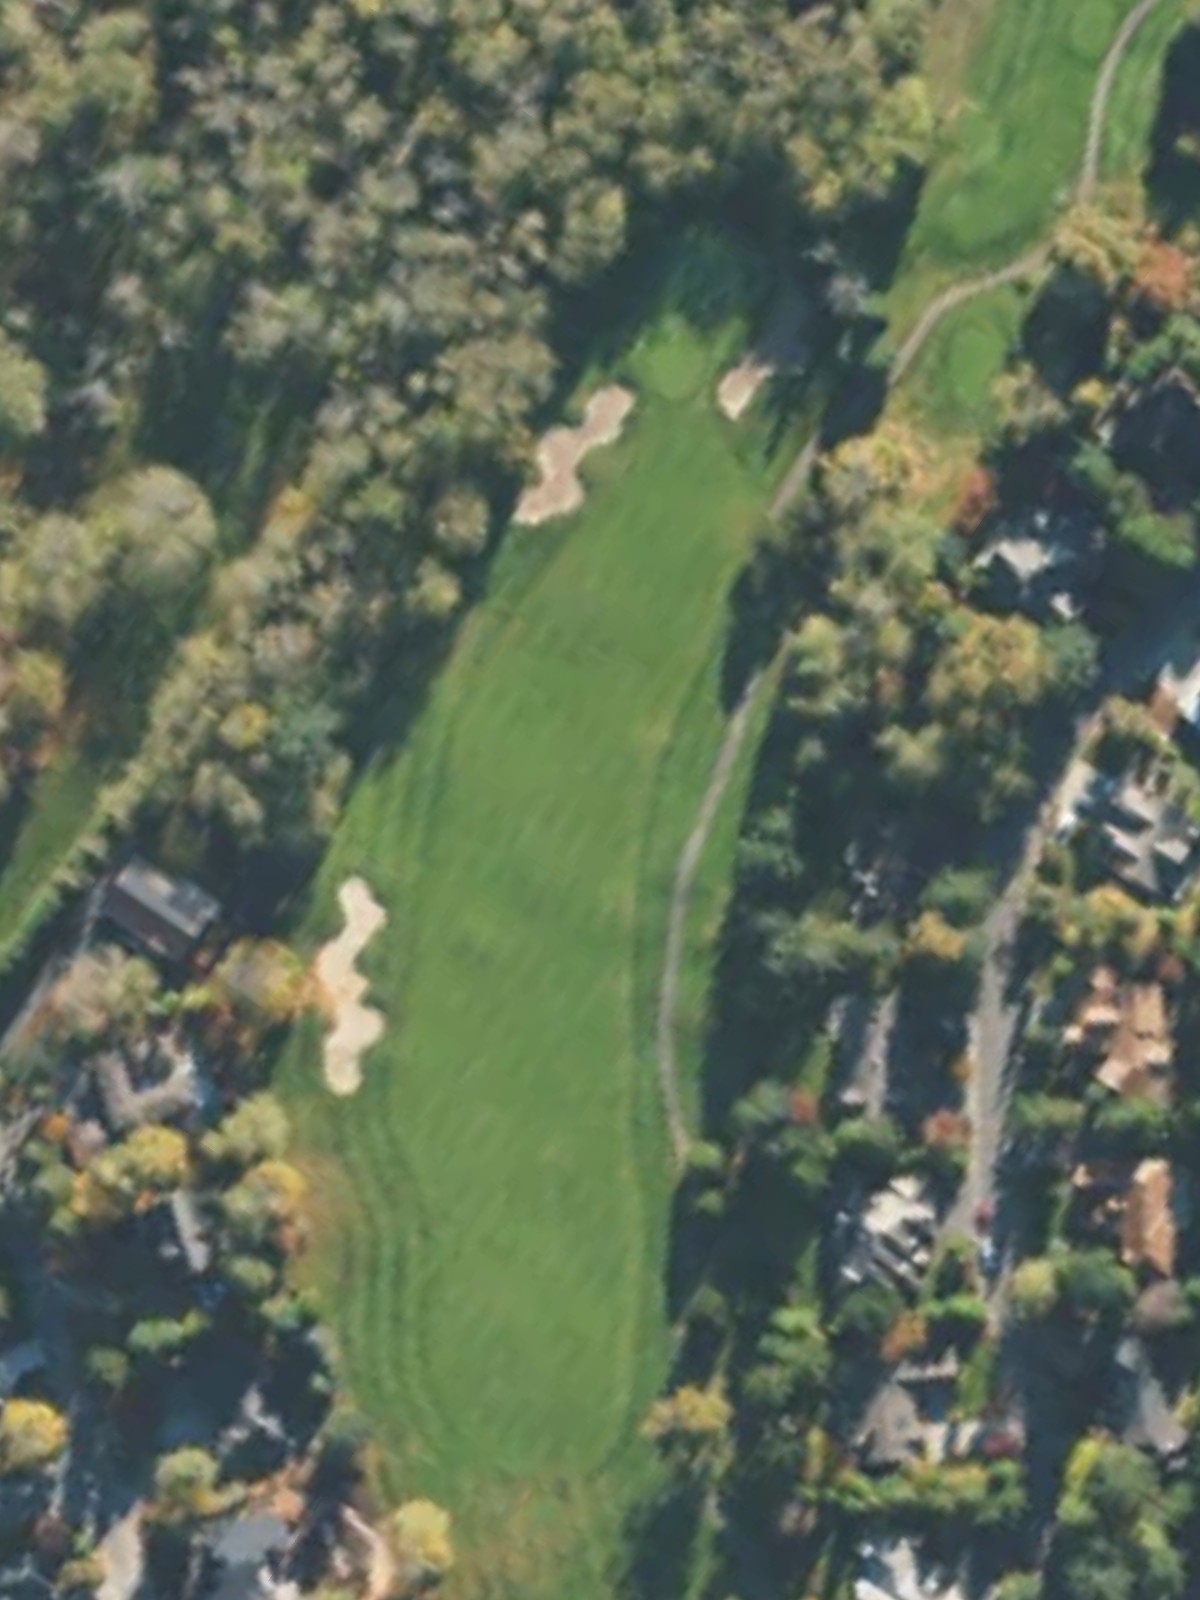
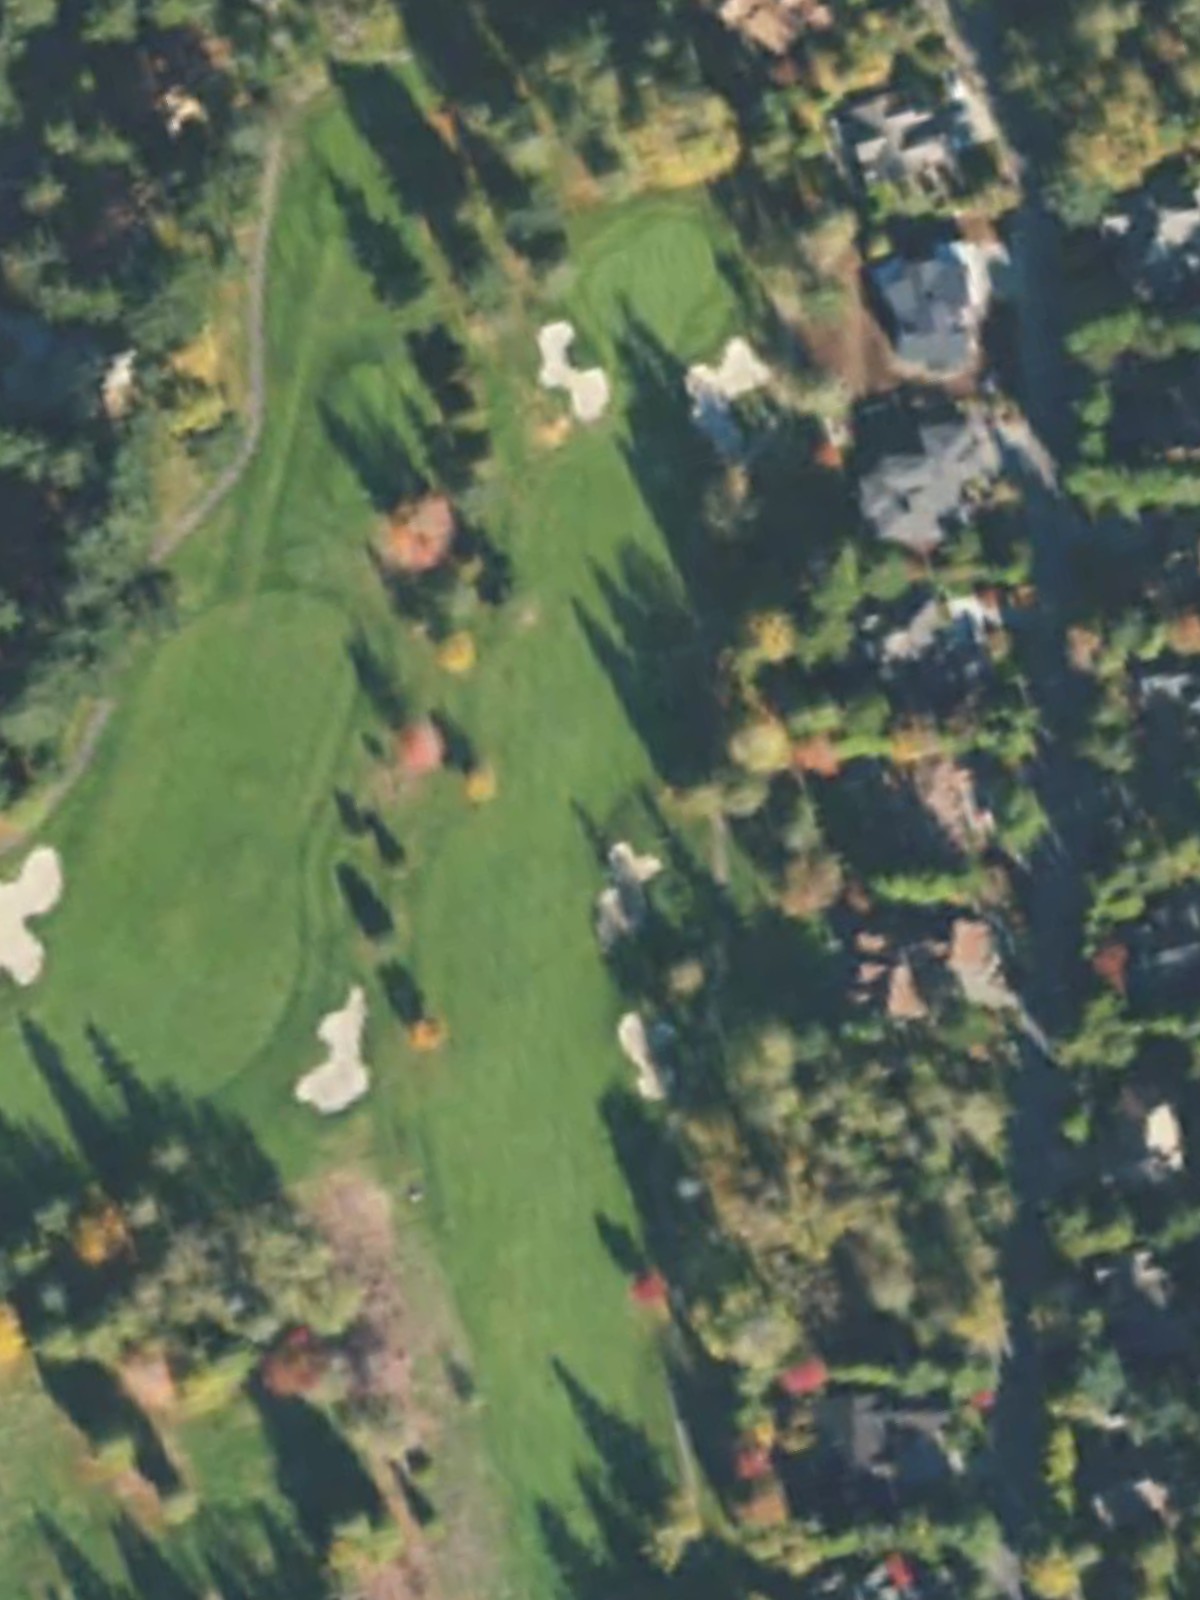
The second-hardest hole on the course, this par 4 presents a significant test with length and strategic complexity. Hazards and green-side challenges demand precision from tee to green.
A mid-length par 4 with a manageable design that sits in the middle of the difficulty spectrum. The hole balances challenge with opportunity for solid play.
A strong finishing par 5 for the front nine, requiring two well-executed shots to set up the approach. The hole's length and layout demand strategic shot-making.
A par 4 with a relatively generous layout that offers good scoring potential. This hole provides a manageable start to the back nine despite its moderate handicap.
A short par 4 that plays deceptively difficult despite its reduced yardage. Precision and controlled shot-making are essential to avoid the hole's strategic hazards.
The most forgiving par 3 on the course, playing short with minimal challenge. This hole offers a clear scoring opportunity with a straightforward target.
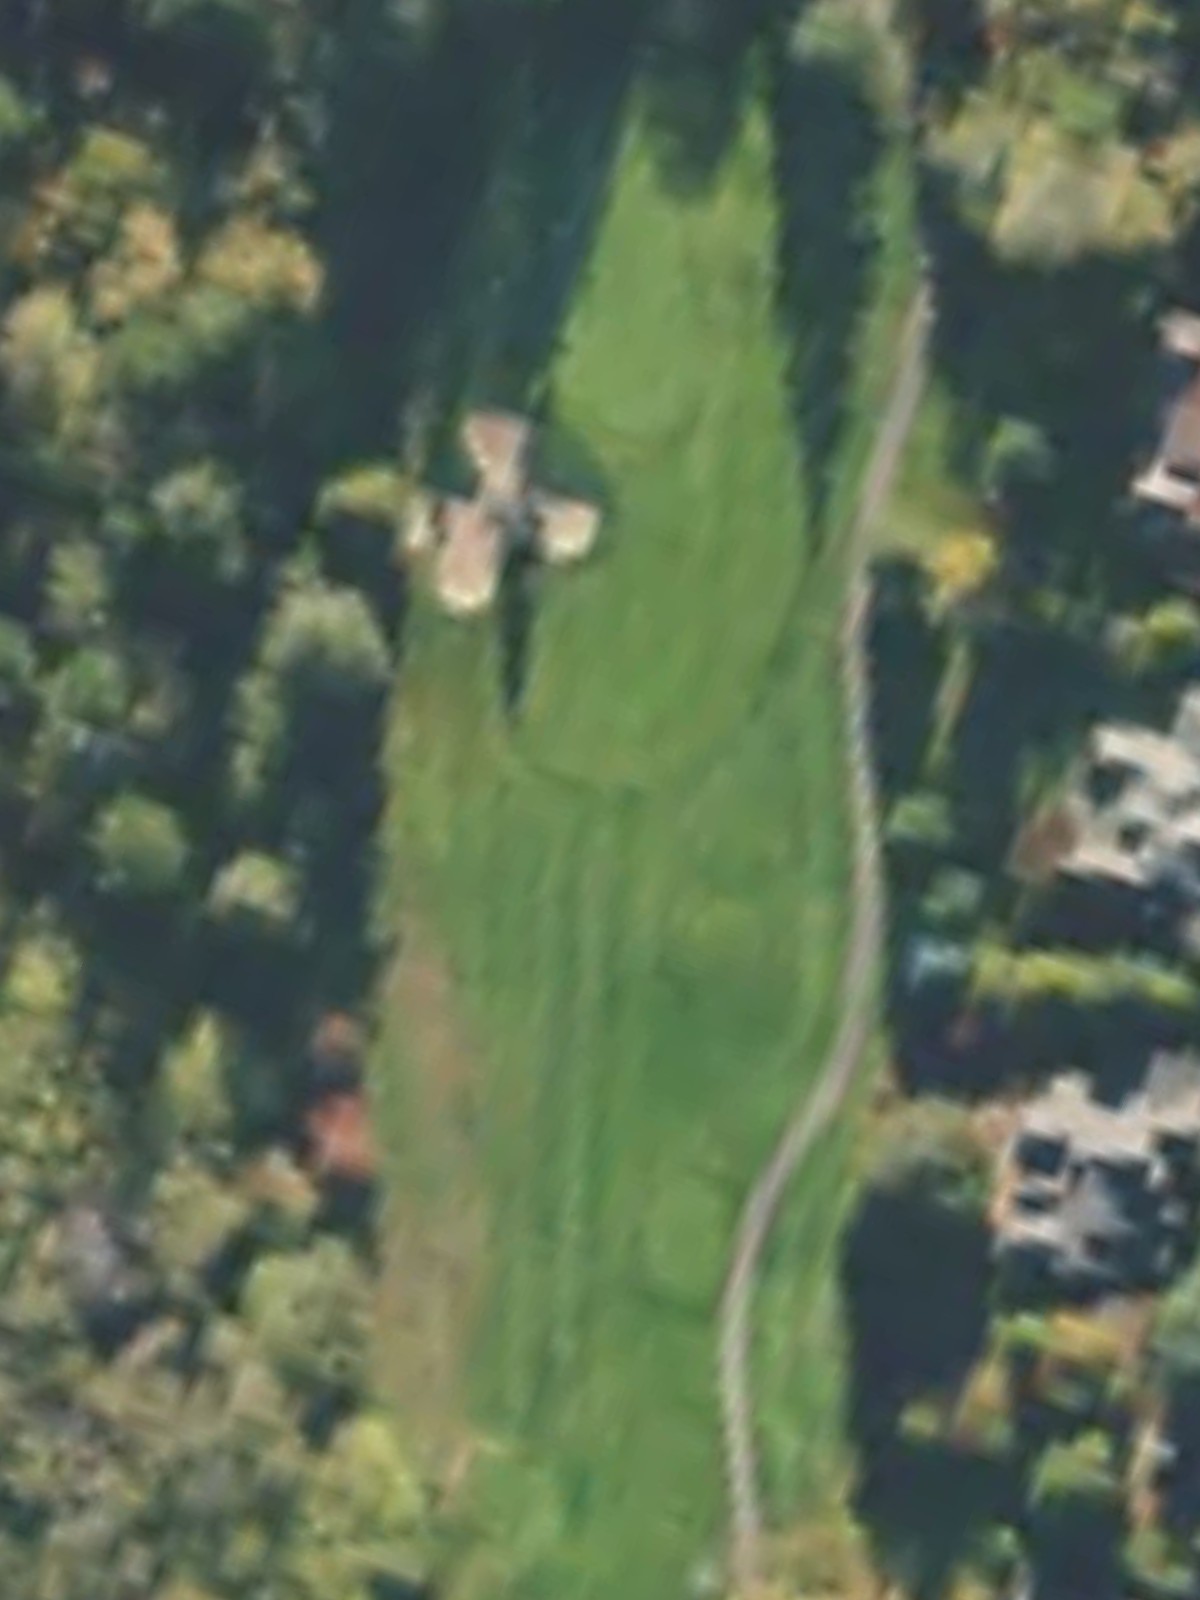
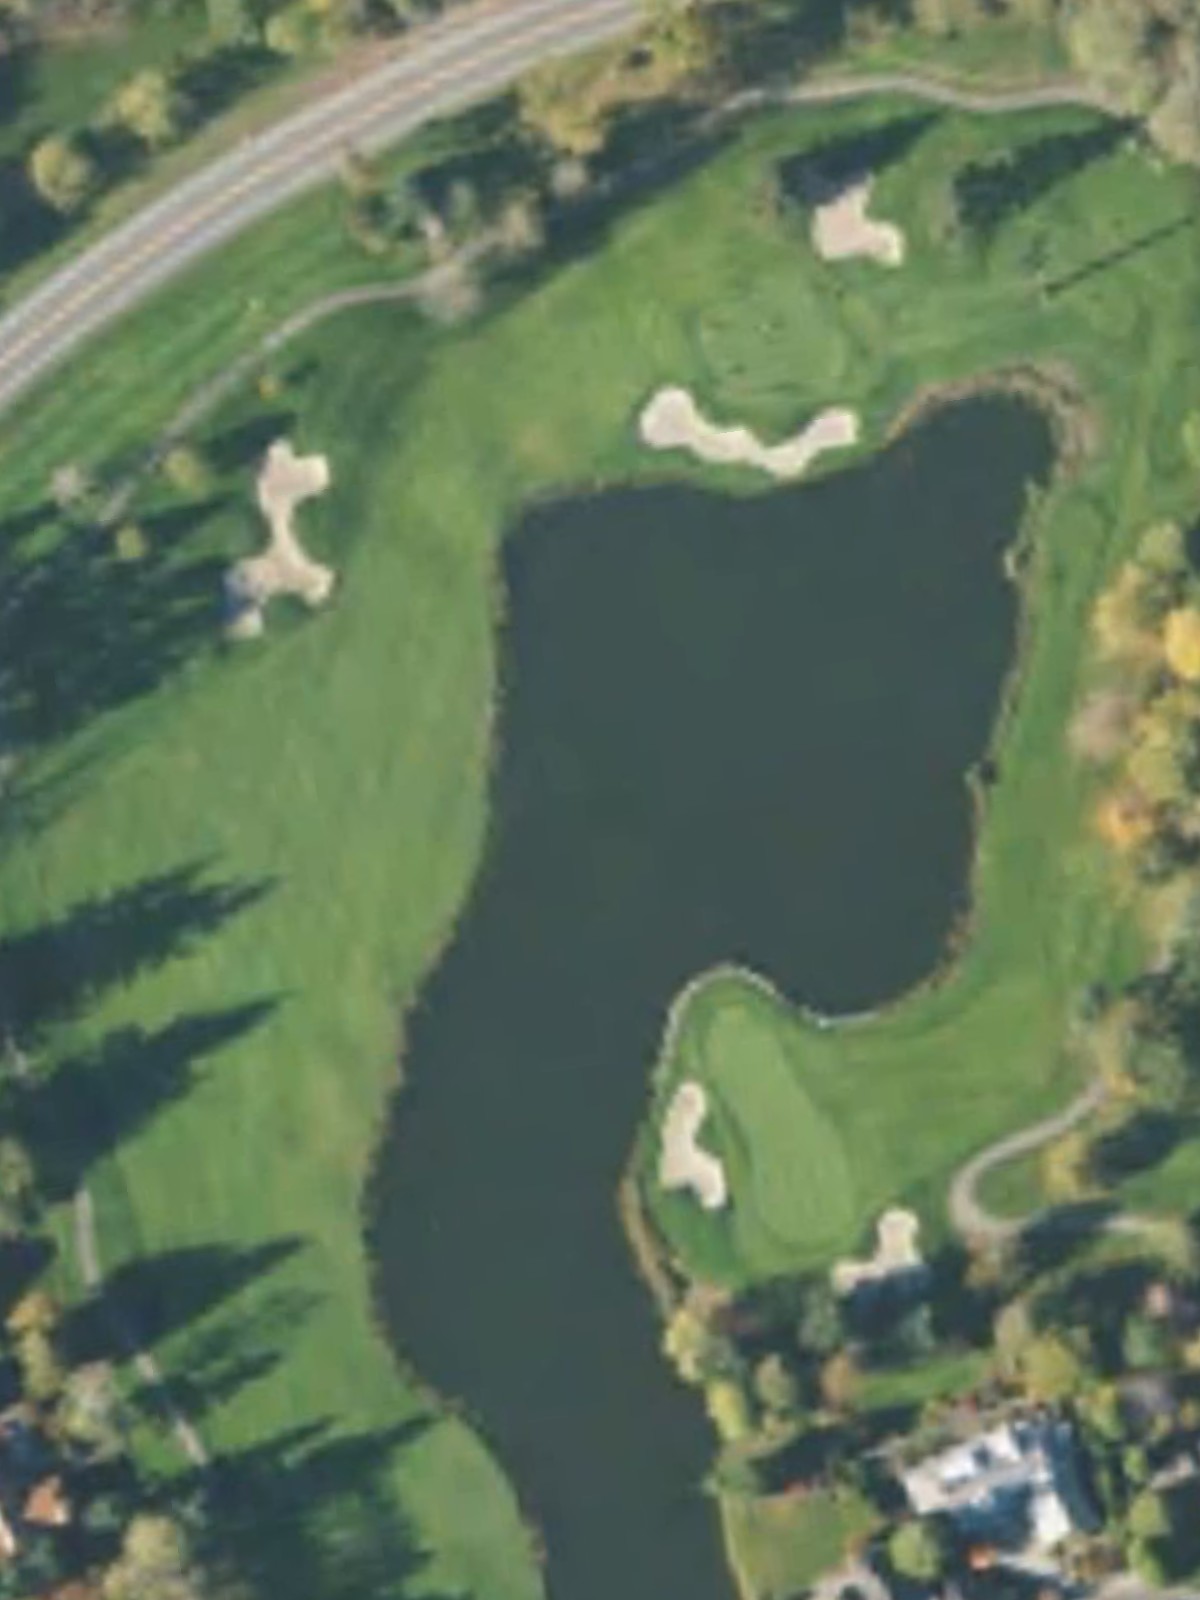
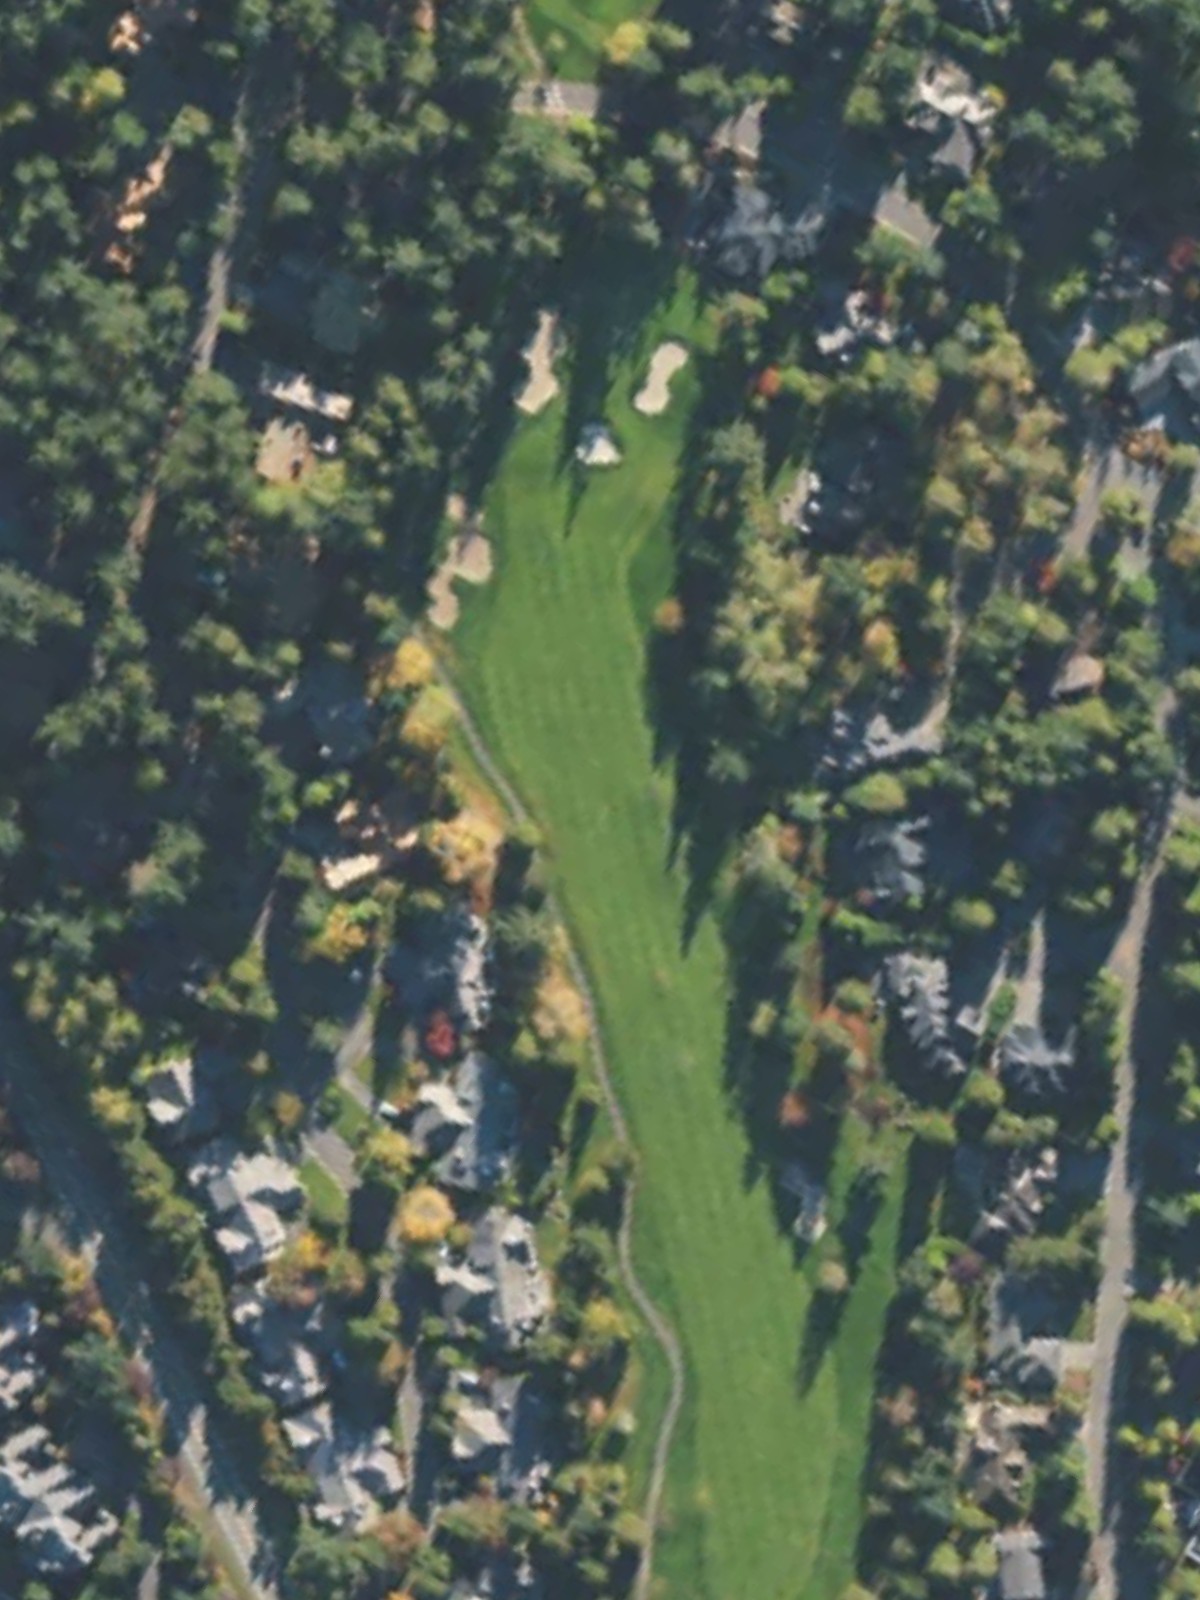
A formidable par 5 and the fourth-hardest hole on the course, with length and complexity that challenge even strong players. Strategic positioning is critical to attack this green effectively.
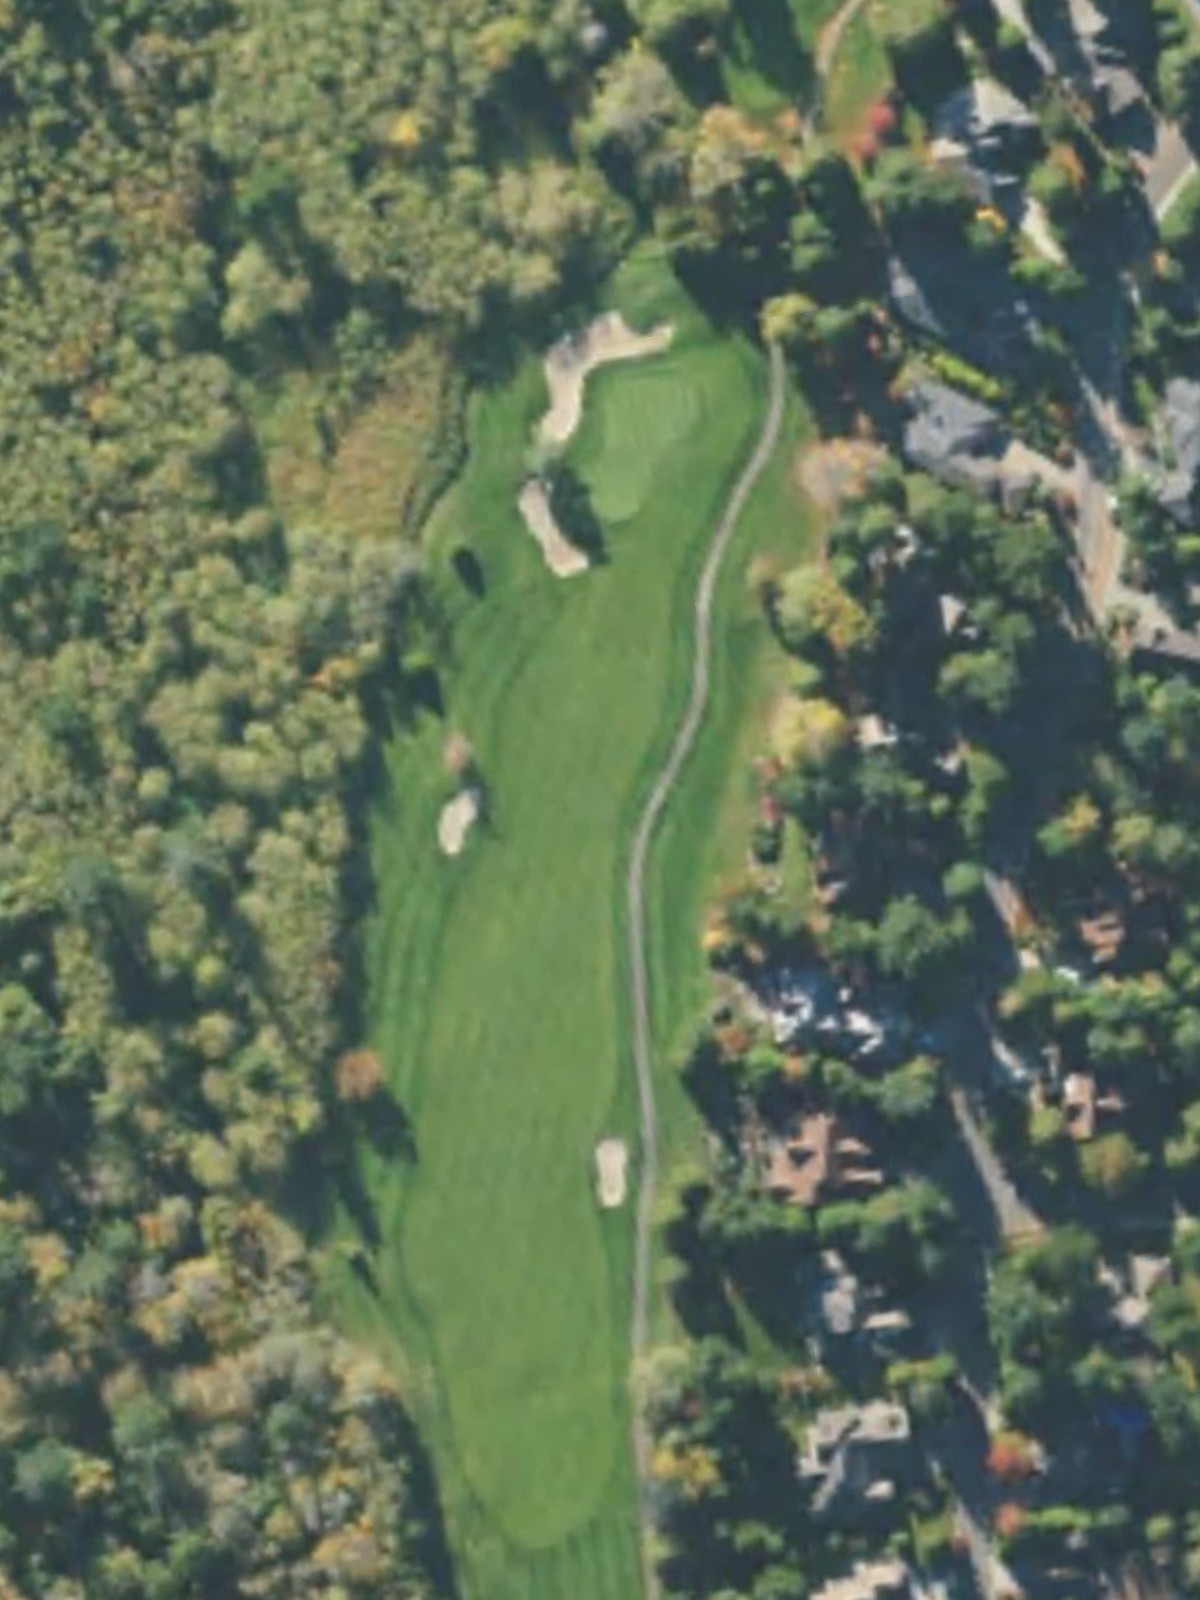
The second-most difficult hole on the course, this par 4 presents a substantial challenge with demanding length and hazards. The combination of difficulty and strategic positioning makes it a key test.
A mid-length par 3 with moderate difficulty that sits comfortably in the middle of the par 3 spectrum. The hole presents a straightforward target with reasonable hazards.
A short par 4 with a compact layout and good scoring potential for accurate players. The hole's shorter length and relative straightforwardness offer relief in the round's difficulty.
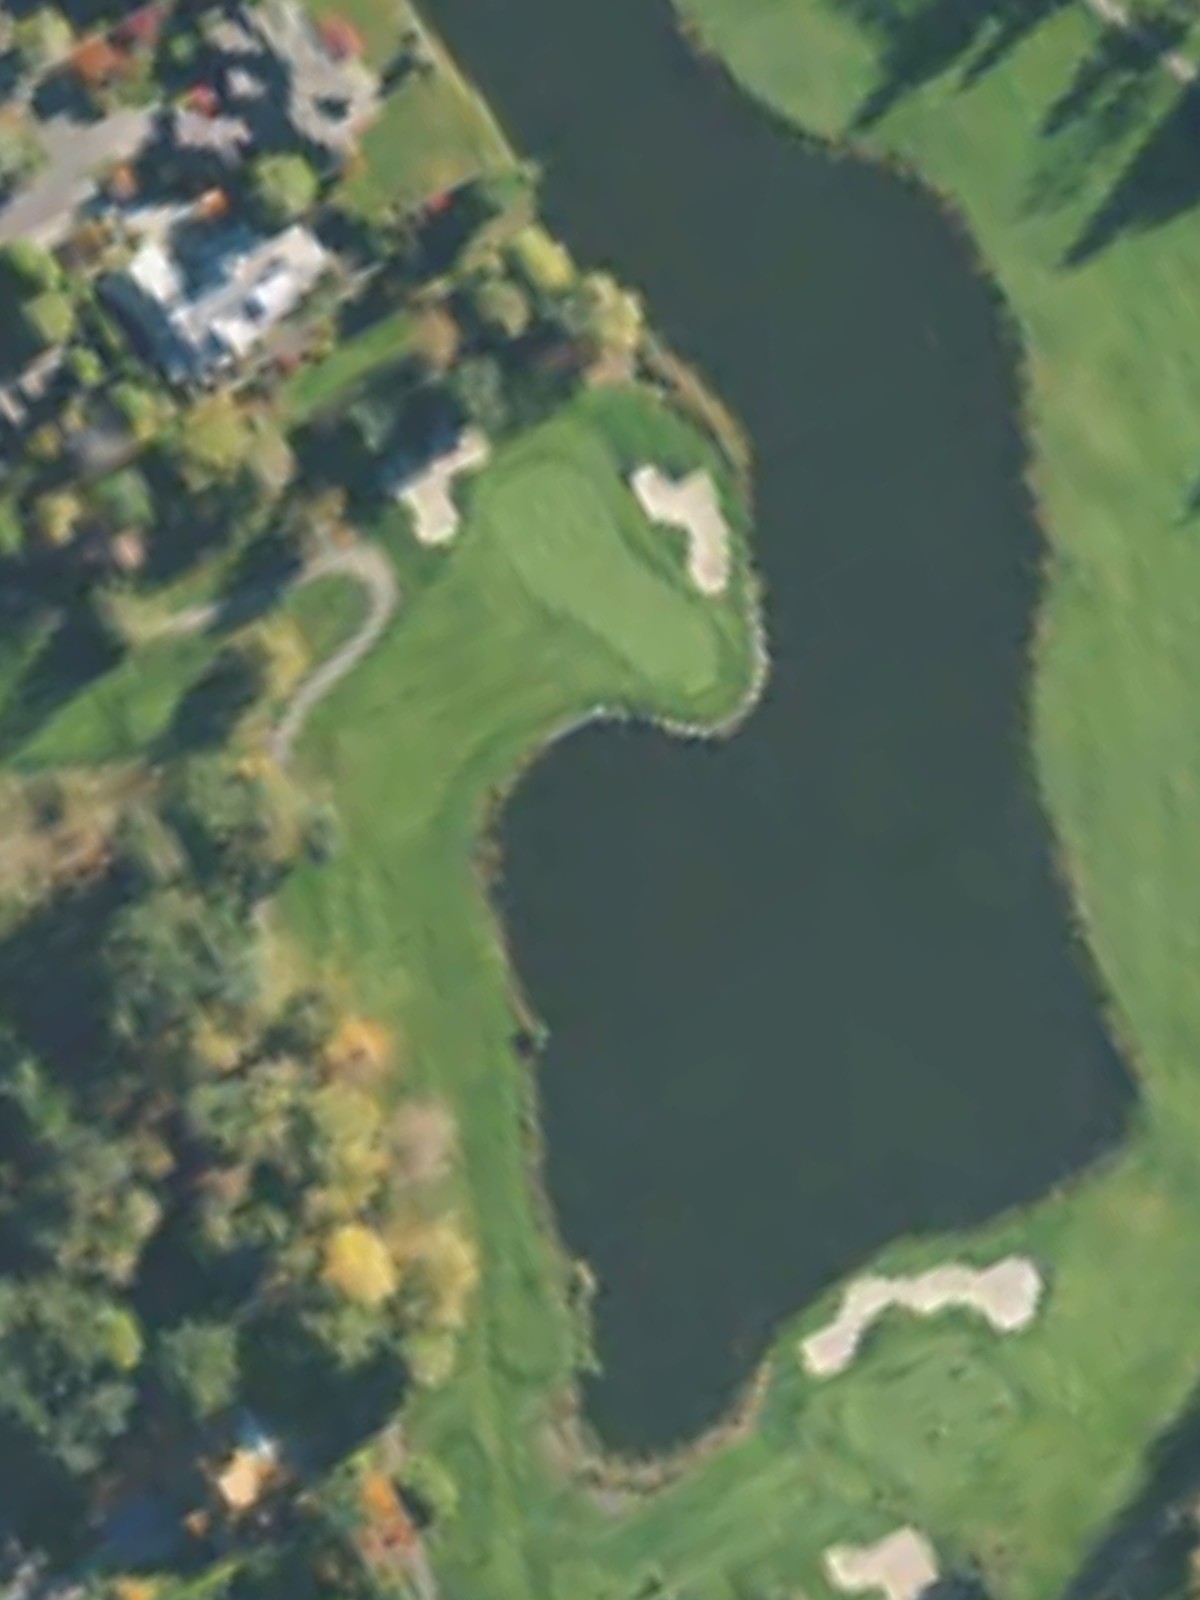
A strong finishing par 5 that demands two quality shots to reach the green in regulation. The length and complexity of this hole make it a test down the stretch.
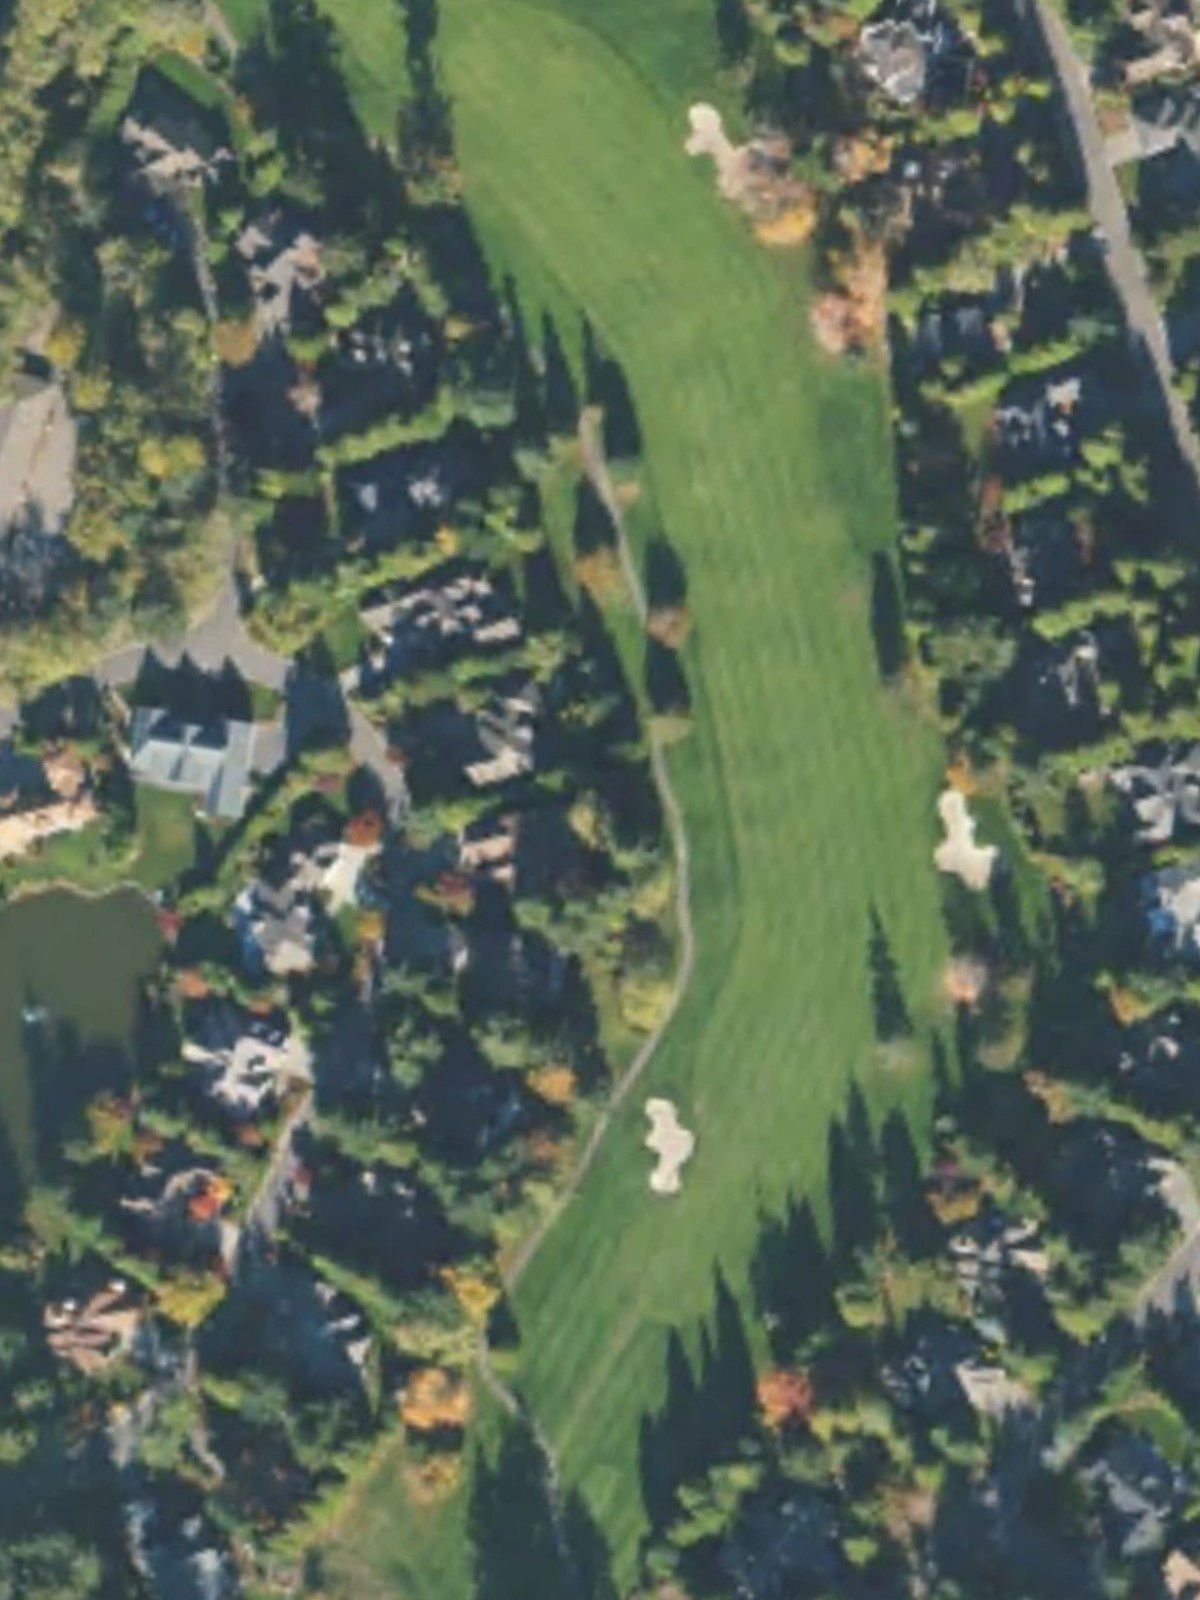
A closing par 4 of moderate length that provides a balanced finish to the round. The hole's design combines manageable yardage with strategic elements to end the course fairly.
Scorecard
| Hole | 1 | 2 | 3 | 4 | 5 | 6 | 7 | 8 | 9 | Out | 10 | 11 | 12 | 13 | 14 | 15 | 16 | 17 | 18 | In | Tot |
|---|---|---|---|---|---|---|---|---|---|---|---|---|---|---|---|---|---|---|---|---|---|
| Par | 5 | 4 | 3 | 4 | 4 | 3 | 4 | 4 | 5 | 36 | 4 | 4 | 3 | 5 | 4 | 3 | 4 | 5 | 4 | 36 | 72 |
| HCP | 7 | 5 | 17 | 1 | 9 | 15 | 3 | 13 | 11 | 16 | 12 | 18 | 4 | 2 | 14 | 6 | 10 | 8 | |||
| green | 484 | 405 | 185 | 410 | 392 | 198 | 443 | 417 | 491 | 3425 | 408 | 361 | 170 | 562 | 418 | 204 | 382 | 522 | 405 | 3432 | 6857 |
| blue | 460 | 367 | 149 | 392 | 373 | 168 | 398 | 375 | 447 | 3129 | 386 | 340 | 152 | 535 | 401 | 185 | 348 | 484 | 354 | 3185 | 6314 |
| white/blue | 460 | 358 | 149 | 373 | 340 | 168 | 364 | 375 | 447 | 3034 | 332 | 340 | 152 | 535 | 356 | 166 | 348 | 484 | 354 | 3067 | 6101 |
| white | 441 | 358 | 141 | 373 | 340 | 162 | 364 | 363 | 439 | 2981 | 332 | 360 | 141 | 508 | 356 | 166 | 317 | 450 | 348 | 2978 | 5959 |
| white/yellow | 441 | 314 | 141 | 330 | 340 | 162 | 337 | 329 | 439 | 2833 | 302 | 360 | 141 | 508 | 313 | 166 | 317 | 450 | 348 | 2905 | 5738 |
| yellow | 435 | 314 | 132 | 330 | 312 | 157 | 337 | 329 | 431 | 2777 | 302 | 301 | 136 | 445 | 313 | 162 | 307 | 409 | 342 | 2717 | 5494 |
| orange | 318 | 336 | 97 | 245 | 237 | 119 | 247 | 265 | 340 | 2204 | 250 | 239 | 81 | 365 | 246 | 132 | 236 | 316 | 255 | 2120 | 4324 |