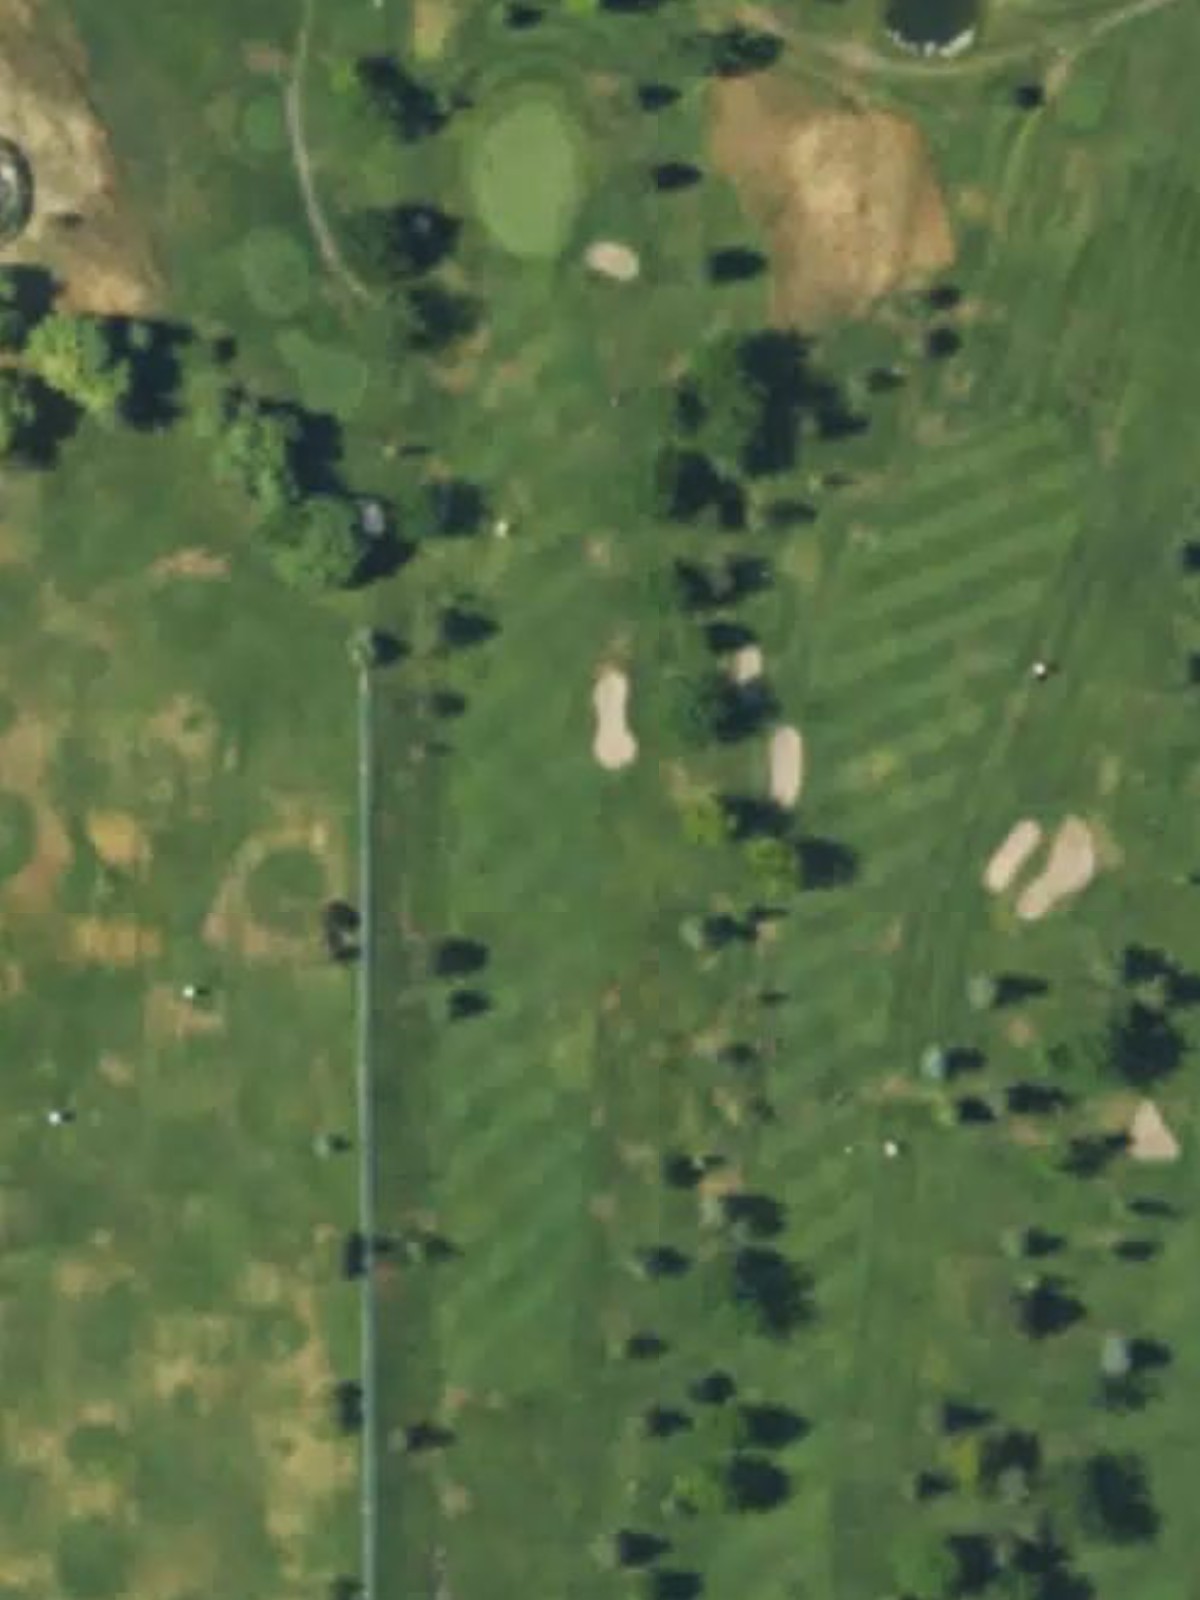
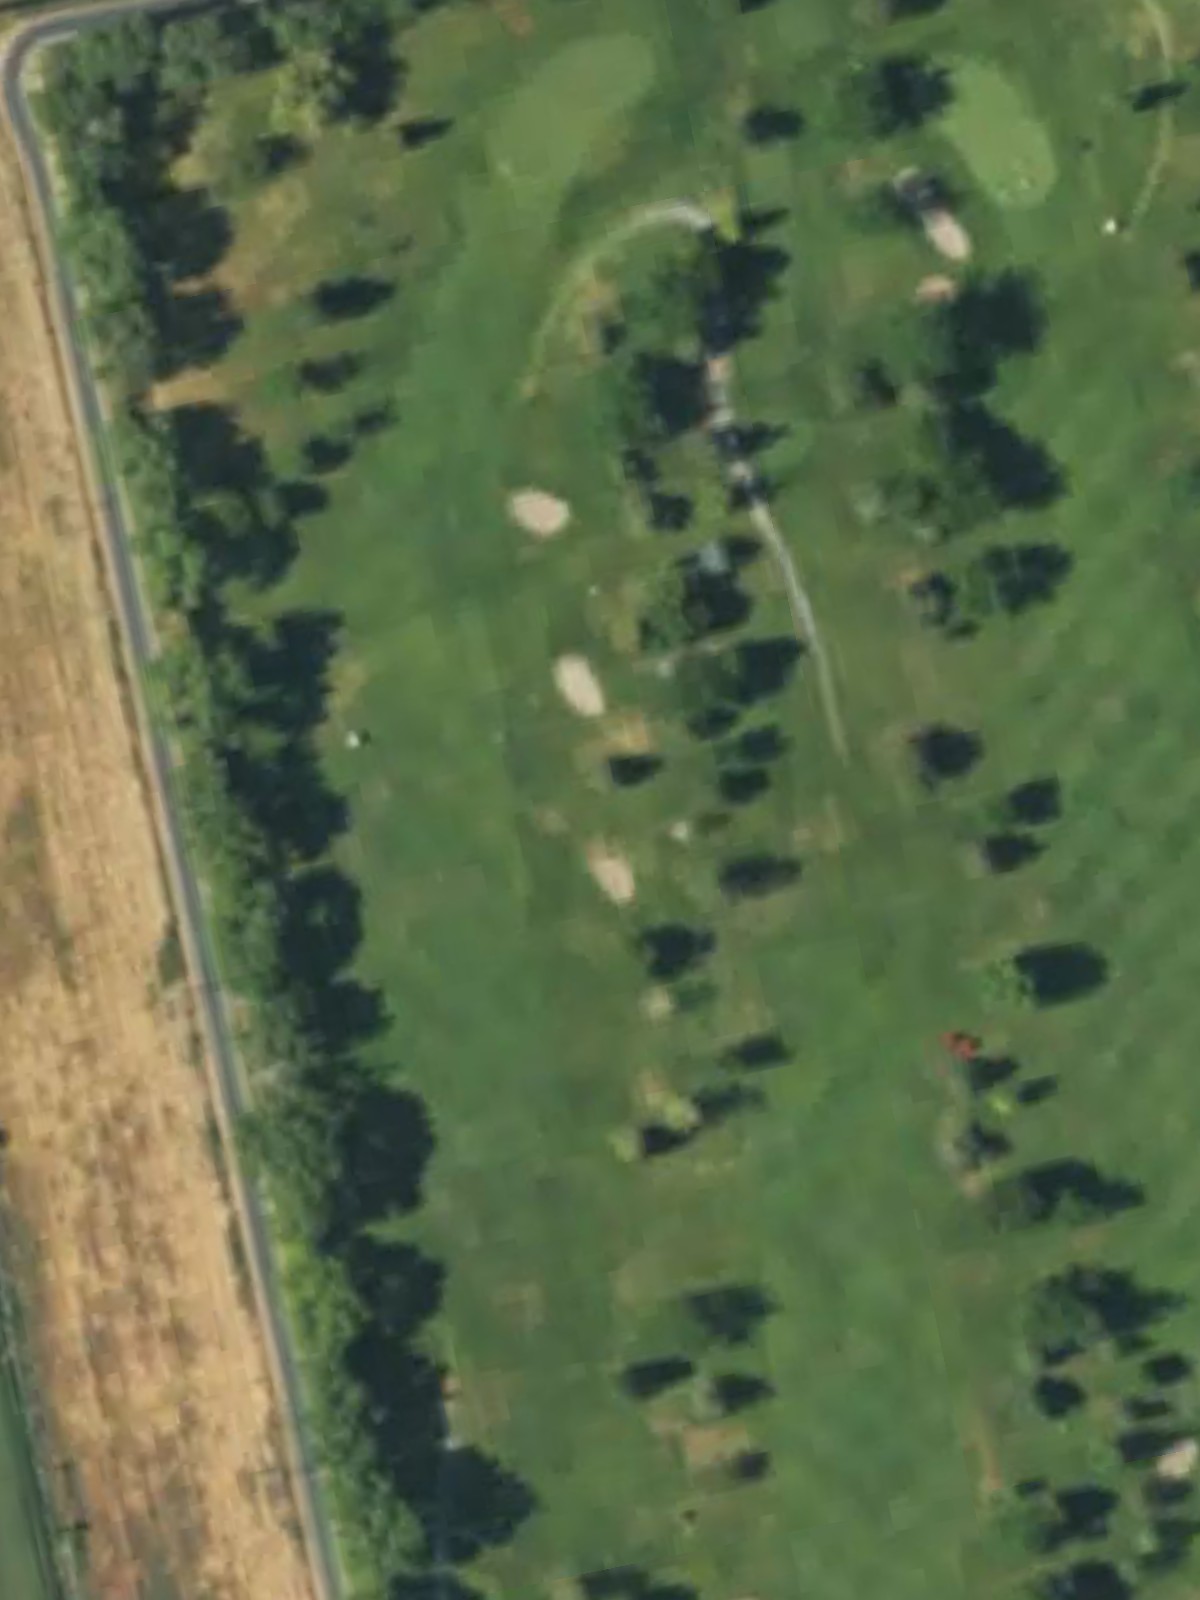
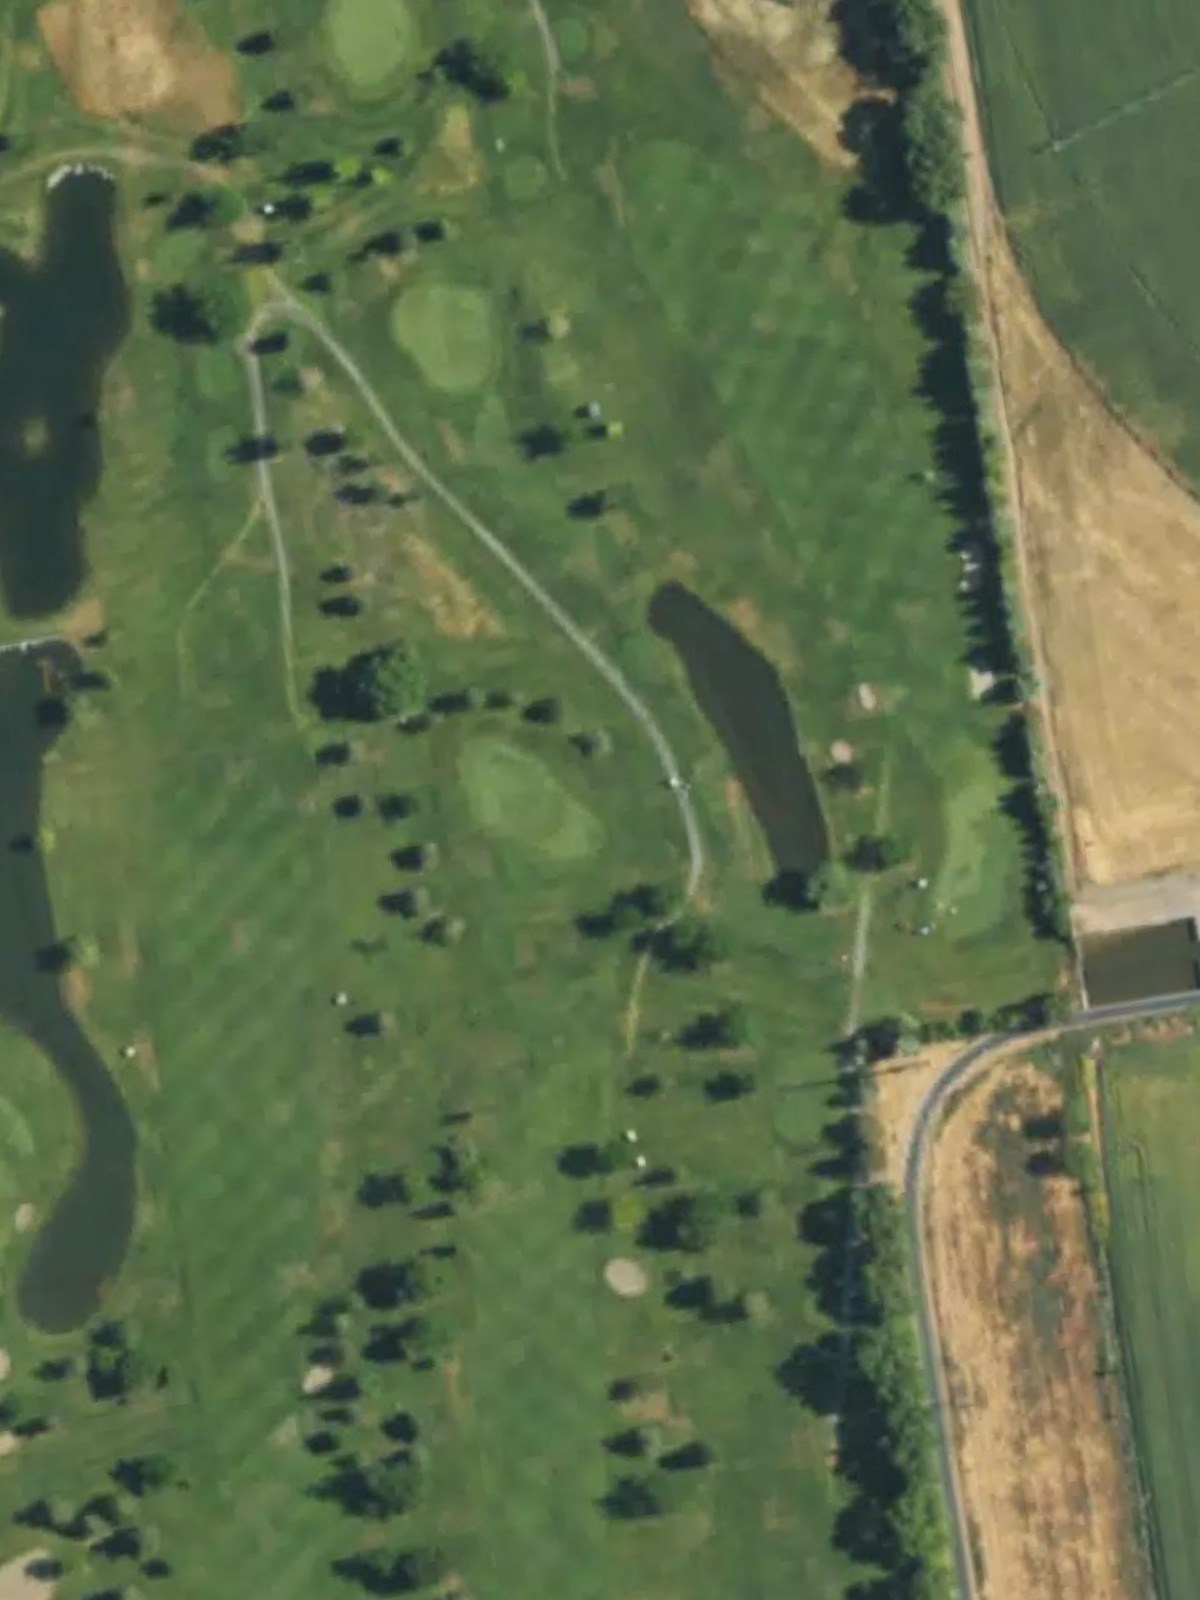
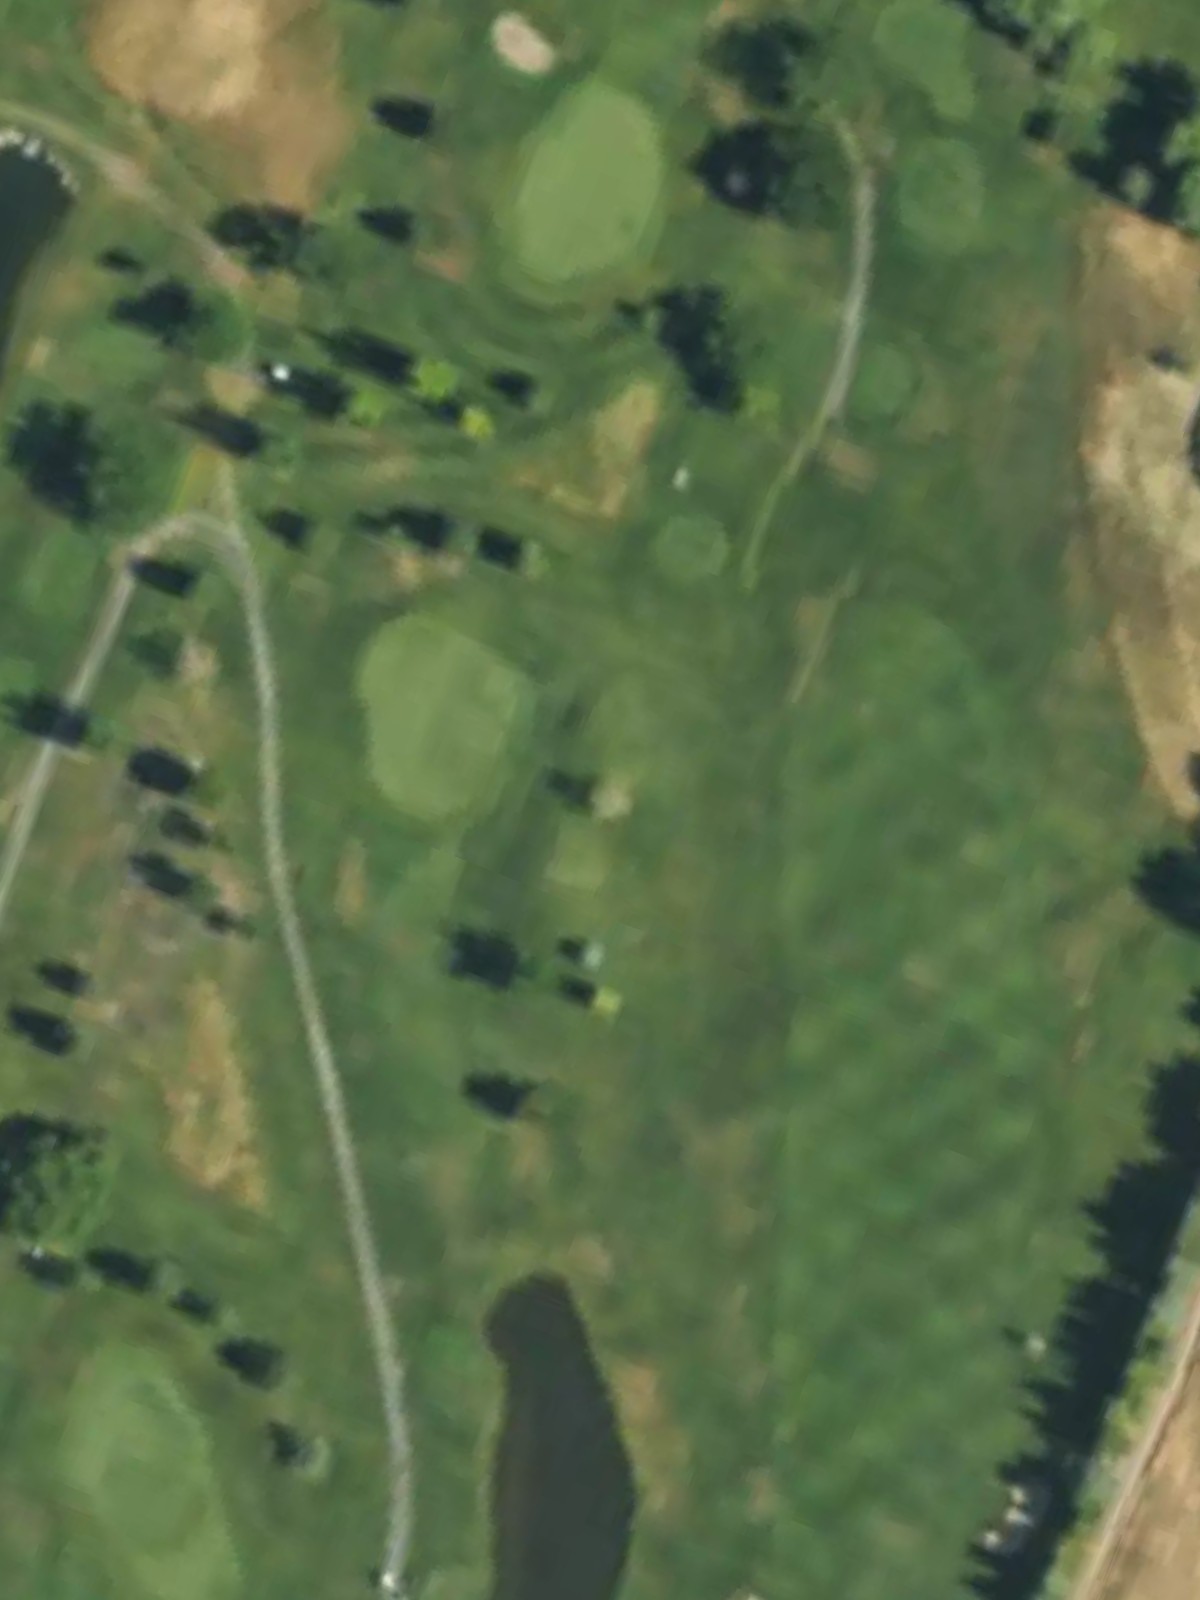
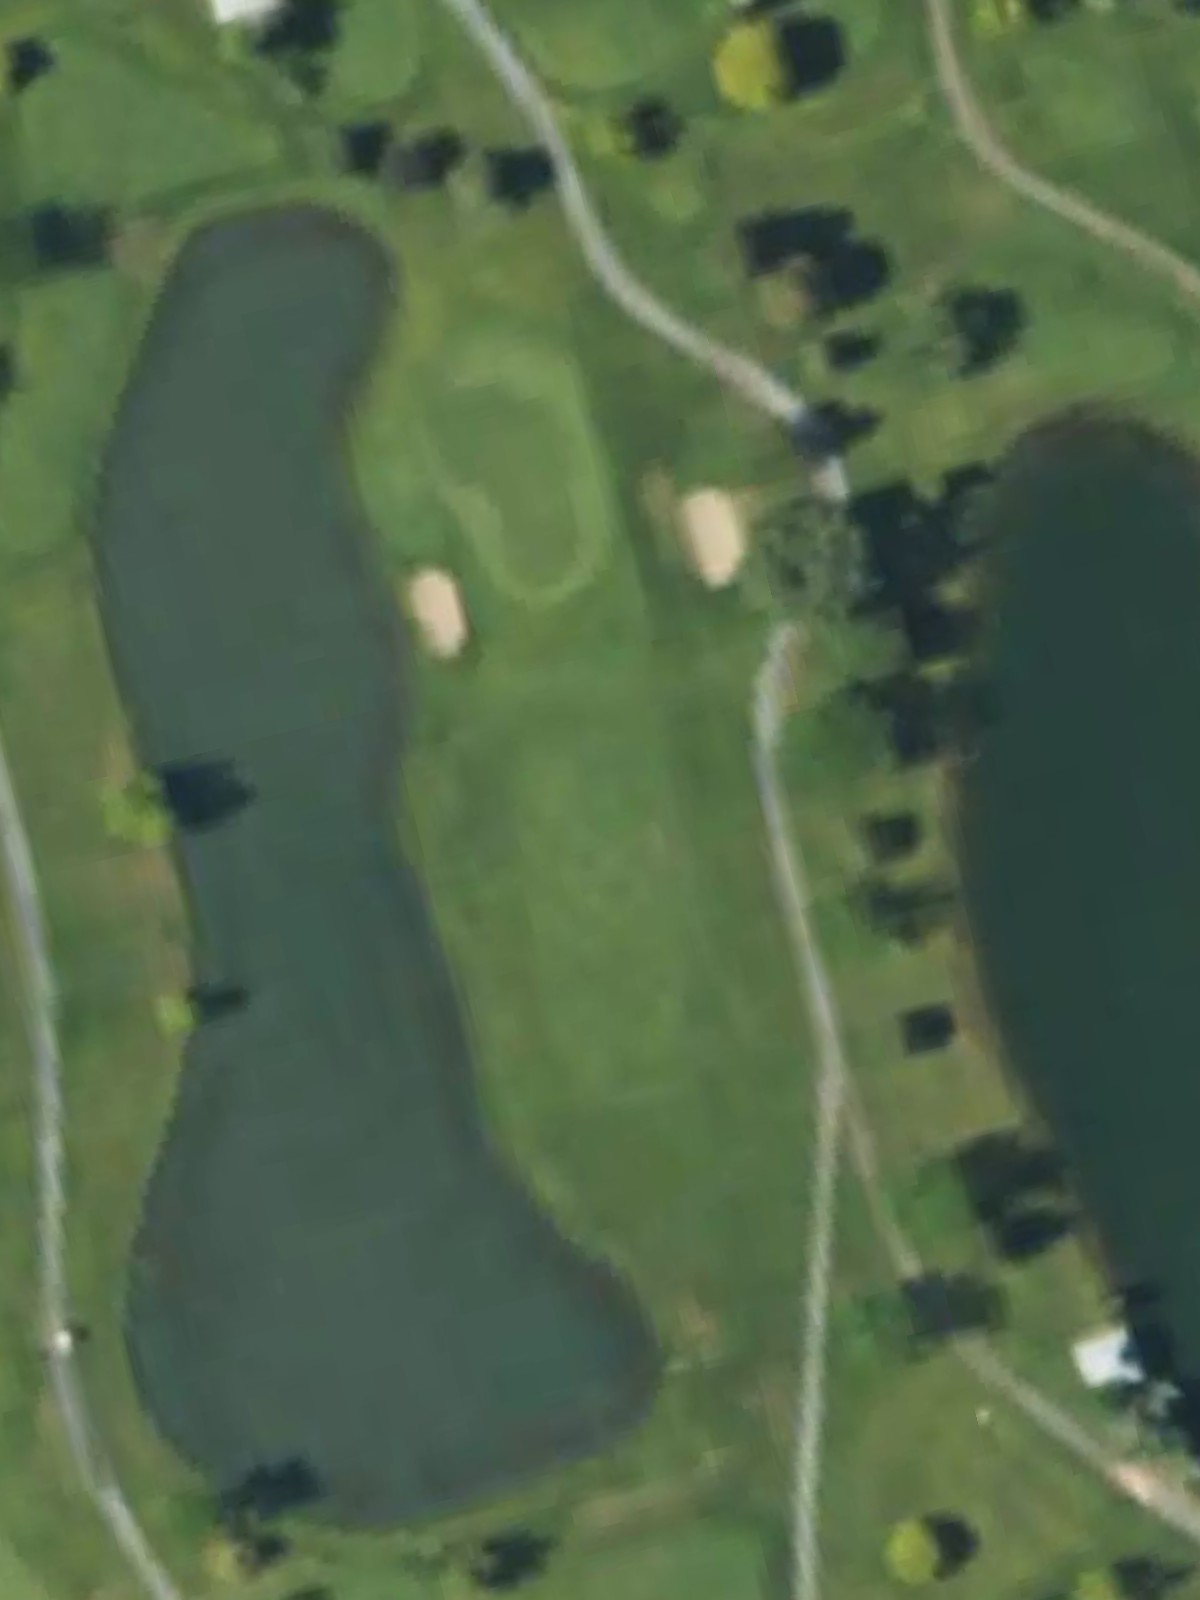
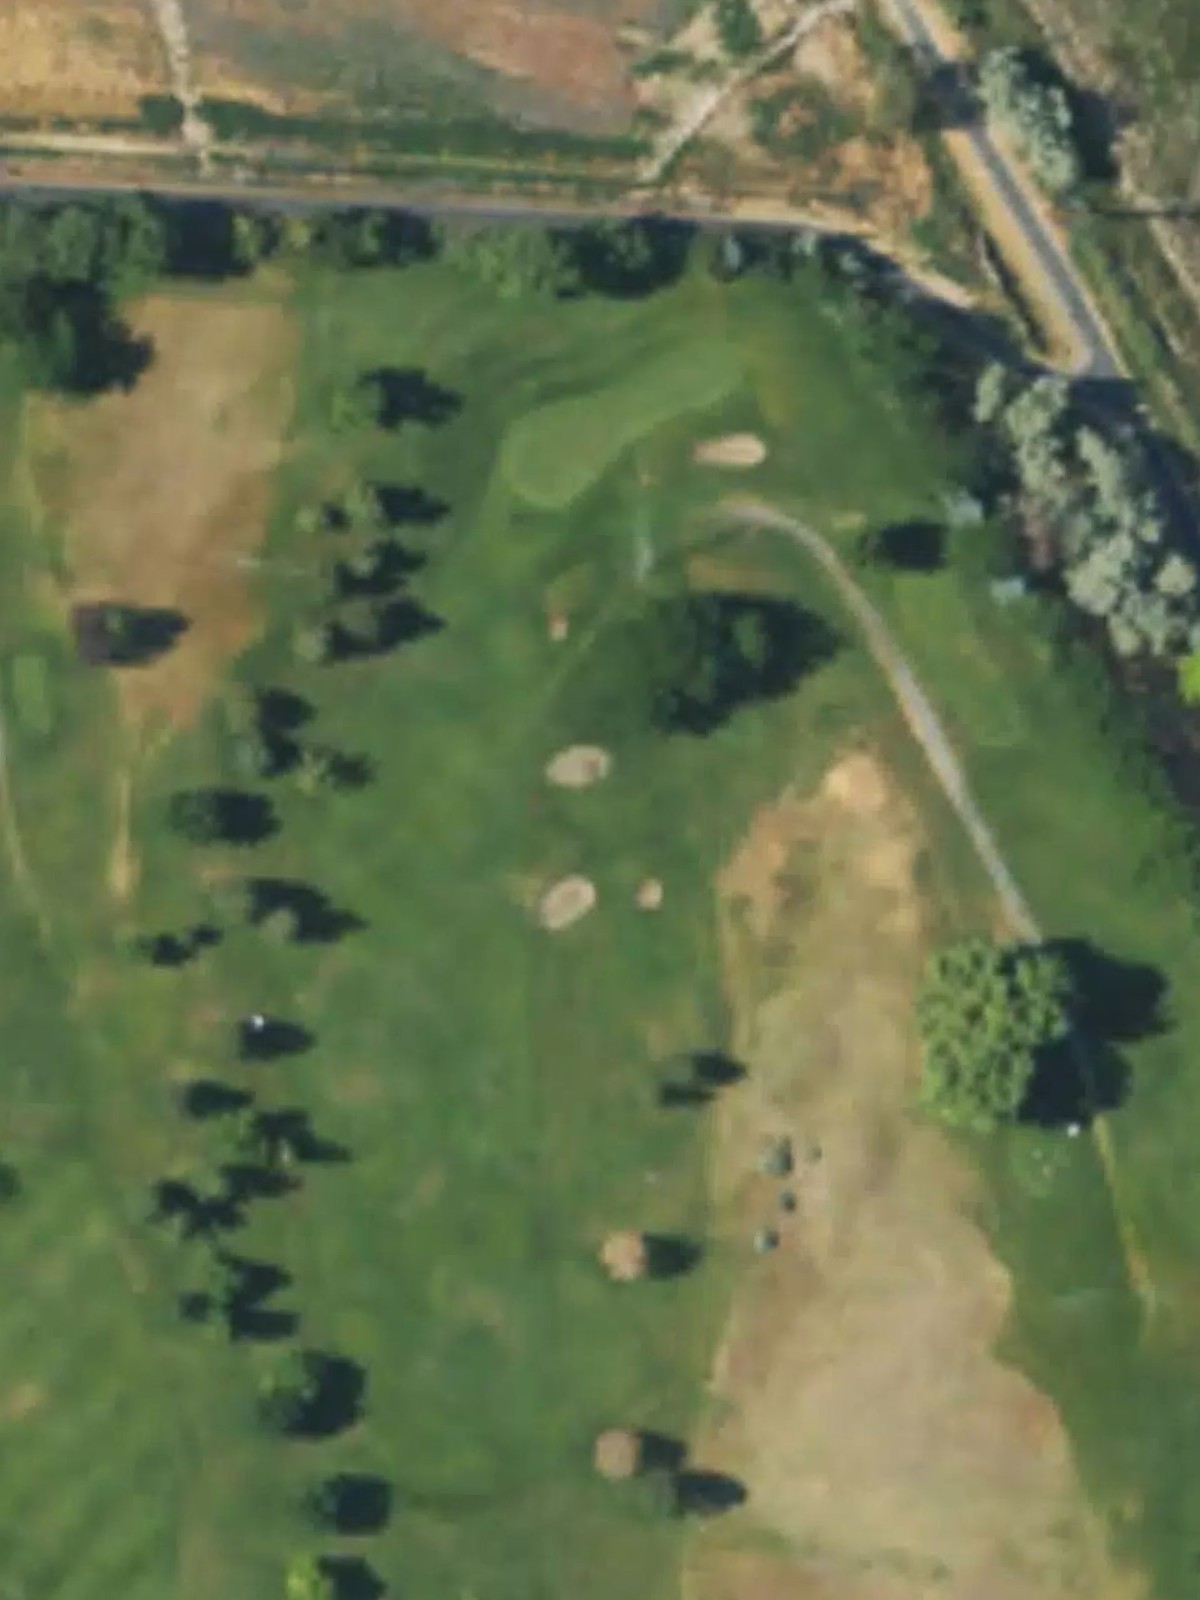
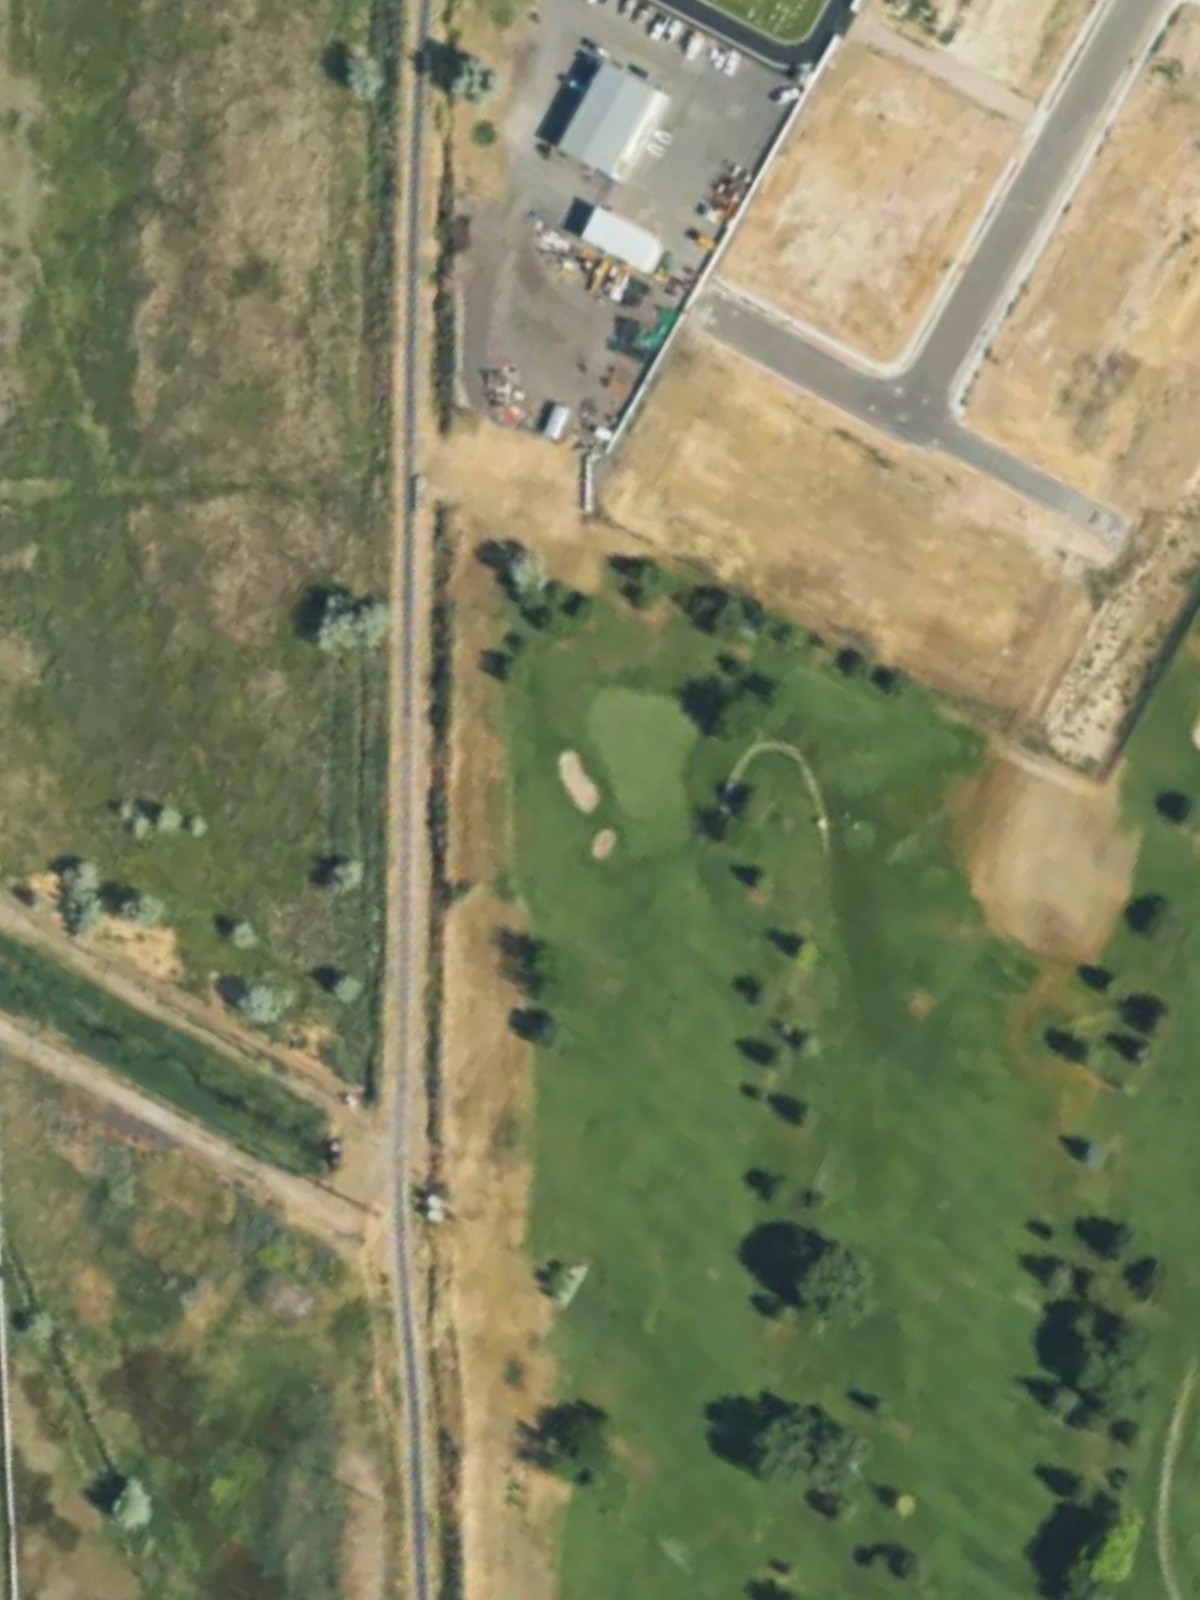
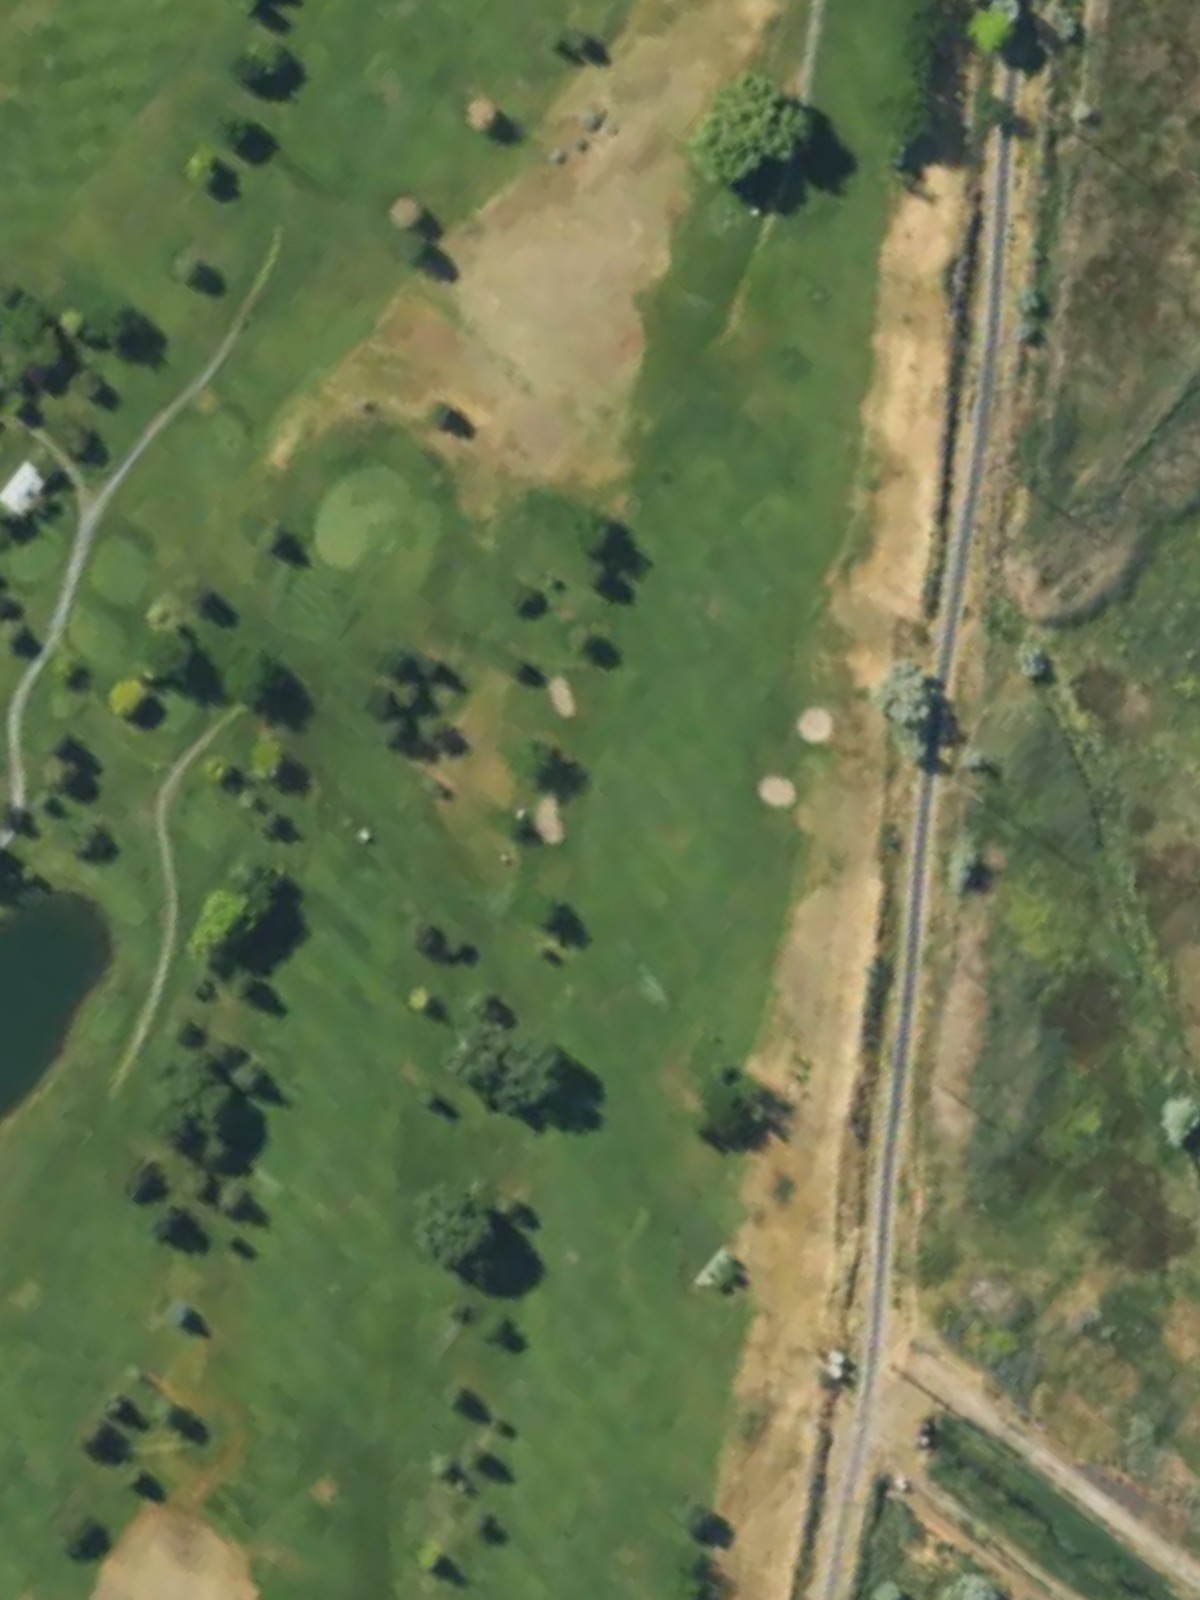
Schneiter'S Bluff Gc is an 18-hole golf course in Westpoint, UT with a par of 72. It offers 4 tee sets: black (6,693 yards, slope 120, rating 70.8), white (6,164 yards, slope 115, rating 68.3), gold (5,611 yards, slope 108, rating 65.6), red (5,051 yards, slope 100, rating 63.1). The hardest hole is #6, a par 5 playing 425 yards from the first tee.
Schneiter'S Bluff Gc
Westpoint, UT
Get PDF Yardage Book
We'll email you the PDF link. No spam, ever.
Create Your Game Plan
Pick your tees, enter your bag, and get a personalized shot-by-shot strategy for every hole.
A straightforward par 4 that plays relatively short from the tees with a wide fairway that gradually narrows as it approaches the green. Bunkers guard both sides of the putting surface, requiring accuracy on the approach shot.

A short par 4 that offers birdie opportunity from all tee boxes. The hole plays downhill to a green framed by bunkers, making precise distance control essential despite the manageable yardage.
A mid-length par 4 with a fairway that can tighten in the landing zone, particularly on the longer tee boxes. Hazards frame the green complex, rewarding accurate shot placement over distance.
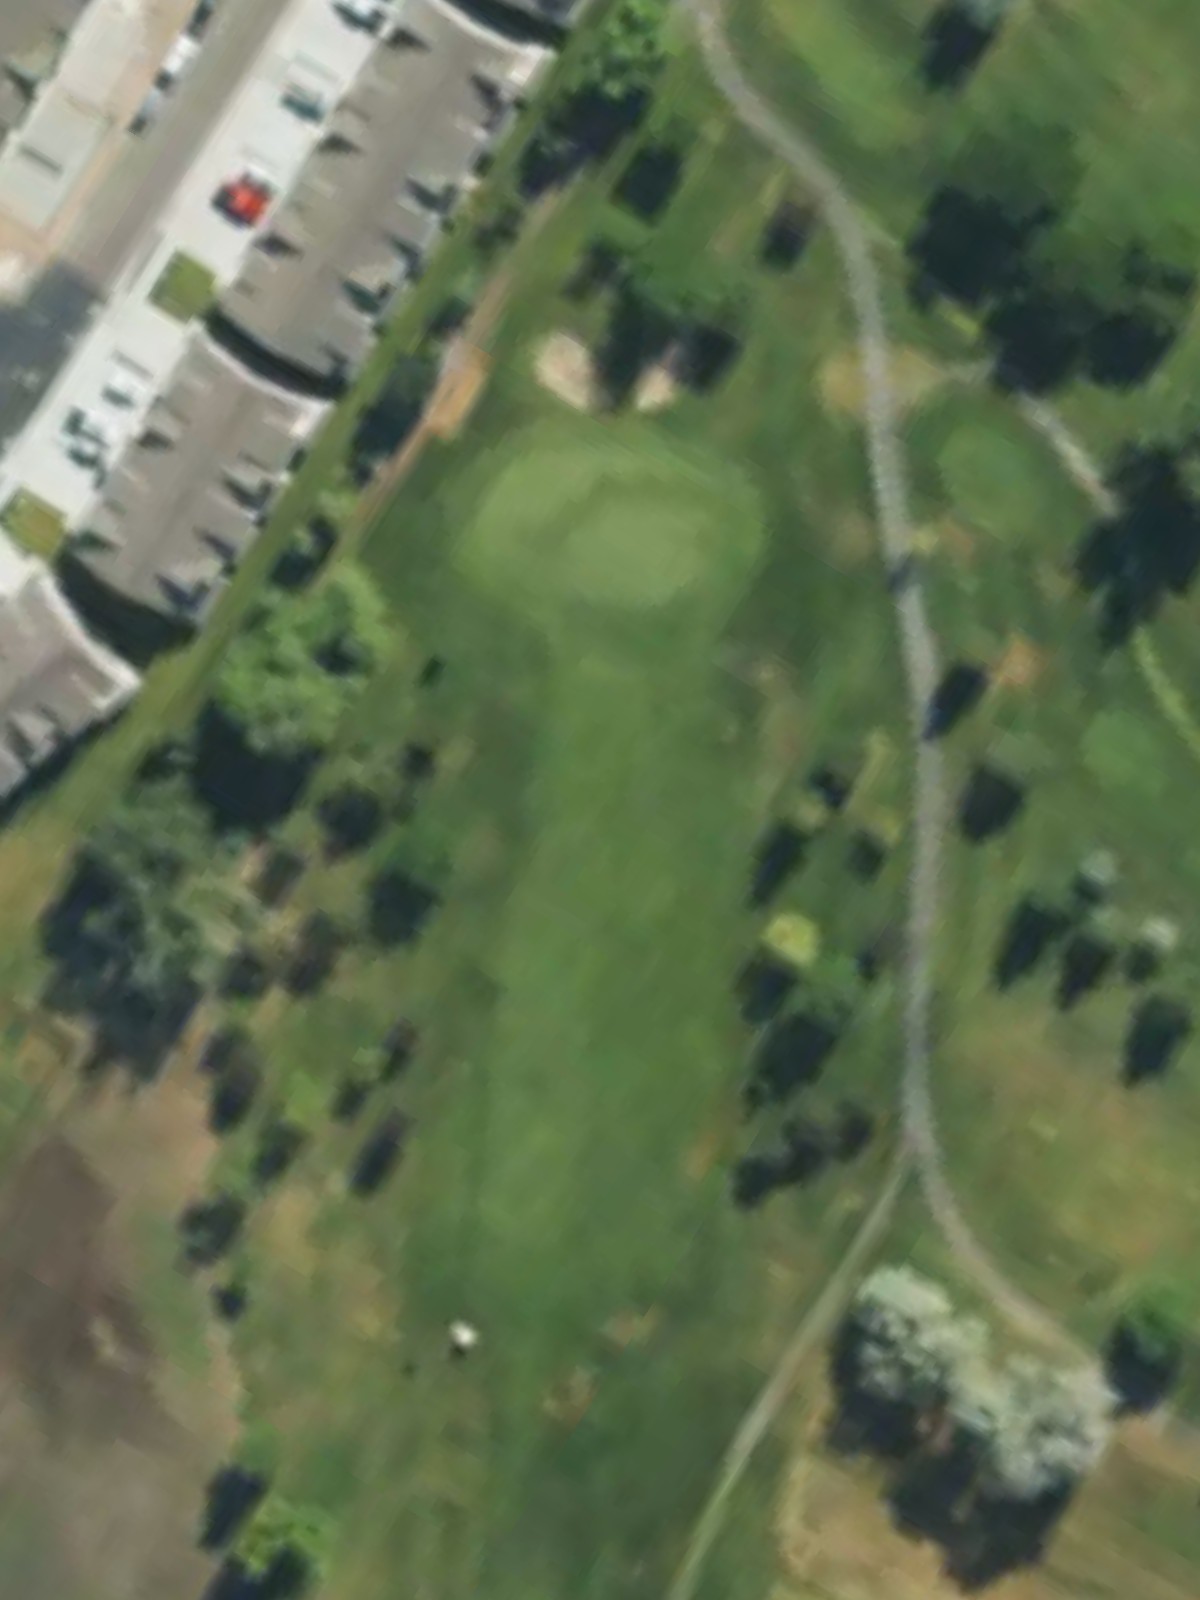
The course's signature par 4 and a stern opening test, especially from the back tees. The fairway demands position awareness, with strategic bunker placement and potential out-of-bounds areas adding complexity and drama.
A short par 3 with a generous green that accepts a range of shot shapes. The elevated tee provides good visibility, though the compact yardage still demands clean contact and proper distance judgment.
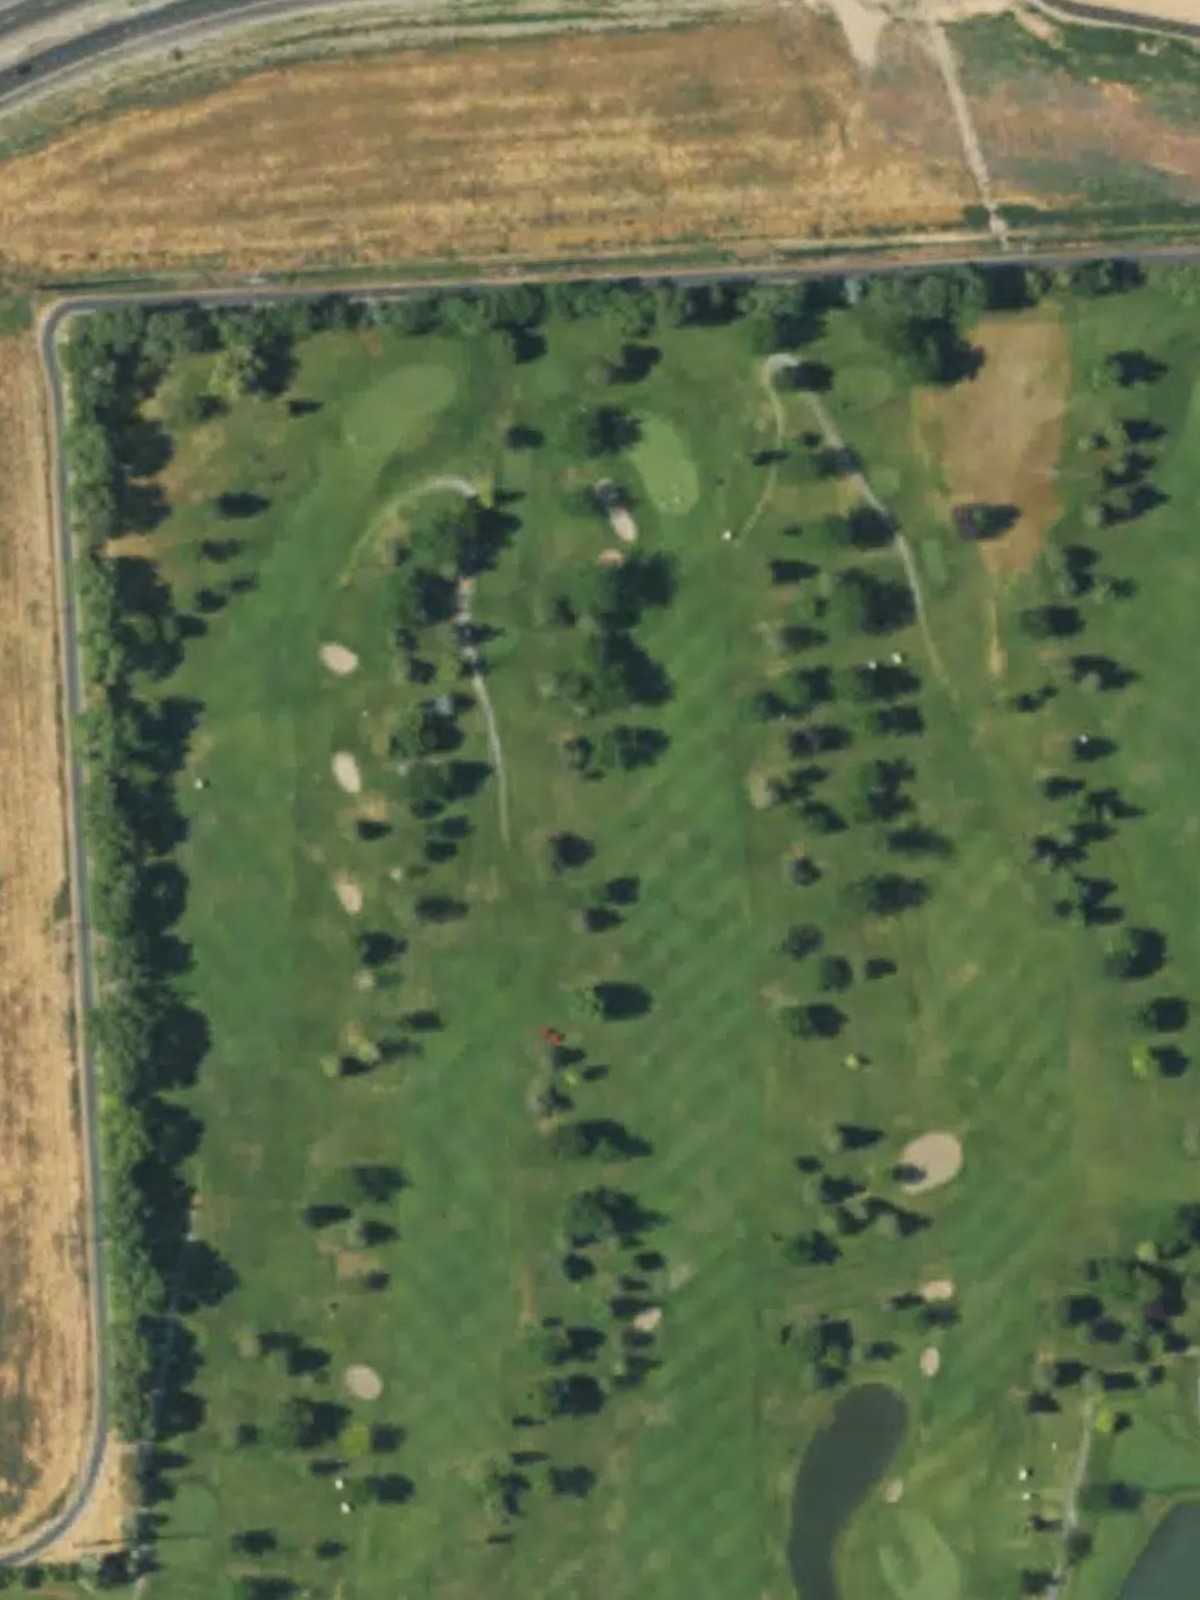
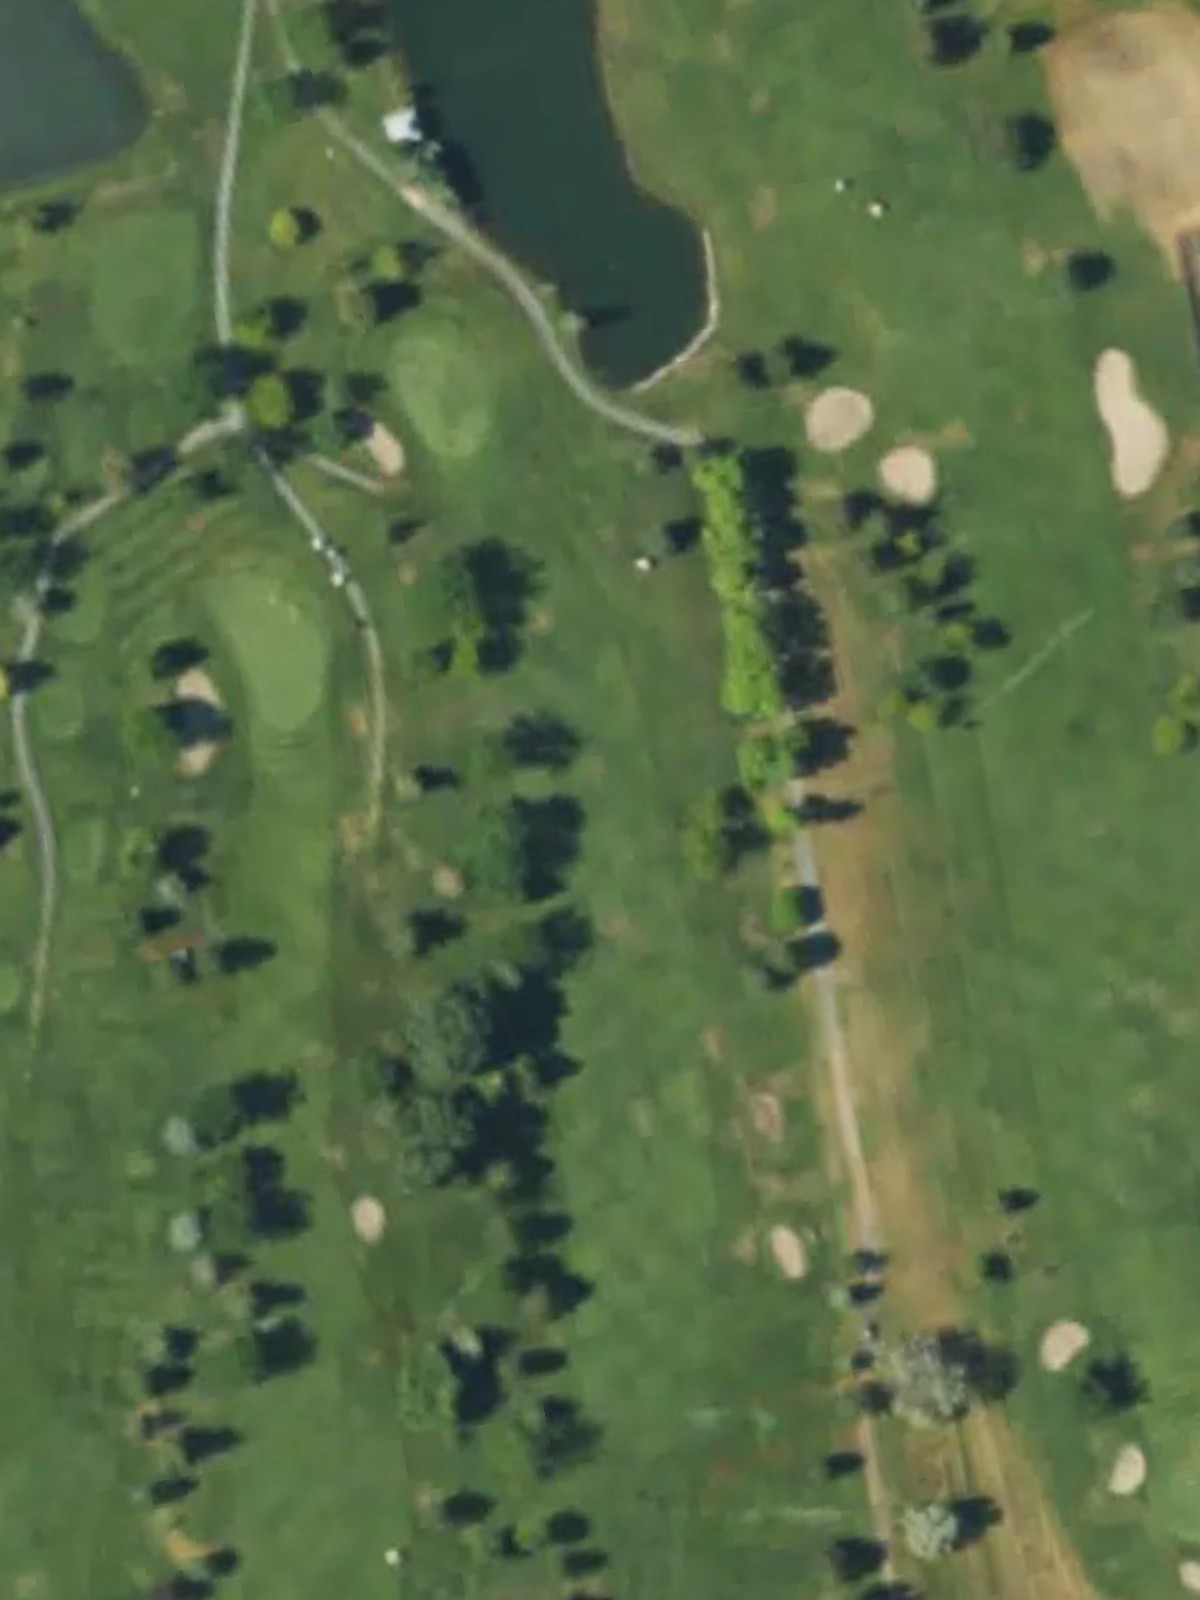
The course's hardest hole, this long par 5 tests patience and course management over two or three shots. Strategic bunkering and shaping throughout the hole reward thoughtful positioning and penalize aggressive mistakes.
A mid-length par 4 with moderate difficulty that flows naturally through the landscape. Hazards are positioned to challenge those seeking extra distance, while the green complex demands a well-struck approach.
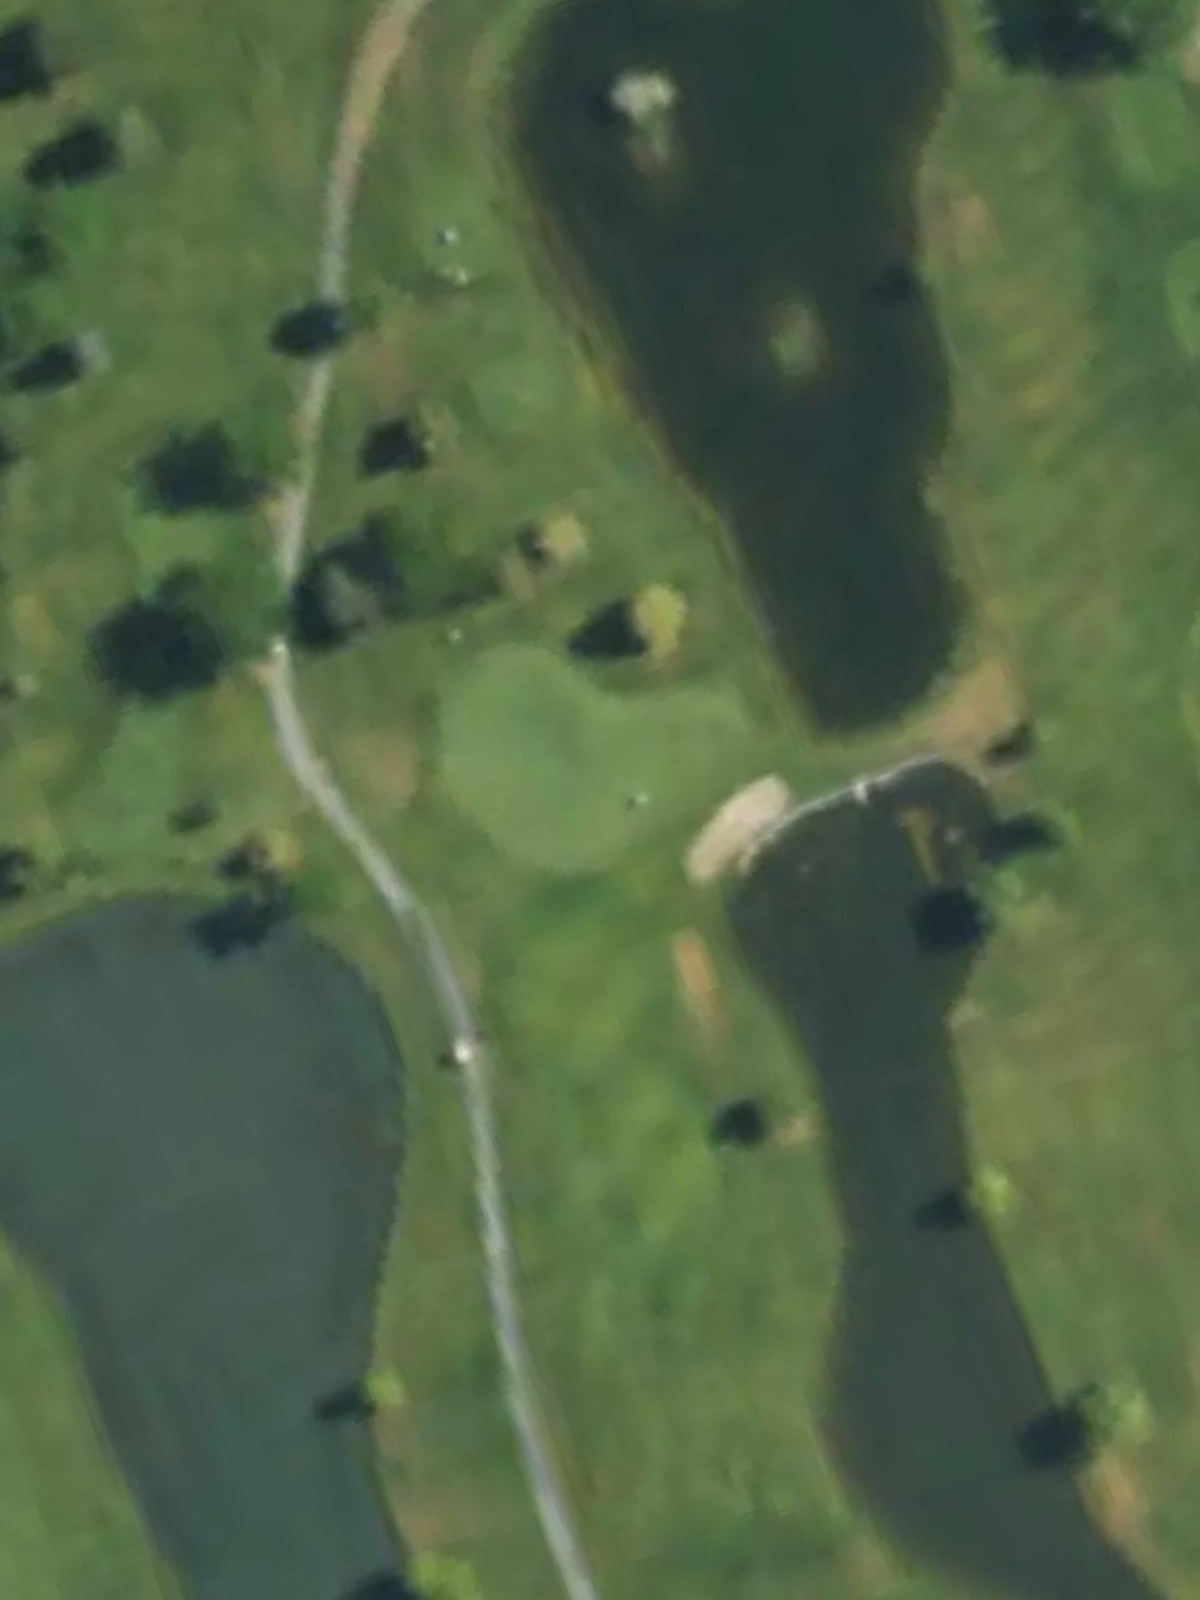
A short par 3 that plays easier than its handicap suggests, making it a scoring opportunity. The small green and minimal bailout area mean that precision trumps power on this intimate hole.

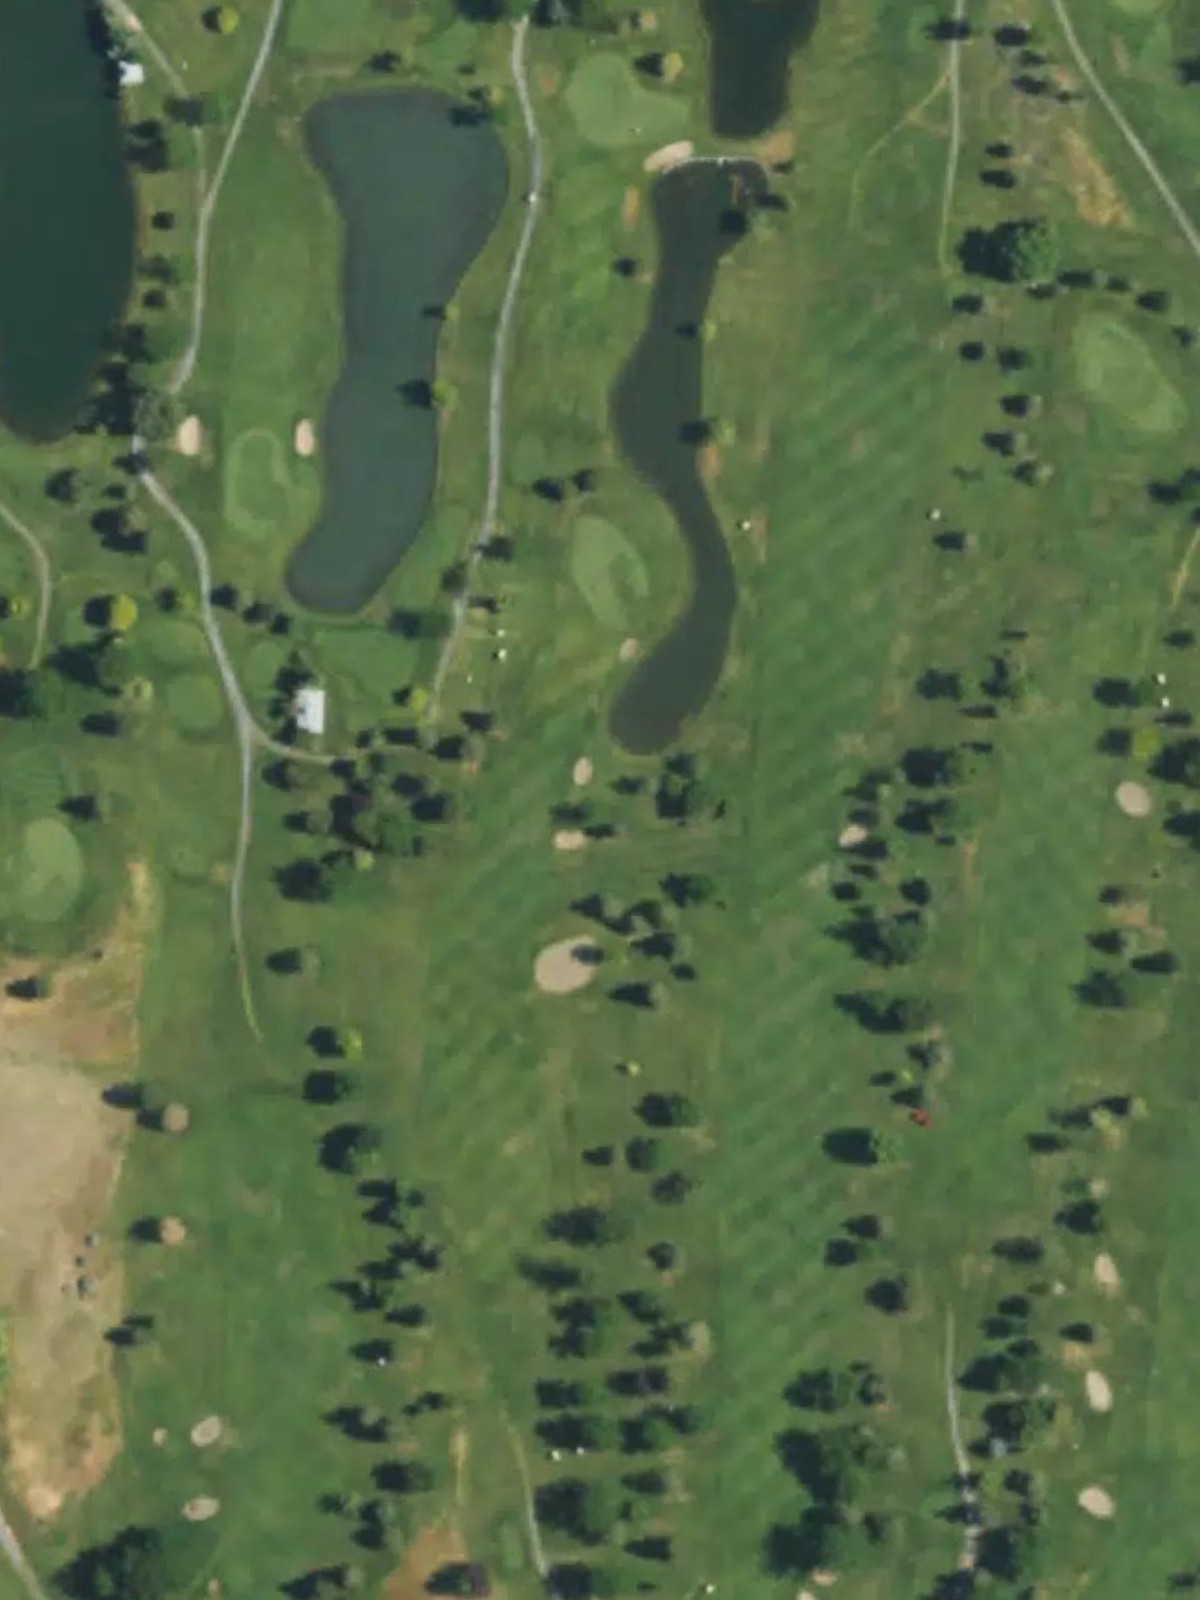
A strong par 5 that offers birdie potential to those who navigate the hole's strategic hazards with care. The fairway demands intelligent route selection, with bunkers and other obstacles positioned to reward smart positioning.
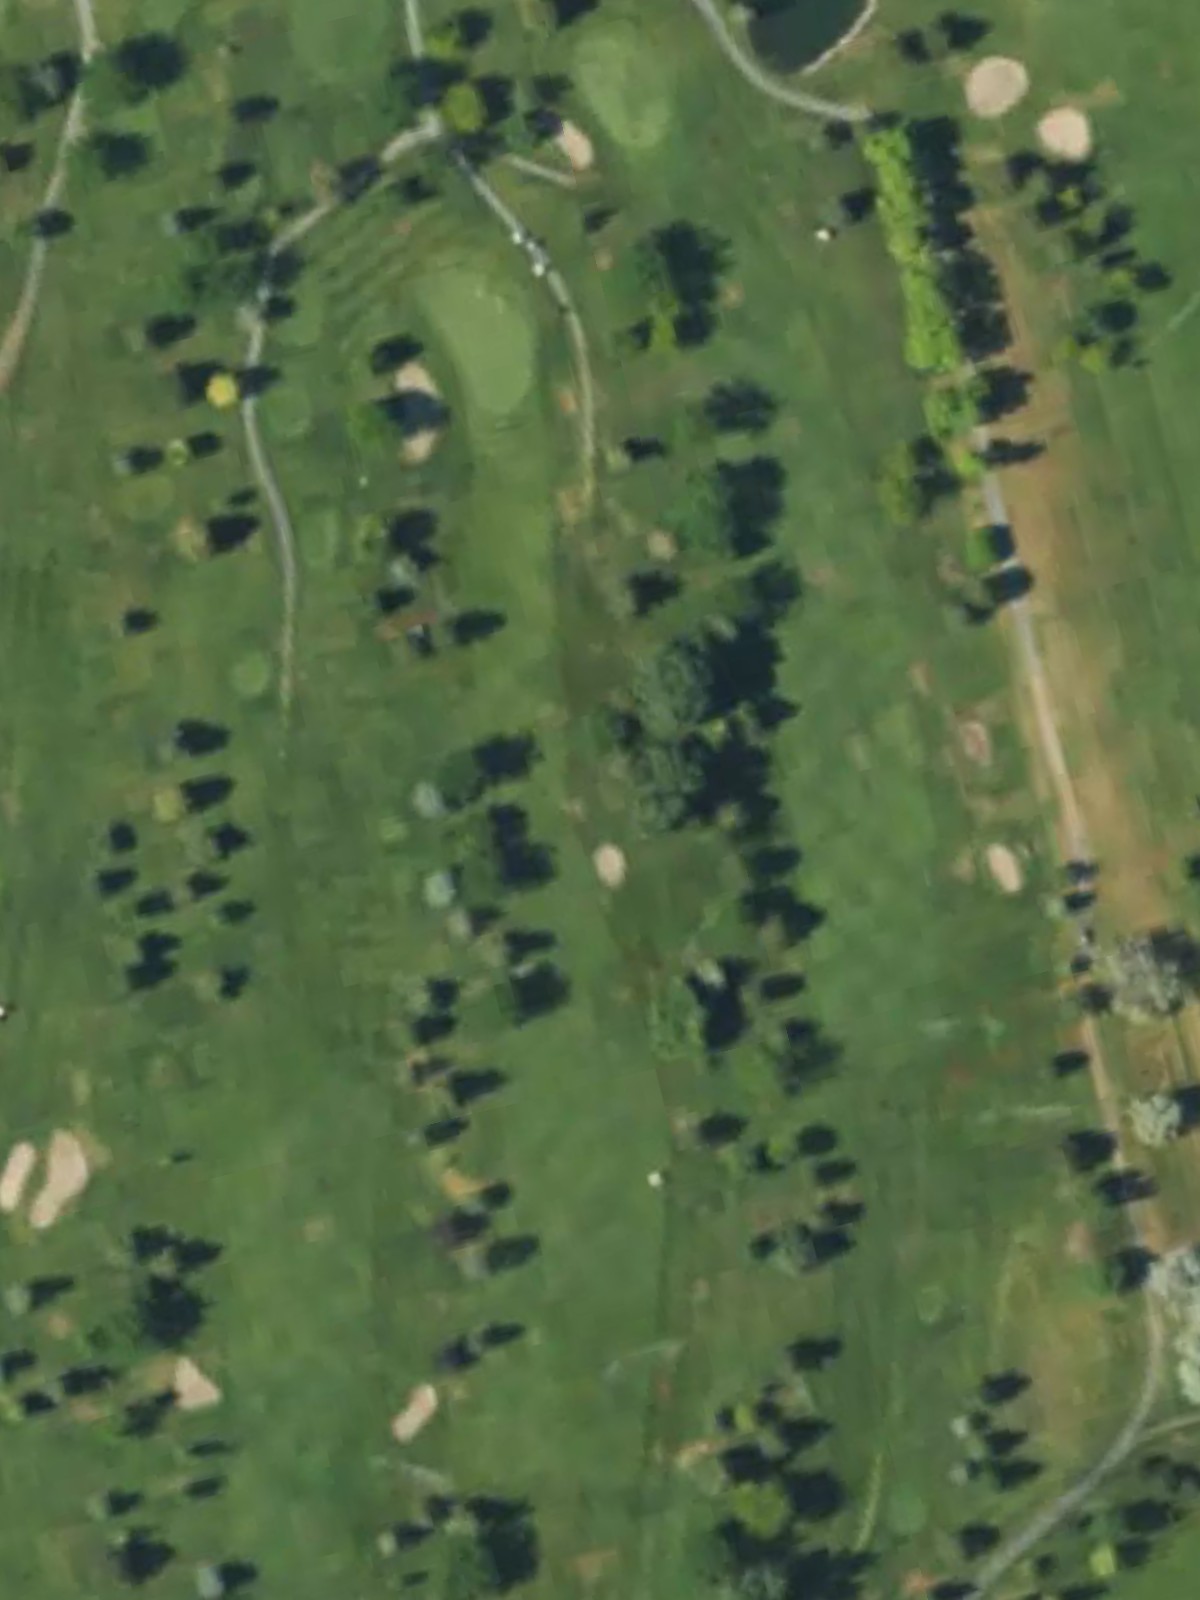
A demanding par 4 that ranks among the course's toughest tests. Hazards converge near the landing area and green, requiring both length and accuracy to avoid trouble on this well-bunkered hole.
The course's easiest hole, this par 3 offers a welcome respite with its forgiving green and minimal hazards. Straightforward hole design emphasizes fundamental shotmaking over strategic complexity.
A short par 4 that plays as an inviting scoring hole from most tee boxes. The fairway is receptive, though bunkers near the green ensure that careless approach shots are punished.
A long par 5 that demands careful navigation through its strategic layout. Bunkers and potential water hazards dictate the routing for the second shot, making course management critical to a good score.
A moderate par 4 that presents a fair challenge without excessive difficulty. The hole's character is defined by intelligent hazard placement that rewards solid execution on both tee and approach shots.

A substantial par 5 that stretches across the landscape and offers multiple strategic routing options for the second shot. Hazards are positioned to challenge aggressive play while still allowing conservative paths to the green.
A mid-length par 3 that plays significantly longer than its short yardage suggests, likely due to terrain or elevation. The hole's challenge lies in club selection and solid contact rather than navigating complex hazards.
A strong par 4 that ranks among the course's most demanding holes, particularly from the longer tees. The fairway narrows and hazards converge in the critical landing areas, requiring both power and precision.

The course's closing par 4 serves as a dramatic finishing hole with significant challenge and length. Strategic hazards frame the fairway and green, creating a memorable conclusion that demands clutch execution under pressure.
Scorecard
| Hole | 1 | 2 | 3 | 4 | 5 | 6 | 7 | 8 | 9 | Out | 10 | 11 | 12 | 13 | 14 | 15 | 16 | 17 | 18 | In | Tot |
|---|---|---|---|---|---|---|---|---|---|---|---|---|---|---|---|---|---|---|---|---|---|
| Par | 4 | 4 | 4 | 4 | 3 | 5 | 4 | 3 | 5 | 36 | 4 | 3 | 4 | 5 | 4 | 5 | 3 | 4 | 4 | 36 | 72 |
| HCP | 5 | 15 | 9 | 3 | 13 | 1 | 11 | 17 | 7 | 4 | 18 | 16 | 10 | 14 | 12 | 8 | 6 | 2 | |||
| black | 386 | 300 | 391 | 408 | 172 | 546 | 383 | 186 | 535 | 3307 | 403 | 185 | 332 | 532 | 358 | 515 | 193 | 427 | 441 | 3386 | 6693 |
| white | 358 | 273 | 346 | 375 | 151 | 527 | 356 | 165 | 503 | 3054 | 367 | 160 | 315 | 514 | 336 | 464 | 172 | 382 | 400 | 3110 | 6164 |
| gold | 338 | 251 | 314 | 349 | 105 | 501 | 325 | 136 | 460 | 2779 | 345 | 143 | 292 | 442 | 326 | 432 | 160 | 338 | 354 | 2832 | 5611 |
| red | 297 | 215 | 290 | 295 | 105 | 425 | 298 | 110 | 409 | 2444 | 310 | 134 | 262 | 434 | 305 | 426 | 148 | 292 | 296 | 2607 | 5051 |