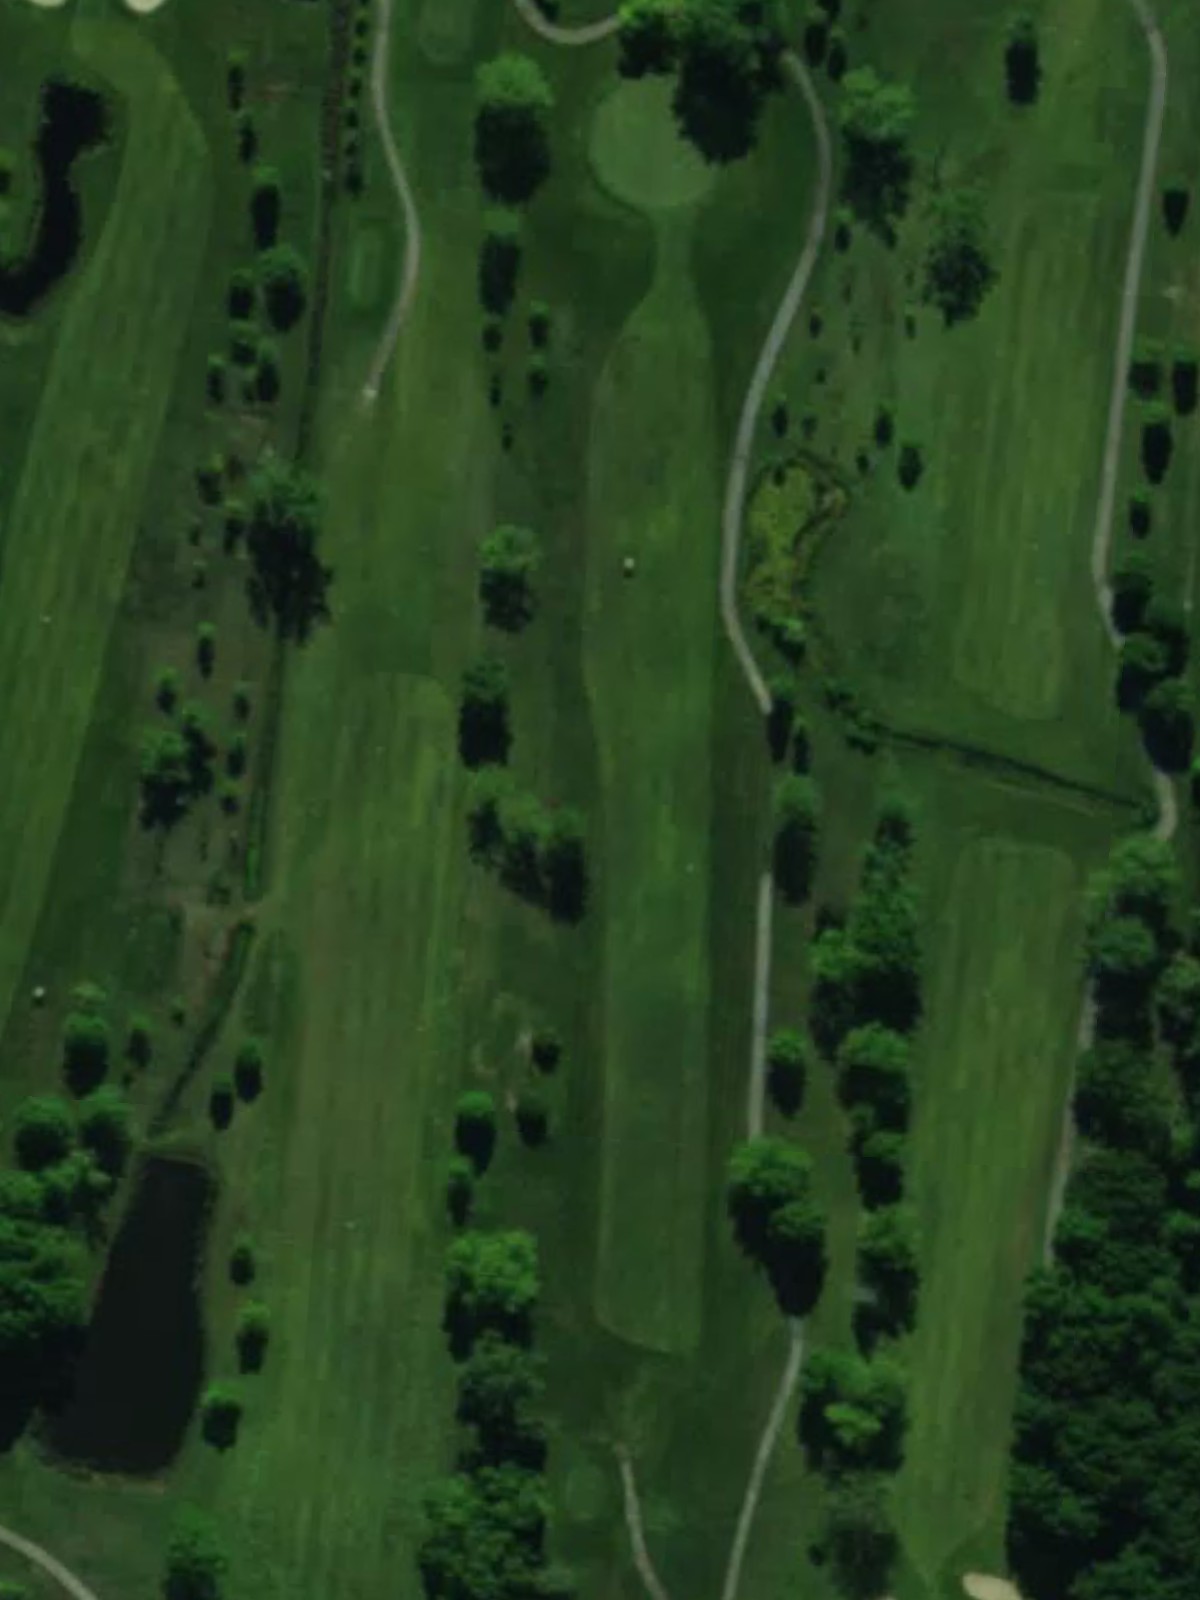
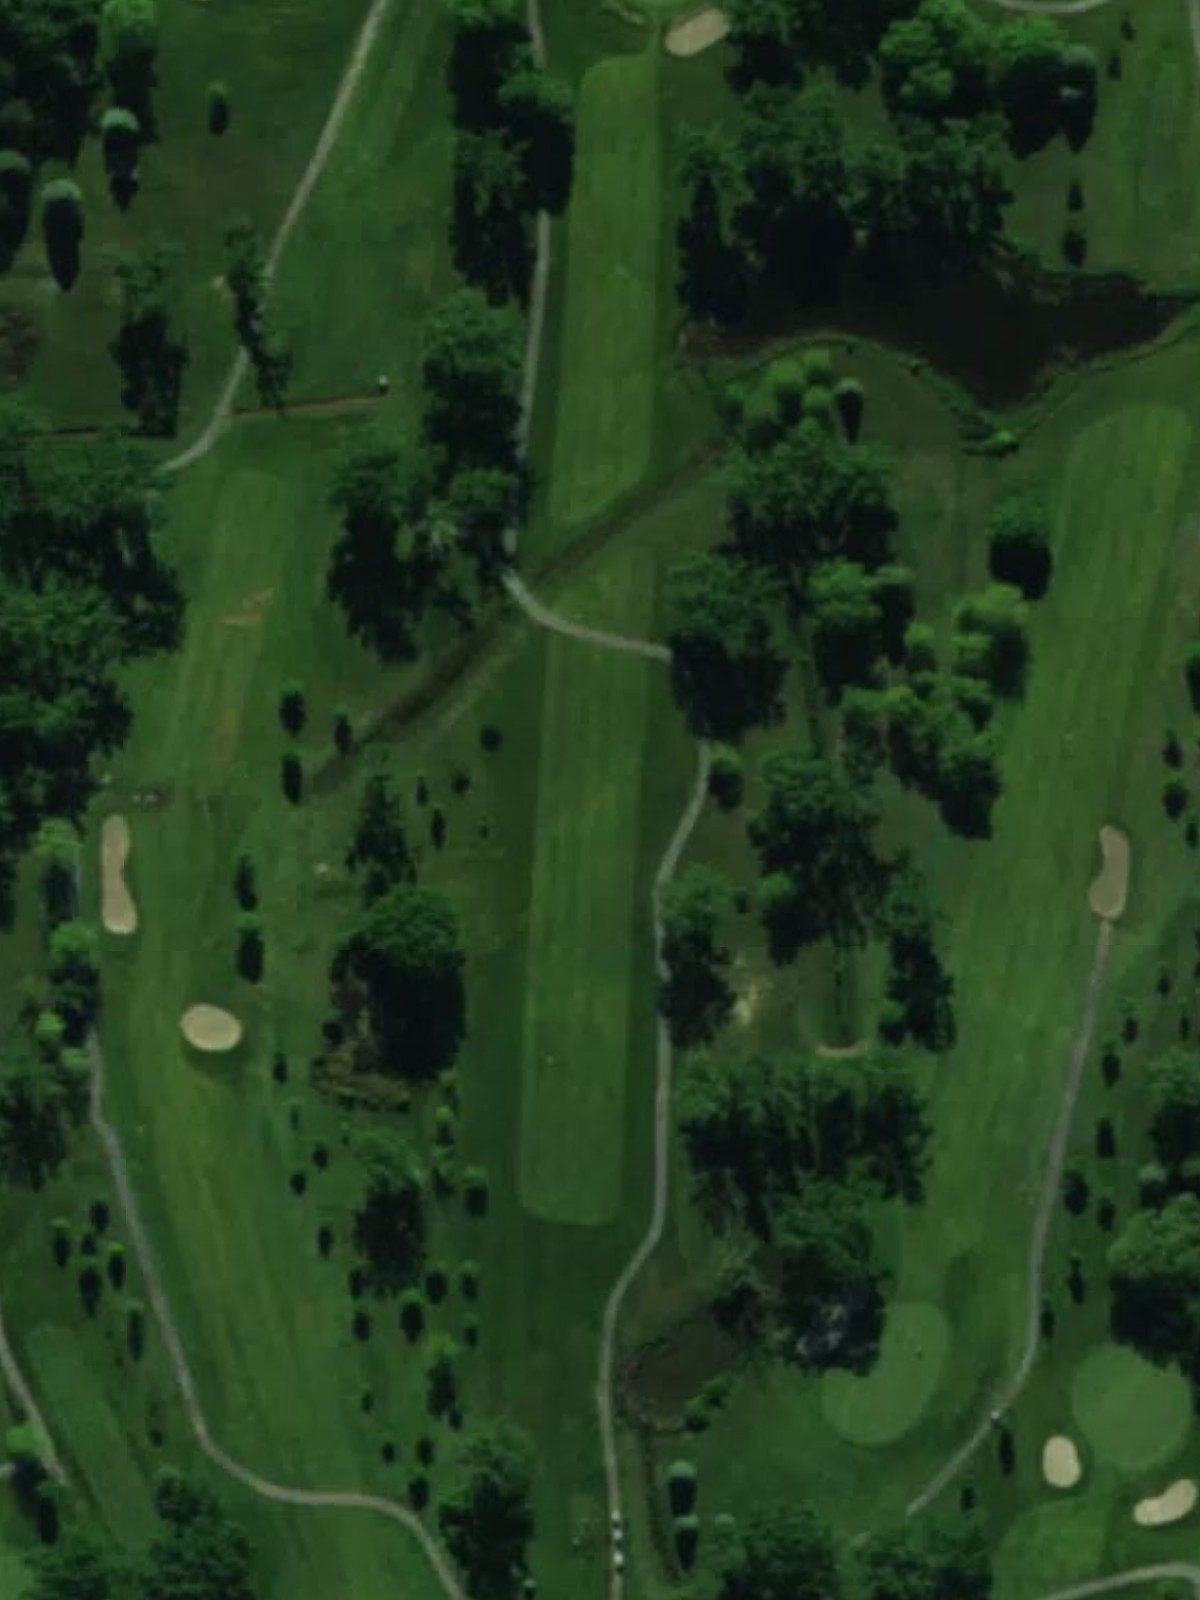
Scherwood Golf Club is an 18-hole golf course in Schererville, IN with a par of 71. It offers 3 tee sets: gold (6,844 yards, slope 131, rating 73.7), blue (6,248 yards, slope 128, rating 70.5), white (5,609 yards, slope 111, rating 66.8). The hardest hole is #7, a par 5 playing 480 yards from the first tee.
Scherwood Golf Club
Schererville, IN
Get PDF Yardage Book
We'll email you the PDF link. No spam, ever.
Create Your Game Plan
Pick your tees, enter your bag, and get a personalized shot-by-shot strategy for every hole.

A straightforward par 4 with a wide fairway that offers an inviting opening hole. The approach to the green requires care as bunkers guard the right side and the green slopes away at the back.
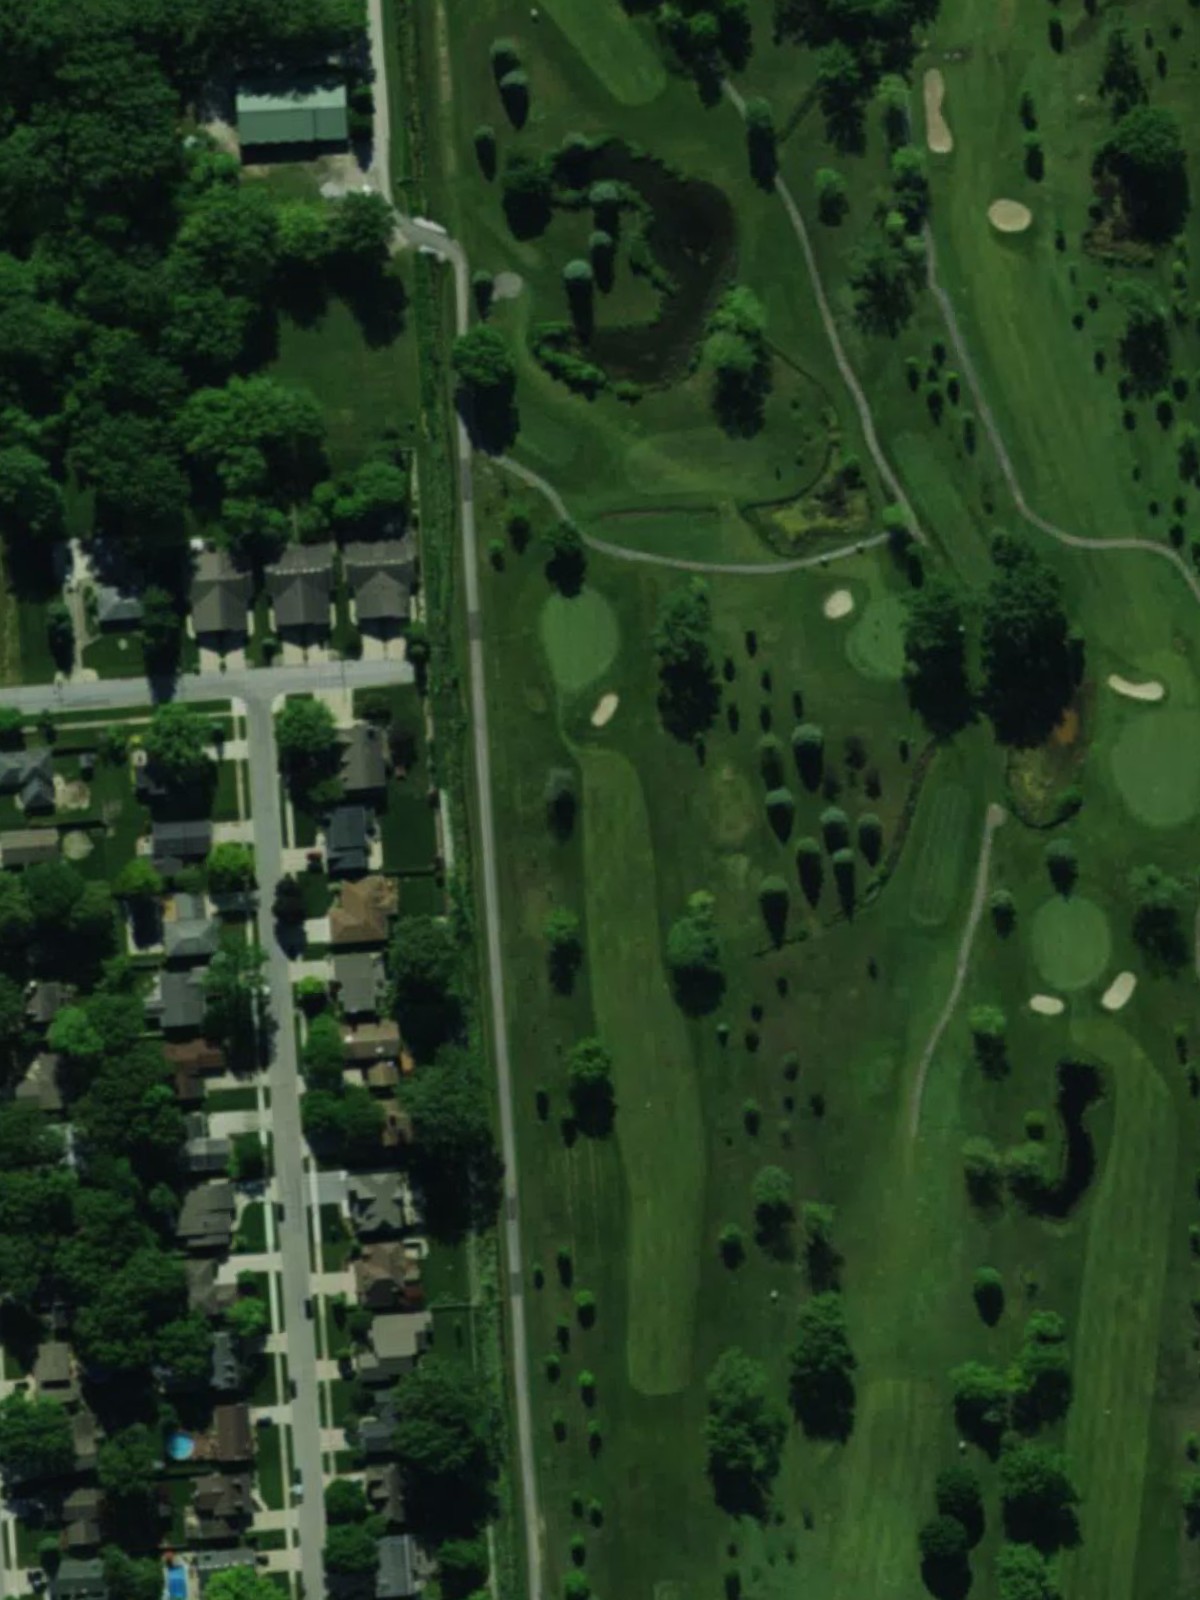
A solid par 4 with a fairly open fairway and a well-bunkered green complex. Water hazards along the left side demand accuracy off the tee, and the green is protected by bunkers on both sides.
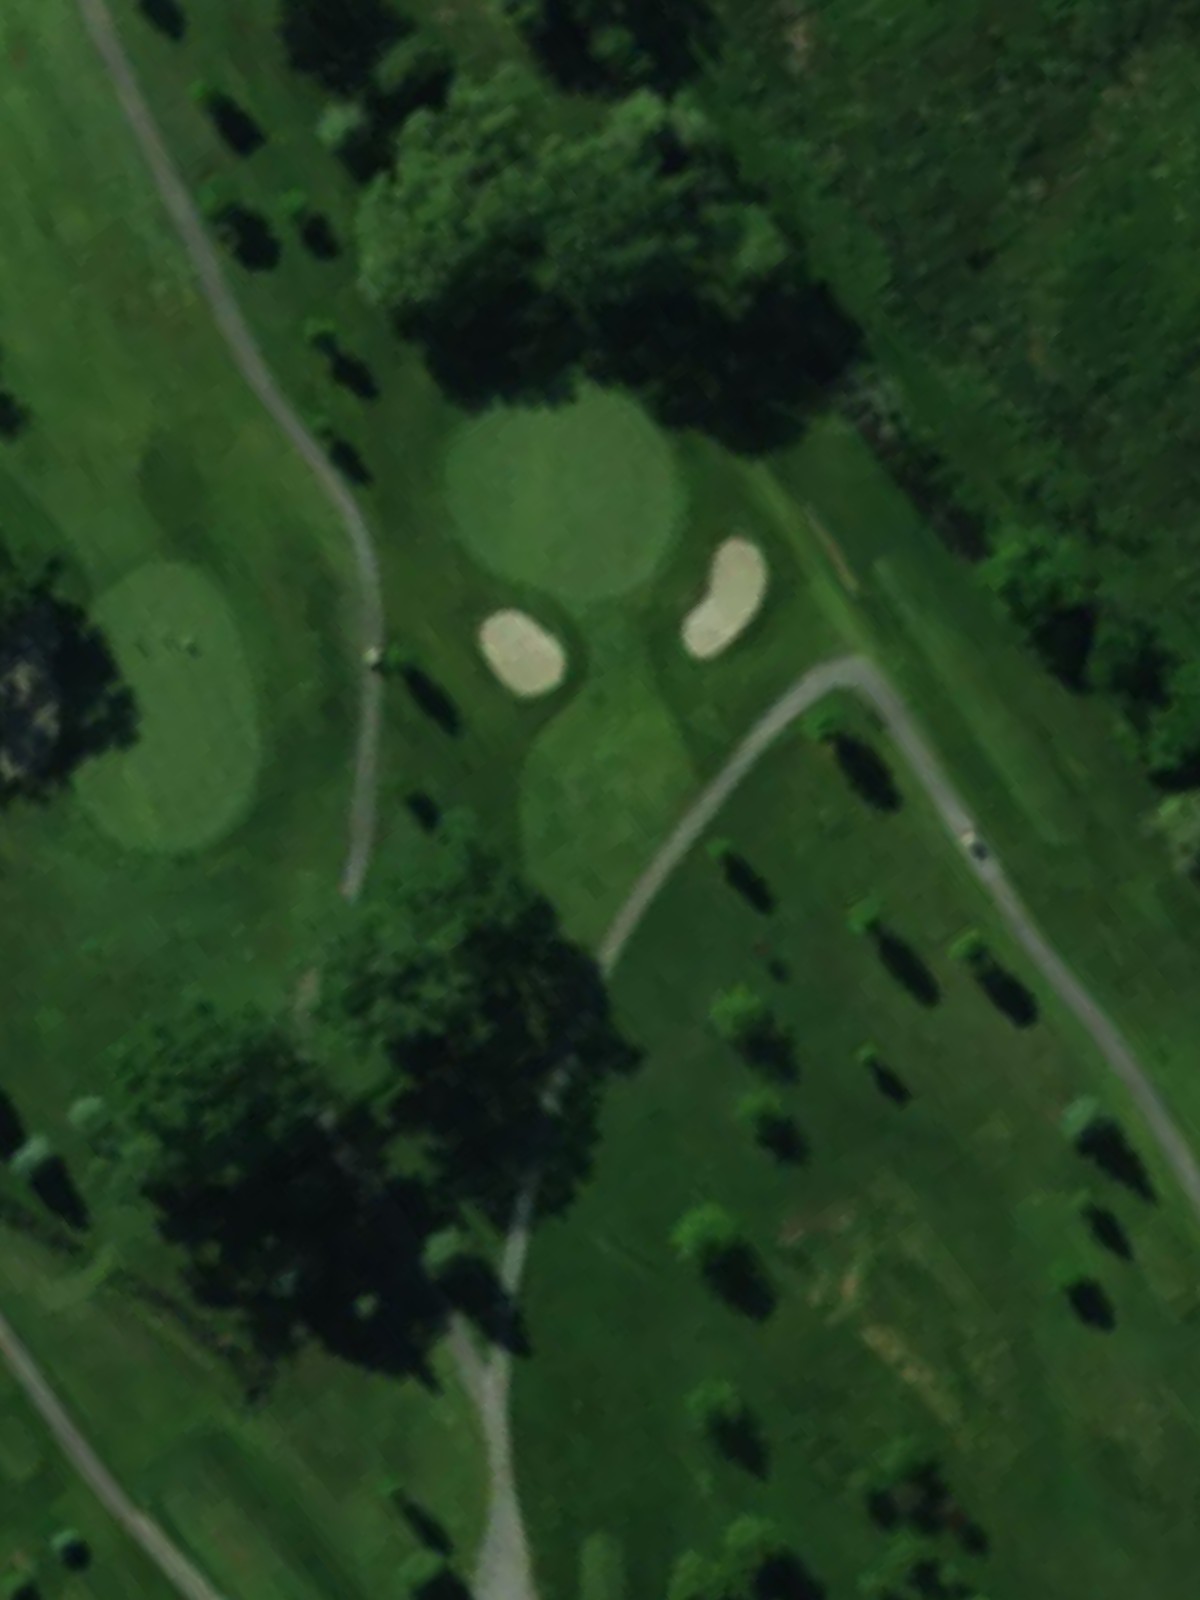
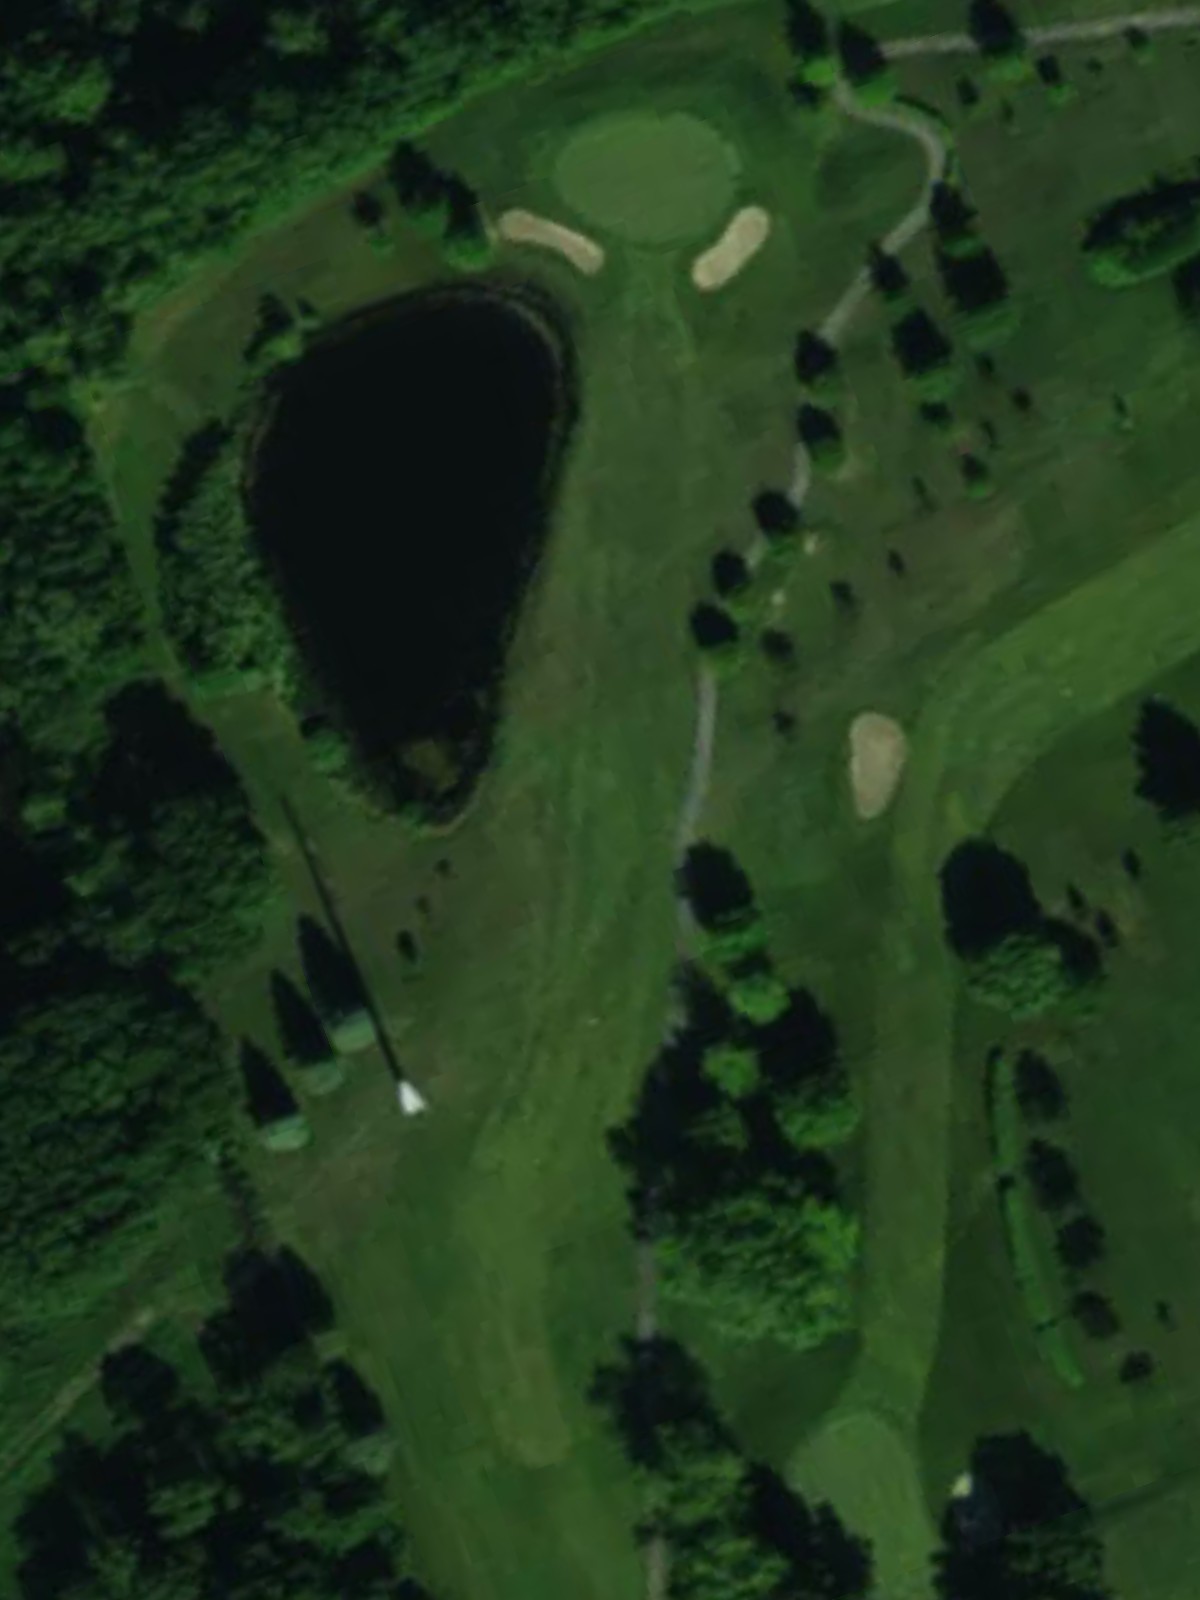
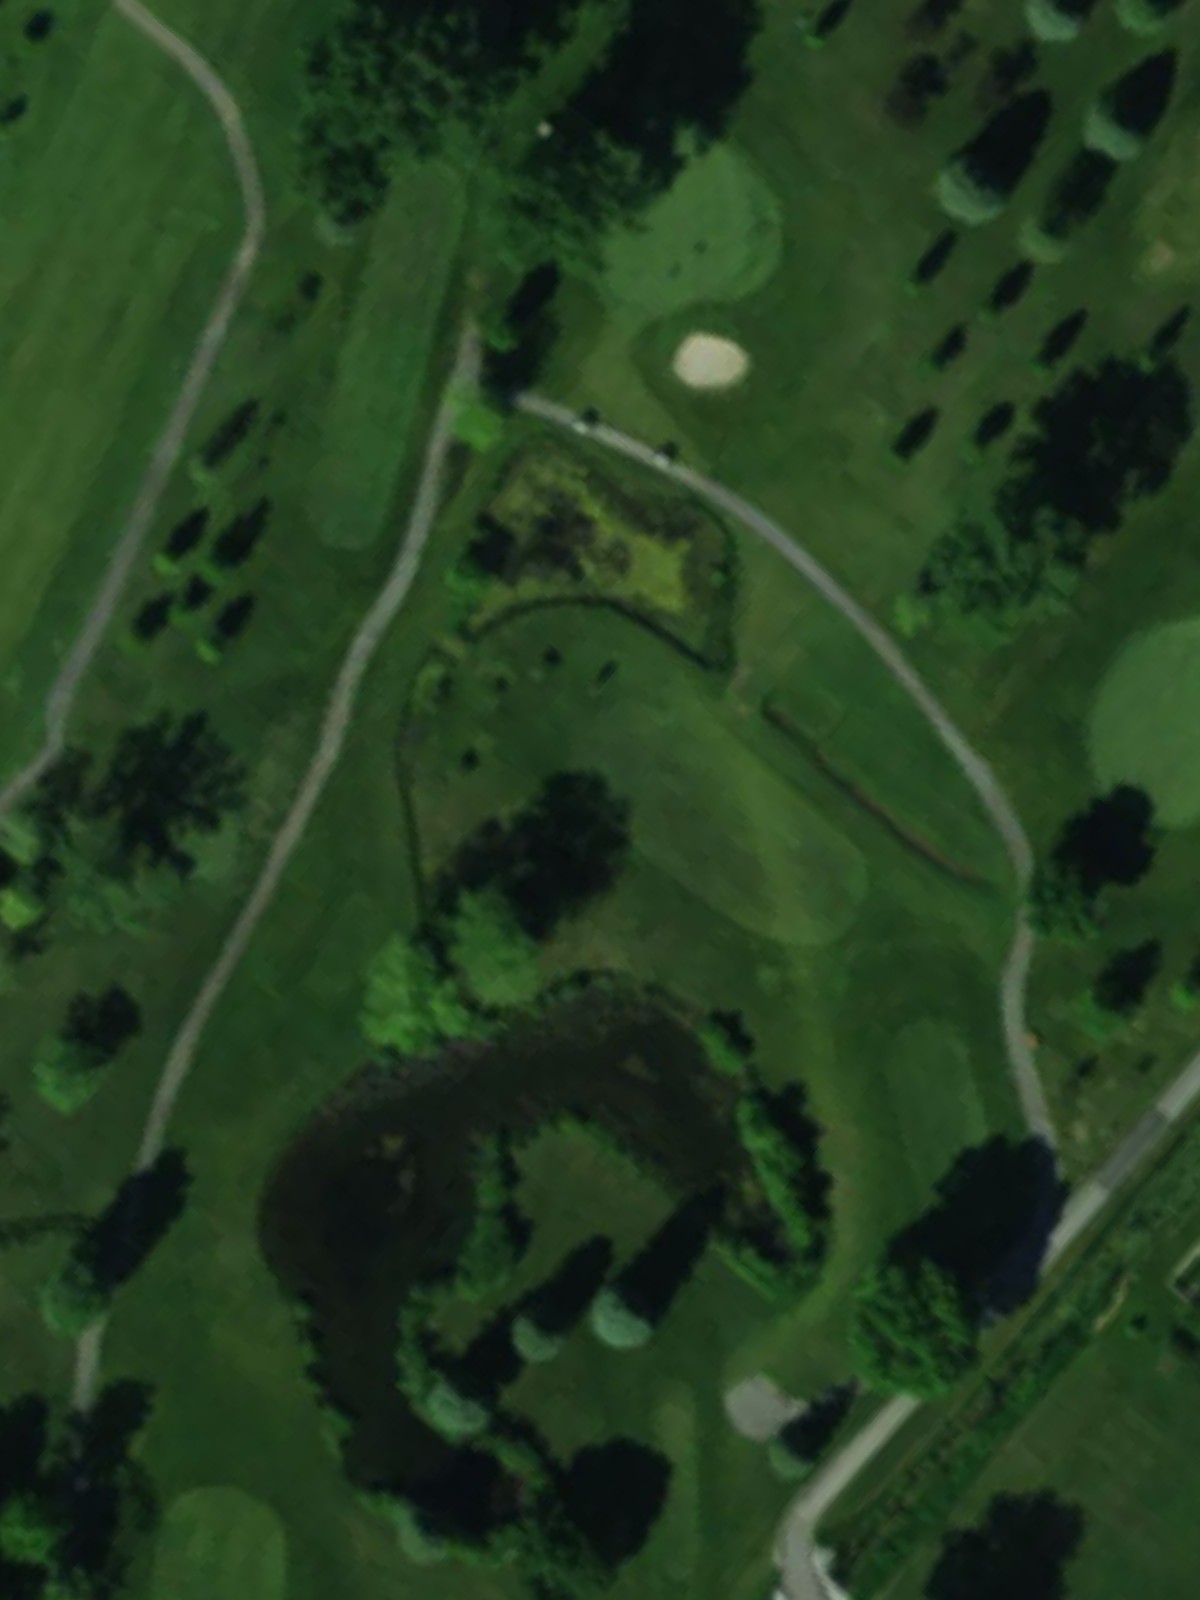
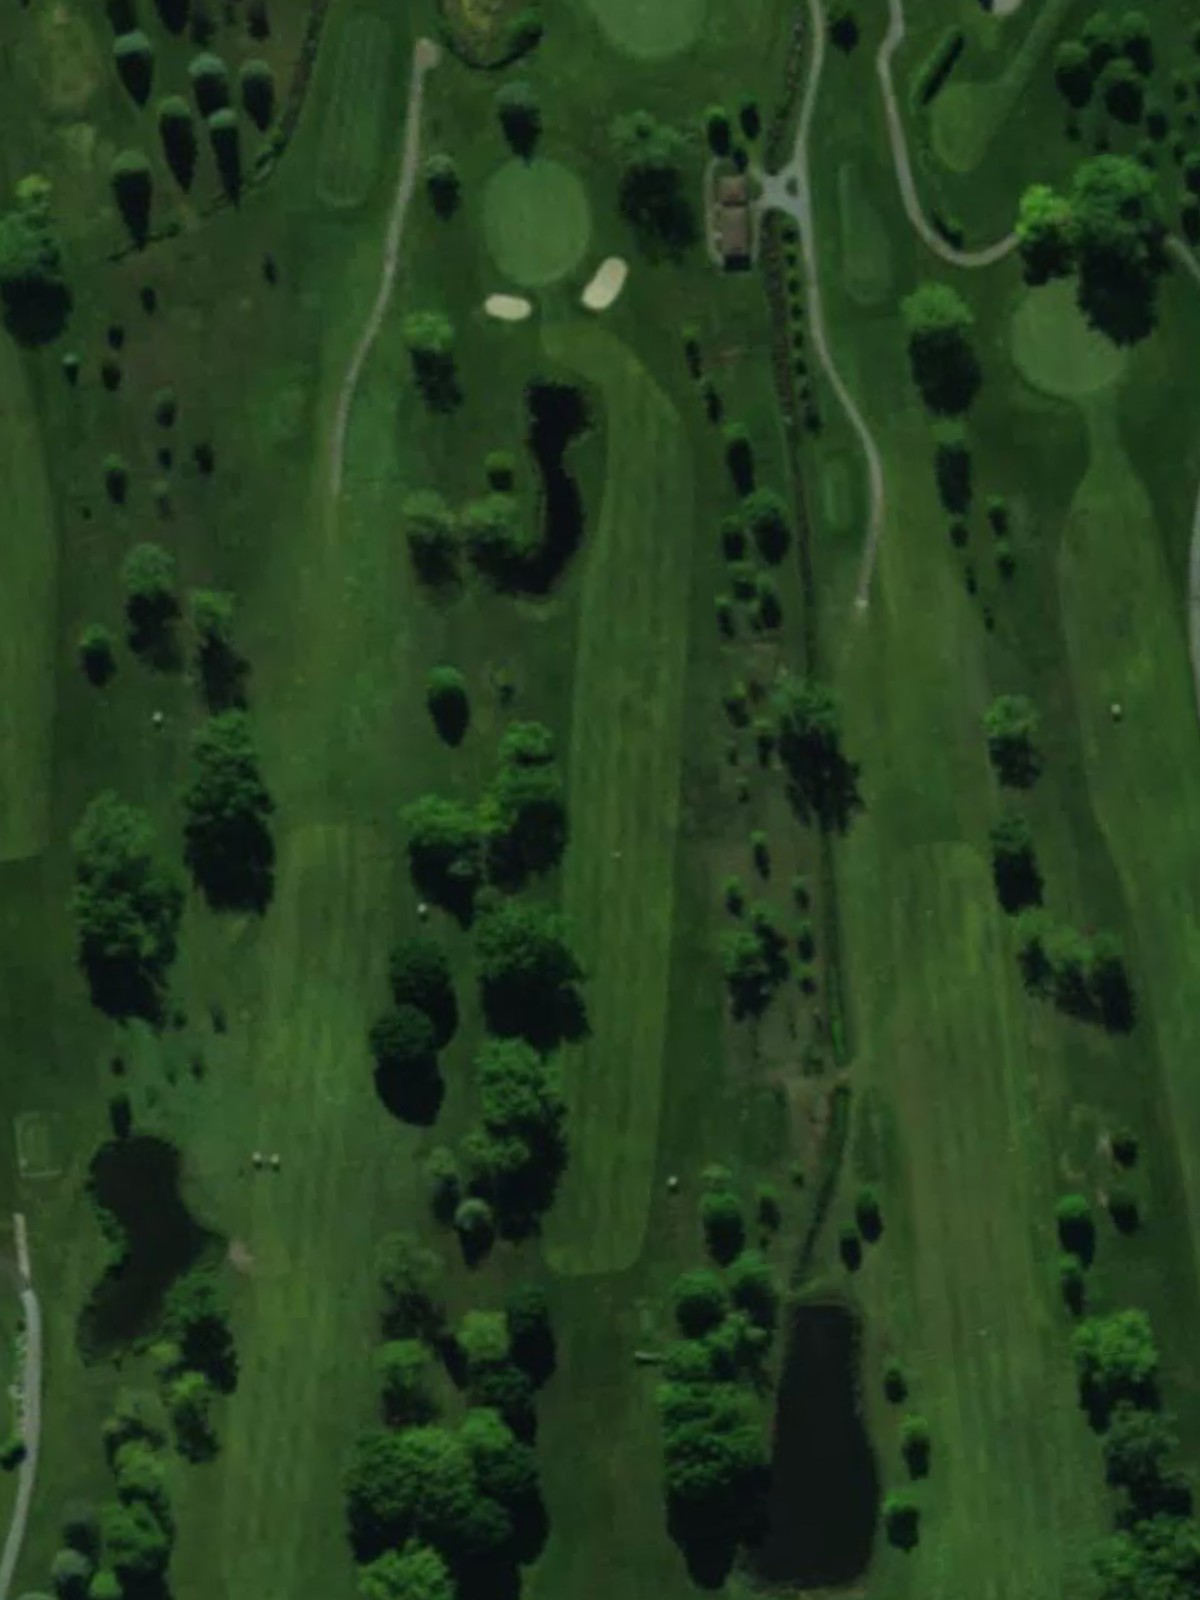
The signature hole at Sherwood, this par 4 ranks as the most difficult on the course with length and precision demands. Strategic bunkering frames the fairway and green, with water hazards left creating a narrow target corridor.
A short par 3 with moderate length that plays straightforward to a well-defined green. Bunkers frame the green's edges, and the hole's relative ease provides a welcome breather in the round.
A reachable par 4 that invites aggressive play despite strategic bunkering throughout the hole. Water left of the fairway and bunkers right require precise placement, while the green accepts bold approach shots.
A mid-length par 3 with a scenic presentation and a raised, well-bunkered green. The hole's challenge lies in finding the correct landing area among the surrounding hazards.
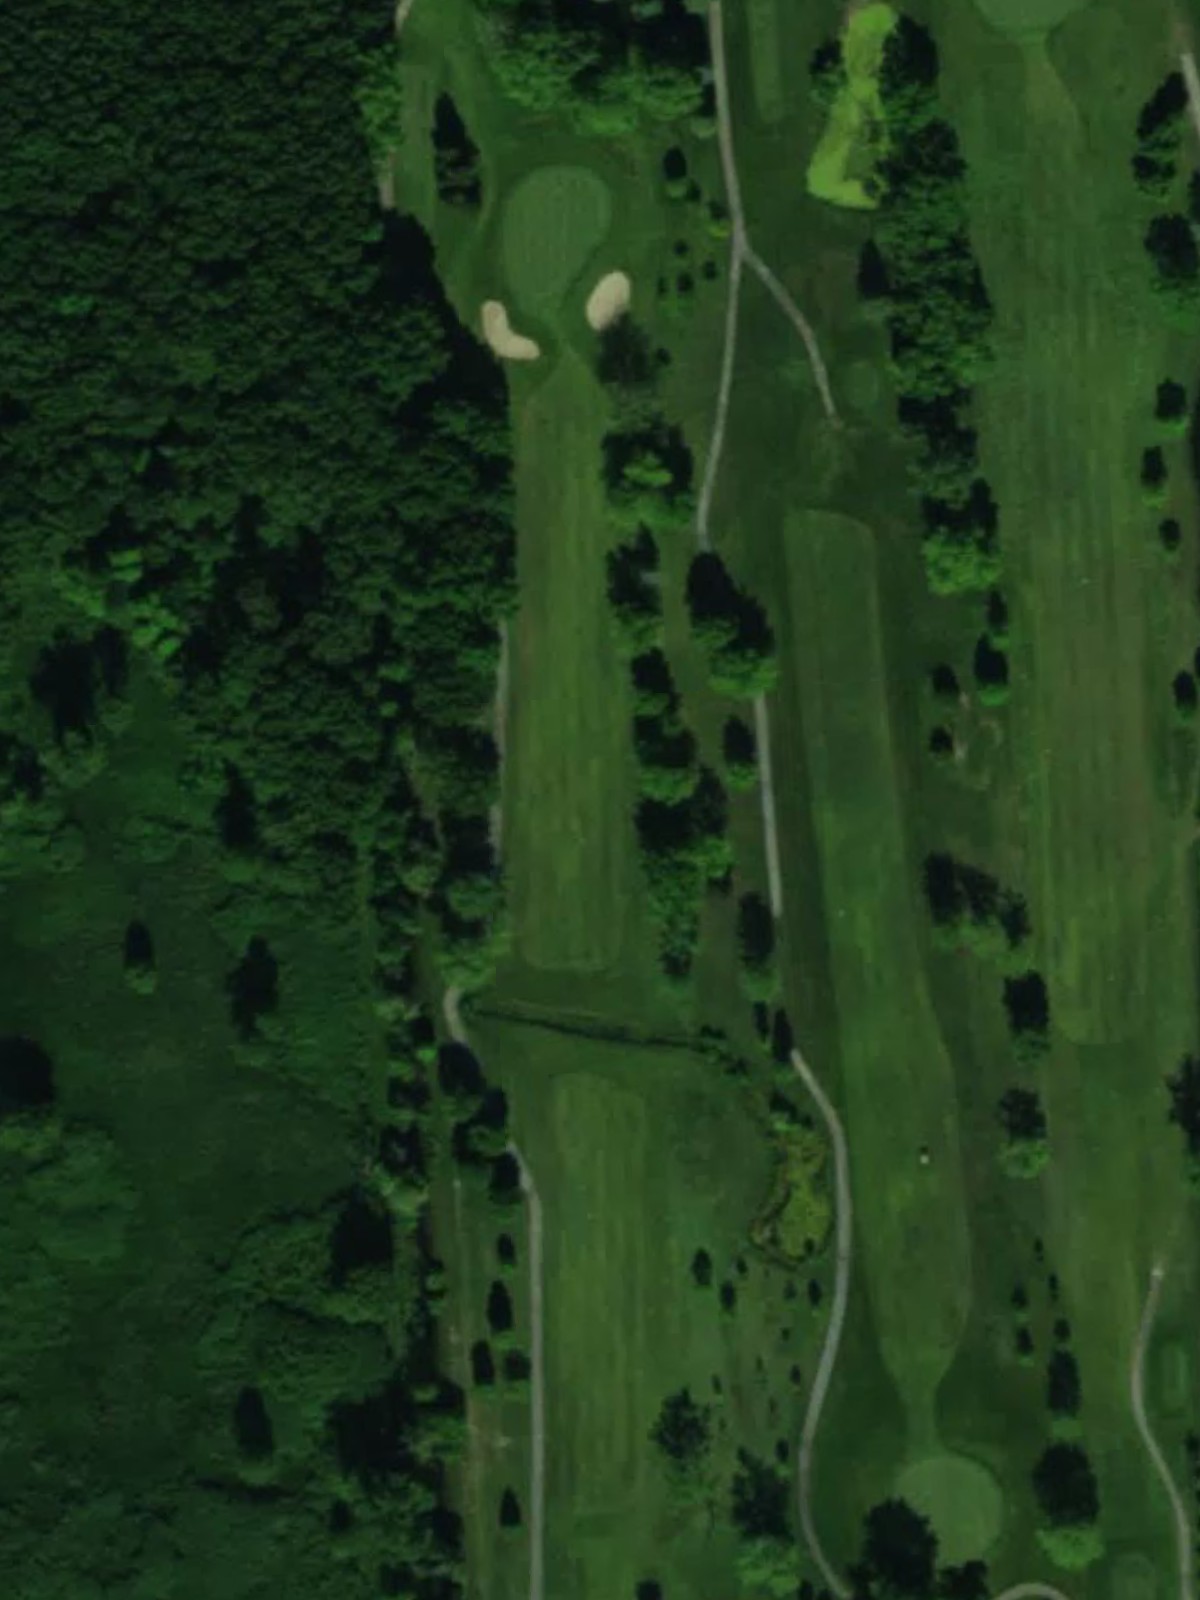
Sherwood's signature par 5 and the course's most demanding hole, stretching across 480+ yards with multiple decision points. Water and bunkers guard both sides of the fairway throughout, with the green well-protected by sand and potentially hazardous approaches.
A well-balanced par 4 with a narrowing fairway that demands accuracy from the tee onward. Bunkers frame the landing area and guard the green, with water left adding to the challenge.

A short, fierce par 4 that ranks fifth in difficulty due to its tight architecture and hazard placement. Water and bunkers encroach from both sides, leaving little margin for error on either tee shot or approach.
A challenging par 4 with strategic bunkering that forces thoughtful positioning off the tee. The fairway angles right, and bunkers protect the green on both flanks, making this a demanding test of accuracy.
A mid-length par 3 with a generous green and moderate bunkering, offering a more forgiving short hole. The green's elevation and the surrounding sand create the primary challenge.
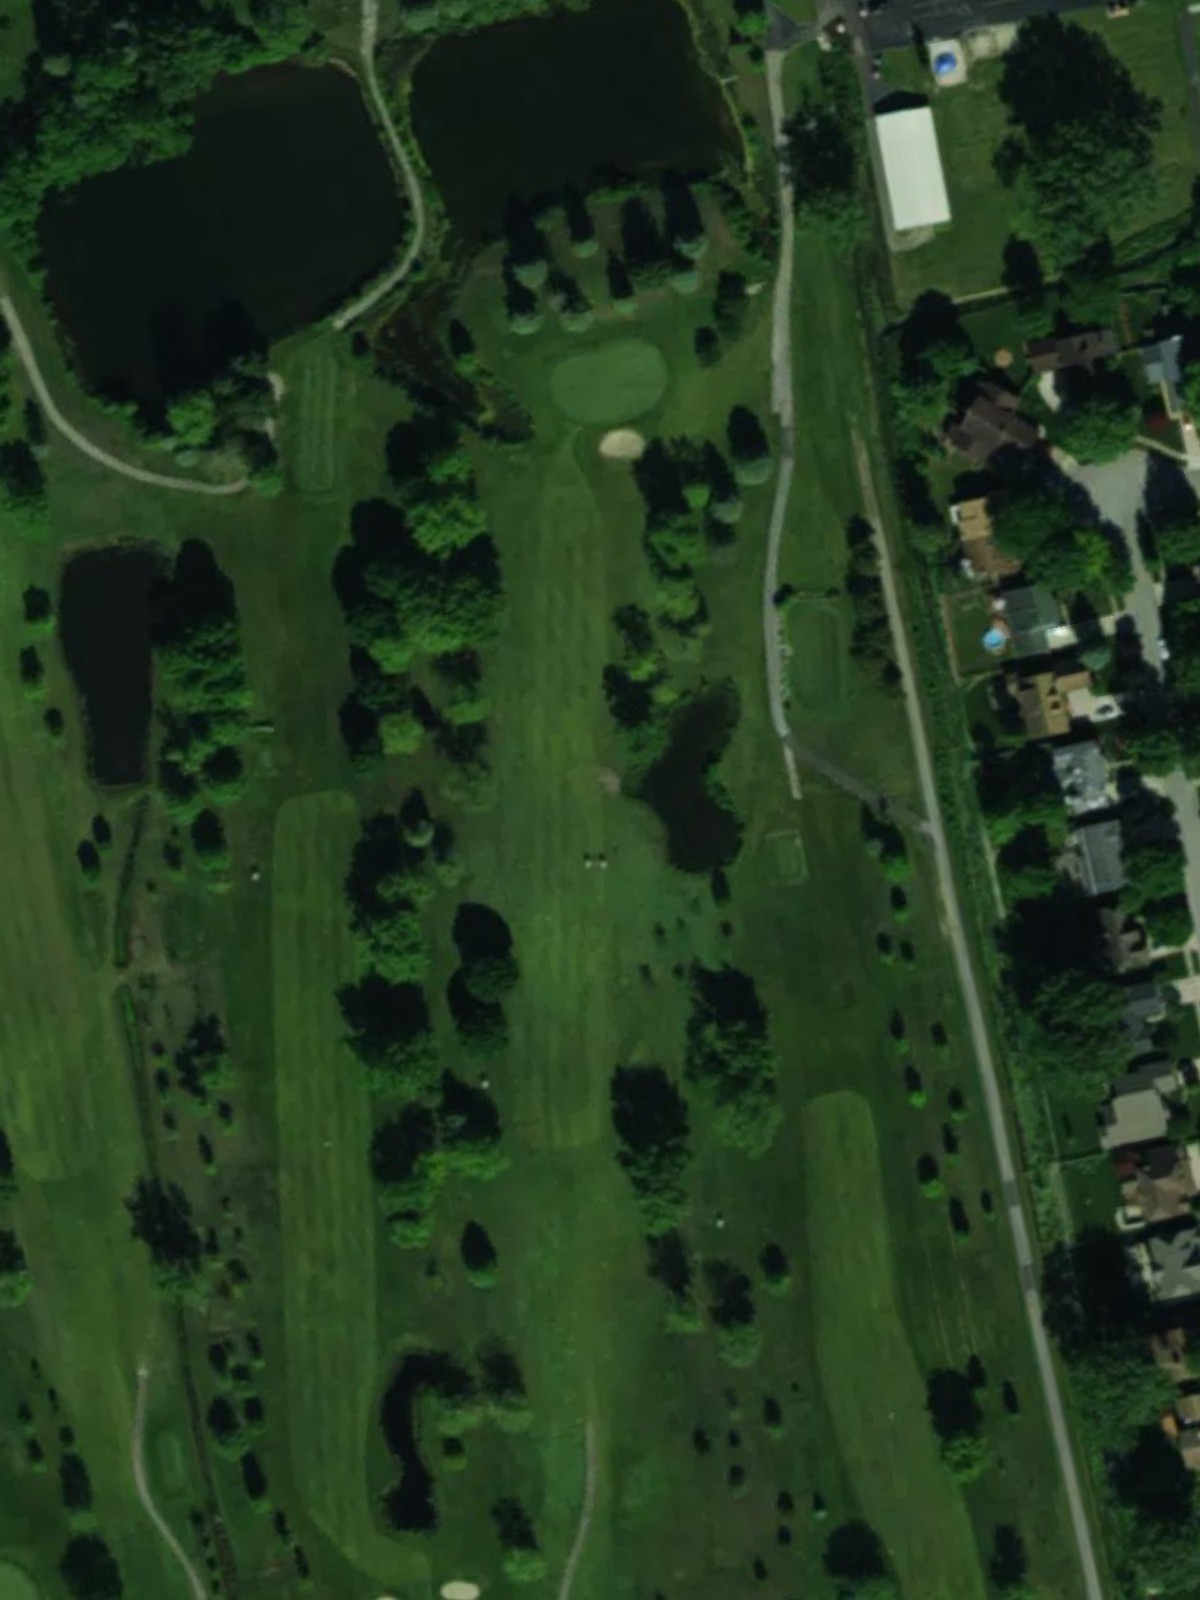
Sherwood's second-ranked par 5 presents length and complexity with strategic hazard placement throughout. Water hazards and bunkers guide play down a challenging corridor, with the green well-protected and difficult to reach in regulation.

A solid par 4 with a dogleg character that requires careful tee placement and strategic approach play. Bunkers guard the inside of the dogleg and protect the green, while water left adds to the complexity.

The easiest hole on the course, this short par 3 provides a scoring opportunity with minimal hazards. The straightforward green and generous margins make this a welcome reprieve on the back nine.
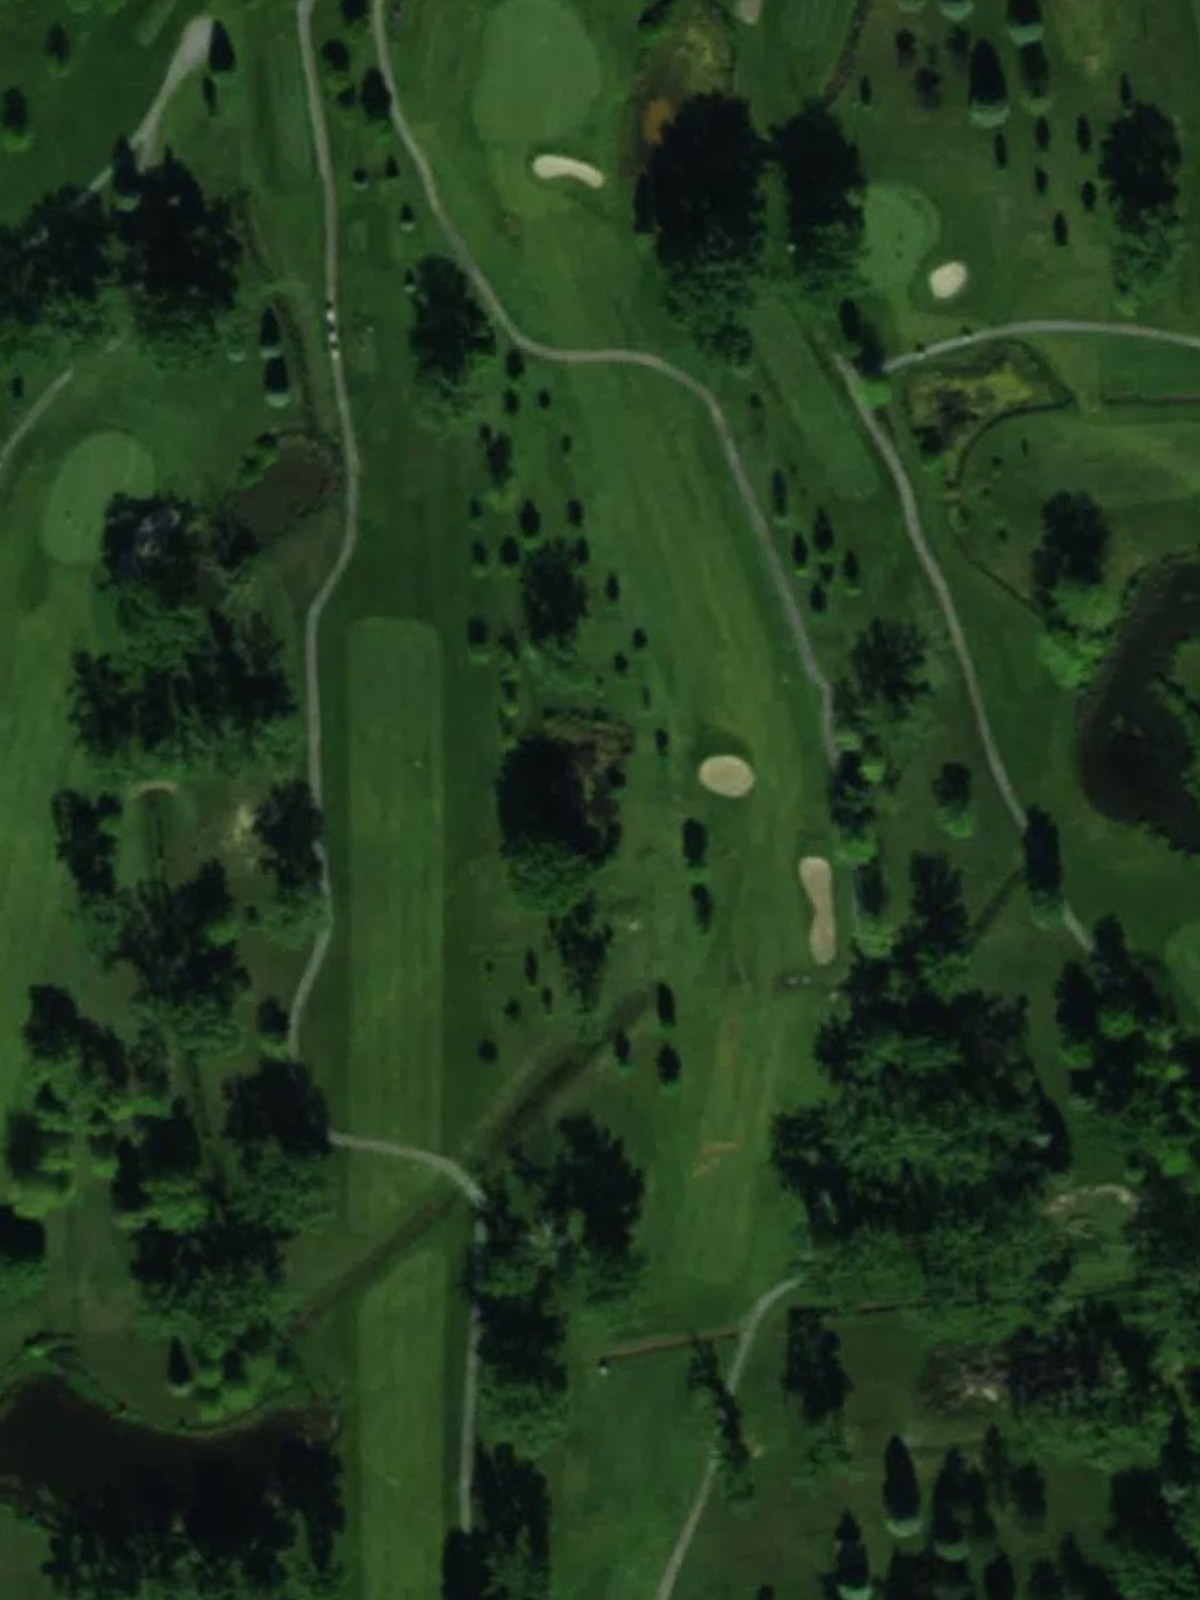
A strong par 5 that offers birdie potential despite its length and hazard placement. Water and bunkers frame the fairway strategically, and the green's complexity rewards thoughtful lay-up positioning.
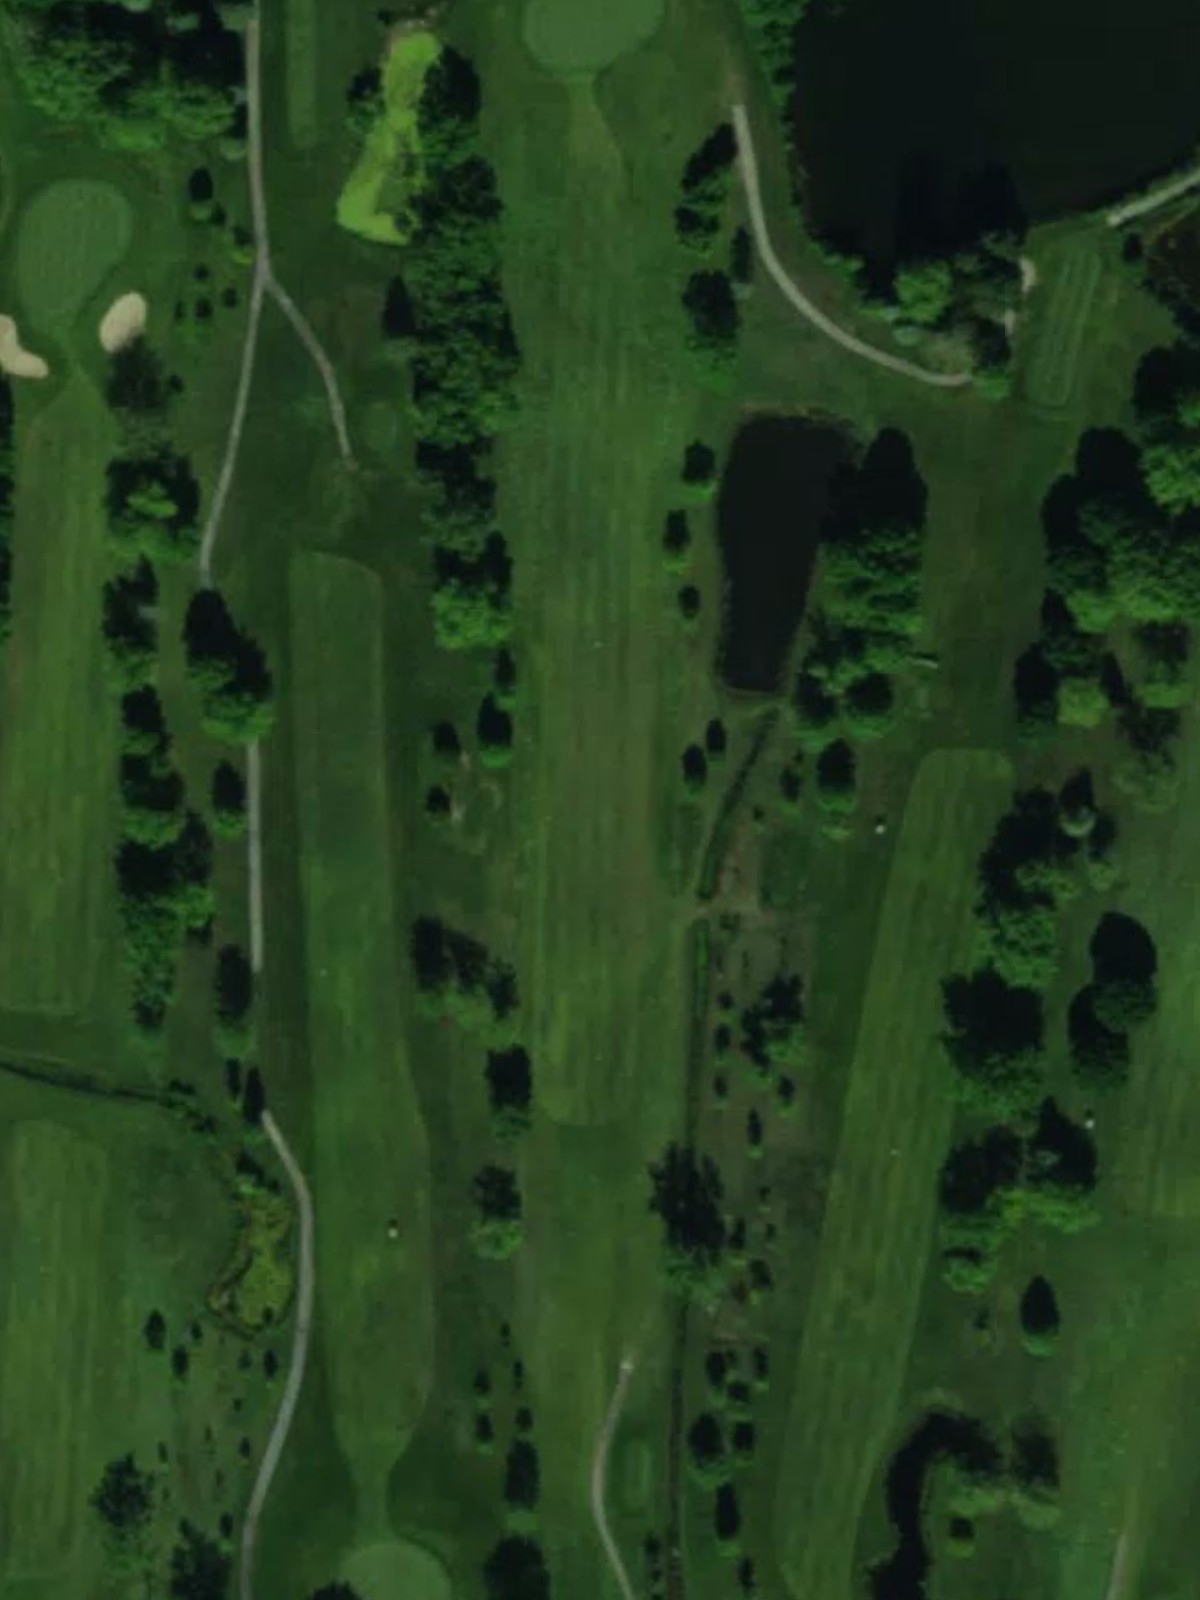
A lengthy par 4 that demands both distance and precision with bunkers strategically placed throughout. The narrow fairway corridor and protected green create a significant test near the turn.
A shorter par 4 that plays deceptively difficult despite its reduced yardage, with water left and bunkers right constraining the fairway. The green's tight surroundings and angled approach make precision essential.
A solid finishing par 4 with a dramatic, narrow fairway that demands accuracy under pressure. Bunkers and water hazards frame both sides of the hole, building tension on the home stretch to a well-protected green.
Scorecard
| Hole | 1 | 2 | 3 | 4 | 5 | 6 | 7 | 8 | 9 | Out | 10 | 11 | 12 | 13 | 14 | 15 | 16 | 17 | 18 | In | Tot |
|---|---|---|---|---|---|---|---|---|---|---|---|---|---|---|---|---|---|---|---|---|---|
| Par | 4 | 4 | 4 | 3 | 4 | 3 | 5 | 4 | 4 | 35 | 4 | 3 | 5 | 4 | 3 | 5 | 4 | 4 | 4 | 36 | 71 |
| HCP | 13 | 11 | 3 | 17 | 9 | 15 | 1 | 7 | 5 | 4 | 16 | 2 | 8 | 18 | 6 | 12 | 14 | 10 | |||
| gold | 435 | 413 | 430 | 175 | 385 | 183 | 500 | 403 | 400 | 3324 | 440 | 196 | 540 | 434 | 197 | 485 | 456 | 359 | 413 | 3520 | 6844 |
| blue | 373 | 378 | 400 | 145 | 360 | 165 | 480 | 376 | 350 | 3027 | 375 | 175 | 495 | 384 | 169 | 471 | 422 | 350 | 380 | 3221 | 6248 |
| white | 313 | 353 | 385 | 135 | 295 | 127 | 450 | 355 | 338 | 2751 | 360 | 145 | 430 | 329 | 154 | 420 | 360 | 340 | 320 | 2858 | 5609 |