Sawmill Creek Golf Club is an 18-hole golf course in Huron, OH with a par of 71. It offers 4 tee sets: blue (6,782 yards, slope 128, rating 73), white (6,368 yards, slope 123, rating 70.9), silver (5,800 yards, slope 121, rating 68), gold (5,605 yards, slope 114, rating 67.2). The hardest hole is #12, a par 5 playing 600 yards from the first tee.
Sawmill Creek Golf Club
Huron, OH
Get PDF Yardage Book
We'll email you the PDF link. No spam, ever.
Create Your Game Plan
Pick your tees, enter your bag, and get a personalized shot-by-shot strategy for every hole.
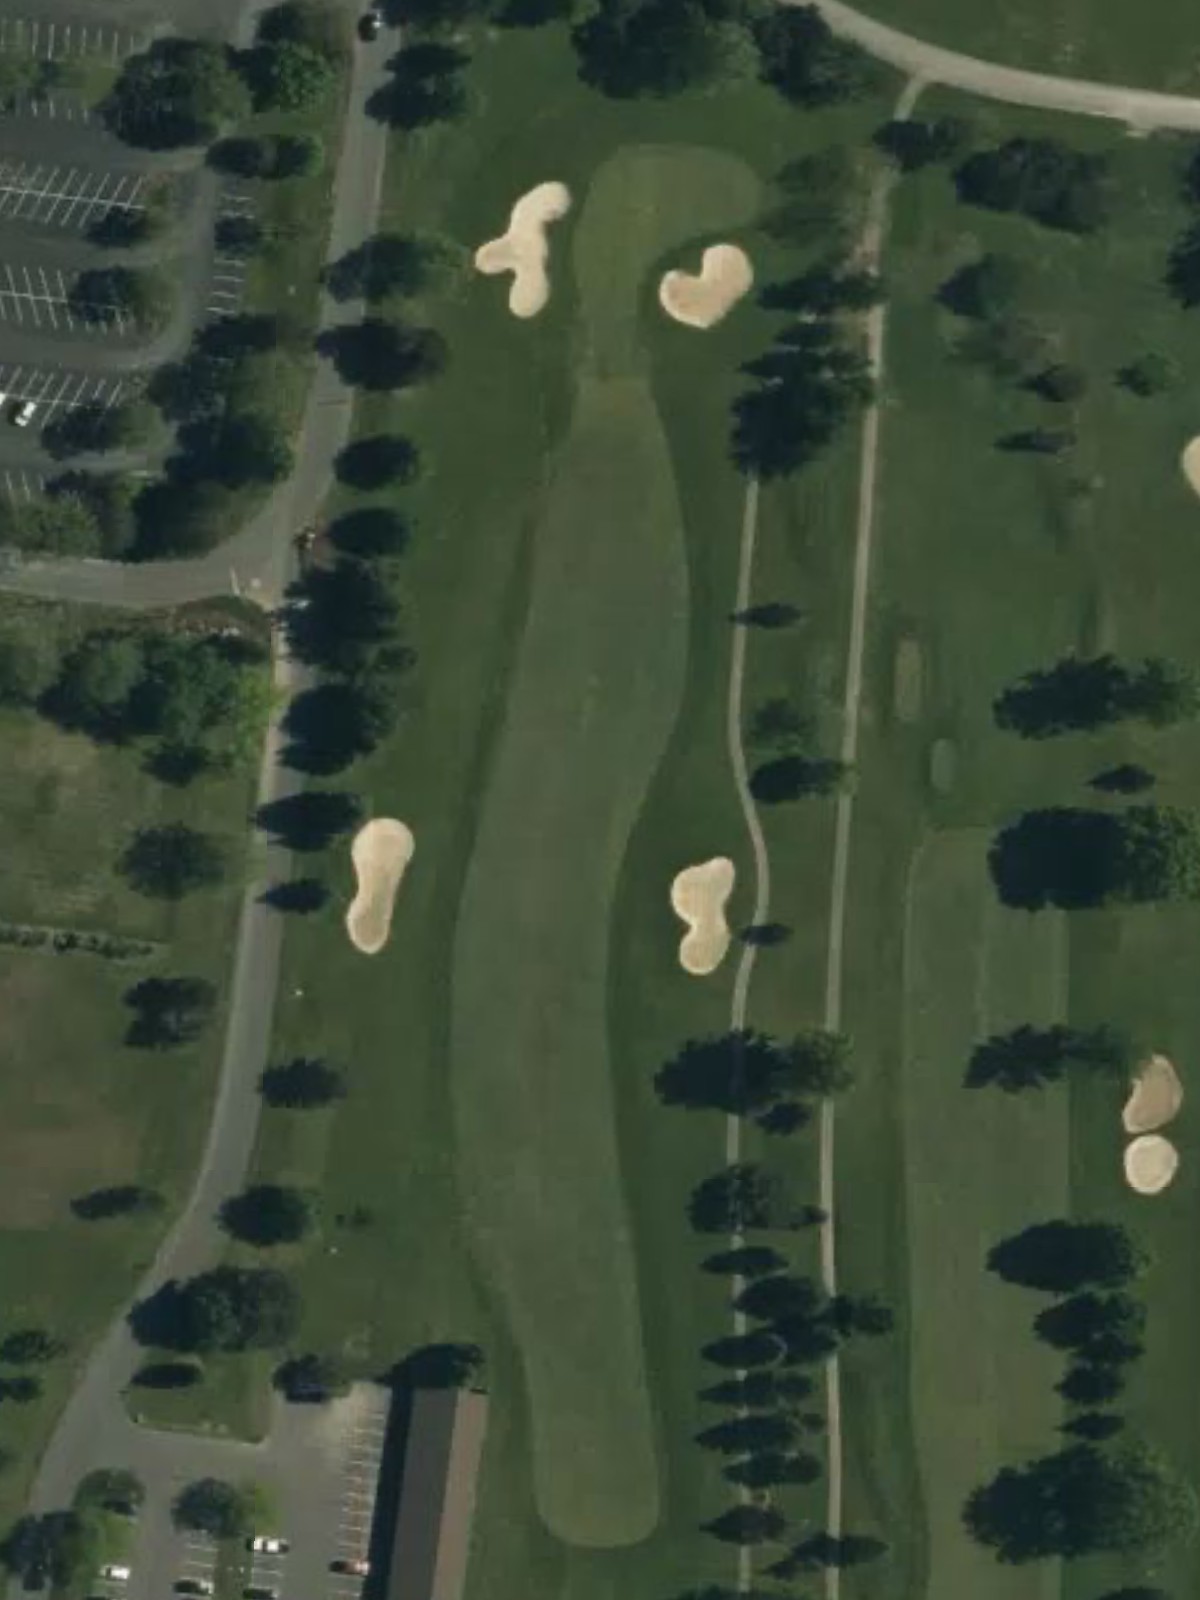
A straightforward opening par 4 with a welcoming fairway that gradually narrows as it approaches the green. Bunkers frame the right side of the putting surface, rewarding accurate approach shots while punishing those drifting right.
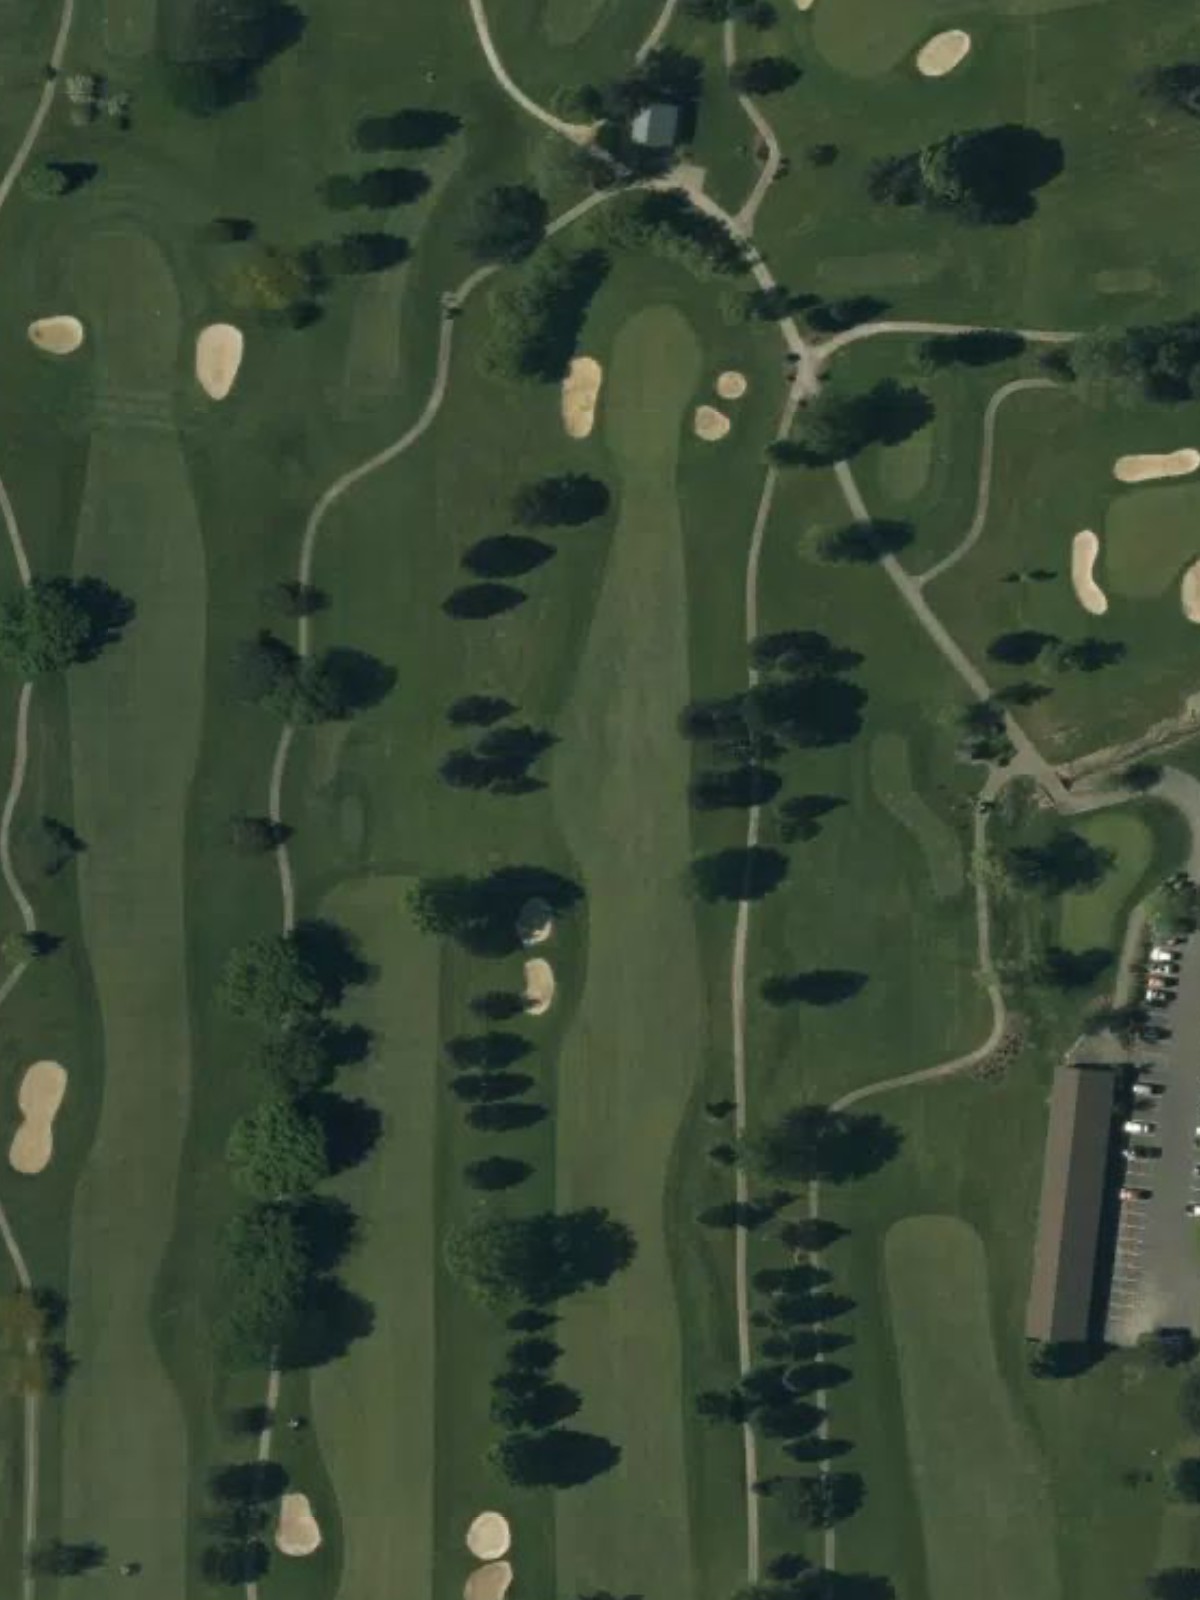
A challenging par 4 that plays considerably longer than it appears, with out of bounds lurking along the right side throughout. The green sits elevated and is well-bunkered, making this one of the course's most demanding holes despite its mid-handicap rating.

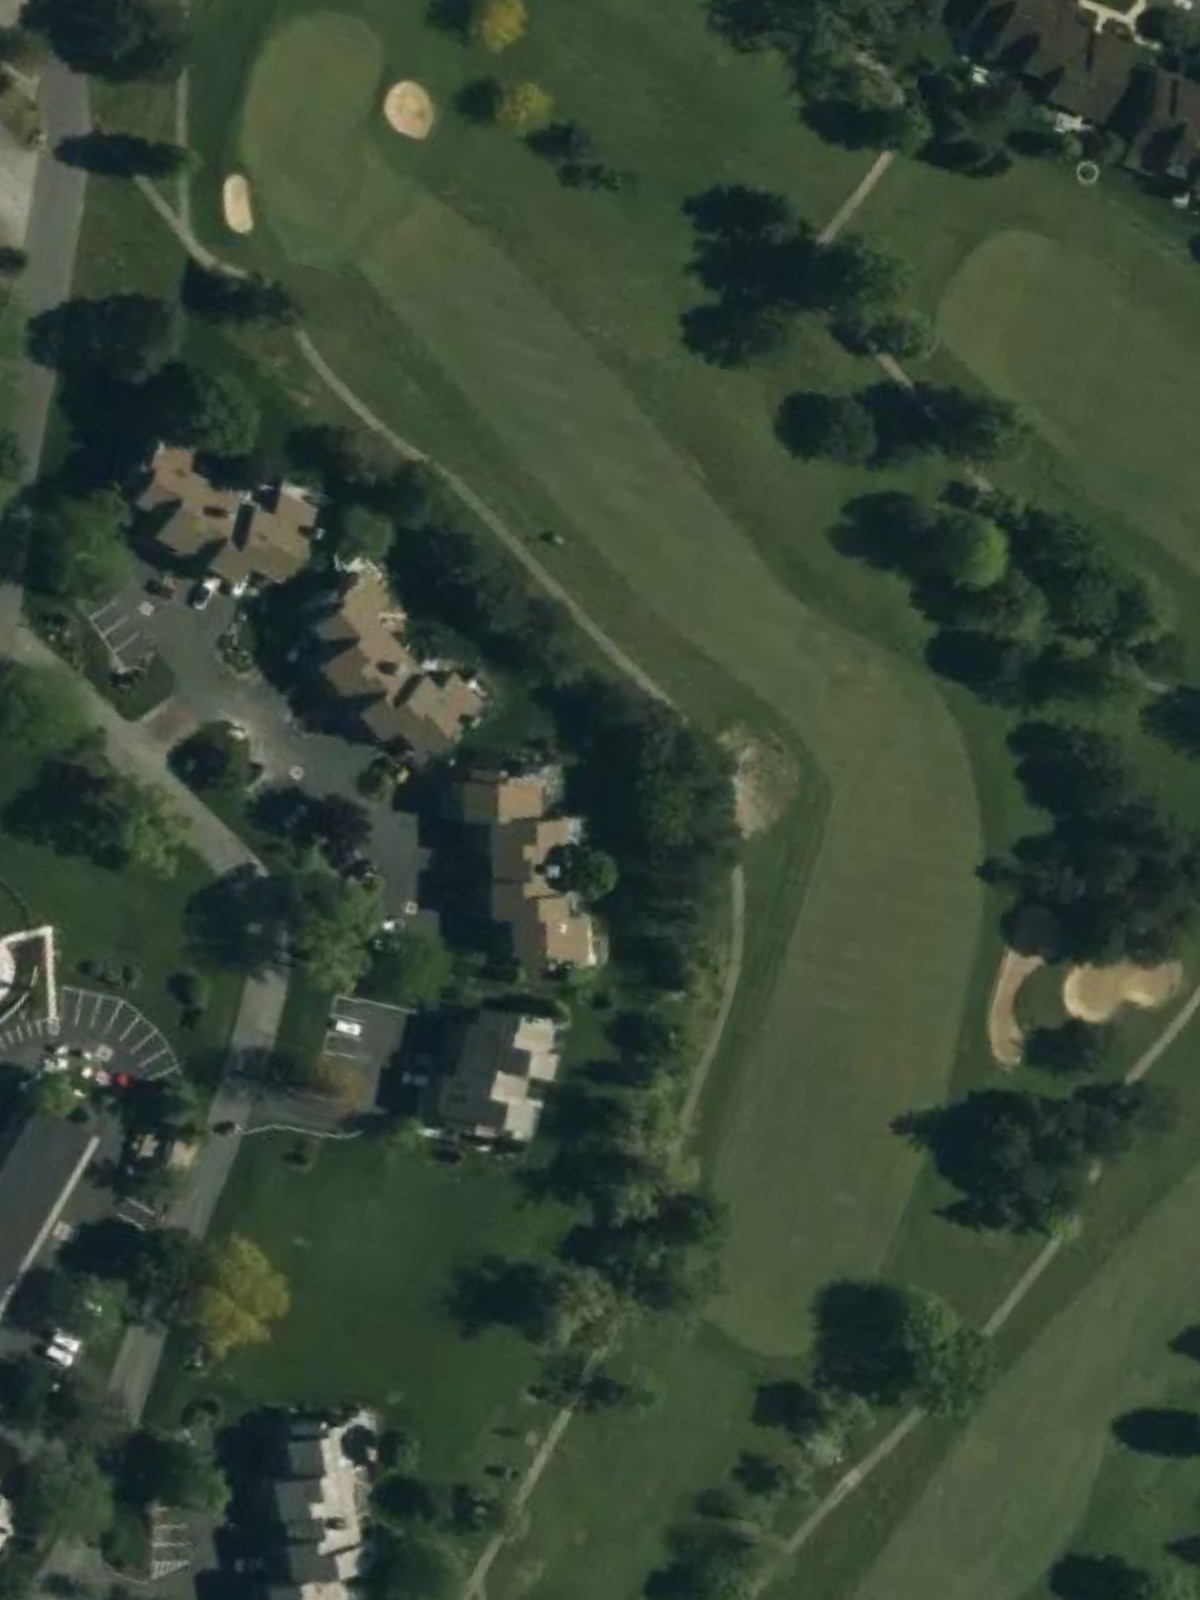
A reachable par 5 with a fairway that plays relatively straight but tightens in the landing zone. Water hazards frame one or both sides of the hole, requiring precision over length to set up a manageable third shot.
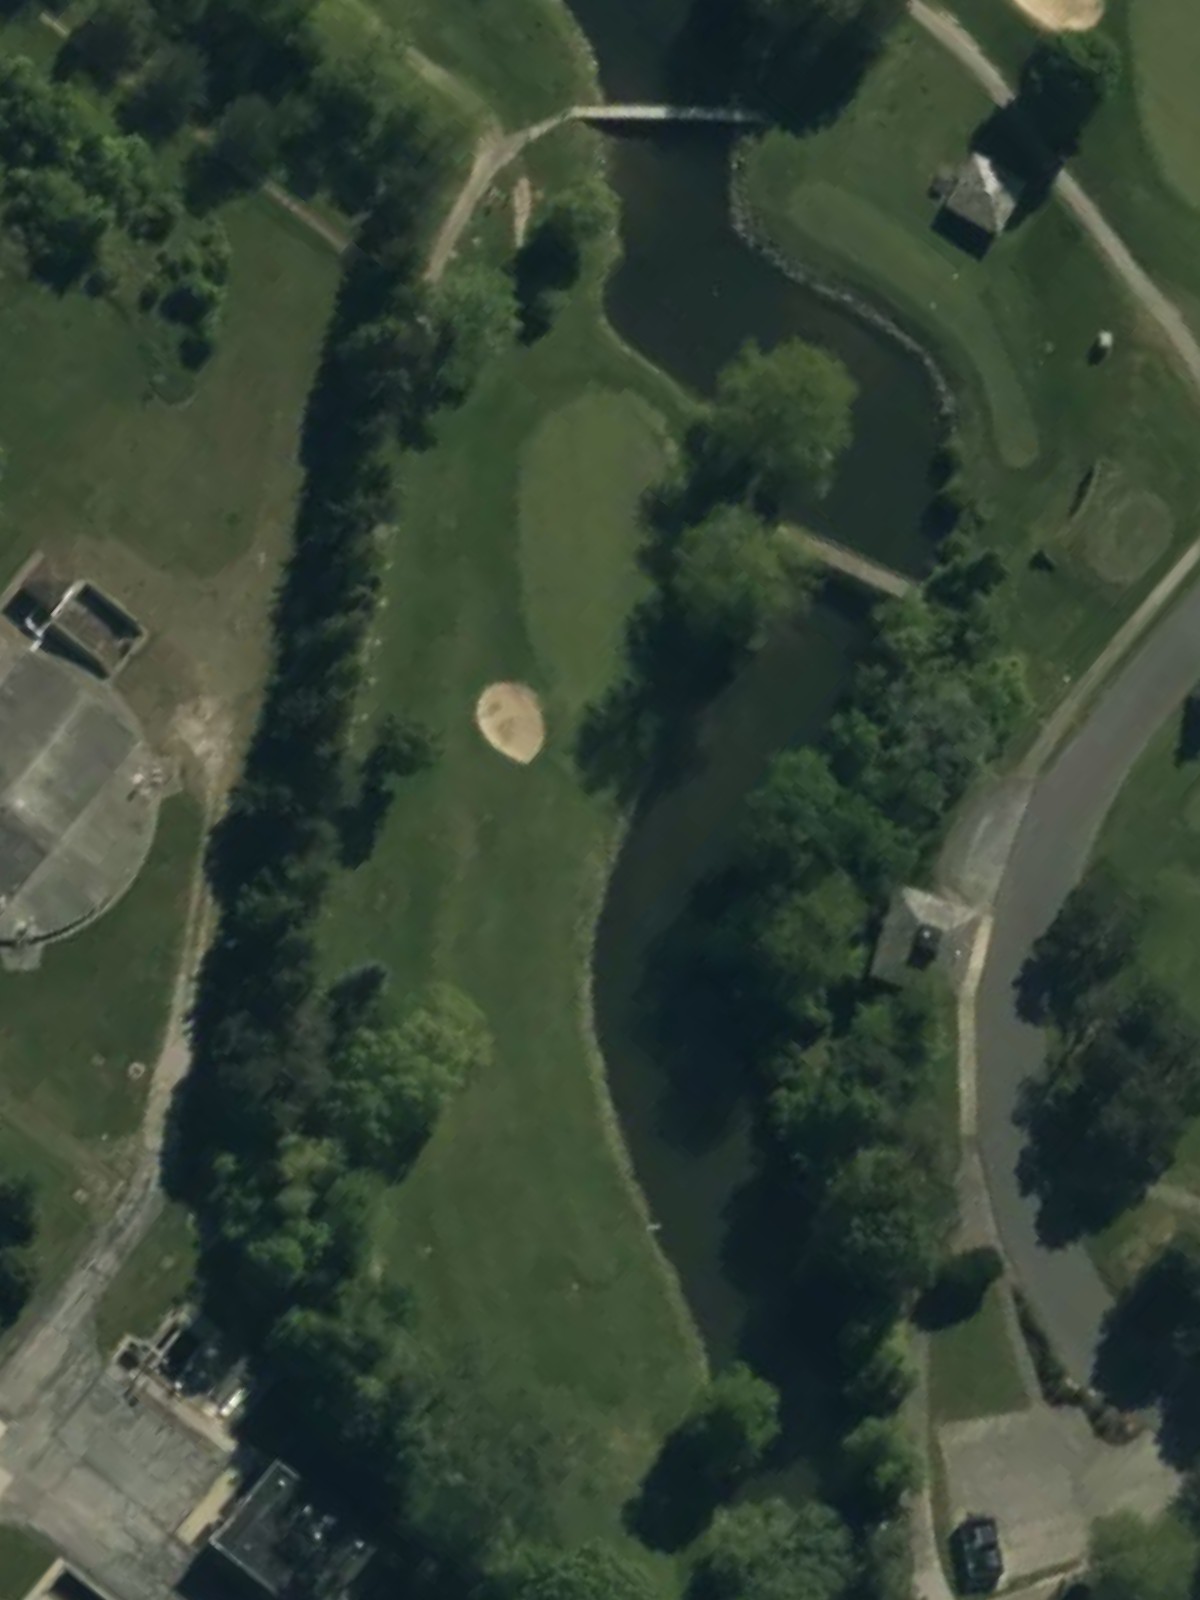
The course's second-most difficult hole, this par 4 features a narrow, demanding fairway with significant hazards penalizing errant tee shots. The green is tightly guarded and elevated, making accurate iron play essential for scoring.
A short par 3 that plays to a well-bunkered green surrounded by sand on multiple sides. This gives the hole character despite its modest length, requiring precision over power to find the putting surface.
A mid-length par 4 with an open fairway that gradually narrows toward the green. Bunkers guard the approach, and the green's shape rewards thoughtful positioning off the tee.
A picturesque par 3 of moderate length with water or hazards guarding the green's front or sides. The hole demands an accurate tee shot to a relatively small target, with little room for error around the putting surface.
A short par 4 with an inviting fairway but a deceptively well-protected green surrounded by bunkers. The modest yardage belies the precision required for a scoring opportunity on this hole.
A strong par 4 that plays uphill or into challenging terrain with bunkers strategically placed to catch wayward shots. The hole's routing and hazard placement create a memorable and testing finish to the front nine.
A difficult par 4 with hazards demanding respect from the tee, particularly along one side of the fairway. The green is well-bunkered and requires a strong, accurate approach to secure par.
A lengthy par 4 playing from an elevated tee with a fairway that may slope or narrow toward the green. Bunkers frame the approach zone, making course management critical on this back-nine challenge.
The course's most difficult hole, this imposing par 5 stretches across 600 yards from the tips with hazards and bunkering throughout. The length and complexity make this a true three-shot hole for most players.
A mid-length par 3 with a green protected by bunkers and potentially surrounded by water or out of bounds. The hole plays deceptively difficult despite moderate yardage, requiring an accurate tee shot to a protected target.
A strong par 4 with a fairway that may dogleg or feature tight bunkering in the landing zone. The green's defenses and positioning make accurate positioning off the tee essential for a birdie opportunity.
An accessible par 5 with a fairway that plays relatively open but is guarded by hazards on one or both sides. The hole offers a reasonable birdie chance for those who avoid the strategic hazards and position themselves properly.
A mid-length par 4 with a fairway that demands accuracy rather than distance, with bunkers framing the approach zone. The green's contours and surrounding hazards add difficulty to what appears to be a modest hole.
A short par 3 with water or bunkers guarding the green from multiple angles, creating a tight target off the tee. The modest length is offset by the precision required to avoid hazards and find the putting surface.
The course's third-most difficult hole, this finishing par 4 stretches players with length and strategic hazards throughout, including out of bounds or water that penalizes aggressive play. A strong, accurate finish is required to complete the round successfully.
Scorecard
| Hole | 1 | 2 | 3 | 4 | 5 | 6 | 7 | 8 | 9 | Out | 10 | 11 | 12 | 13 | 14 | 15 | 16 | 17 | 18 | In | Tot |
|---|---|---|---|---|---|---|---|---|---|---|---|---|---|---|---|---|---|---|---|---|---|
| Par | 4 | 4 | 5 | 4 | 3 | 4 | 3 | 4 | 4 | 35 | 4 | 4 | 5 | 3 | 4 | 5 | 4 | 3 | 4 | 36 | 71 |
| HCP | 16 | 4 | 12 | 2 | 18 | 10 | 8 | 14 | 6 | 5 | 9 | 1 | 15 | 7 | 17 | 11 | 13 | 3 | |||
| blue | 349 | 429 | 482 | 425 | 158 | 378 | 188 | 376 | 409 | 3194 | 425 | 427 | 600 | 191 | 416 | 515 | 387 | 174 | 453 | 3588 | 6782 |
| white | 339 | 415 | 471 | 398 | 128 | 346 | 170 | 365 | 357 | 2989 | 408 | 404 | 554 | 150 | 396 | 500 | 369 | 161 | 437 | 3379 | 6368 |
| silver | 339 | 362 | 471 | 398 | 128 | 250 | 144 | 367 | 351 | 2810 | 310 | 358 | 478 | 150 | 335 | 444 | 369 | 161 | 385 | 2990 | 5800 |
| gold | 329 | 358 | 459 | 356 | 118 | 329 | 140 | 242 | 338 | 2669 | 316 | 352 | 476 | 129 | 342 | 453 | 364 | 119 | 385 | 2936 | 5605 |