Santa Maria Golf Club is an 18-hole golf course in Baton Rouge, LA with a par of 72. It offers 4 tee sets: black (6,920 yards, slope 130, rating 73.5), blue (6,370 yards, slope 124, rating 71), white (5,800 yards, slope 118, rating 68), gold (4,949 yards, slope 104, rating 64.3). The hardest hole is #15, a par 5 playing 556 yards from the first tee.
Santa Maria Golf Club
Baton Rouge, LA
Get PDF Yardage Book
We'll email you the PDF link. No spam, ever.
Create Your Game Plan
Pick your tees, enter your bag, and get a personalized shot-by-shot strategy for every hole.
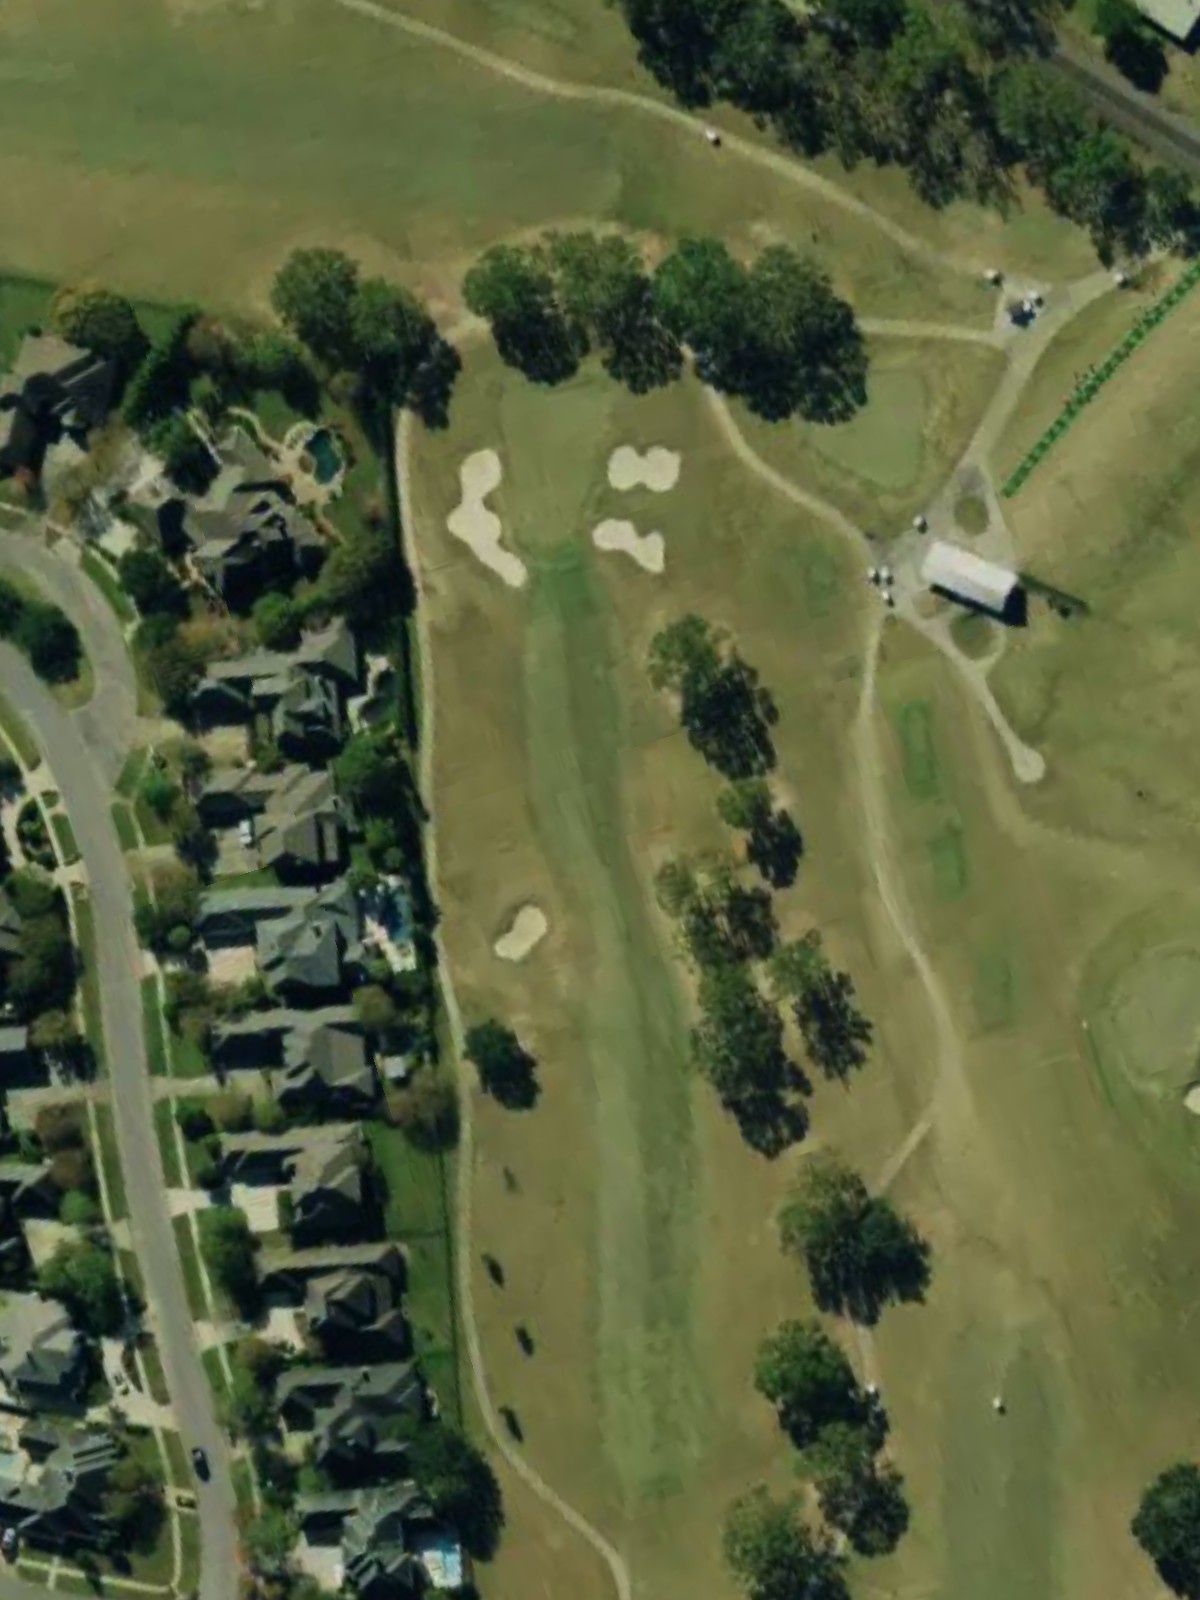
A straightforward par 4 that plays down a relatively open fairway before narrowing as it approaches the green. Bunkers guard both sides of the green, demanding accuracy on the approach shot.
A short par 3 playing to a well-bunkered green surrounded by sand on multiple sides. The green's compact size leaves little room for error despite the modest distance.
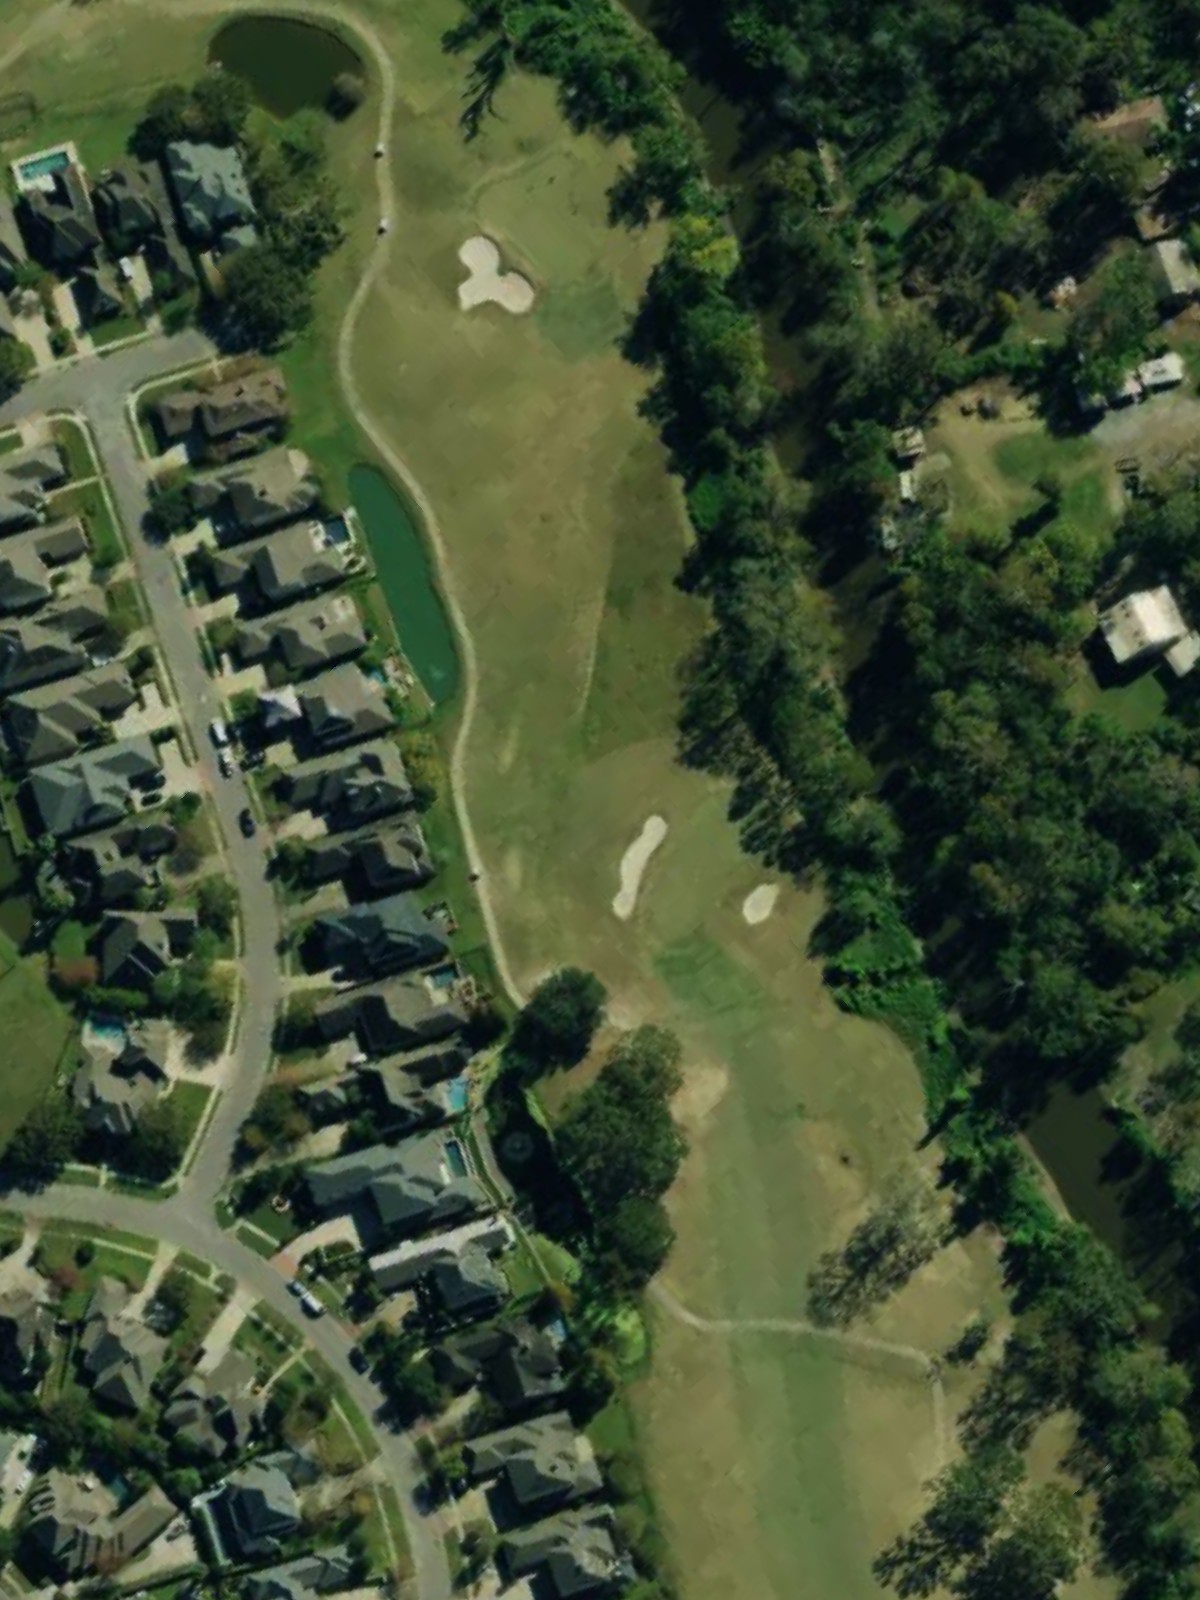
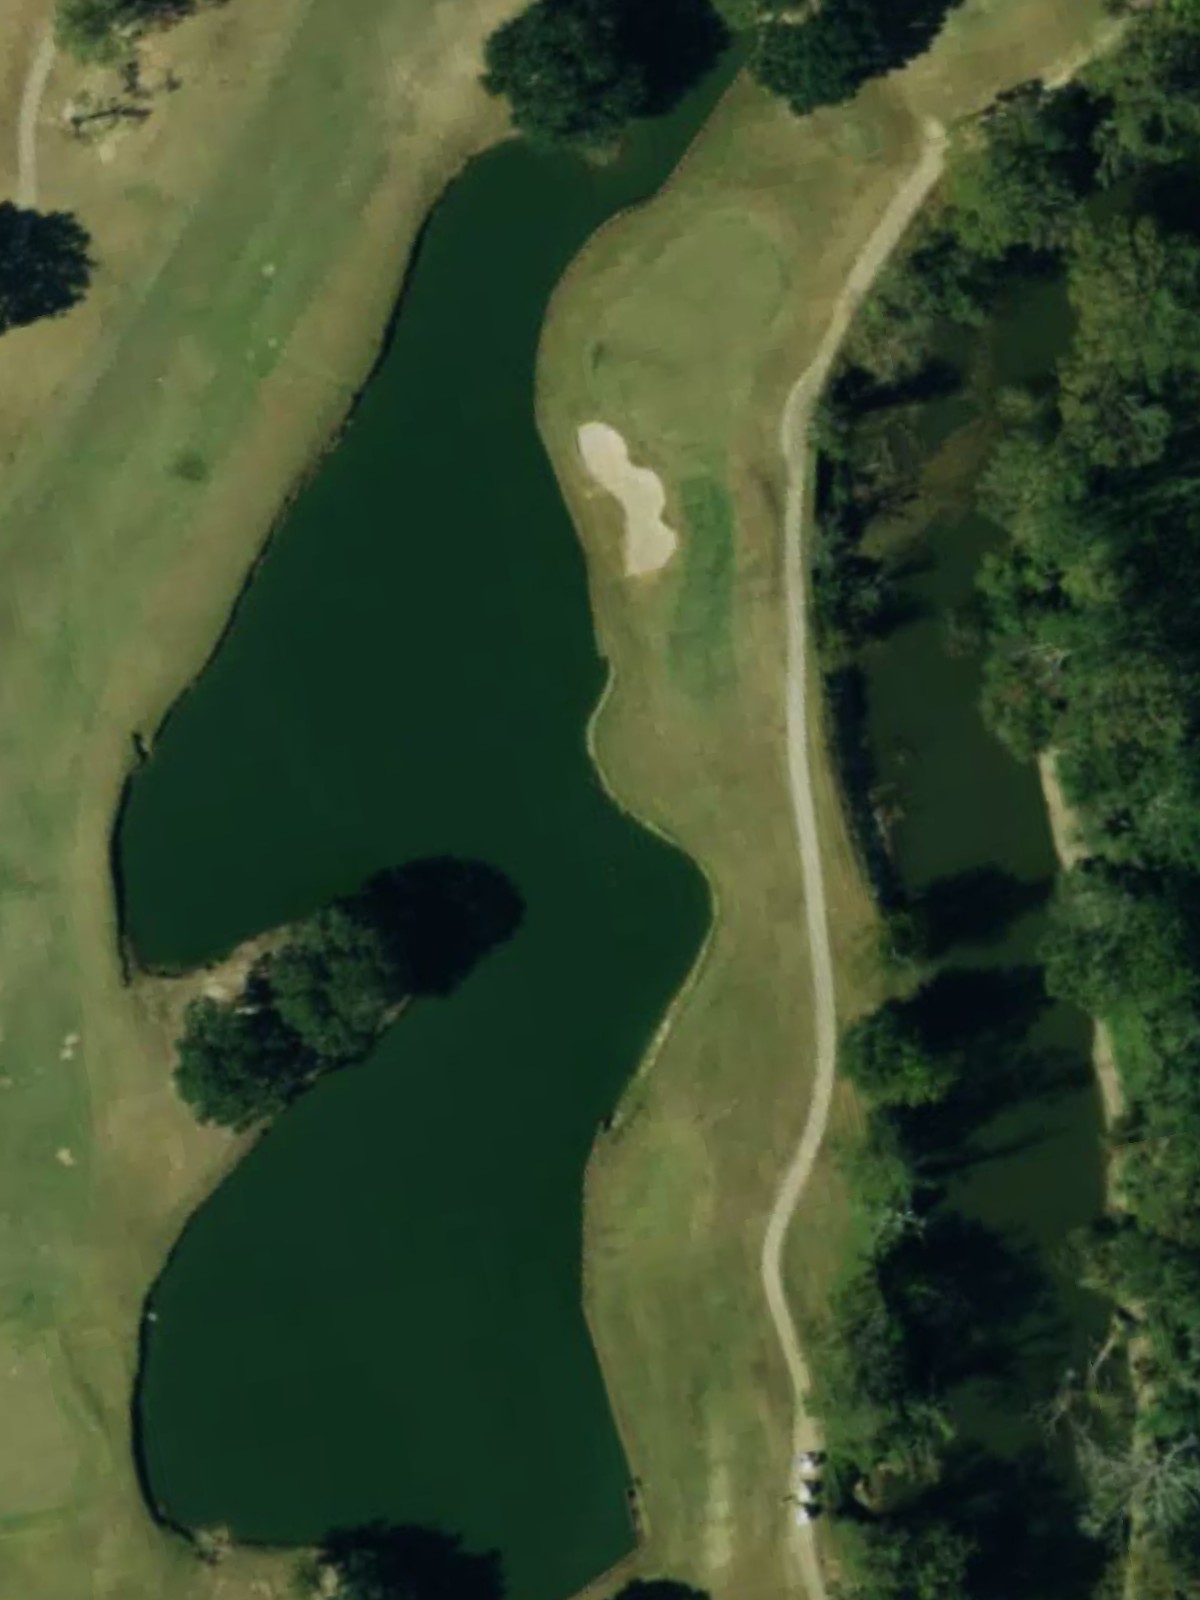
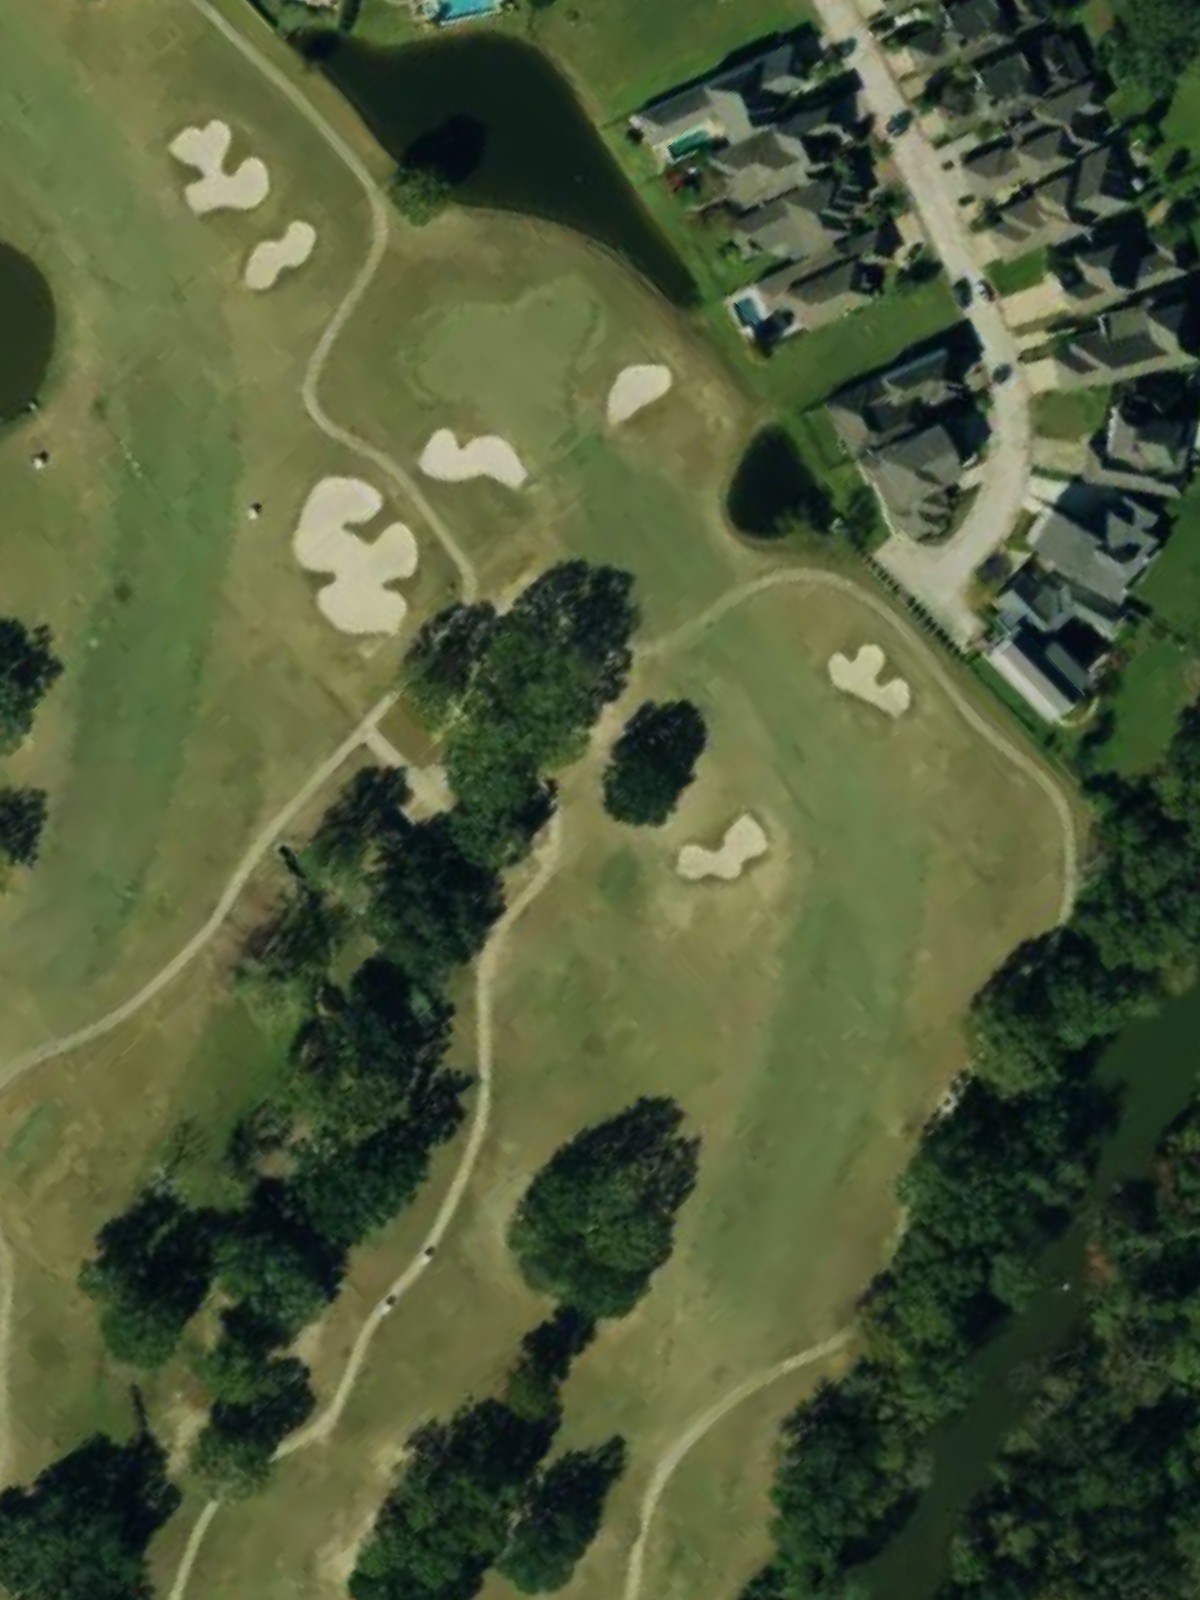
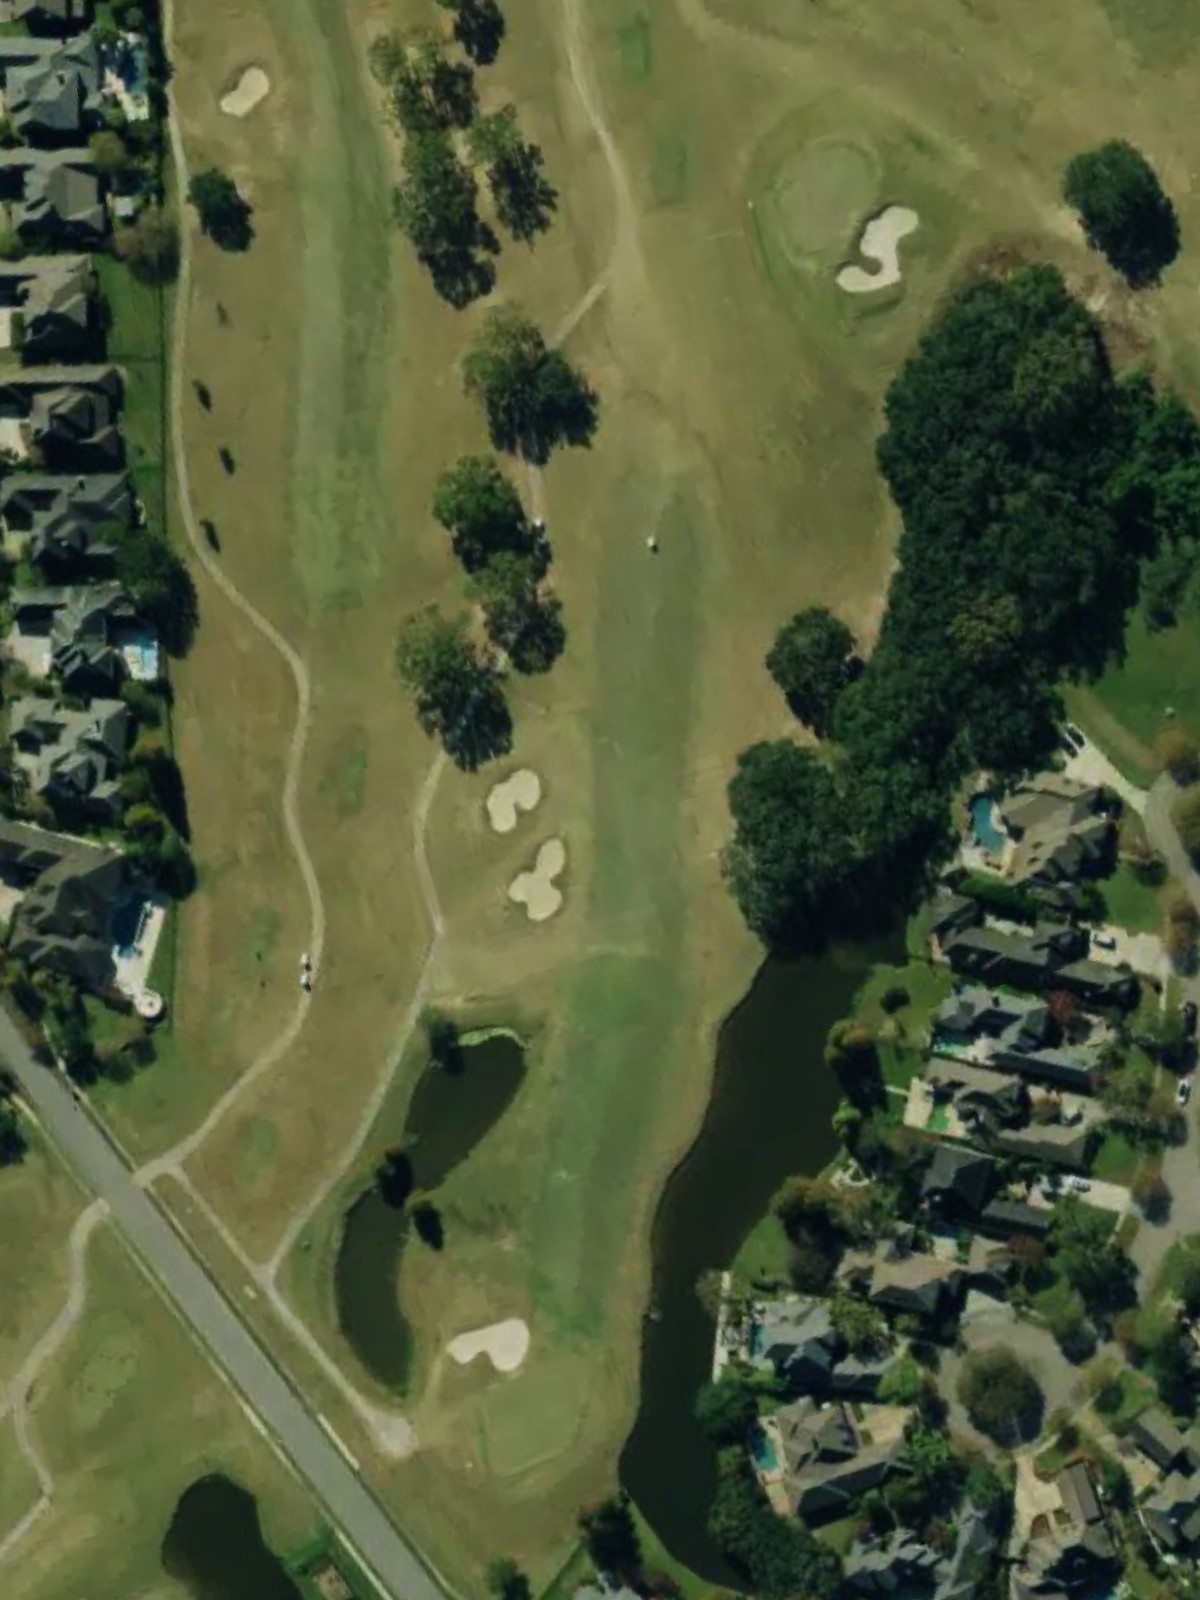
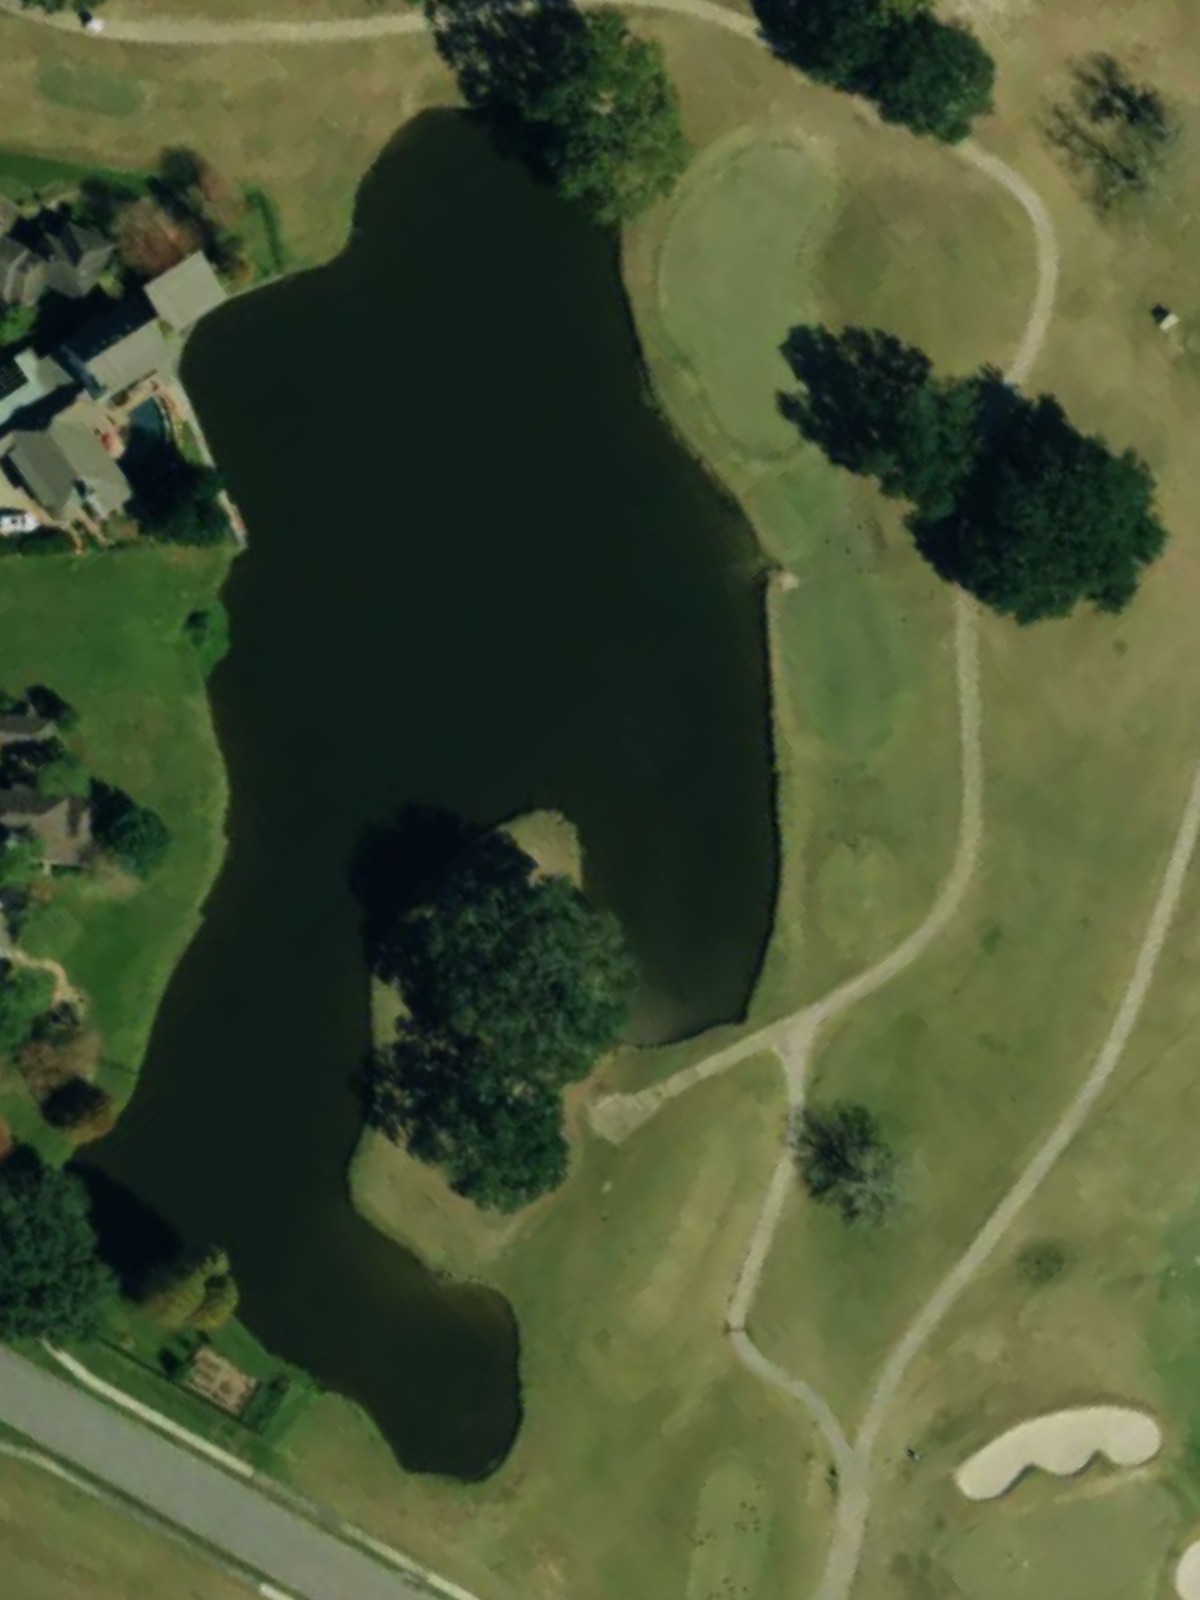
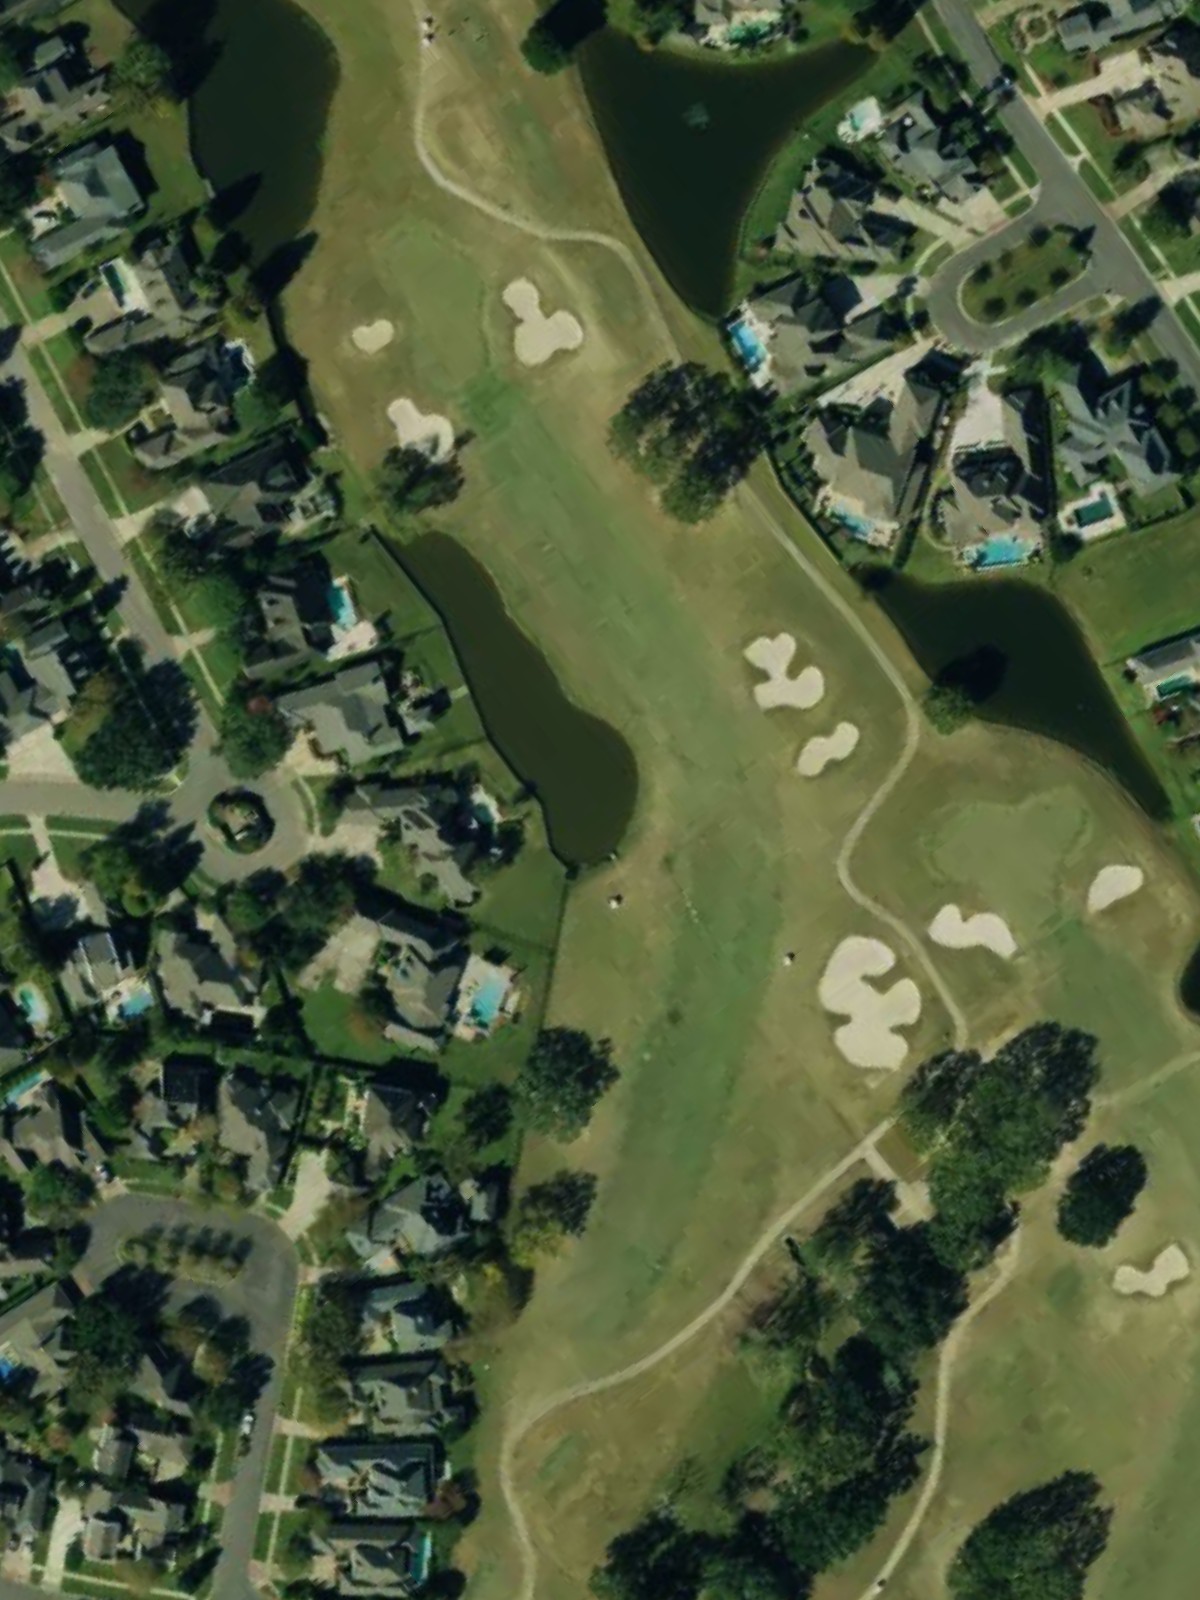
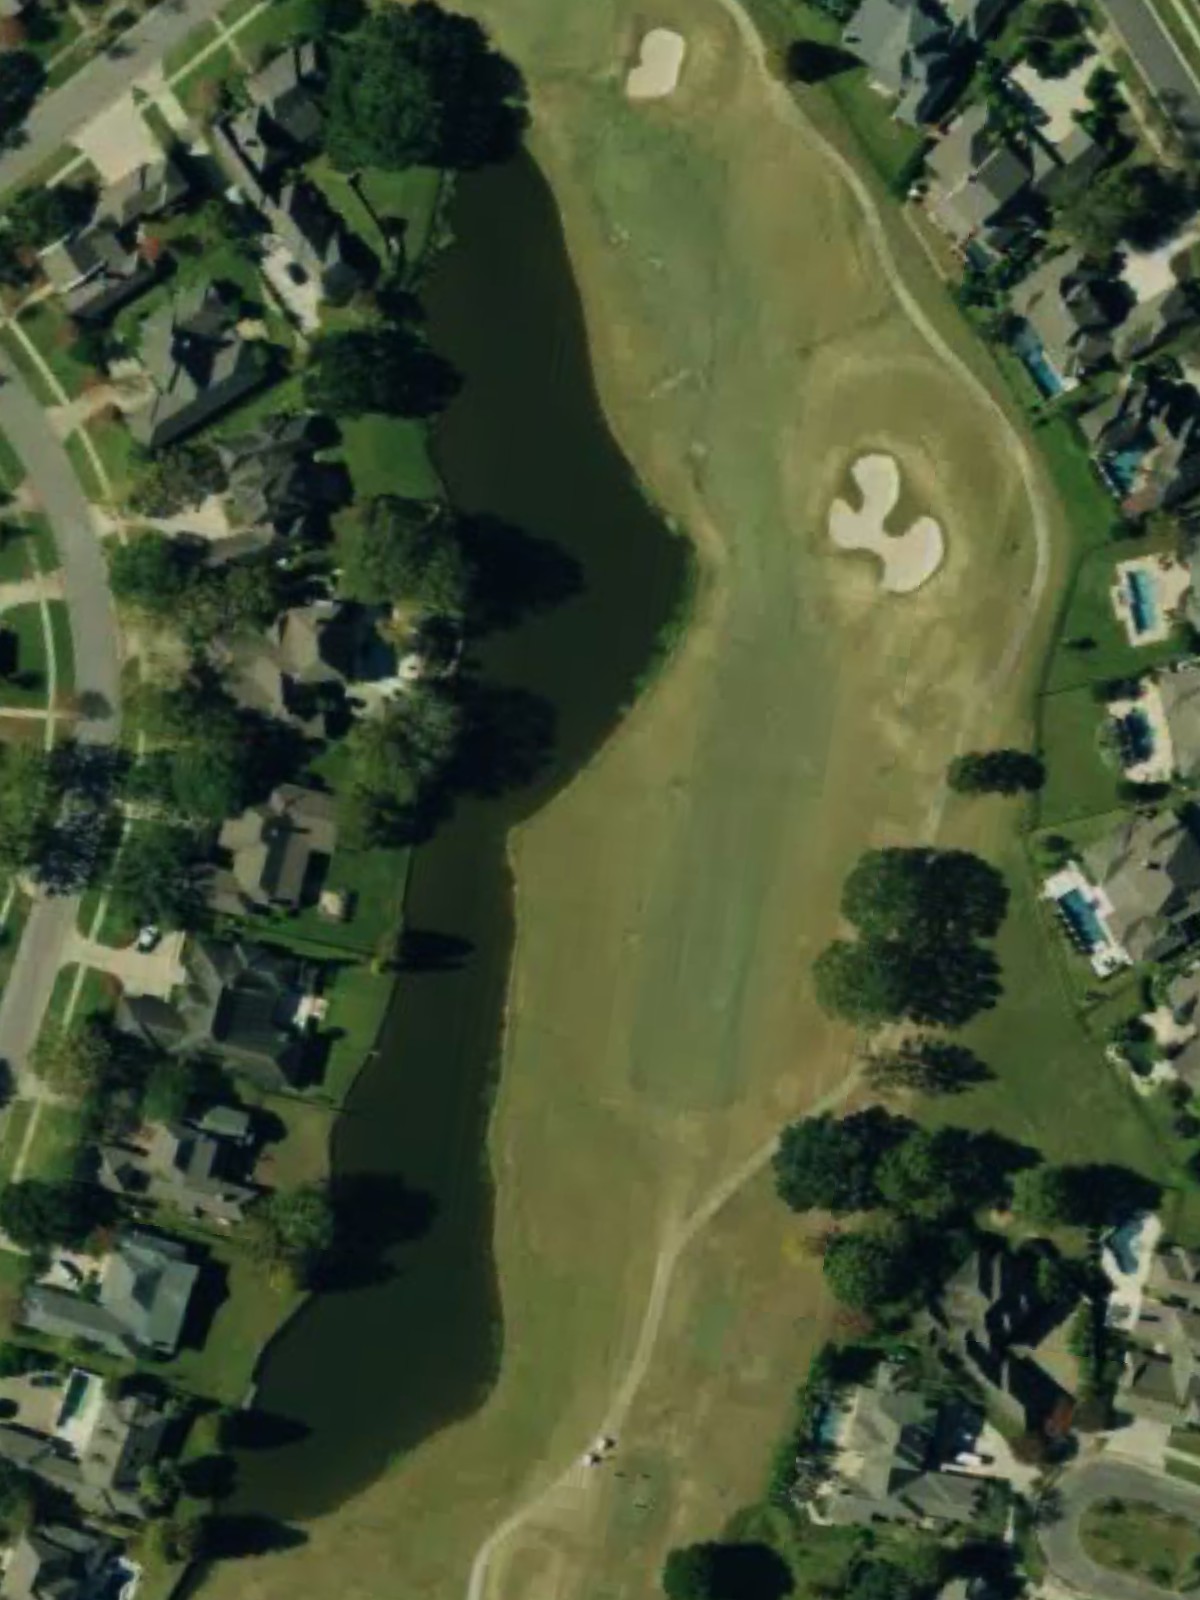
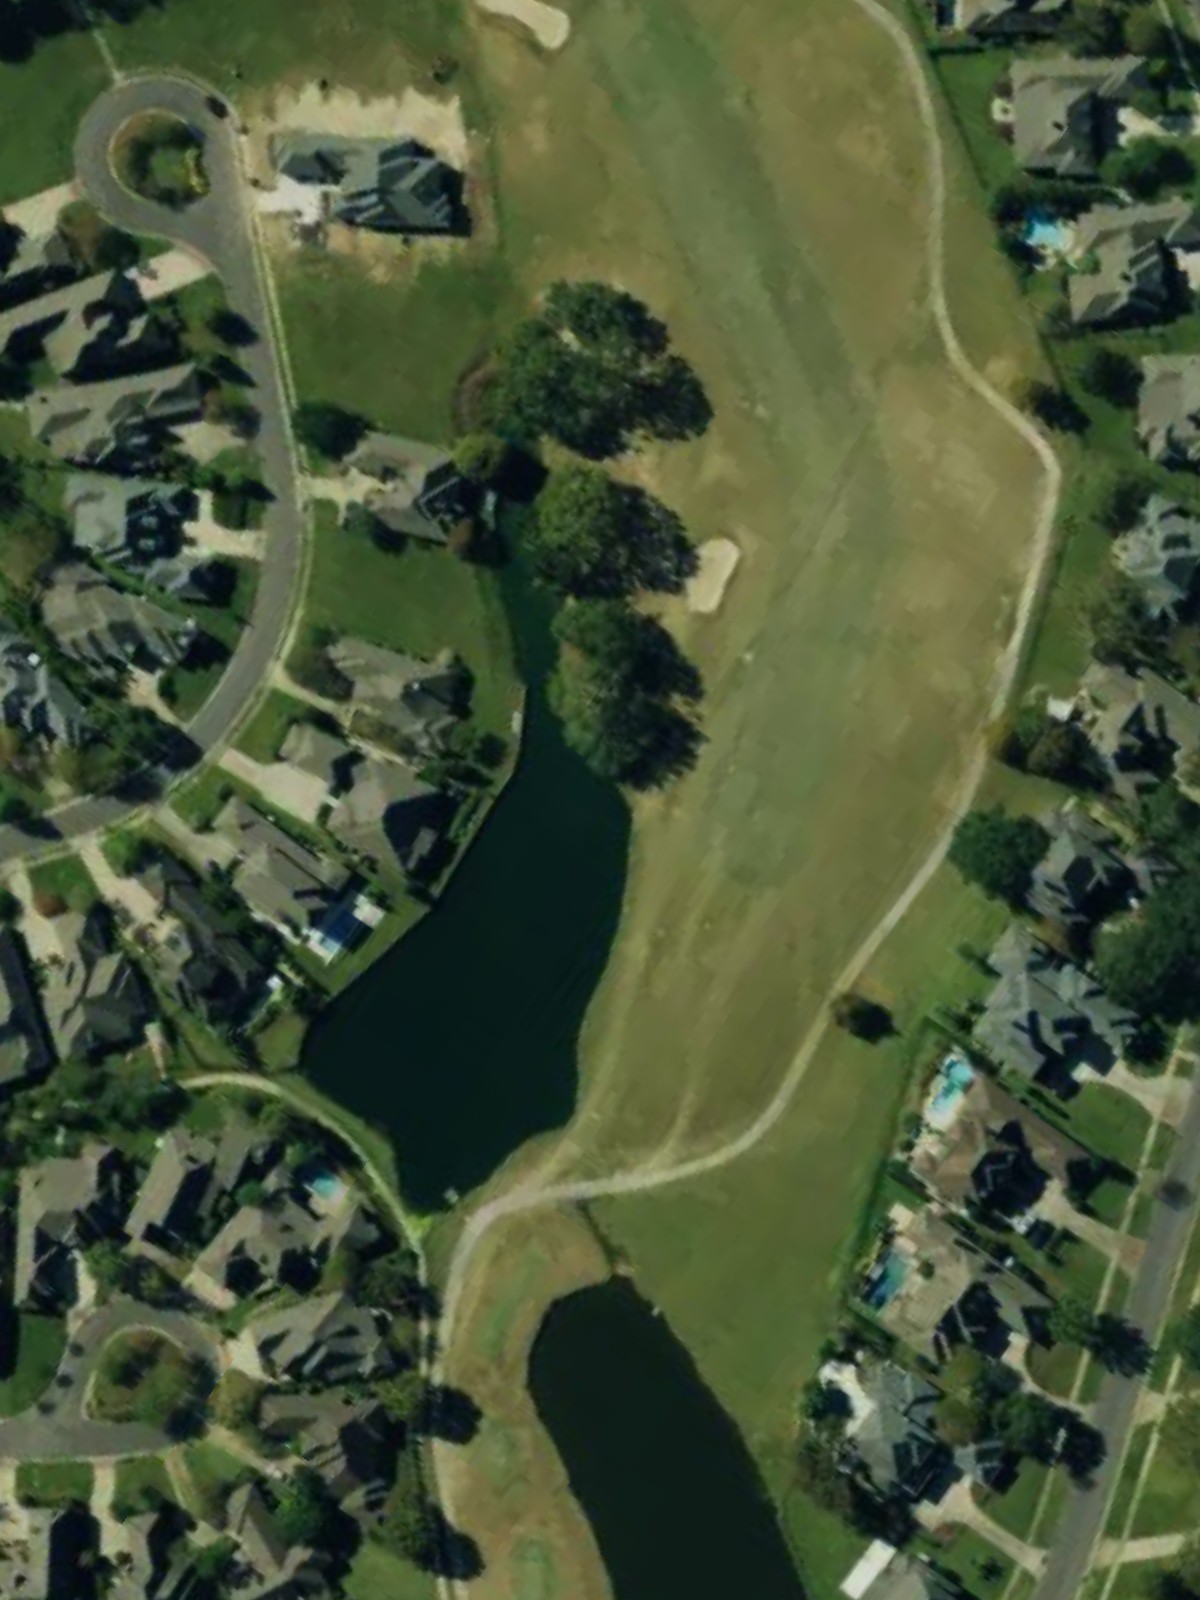
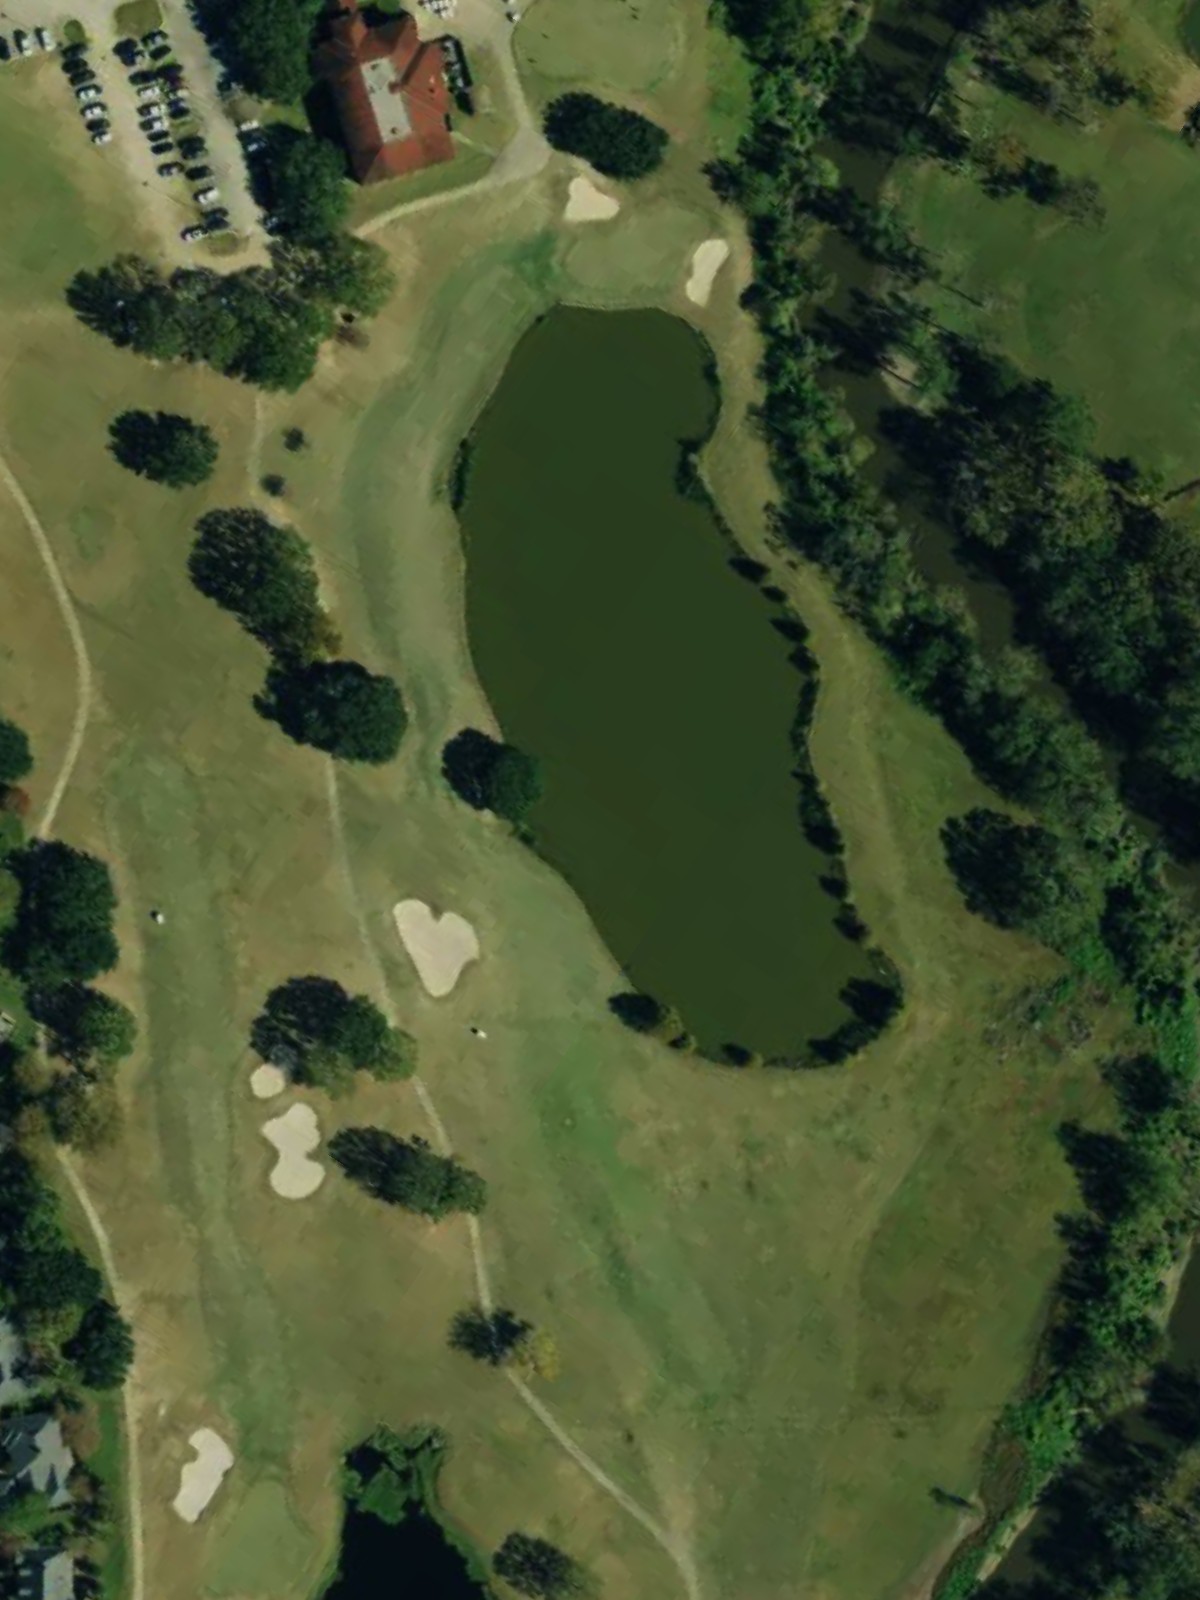
A lengthy par 5 that presents multiple strategic options for three-shot play with a fairway that opens in the landing zone. Water hazards and bunker complexes frame both sides of the approach area, protecting a deeply contoured green.
A mid-length par 4 with a relatively straightforward routing and moderate width through the fairway. Greenside bunkers on the right side of the green create the primary challenge on the approach.
A short par 3 with a raised, well-bunkered green that requires a precise tee shot. The putting surface is heavily guarded, making distance control critical.
A solid par 4 with a fairly open fairway that gradually narrows toward the green. Bunkers frame the approach, particularly on the right side, and out-of-bounds lurks left.
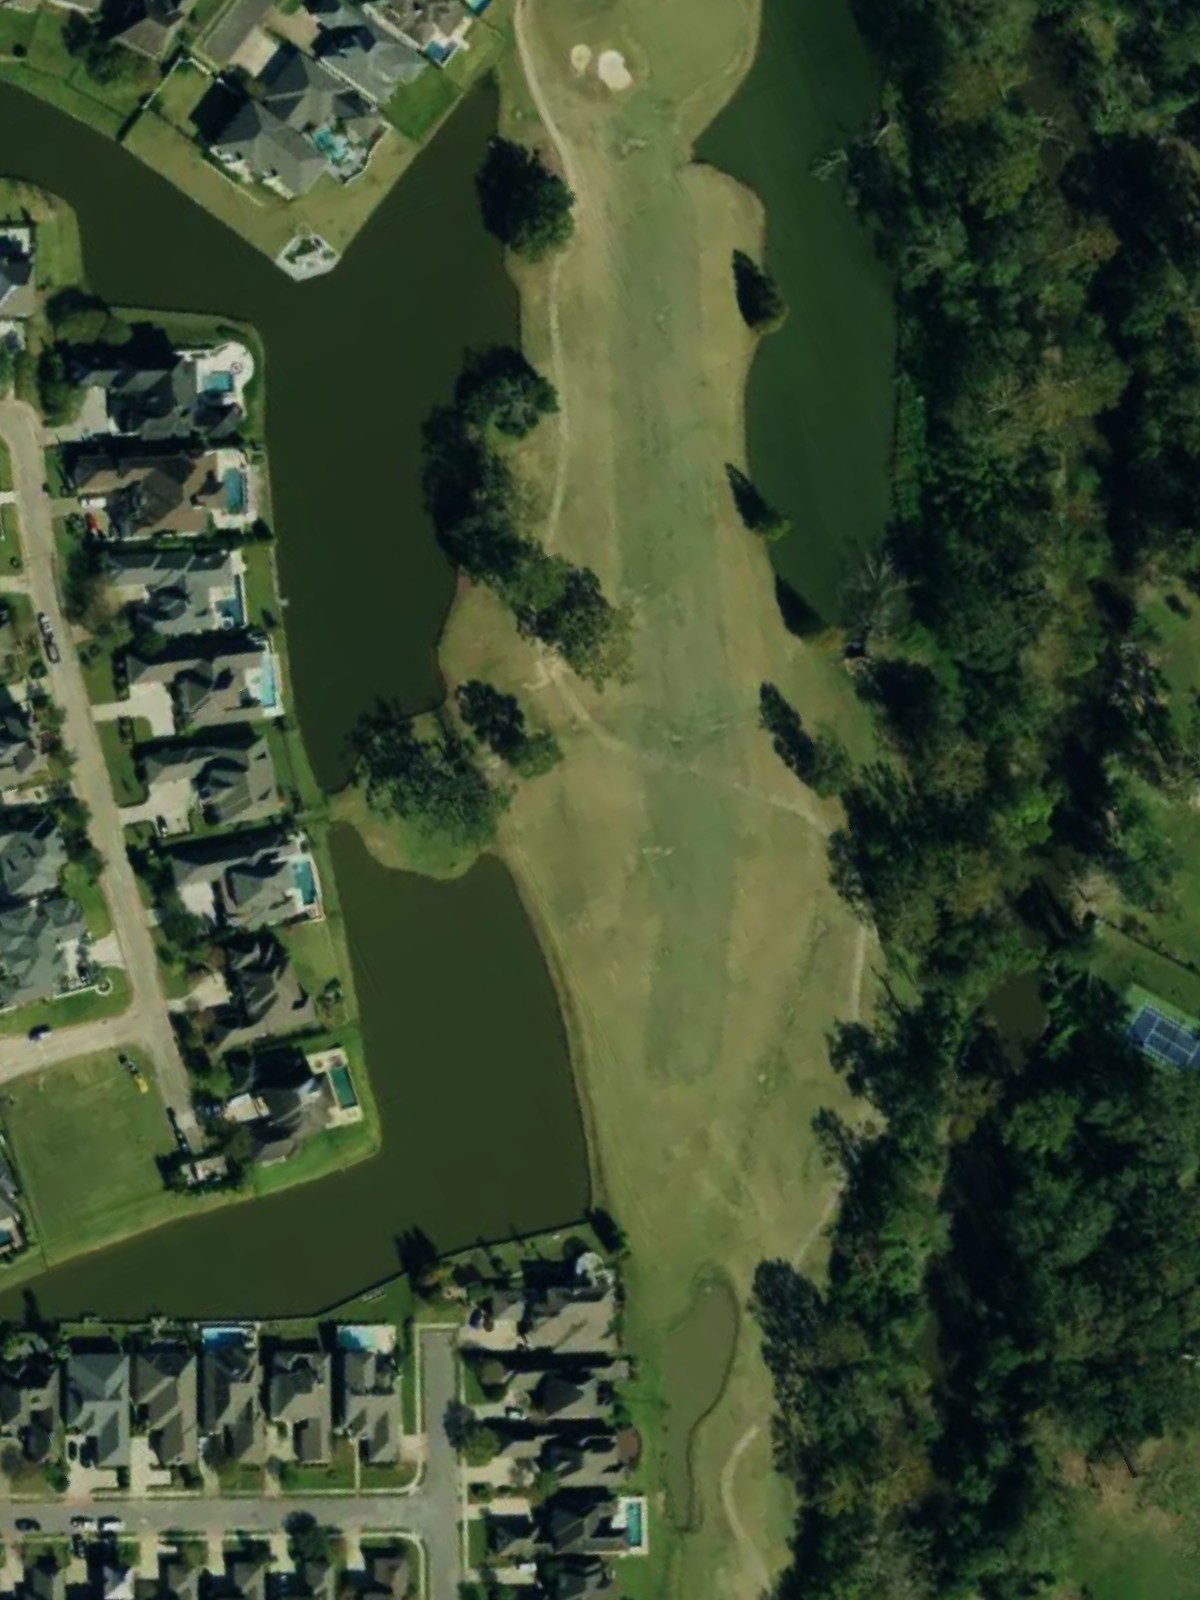
A challenging par 5 that offers multiple routing options but requires strategic positioning to attack the distant green. Water and bunker complexes guard the wider landing areas, forcing players to navigate carefully.
A short par 4 with an open fairway and a relatively straightforward approach to a modestly bunkered green. The compact length belies the precision required around the putting surface.
A manageable par 4 playing downhill toward a green framed by light bunkering. The downhill slope provides distance but demands control to avoid overshooting the target.
A solid par 4 with a fairway that plays slightly uphill and narrows in the approach zone. Bunkers protect the green on both sides, and out-of-bounds right adds a margin of penalty.
A short par 3 with a relatively open green complex and minimal hazarding, making it the most forgiving short hole on the course. The modest distance and gentle bunkering allow for straightforward execution.
A stout par 4 ranked among the course's most difficult holes, with a fairway that doglegs slightly and narrows considerably near the green. Bunkers and potentially out-of-bounds right frame the landing area, demanding accurate placement.
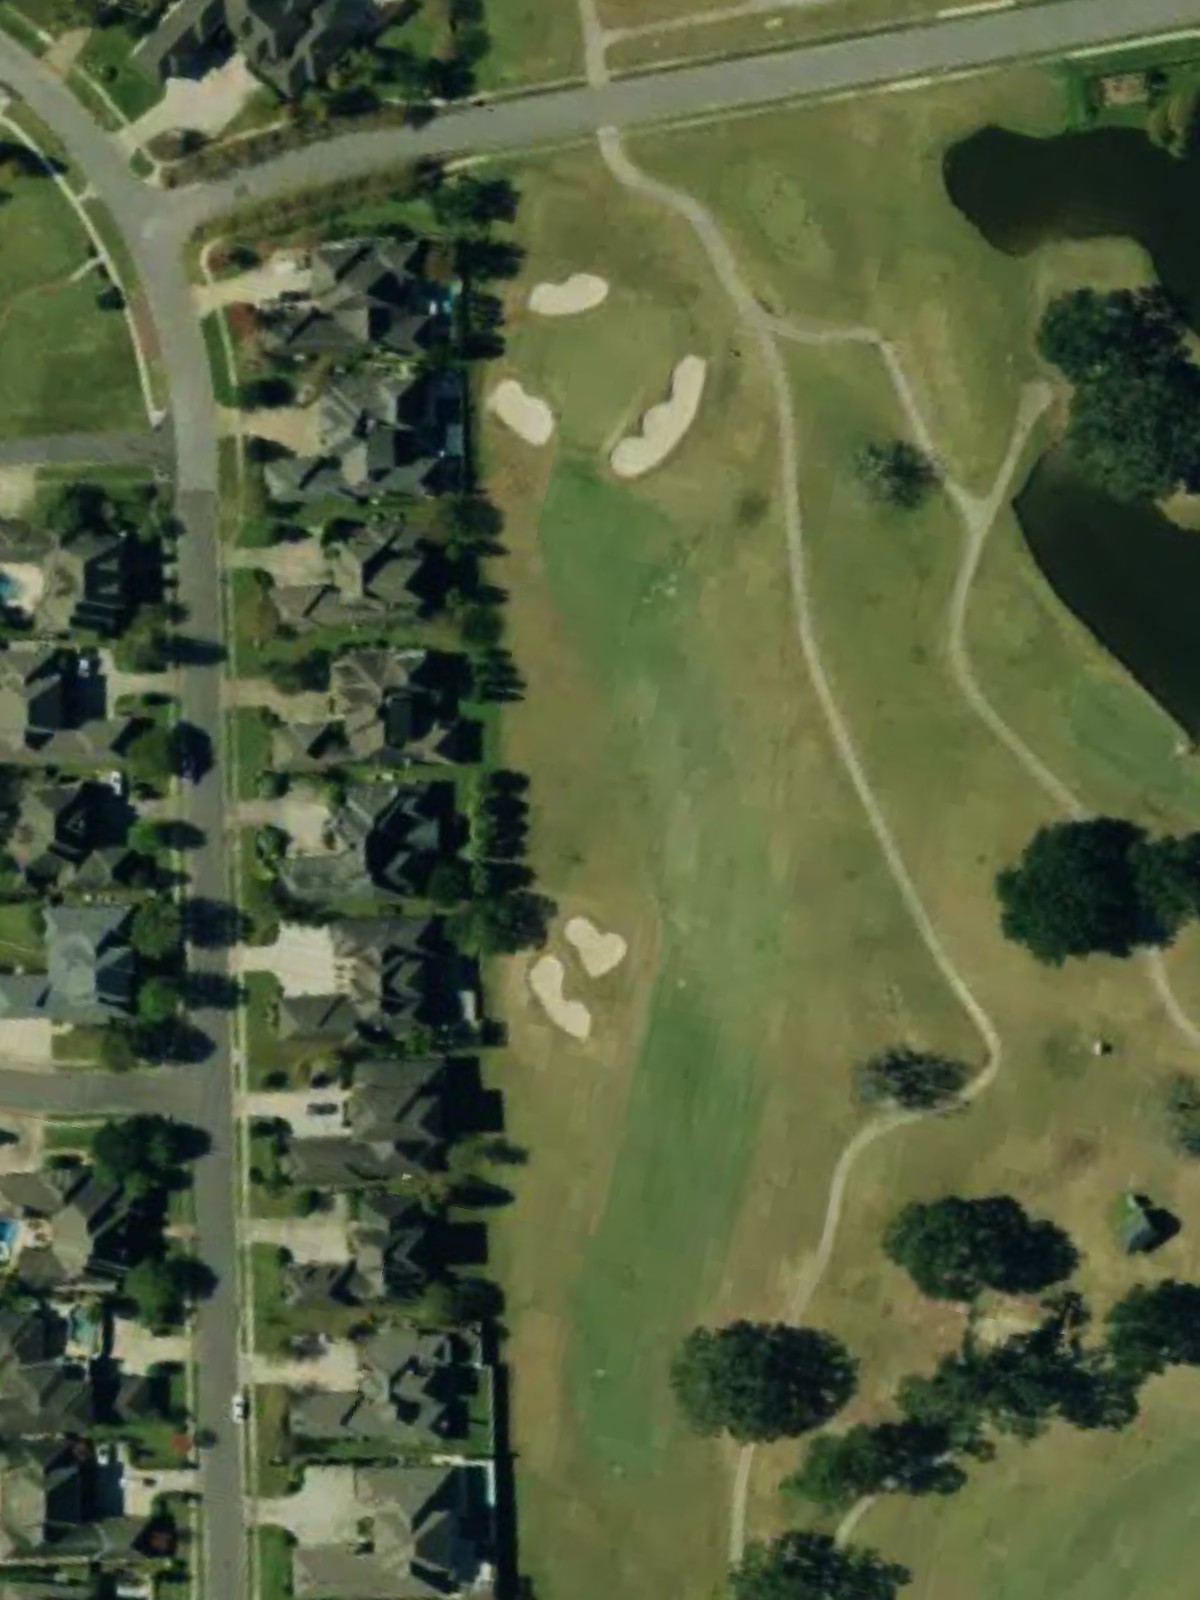
A mid-length par 4 with a relatively open fairway and a green surrounded by bunker complexes on both sides. The approach shot is the defining challenge, with little margin for wayward strikes.
A solid par 4 with a fairway that widens in the landing zone before tightening near the green. Bunkers frame the approach on both sides, and water left adds to the challenge of reaching the target.
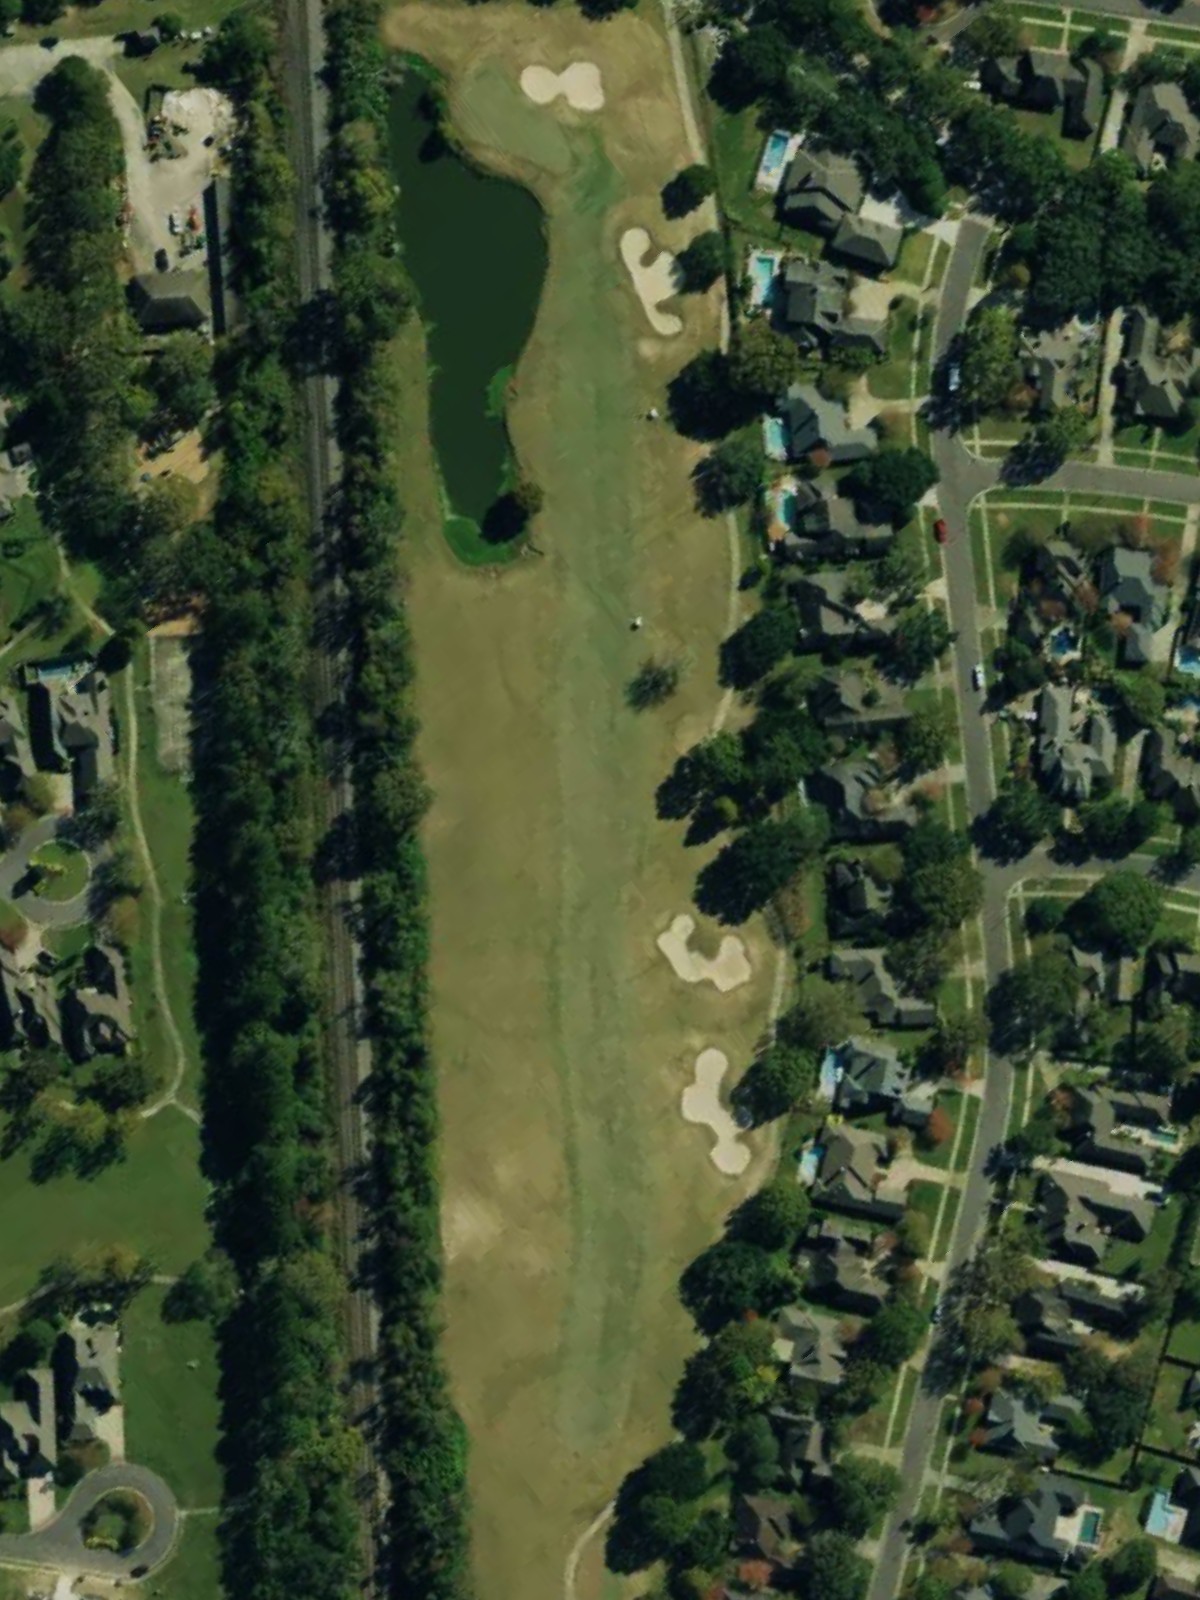
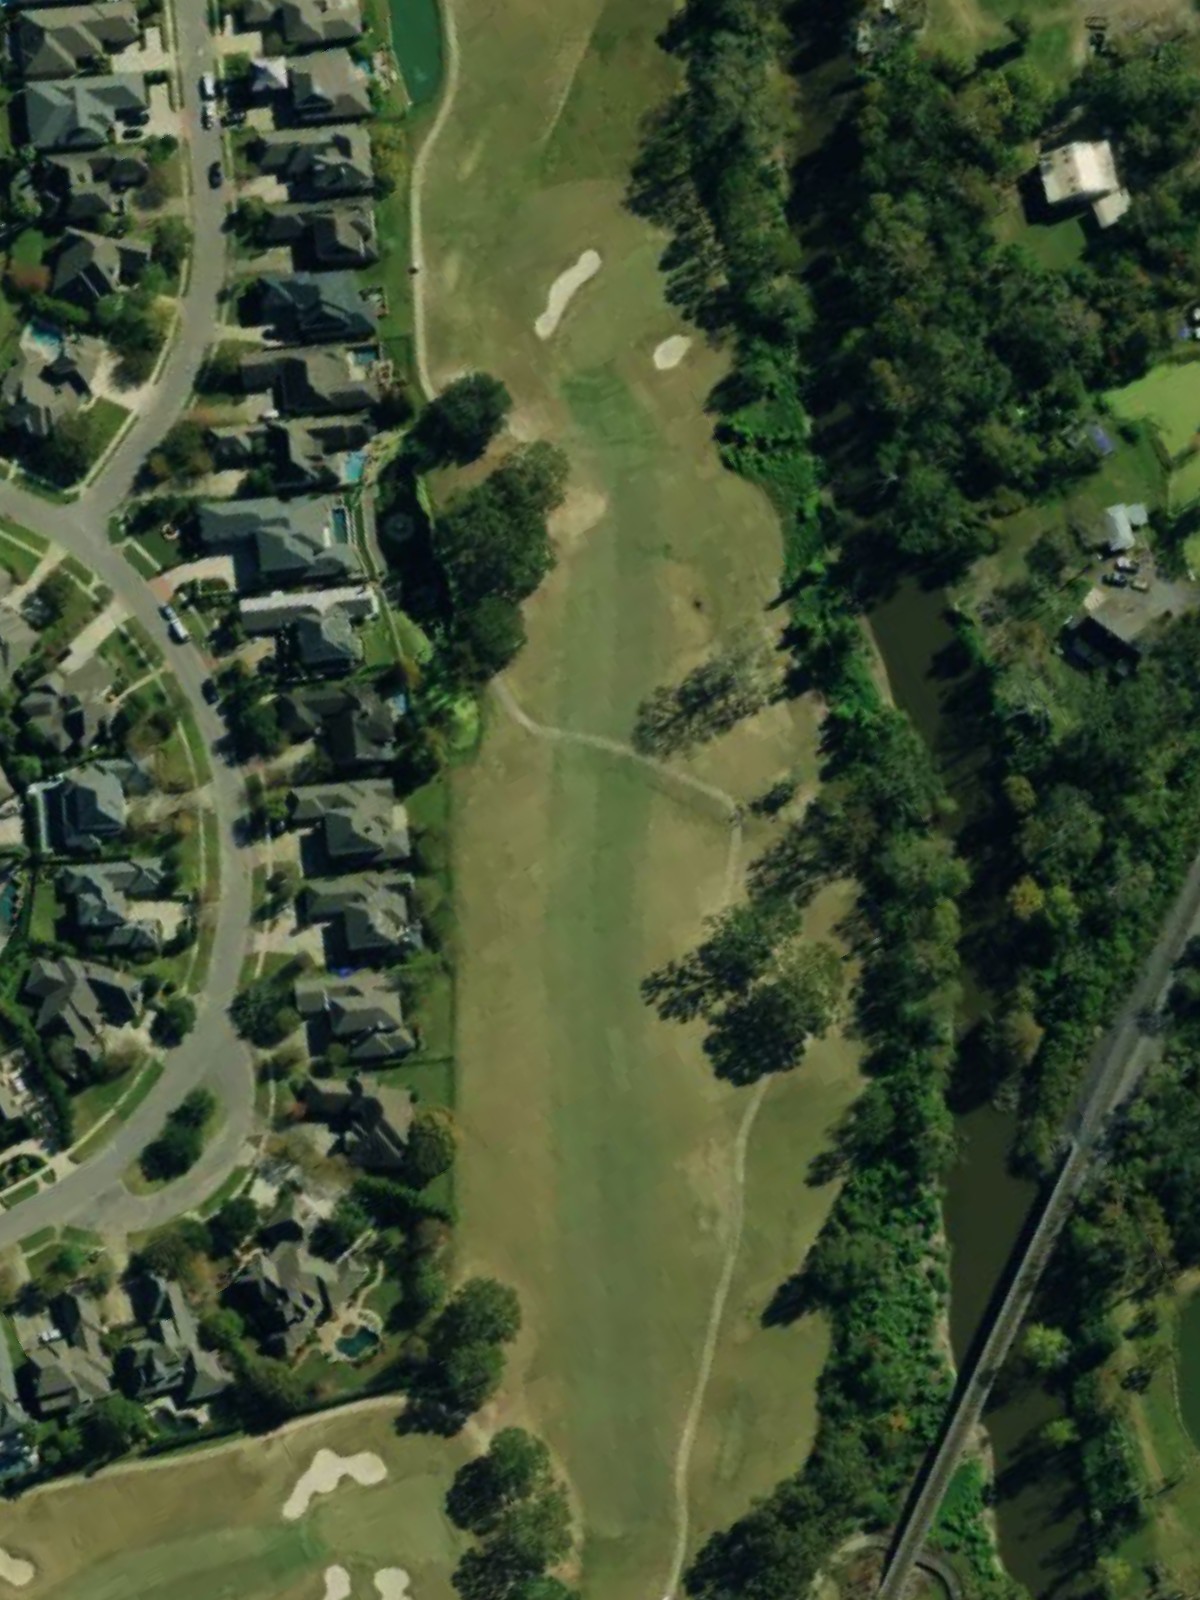
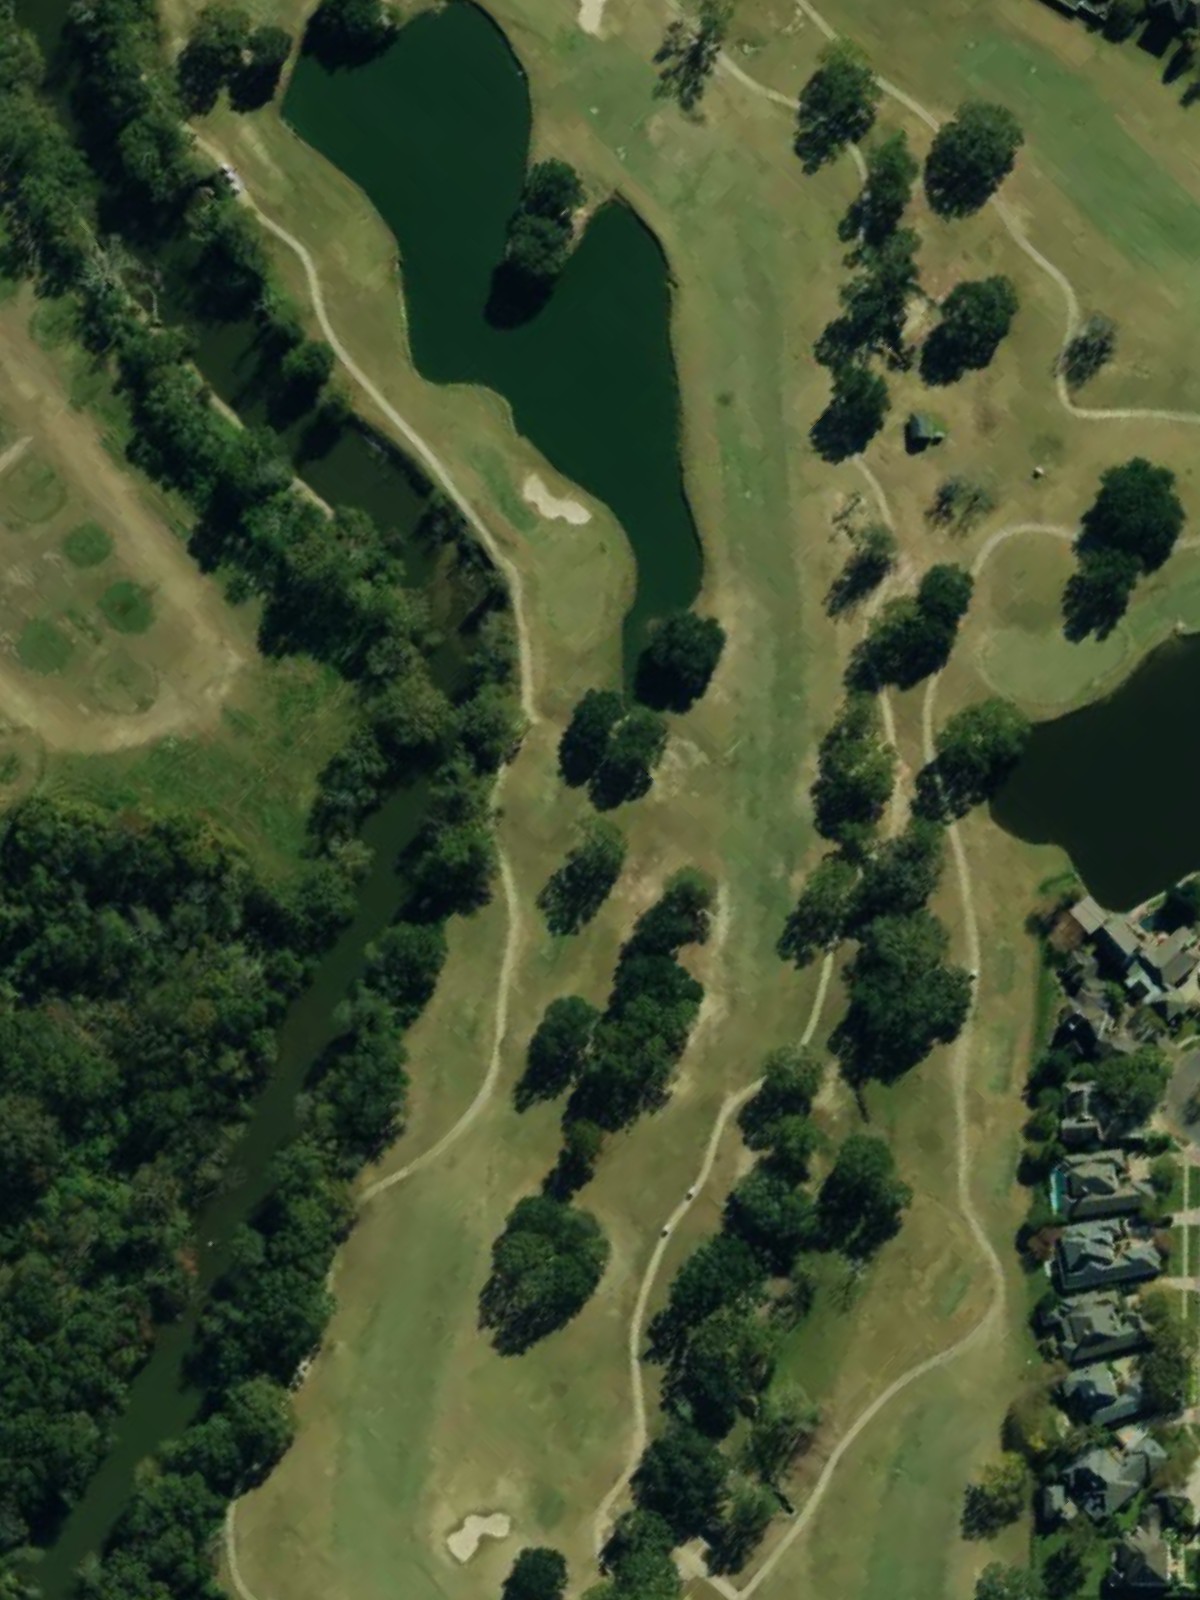
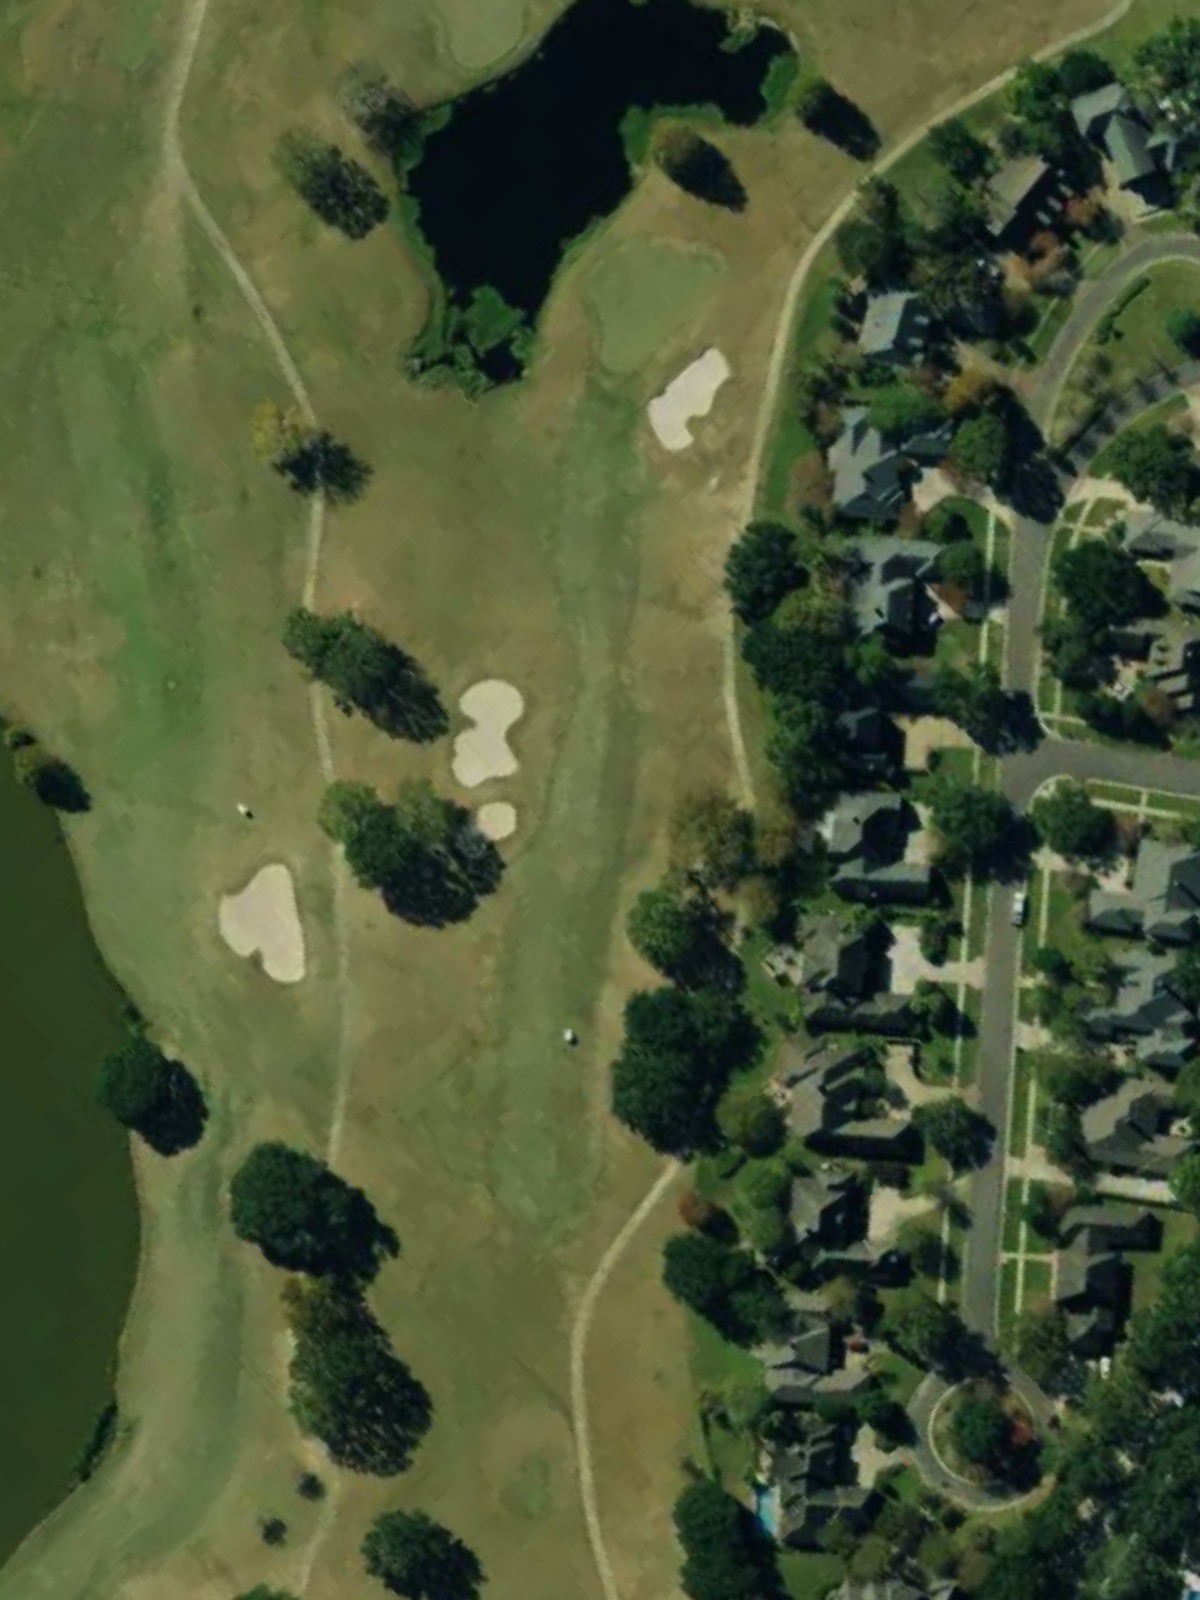
The course's longest and most difficult hole, a par 5 with a fairway that narrows significantly in the drive zone and strategic landing areas. Multiple bunker complexes and water hazards guard the wider areas and approach zone, demanding precise execution on all three shots.
A mid-length par 4 with a fairway that plays relatively straight before bending slightly toward a green heavily bunkered on the right. The bunker placement rewards left-side positioning but penalizes overcorrection.

A short par 3 with a small, well-bunkered green surrounded by sand and light rough. The compact putting surface and multiple bunkers create a precision test despite the modest yardage.
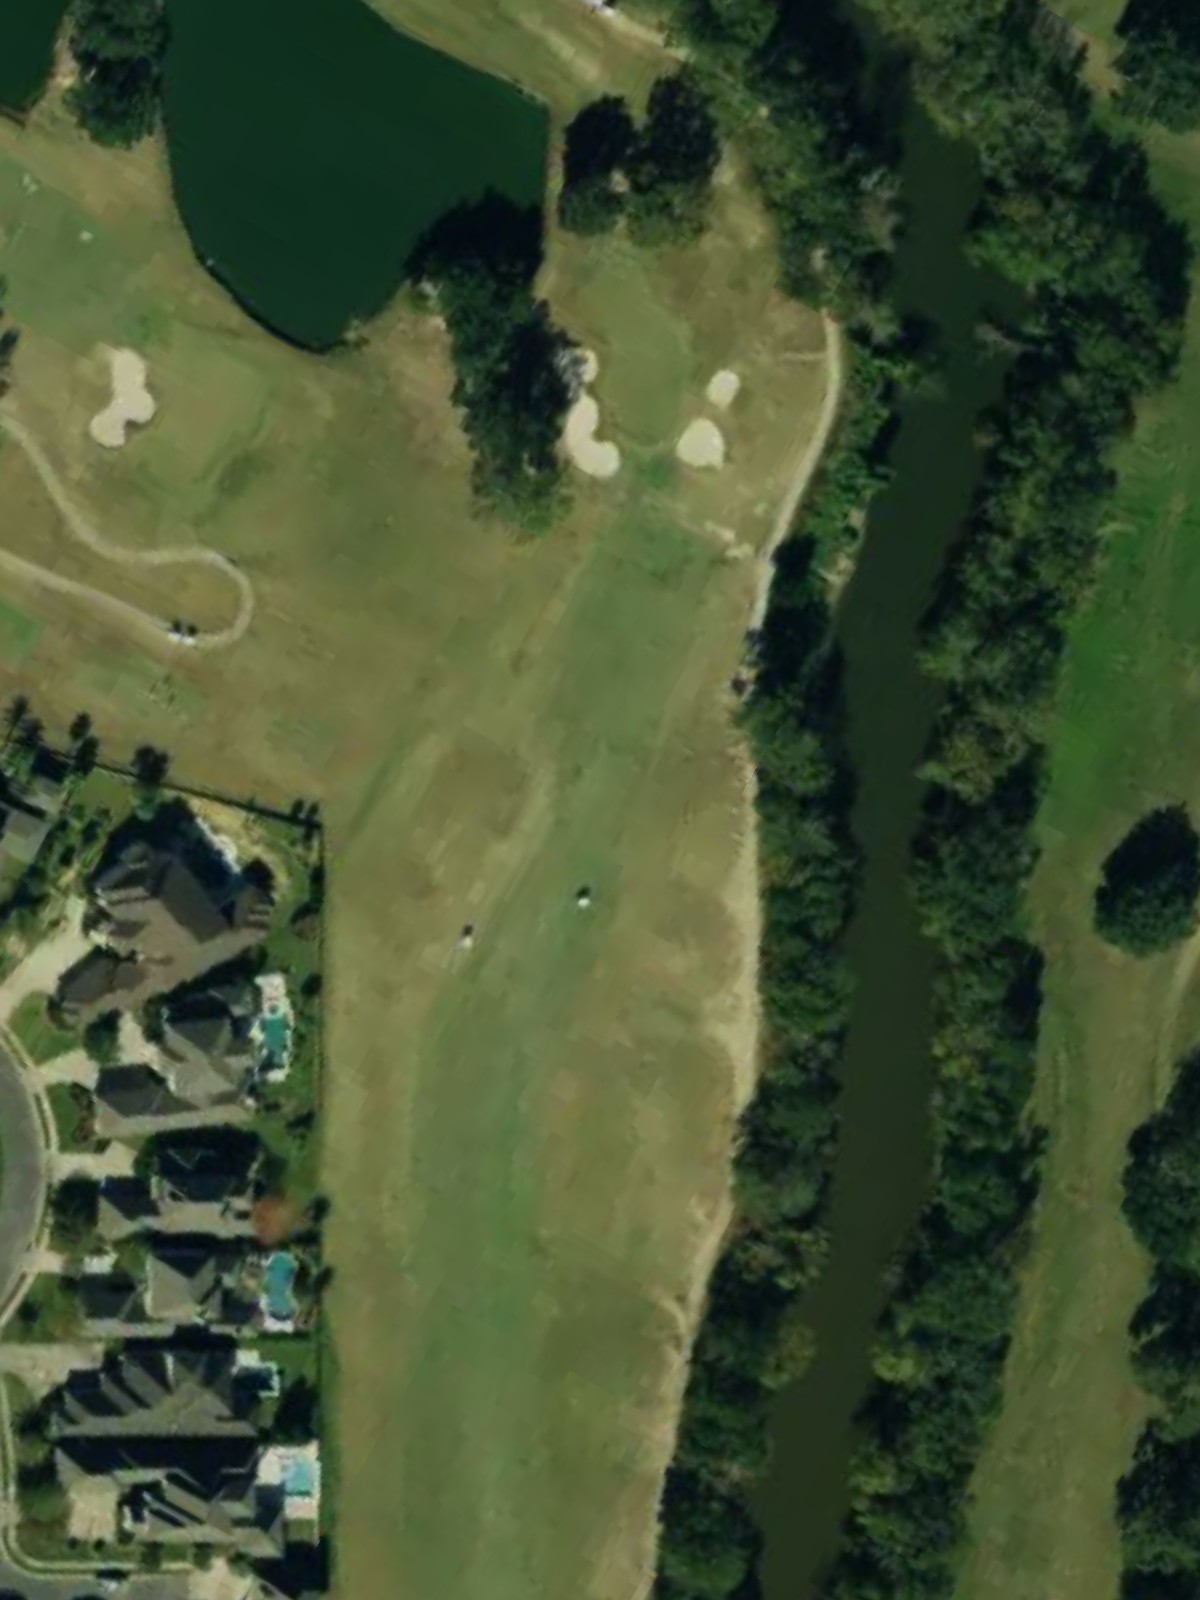
A closing par 5 that offers multiple paths through a fairway with strategic bunkering and water in play left. The broad approach zone allows aggressive or conservative play depending on position, with bunkers protecting the final green.
Scorecard
| Hole | 1 | 2 | 3 | 4 | 5 | 6 | 7 | 8 | 9 | Out | 10 | 11 | 12 | 13 | 14 | 15 | 16 | 17 | 18 | In | Tot |
|---|---|---|---|---|---|---|---|---|---|---|---|---|---|---|---|---|---|---|---|---|---|
| Par | 4 | 3 | 5 | 4 | 3 | 4 | 5 | 4 | 4 | 36 | 4 | 3 | 4 | 4 | 4 | 5 | 4 | 3 | 5 | 36 | 72 |
| HCP | 6 | 18 | 2 | 12 | 16 | 8 | 4 | 10 | 14 | 9 | 15 | 5 | 11 | 7 | 1 | 13 | 17 | 3 | |||
| black | 437 | 192 | 535 | 383 | 215 | 398 | 504 | 392 | 361 | 3417 | 401 | 182 | 442 | 403 | 410 | 575 | 393 | 181 | 516 | 3503 | 6920 |
| blue | 421 | 171 | 496 | 367 | 170 | 371 | 475 | 361 | 331 | 3163 | 363 | 145 | 416 | 355 | 376 | 556 | 373 | 149 | 474 | 3207 | 6370 |
| white | 385 | 144 | 460 | 333 | 153 | 330 | 420 | 325 | 311 | 2861 | 337 | 132 | 382 | 319 | 354 | 509 | 330 | 126 | 450 | 2939 | 5800 |
| gold | 261 | 126 | 347 | 316 | 125 | 292 | 384 | 310 | 270 | 2431 | 308 | 86 | 254 | 285 | 326 | 442 | 282 | 102 | 433 | 2518 | 4949 |