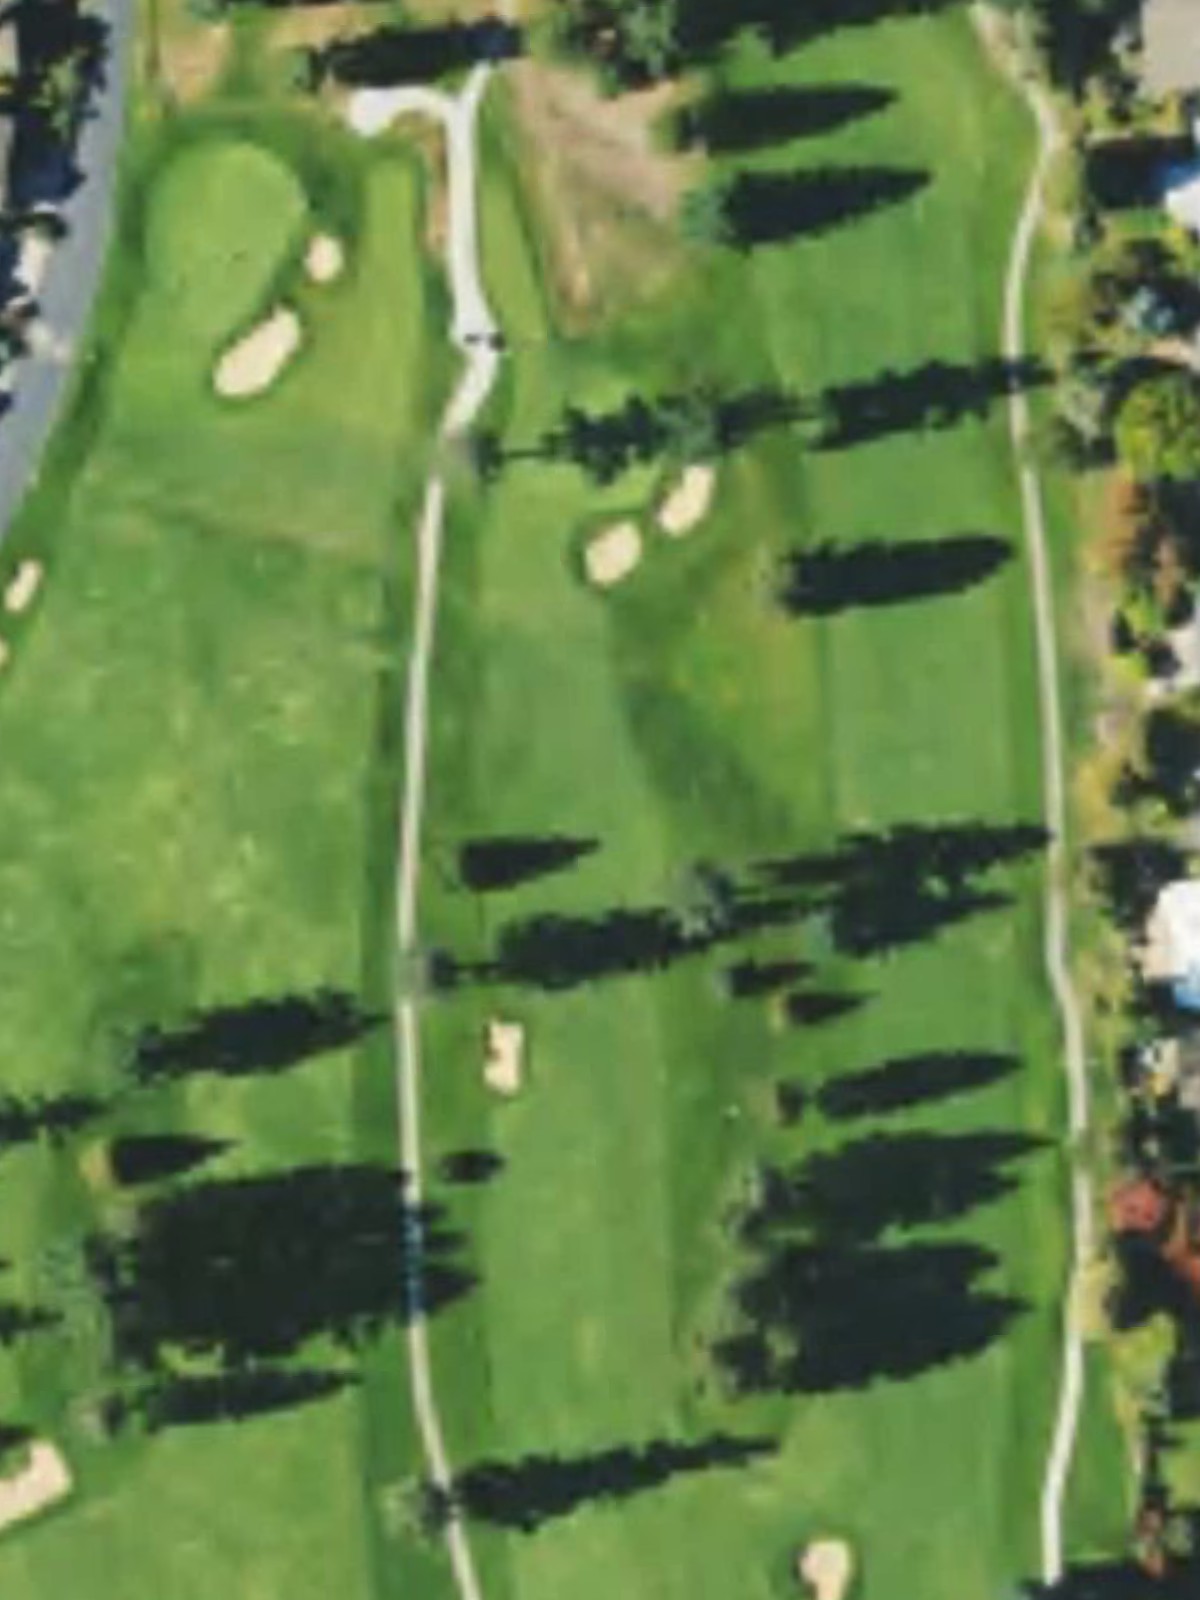
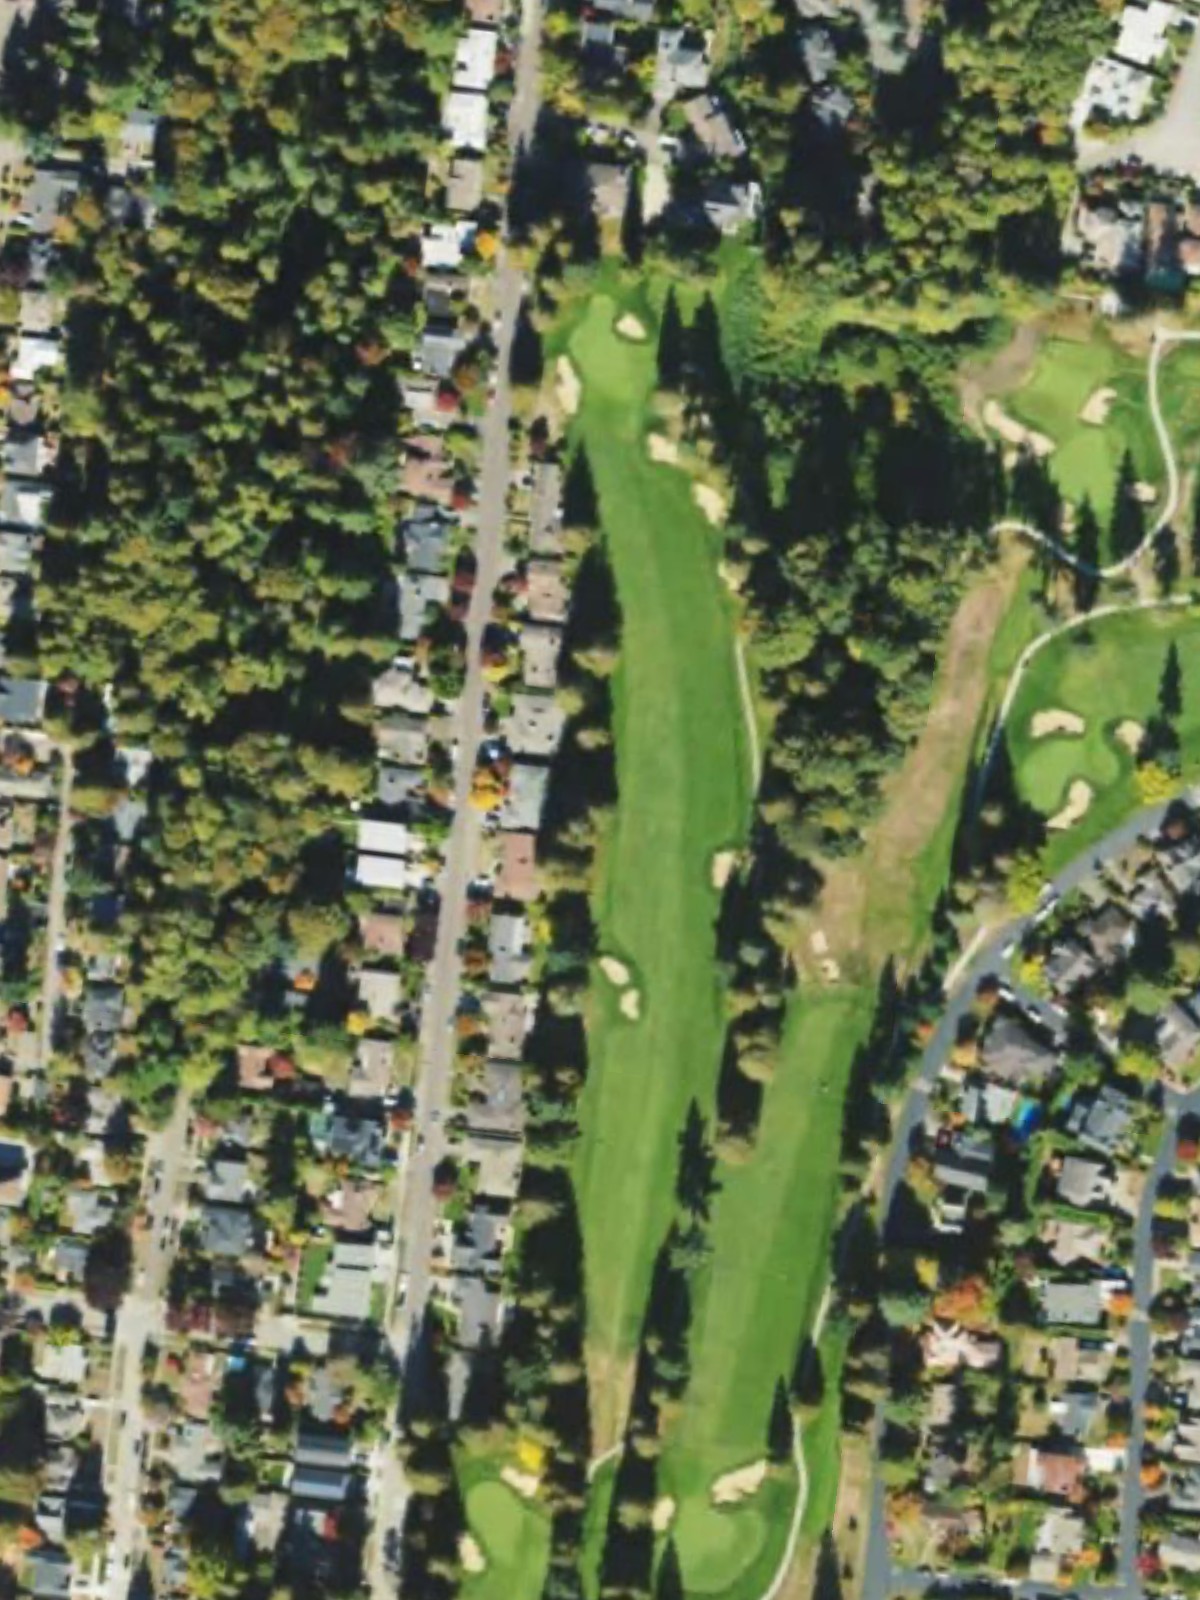
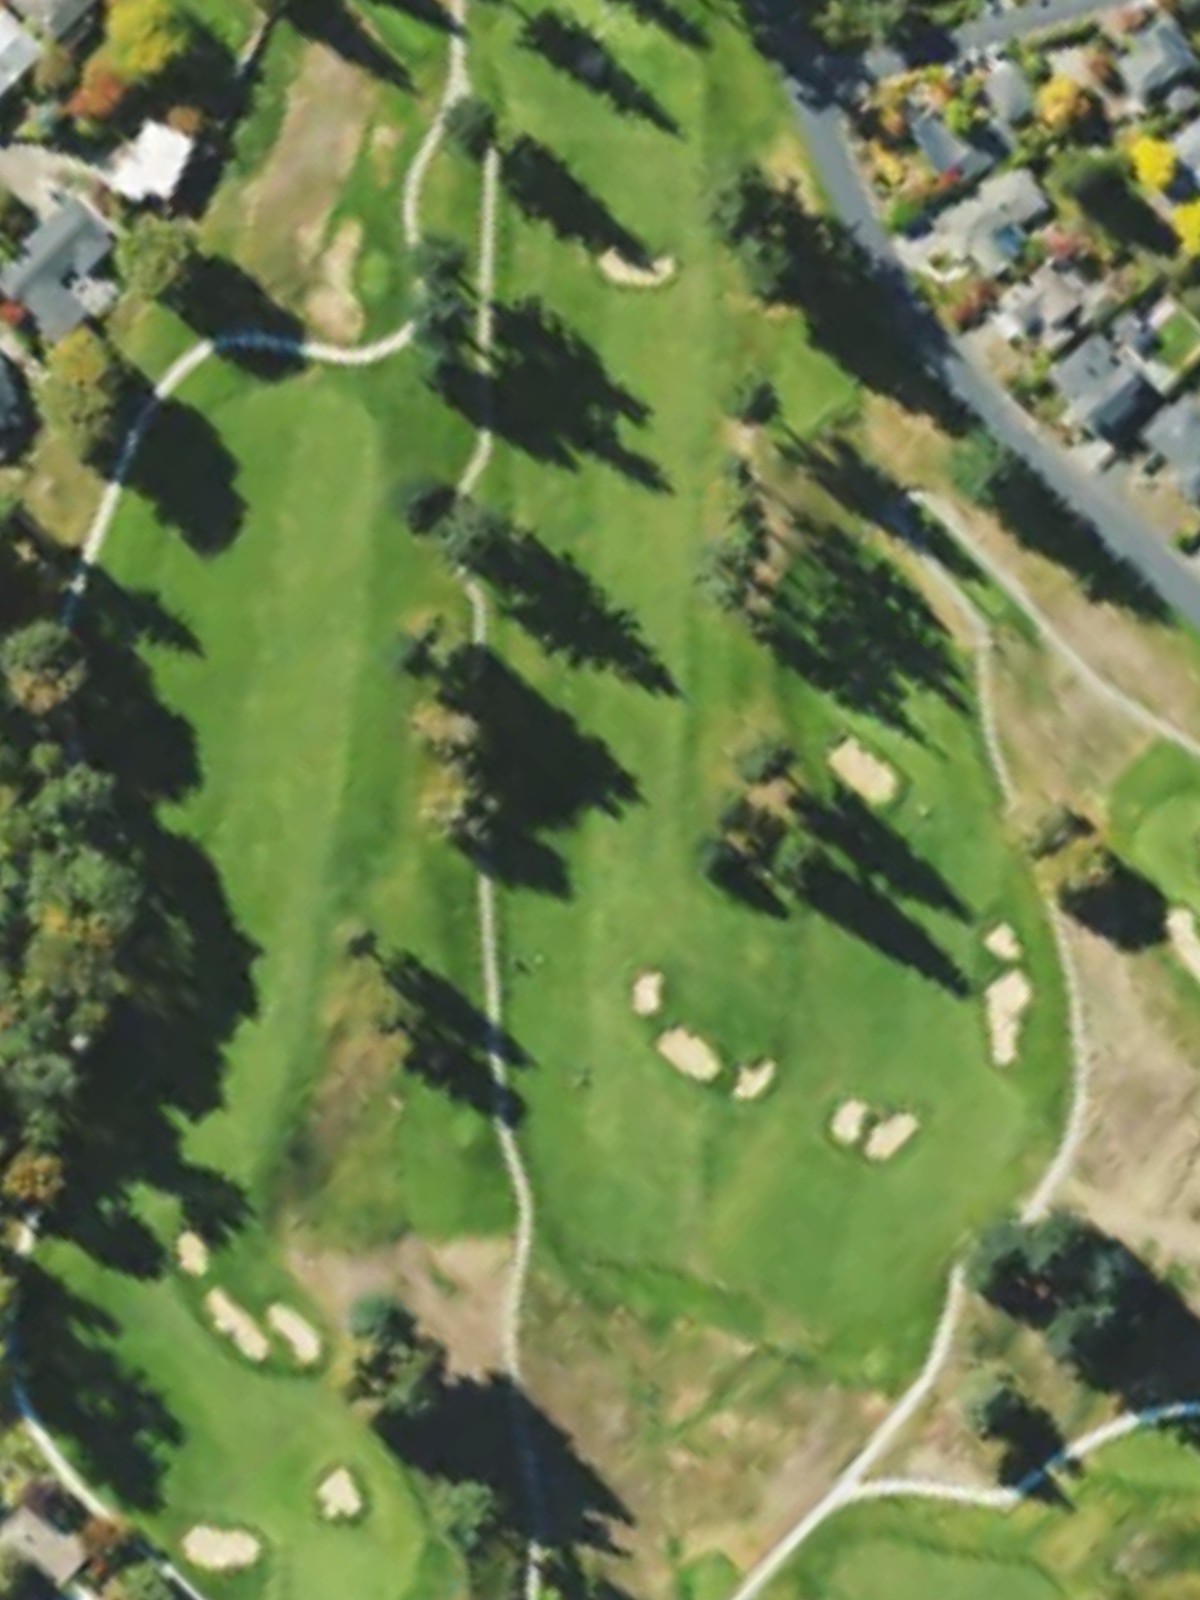
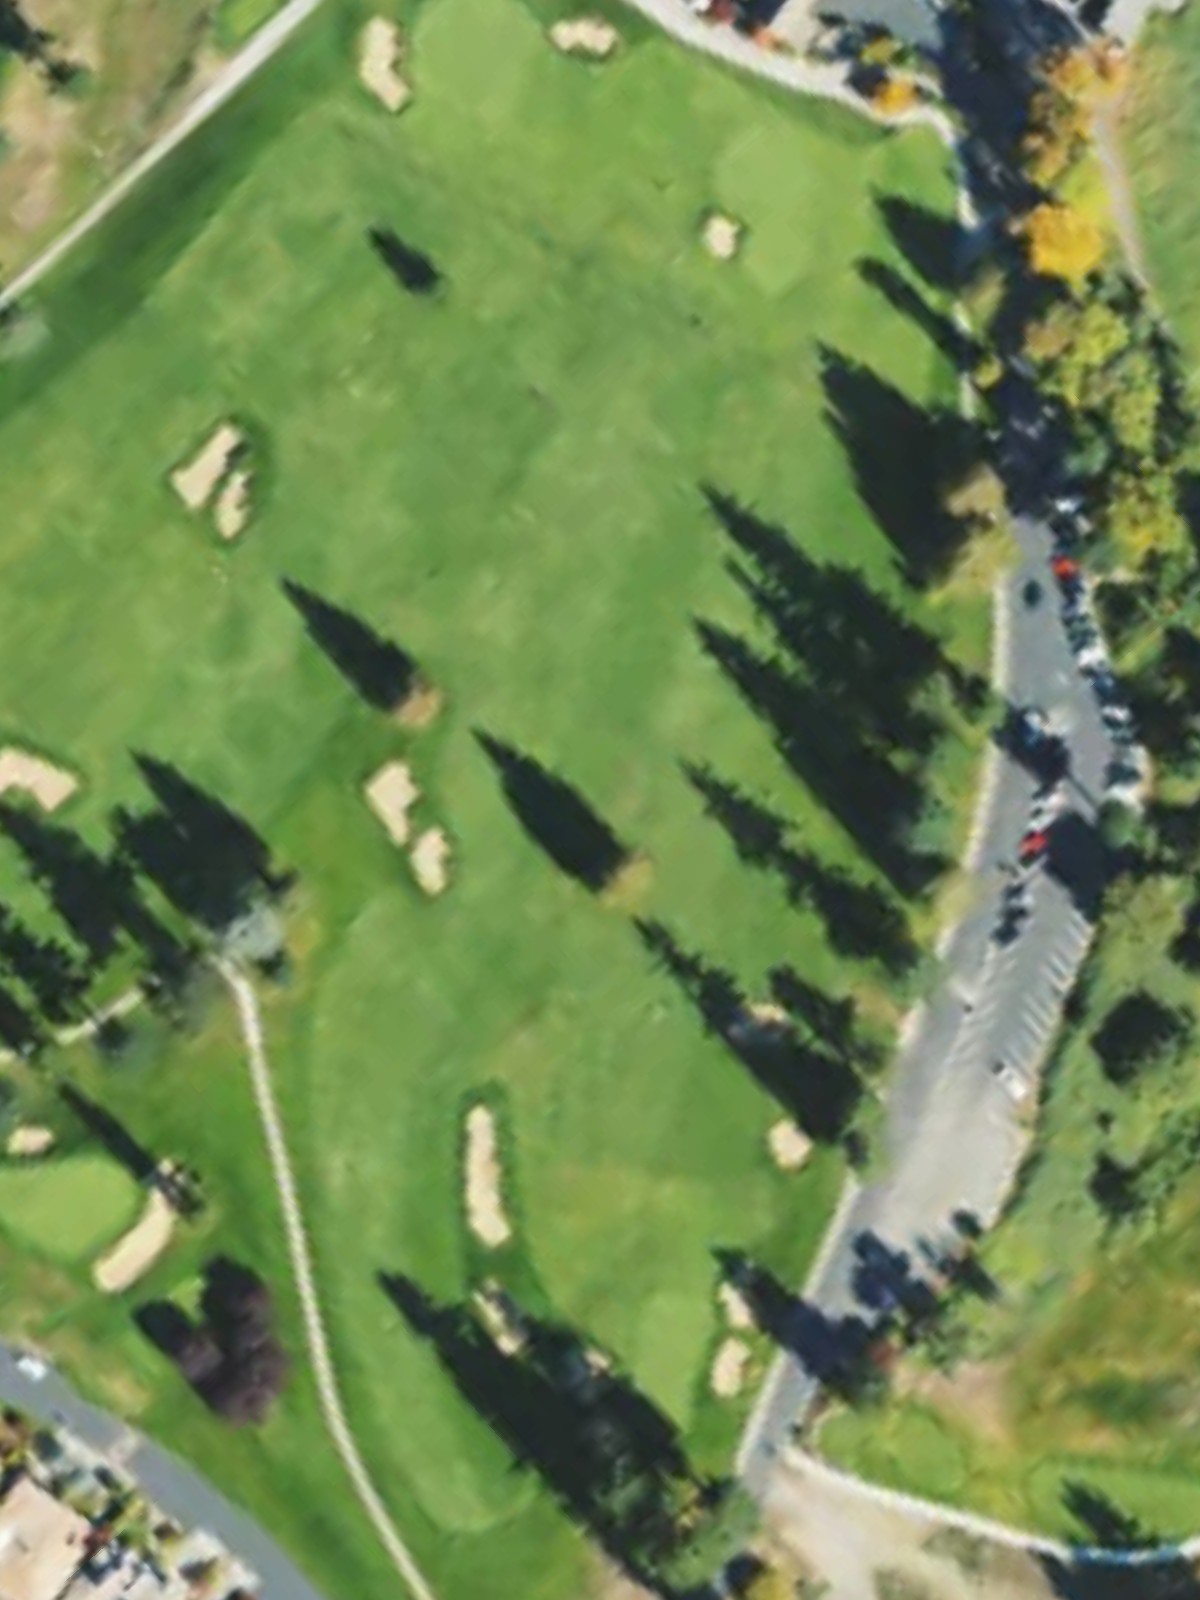
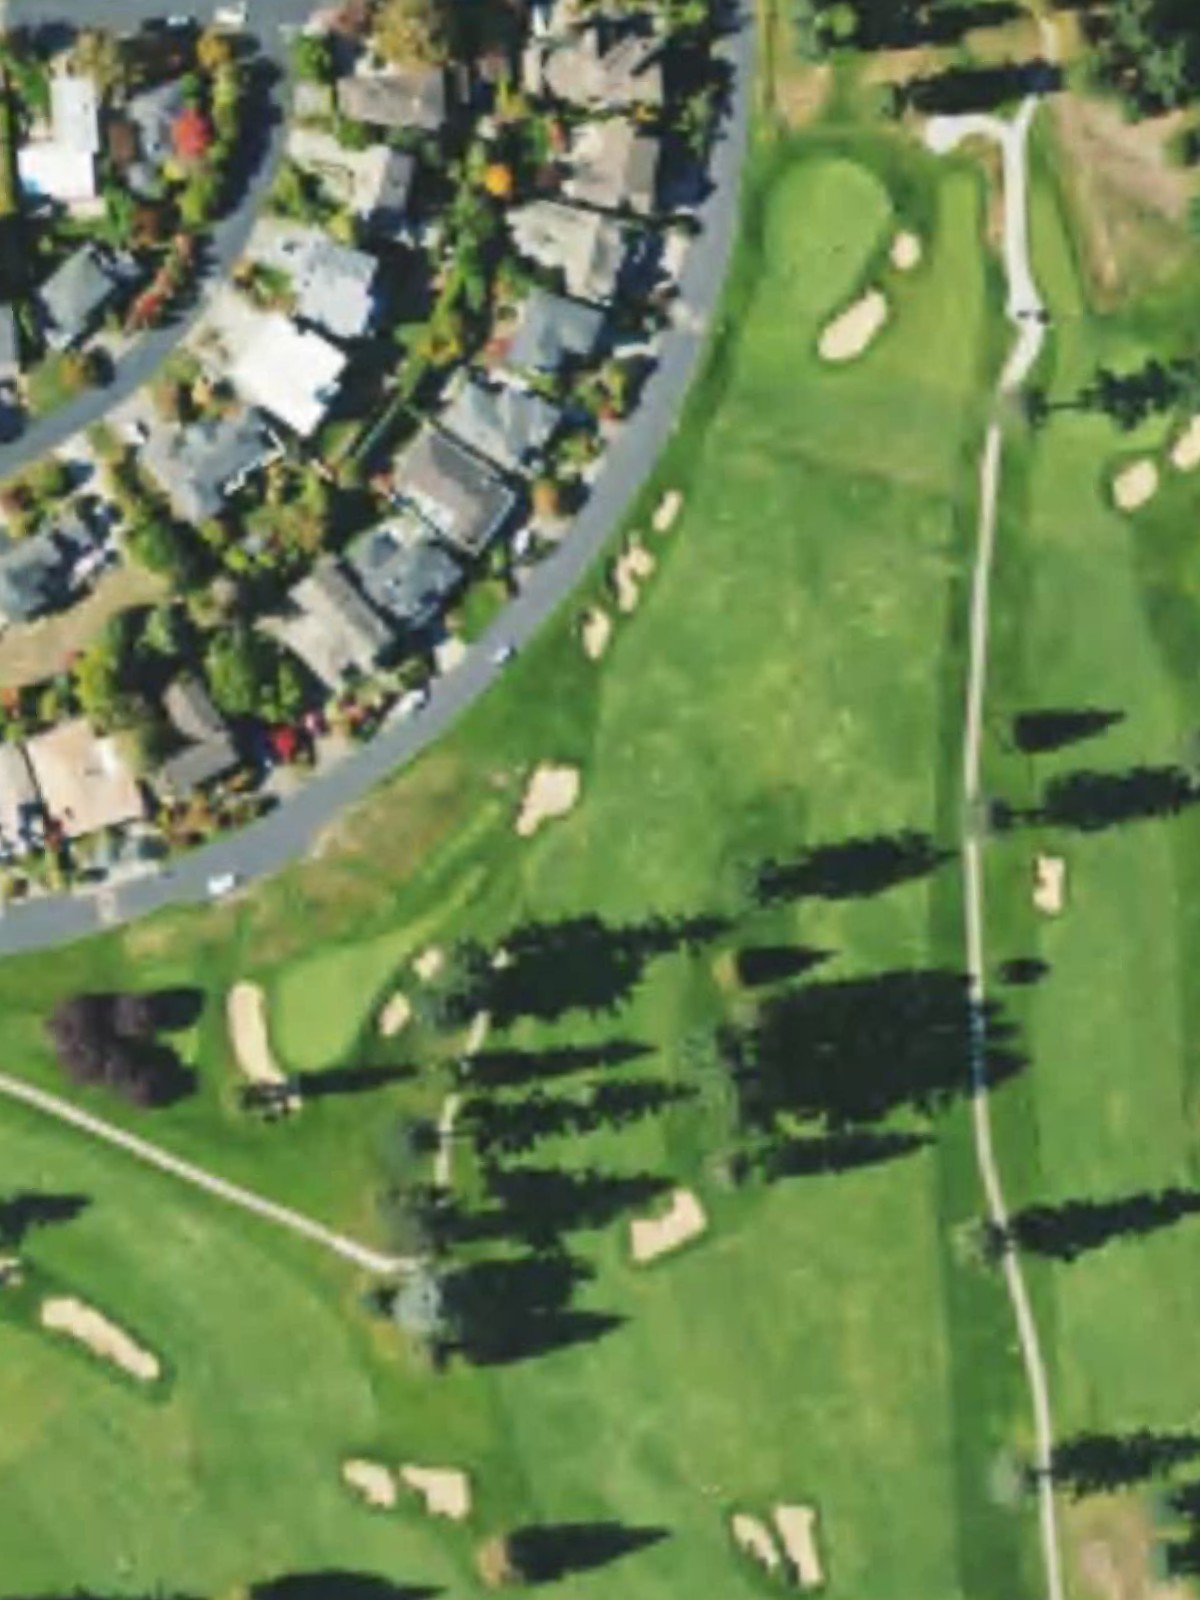
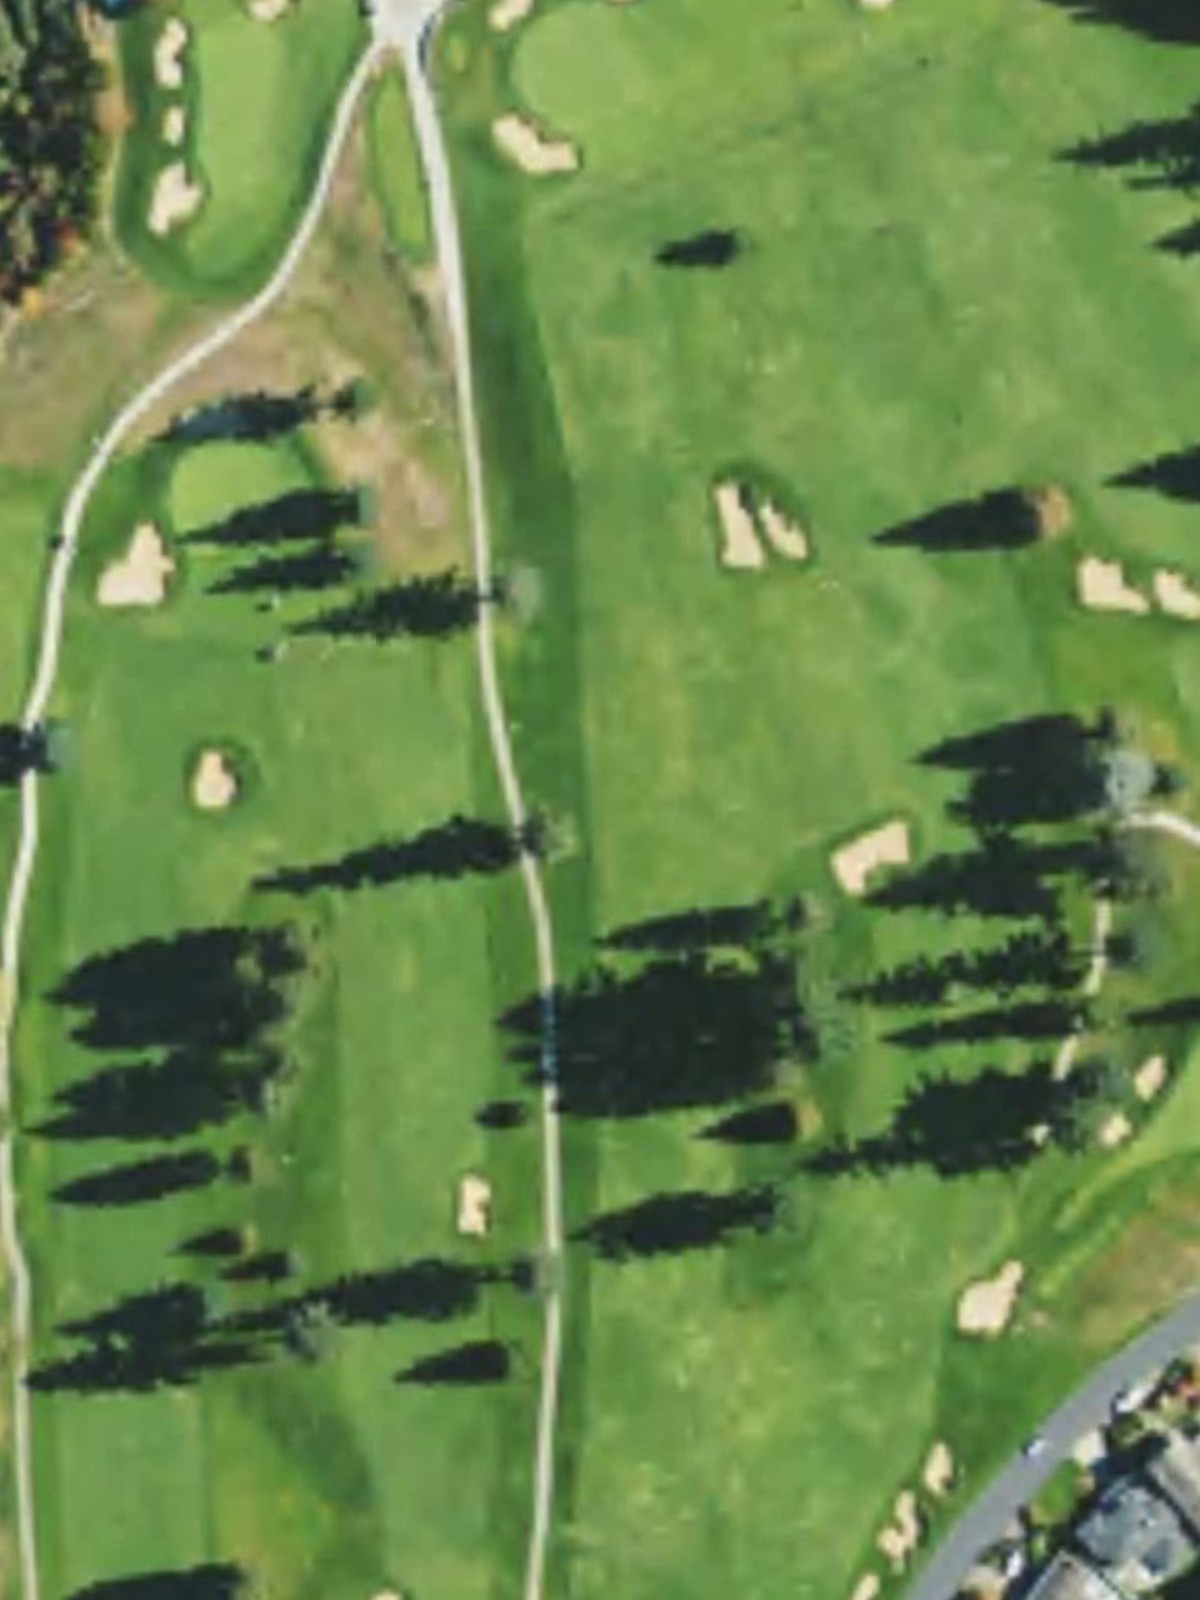
Sand Point Country Club is an 18-hole golf course in Seattle, WA with a par of 72. It offers 7 tee sets: black (6,099 yards, slope 125, rating 70.6), black/blue combo (5,871 yards, slope 123, rating 69.6), blue (5,706 yards, slope 121, rating 69), white/blue combo (5,466 yards, slope 120, rating 67.5), white (5,265 yards, slope 118, rating 66.9), white/gold combo (4,754 yards, slope 115, rating 63.5), gold (4,369 yards, slope 111, rating 62.9). The hardest hole is #4, a par 4 playing 423 yards from the first tee.
Sand Point Country Club
Seattle, WA
Get PDF Yardage Book
We'll email you the PDF link. No spam, ever.
Create Your Game Plan
Pick your tees, enter your bag, and get a personalized shot-by-shot strategy for every hole.
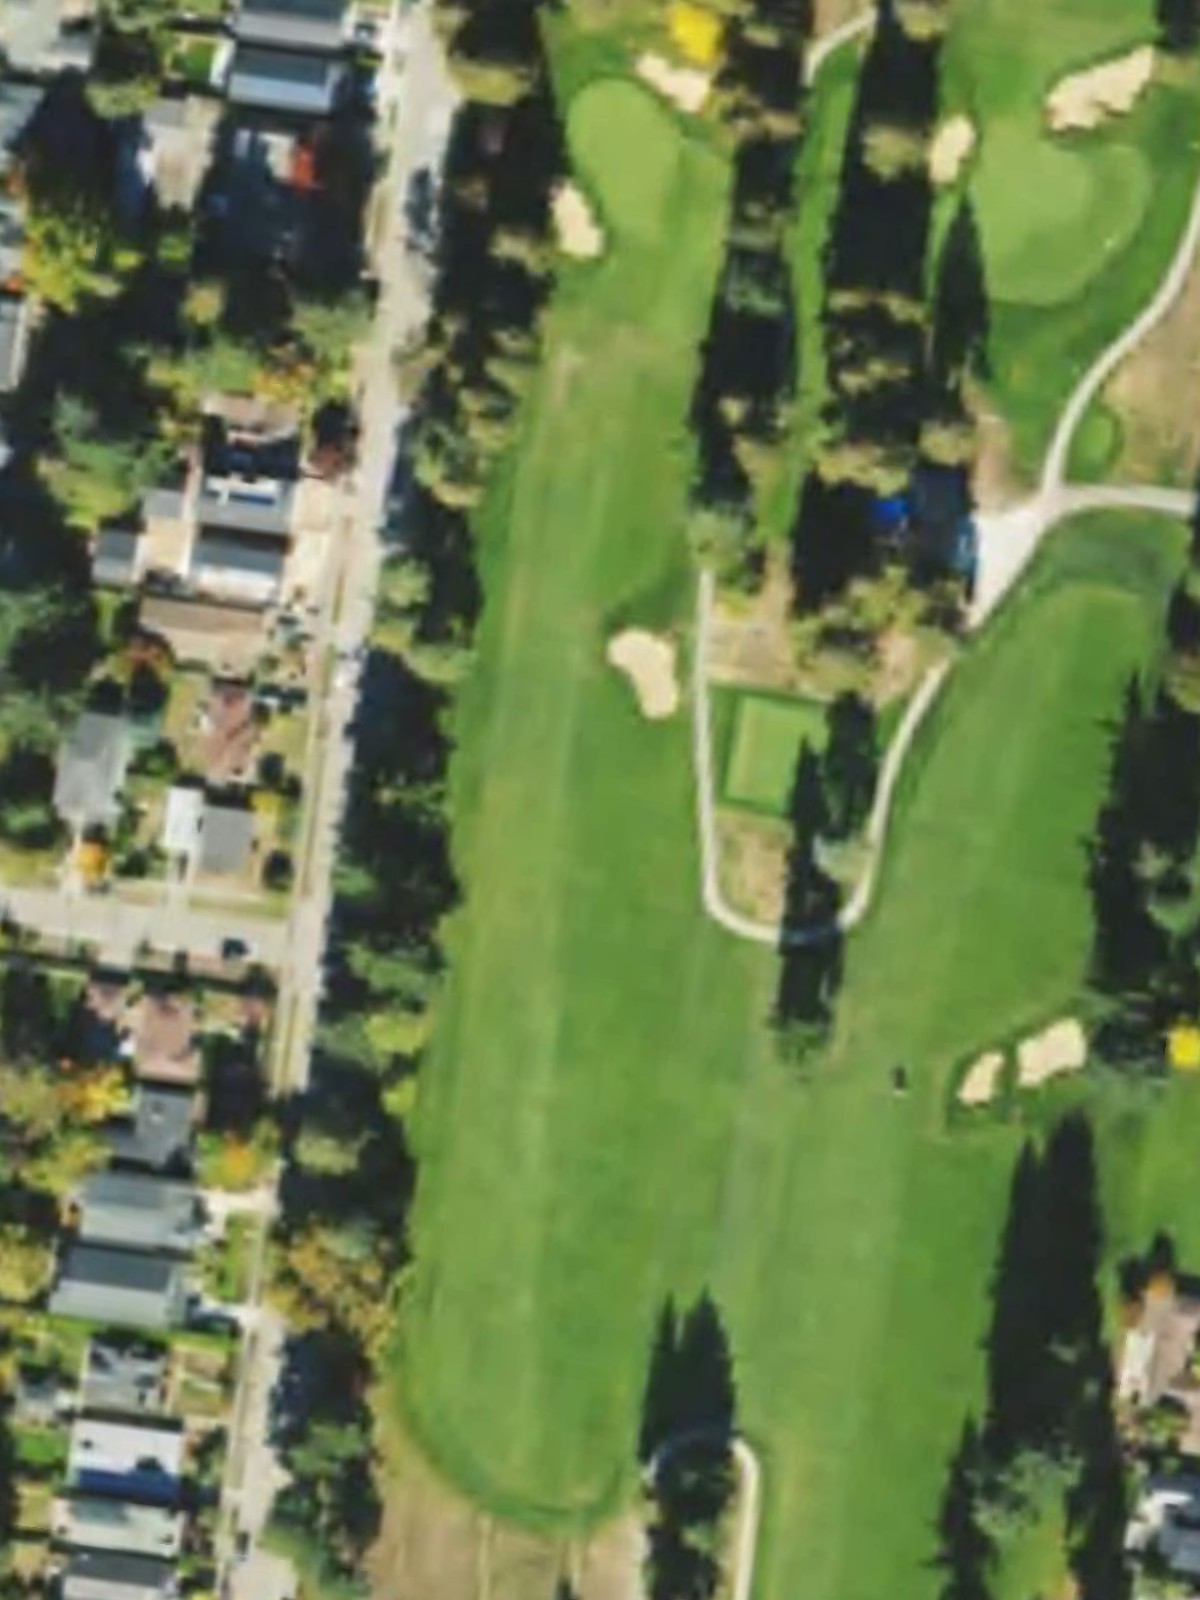
A short, straightforward par 4 that plays downhill toward a green protected by bunkers on the right. The narrow approach and tight landing area make accuracy more important than distance on this opening hole.

A short par 4 with a wide-open fairway and minimal hazards, offering a forgiving introduction to the back nine. The relatively flat terrain and accessible green make this one of the course's most generous scoring opportunities.
A demanding par 4 that stretches across 357 yards on the blue tees with a fairway that tightens considerably approaching the green. Strategic bunkering and the length of the hole create a stiff challenge despite the straightforward routing.
The stroke index 1 hole presents a lengthy par 4 requiring two solid shots to reach a well-defended green. Water hazards and bunkers frame the fairway and surround the putting surface, making this the course's most difficult test.
A mid-length par 4 with a fairway that bends slightly and narrows as it approaches the green. Greenside bunkers on both sides demand precision with the approach shot on this moderately challenging hole.
A par 5 offering a realistic birdie opportunity for longer hitters who can navigate the fairway hazards and avoid the bunker complex guarding the approach. The hole's length and relatively open design reward aggressive play.
A short par 3 from 160 yards on the blue tees that plays to a well-bunkered green surrounded by sand on multiple sides. The modest distance is offset by the need for precision due to the tight green complex.

A lengthy par 5 that requires two strong shots to reach the green in regulation, with hazards positioned to penalize poor positioning off the tee. The fairway opens up at the landing area but tightens again near the elevated green.
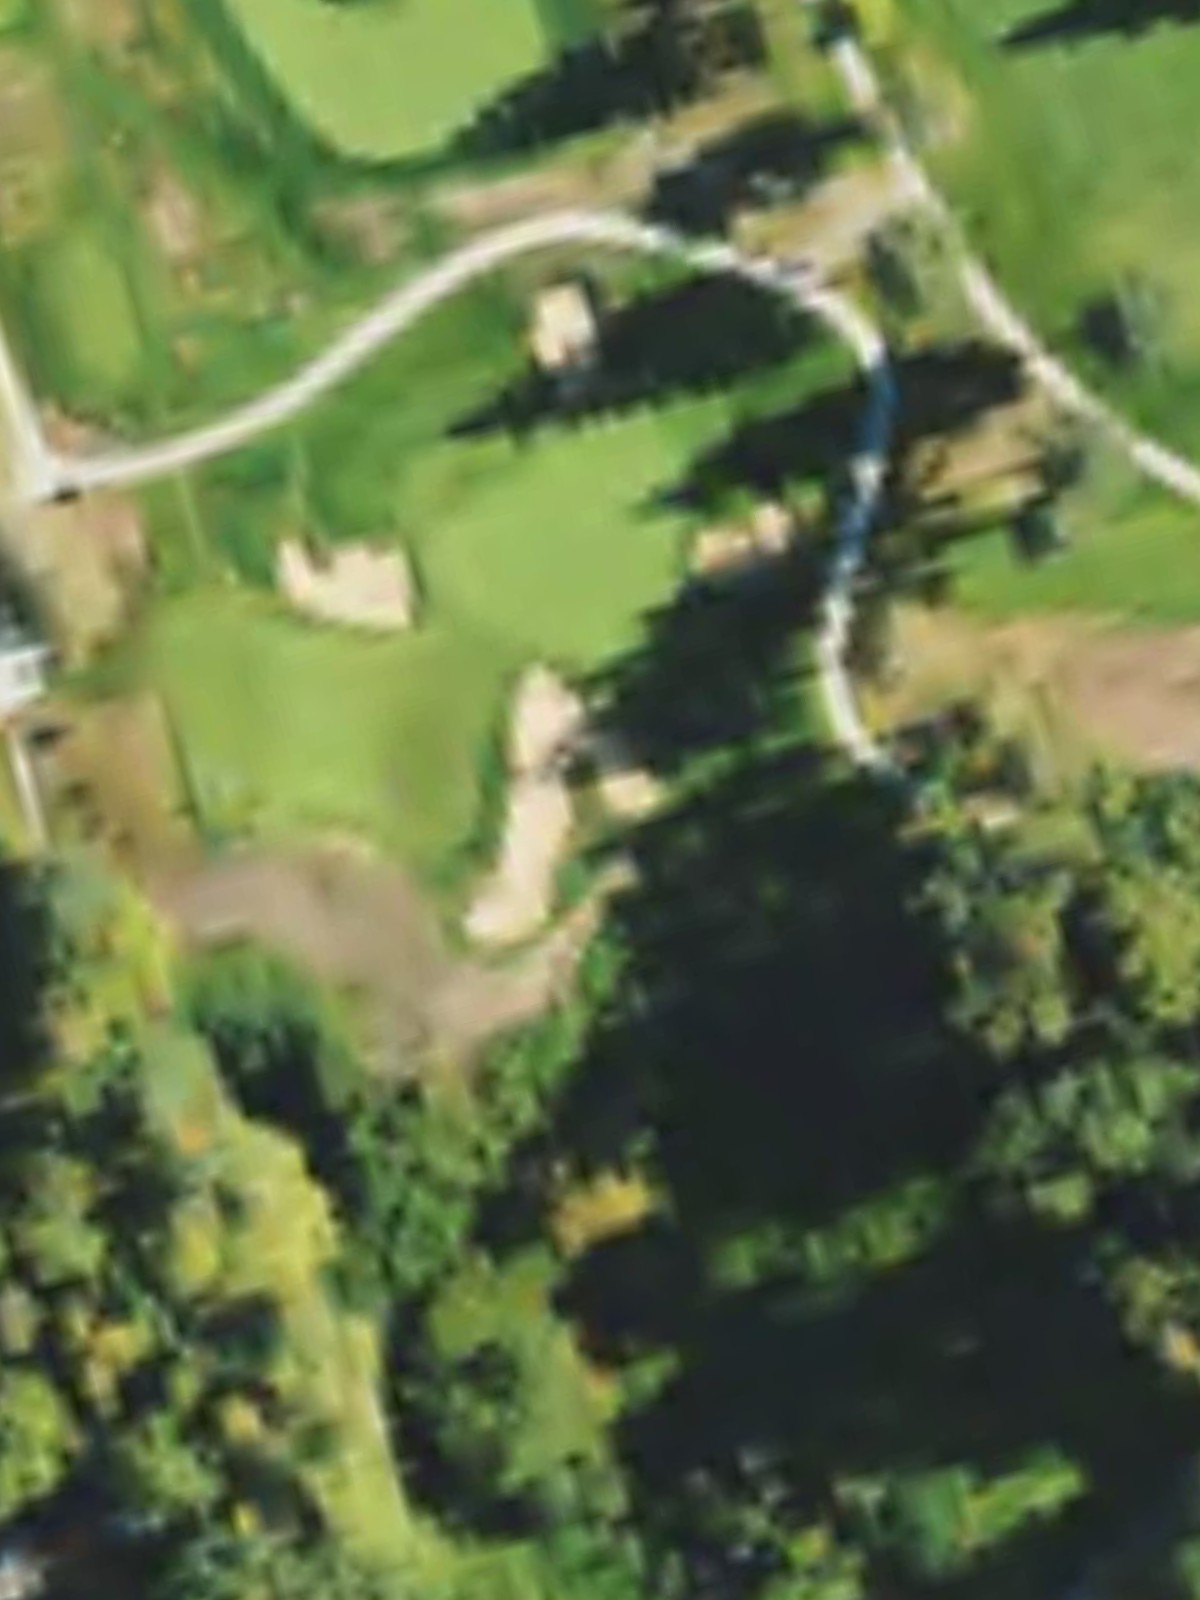
A short and forgiving par 3 playing under 150 yards, offering one of the course's few birdie opportunities from the tee. Minimal bunkering and a receptive green make this a welcome reprieve before the closing stretch.
The course's shortest par 4, this hole features a narrow fairway with trouble lurking on both sides and a compact green. The tight corridor demands accuracy off the tee despite the modest distance.

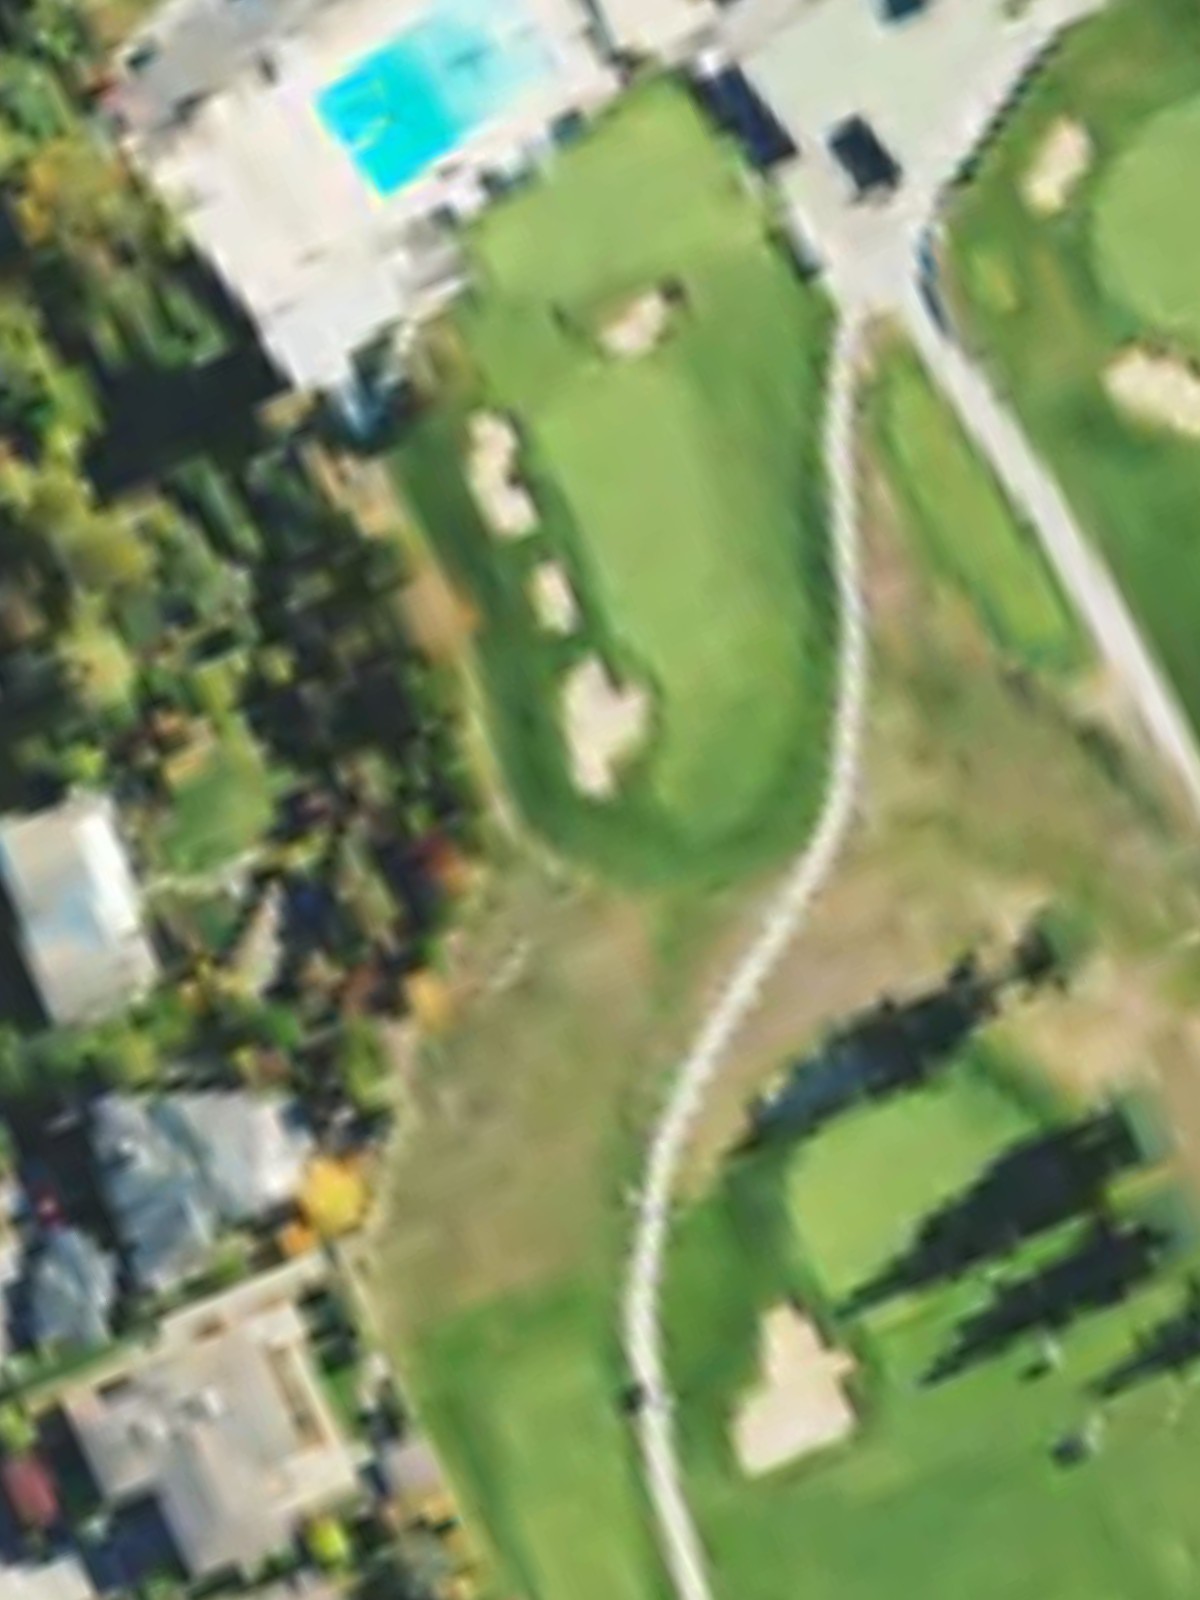
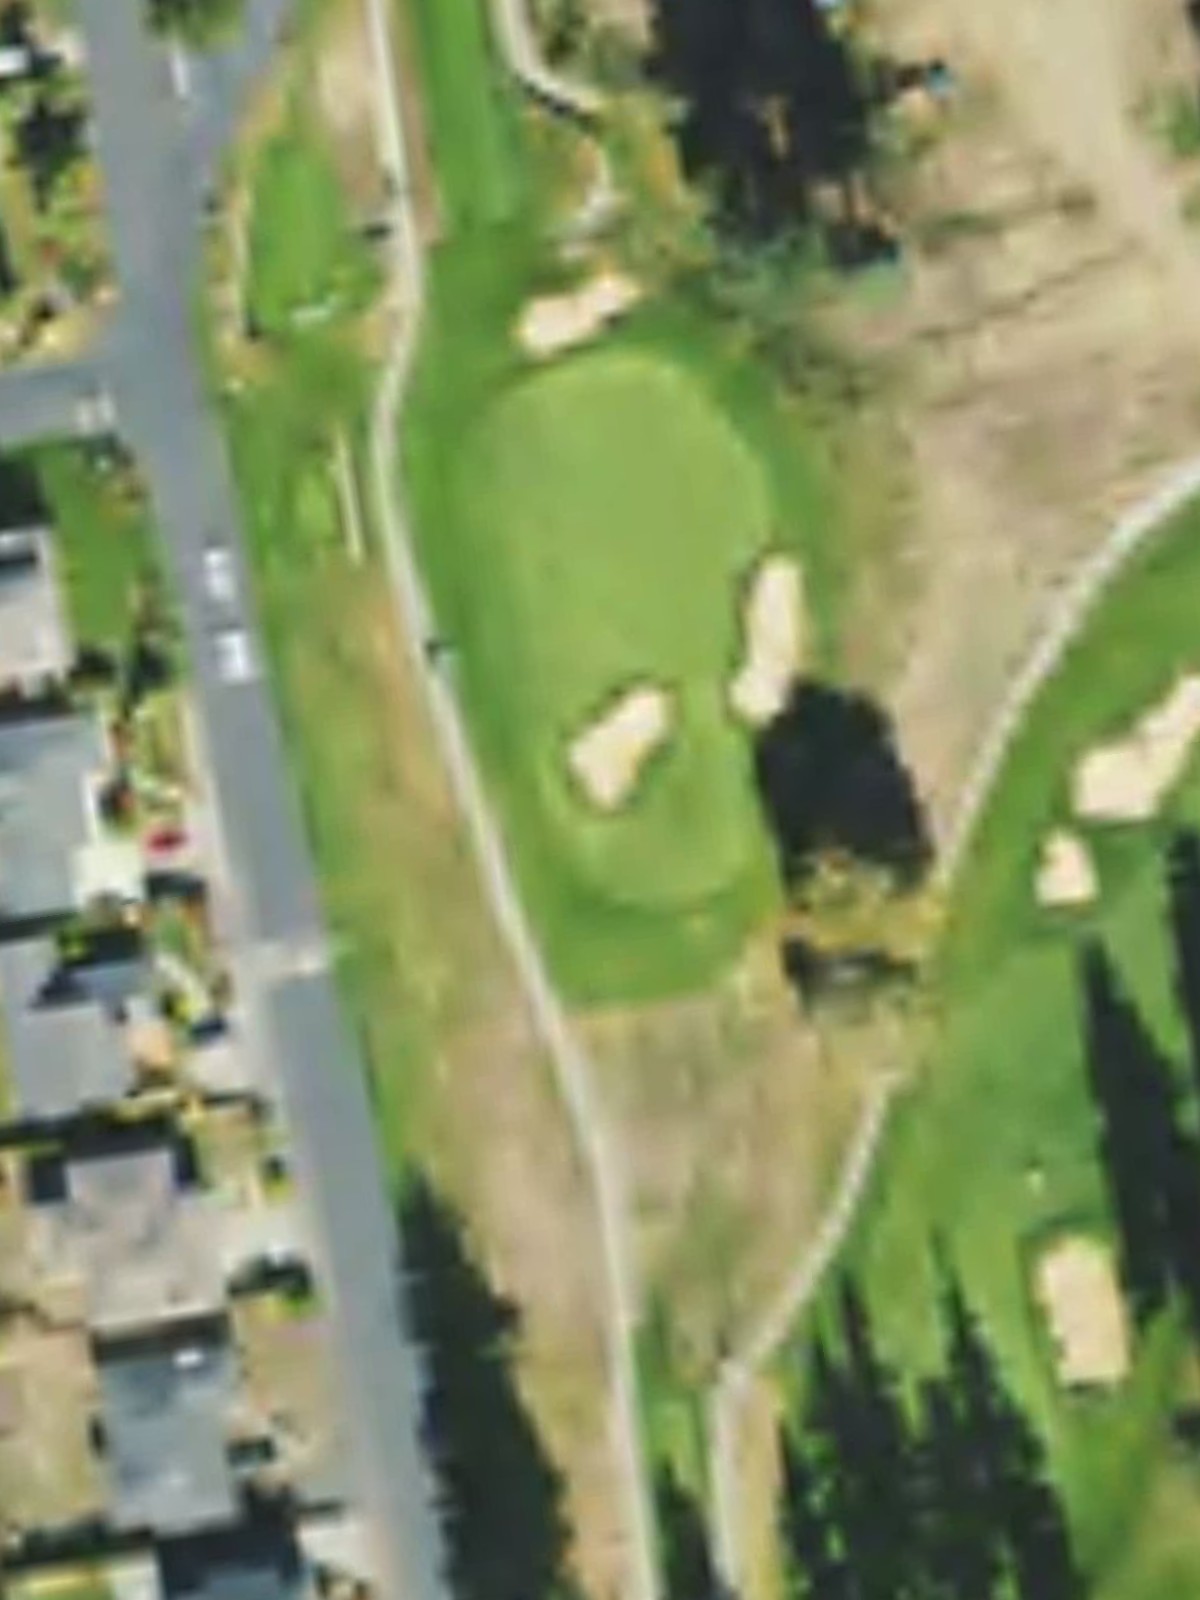
A mid-length par 3 with an elevated green surrounded by strategic bunker placement that requires a precise tee shot. The wind exposure and challenging green complex elevate the difficulty of this one-shotter.
A short par 5 that can be reached in two shots by longer hitters, though hazards in the landing area and around the green demand smart positioning. The hole's strategic design rewards both aggressive and conservative approaches.
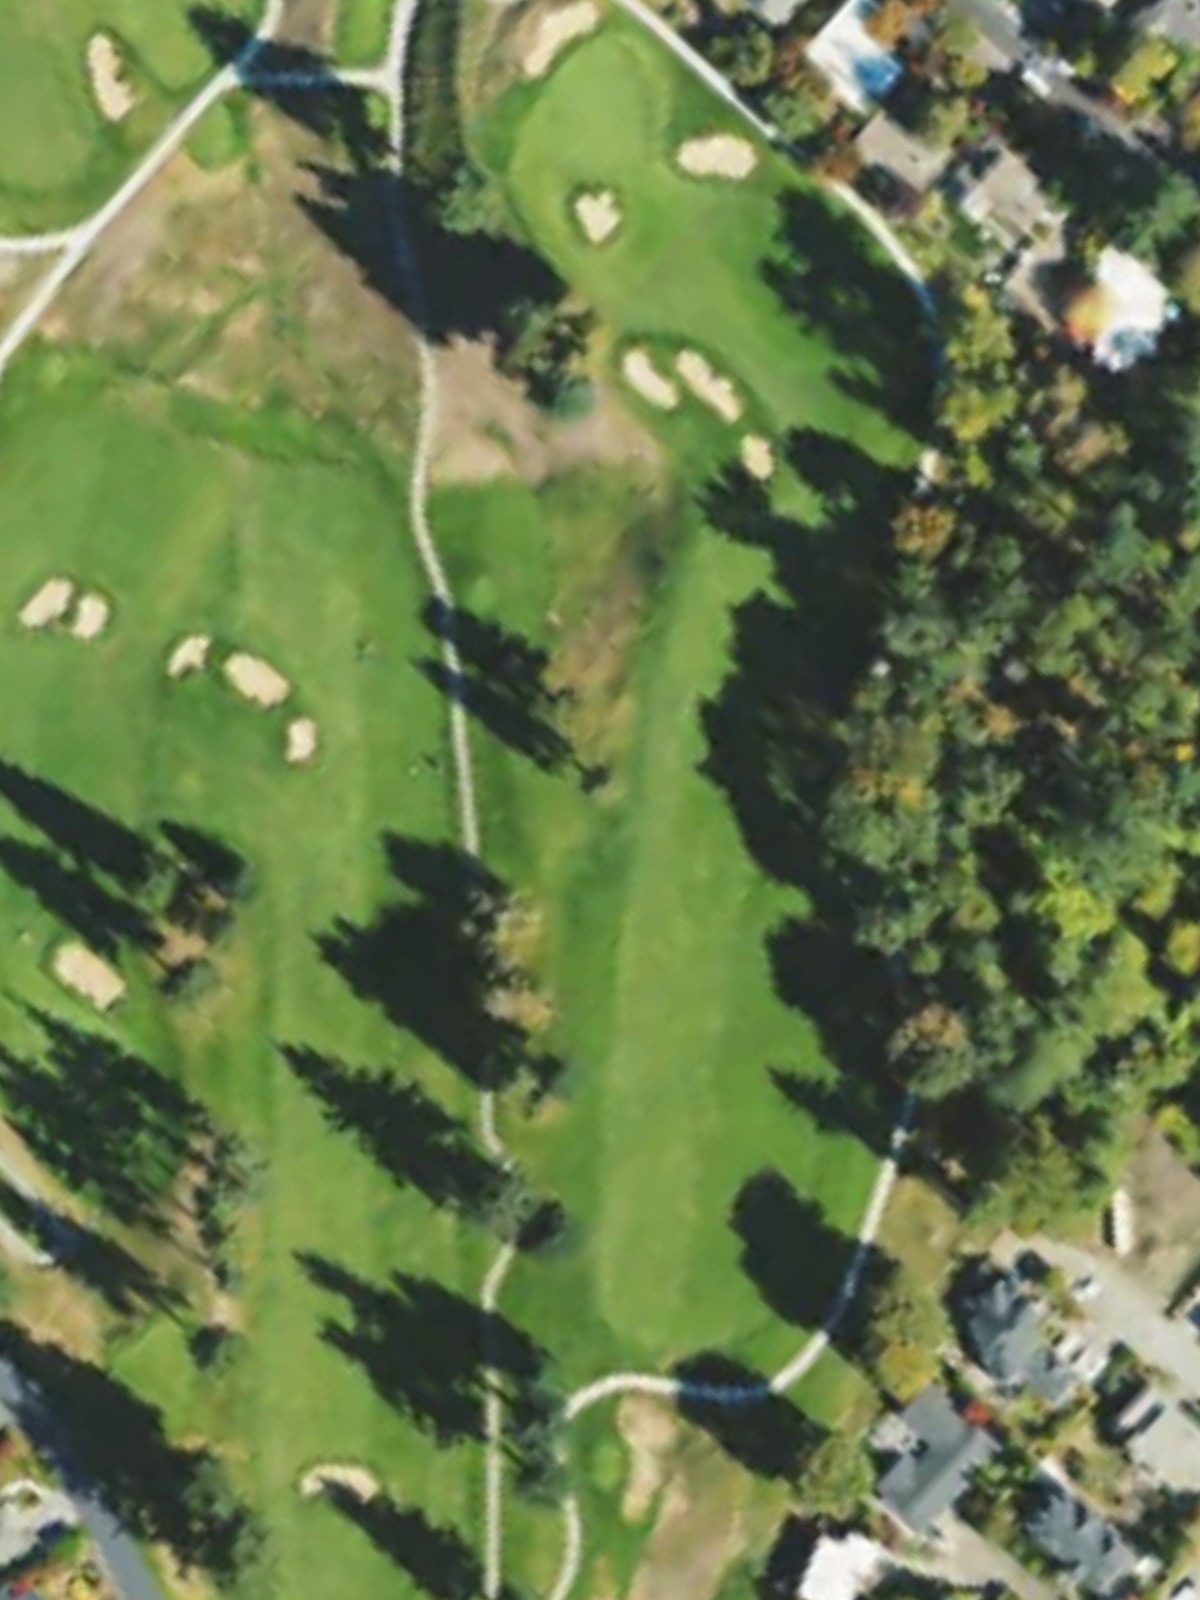
The second-most difficult hole on the course, this par 4 stretches nearly 380 yards with a fairway that narrows significantly near the green. Strategic hazard placement and the length combine to create a formidable two-shot test.
A short, open par 4 that punches above its yardage due to bunker placement and a small, sloped green. The hole's tight landing area and tricky putting surface add character to this shorter par 4.
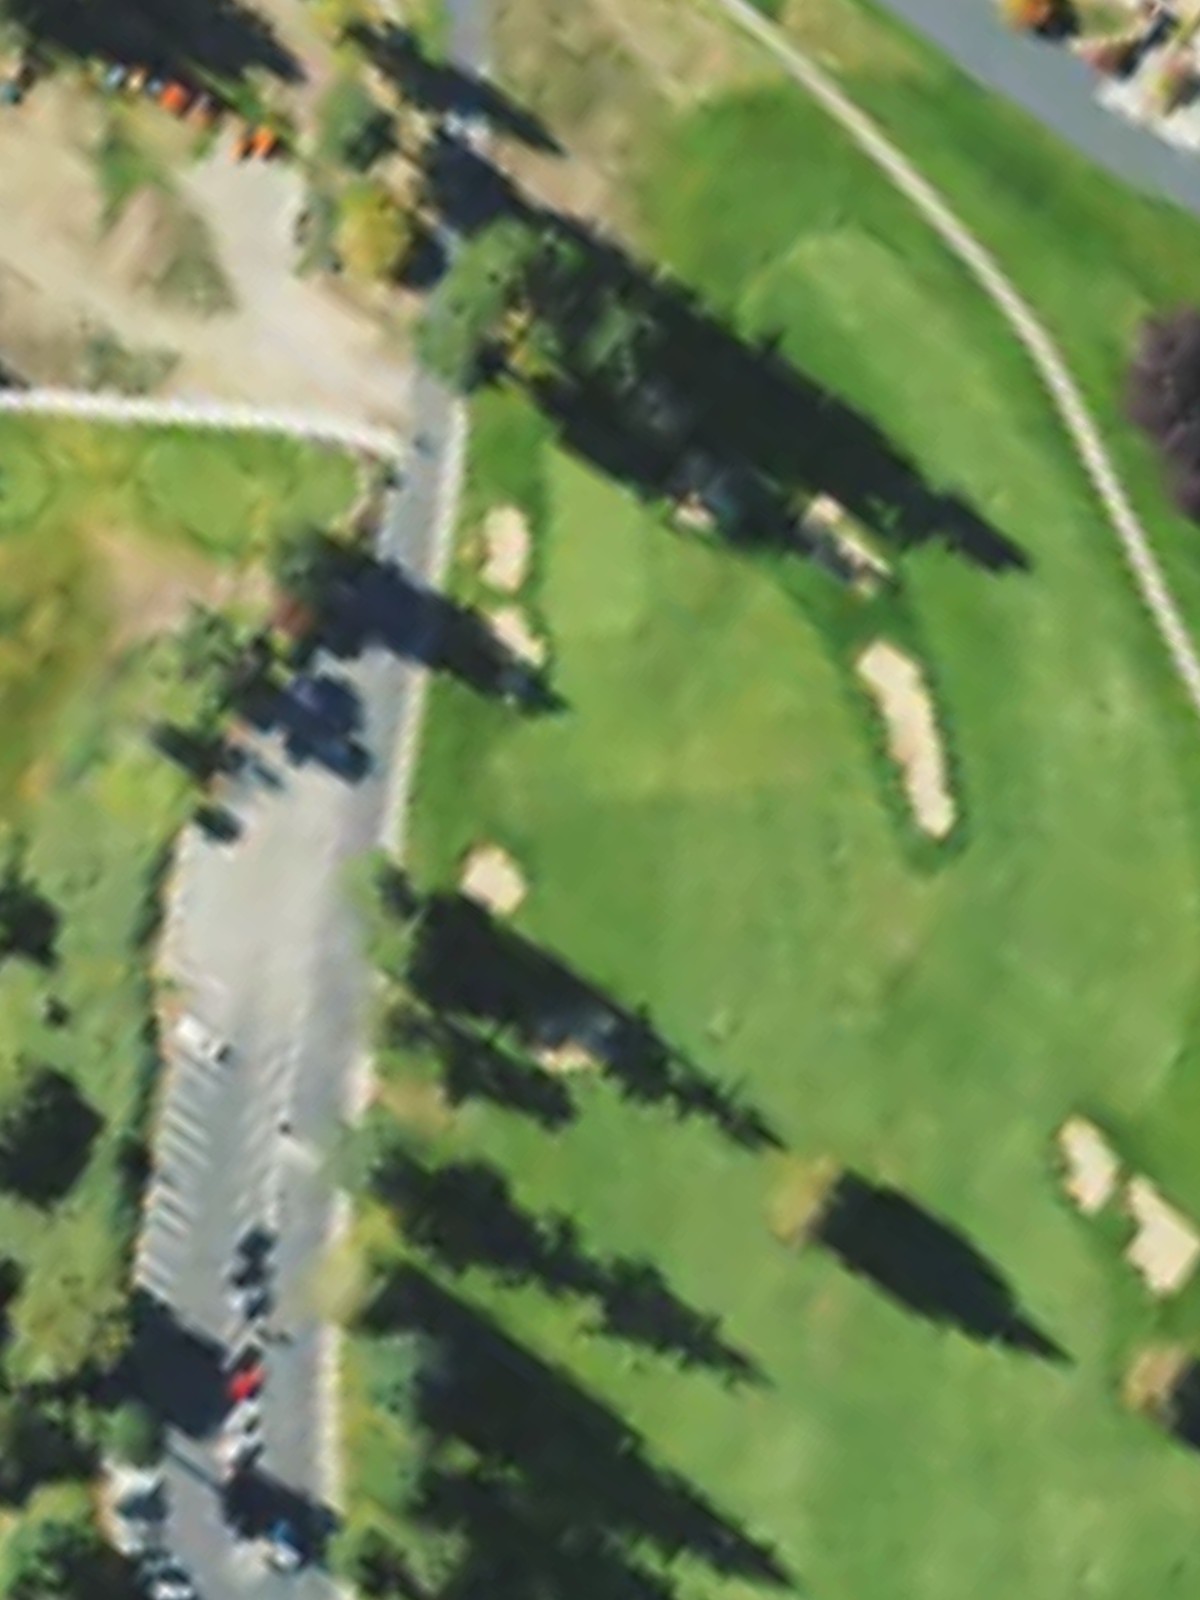
A par 3 of moderate length with a green protected by bunkers front and side, requiring a confident and accurate tee shot. The undulating terrain and strategic bunkering make club selection critical on this hole.
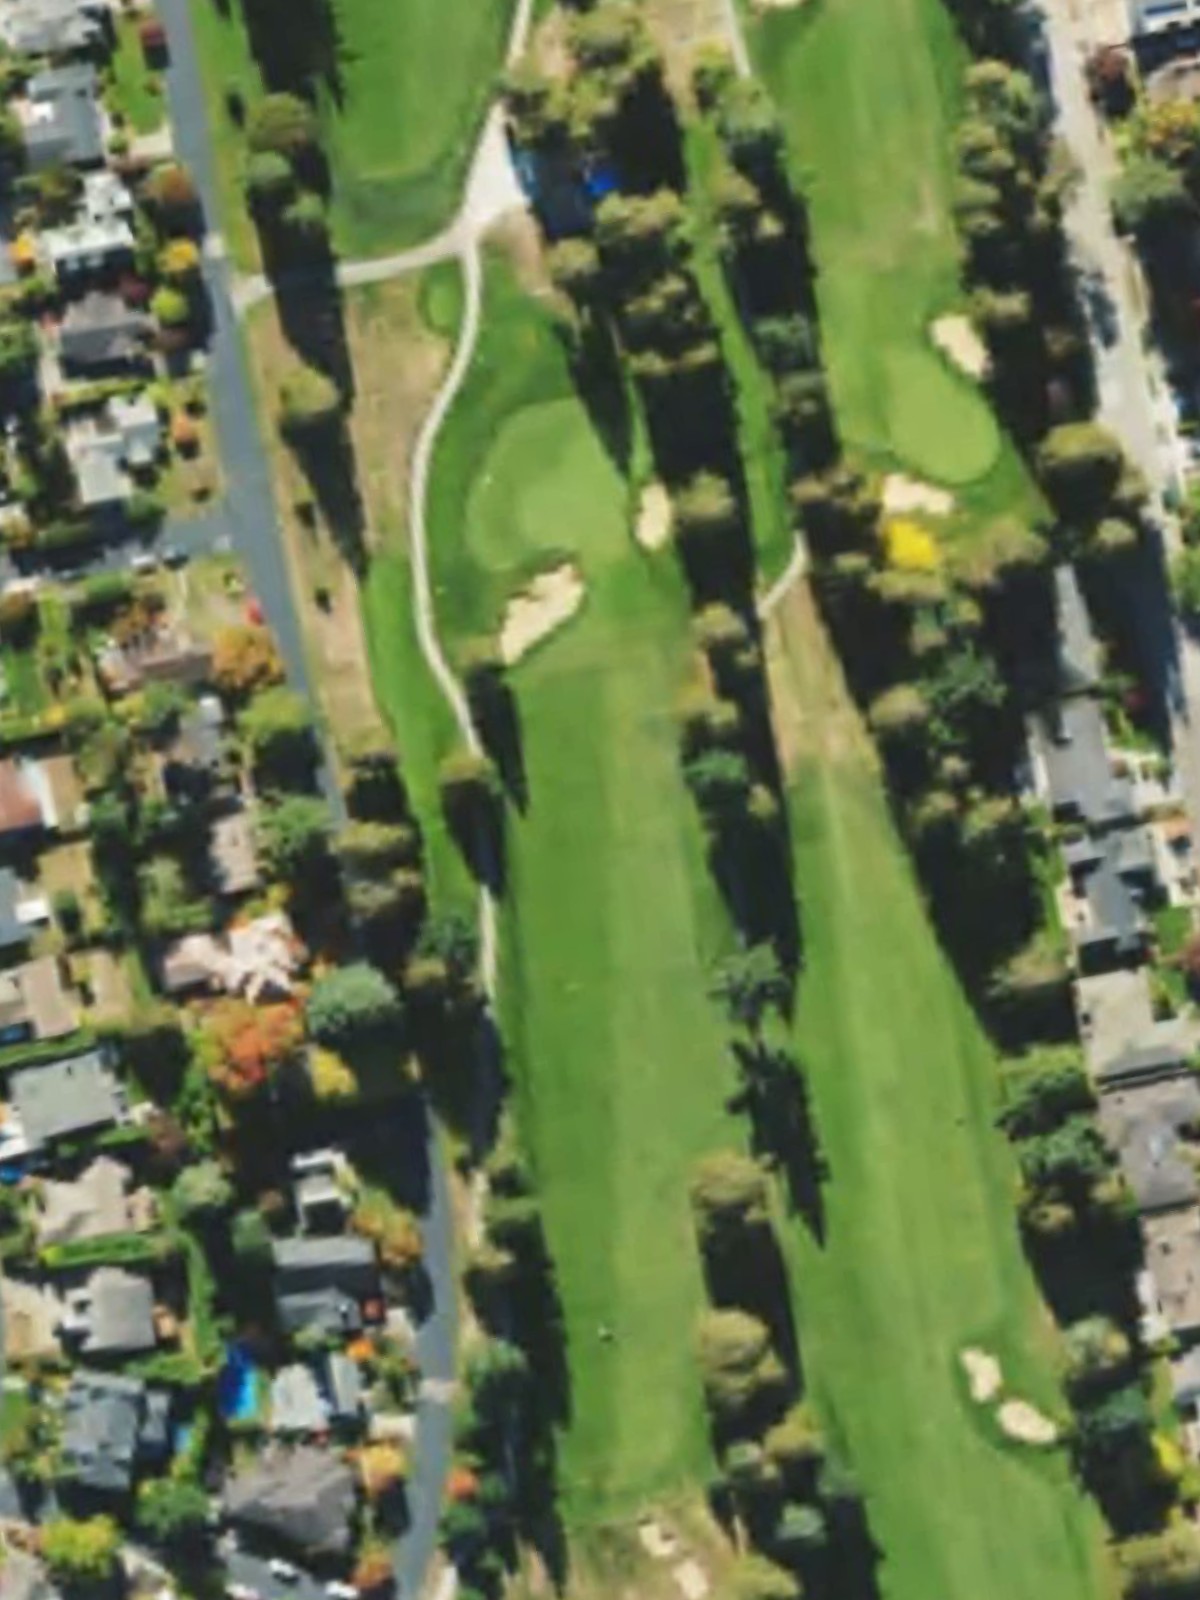
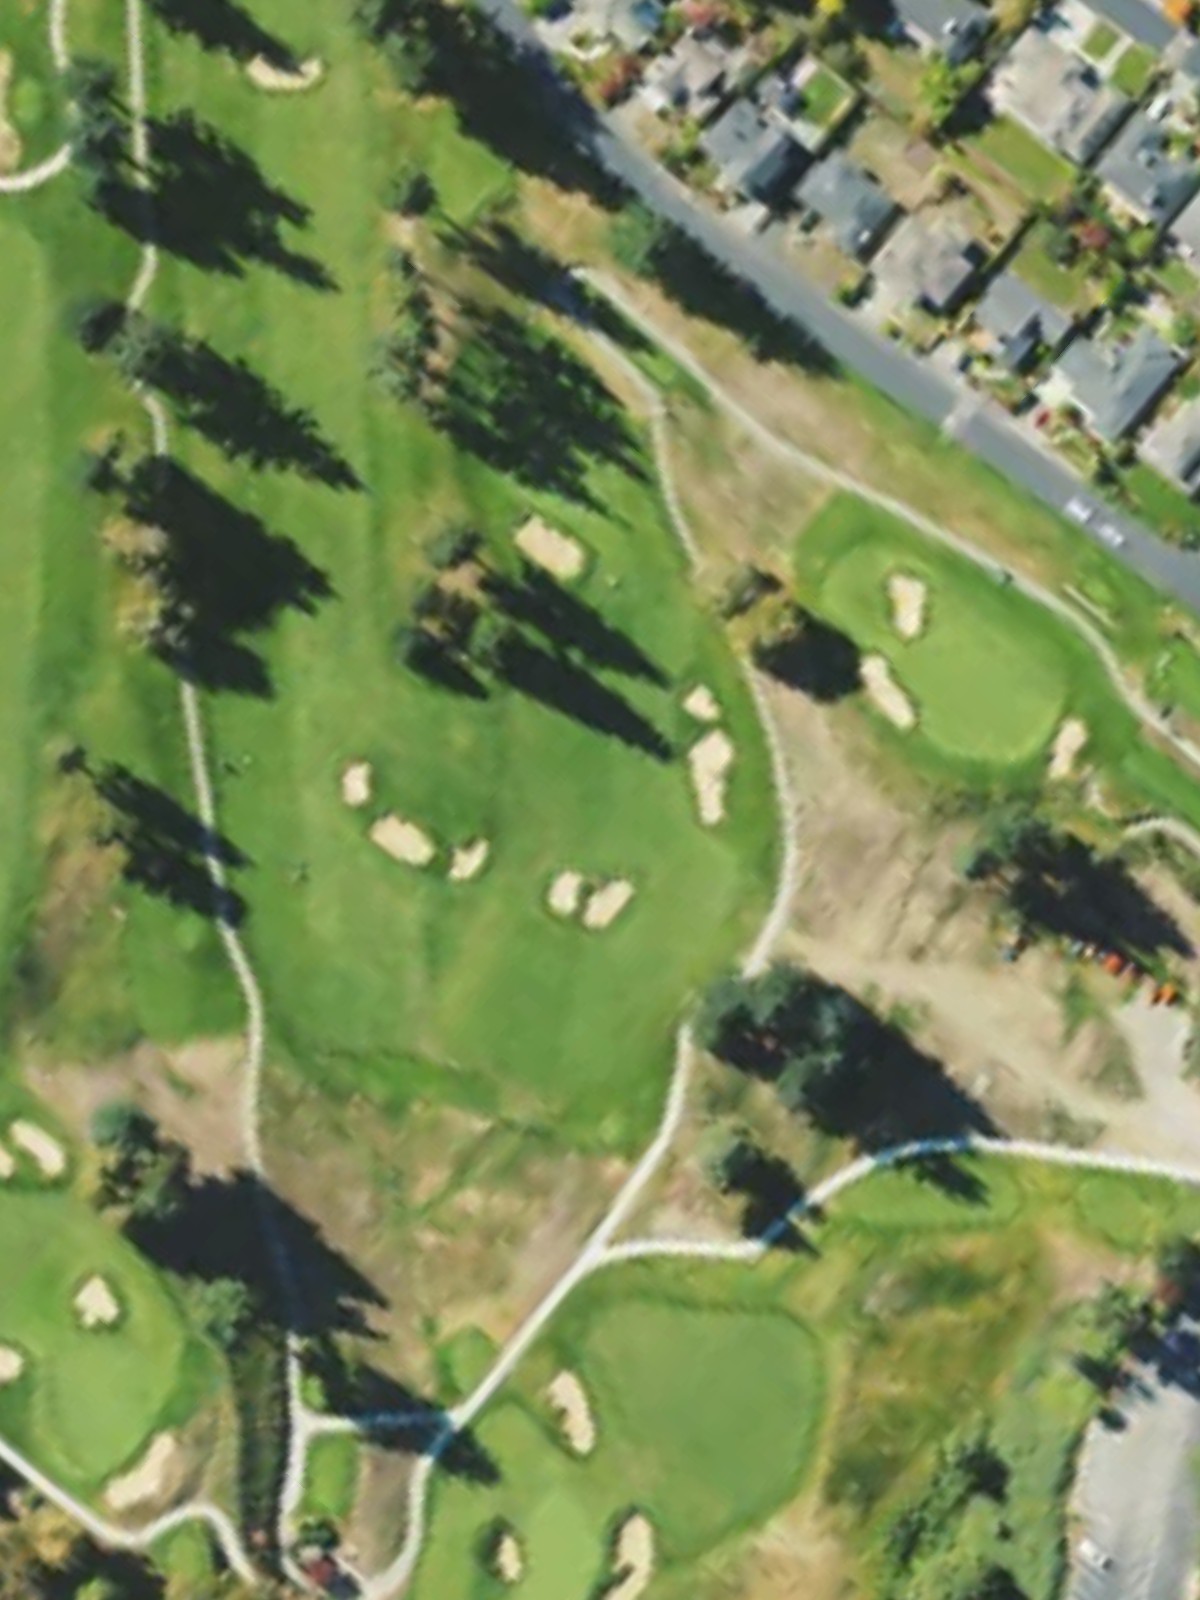
A challenging par 4 measuring nearly 400 yards that features a fairway with bunkers positioned in the driving zone and around the green. The hole's length and strategic hazard placement create a demanding finishing stretch.
A par 5 with a dogleg configuration that offers multiple routing options depending on tee position and player preference. Water or out of bounds along one side and greenside bunkers frame the approach to a tiered green.
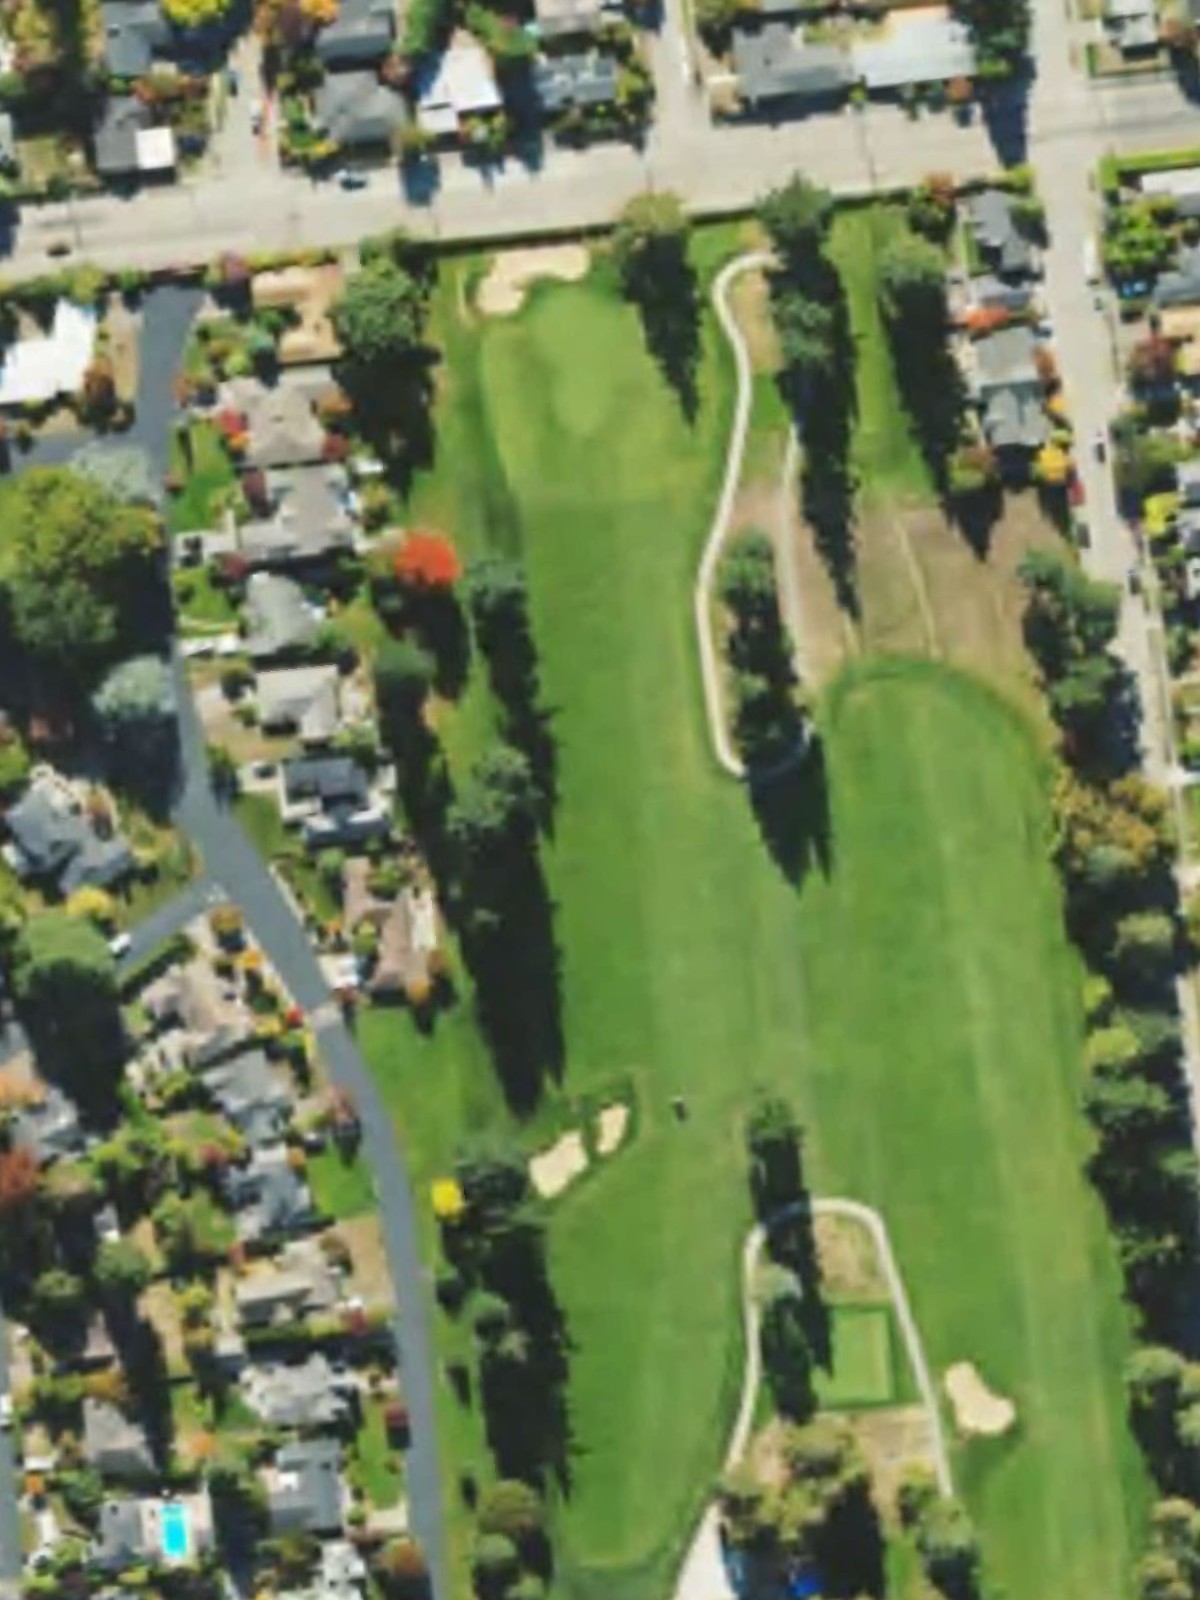
A solid finishing par 4 that plays to a green guarded by bunkers and potentially water, providing a strong final test before the clubhouse. The fairway narrows in the landing area and near the green, rewarding accurate shotmaking.
Scorecard
| Hole | 1 | 2 | 3 | 4 | 5 | 6 | 7 | 8 | 9 | Out | 10 | 11 | 12 | 13 | 14 | 15 | 16 | 17 | 18 | In | Tot |
|---|---|---|---|---|---|---|---|---|---|---|---|---|---|---|---|---|---|---|---|---|---|
| Par | 4 | 4 | 4 | 4 | 4 | 5 | 3 | 5 | 3 | 36 | 4 | 3 | 5 | 4 | 4 | 3 | 4 | 5 | 4 | 36 | 72 |
| HCP | 3 | 15 | 5 | 1 | 9 | 13 | 11 | 7 | 17 | 18 | 6 | 10 | 2 | 16 | 12 | 4 | 14 | 8 | |||
| black | 337 | 251 | 386 | 423 | 368 | 516 | 175 | 519 | 149 | 3124 | 252 | 162 | 445 | 412 | 278 | 174 | 420 | 415 | 417 | 2975 | 6099 |
| black/blue combo | 326 | 251 | 357 | 423 | 368 | 481 | 160 | 505 | 149 | 3020 | 252 | 162 | 381 | 379 | 278 | 174 | 393 | 415 | 417 | 2851 | 5871 |
| blue | 326 | 240 | 357 | 423 | 346 | 481 | 160 | 505 | 133 | 2971 | 239 | 157 | 381 | 379 | 266 | 156 | 393 | 381 | 383 | 2735 | 5706 |
| white/blue combo | 308 | 240 | 288 | 388 | 346 | 481 | 149 | 505 | 133 | 2838 | 239 | 157 | 358 | 379 | 245 | 156 | 358 | 381 | 355 | 2628 | 5466 |
| white | 308 | 228 | 288 | 388 | 331 | 481 | 149 | 468 | 118 | 2759 | 220 | 131 | 358 | 379 | 245 | 121 | 358 | 339 | 355 | 2506 | 5265 |
| white/gold combo | 308 | 183 | 260 | 300 | 252 | 376 | 114 | 468 | 101 | 2362 | 193 | 131 | 358 | 379 | 245 | 106 | 321 | 304 | 355 | 2392 | 4754 |
| gold | 215 | 183 | 260 | 300 | 252 | 376 | 114 | 428 | 101 | 2229 | 193 | 112 | 358 | 297 | 155 | 106 | 321 | 304 | 294 | 2140 | 4369 |