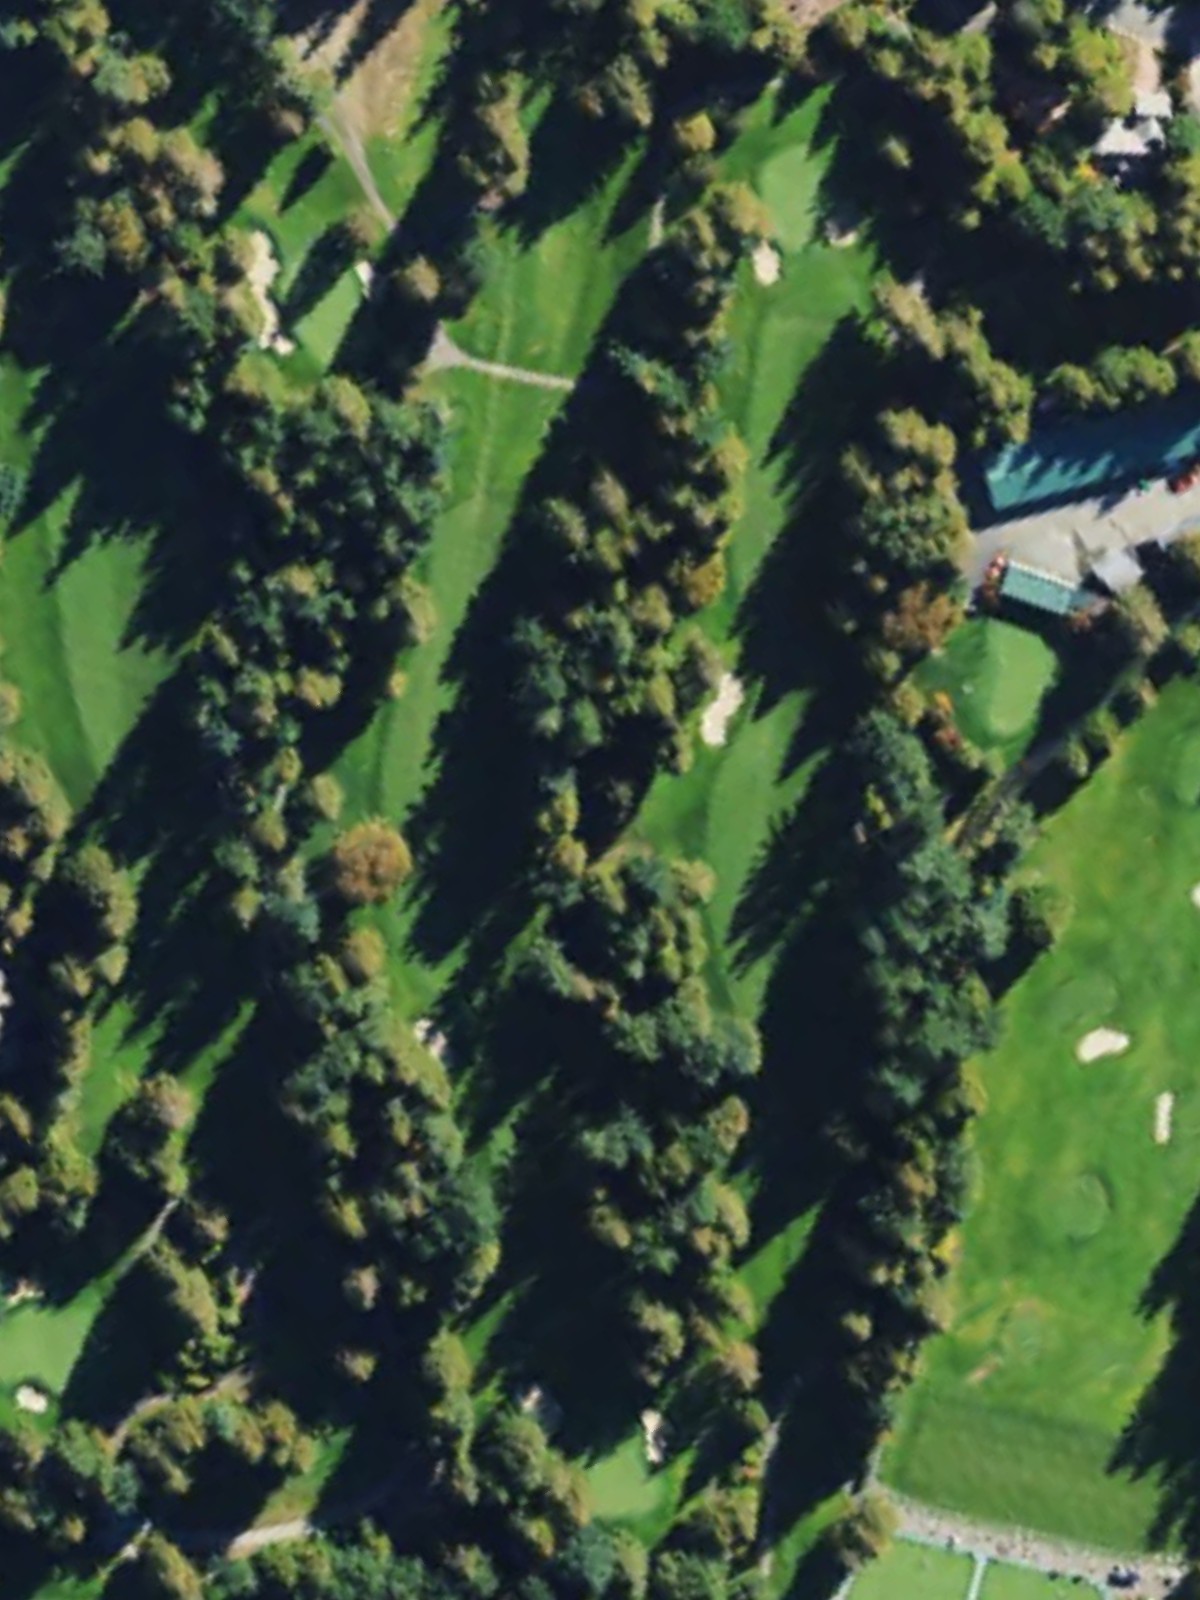
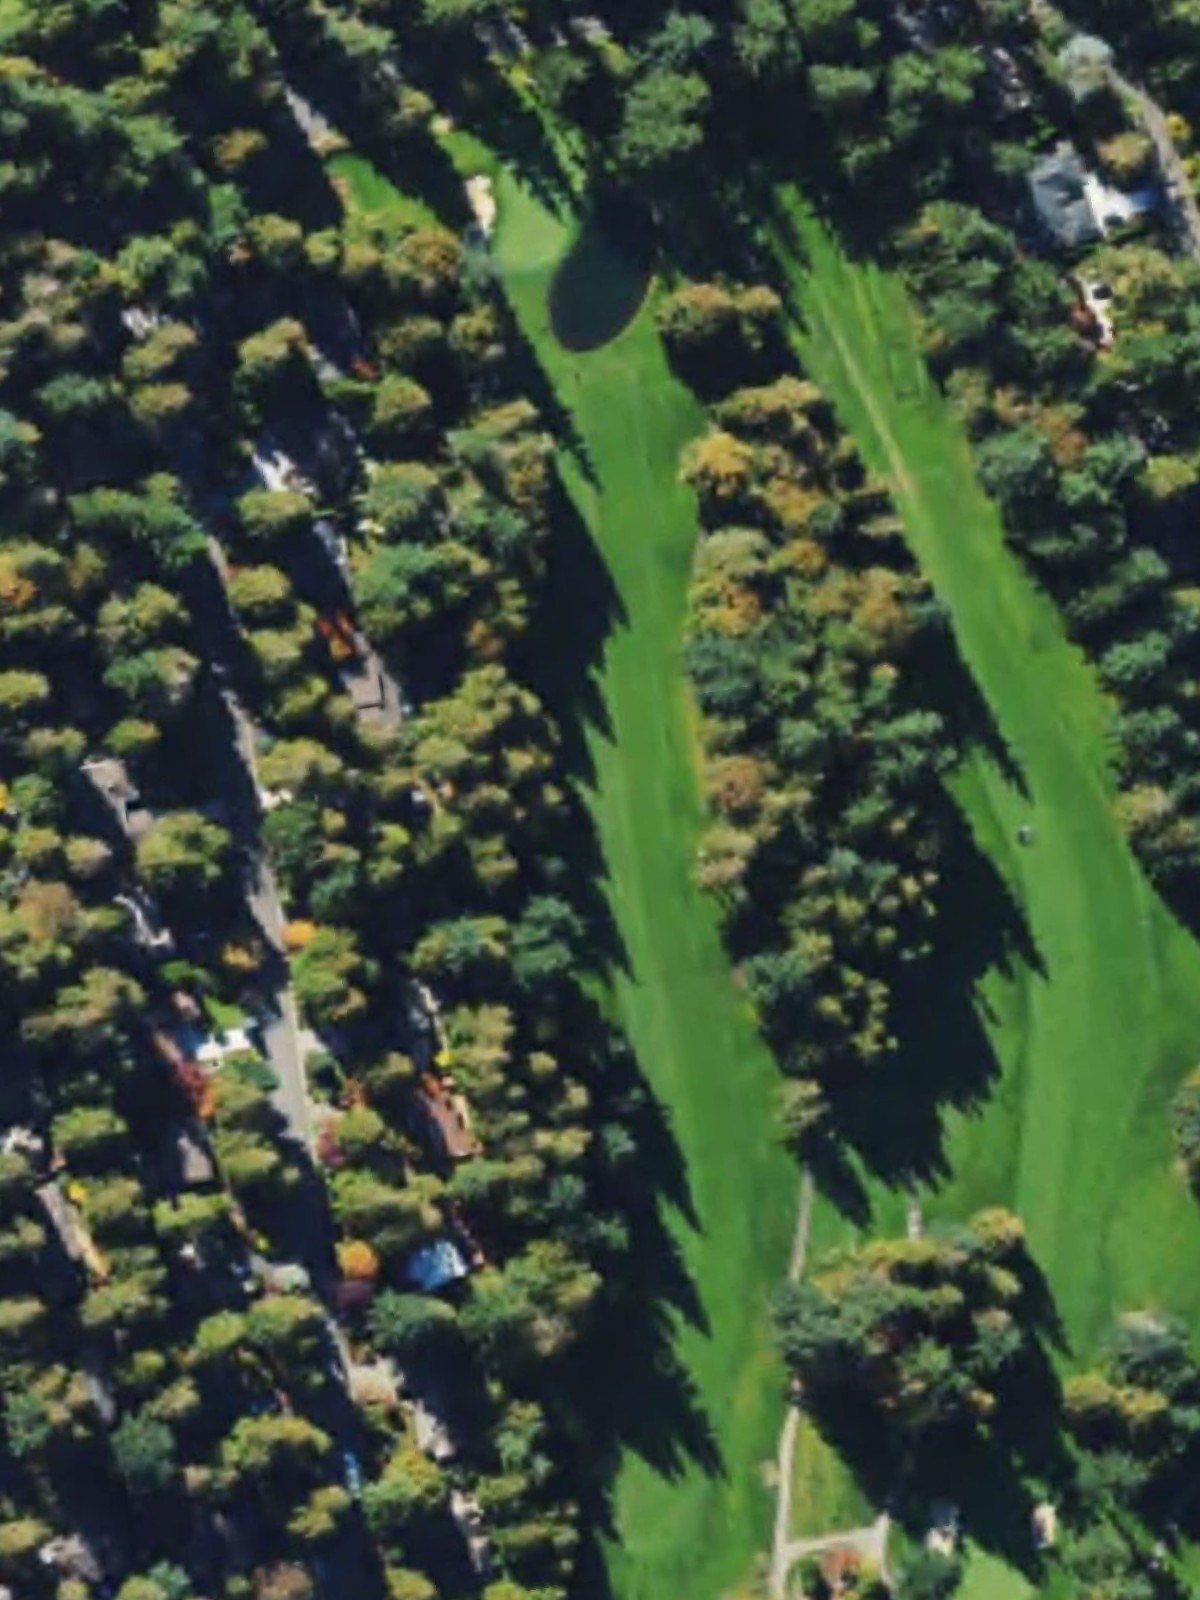
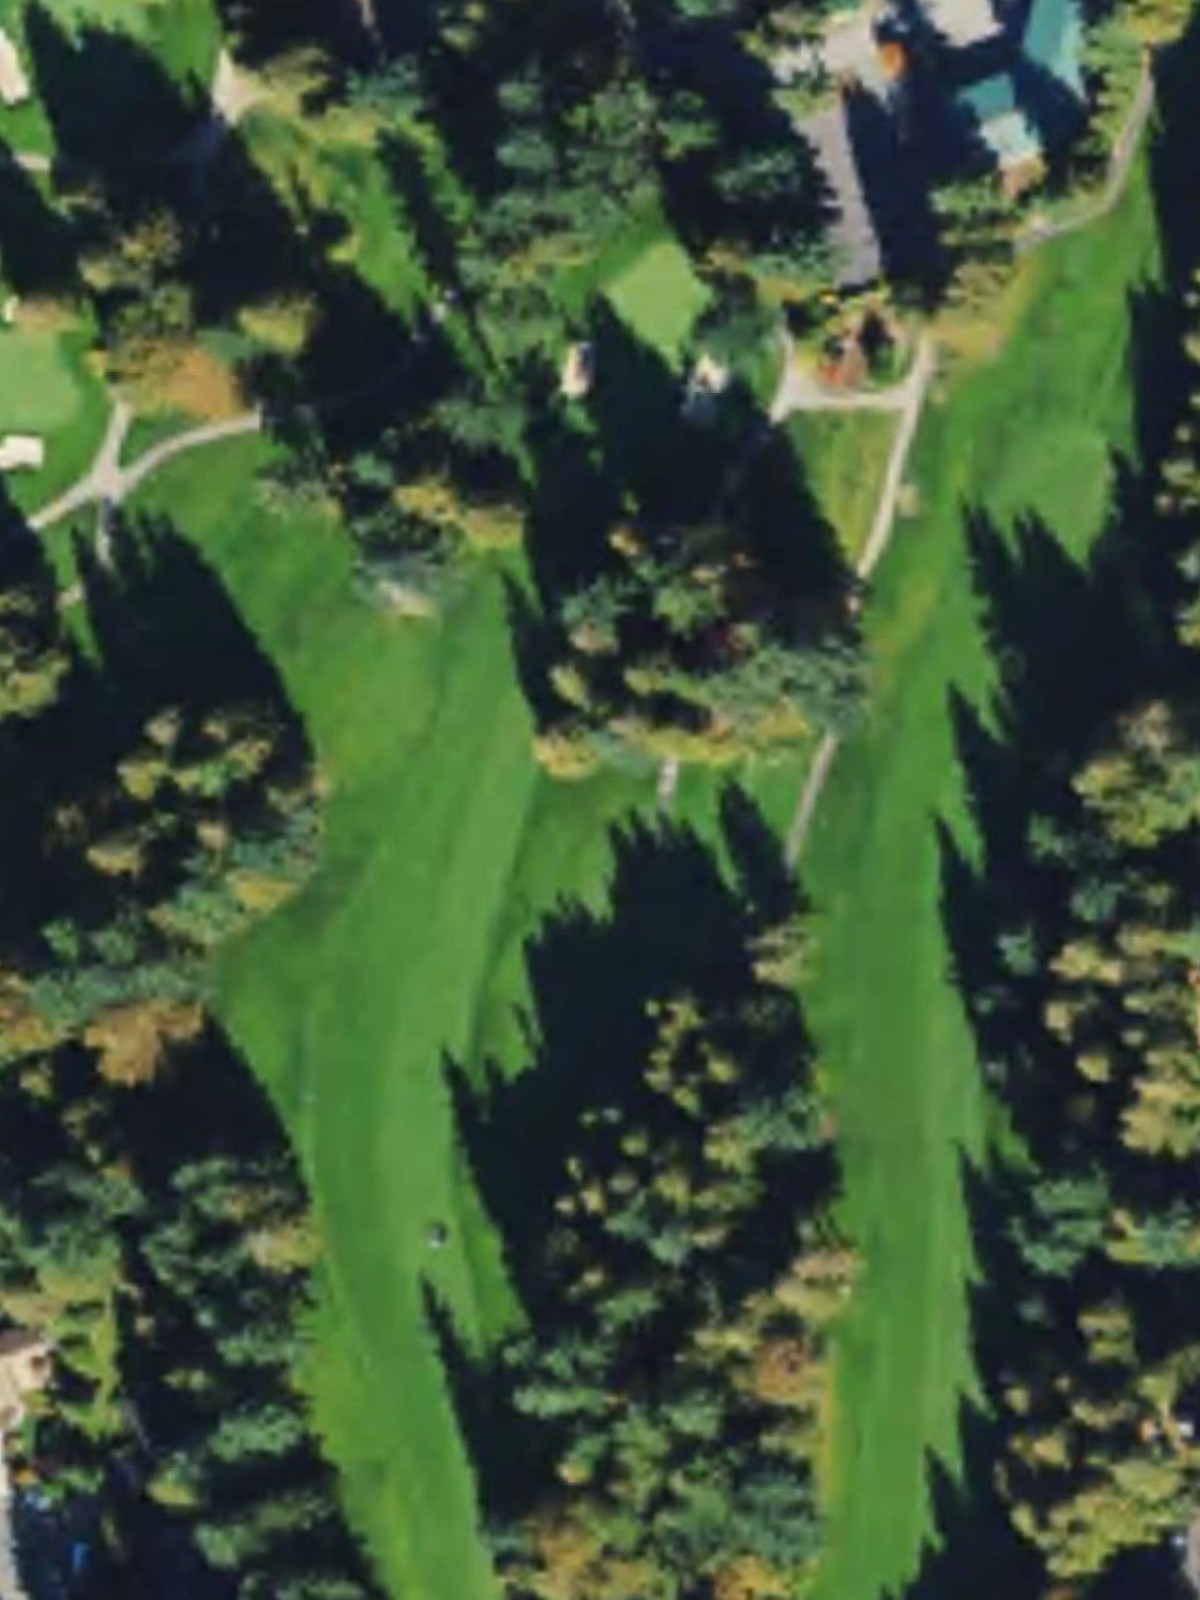
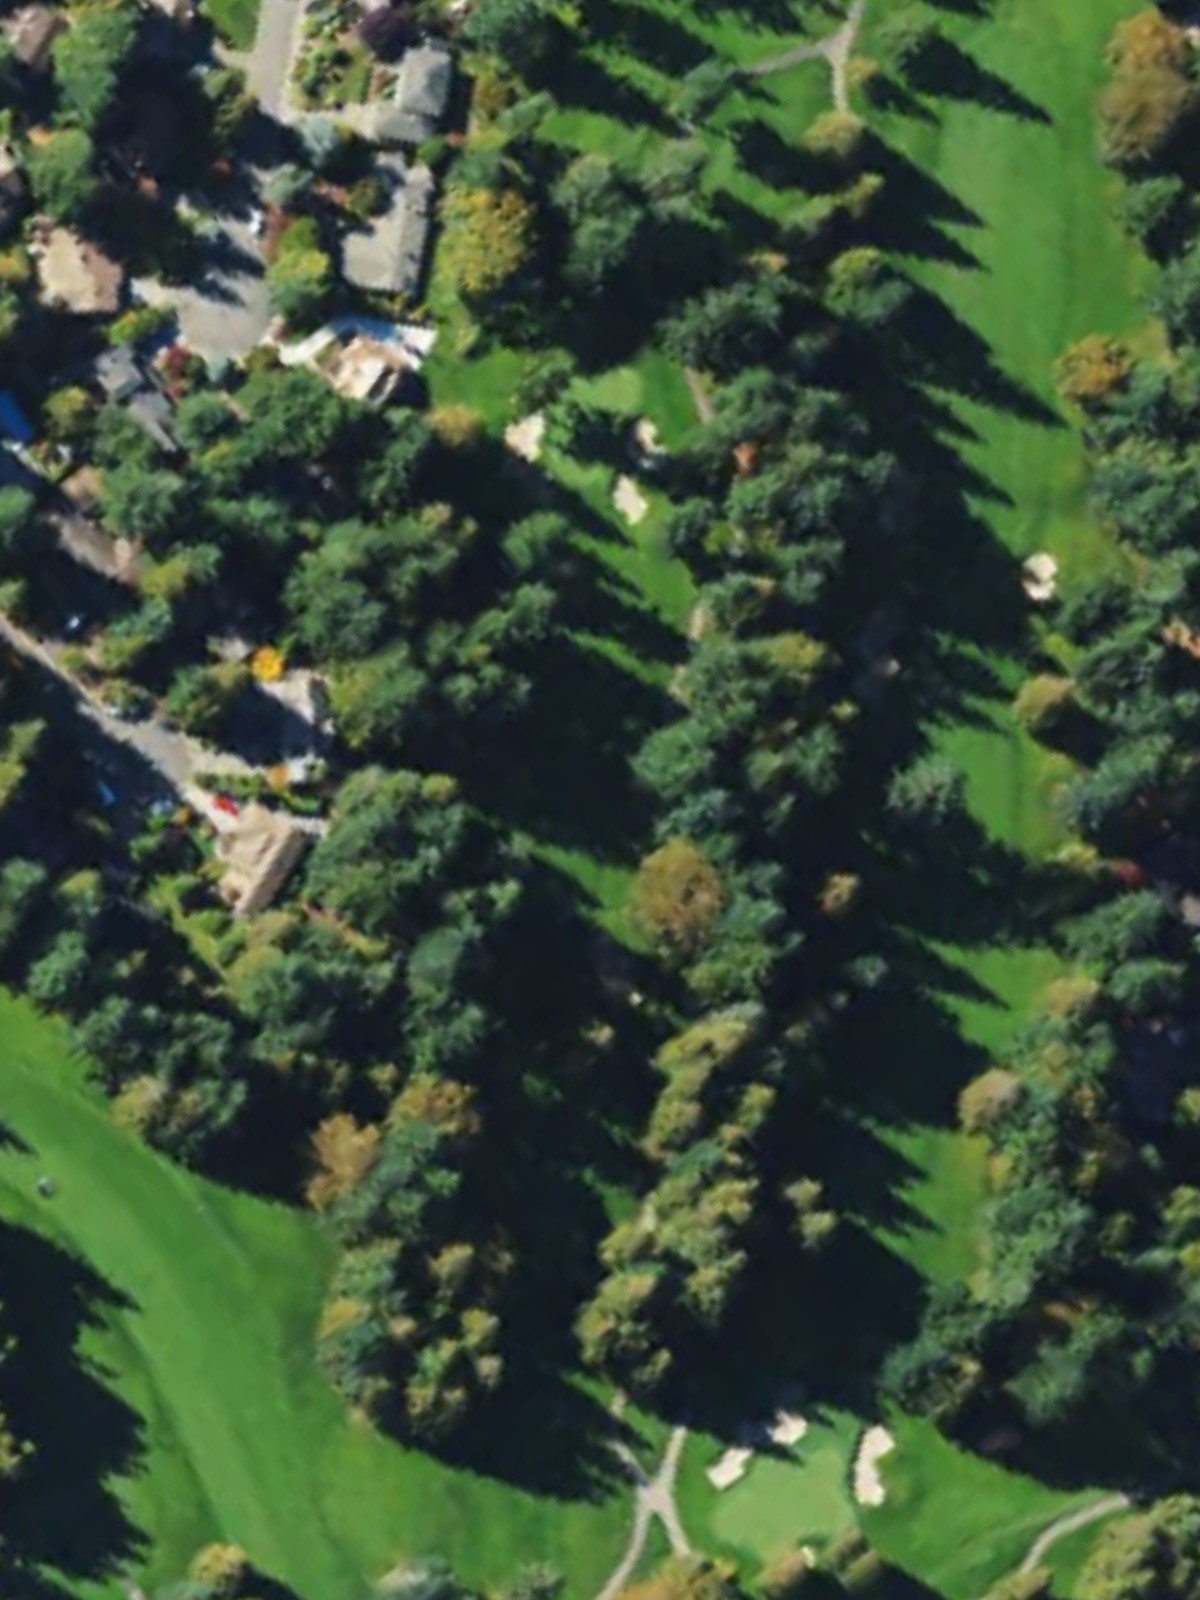
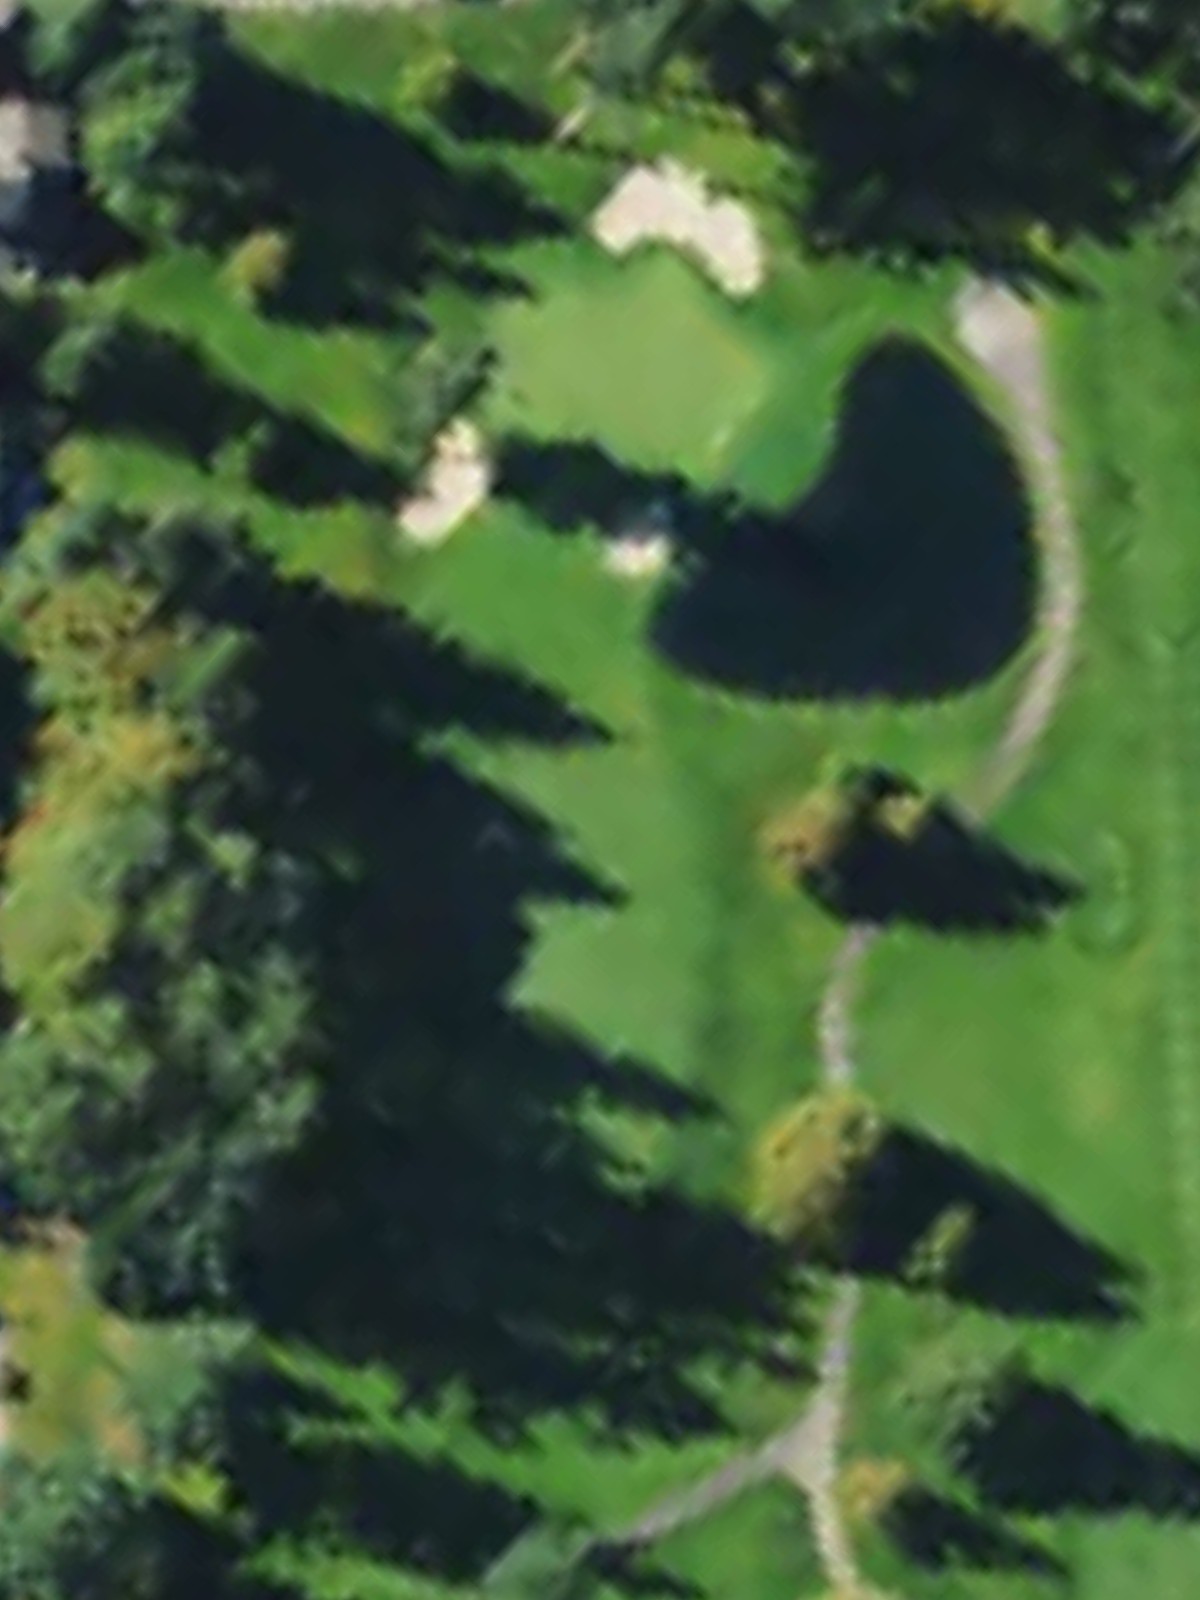
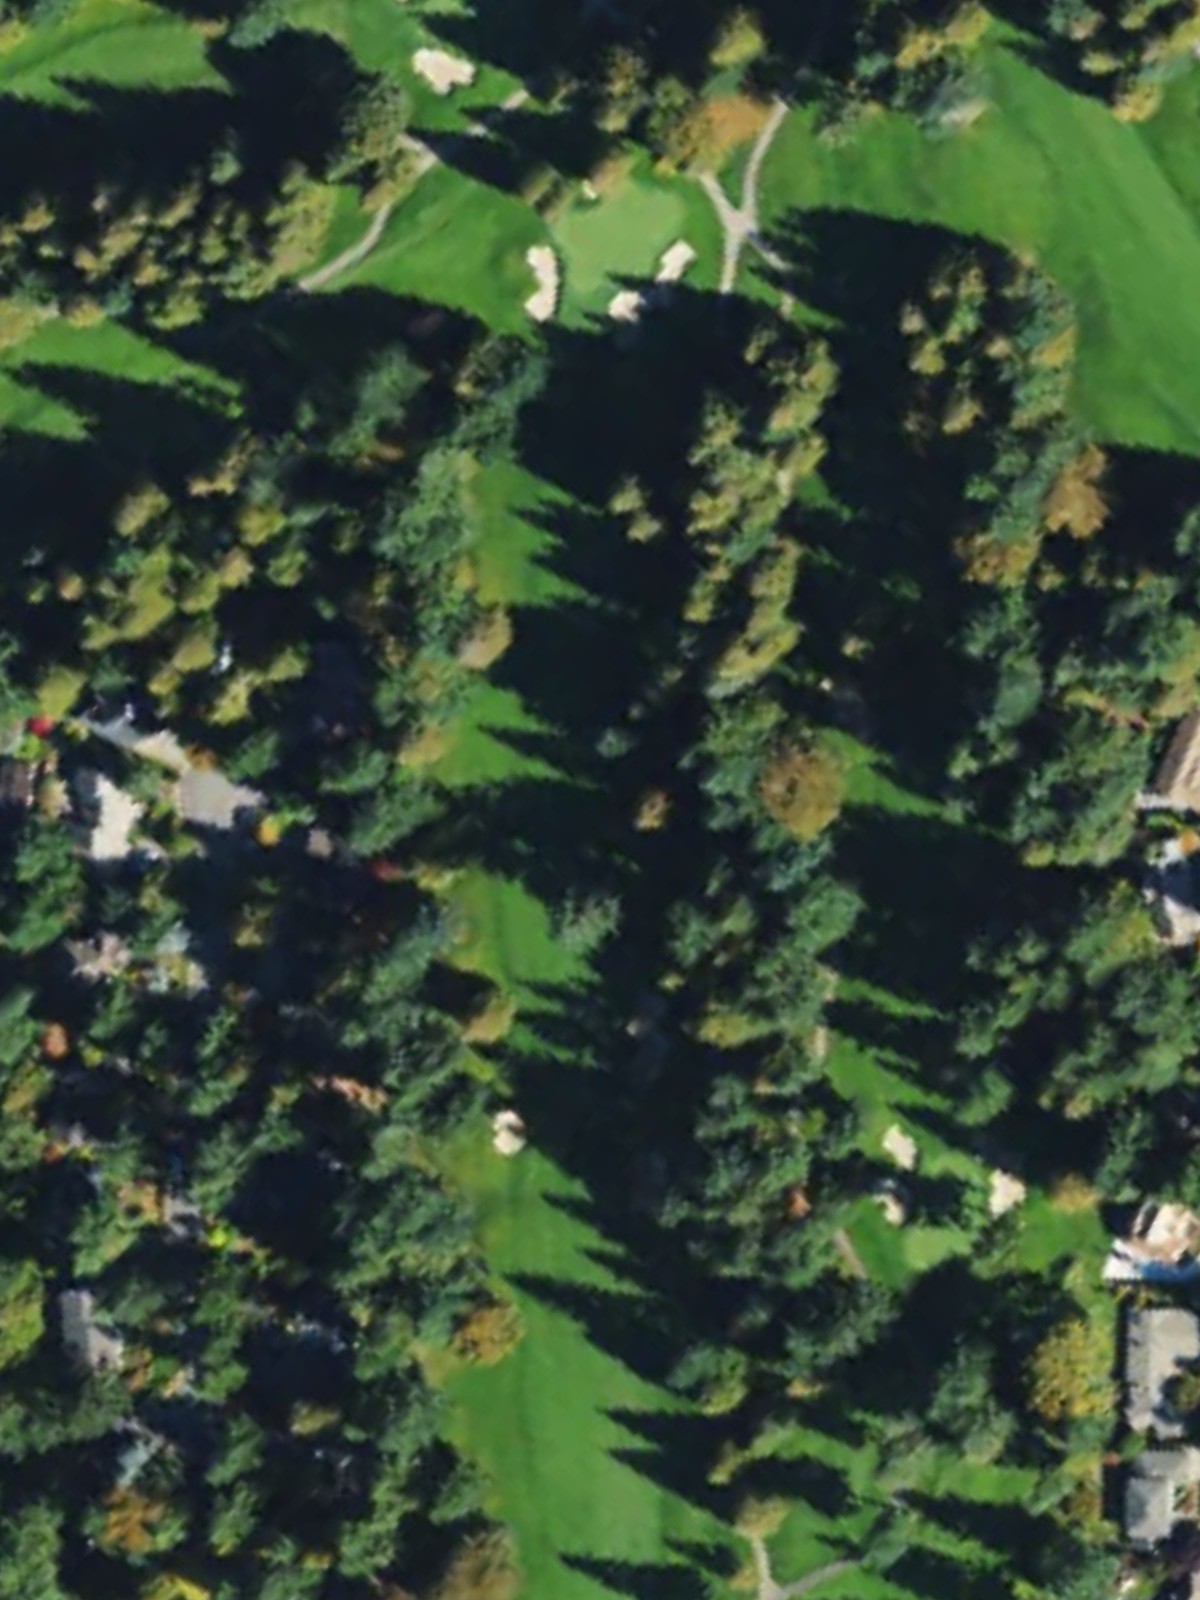
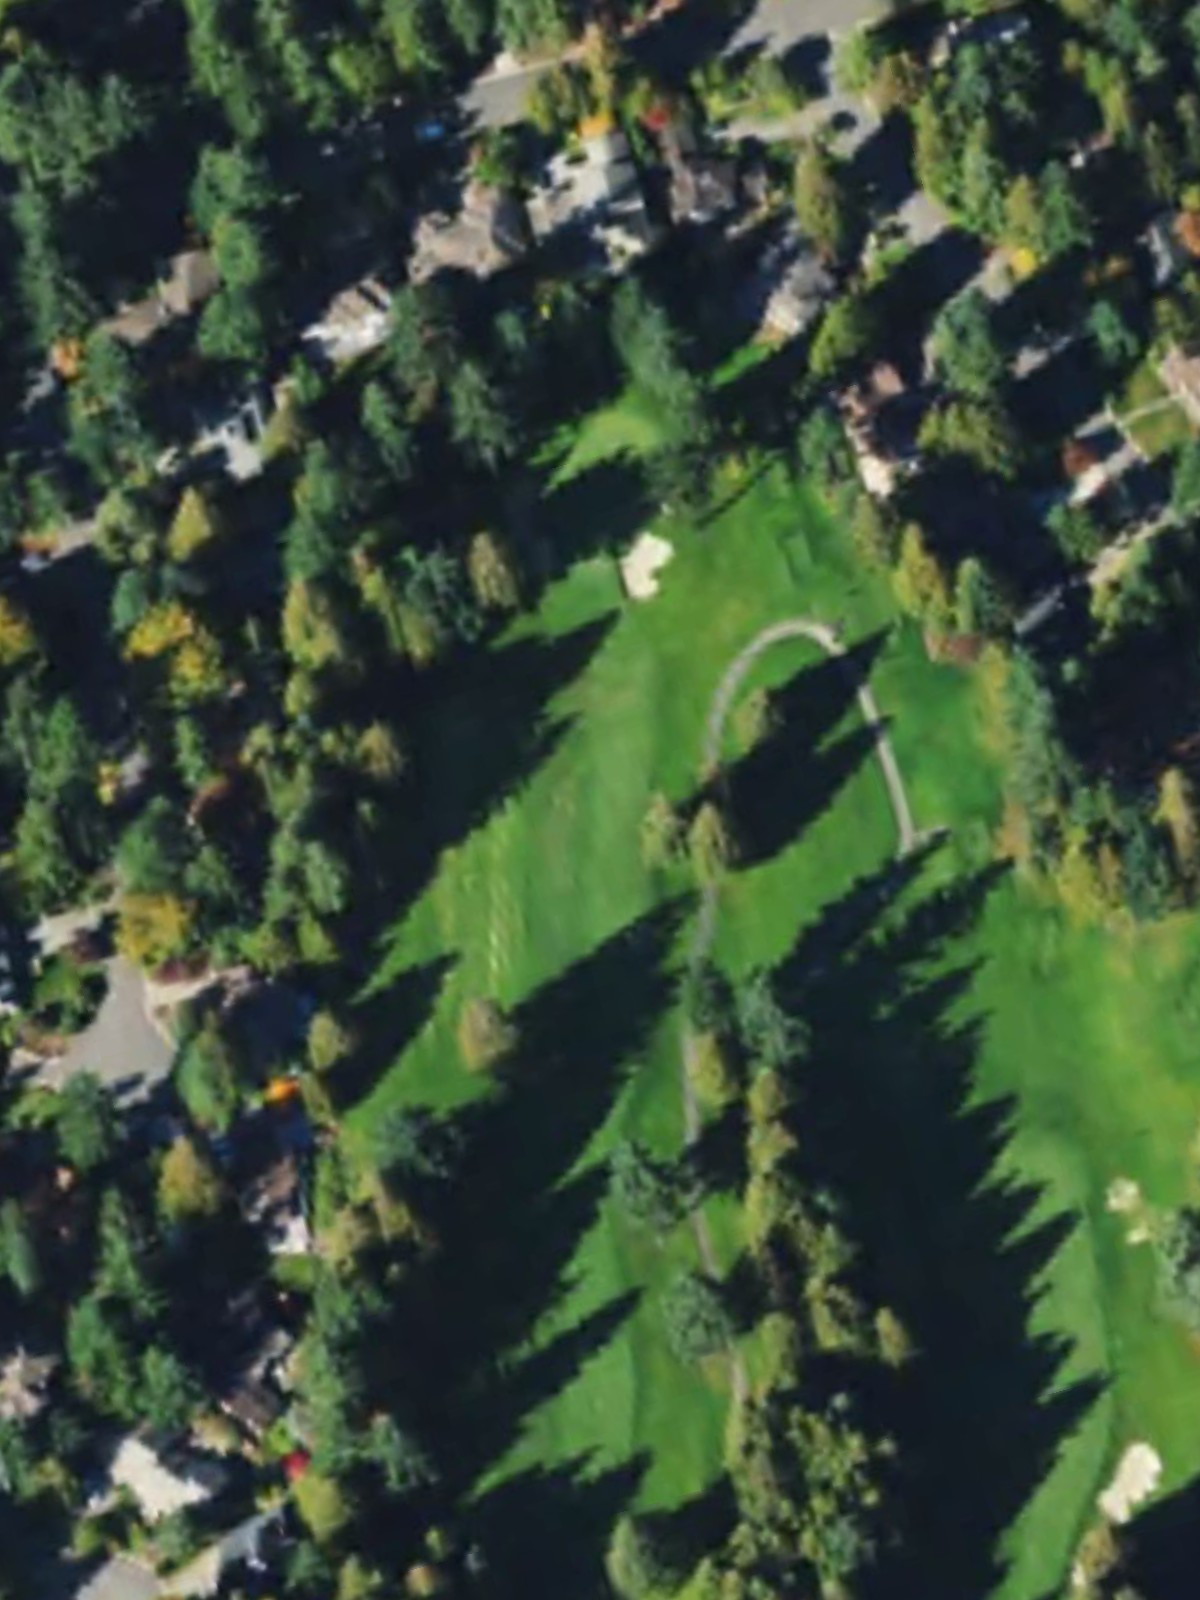
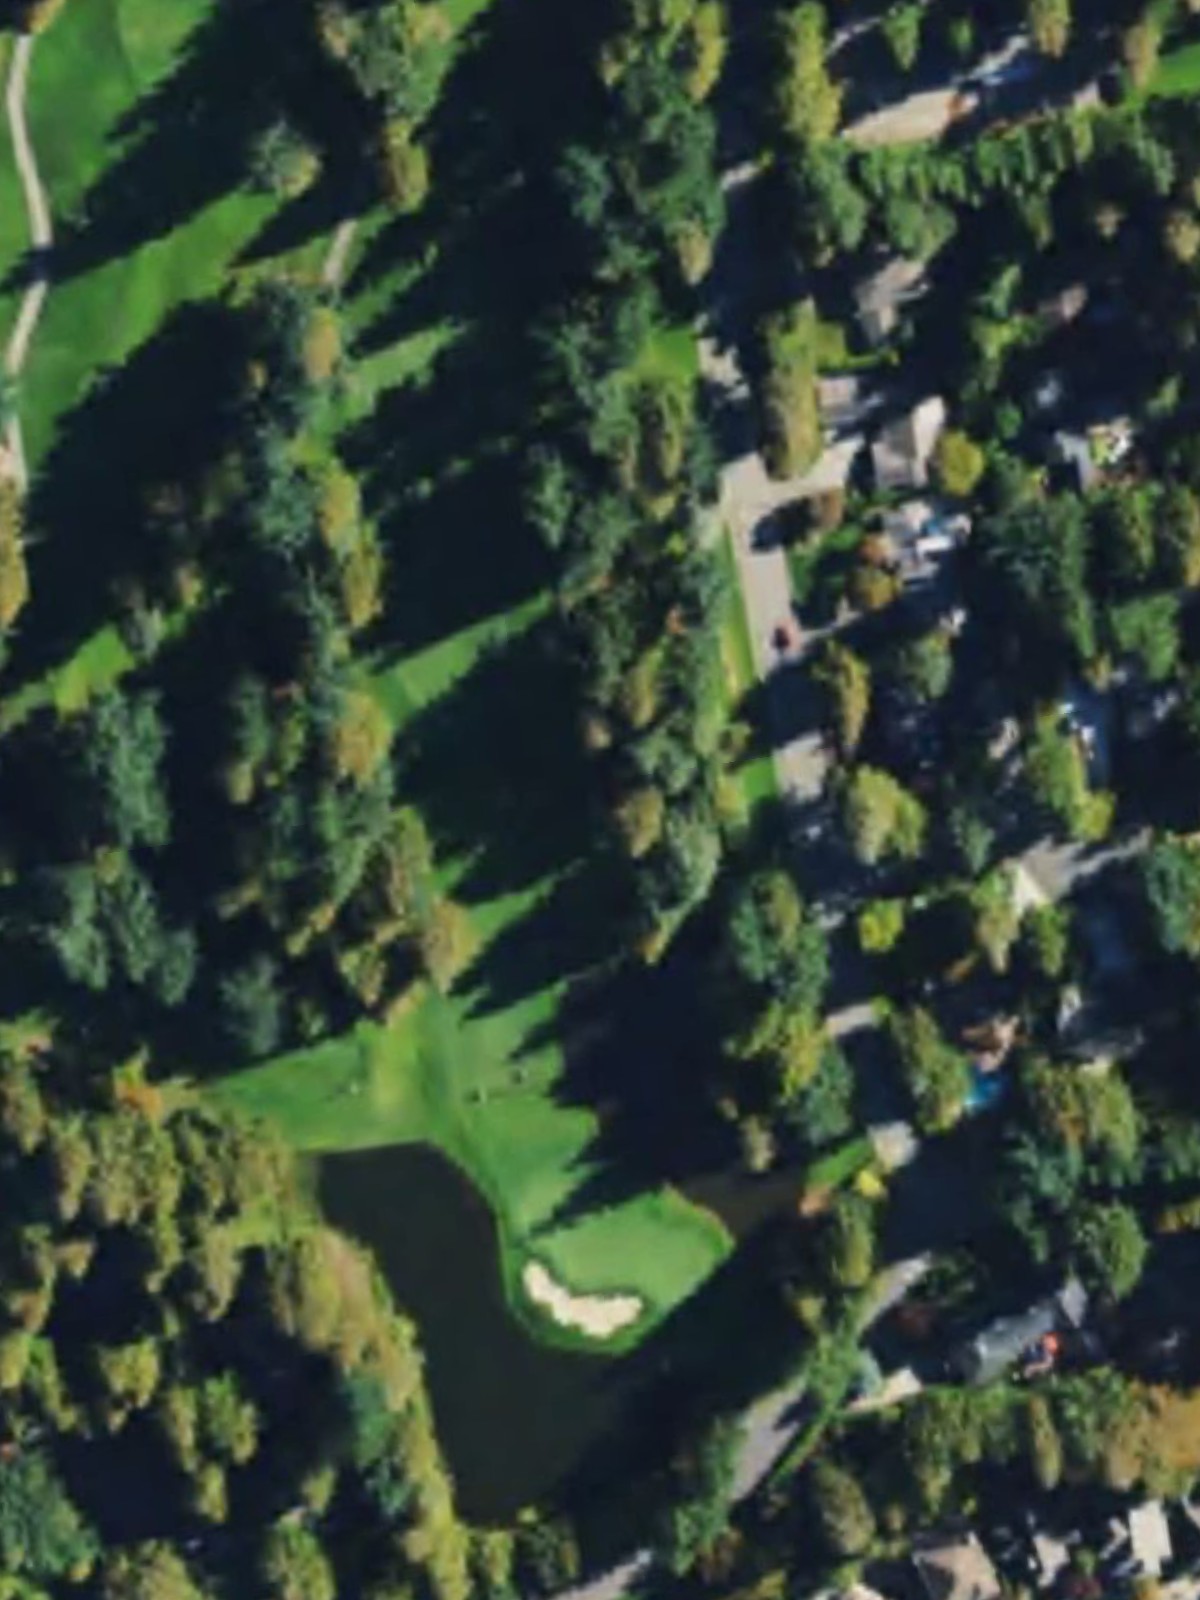
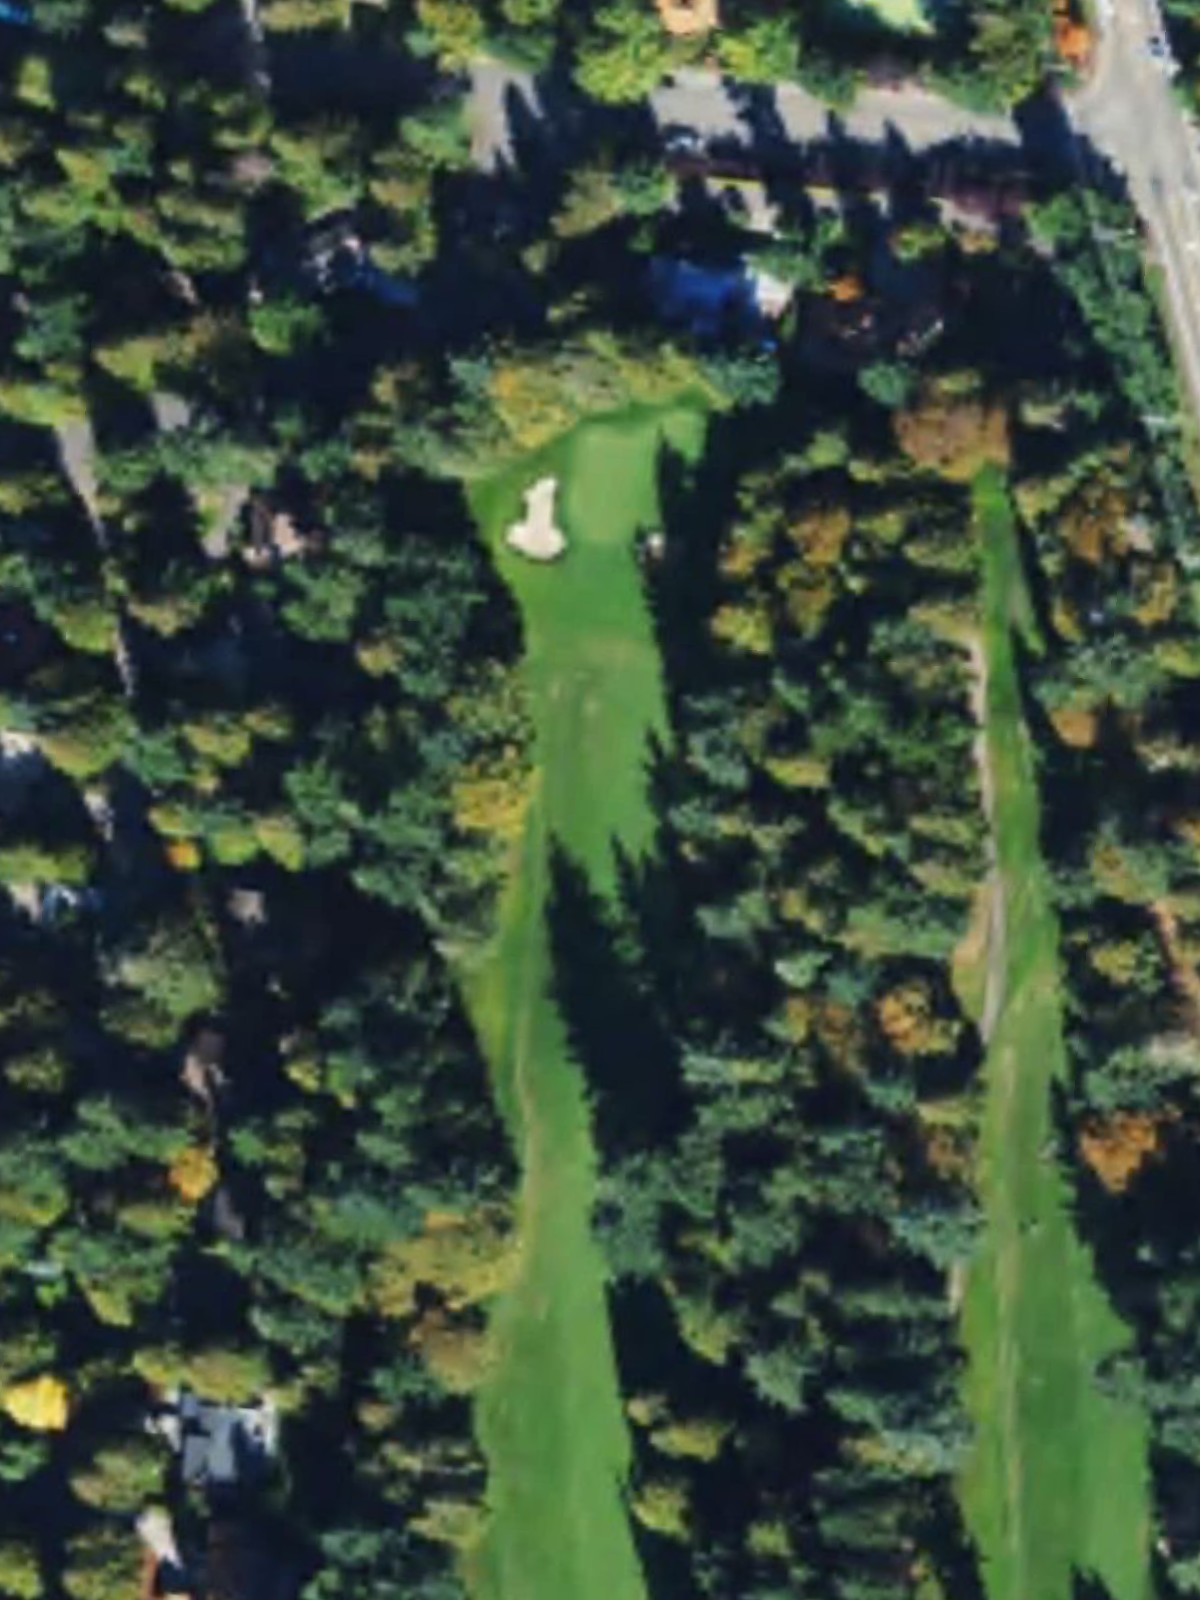
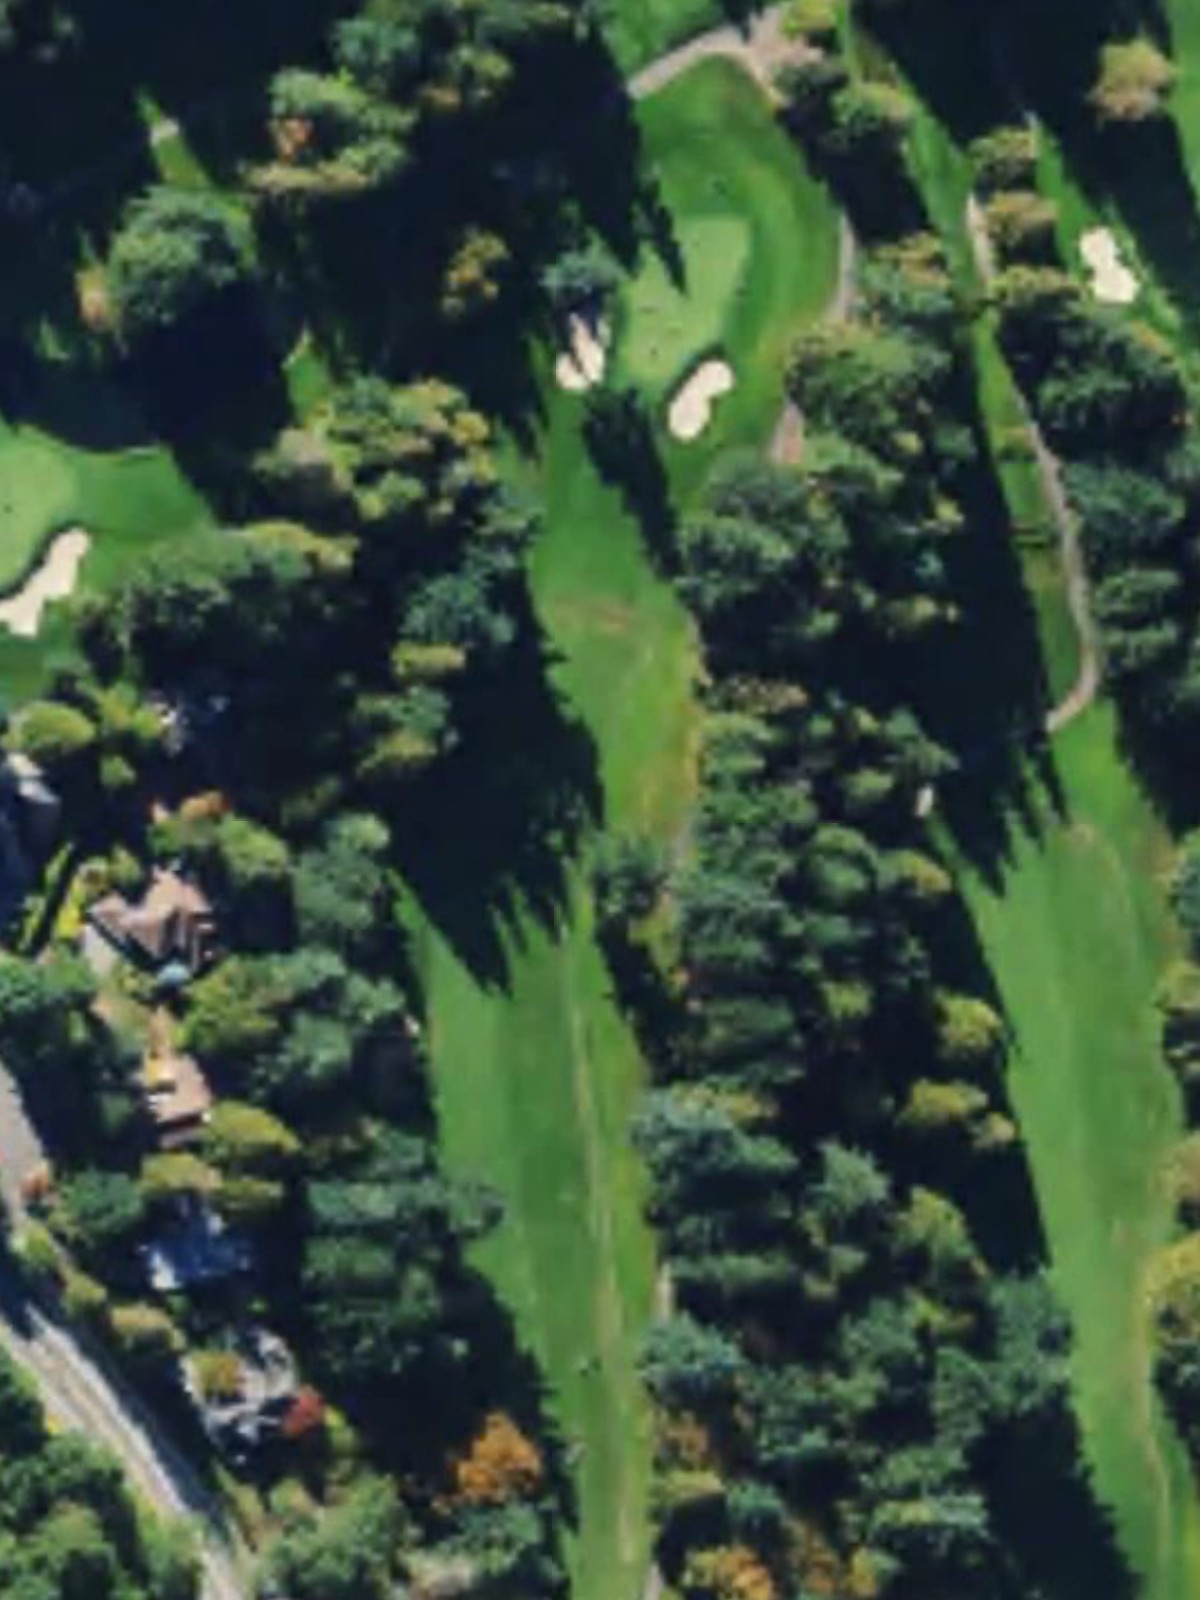
Sahalee Country Club is an 18-hole golf course in Sammamish, WA with a par of 72. It offers 8 tee sets: black nb (6,997 yards, slope 129, rating 74), blue nb (6,732 yards, slope 127, rating 72.6), blue/white combo nb (6,423 yards, slope 124, rating 71), white nb (6,328 yards, slope 120, rating 71.3), white/gold combo nb (6,042 yards, slope 124, rating 69.1), gold nb (5,816 yards, slope 118, rating 68.5), silver nb (5,312 yards, slope 115, rating 66.1), family nb (4,167 yards, slope 99, rating 62.3). The hardest hole is #2, a par 5 playing 502 yards from the first tee.
Sahalee Country Club
Sammamish, WA
Get PDF Yardage Book
We'll email you the PDF link. No spam, ever.
Create Your Game Plan
Pick your tees, enter your bag, and get a personalized shot-by-shot strategy for every hole.
A welcoming opening par 4 that plays relatively straight with a fairway that gradually narrows as it approaches the green. Bunkers guard the right side of the green, rewarding accuracy on the approach shot.
The course's longest hole, this par 5 demands two solid shots to reach scoring position. Water and hazards left create pressure throughout the hole, requiring careful positioning off the tee and on the layup.
A straightforward par 4 with a well-defined fairway that provides a fair test of shot-making. Bunkers protect the green, particularly on the right, making the approach critical to scoring.
A shorter par 4 offering birdie opportunity with a receptive fairway and relatively open approach. The green is straightforward but demands a solid second shot for position.
A short one-shot par 3 that plays to a green with modest defenses. Despite its length, accuracy is essential as the green's small target area punishes errant strikes.
A challenging par 5 with length and strategic hazards that come into play on the approach to the green. The hole's difficulty requires careful course management and well-executed recovery shots if position is missed.
A mid-length par 4 with a fairway that offers multiple angles of attack. The green sits in a somewhat elevated position, and bunkers guard the approaches, making the final shot decisive.

One of the course's most demanding par 4s, this hole features significant length and strategic hazards that penalize poor positioning. The approach to the green is tight, making precision essential throughout the hole.
A mid-length par 3 playing over hazards to a well-bunkered green. The hole's short length can be deceiving, as accuracy in club selection and execution is critical to avoiding trouble.
A solid par 4 returning to play with a fairway that offers a fair target off the tee. Greenside bunkers and the green's positioning make the approach shot the hole's defining challenge.
The back nine's signature par 5, this hole demands power and precision with hazards that come into play on all three shots. Strategic positioning is essential to set up a manageable approach to the well-guarded green.
A formidable par 4 ranked among the course's most difficult holes, with length and hazards that require two aggressive, well-executed shots. The green's defenses are robust, punishing anything short of precision.
A short par 3 that plays deceptively easy due to its length and straightforward design. The modest green and surrounding hazards demand exacting accuracy despite the modest yardage.

A strategic par 4 of moderate length with a fairway that rewards good positioning off the tee. The approach to the green is the hole's key challenge, with bunkers and contours demanding precision.
A quality par 4 requiring solid execution on both shots with hazards that guide the proper line. The green's setting creates a demanding finishing challenge on the approach.
A shorter par 4 that offers scoring opportunity for those who can find the fairway cleanly. The approach is relatively open, allowing aggressive play on the second shot.

A short par 3 with modest length and straightforward hazard placement that tests consistency rather than distance. Precision in club selection determines success on this brief but important hole.

The course concludes with a long par 5 that demands two powerful shots to reach the green in regulation. Strategic hazards and the green's positioning create a memorable finishing hole that rewards bold, accurate play.
Scorecard
| Hole | 1 | 2 | 3 | 4 | 5 | 6 | 7 | 8 | 9 | Out | 10 | 11 | 12 | 13 | 14 | 15 | 16 | 17 | 18 | In | Tot |
|---|---|---|---|---|---|---|---|---|---|---|---|---|---|---|---|---|---|---|---|---|---|
| Par | 4 | 5 | 4 | 4 | 3 | 5 | 4 | 4 | 3 | 36 | 4 | 5 | 4 | 3 | 4 | 4 | 4 | 3 | 5 | 36 | 72 |
| HCP | 9 | 1 | 7 | 11 | 17 | 5 | 13 | 3 | 15 | 10 | 2 | 4 | 18 | 12 | 8 | 14 | 16 | 6 | |||
| black nb | 405 | 510 | 415 | 390 | 193 | 512 | 418 | 440 | 213 | 3496 | 402 | 541 | 460 | 175 | 381 | 417 | 375 | 218 | 532 | 3501 | 6997 |
| blue nb | 396 | 502 | 406 | 381 | 176 | 508 | 404 | 422 | 180 | 3375 | 392 | 528 | 429 | 162 | 375 | 397 | 372 | 173 | 529 | 3357 | 6732 |
| blue/white combo nb | 374 | 480 | 386 | 357 | 176 | 483 | 379 | 393 | 180 | 3208 | 374 | 503 | 407 | 162 | 360 | 377 | 347 | 173 | 512 | 3215 | 6423 |
| white nb | 374 | 480 | 386 | 357 | 165 | 483 | 379 | 393 | 146 | 3163 | 374 | 503 | 407 | 140 | 360 | 377 | 347 | 145 | 512 | 3165 | 6328 |
| white/gold combo nb | 347 | 480 | 346 | 329 | 165 | 483 | 379 | 339 | 146 | 3014 | 345 | 503 | 375 | 140 | 360 | 354 | 332 | 145 | 474 | 3028 | 6042 |
| gold nb | 347 | 460 | 346 | 329 | 157 | 453 | 337 | 339 | 116 | 2884 | 345 | 469 | 375 | 128 | 344 | 354 | 332 | 111 | 474 | 2932 | 5816 |
| silver nb | 327 | 343 | 324 | 319 | 142 | 422 | 309 | 317 | 116 | 2619 | 333 | 433 | 338 | 116 | 316 | 327 | 305 | 110 | 415 | 2693 | 5312 |
| family nb | 244 | 323 | 271 | 202 | 100 | 359 | 261 | 272 | 84 | 2116 | 260 | 312 | 281 | 68 | 260 | 257 | 209 | 95 | 309 | 2051 | 4167 |