Sabetha Golf Club is an 18-hole golf course in Sabetha, KS with a par of 72. It offers 7 tee sets: blue (6,130 yards, slope 119, rating 69.4), blue/white (6,018 yards, slope 118, rating 68.9), white (5,906 yards, slope 116, rating 68.4), white/red (5,518 yards, slope 108, rating 66.1), red (5,130 yards, slope 99, rating 63.8), red/black (5,115 yards, slope 104, rating 64.1), black (5,100 yards, slope 108, rating 64.4). The hardest hole is #5, a par 4 playing 321 yards from the first tee.
Sabetha Golf Club
Sabetha, KS
Get PDF Yardage Book
We'll email you the PDF link. No spam, ever.
Create Your Game Plan
Pick your tees, enter your bag, and get a personalized shot-by-shot strategy for every hole.
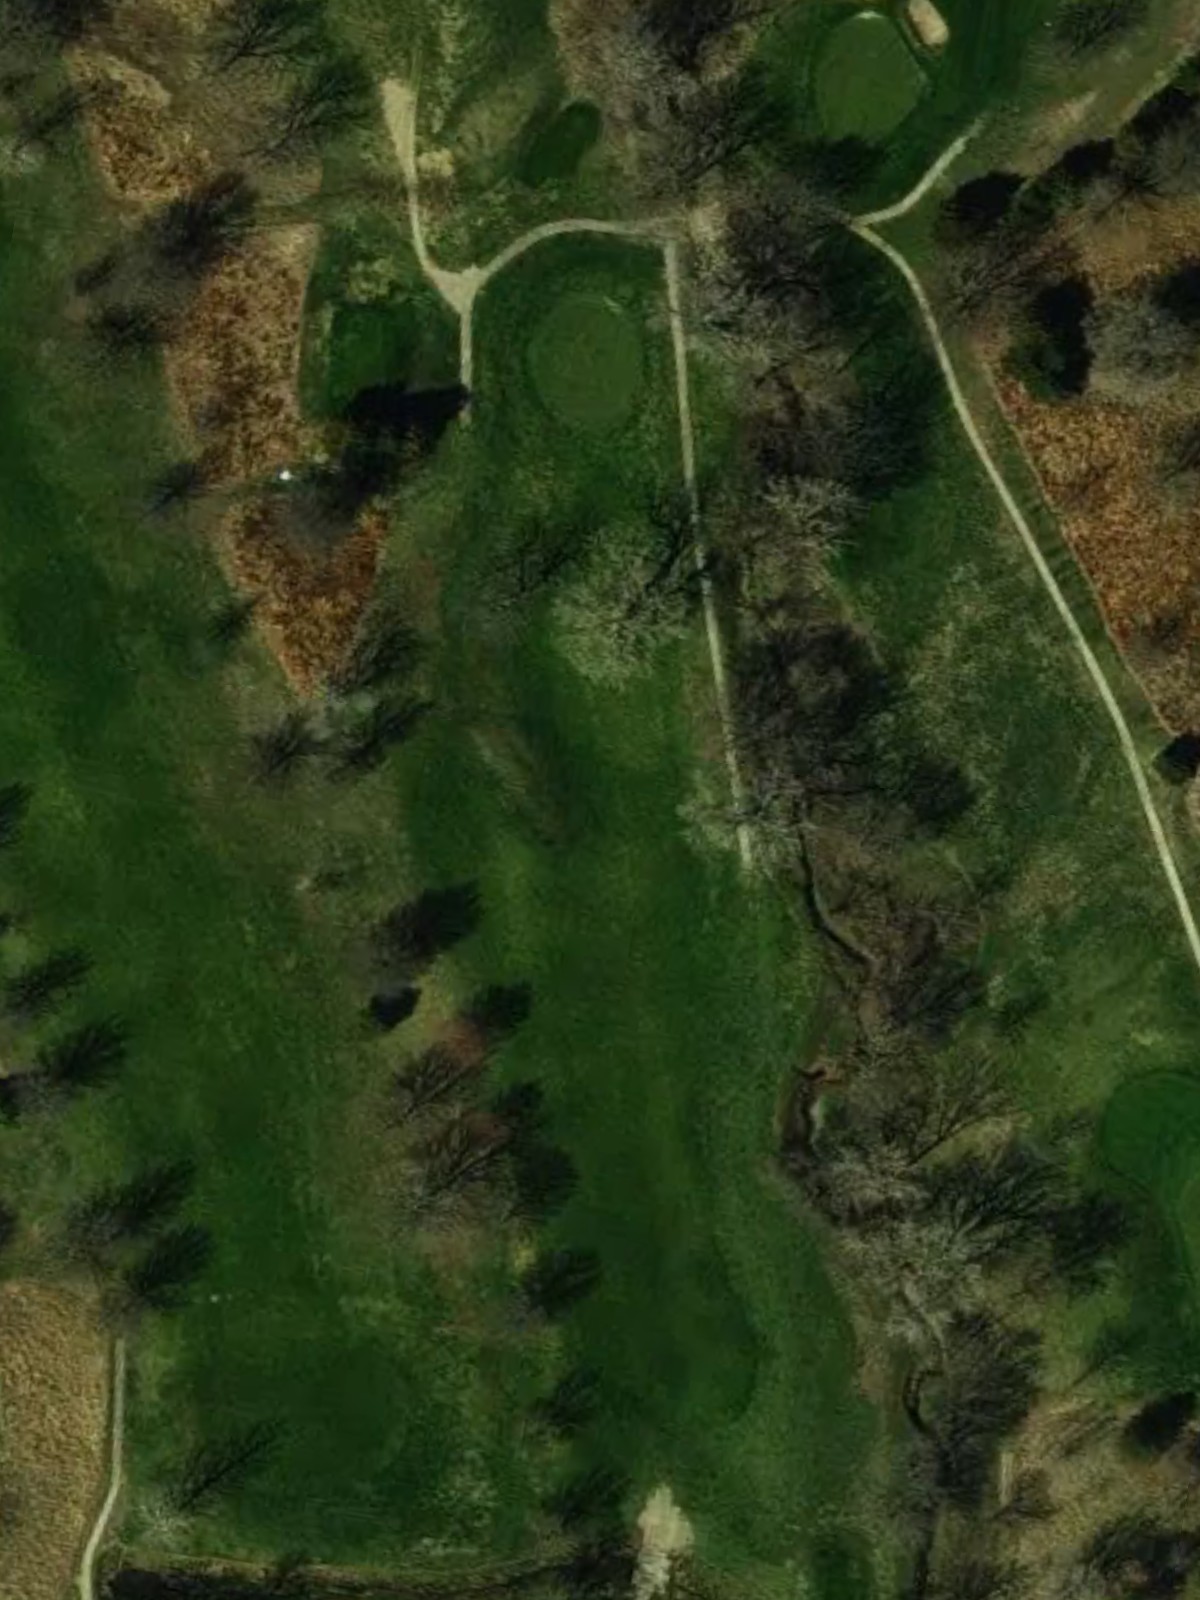
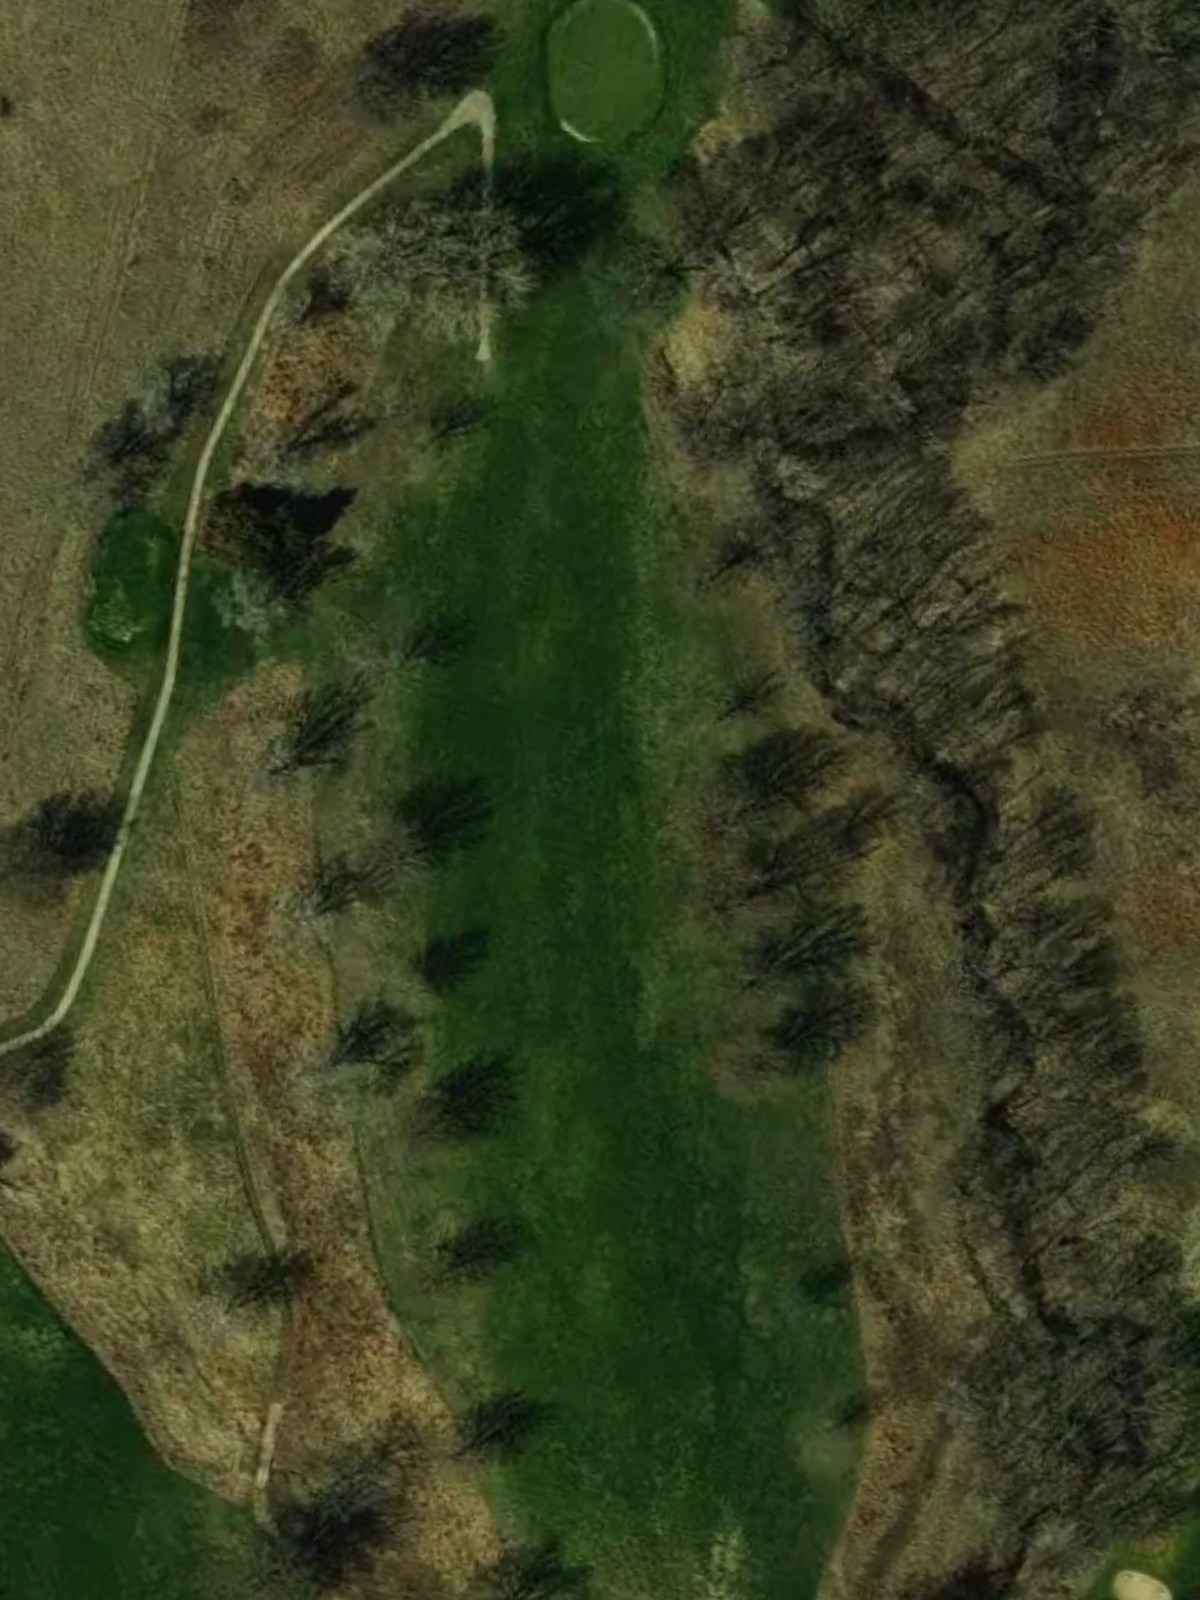
A straightforward opening par 4 where accuracy off the tee is rewarded with a clear approach to the green. The fairway is relatively forgiving, but bunkers guard the right side of the green, demanding precision on the approach shot.
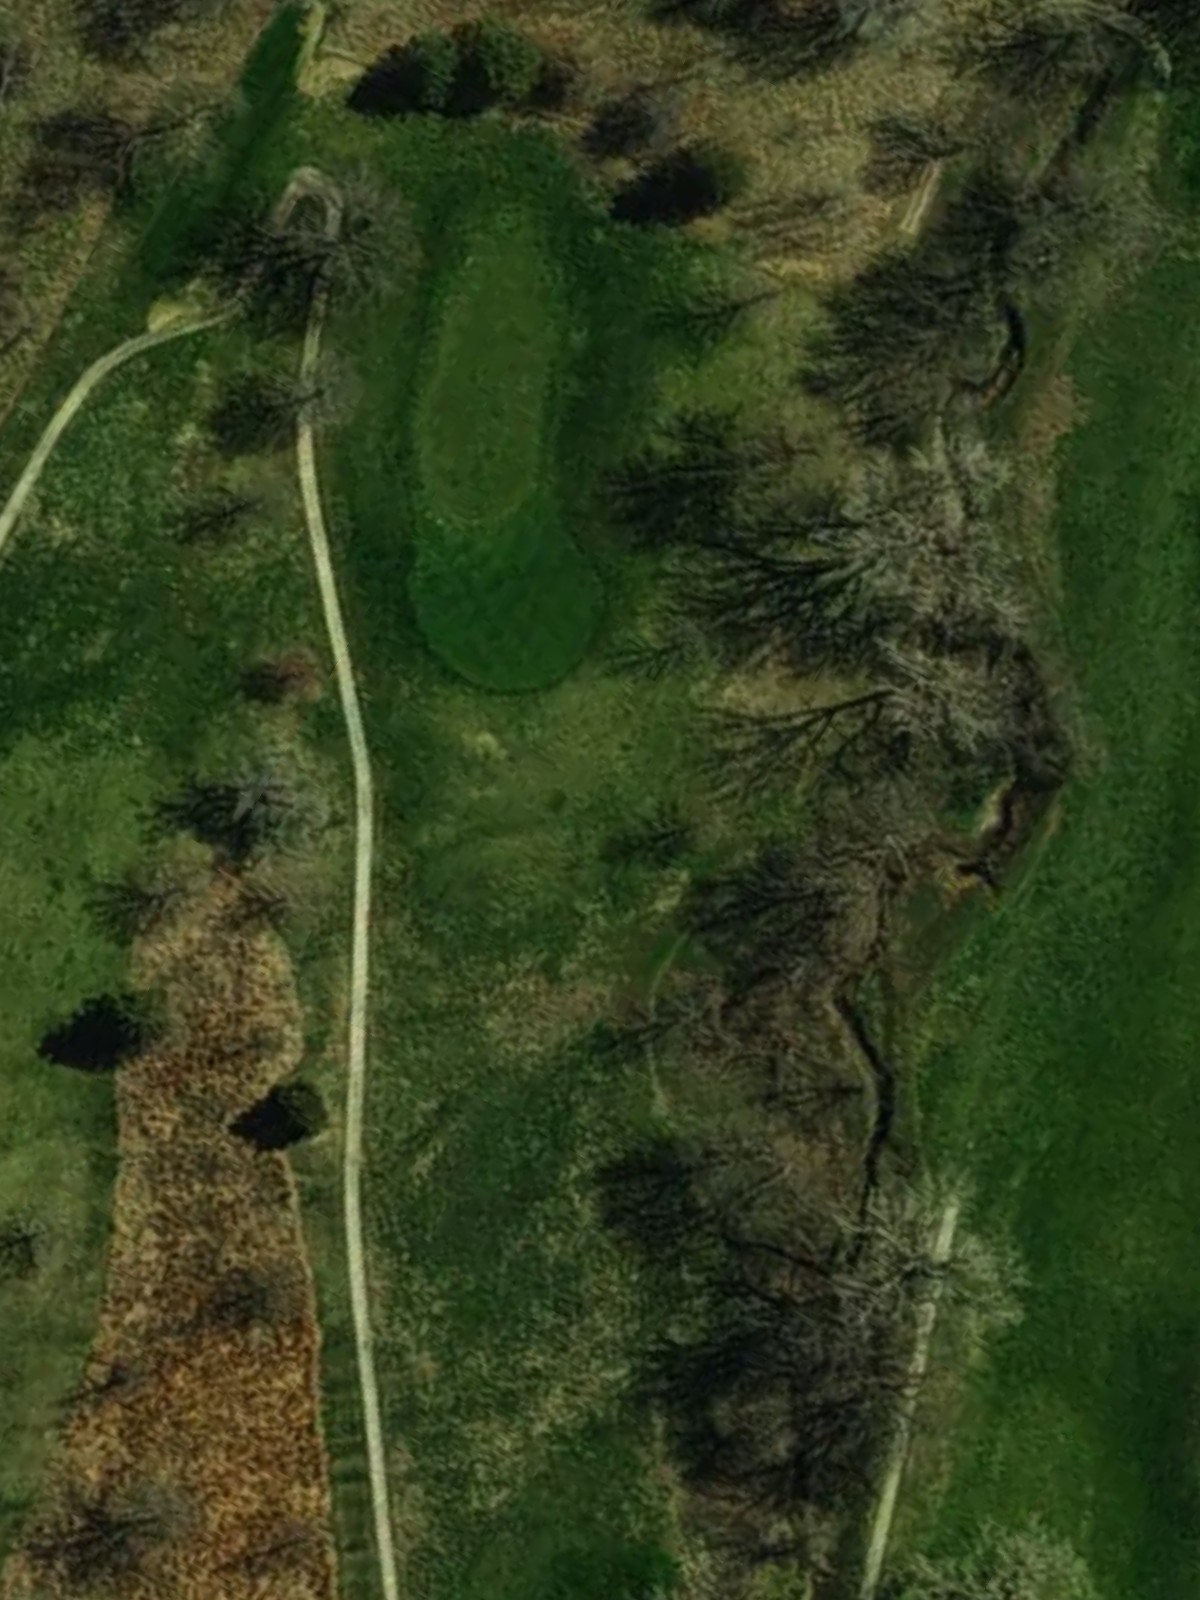
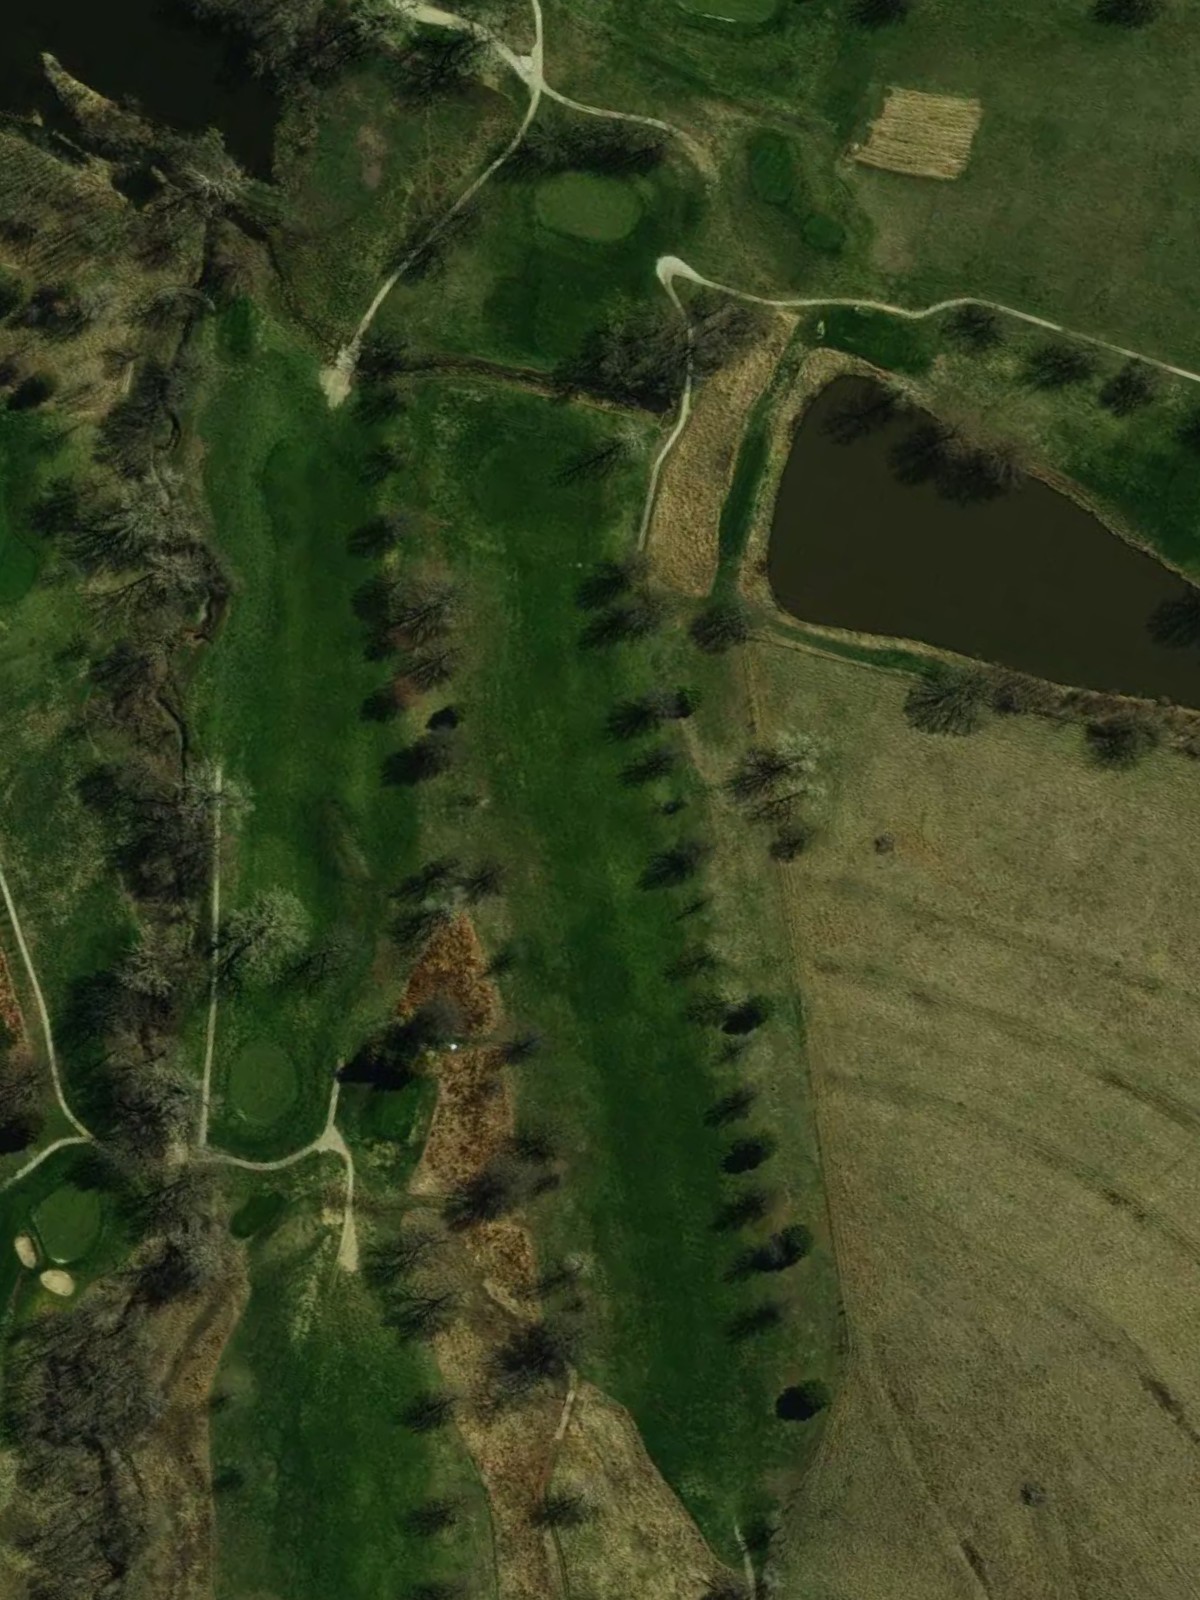
A short par 3 that plays directly to an elevated green with minimal margin for error. Water or out-of-bounds left and bunkers right frame the green, making club selection and placement critical on this strategic one-shotter.
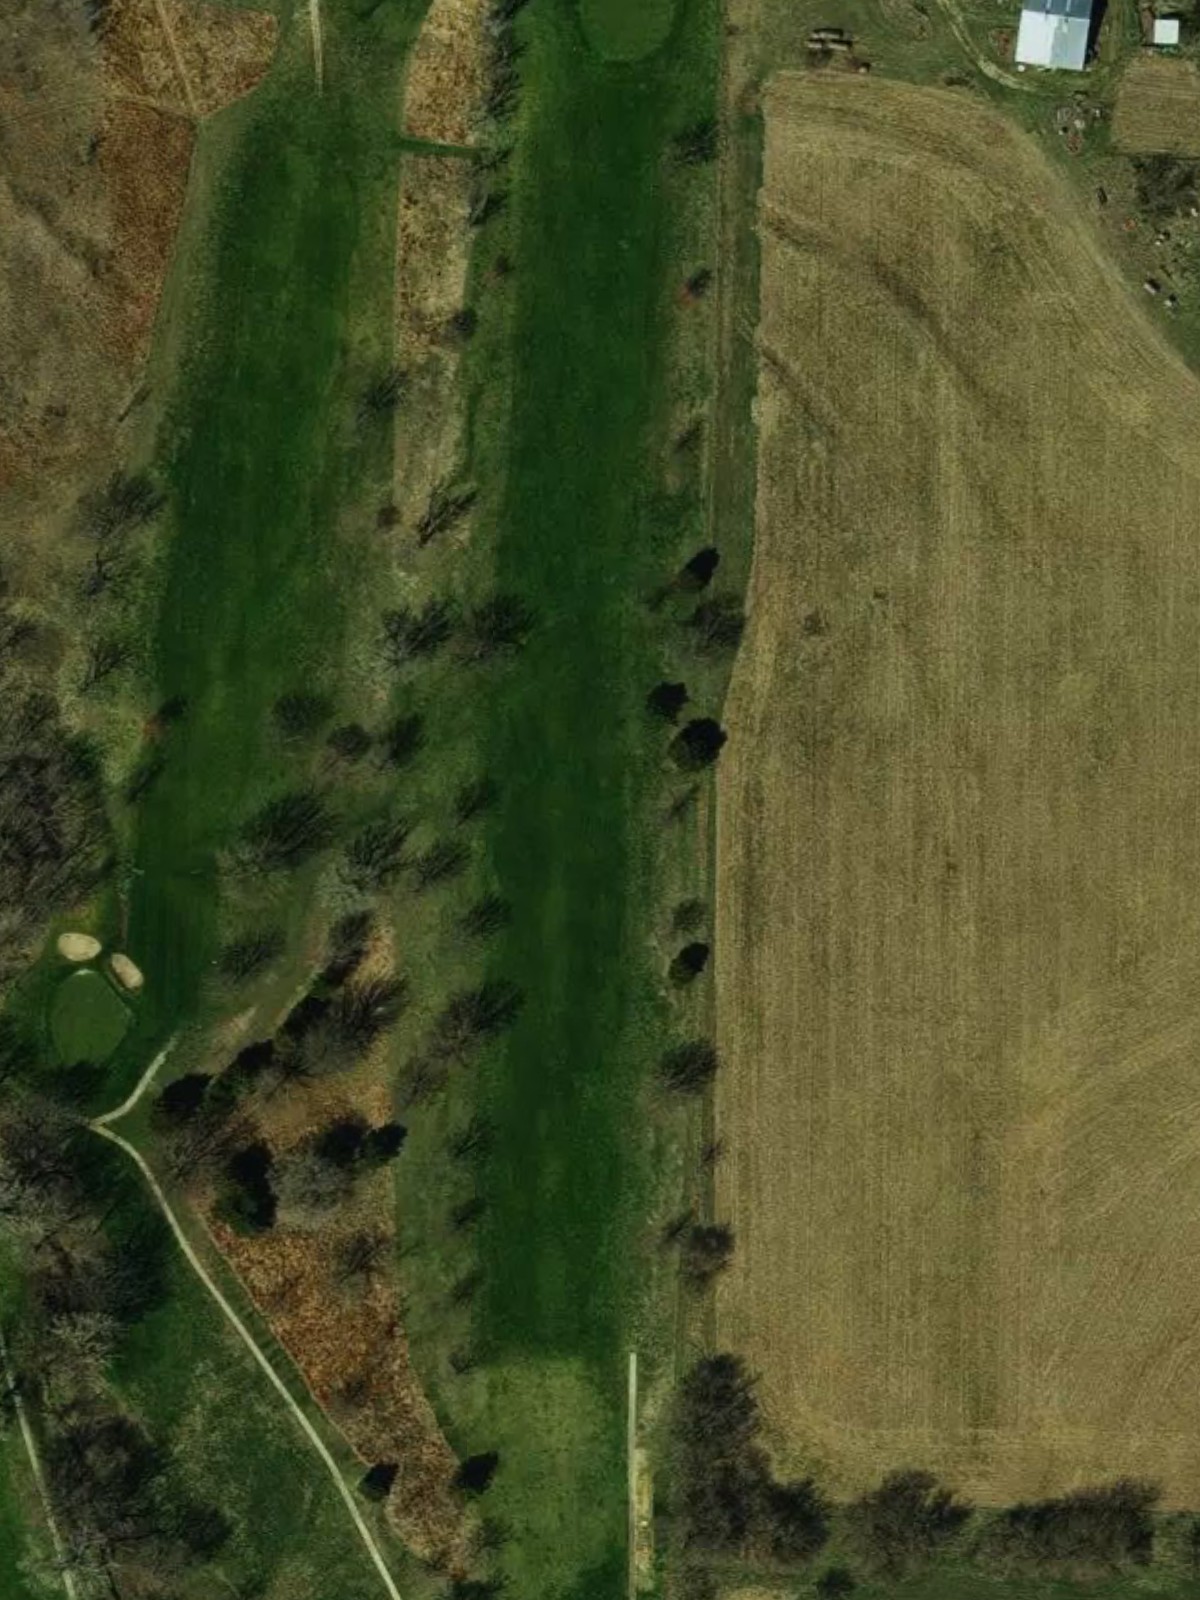
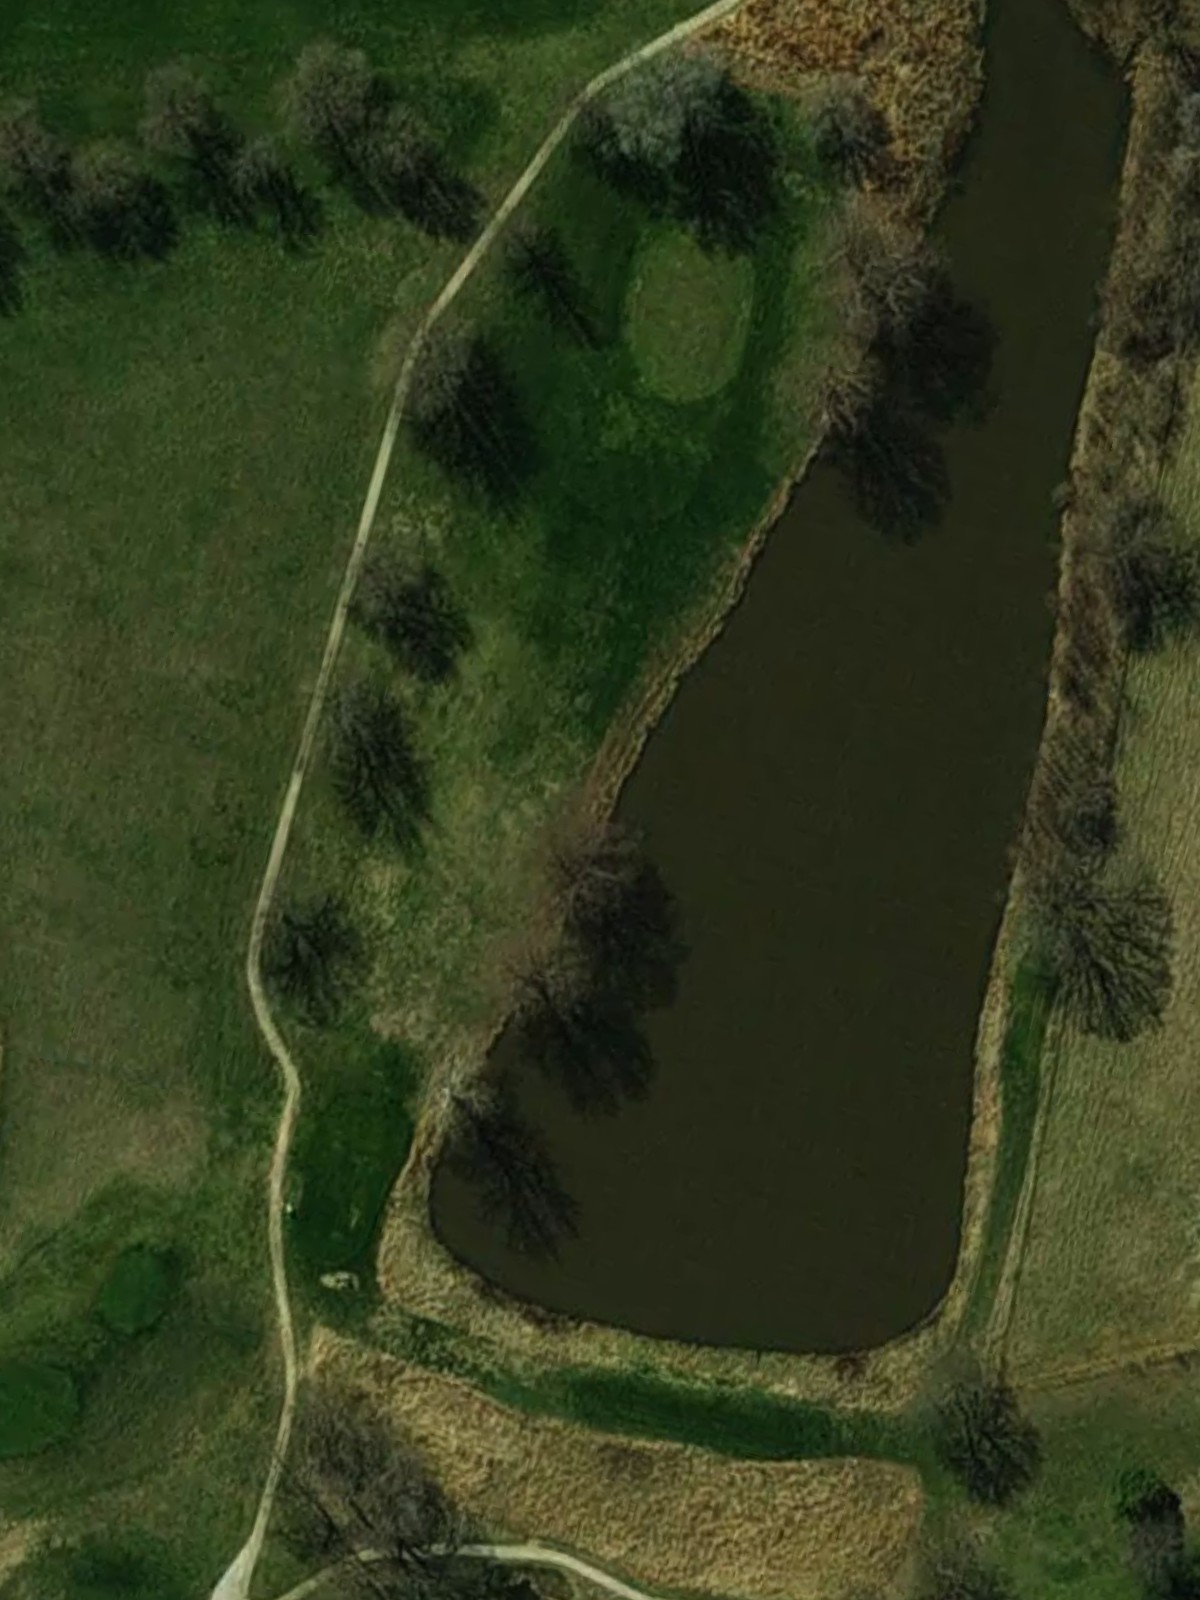
A long par 5 that offers birdie opportunities for those who can navigate its length accurately. The hole may feature a narrow landing area or water hazard in play, requiring well-placed shots to reach the green in regulation.
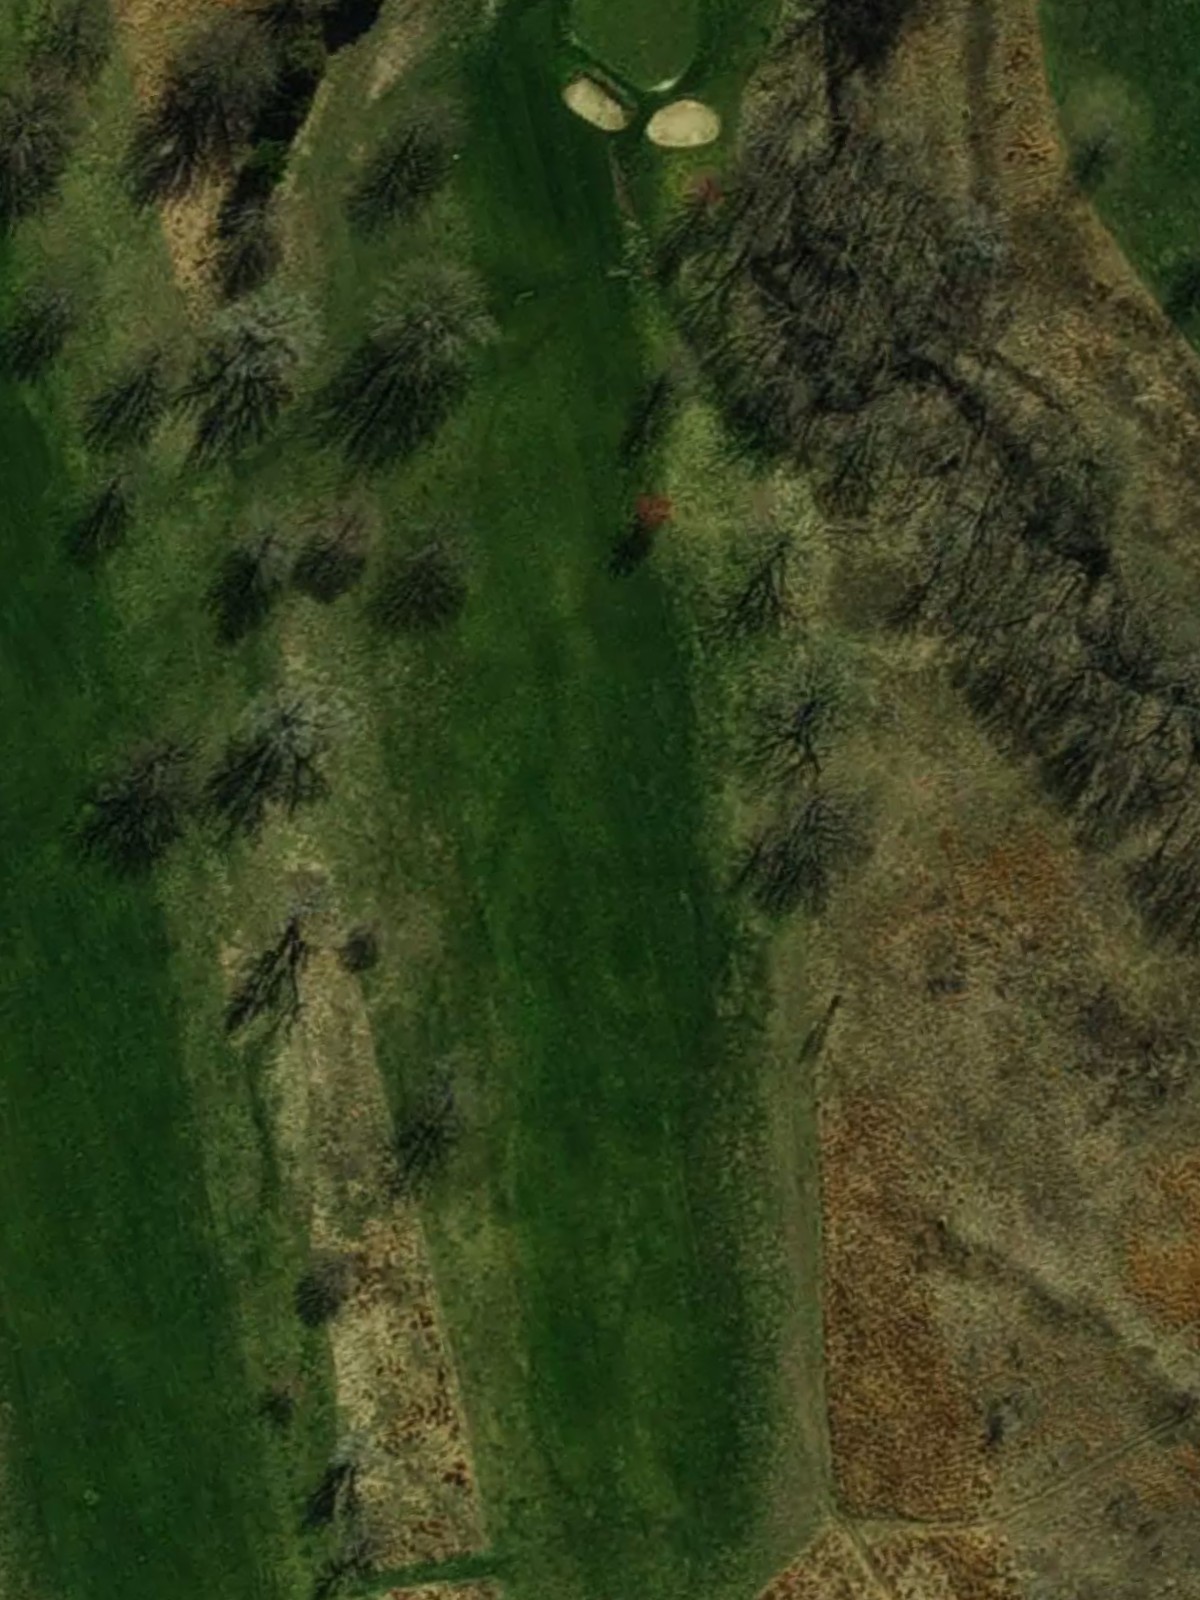
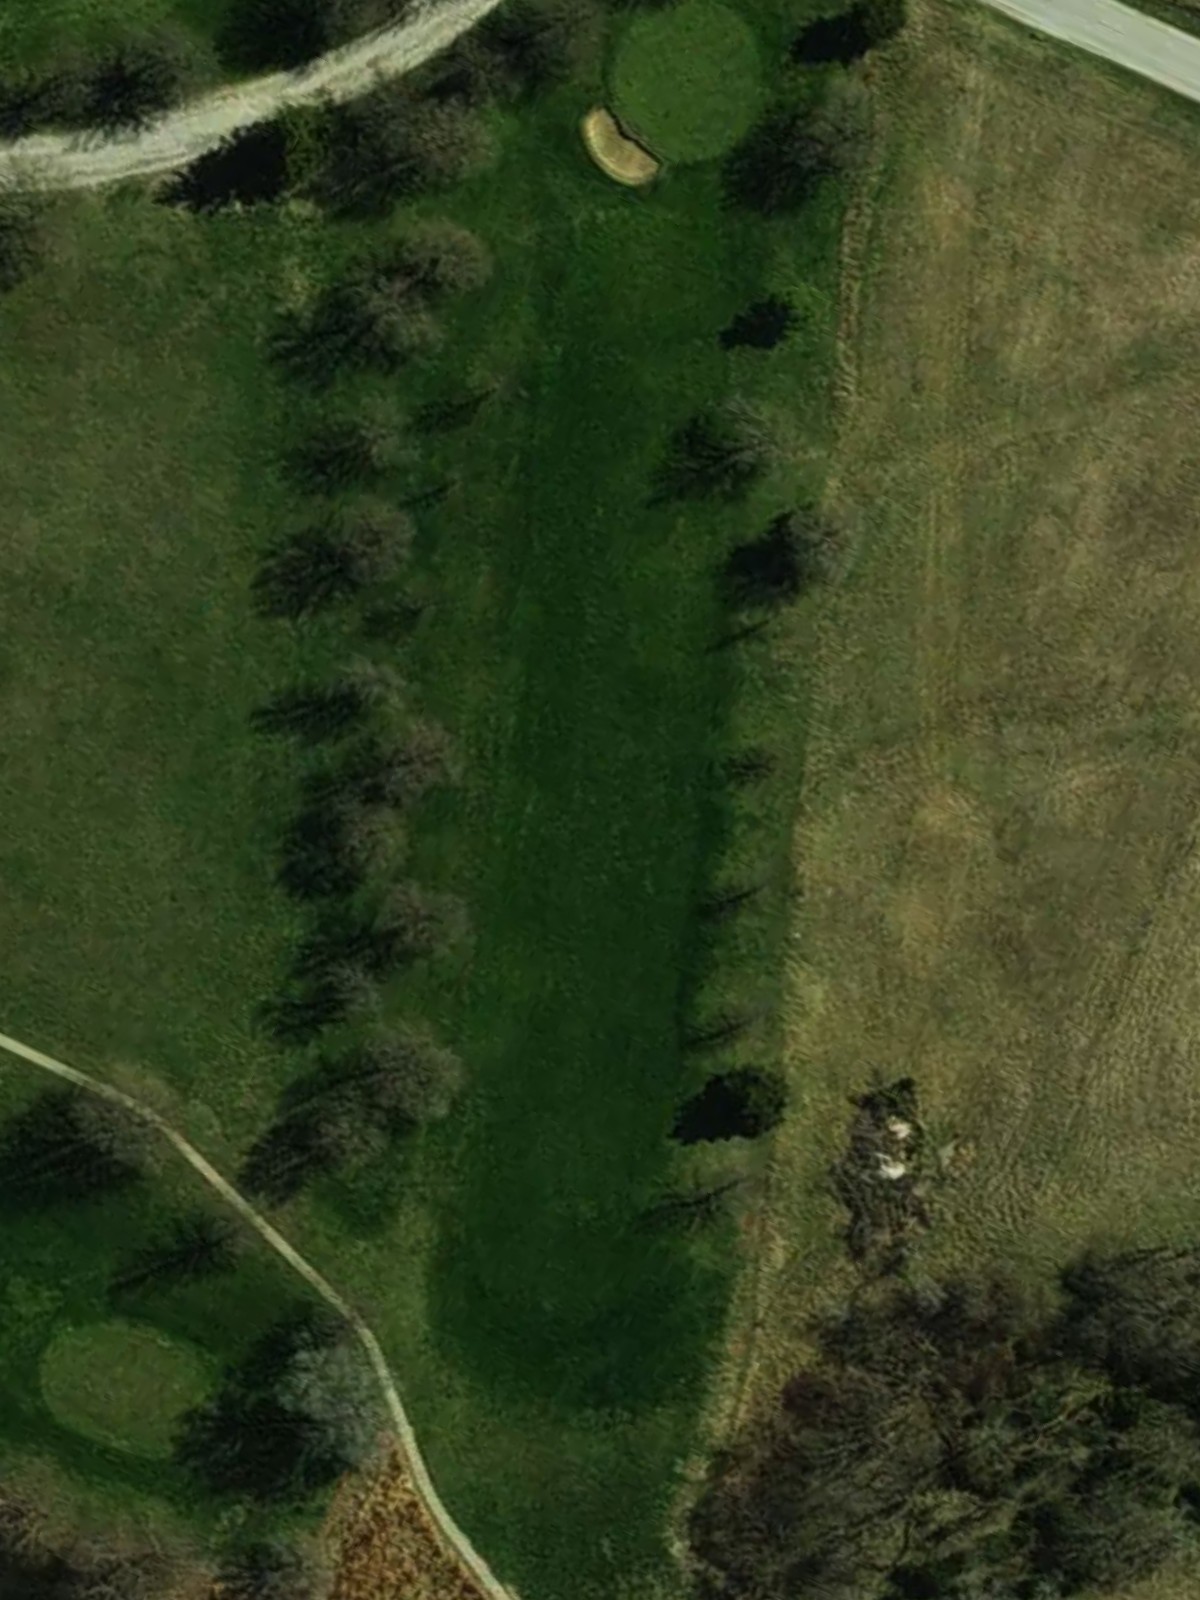
A relatively short par 4 that plays deceptively difficult despite its modest length. Strategic bunkering or out-of-bounds concerns likely make this hole trickier than yardage alone suggests, punishing poor positioning.
One of the course's most challenging par 4s, where length and hazard placement combine to demand accurate driving and approach play. Water, bunkers, or out-of-bounds likely come into play on both sides, making this a signature test hole.
A substantial par 5 that provides a scoring opportunity for those who can navigate its length with disciplined play. Strategic bunkering or water hazards likely protect the fairway or green, requiring thoughtful shot placement throughout the hole.
A short par 3 playing to an accessible green, offering a chance to post a good score. Bunkers and hazards protect the green, but the modest yardage makes this an opportunity hole before the back-nine stretch.
A short par 4 where precision trumps power, with a tight driving corridor and green-side hazards punishing errant shots. The compact length rewards solid fundamentals and accurate placement over distance.
A strong finishing par 4 for the front nine, where a well-struck drive sets up the approach to a protected green. Hazards likely guard both the fairway and green, making this a demanding conclusion to the opening loop.
The back nine opens with a mirror of hole 1's characteristics—a direct par 4 where fairway positioning matters more than length. Bunkers frame the green, and the hole plays as a solid mid-tier challenge to test early back-nine form.
A par 3 offering good birdie potential if the tee shot finds the green. Bunkers and hazards frame the putting surface, but the relatively short distance makes this a scoreable hole in the opening stretch of the back nine.
A long par 5 demanding accuracy across all three shots, with strategic hazards likely penalizing poor positioning in the fairway or near the green. The length and complexity make this a significant test on the back nine.
A short par 4 where placement and course management prove more important than raw distance. Tight fairway conditions or strategic bunkering likely reward accuracy and punish aggressive mistakes.
One of the course's most formidable tests, this par 4 combines length with strategic hazards that demand precise execution on both the drive and approach. Water, bunkers, or out-of-bounds create a narrow corridor to the well-protected green.
A rewarding par 5 that allows aggressive players to attack for birdie while offering a safer route for others. Strategic bunkering and hazard placement shape the proper play through the fairway and approach.
A short par 3 providing another scoreable opportunity on the back nine with a relatively straightforward tee shot. Greenside bunkers and hazards protect the putting surface, but the accessible yardage favors solid fundamentals.
A compact par 4 where precision placement takes precedence over distance, with tight fairway conditions or hazards punishing wayward shots. The modest length makes this a birdie opportunity for accurate strikers before the closing hole.
The closing par 4 provides a strong finishing test, combining length and strategic hazard placement to challenge players seeking a strong finish. A well-protected green demands an accurate approach to conclude the round.
Scorecard
| Hole | 1 | 2 | 3 | 4 | 5 | 6 | 7 | 8 | 9 | Out | 10 | 11 | 12 | 13 | 14 | 15 | 16 | 17 | 18 | In | Tot |
|---|---|---|---|---|---|---|---|---|---|---|---|---|---|---|---|---|---|---|---|---|---|
| Par | 4 | 3 | 5 | 4 | 4 | 5 | 3 | 4 | 4 | 36 | 4 | 3 | 5 | 4 | 4 | 5 | 3 | 4 | 4 | 36 | 72 |
| HCP | 3 | 9 | 13 | 15 | 1 | 7 | 11 | 17 | 5 | 4 | 10 | 14 | 16 | 2 | 8 | 12 | 18 | 6 | |||
| blue | 350 | 192 | 496 | 304 | 365 | 553 | 161 | 281 | 363 | 3065 | 350 | 192 | 496 | 304 | 365 | 553 | 161 | 281 | 363 | 3065 | 6130 |
| blue/white | 350 | 192 | 496 | 304 | 365 | 553 | 161 | 281 | 363 | 3065 | 333 | 180 | 478 | 293 | 354 | 539 | 150 | 275 | 351 | 2953 | 6018 |
| white | 333 | 180 | 478 | 293 | 354 | 539 | 150 | 275 | 351 | 2953 | 333 | 180 | 478 | 293 | 354 | 539 | 150 | 275 | 351 | 2953 | 5906 |
| white/red | 333 | 180 | 478 | 293 | 354 | 539 | 150 | 275 | 351 | 2953 | 253 | 155 | 388 | 285 | 321 | 424 | 133 | 265 | 341 | 2565 | 5518 |
| red | 253 | 155 | 388 | 285 | 321 | 424 | 133 | 265 | 341 | 2565 | 253 | 155 | 388 | 285 | 321 | 424 | 133 | 265 | 341 | 2565 | 5130 |
| red/black | 253 | 155 | 388 | 285 | 321 | 424 | 133 | 265 | 341 | 2565 | 245 | 147 | 393 | 285 | 321 | 424 | 133 | 261 | 341 | 2550 | 5115 |
| black | 245 | 147 | 393 | 285 | 321 | 424 | 133 | 261 | 341 | 2550 | 245 | 147 | 393 | 285 | 321 | 424 | 133 | 261 | 341 | 2550 | 5100 |