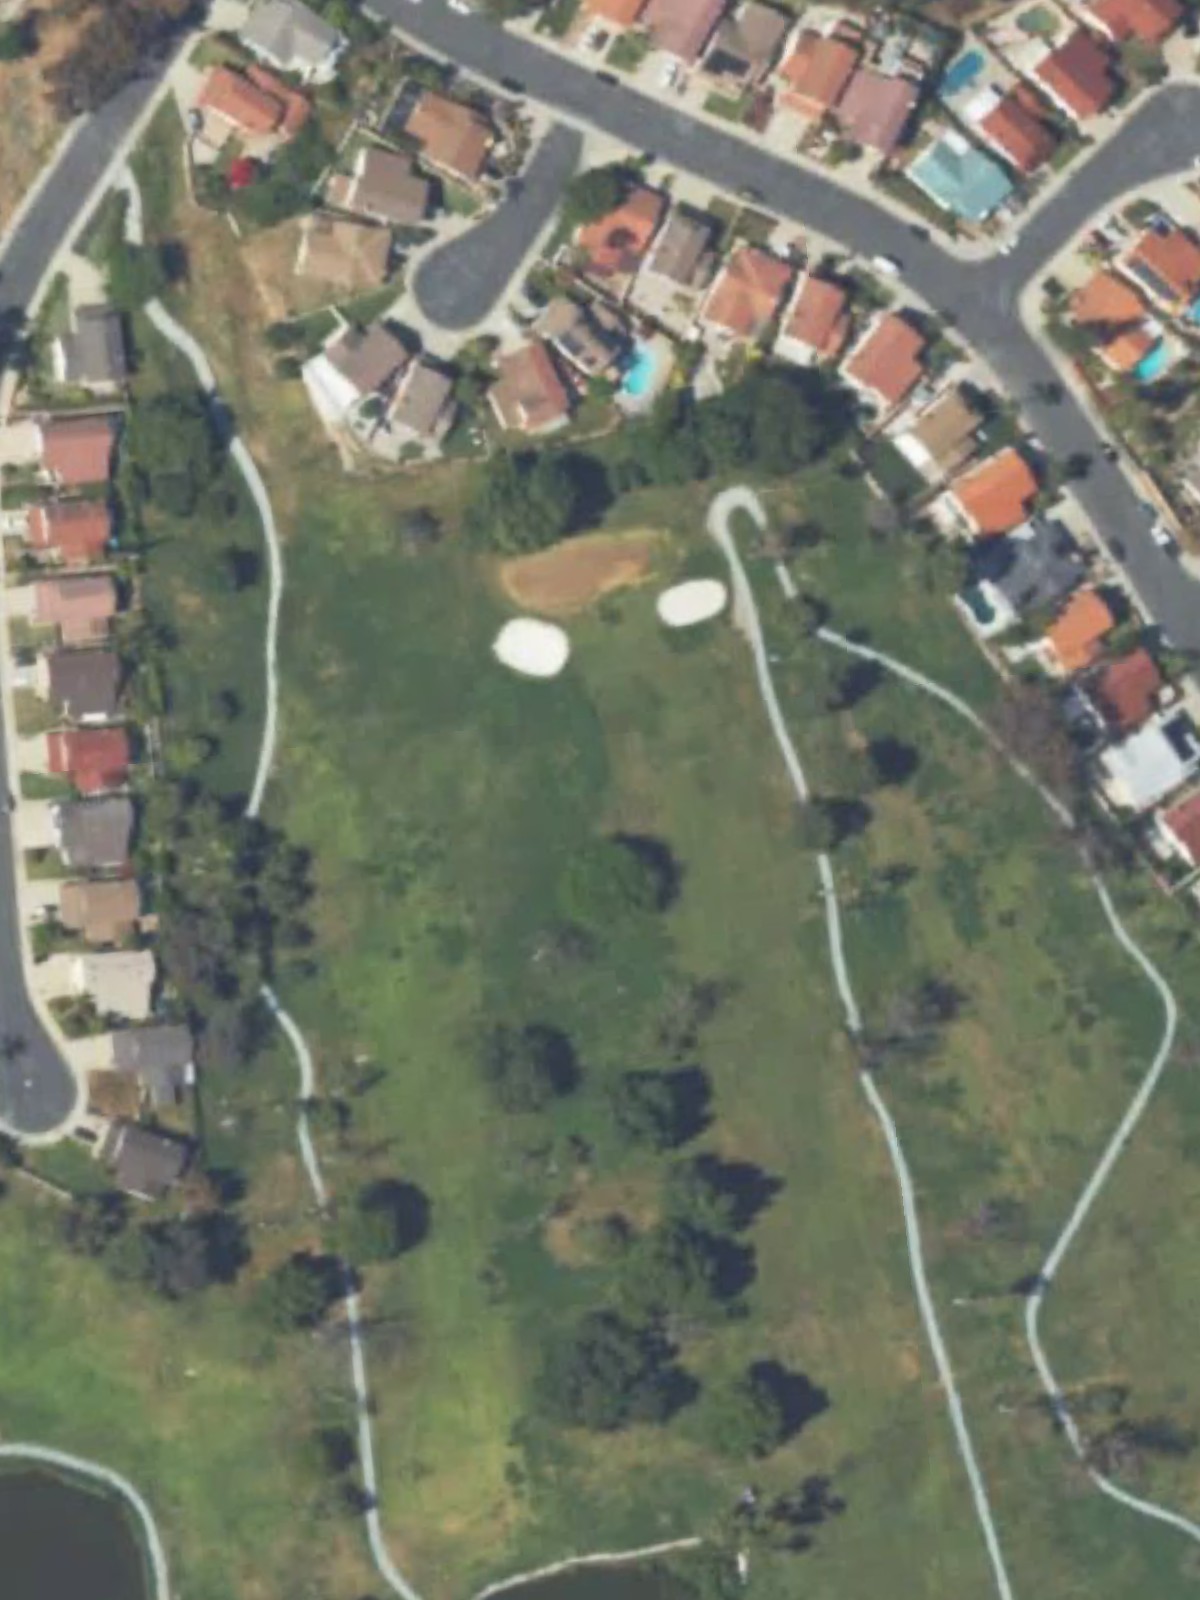
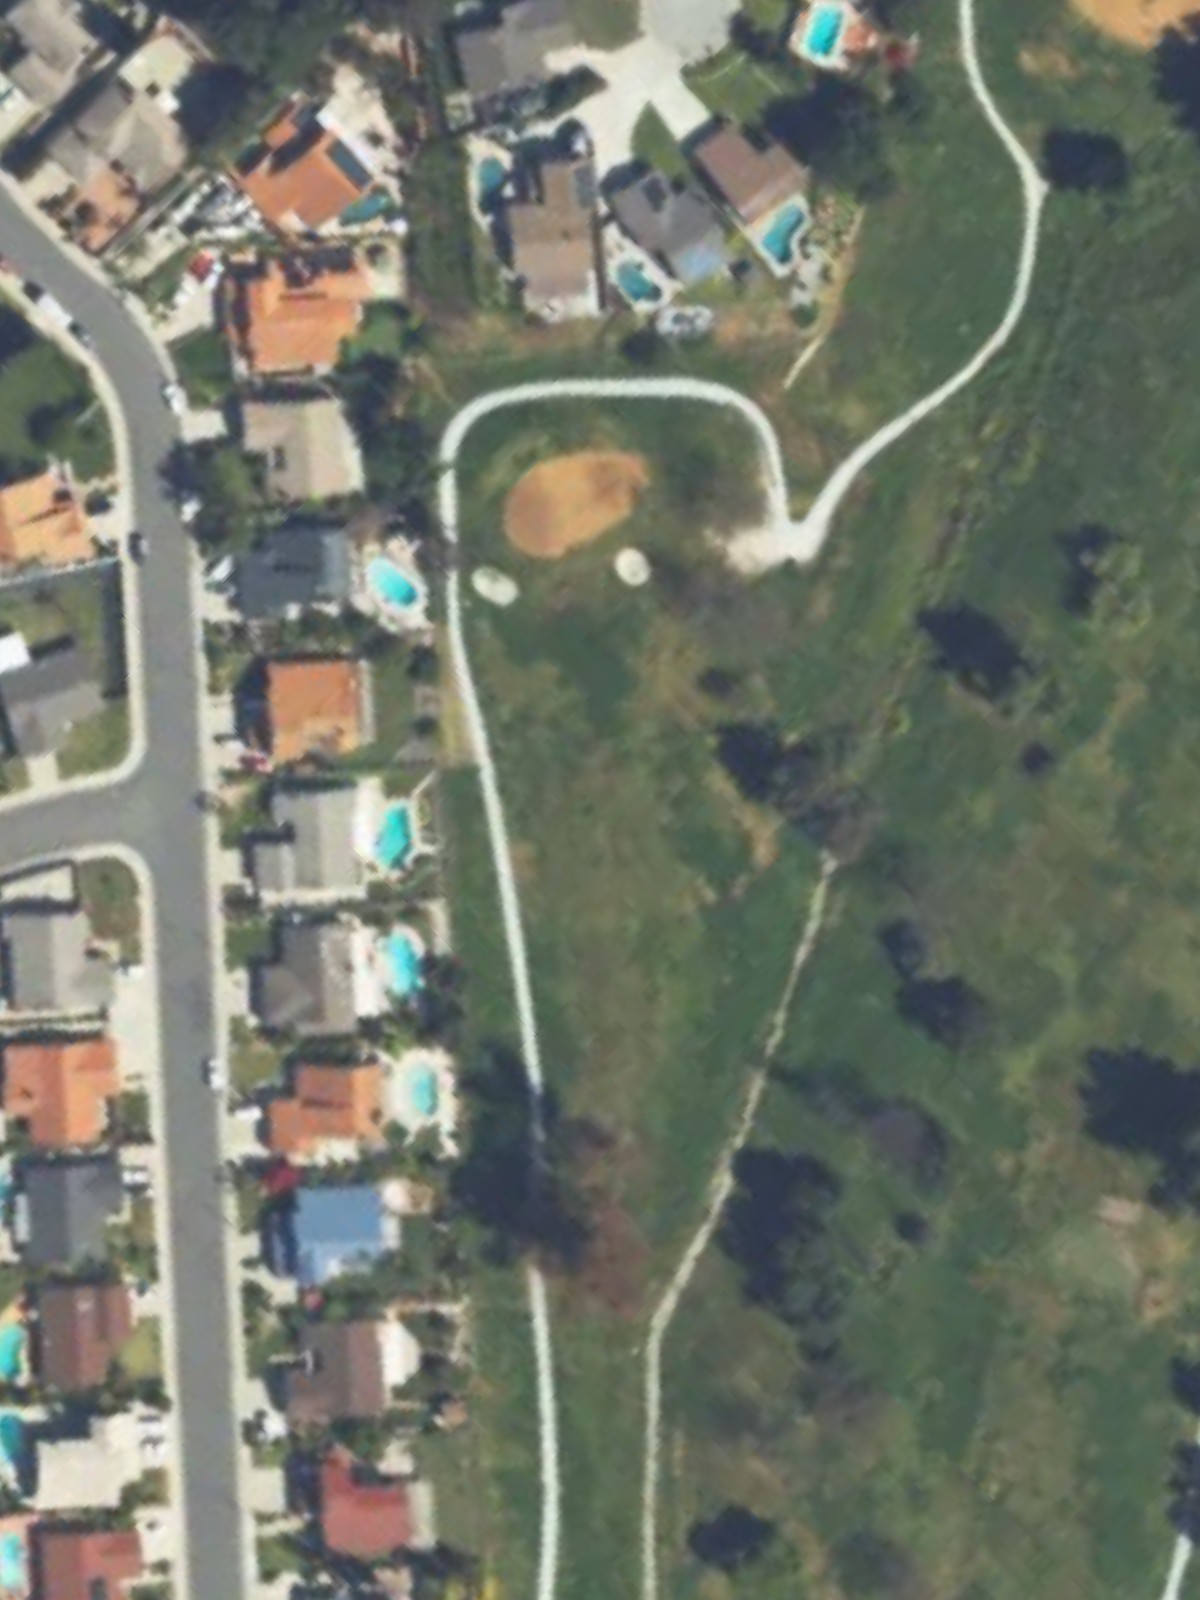
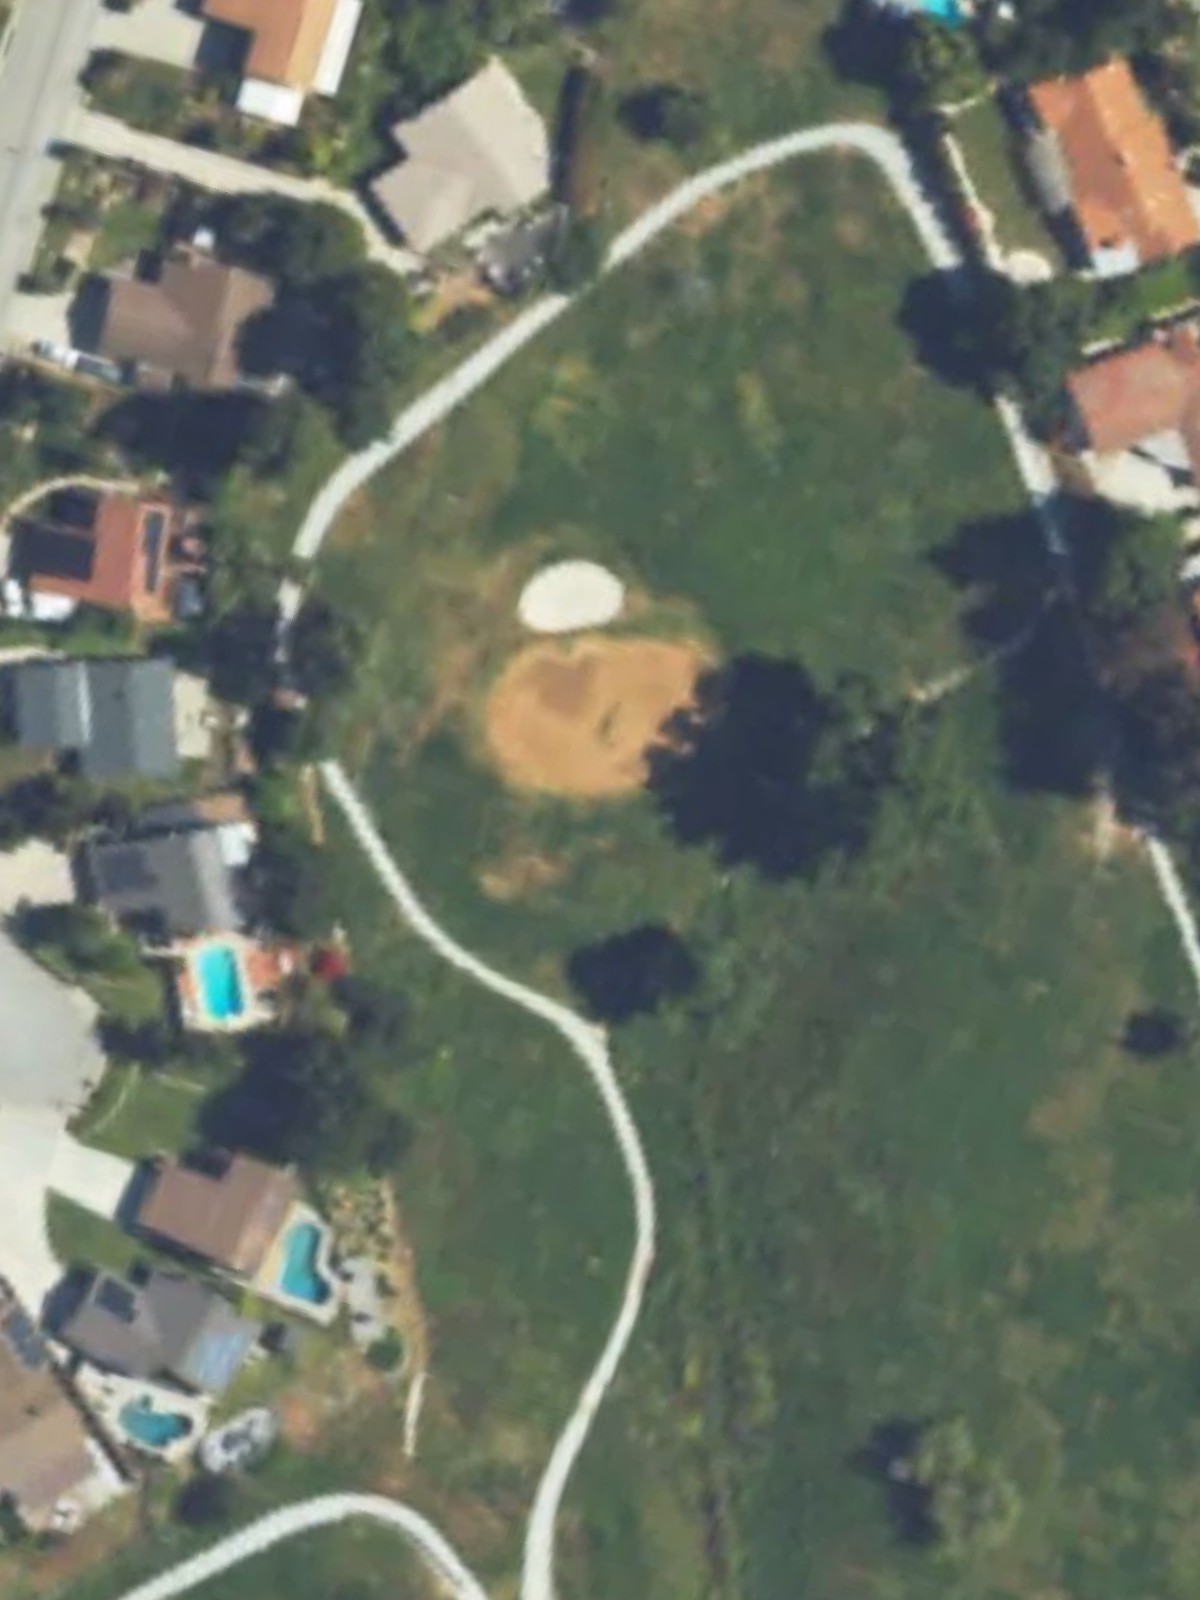
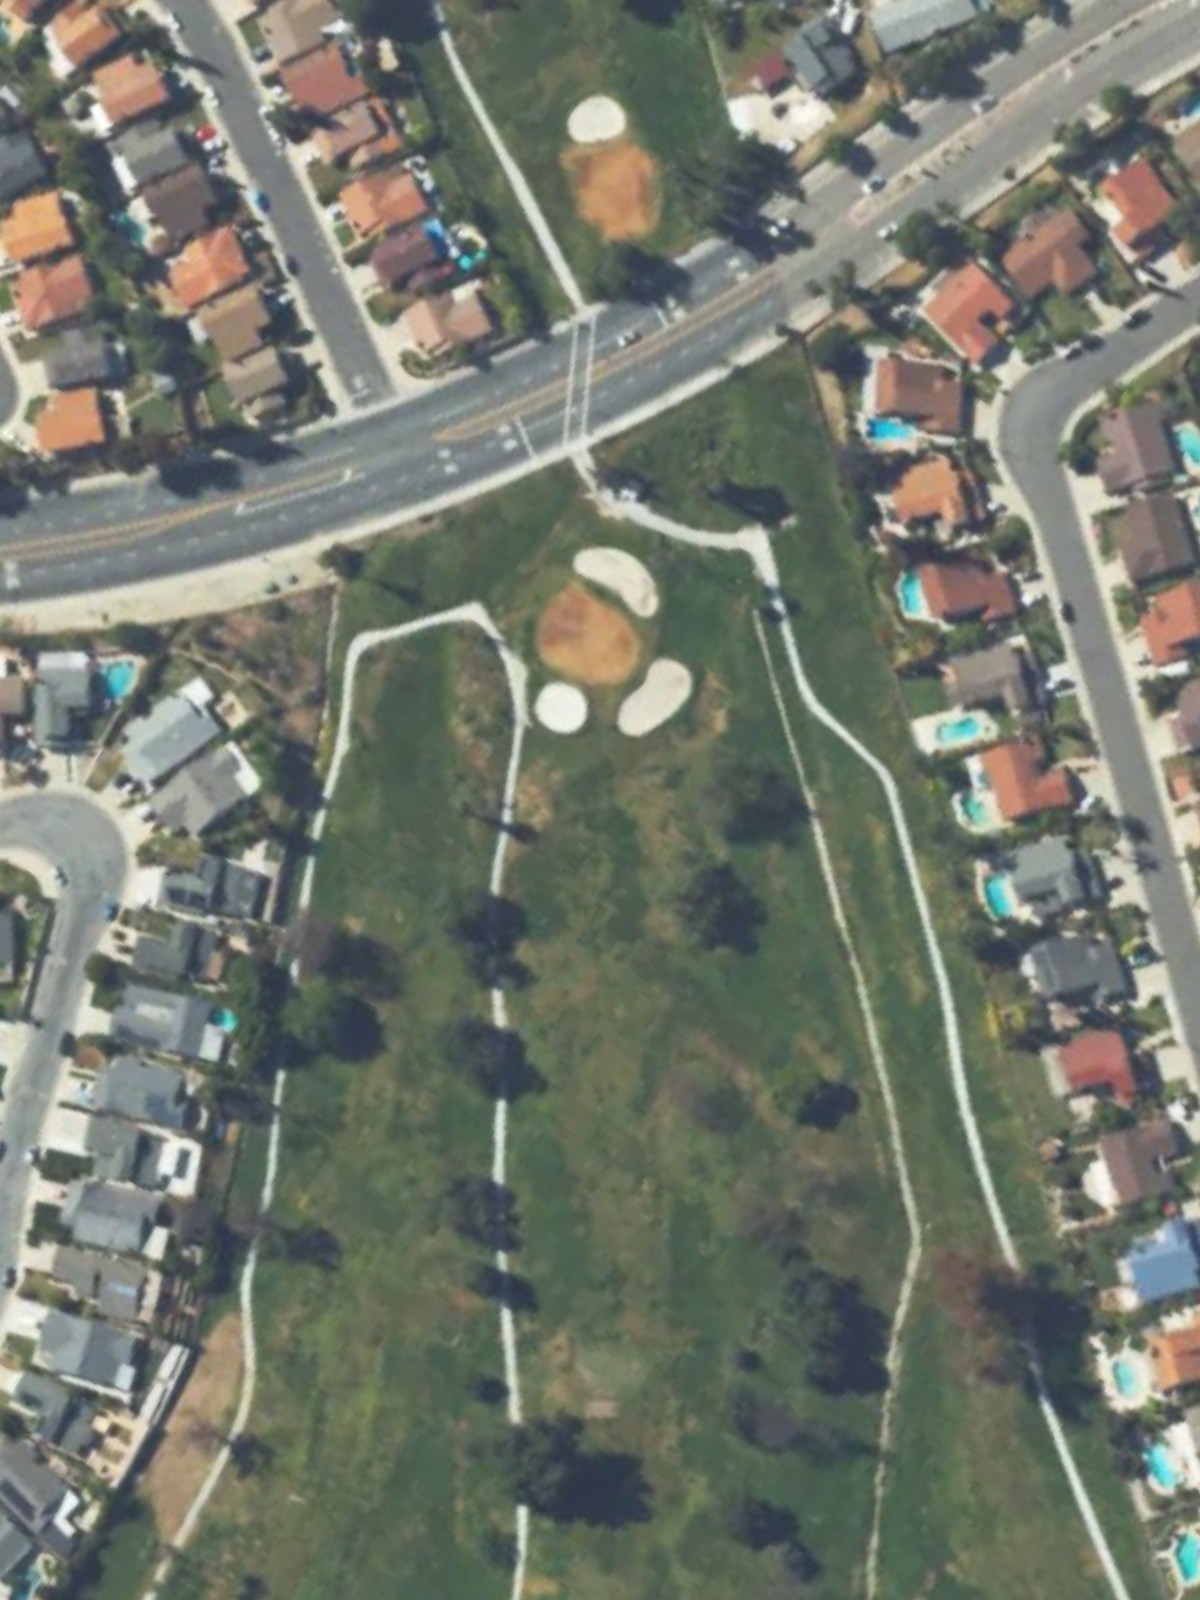
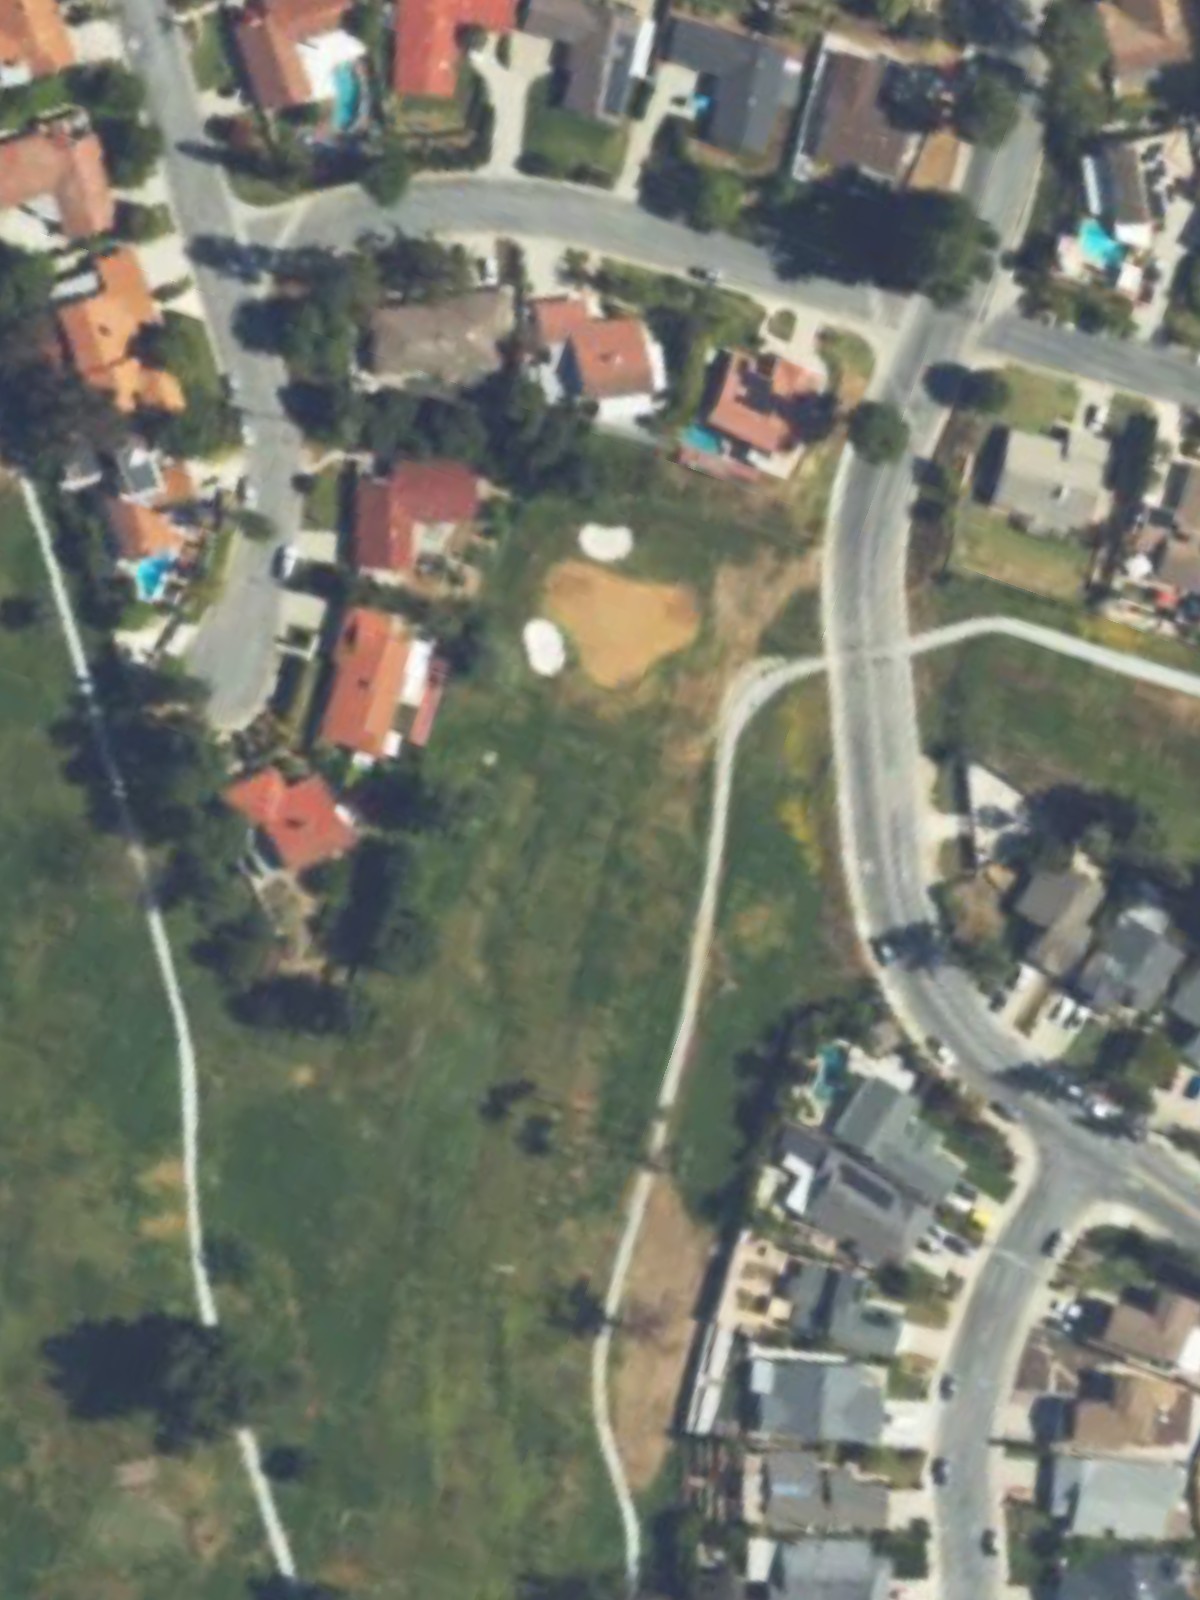
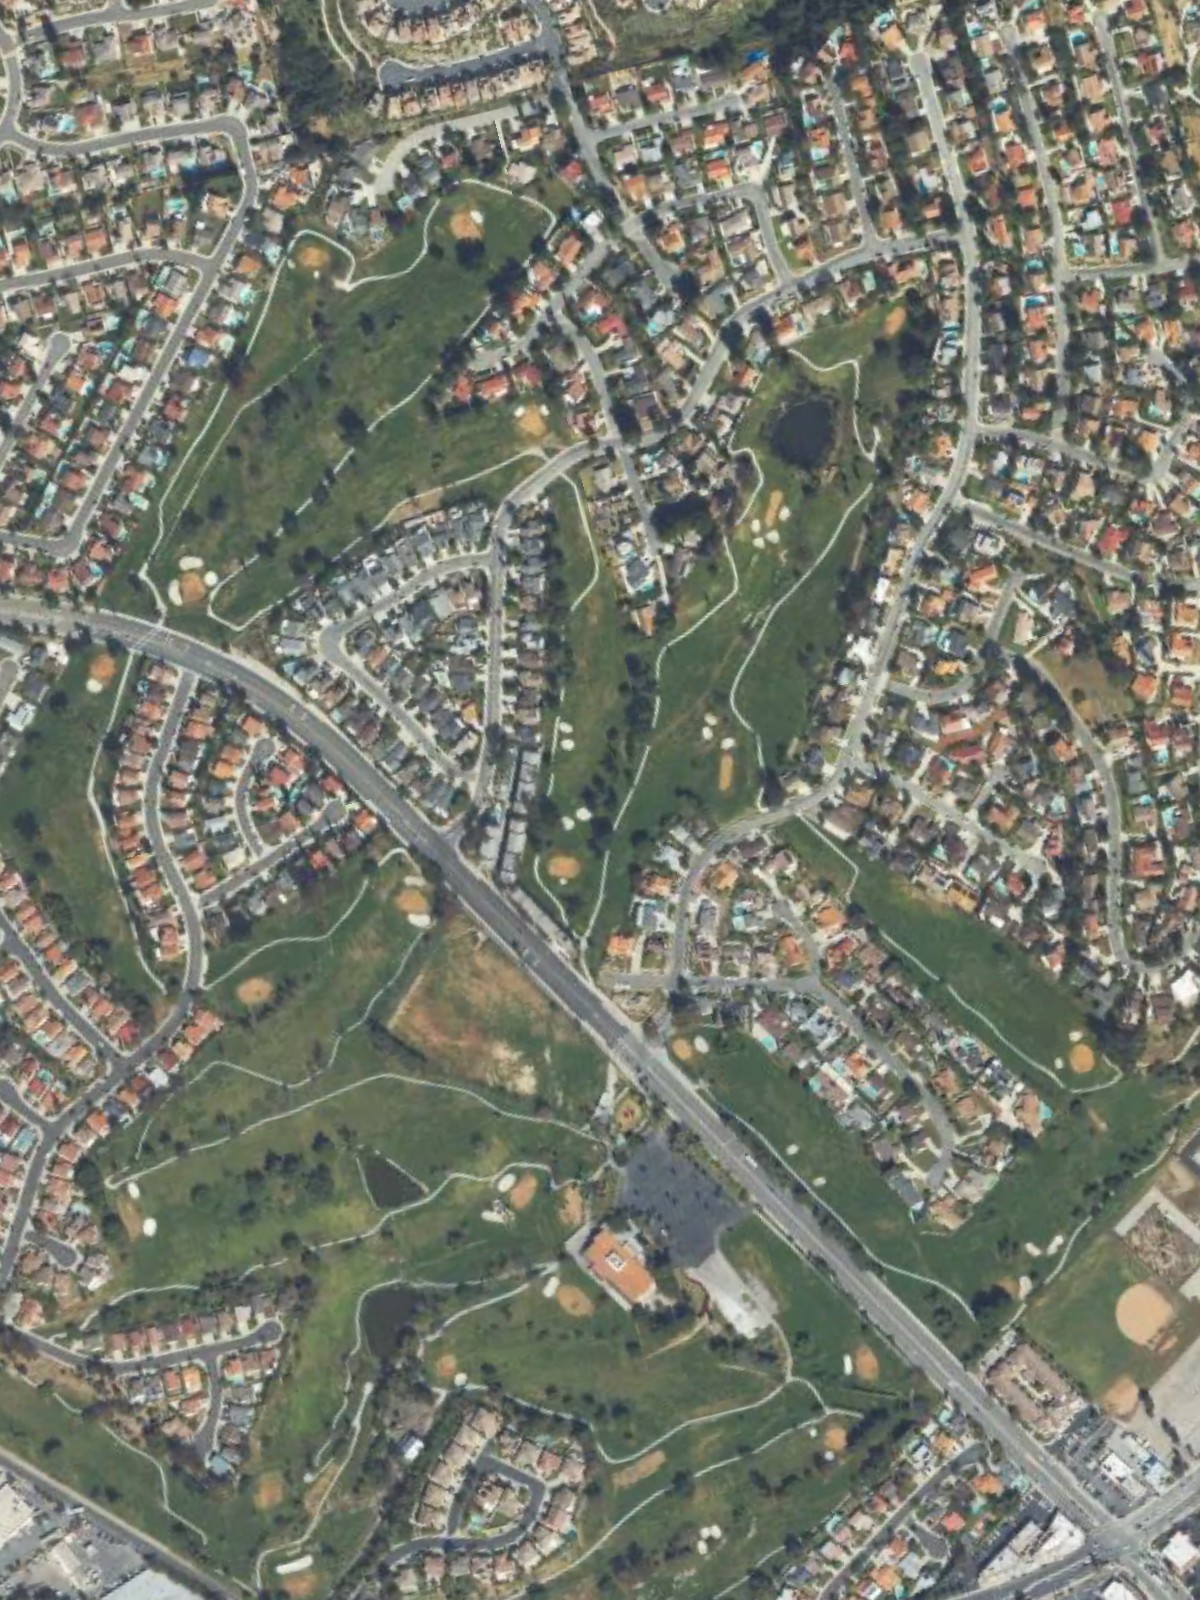
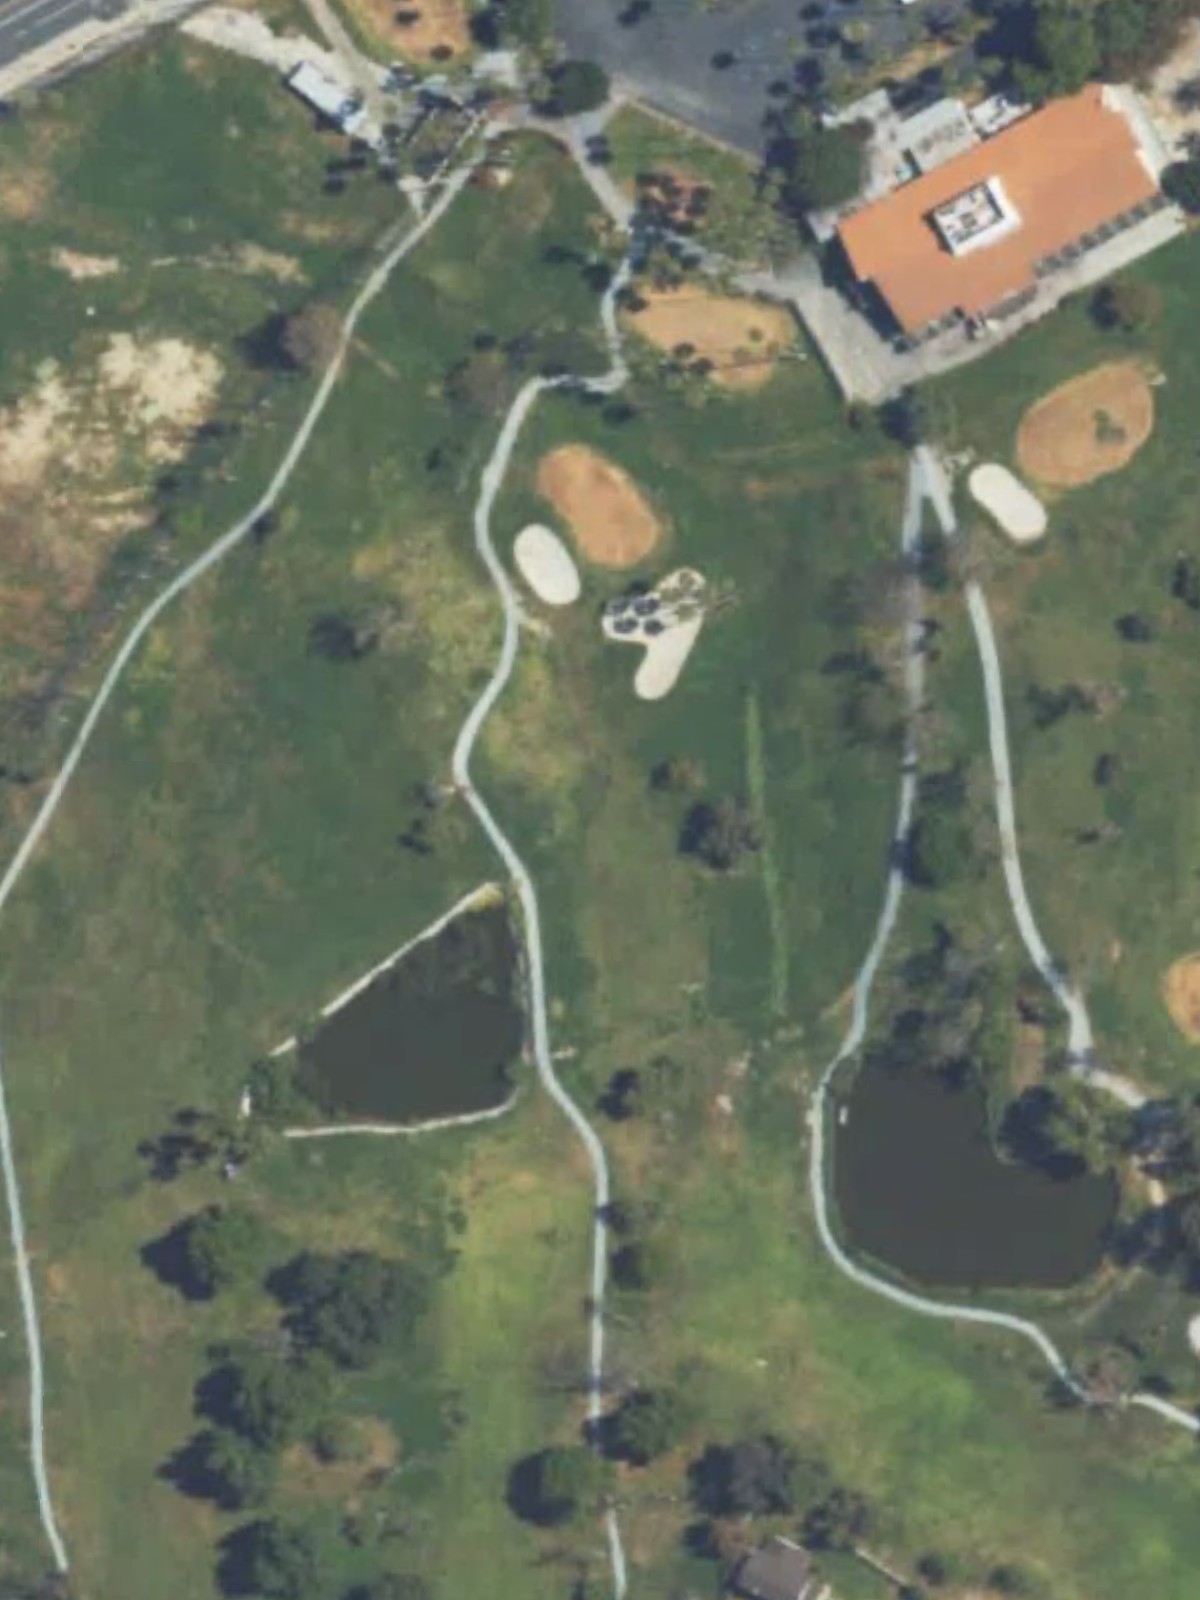
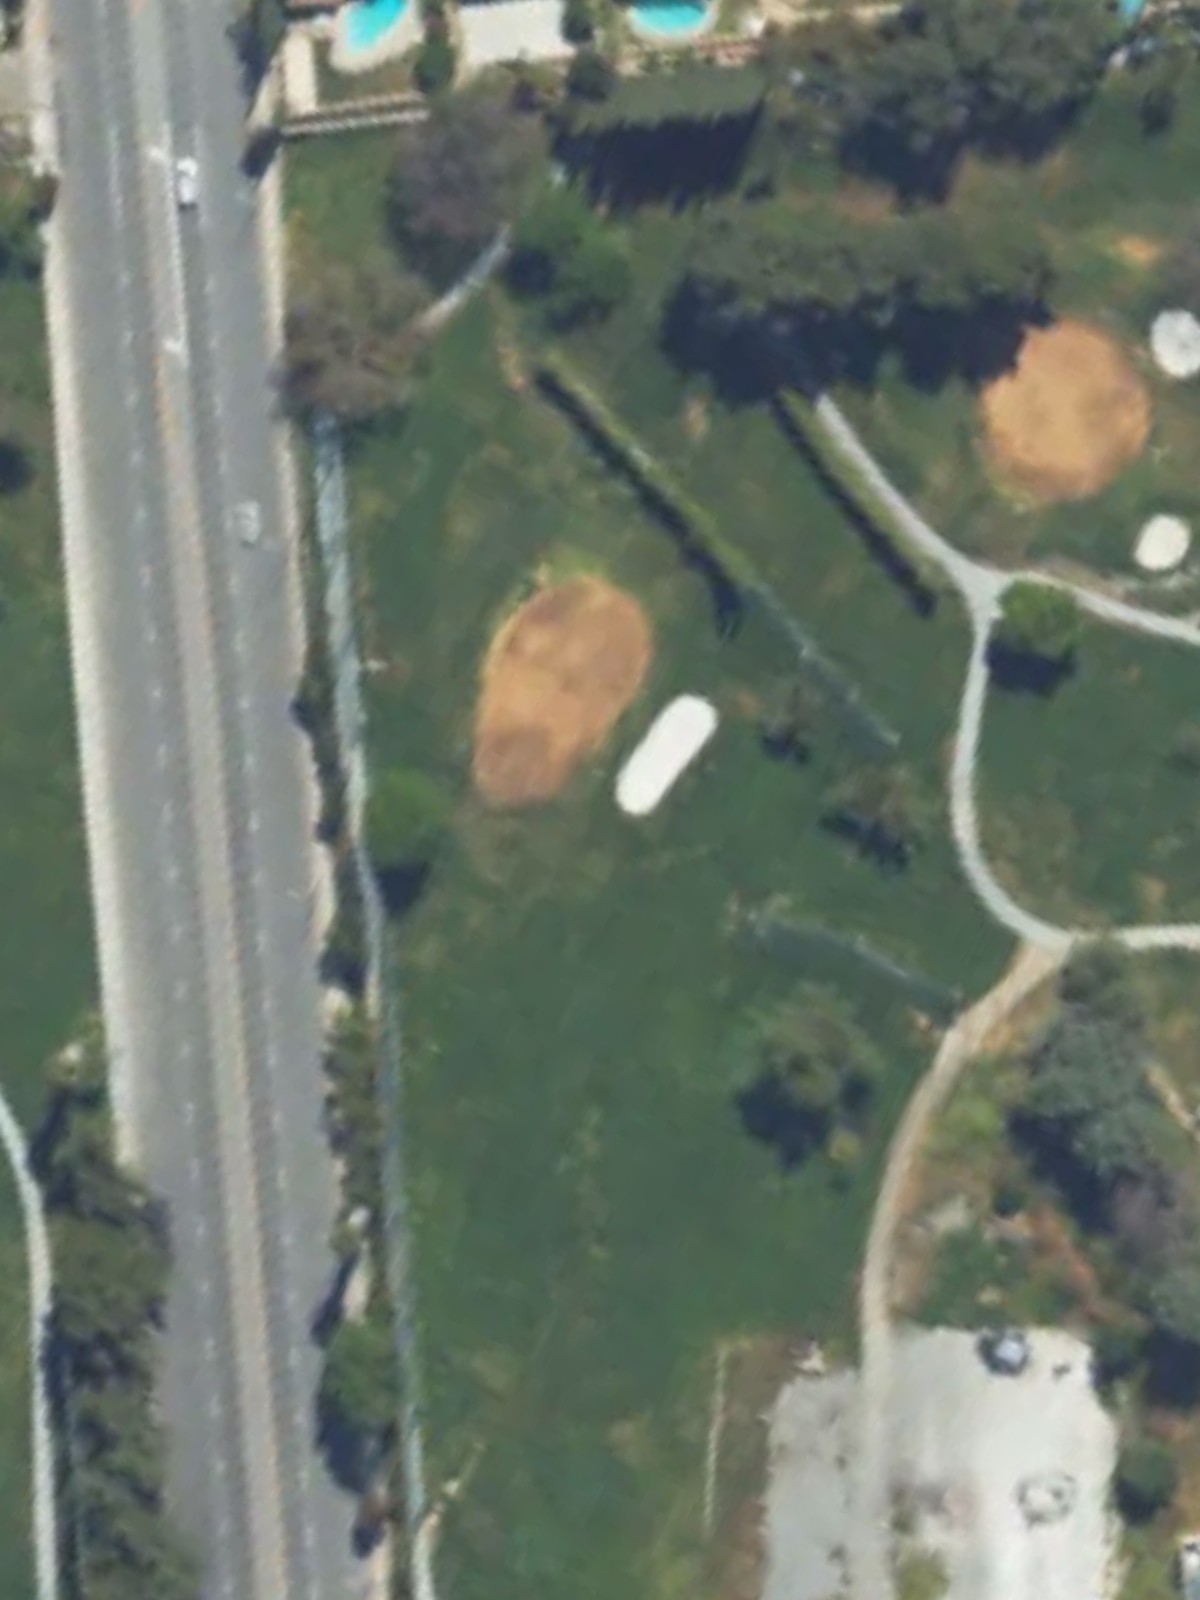
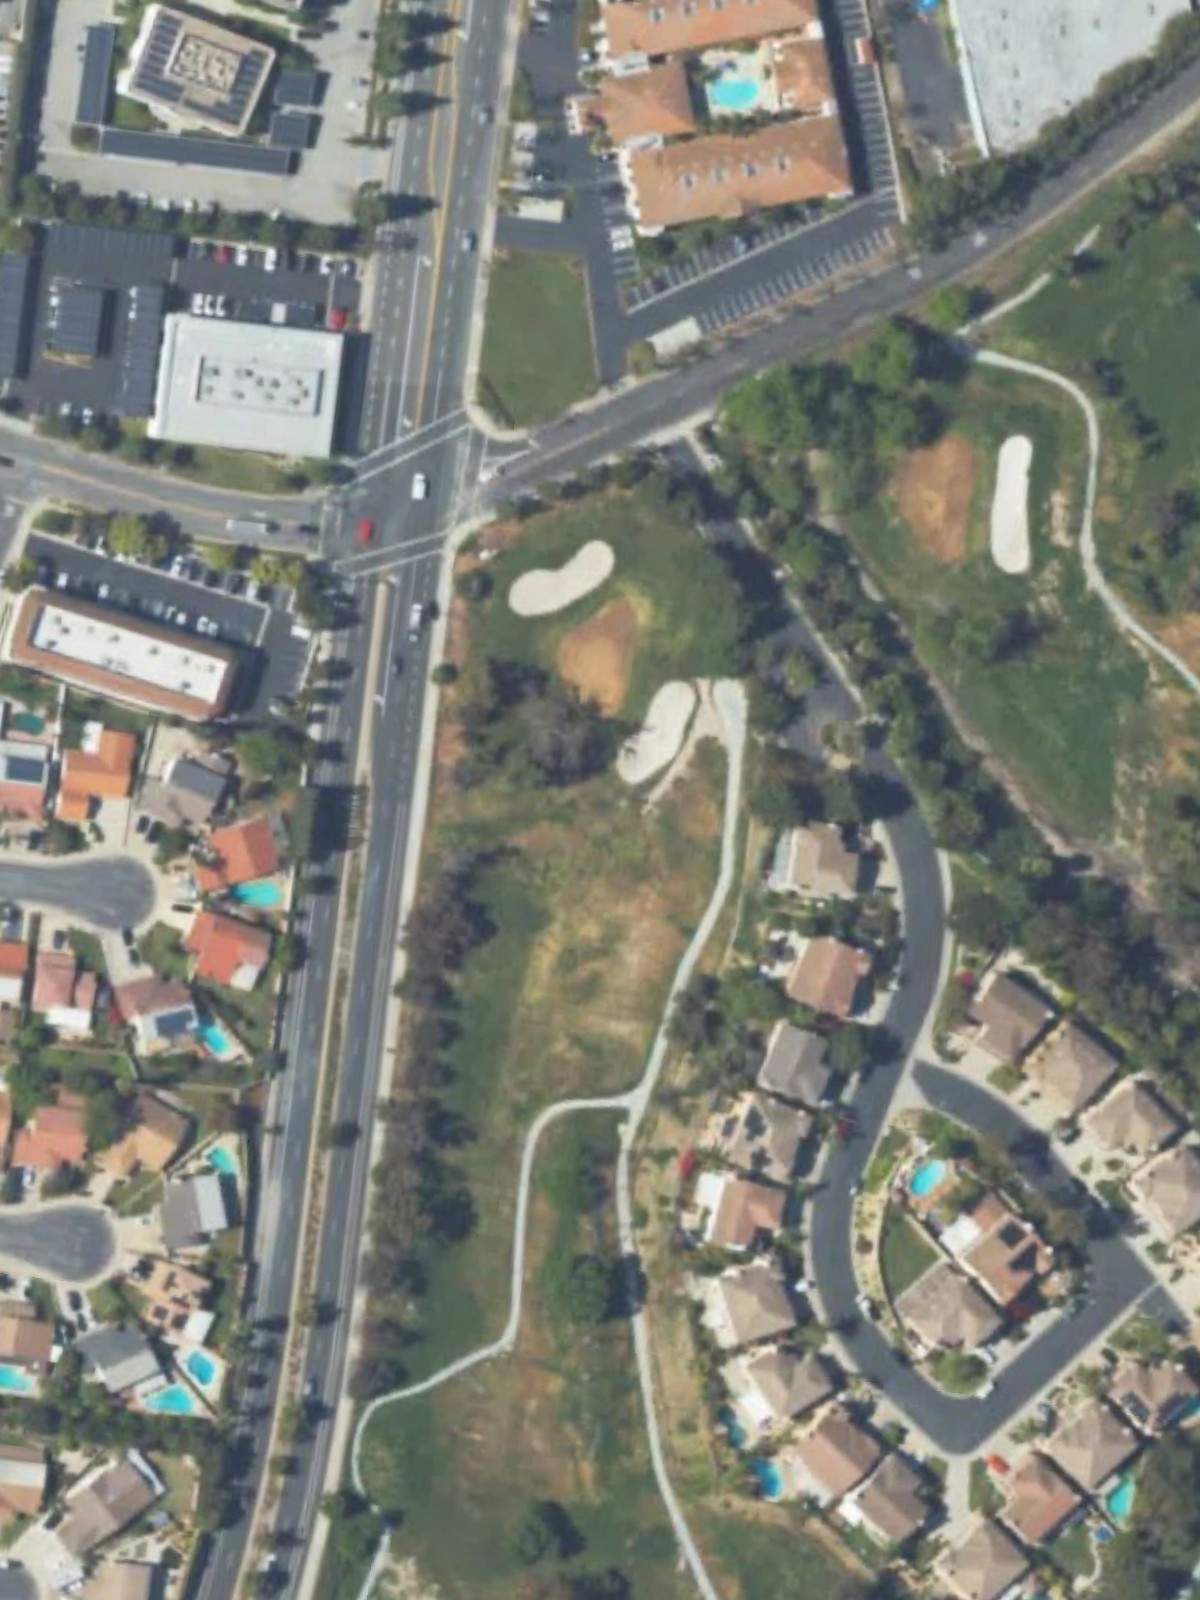
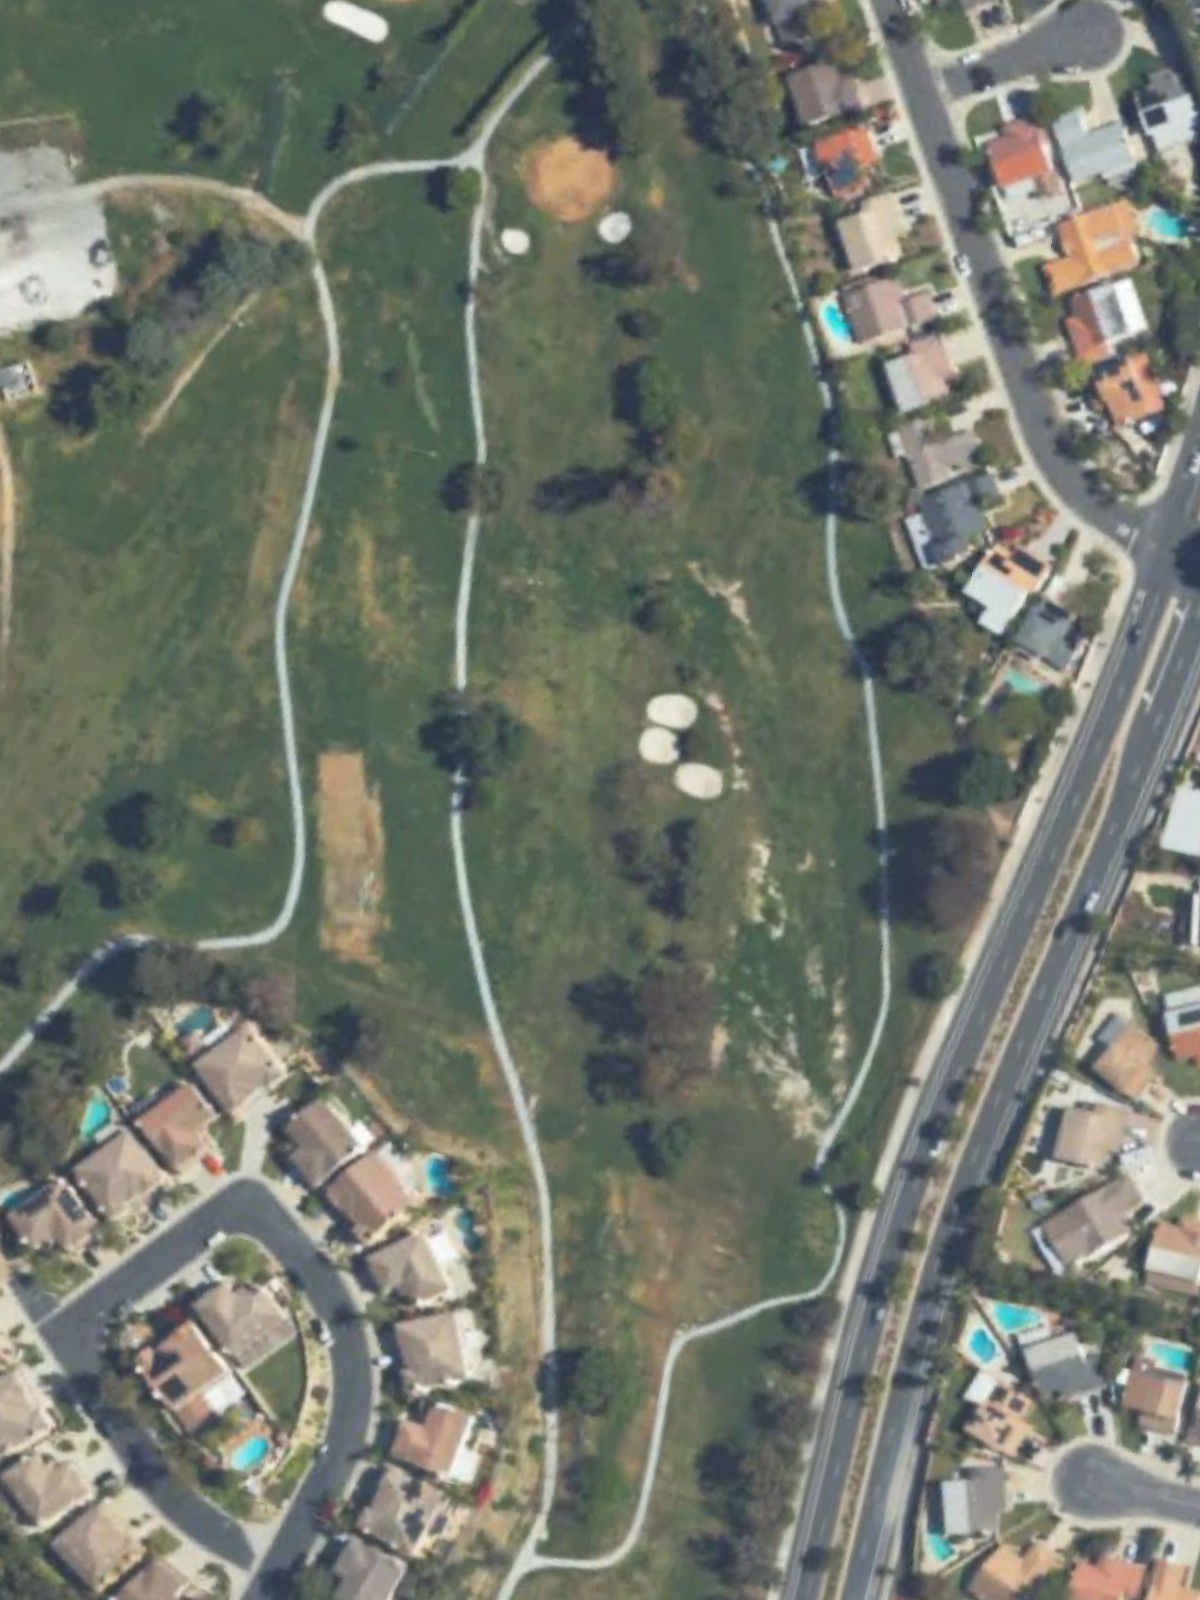
Royal Vista Golf Club is an 18-hole golf course in Walnut, CA with a par of 71. It offers 3 tee sets: blue (6,238 yards, slope 124, rating 71.2), white (5,870 yards, slope 120, rating 69.6), red (5,325 yards, slope 114, rating 67). The hardest hole is #2, a par 4 playing 342 yards from the first tee.
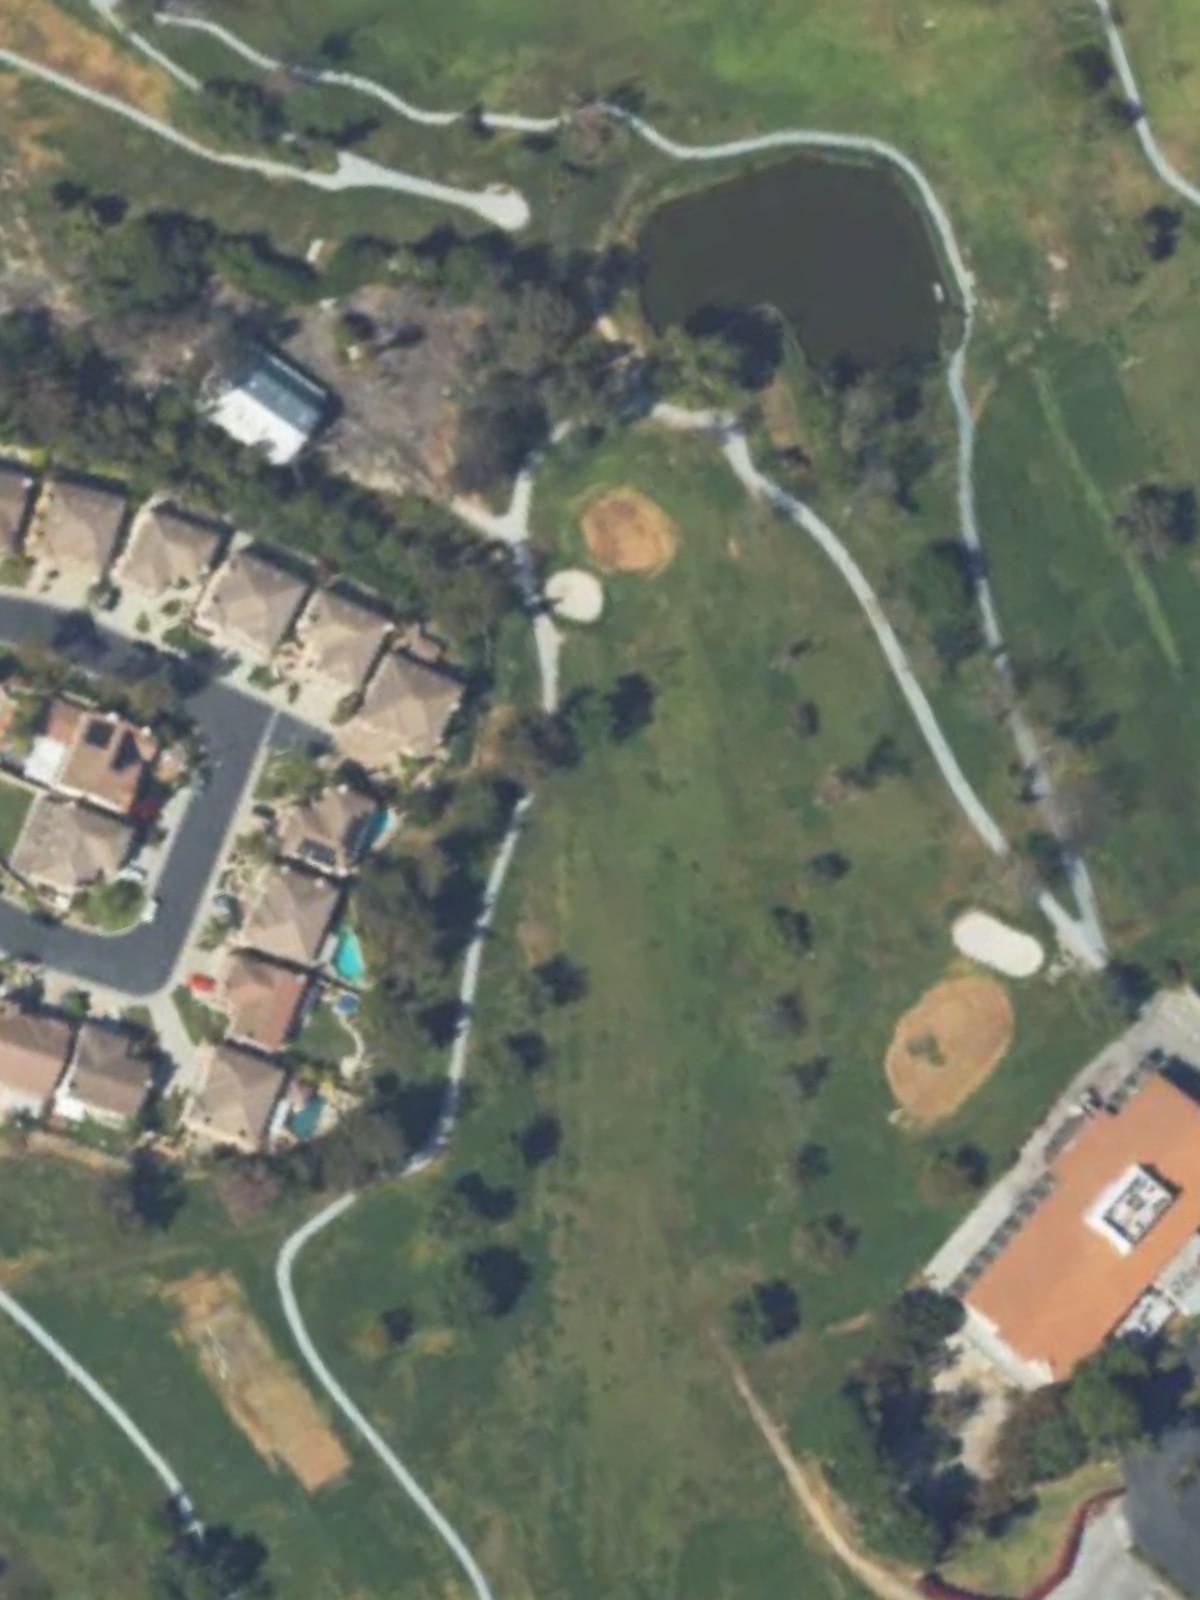
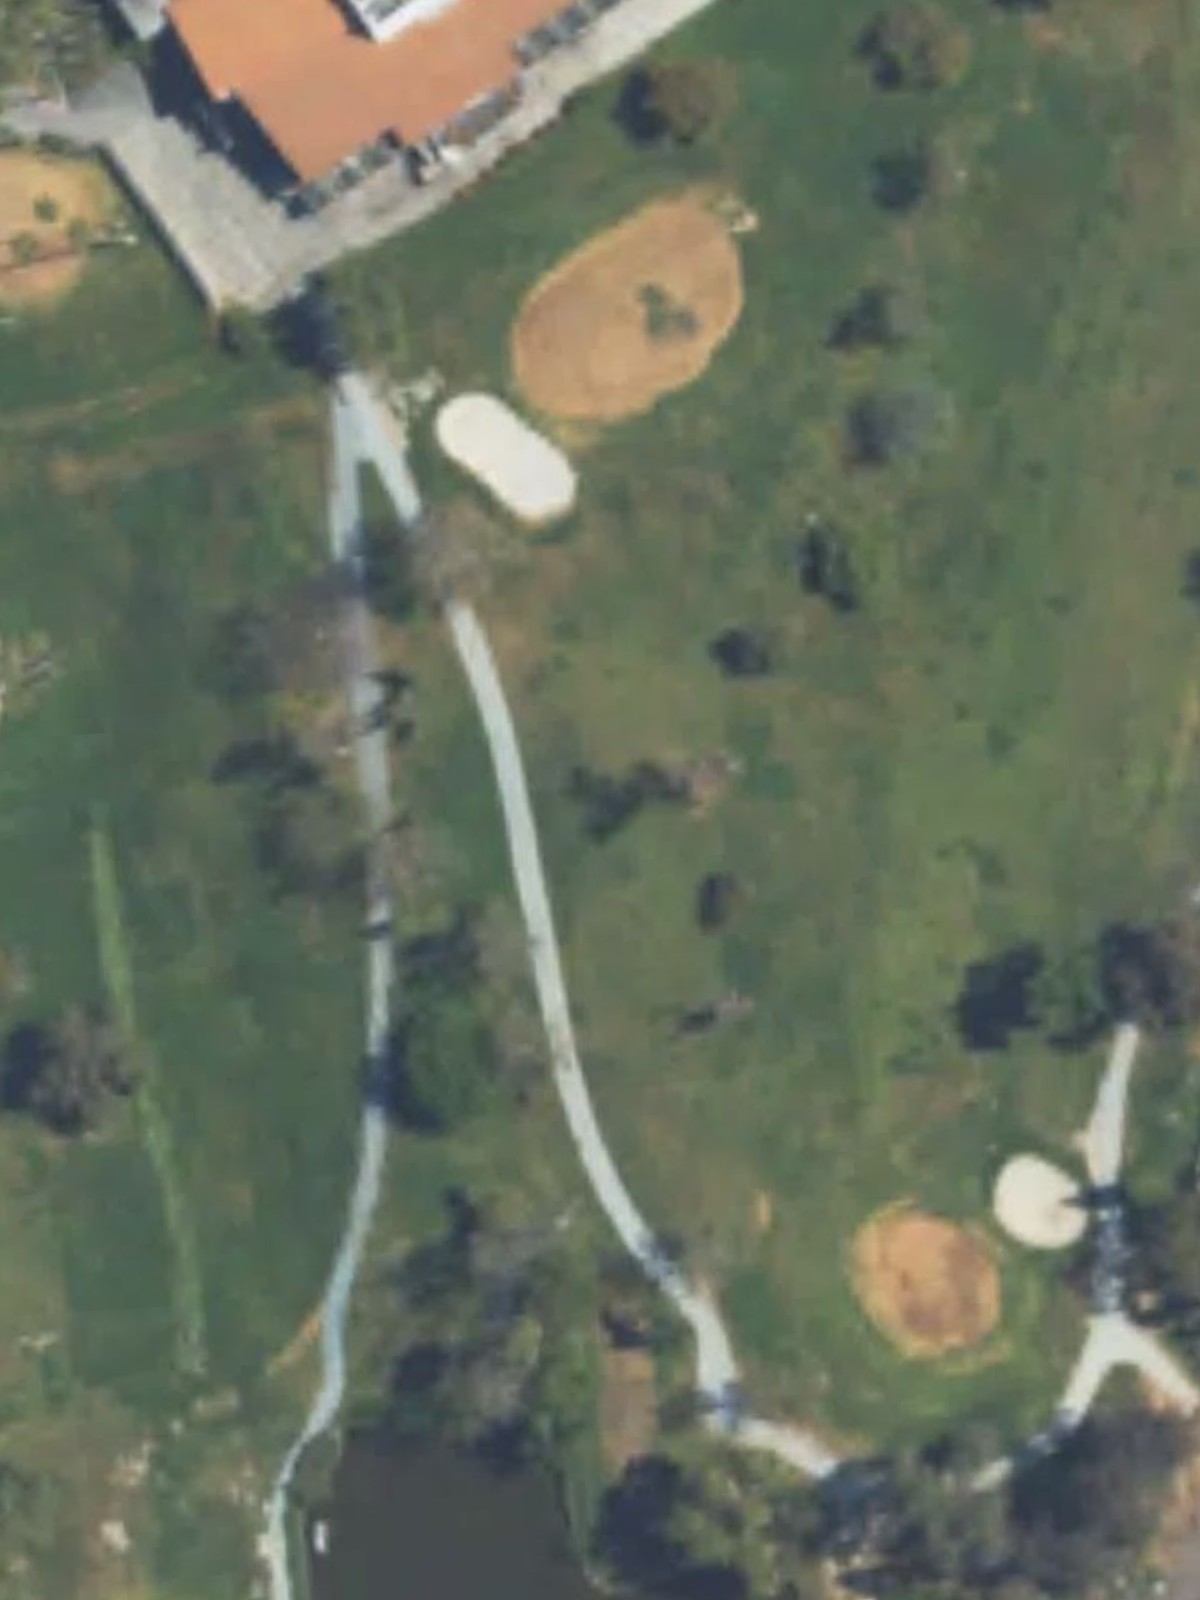
Royal Vista Golf Club
Walnut, CA
Get PDF Yardage Book
We'll email you the PDF link. No spam, ever.
Create Your Game Plan
Pick your tees, enter your bag, and get a personalized shot-by-shot strategy for every hole.
A welcoming opening par 5 that plays relatively short from the back tees, allowing aggressive players to reach in two. The fairway is fairly open, making this an ideal scoring opportunity to start the round.
The course's most difficult hole, this par 4 demands precision with a tight, demanding layout. Out-of-bounds and strategic bunkering make every shot count on this challenging test.
A short par 3 with a straightforward approach to a receptive green. Minimal hazards make this a confidence-building hole early in the round.
A moderate par 4 with a relatively open design that allows players to find the fairway. The approach to the green requires accuracy to avoid strategically placed hazards.
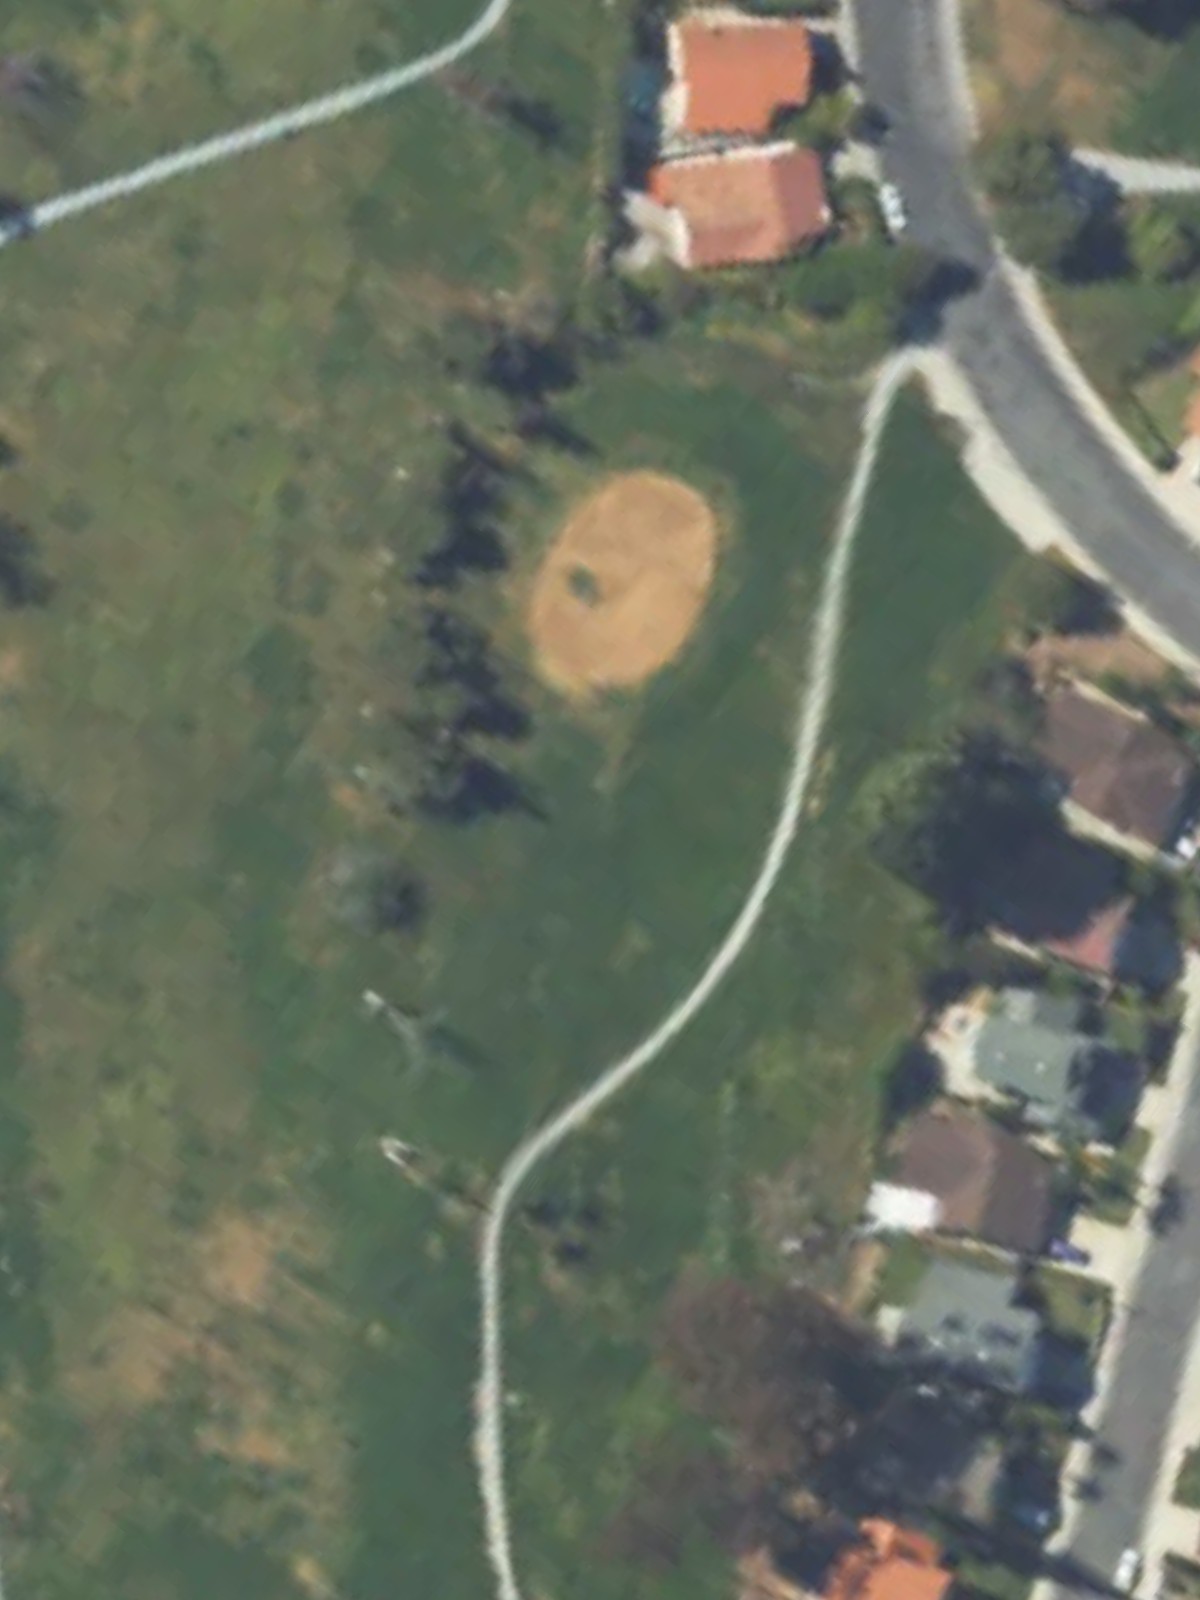
The third-most difficult hole on the course, this par 4 features a tight, demanding layout that penalizes wayward shots. Precision off the tee and a well-struck approach are essential to scoring well.
A short, straightforward par 3 that plays invitingly for golfers of all abilities. The green is relatively open with minimal hazards to trouble the approach shot.
A generous par 5 that is the easiest hole on the course, offering multiple routes to reach the green in regulation. The fairway is wide and forgiving, presenting a birdie opportunity.
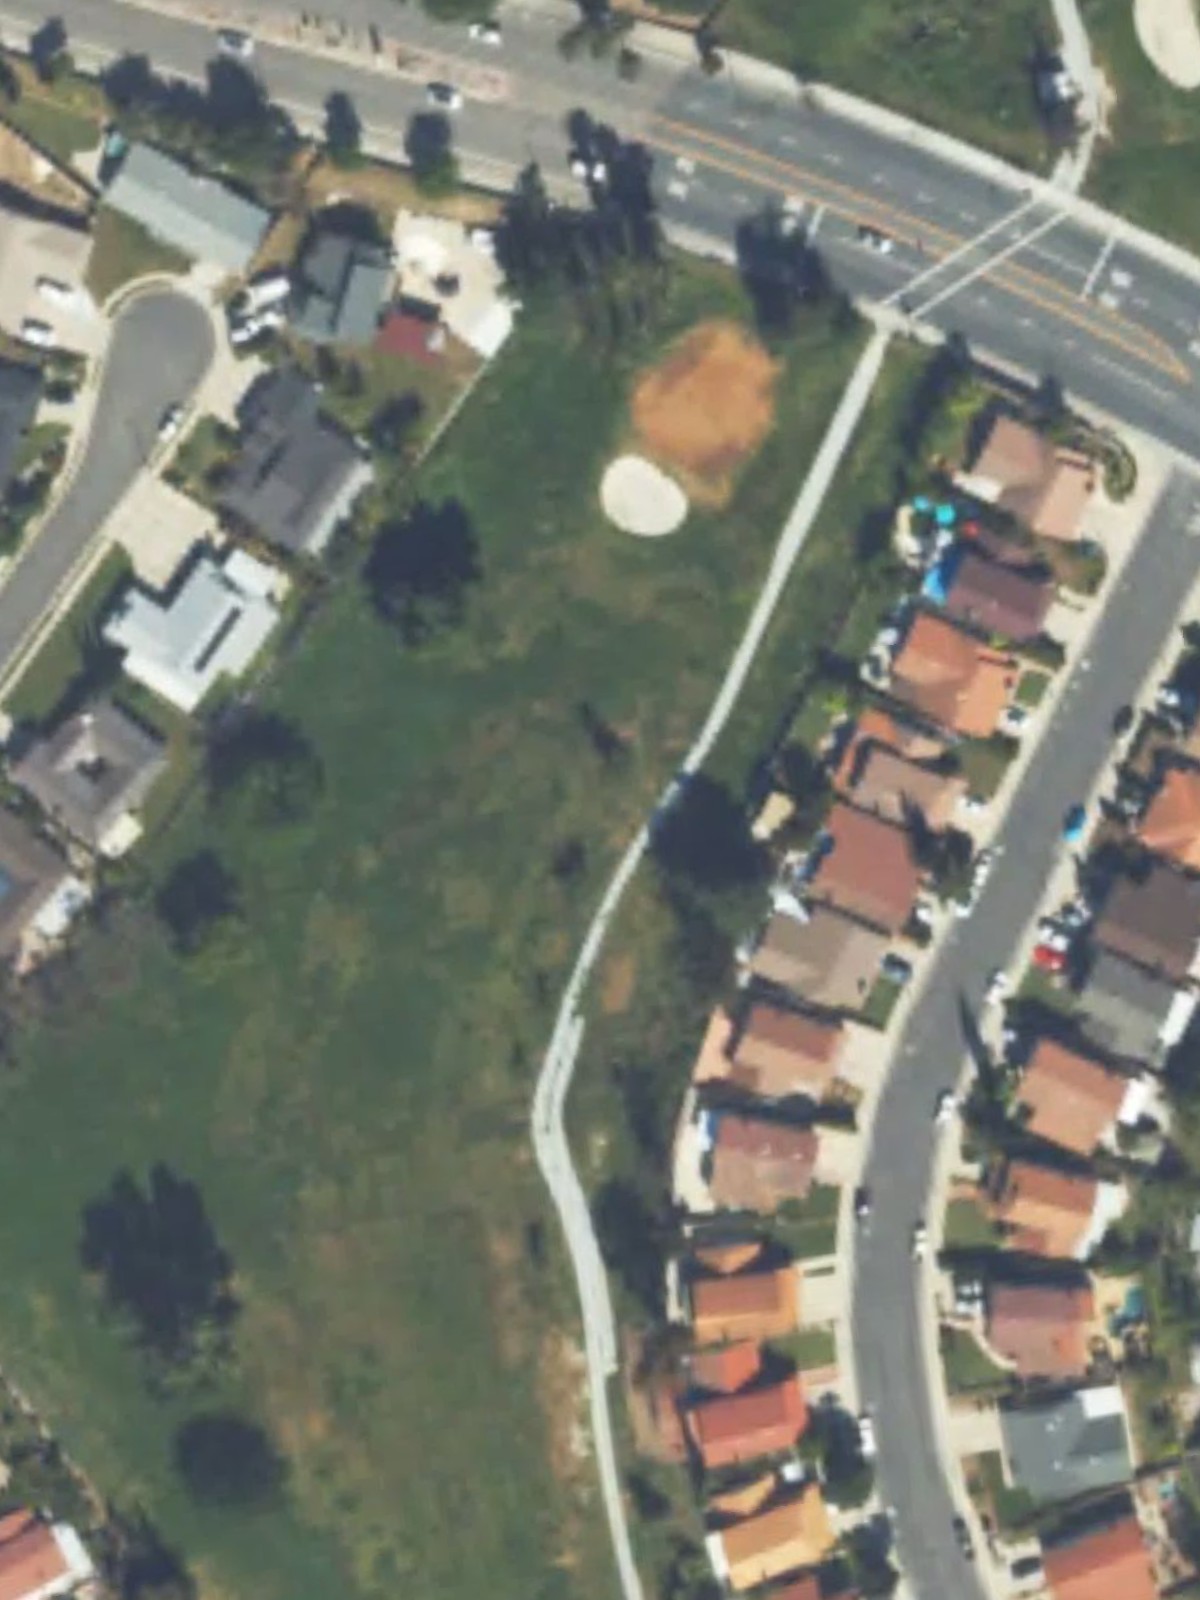
The fifth-most difficult par 4 on the course, this hole features a tight layout with strategic hazards guarding the fairway and green. Accuracy and placement are critical to a good score.
A mid-length par 4 with a relatively open fairway that widens toward the green. The approach requires precision to avoid the hazards that guard the putting surface.
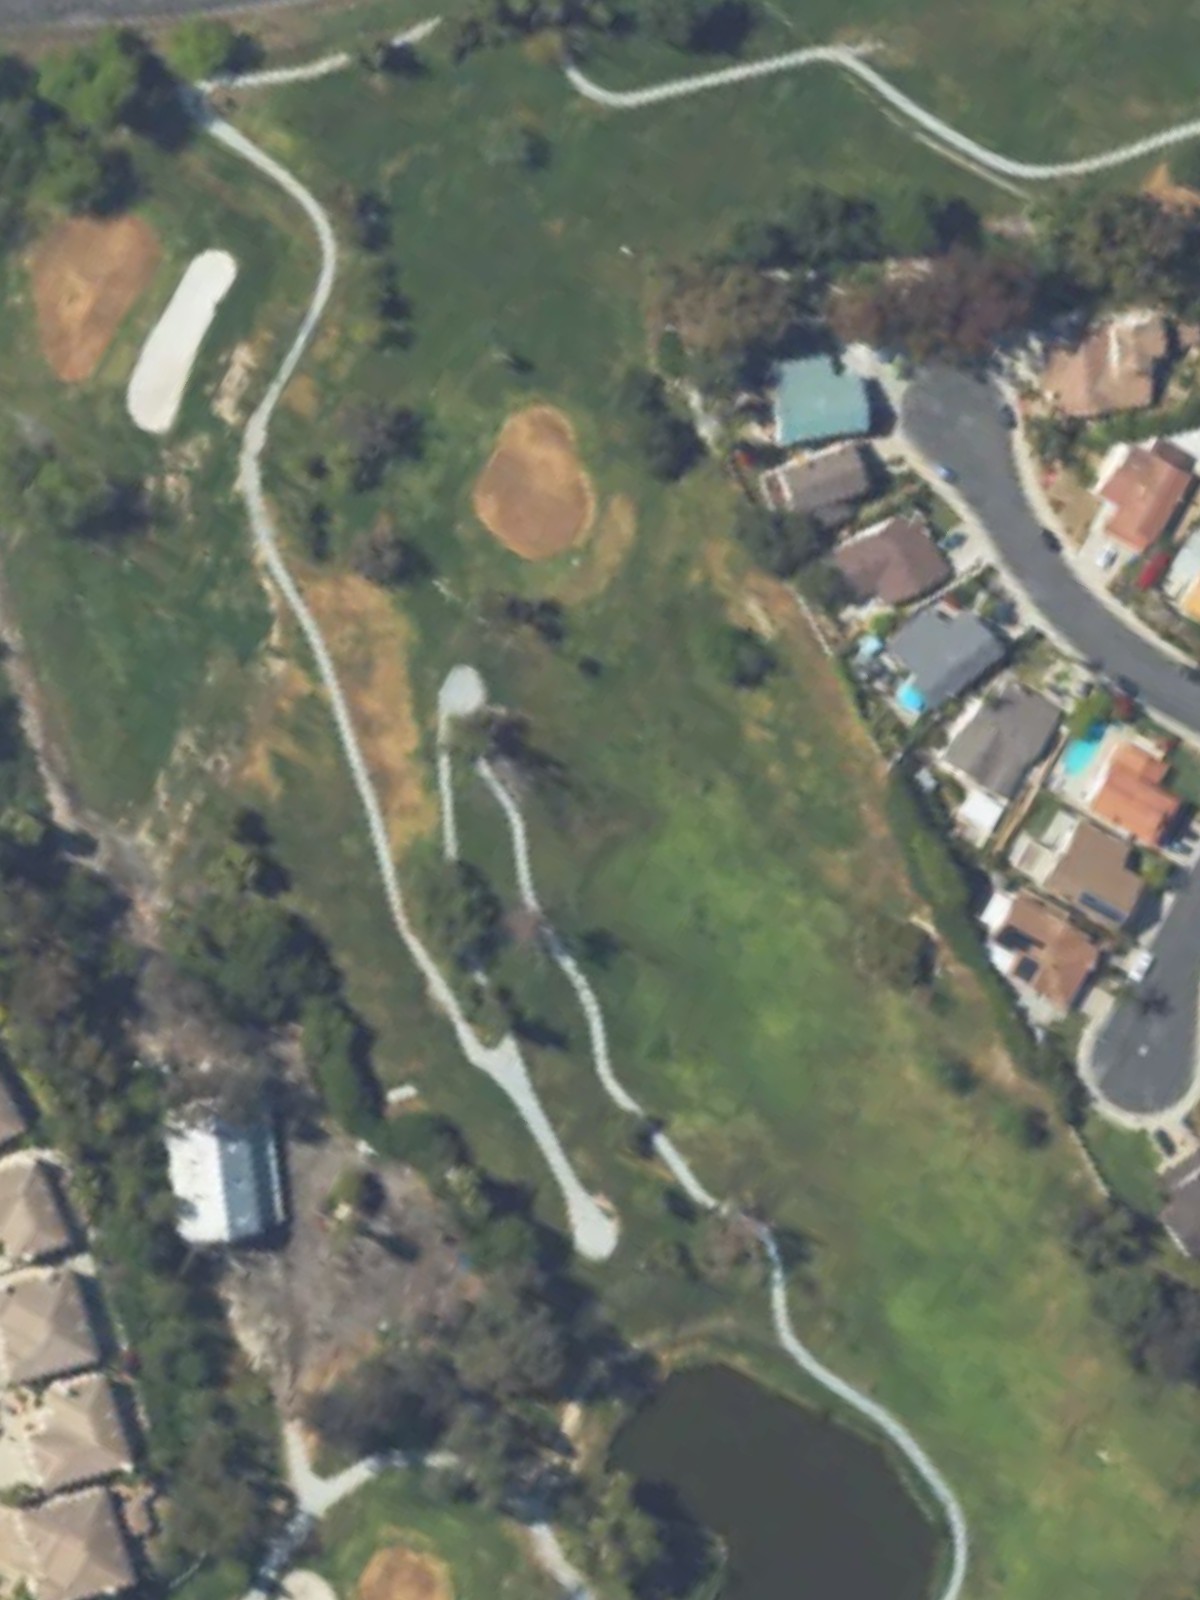
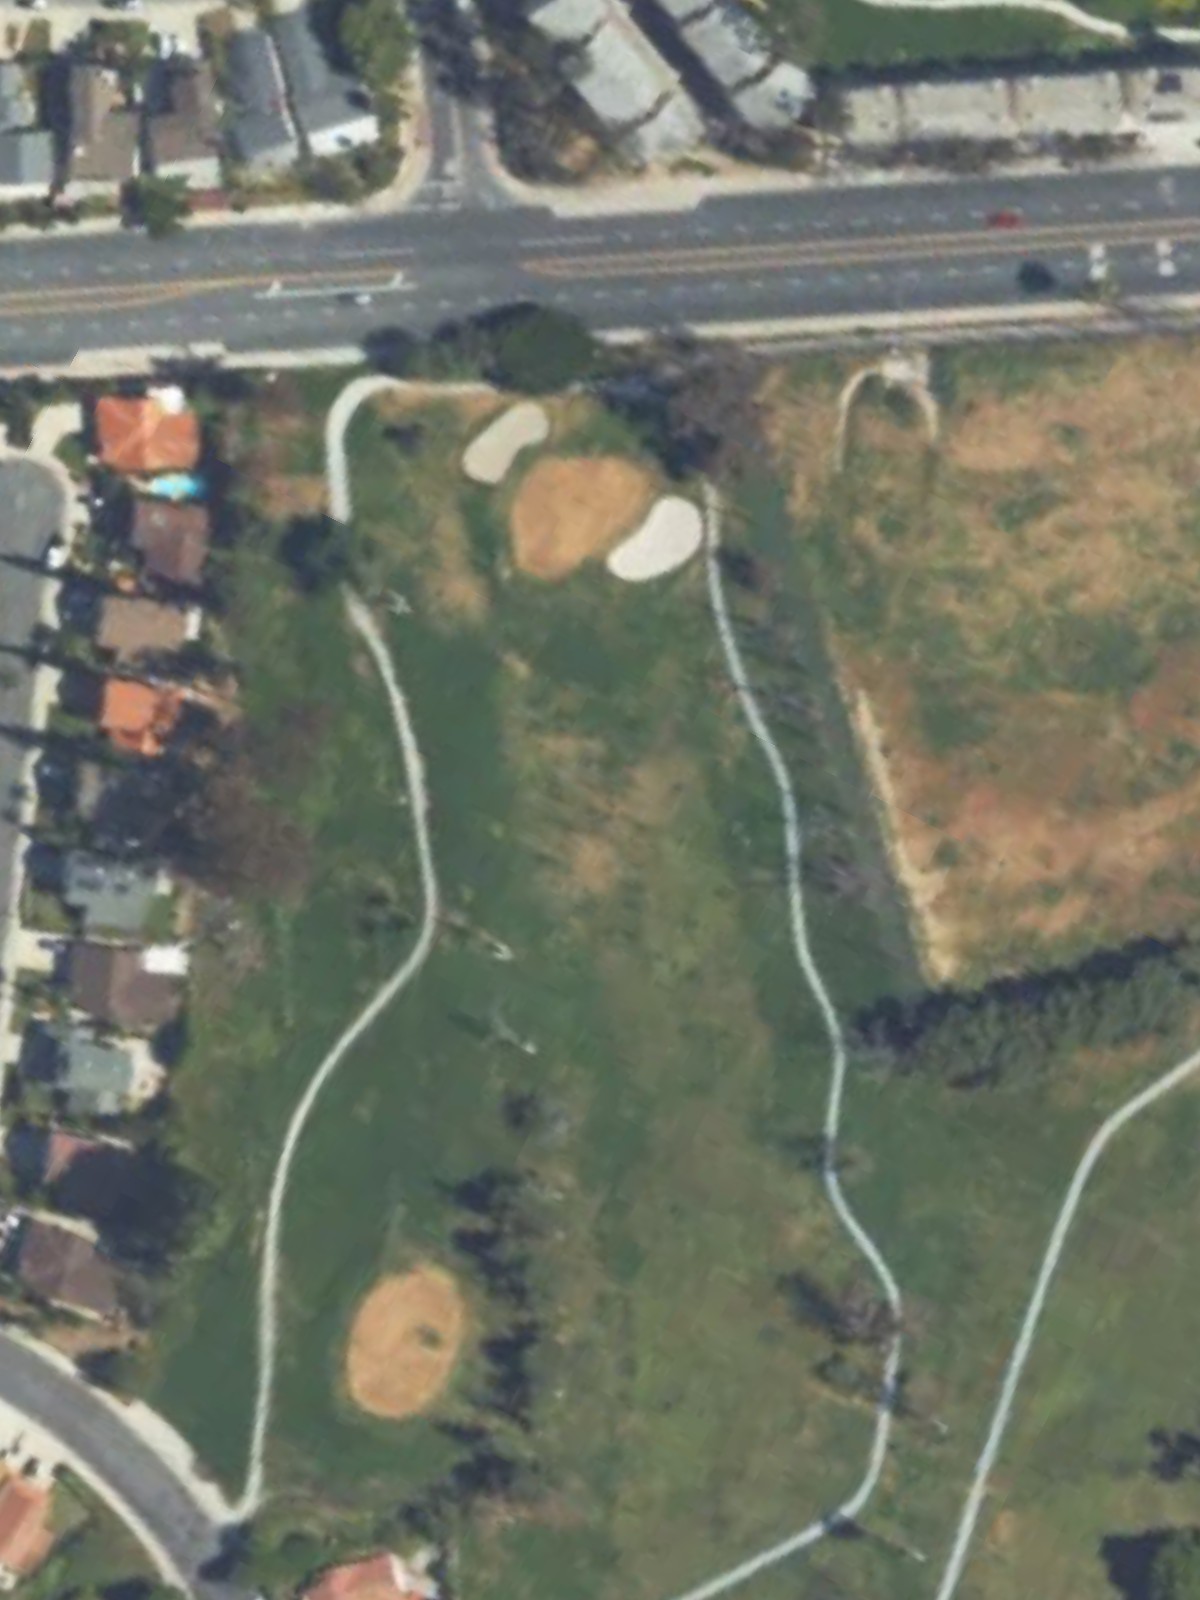
The second-most difficult hole on the course, this par 4 presents a significant challenge despite a shorter length. Strategic bunkering and tight fairways demand excellent execution from tee to green.
A short par 3 with a wide range of yardages depending on tee selection. The green is relatively accessible, making this a manageable short hole in the middle of the back nine.
A moderate par 4 with a balanced design that rewards solid ball-striking. Hazards are strategically placed to penalize poor positioning in the fairway and on the approach.
The most forgiving hole on the course, this par 5 plays long but offers ample opportunity to reach the green in three. The generous fairway and green complex make this a welcome birdie chance.
A mid-length par 3 with a straightforward approach and a receptive green. Hazards are present but not overly penal, making this an approachable one-shot hole.
The fourth-most difficult hole on the course, this long par 5 demands power and precision from start to finish. Strategic bunkering throughout the hole tests even the most skilled players.
A relatively short par 4 that offers birdie potential for those who can navigate its challenges. The fairway and green are well-designed but require careful shot selection.
The sixth-most difficult hole on the course, this par 4 features a challenging layout with water and hazards that demand respect. Accurate tee shots and precise approaches are necessary to avoid trouble.
A finishing par 3 that plays to a well-protected green with hazards surrounding the target. The hole provides a memorable conclusion to the round, testing composure under pressure.
Scorecard
| Hole | 1 | 2 | 3 | 4 | 5 | 6 | 7 | 8 | 9 | Out | 10 | 11 | 12 | 13 | 14 | 15 | 16 | 17 | 18 | In | Tot |
|---|---|---|---|---|---|---|---|---|---|---|---|---|---|---|---|---|---|---|---|---|---|
| Par | 5 | 4 | 3 | 4 | 4 | 3 | 5 | 4 | 4 | 36 | 4 | 3 | 4 | 5 | 3 | 5 | 4 | 4 | 3 | 35 | 71 |
| HCP | 15 | 1 | 9 | 7 | 3 | 11 | 17 | 5 | 13 | 2 | 8 | 10 | 18 | 12 | 4 | 16 | 6 | 14 | |||
| blue | 471 | 405 | 190 | 360 | 381 | 132 | 489 | 371 | 360 | 3159 | 388 | 193 | 347 | 482 | 172 | 562 | 349 | 427 | 159 | 3079 | 6238 |
| white | 459 | 380 | 170 | 346 | 361 | 119 | 483 | 336 | 334 | 2988 | 355 | 140 | 333 | 463 | 155 | 548 | 331 | 410 | 147 | 2882 | 5870 |
| red | 365 | 342 | 151 | 325 | 342 | 106 | 475 | 327 | 326 | 2759 | 300 | 113 | 320 | 410 | 137 | 508 | 310 | 333 | 135 | 2566 | 5325 |