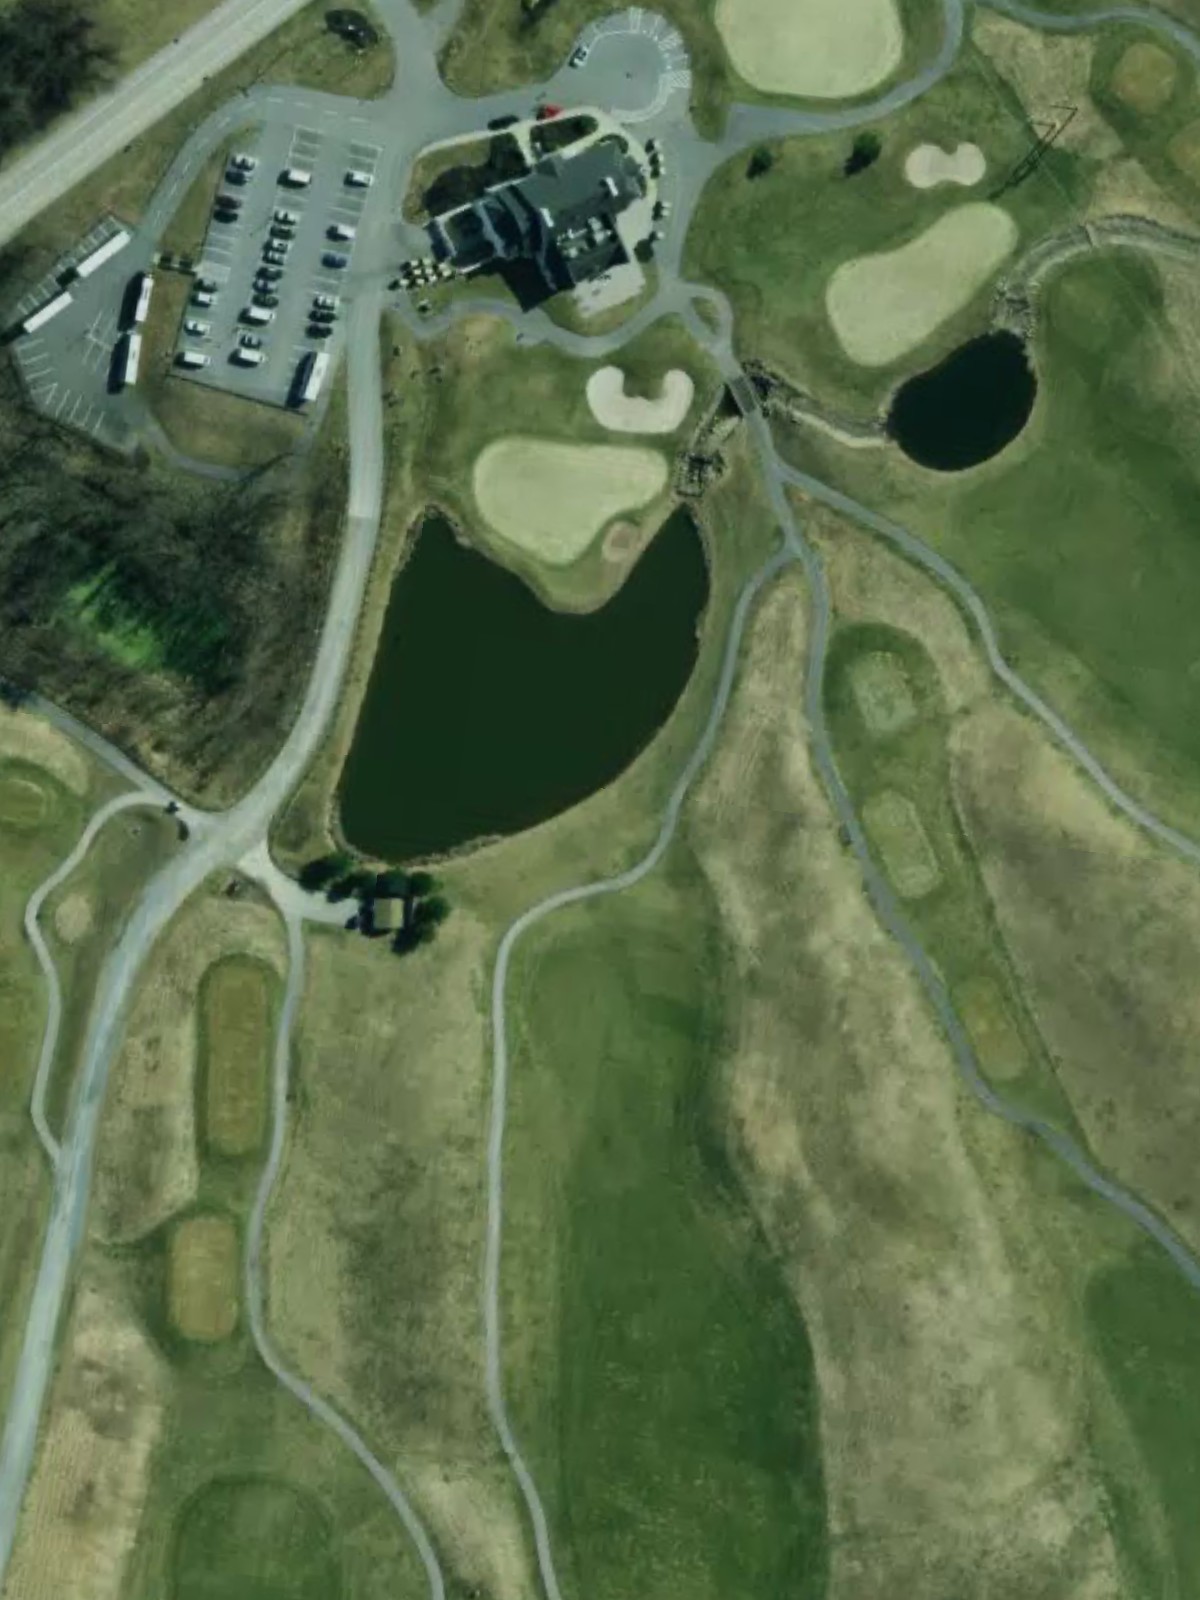
Royal Manchester Golf Links is an 18-hole golf course in Mt. Wolf, PA with a par of 72. It offers 5 tee sets: tournament (7,011 yards, slope 127, rating 74.5), blue (6,961 yards, slope 127, rating 74.5), hybrid bl / wh (6,644 yards, slope 126, rating 72.6), white (6,342 yards, slope 122, rating 71.2), gold (5,555 yards, slope 119, rating 67.4). The hardest hole is #17, a par 4 playing 437 yards from the first tee.
Royal Manchester Golf Links
Mt. Wolf, PA
Get PDF Yardage Book
We'll email you the PDF link. No spam, ever.
Create Your Game Plan
Pick your tees, enter your bag, and get a personalized shot-by-shot strategy for every hole.
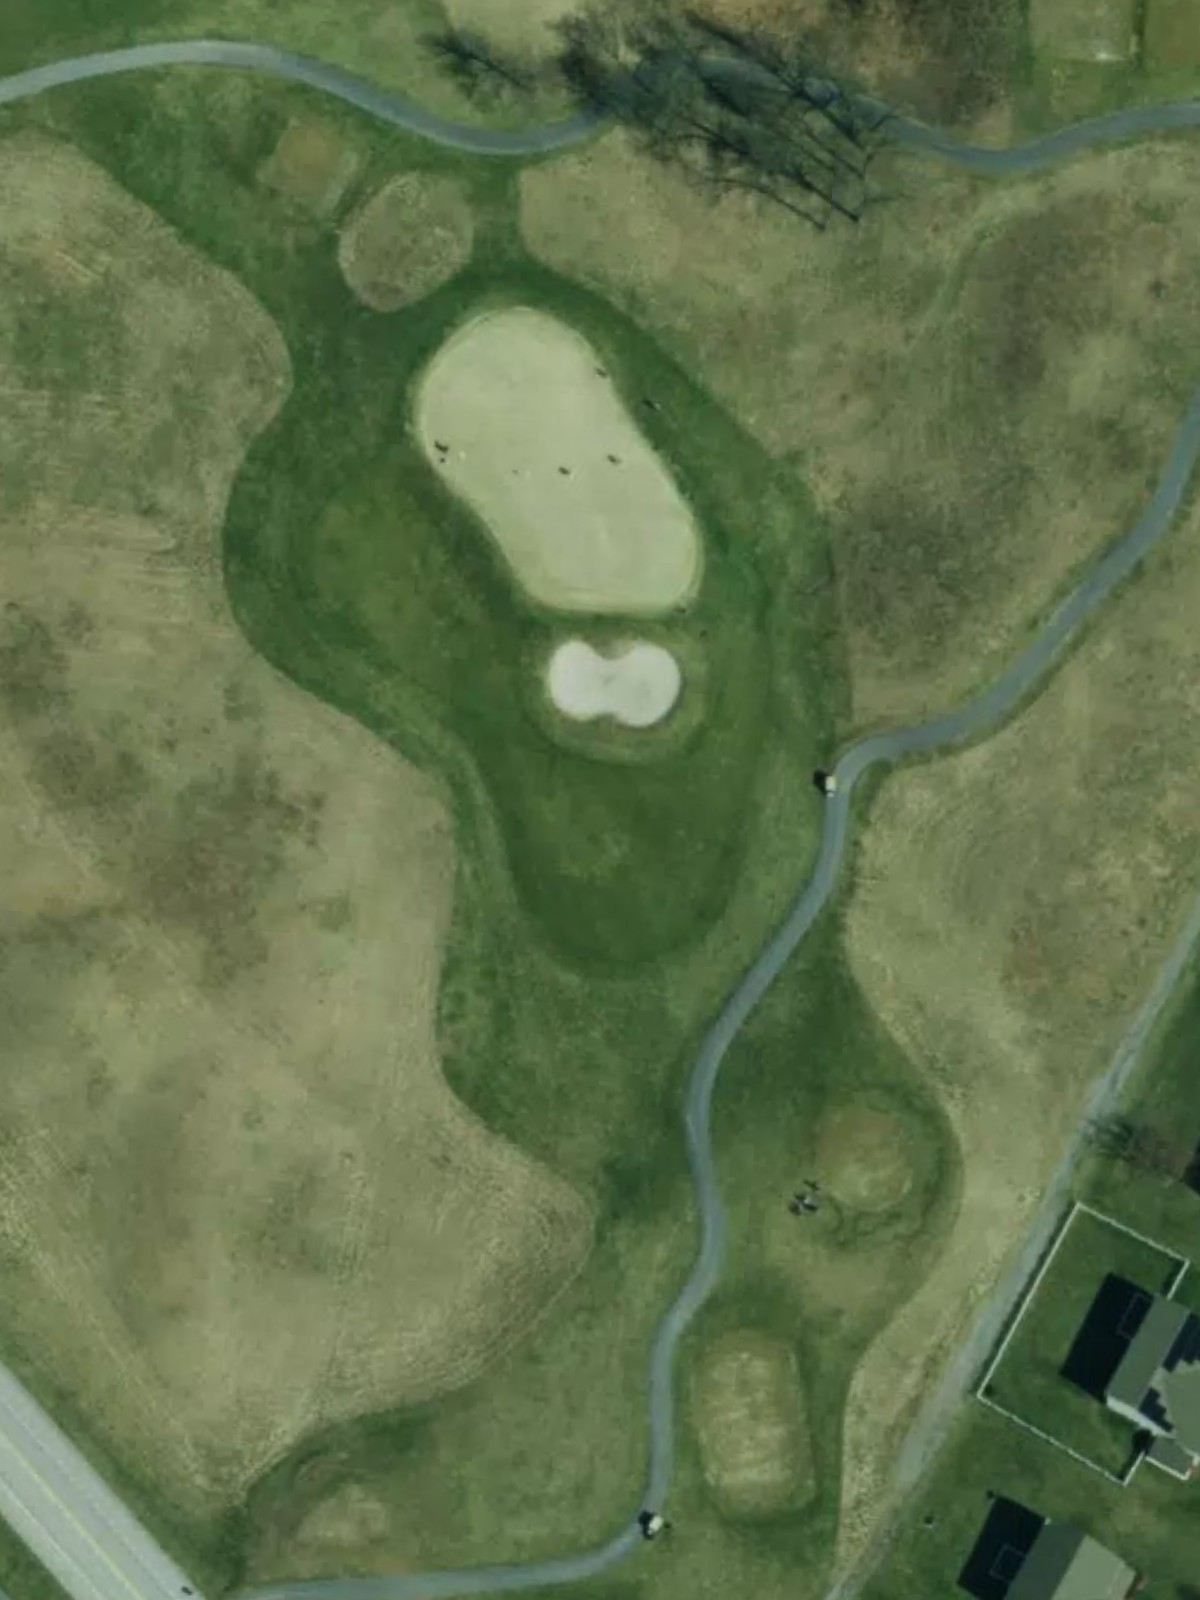
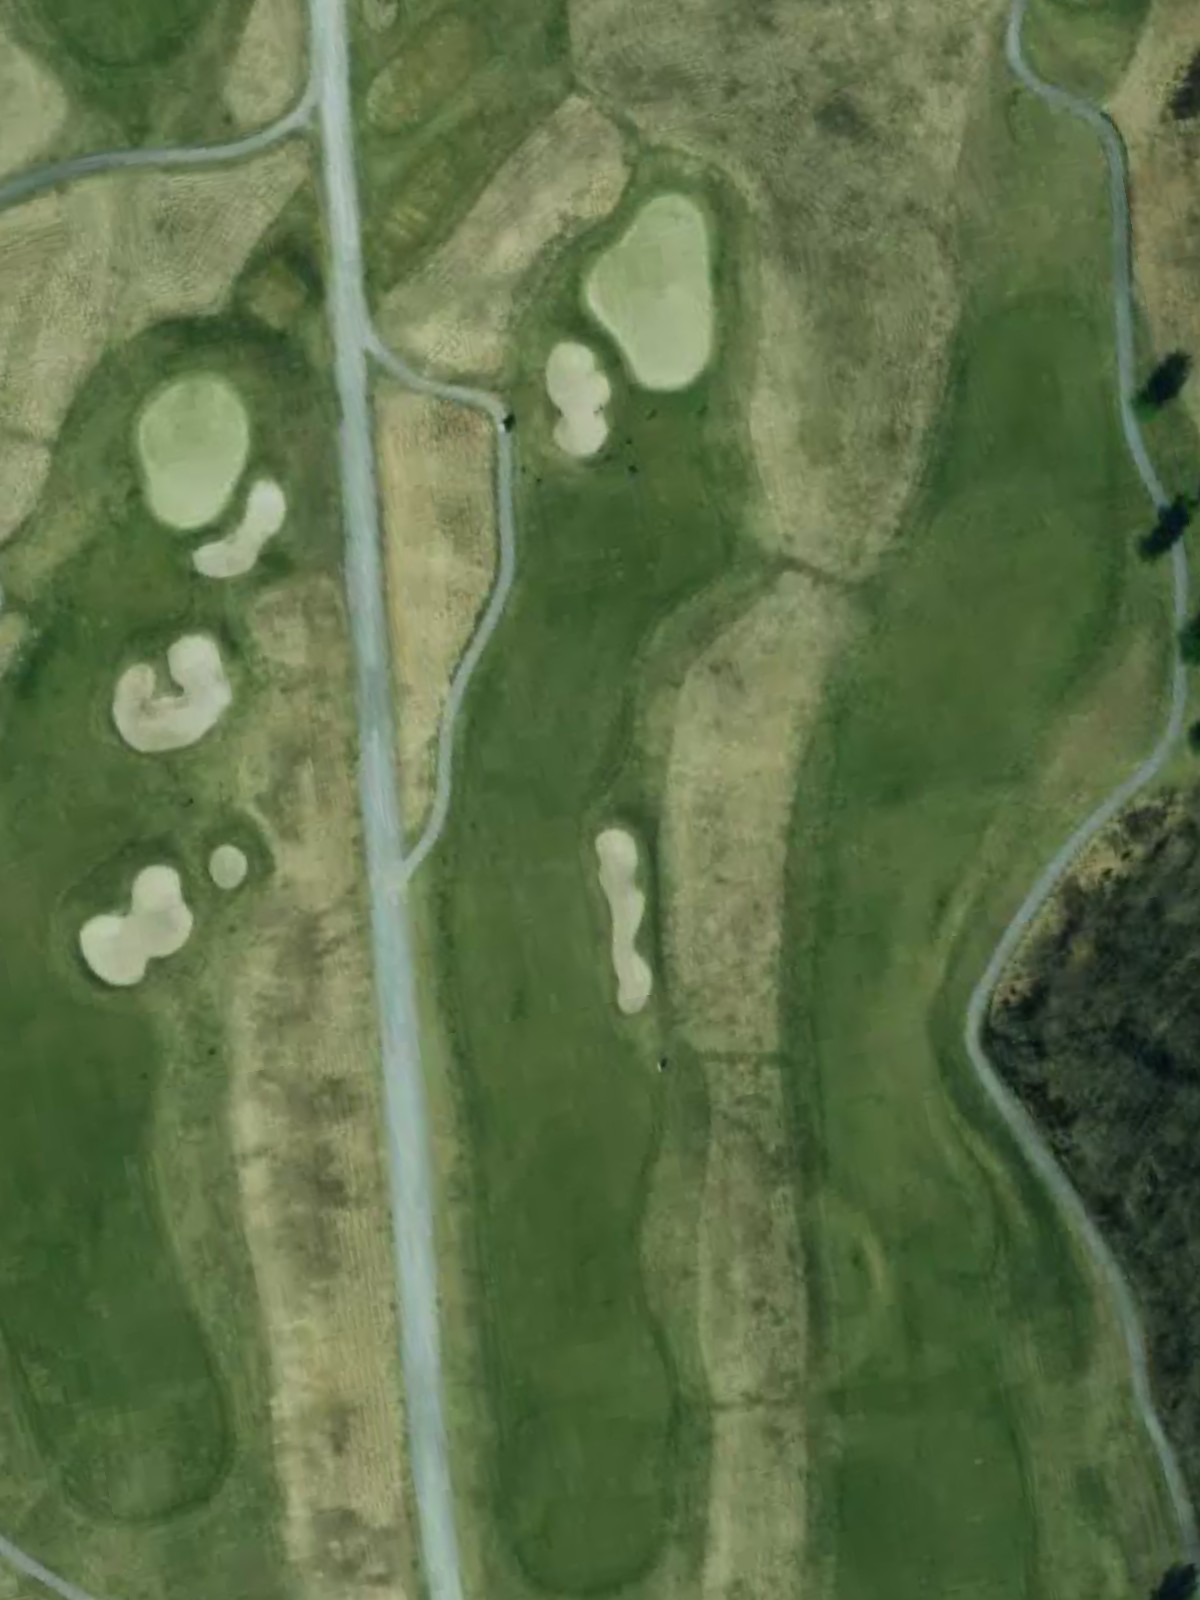
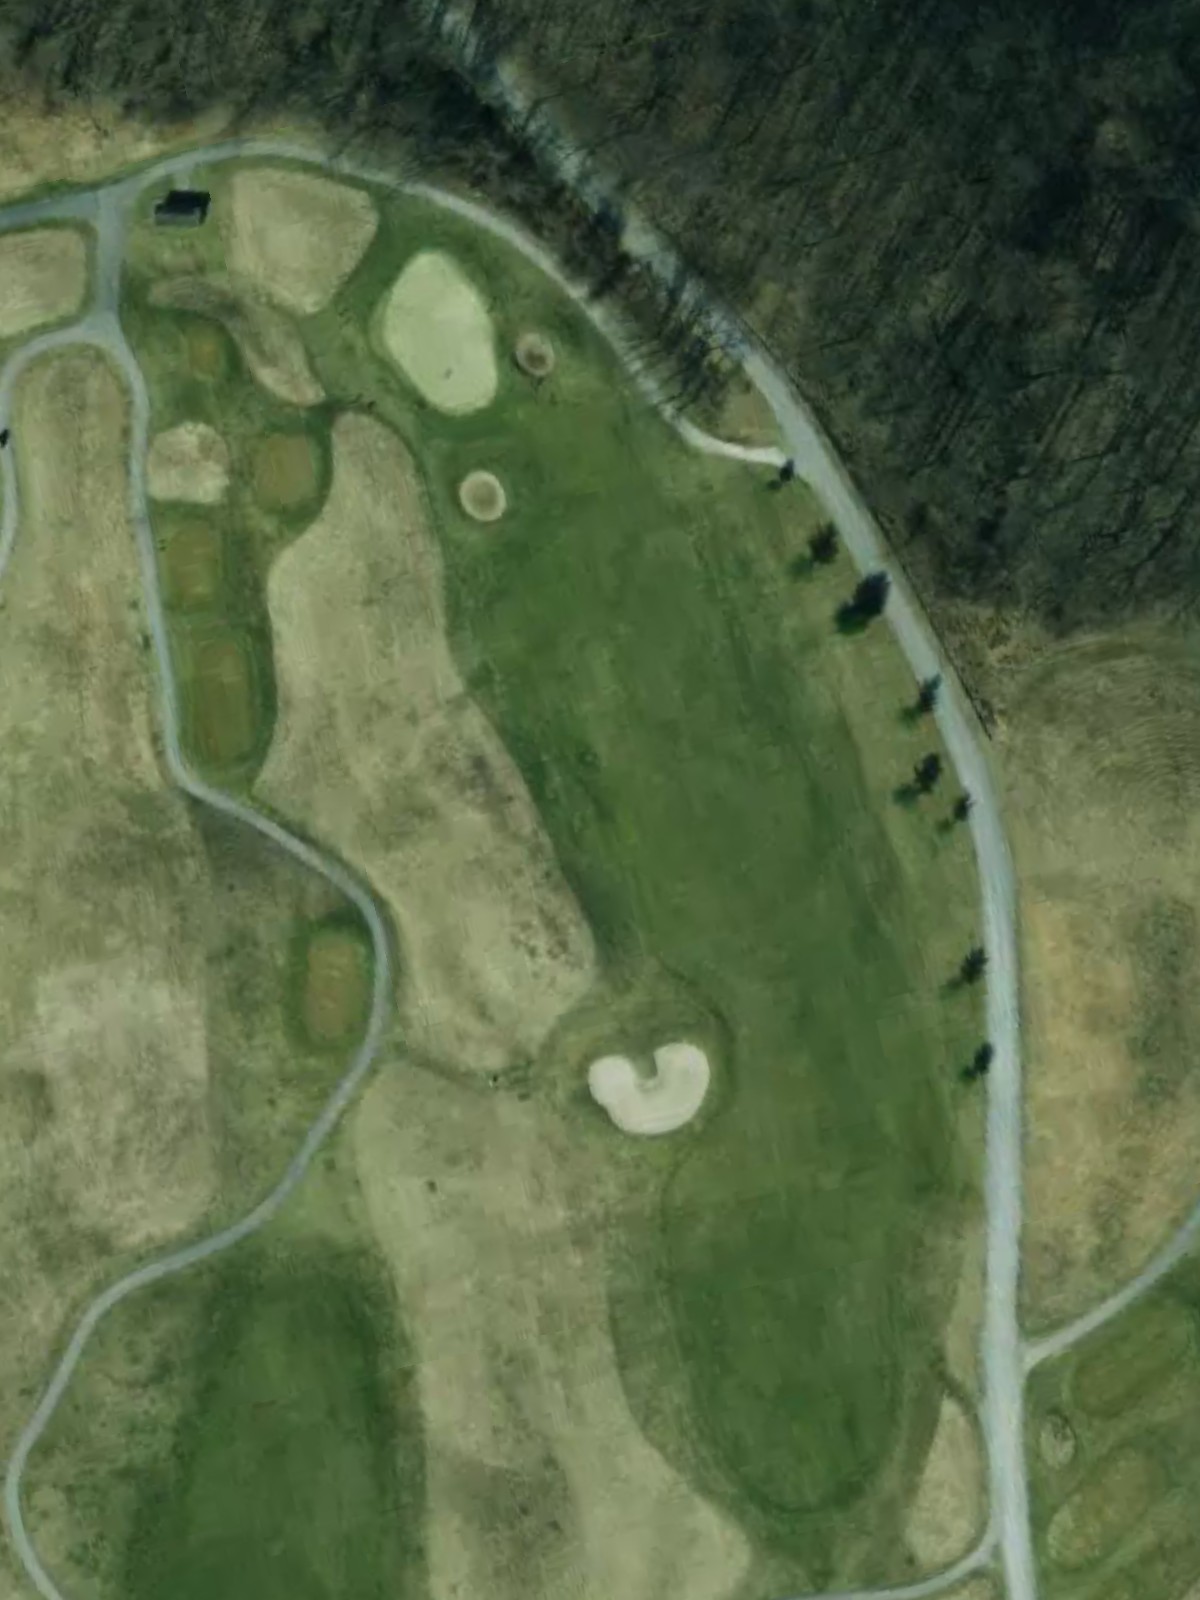
A welcoming opening par 4 with a wide fairway that gradually narrows toward the green. Bunkers protect the right side of the putting surface, while the left offers a safer approach route for the opening hole.
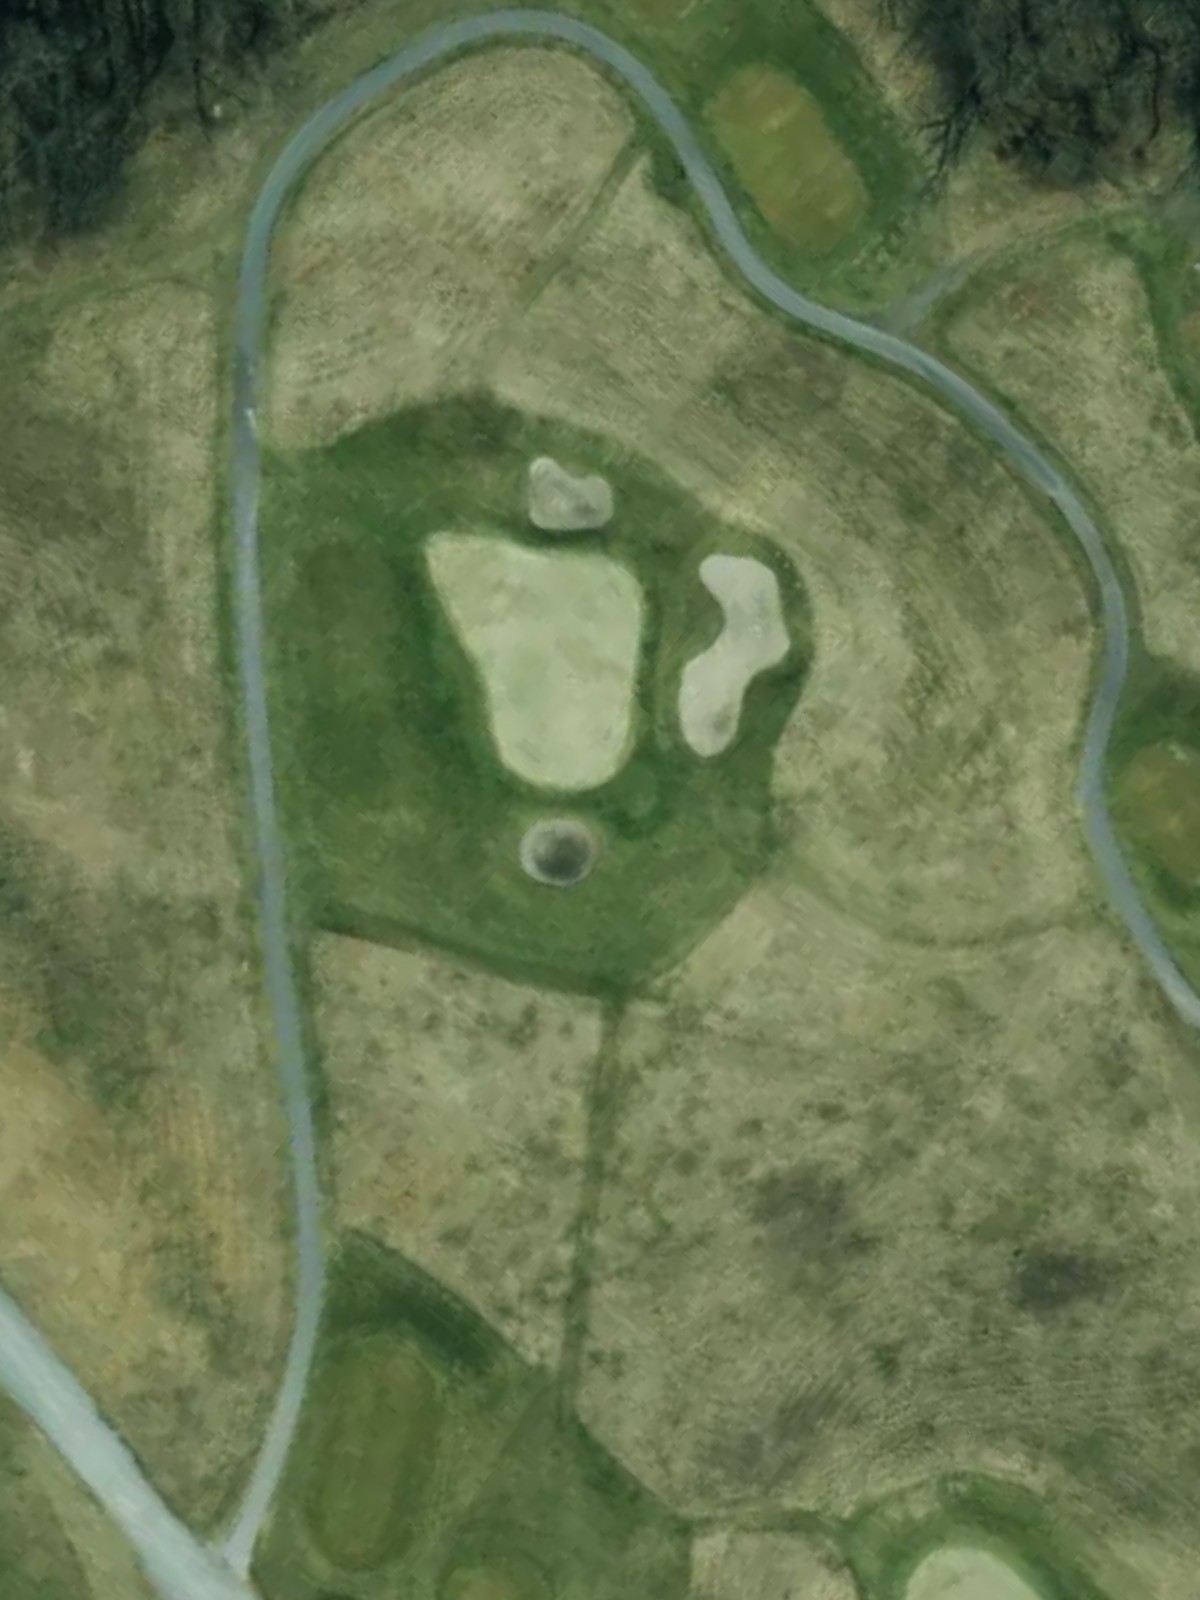
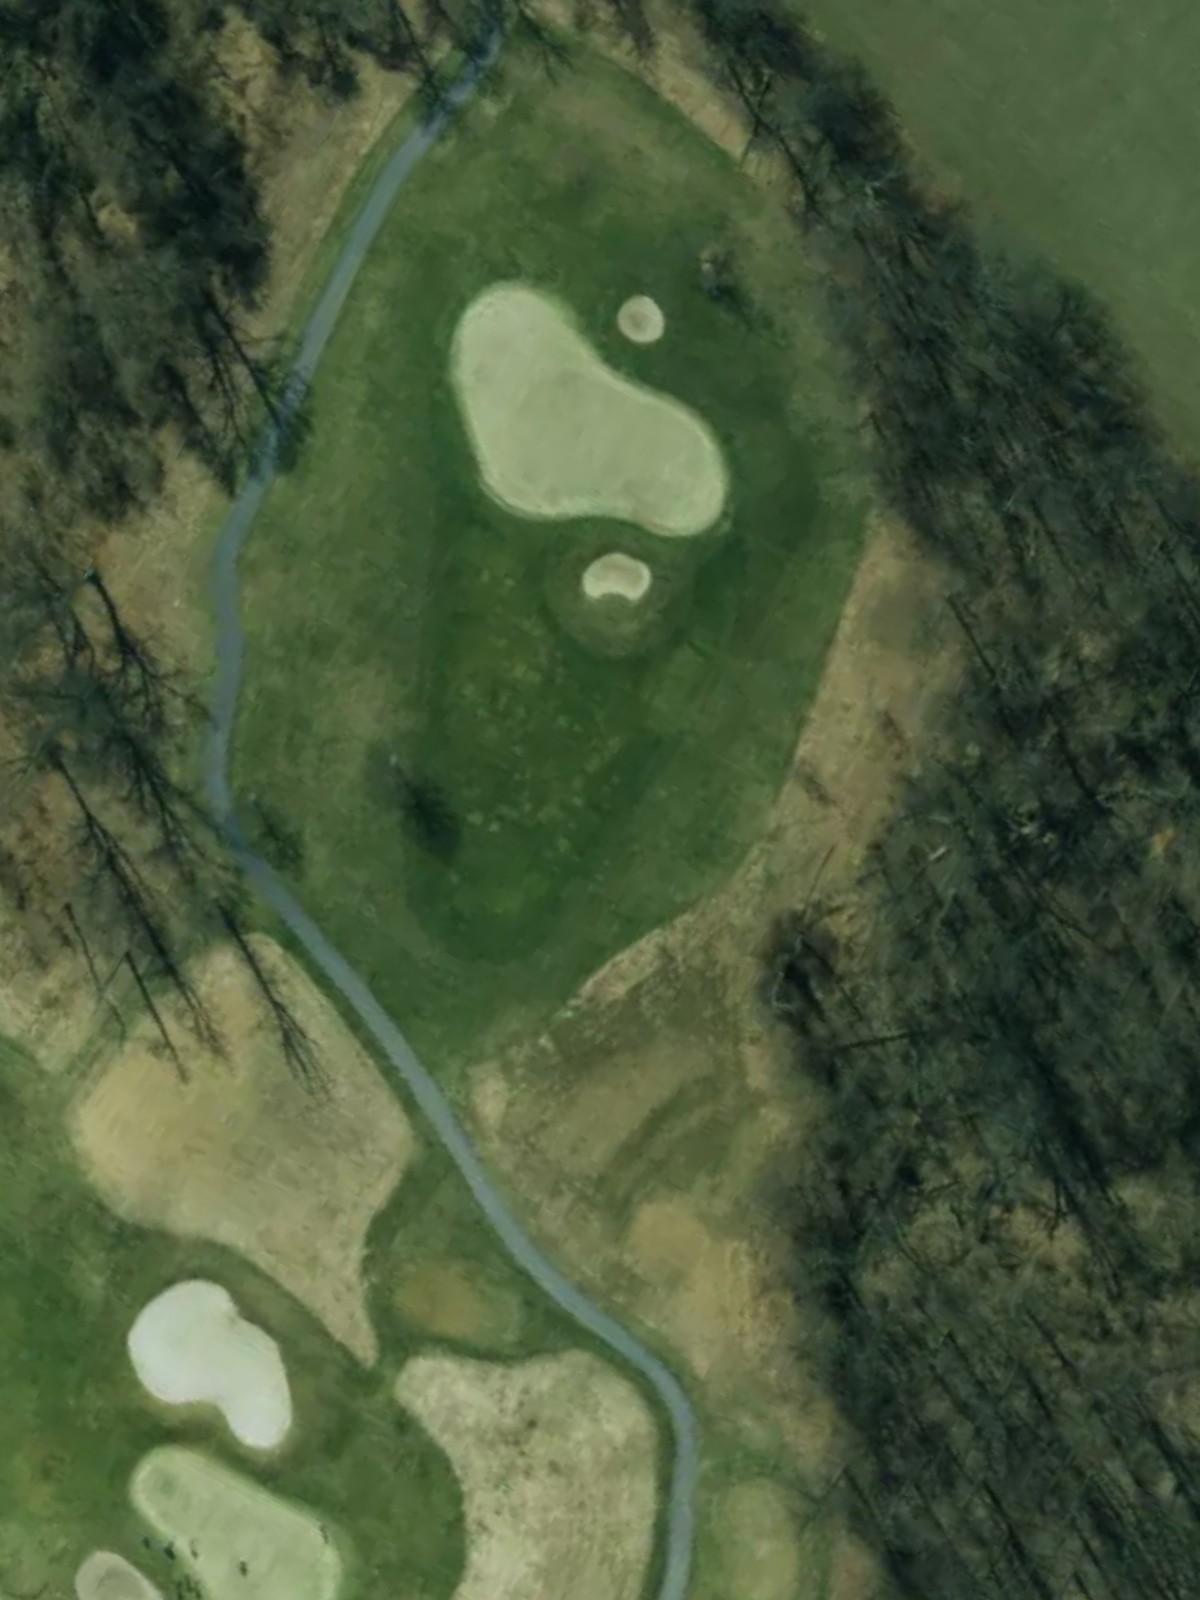
A short par 3 requiring precision over distance to a well-bunkered green. The compact nature of this hole makes accuracy from the tee paramount, with little room for error around the target.
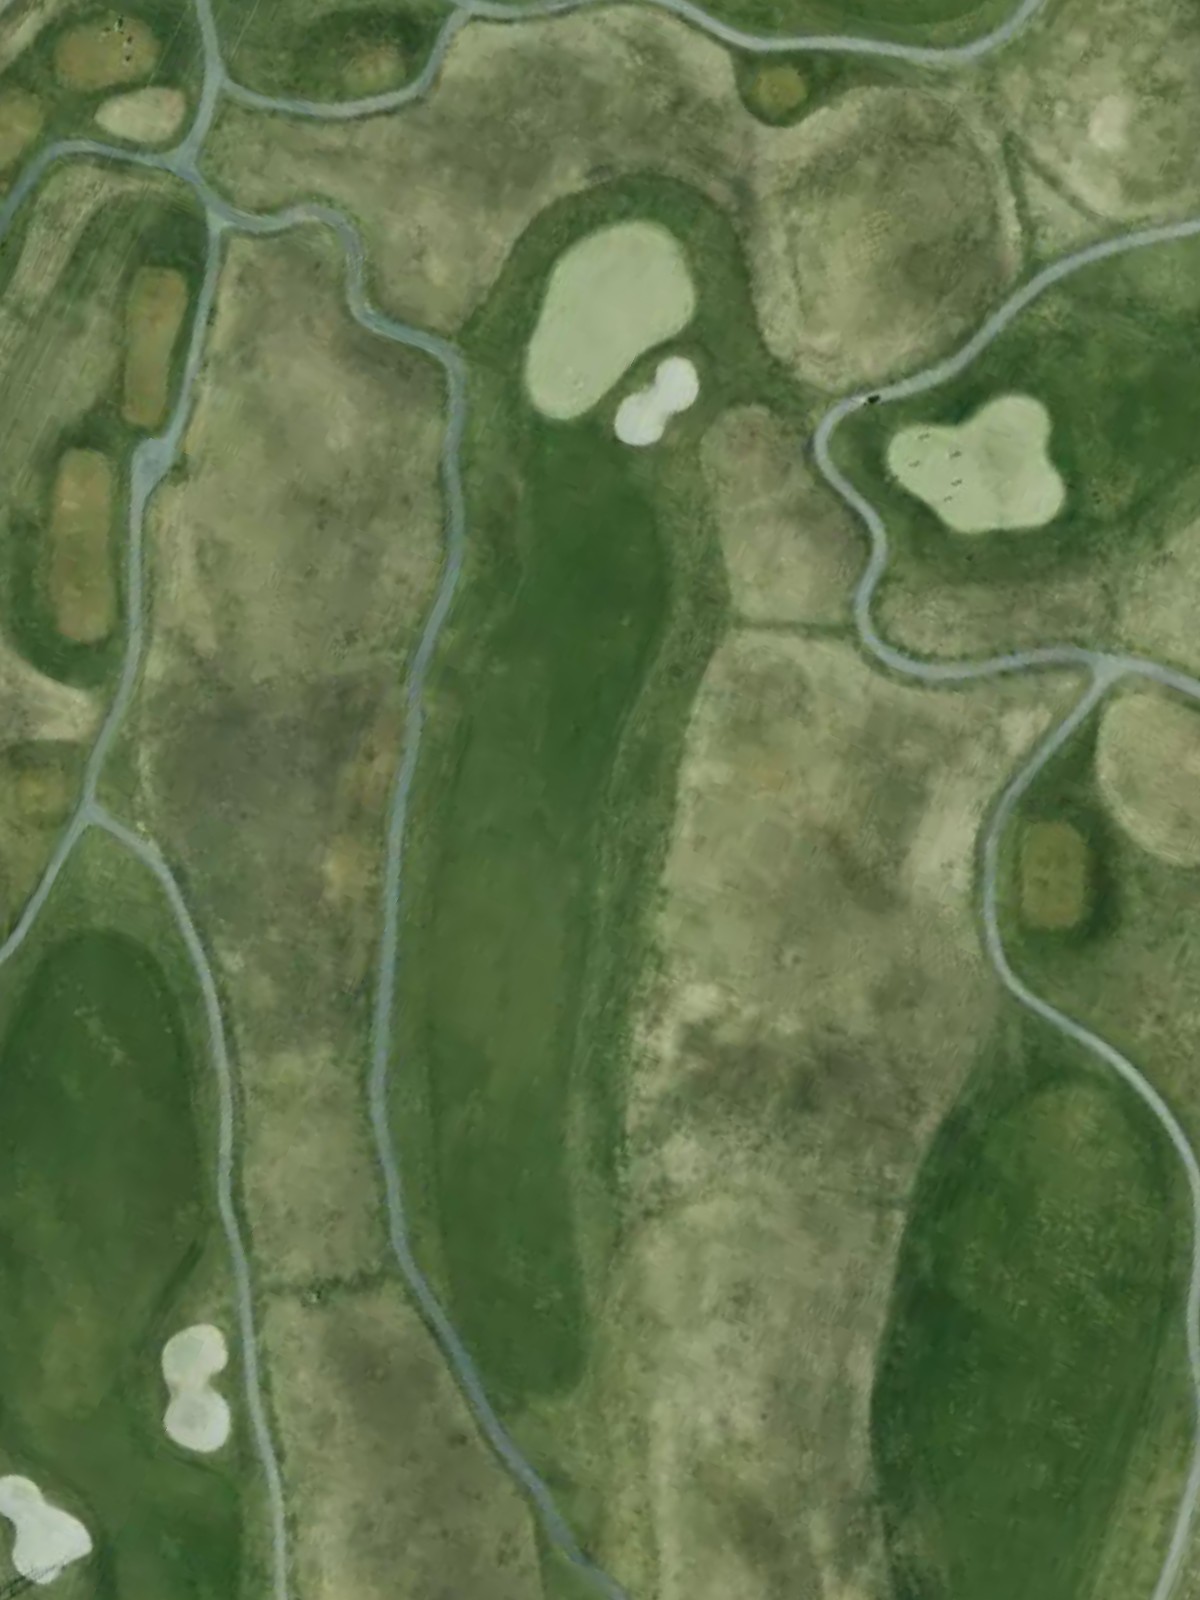
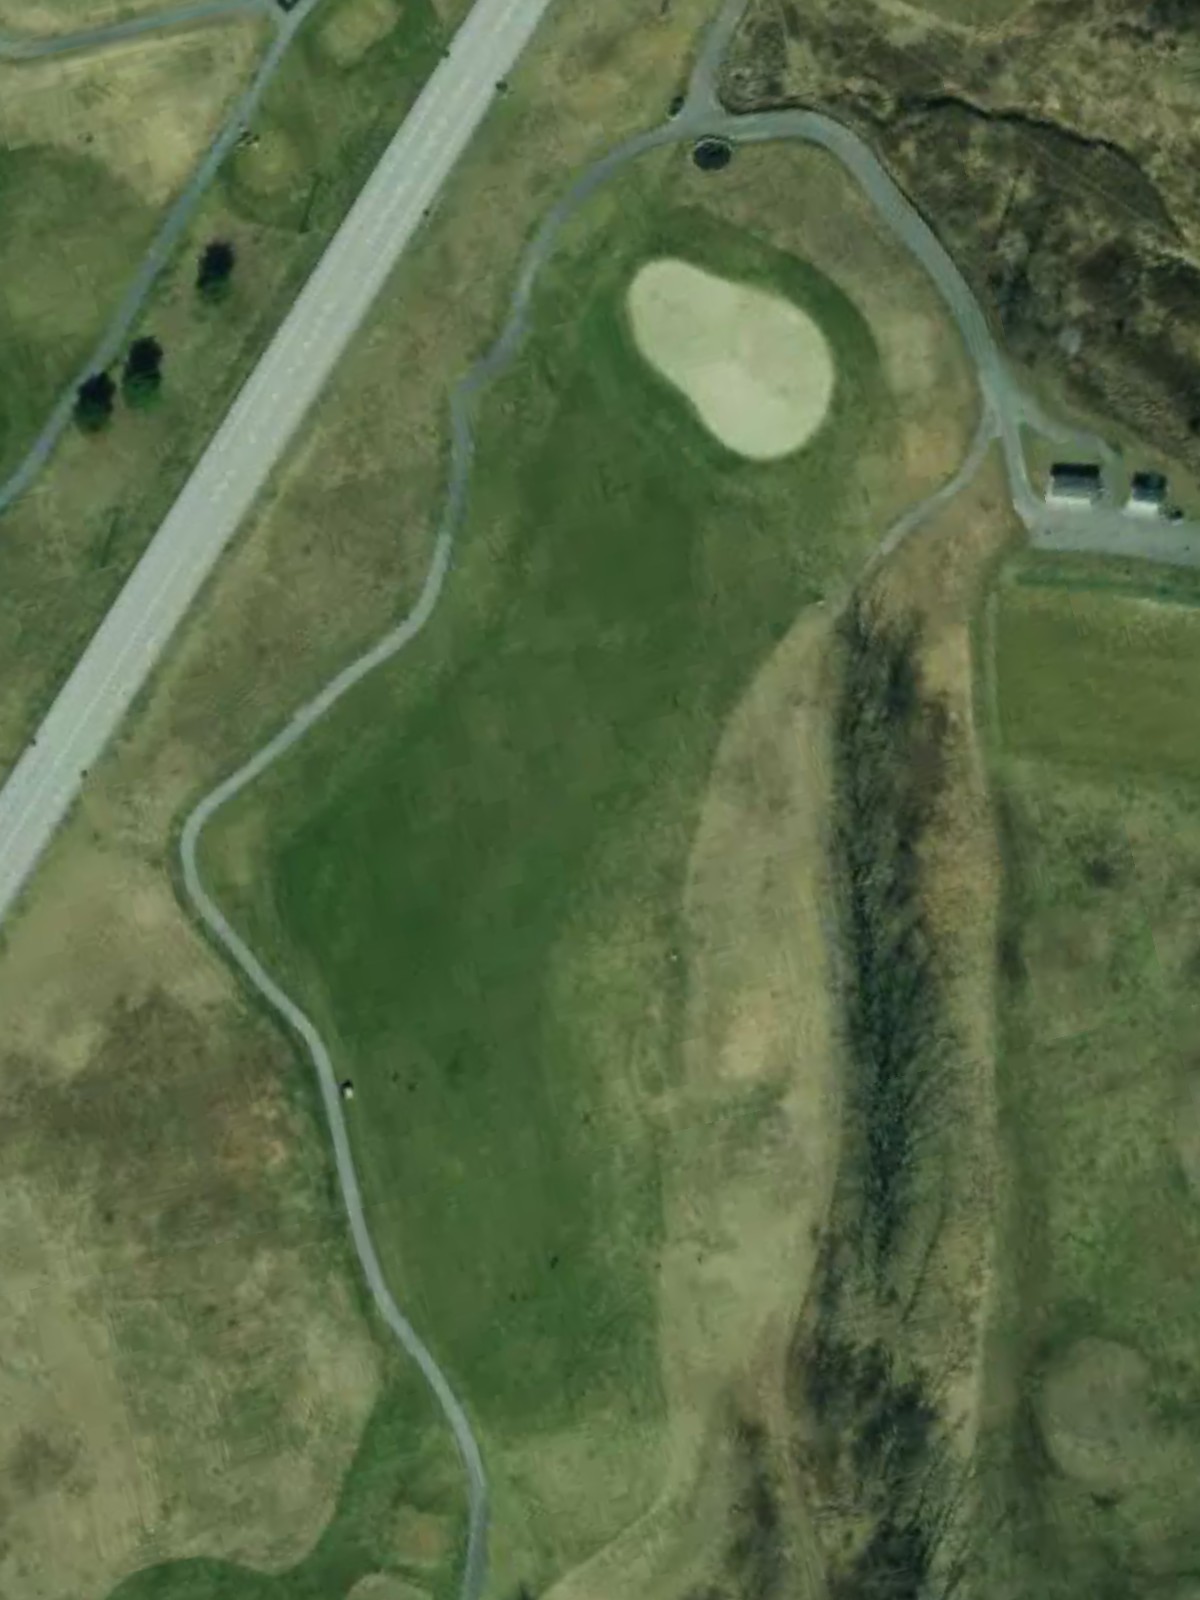
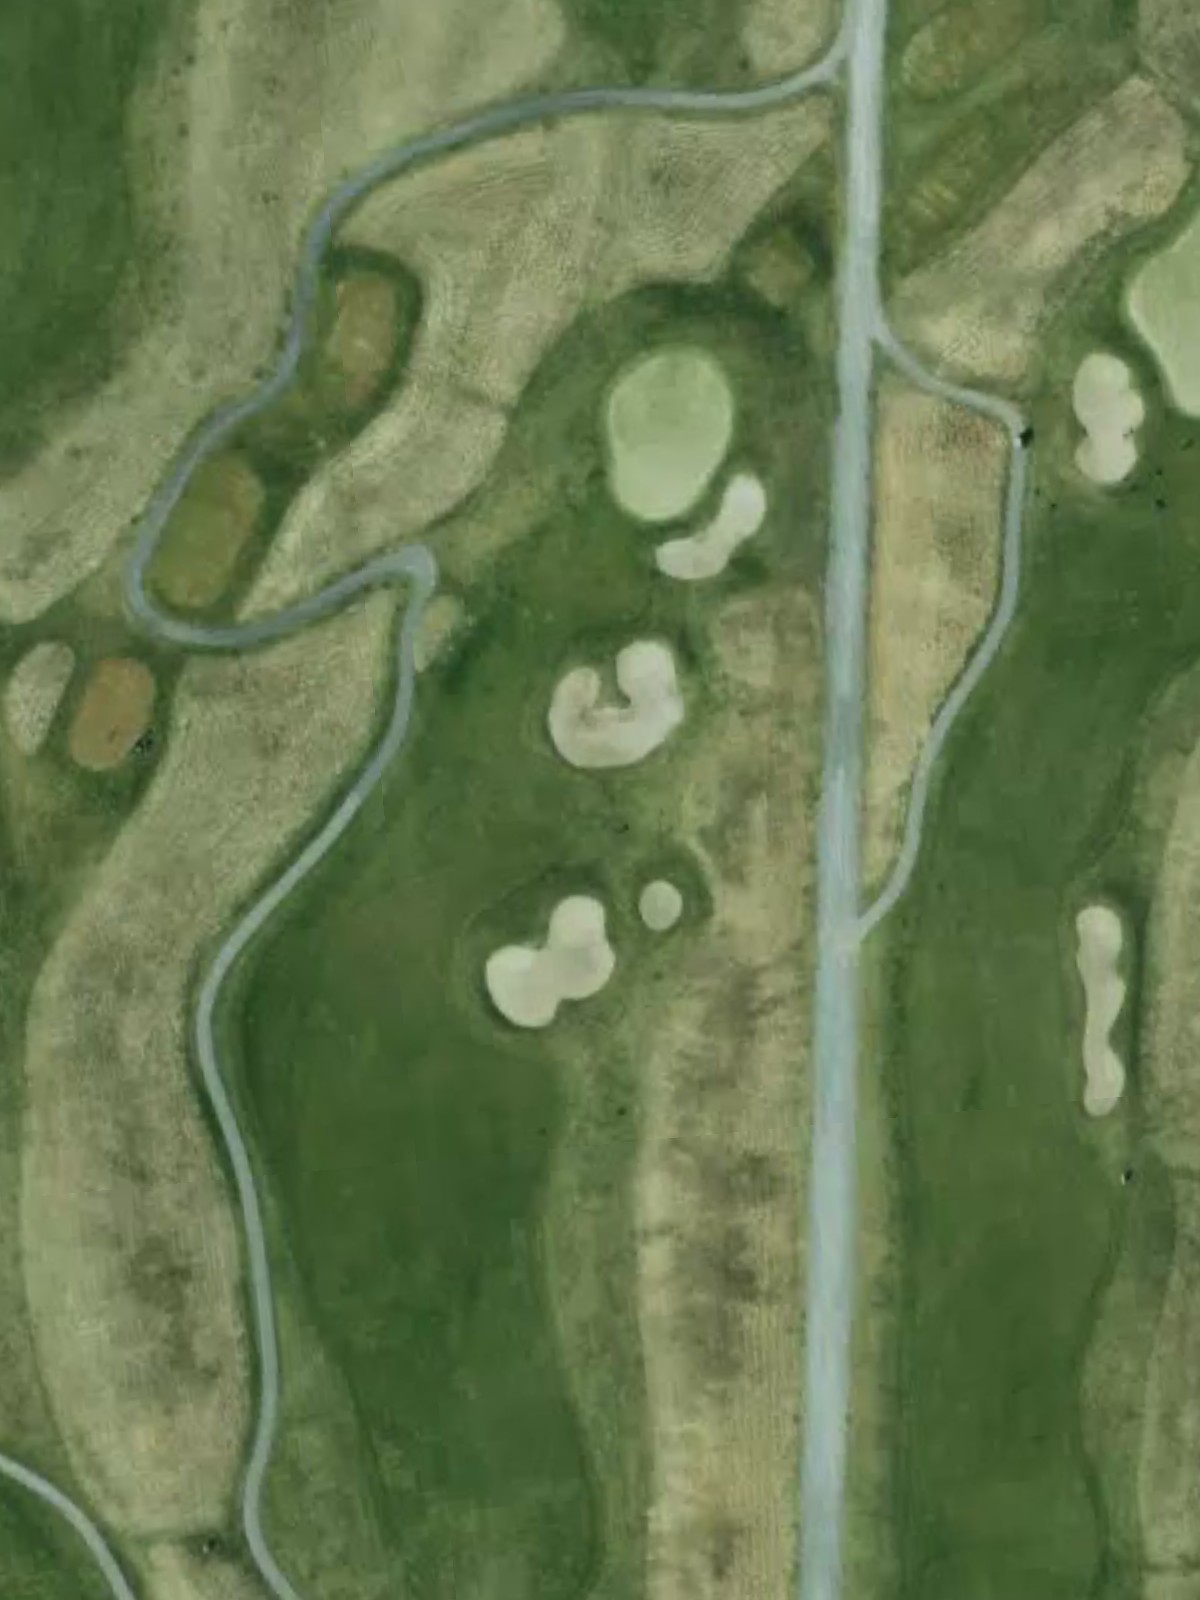
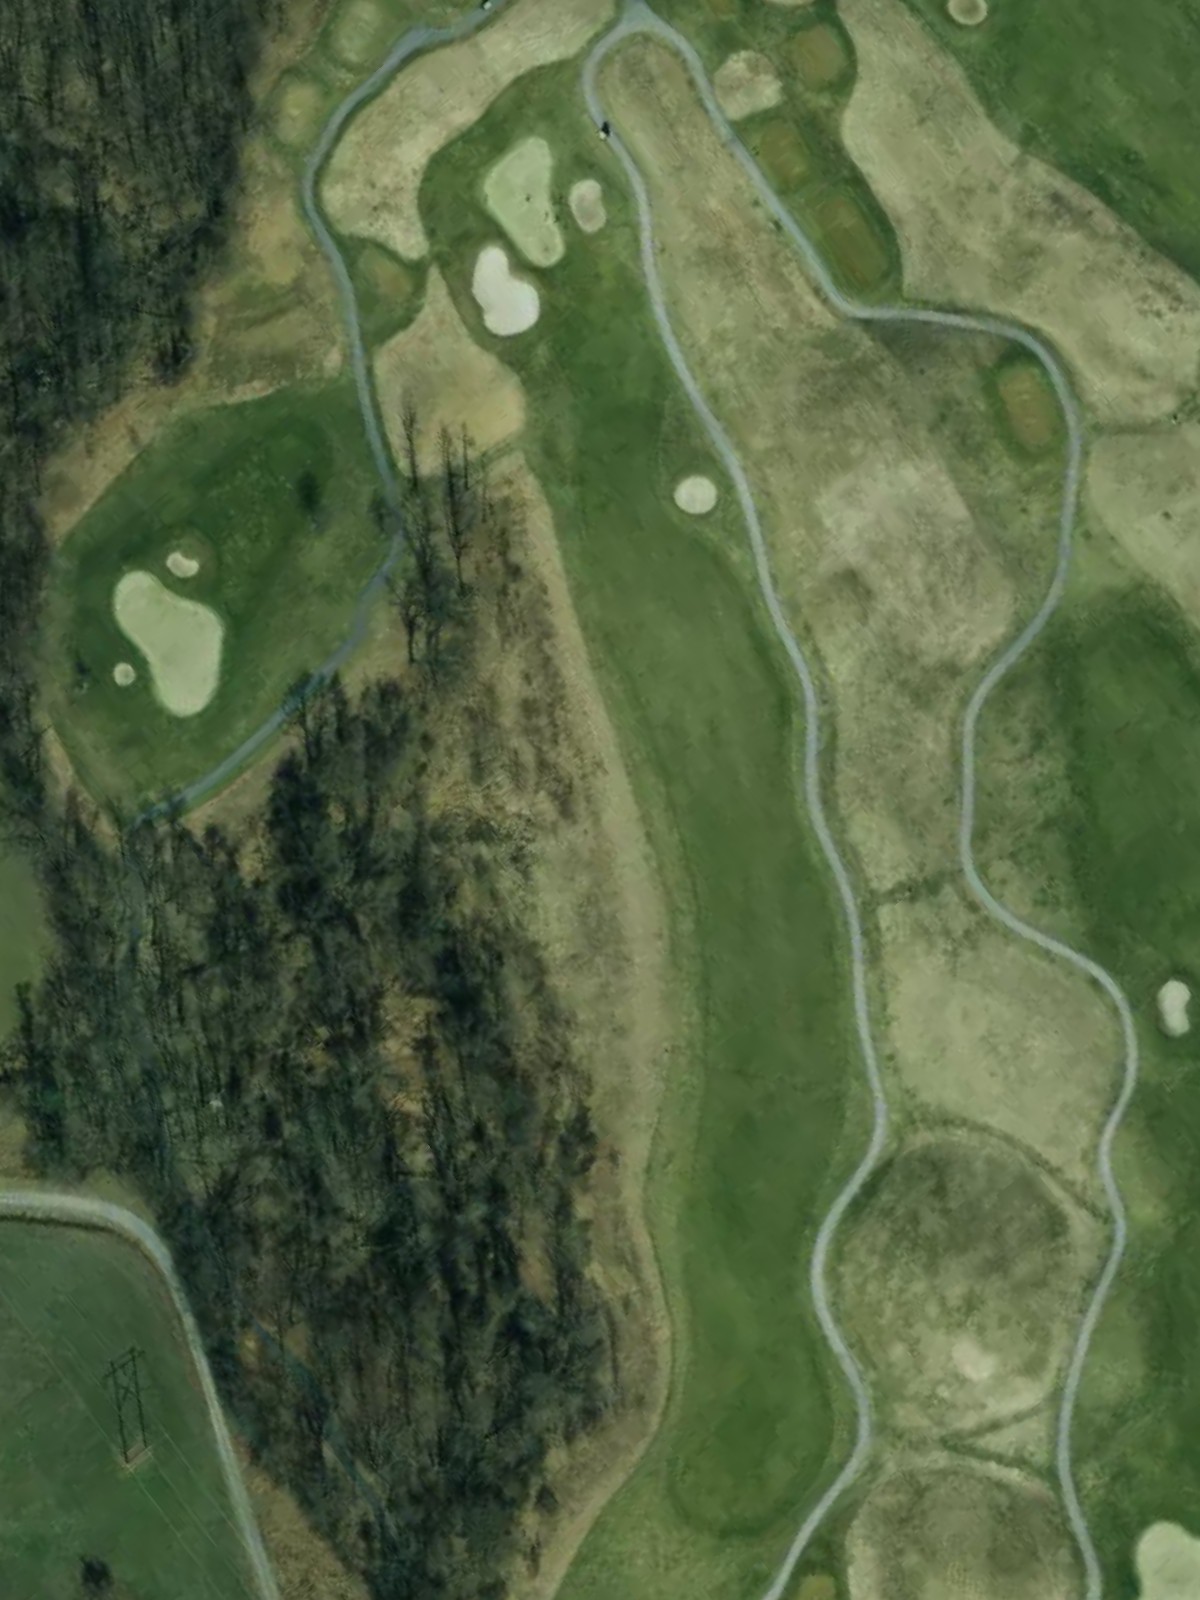
A long par 5 that rewards length off the tee with opportunities for aggressive play on the second shot. The fairway provides a clear path forward, allowing players to set up an attacking approach to the green.
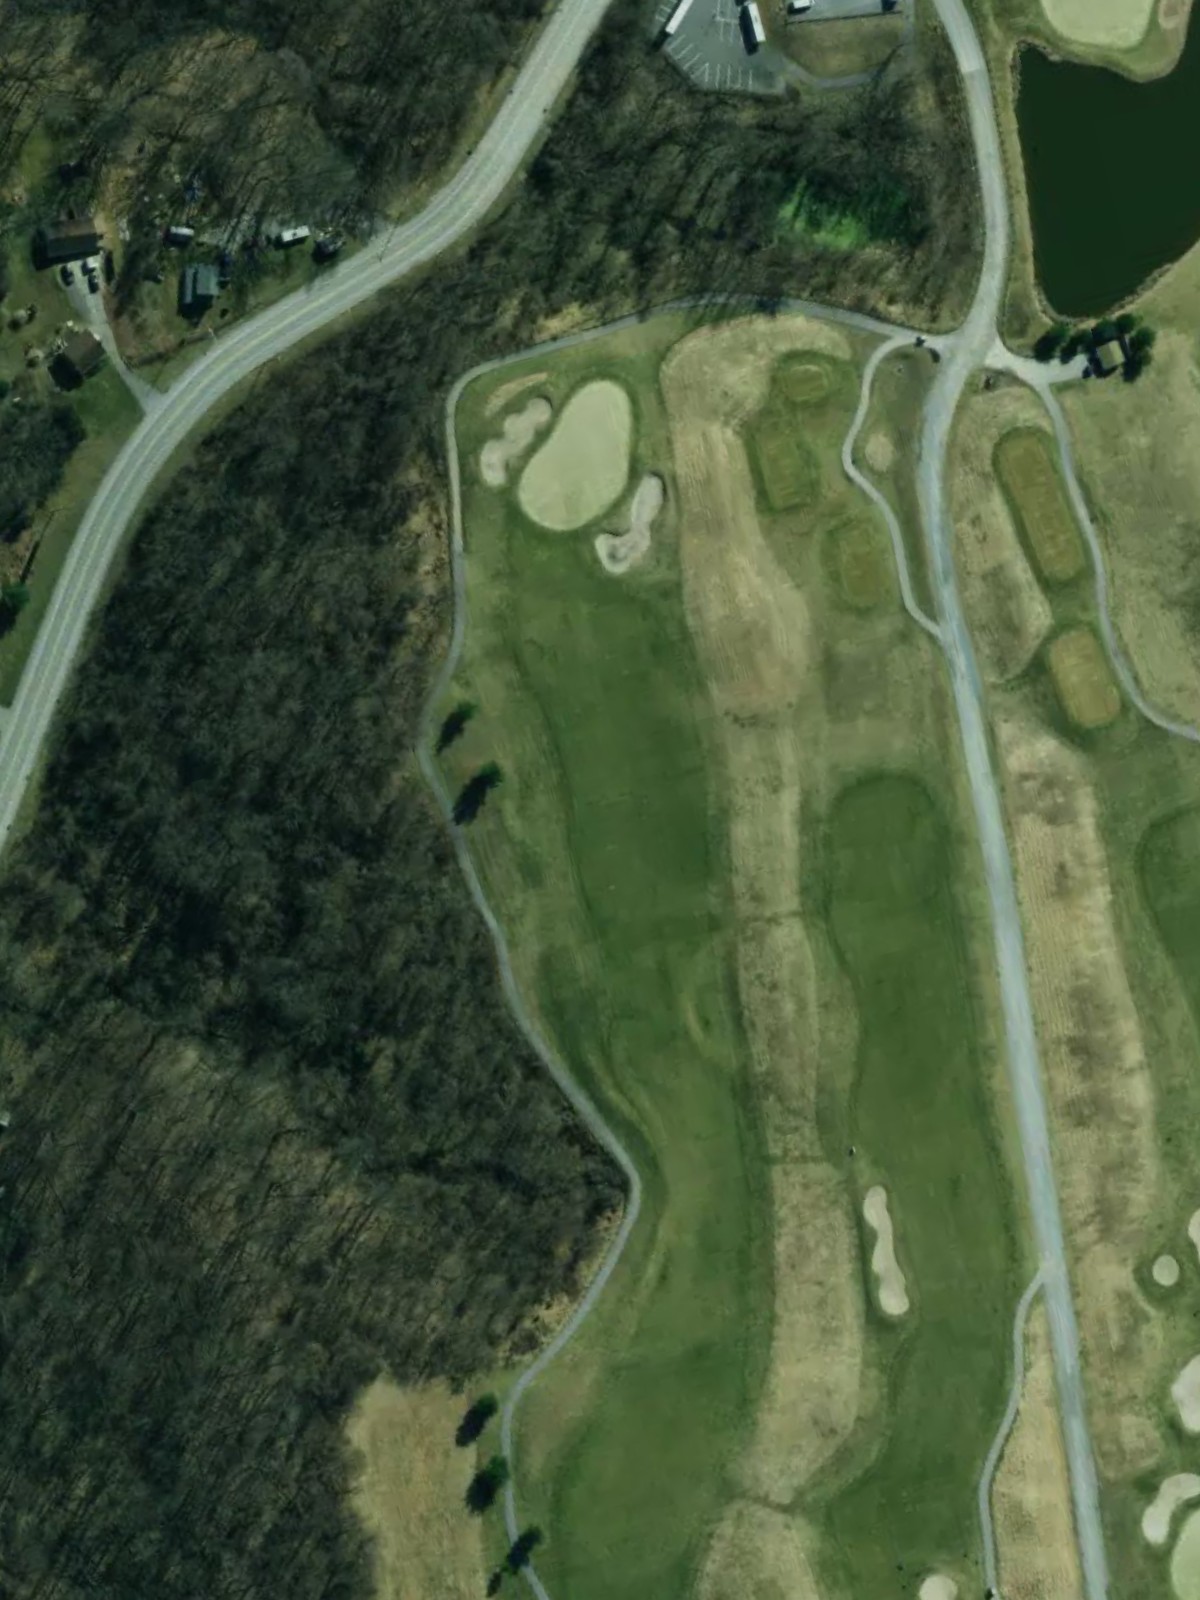
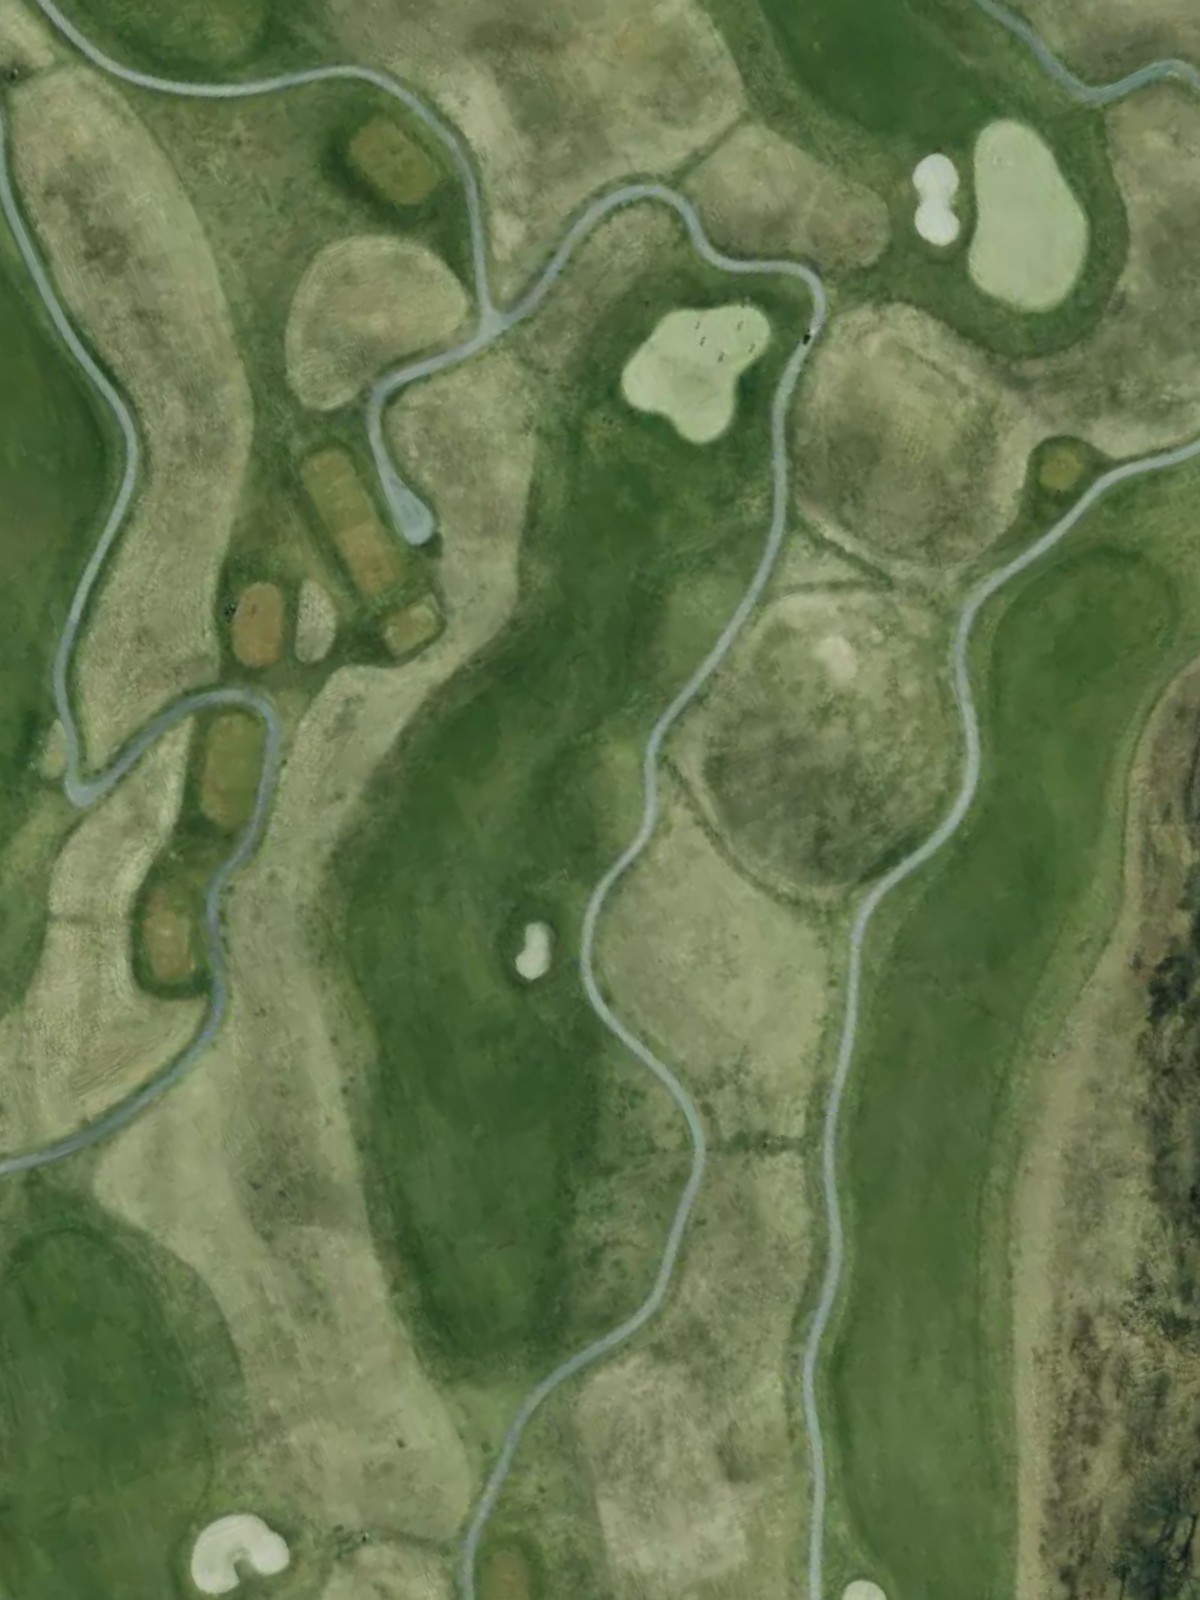
A demanding par 4 with an extended length and strategic fairway design. Hazards position themselves to catch wayward shots, making positioning off the tee essential for a clear second shot to the green.

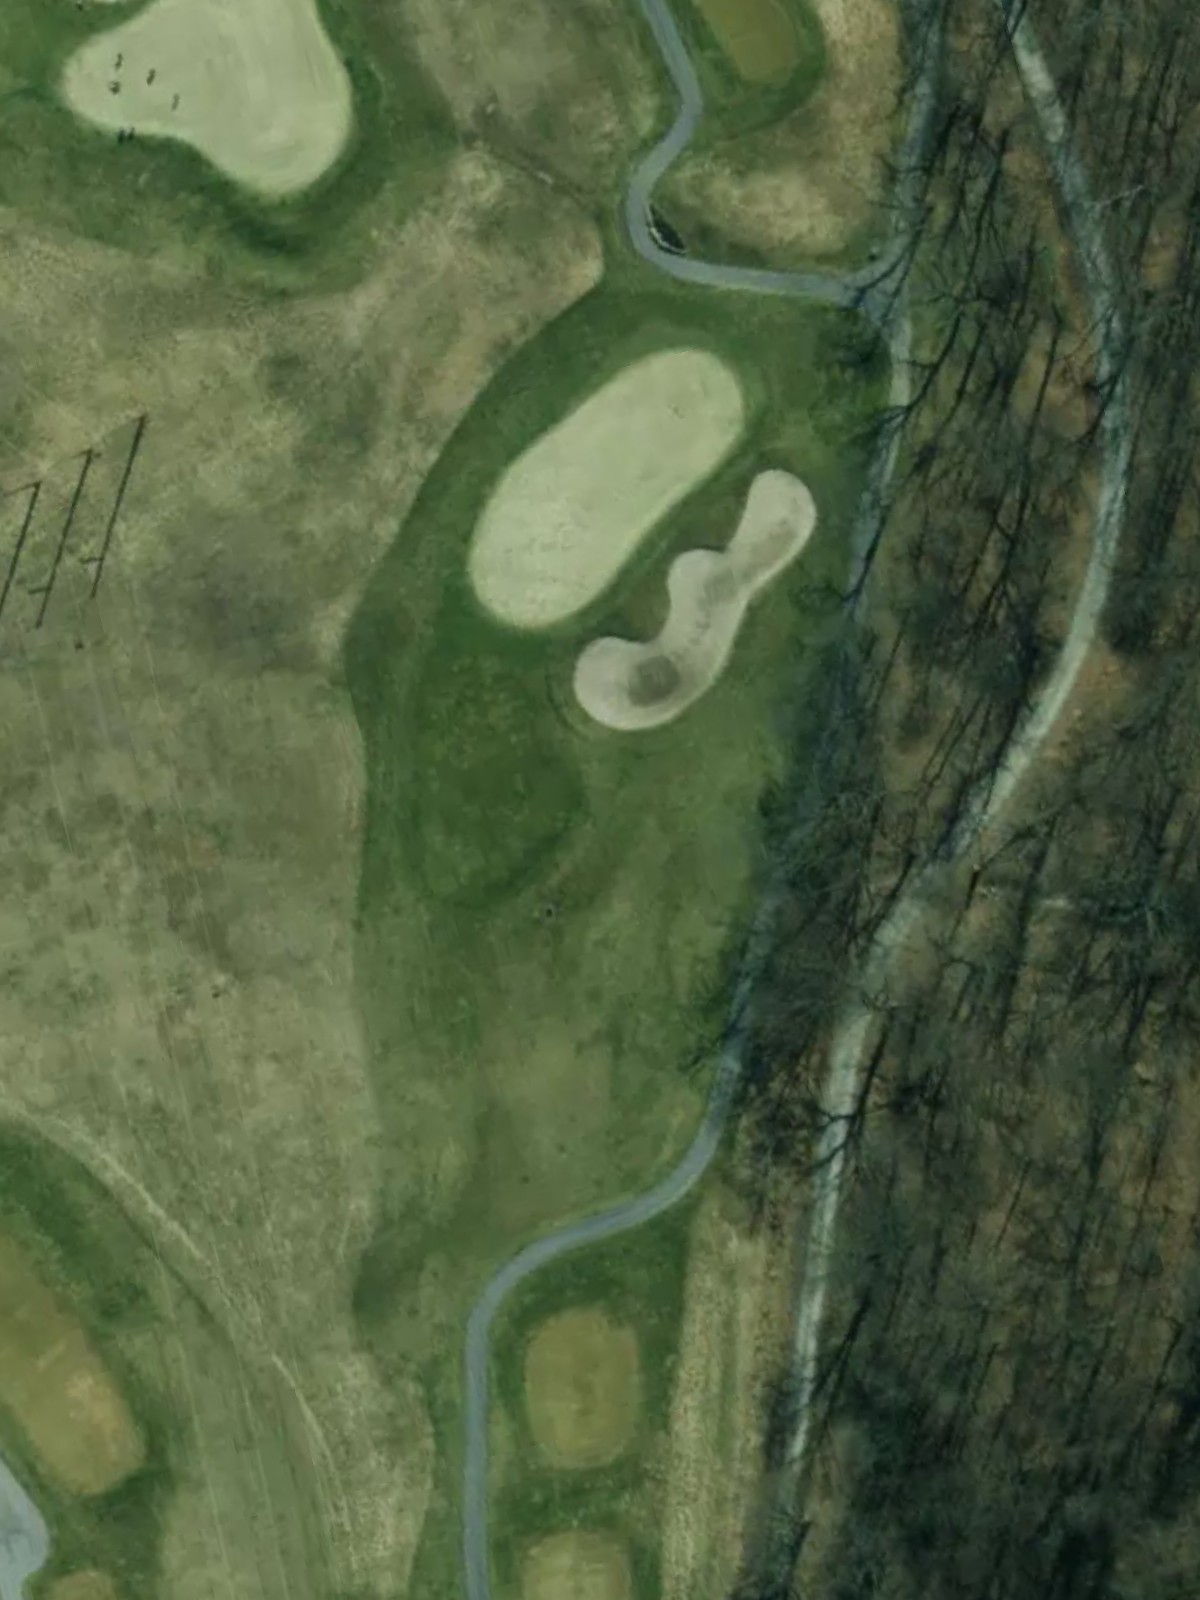
The most difficult hole on the course, this lengthy par 4 presents a severe test of sustained accuracy and distance. Multiple hazards await poor shots, and the green is well-protected, demanding two well-struck blows.
The shortest hole on the course, this par 3 is deceptively simple in appearance but demands a well-executed tee shot. Despite its modest yardage, bunkers and firm greens make precision vital to finding the putting surface.
A manageable par 4 that plays shorter than some of its counterparts, offering birdie opportunities for solid play. The fairway is relatively open, though strategic bunkering frames the approach to the green.
A stern par 4 of considerable length with hazards positioned to penalize both wayward tee shots and approach play. The demanding nature of this hole requires two quality shots to secure par.
A par 5 of moderate length that provides realistic birdie chances for those who can position themselves off the tee. The fairway allows for aggressive play, though hazards lurk to catch poorly-judged second or third shots.
A solid par 4 that opens the back nine with a straightforward but challenging layout. Fairway positioning is important to set up a manageable approach to the green, where defenses require accuracy.
A short par 3 that ranks among the course's easier holes but still demands a confident tee shot to the target. The manageable yardage belies the importance of finding the green in regulation.
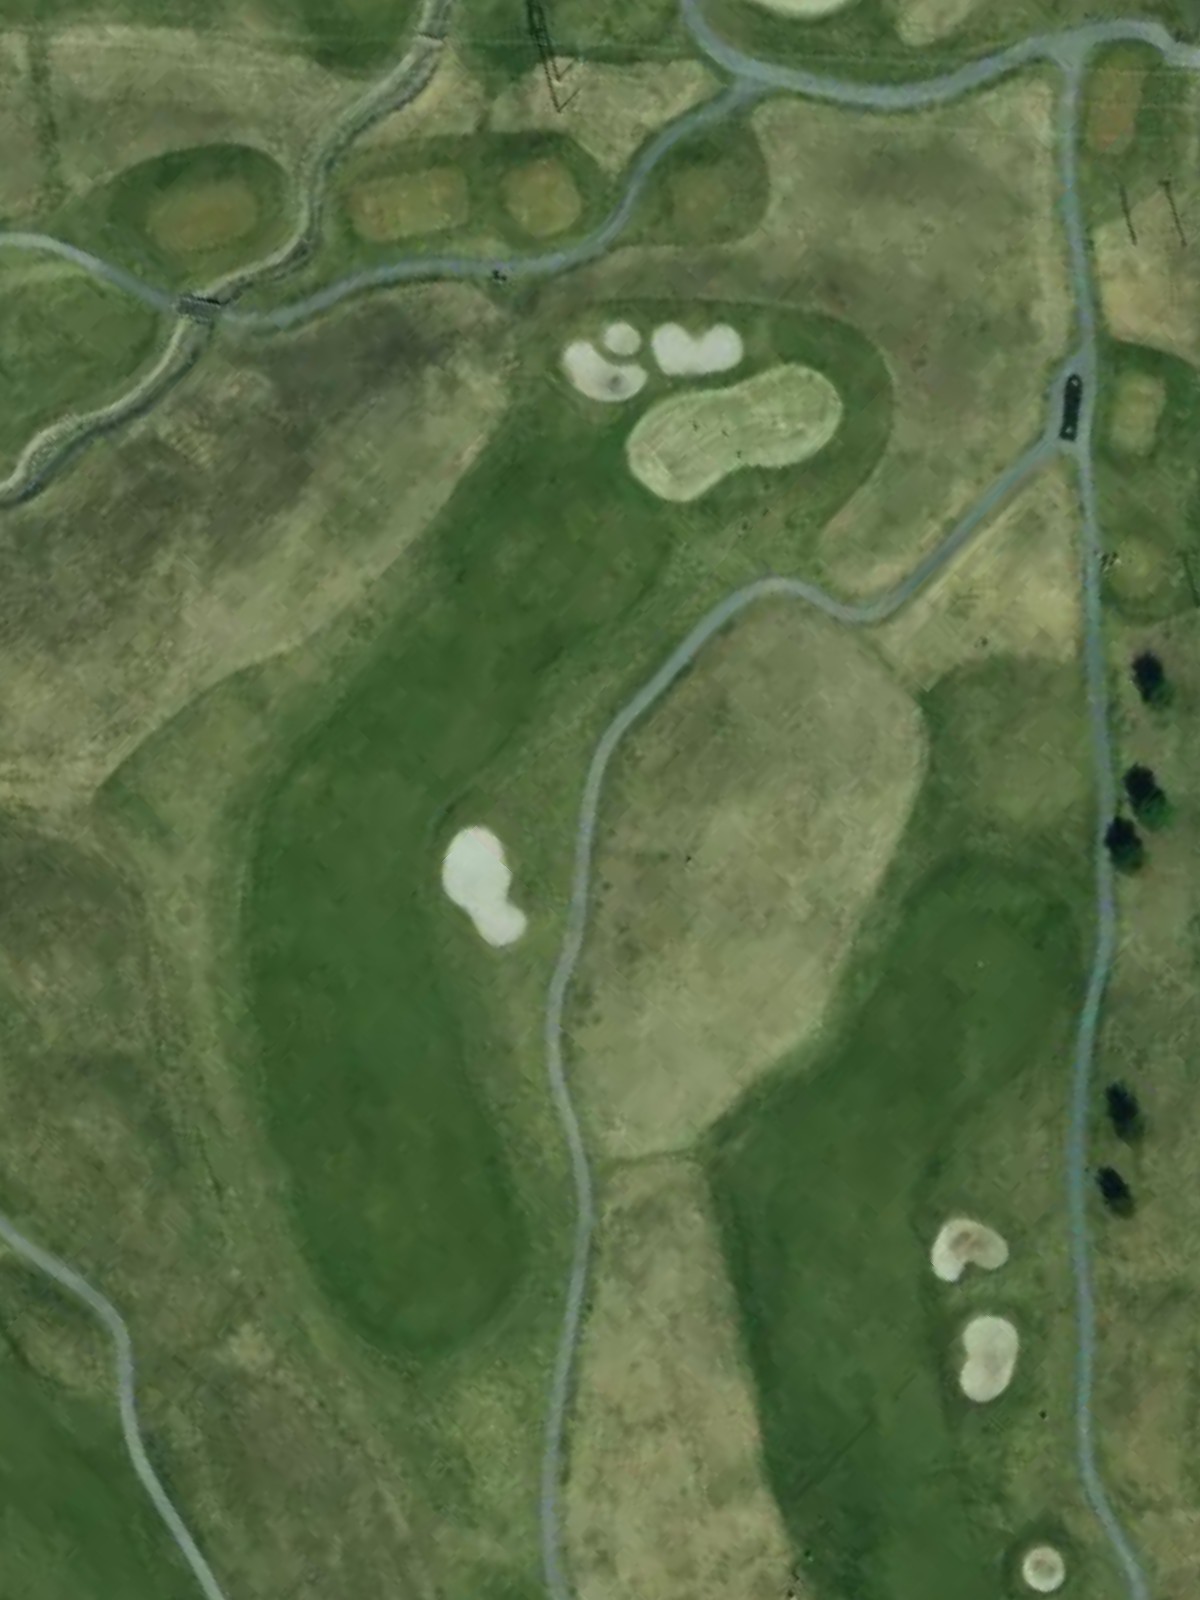
A substantial par 5 that stands as one of the course's most demanding holes, requiring sustained excellence over three shots. The length and layout reward bold play from those who can execute it, while penalizing indecision.
A concise par 4 that offers scoring potential for accurate tee and approach play. The shorter length does not diminish the requirement for precision, as the green is carefully defended.
A challenging par 4 of above-average length that demands solid execution from tee to green. Strategic hazard placement throughout the hole requires thoughtful decision-making and well-struck shots.
A formidable par 3 that ranks among the course's most difficult one-shot holes, requiring both length and accuracy. The green's defenses make this a true examination of tee-shot skill and course management.
A strong par 5 that tests players with its length and strategic layout, offering birdie opportunities for those who execute well off the tee. The fairway opens up attacking possibilities, though hazards guard any poorly-considered approach.
The course's most difficult hole, this lengthy par 4 demands excellence on both shots to find success. Every aspect of the hole—length, hazards, and green complexity—conspires to make this a severe examination.
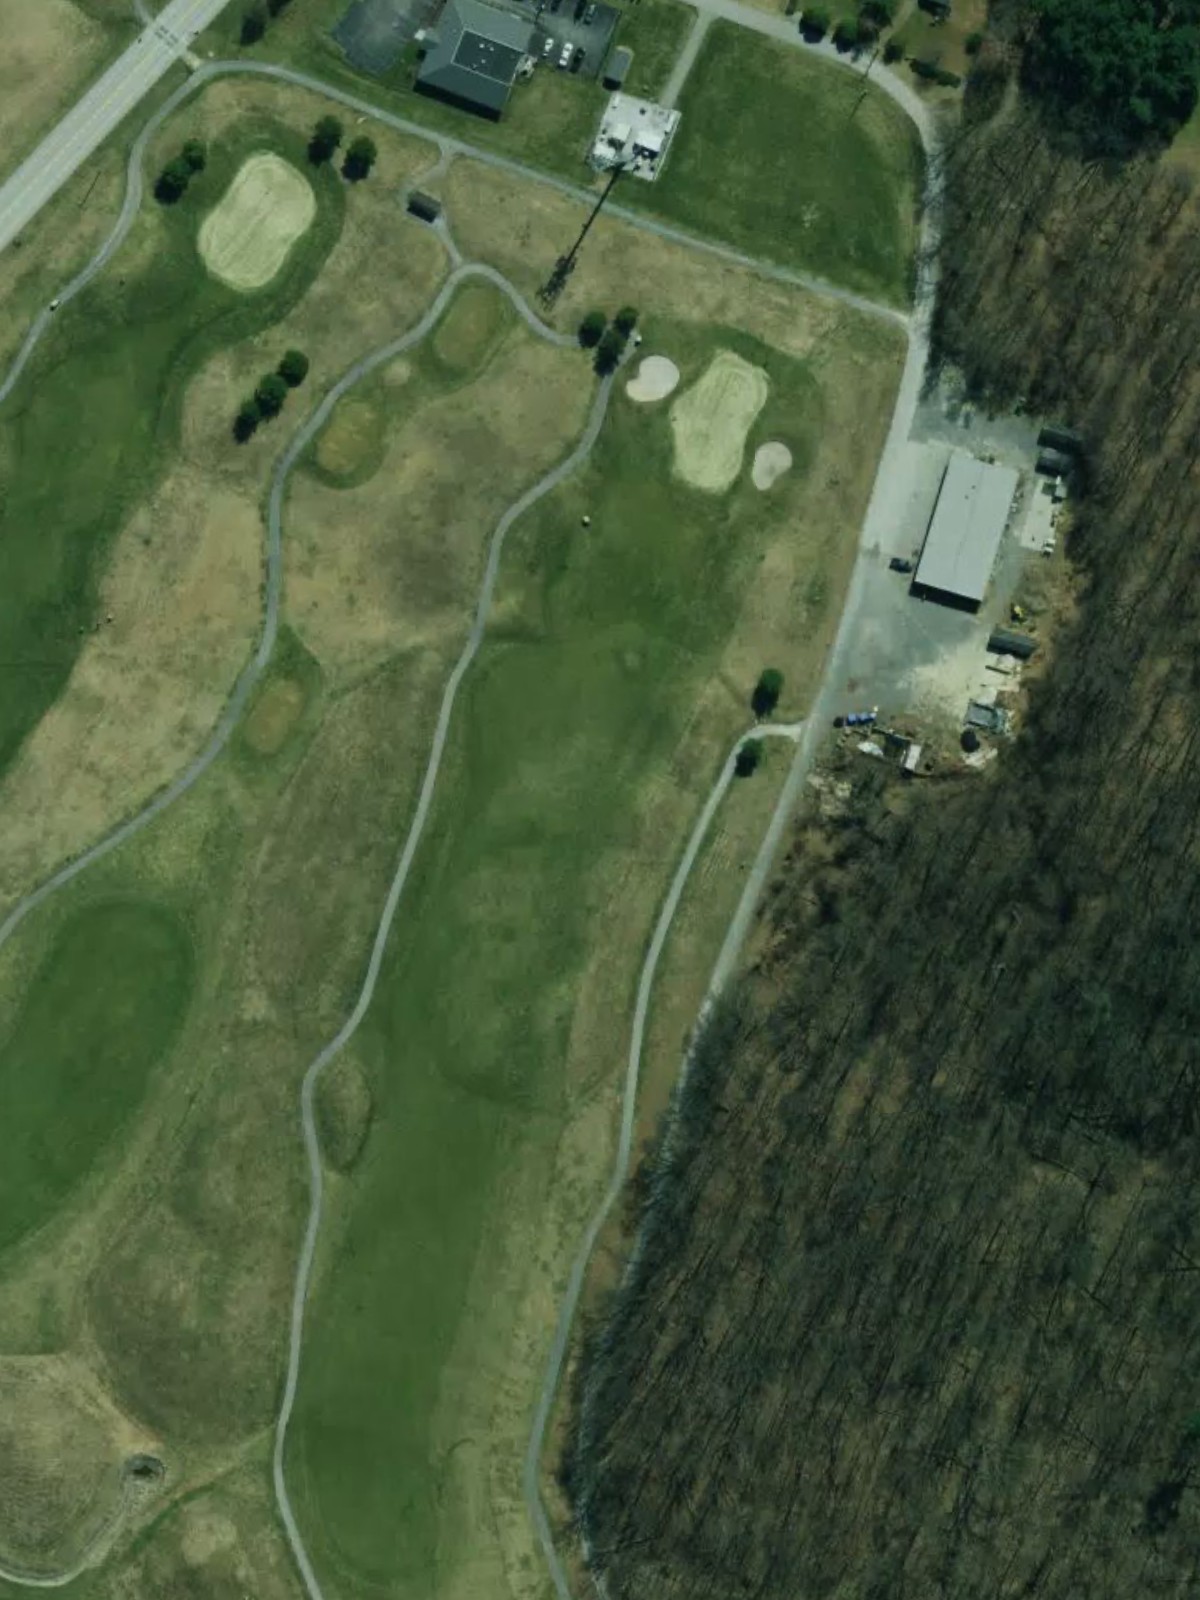
A strong finishing par 4 that challenges players to close out their round with a solid performance. Strategic positioning is required throughout, and the green's final defense makes this a fitting conclusion to the course.
Scorecard
| Hole | 1 | 2 | 3 | 4 | 5 | 6 | 7 | 8 | 9 | Out | 10 | 11 | 12 | 13 | 14 | 15 | 16 | 17 | 18 | In | Tot |
|---|---|---|---|---|---|---|---|---|---|---|---|---|---|---|---|---|---|---|---|---|---|
| Par | 4 | 3 | 5 | 4 | 4 | 3 | 4 | 4 | 5 | 36 | 4 | 3 | 5 | 4 | 4 | 3 | 5 | 4 | 4 | 36 | 72 |
| HCP | 12 | 8 | 4 | 10 | 2 | 18 | 16 | 6 | 14 | 15 | 17 | 5 | 11 | 13 | 3 | 7 | 1 | 9 | |||
| tournament | 393 | 203 | 590 | 410 | 430 | 164 | 380 | 416 | 495 | 3481 | 394 | 182 | 572 | 350 | 423 | 196 | 518 | 462 | 433 | 3530 | 7011 |
| blue | 393 | 178 | 590 | 410 | 430 | 164 | 380 | 416 | 495 | 3456 | 394 | 182 | 572 | 350 | 423 | 196 | 518 | 437 | 433 | 3505 | 6961 |
| hybrid bl / wh | 393 | 178 | 526 | 410 | 370 | 164 | 380 | 394 | 495 | 3310 | 394 | 149 | 540 | 350 | 382 | 177 | 518 | 391 | 433 | 3334 | 6644 |
| white | 358 | 147 | 526 | 372 | 370 | 130 | 348 | 394 | 460 | 3105 | 374 | 149 | 540 | 333 | 382 | 177 | 470 | 391 | 421 | 3237 | 6342 |
| gold | 318 | 119 | 461 | 278 | 335 | 115 | 331 | 352 | 420 | 2729 | 345 | 130 | 455 | 293 | 340 | 138 | 450 | 334 | 341 | 2826 | 5555 |