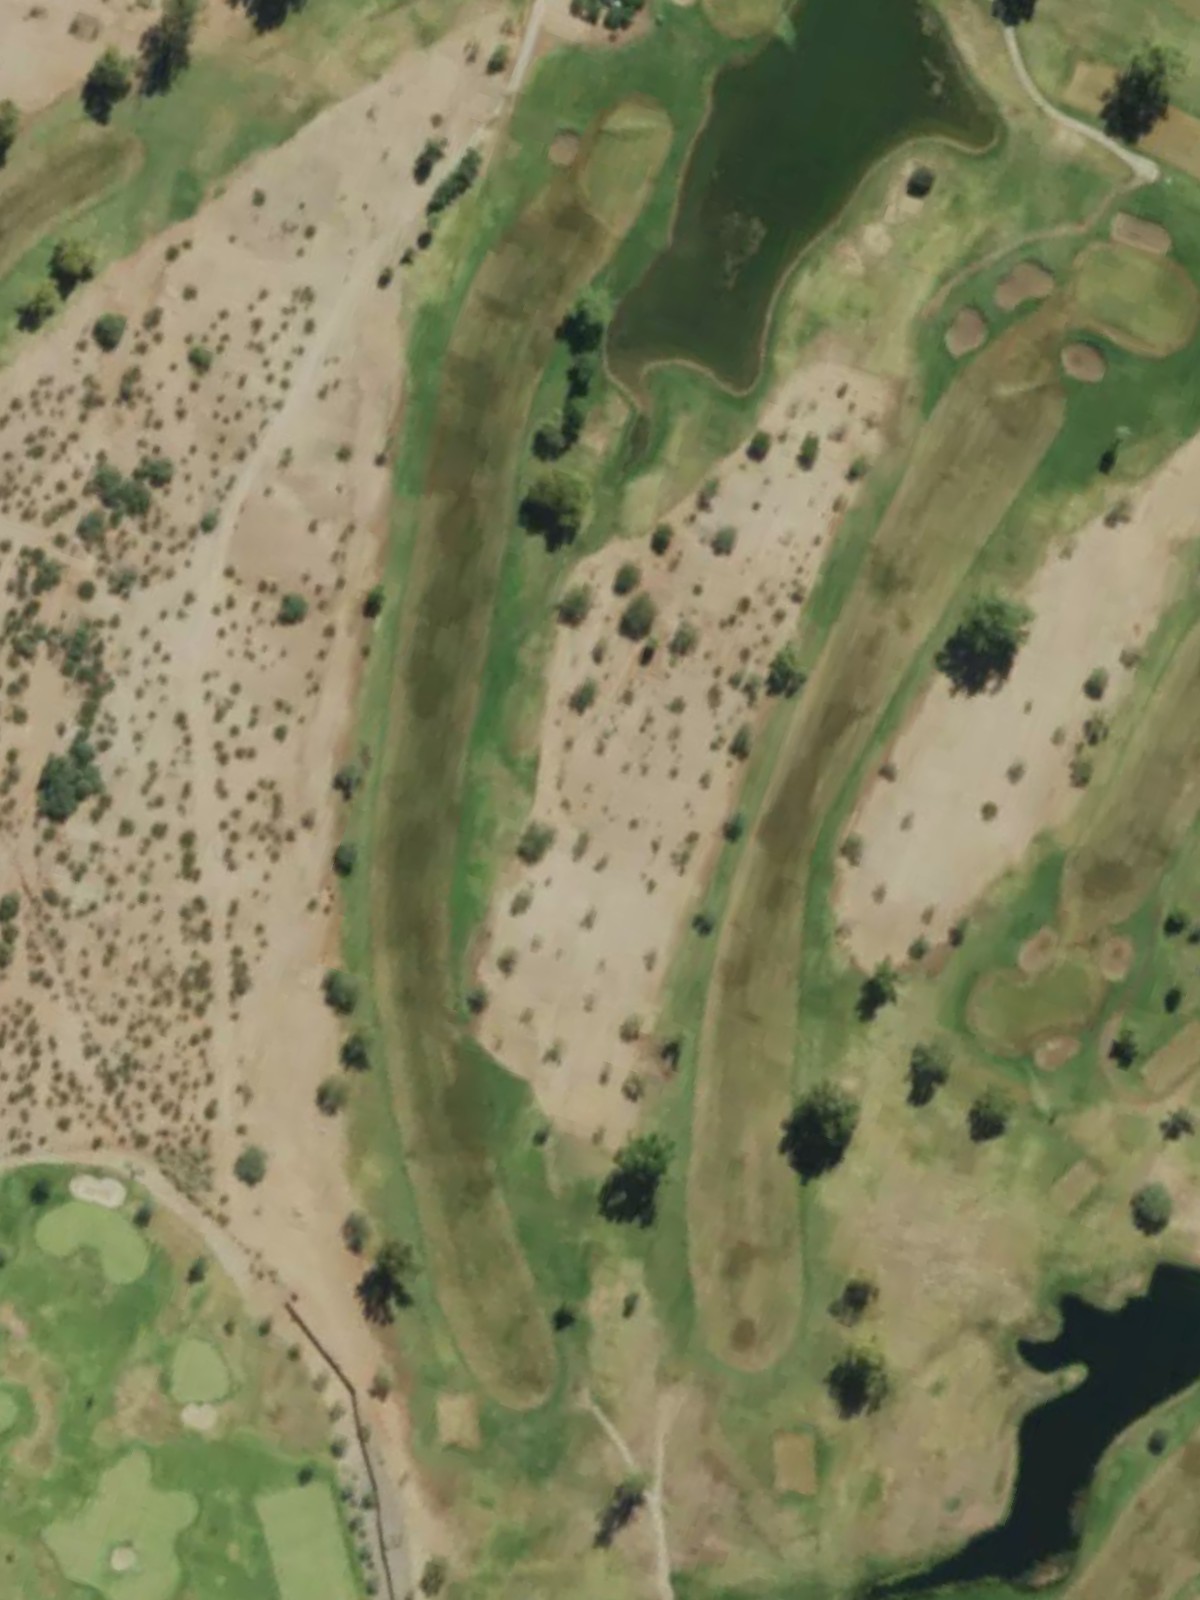
Rolling Hills- Tempe is an 18-hole golf course in Tempe, AZ with a par of 62. It offers 3 tee sets: blue (3,859 yards, slope 92, rating 59.2), white (3,413 yards, slope 85, rating 57.6), red (3,198 yards, slope 77, rating 55.6). The hardest hole is #18, a par 4 playing 294 yards from the first tee.
Rolling Hills- Tempe
Tempe, AZ
Get PDF Yardage Book
We'll email you the PDF link. No spam, ever.
Create Your Game Plan
Pick your tees, enter your bag, and get a personalized shot-by-shot strategy for every hole.
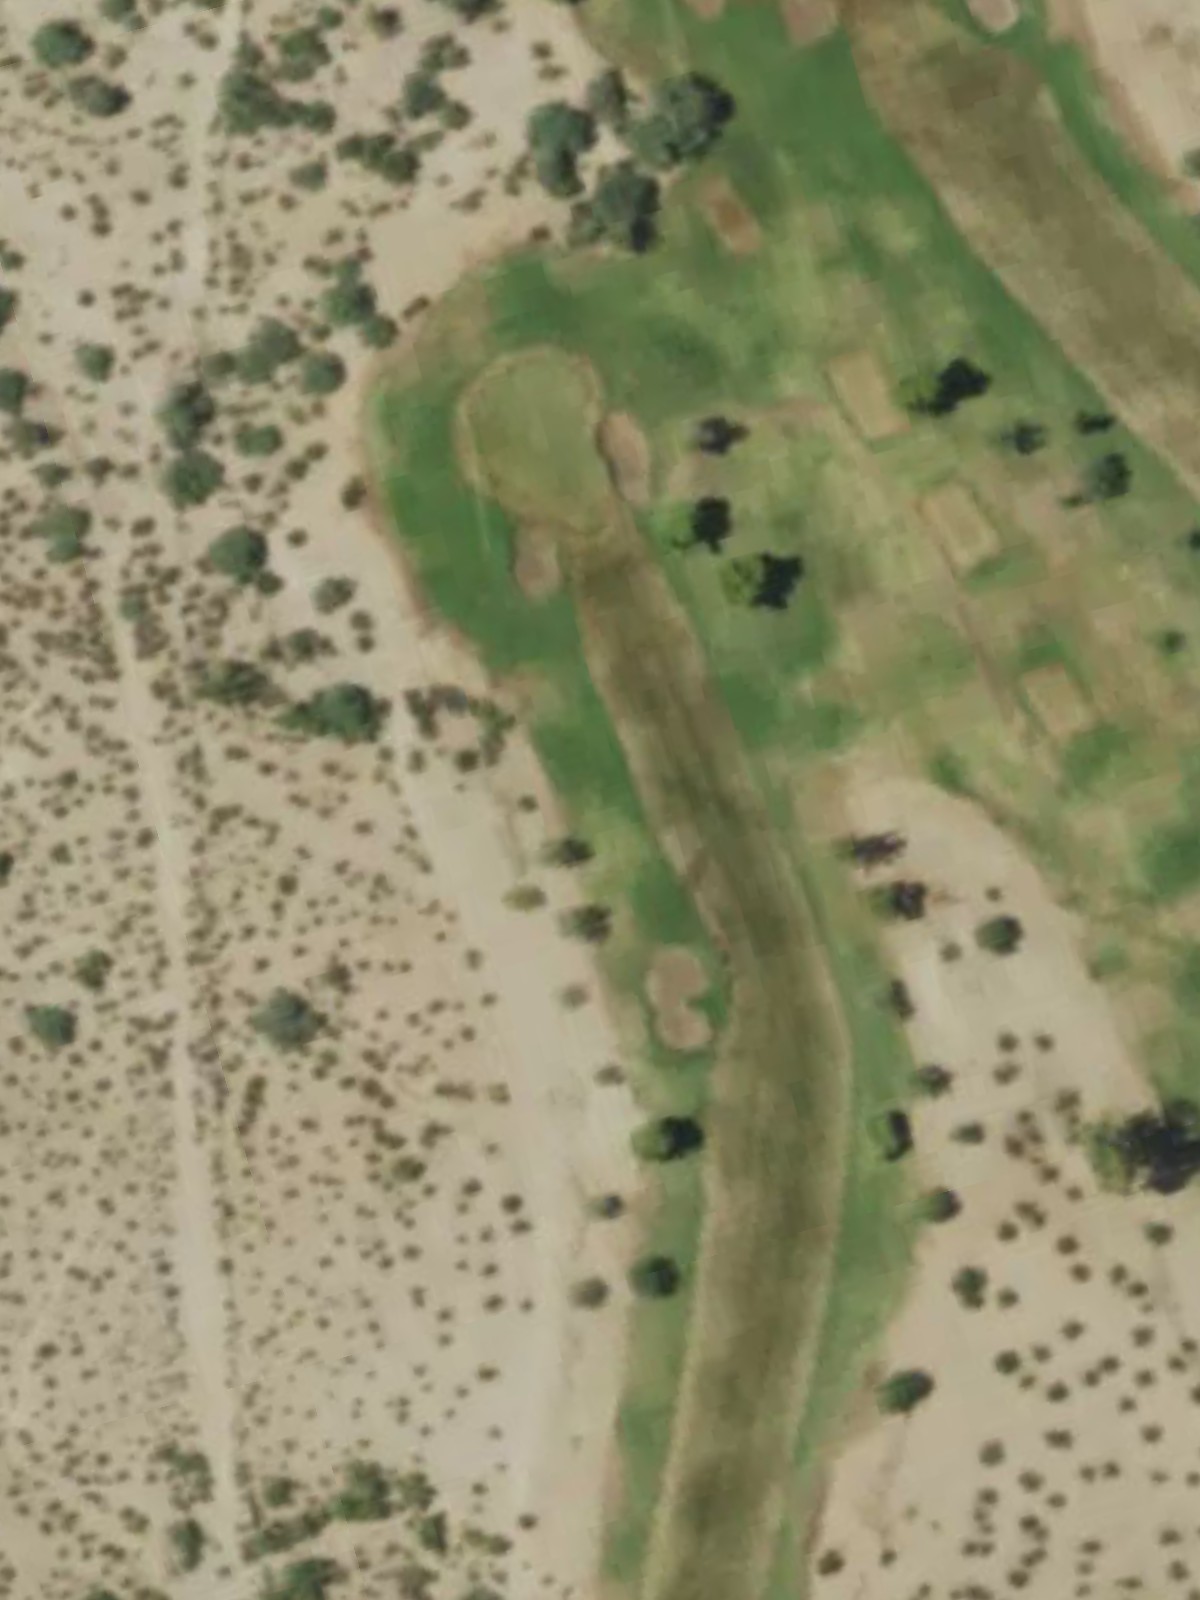
A straightforward par 4 with a welcoming fairway that gradually narrows as it approaches the green. Bunkers frame the right side of the green, demanding accuracy on the approach shot.
A short par 3 playing to a well-bunkered green surrounded by sand on both sides. The compact nature of this hole makes proper distance control essential.
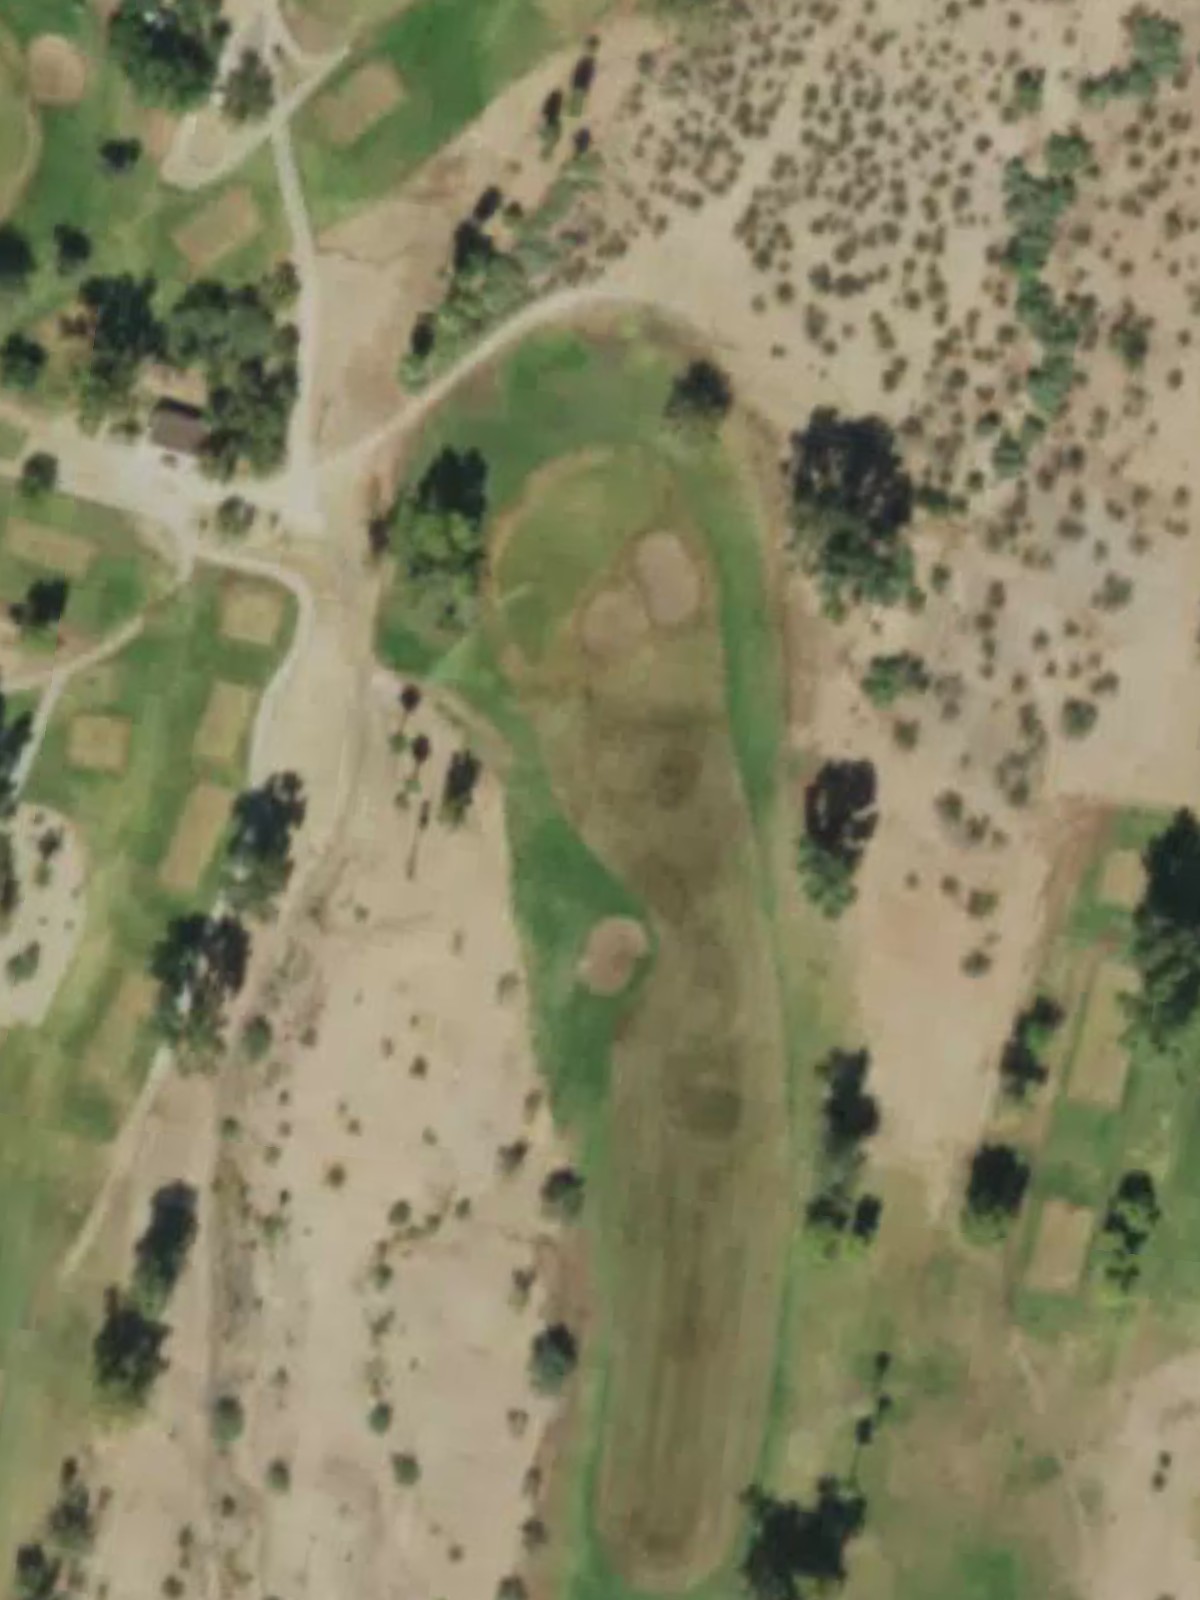
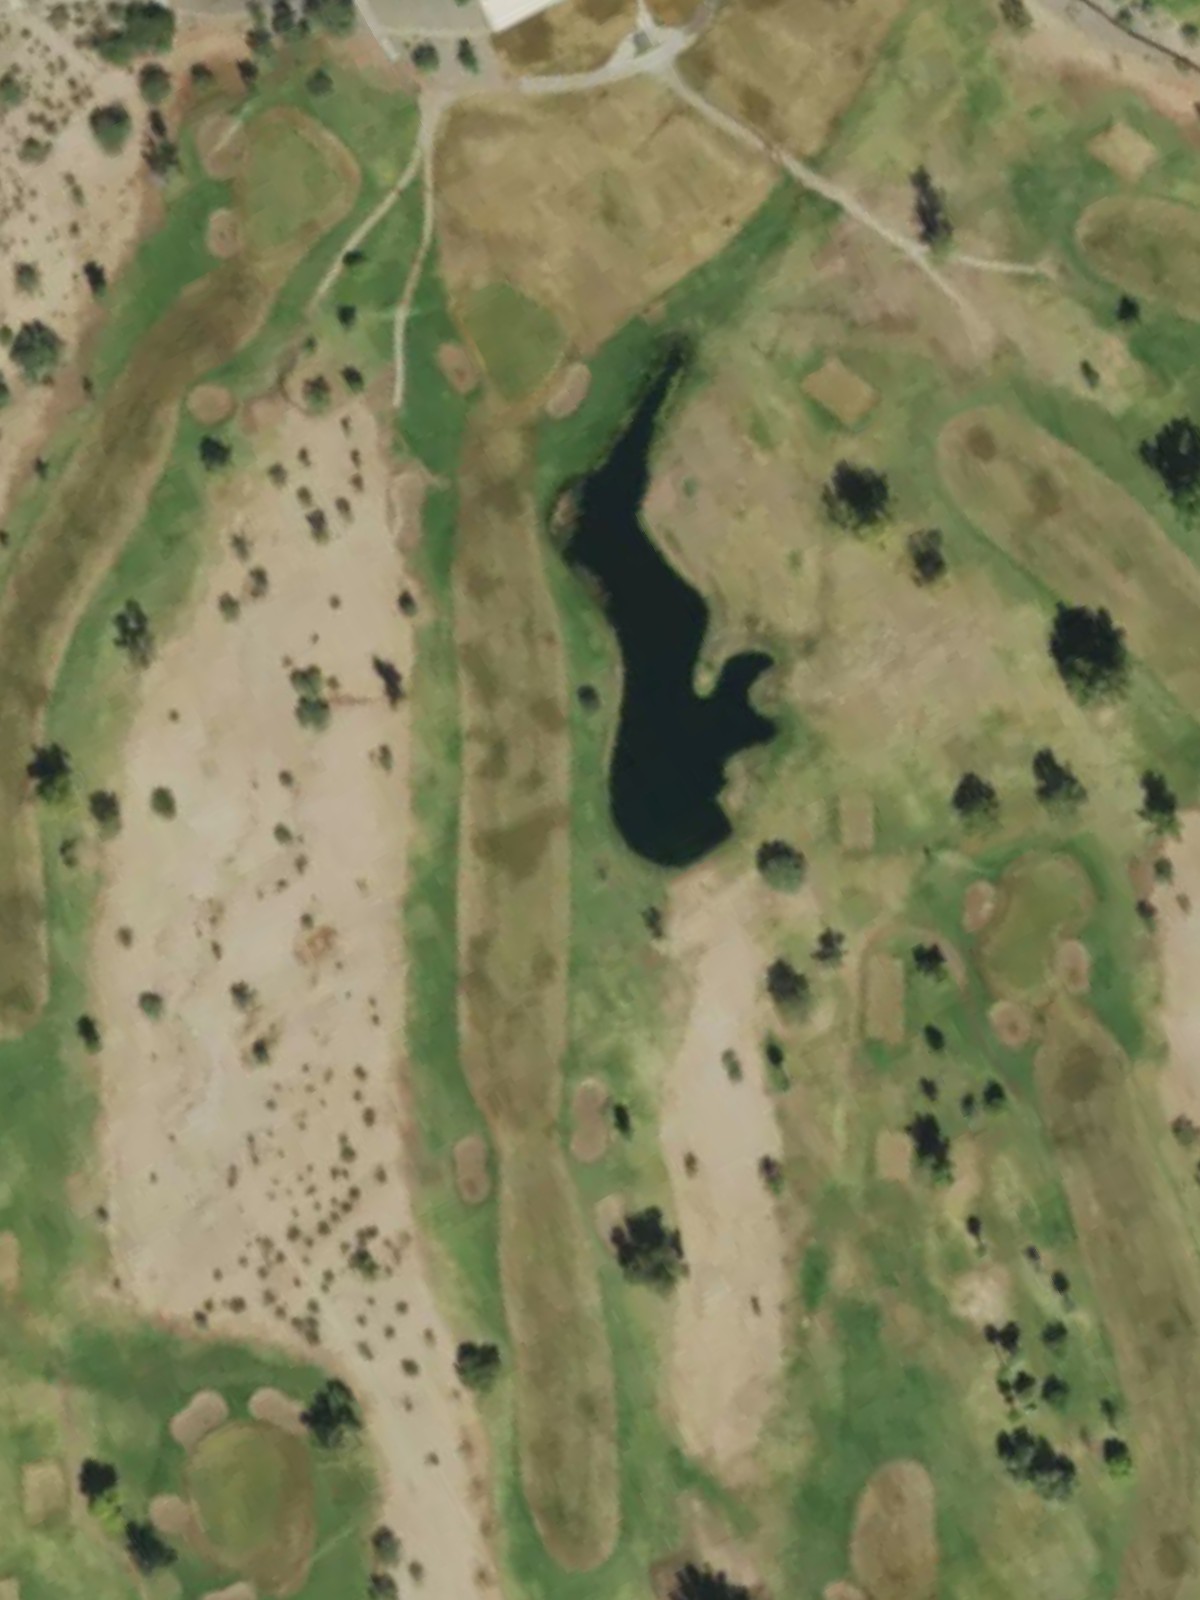
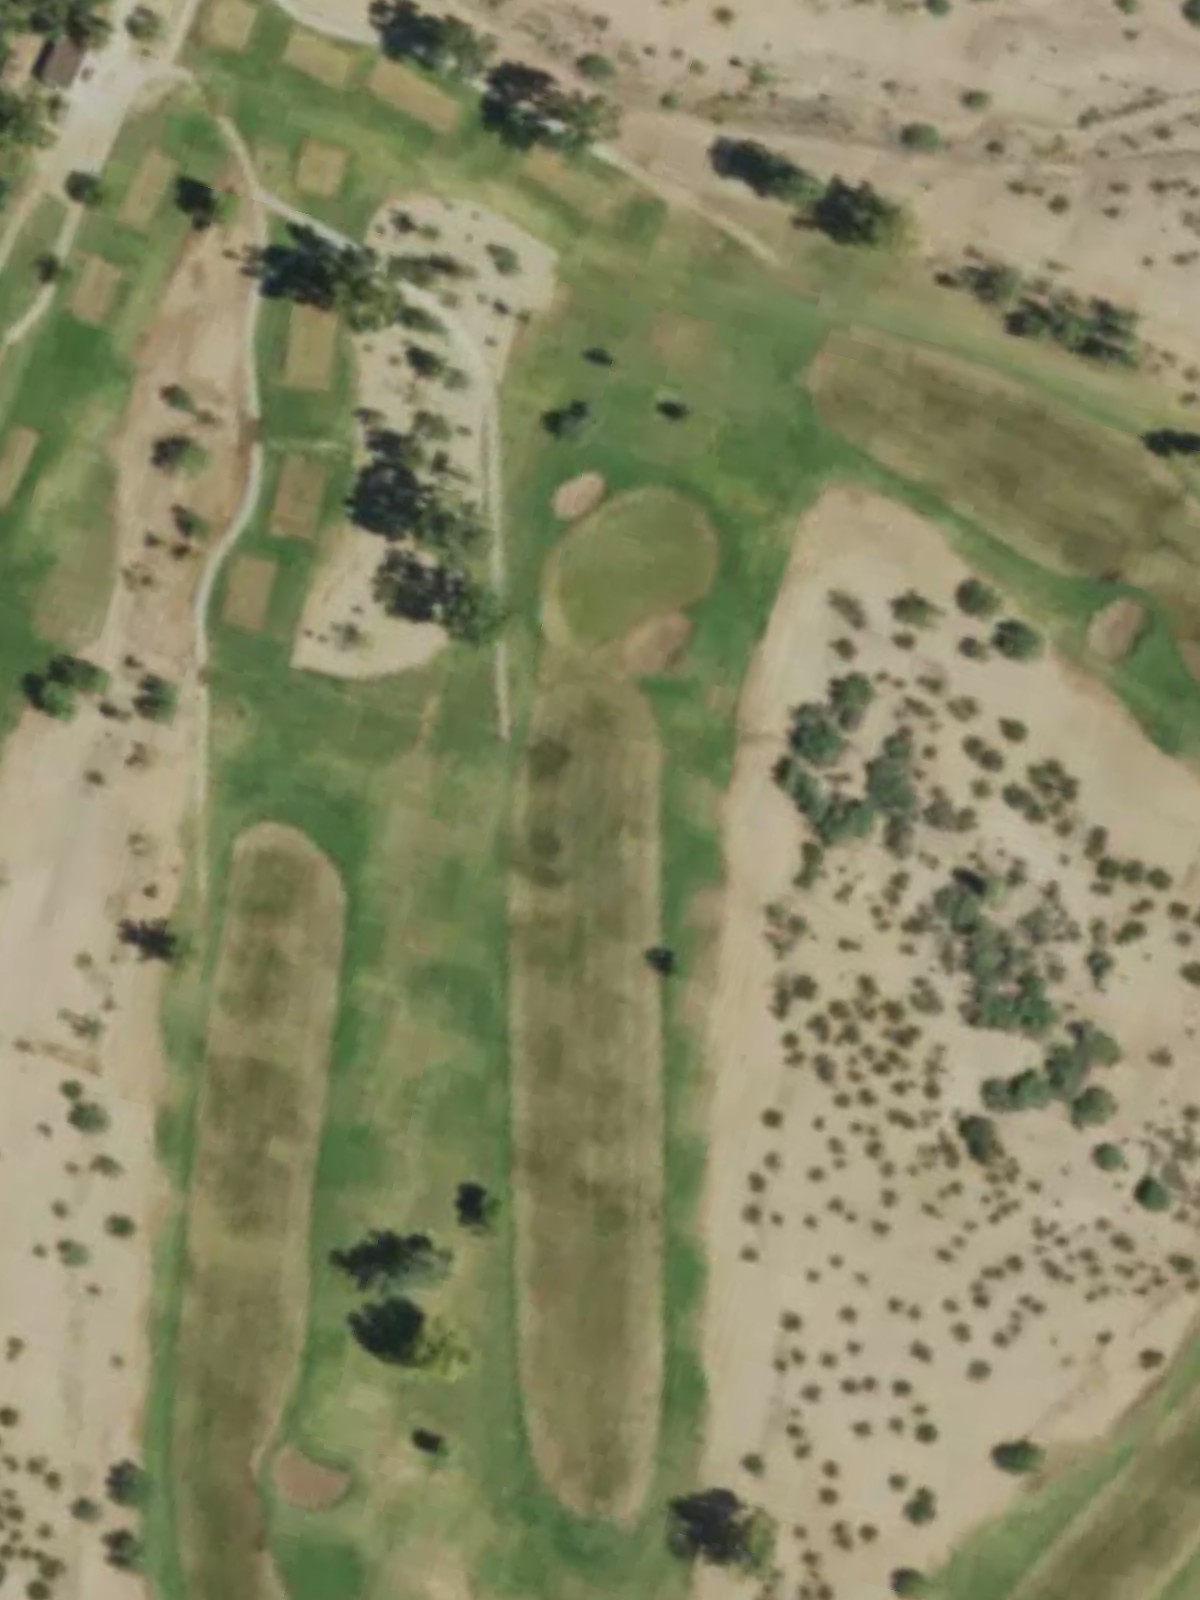
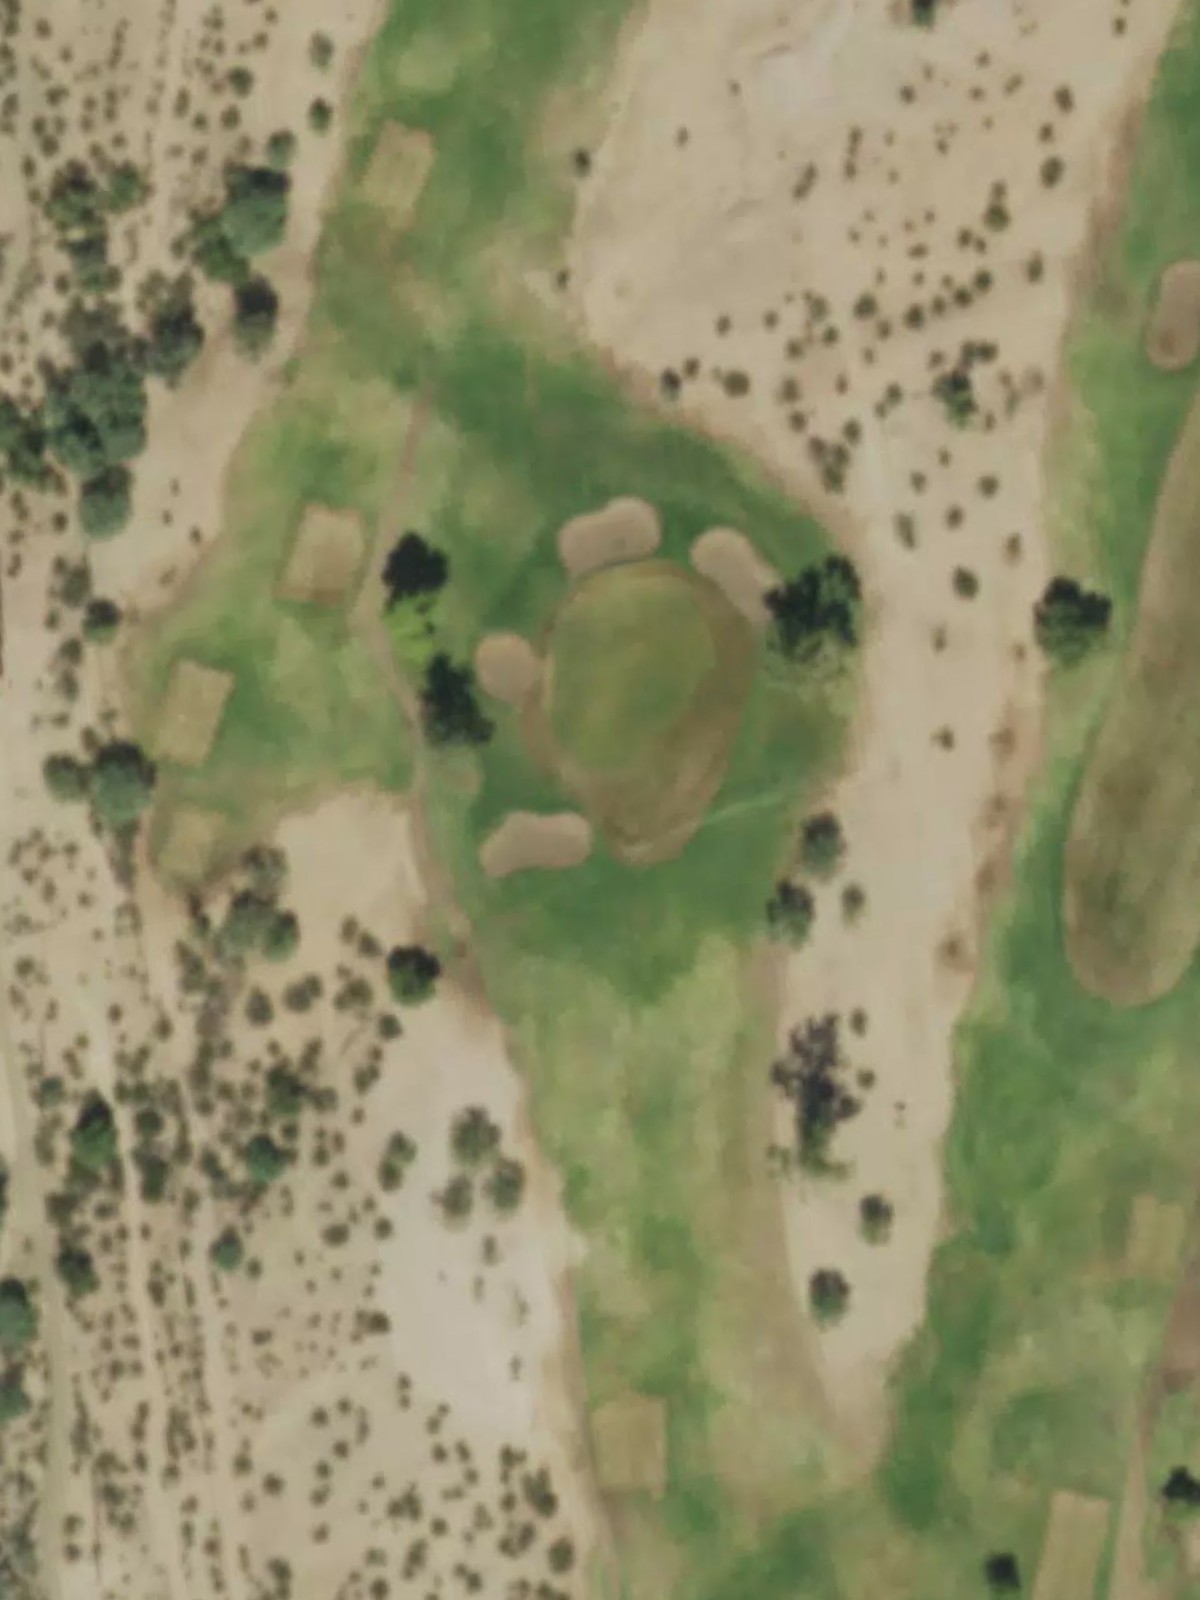
The course's most difficult hole, a muscular par 4 with a fairway that tightens significantly around 250 yards. Water hazards and bunkers pinch the landing area, making this a stern test off the tee and into the green.
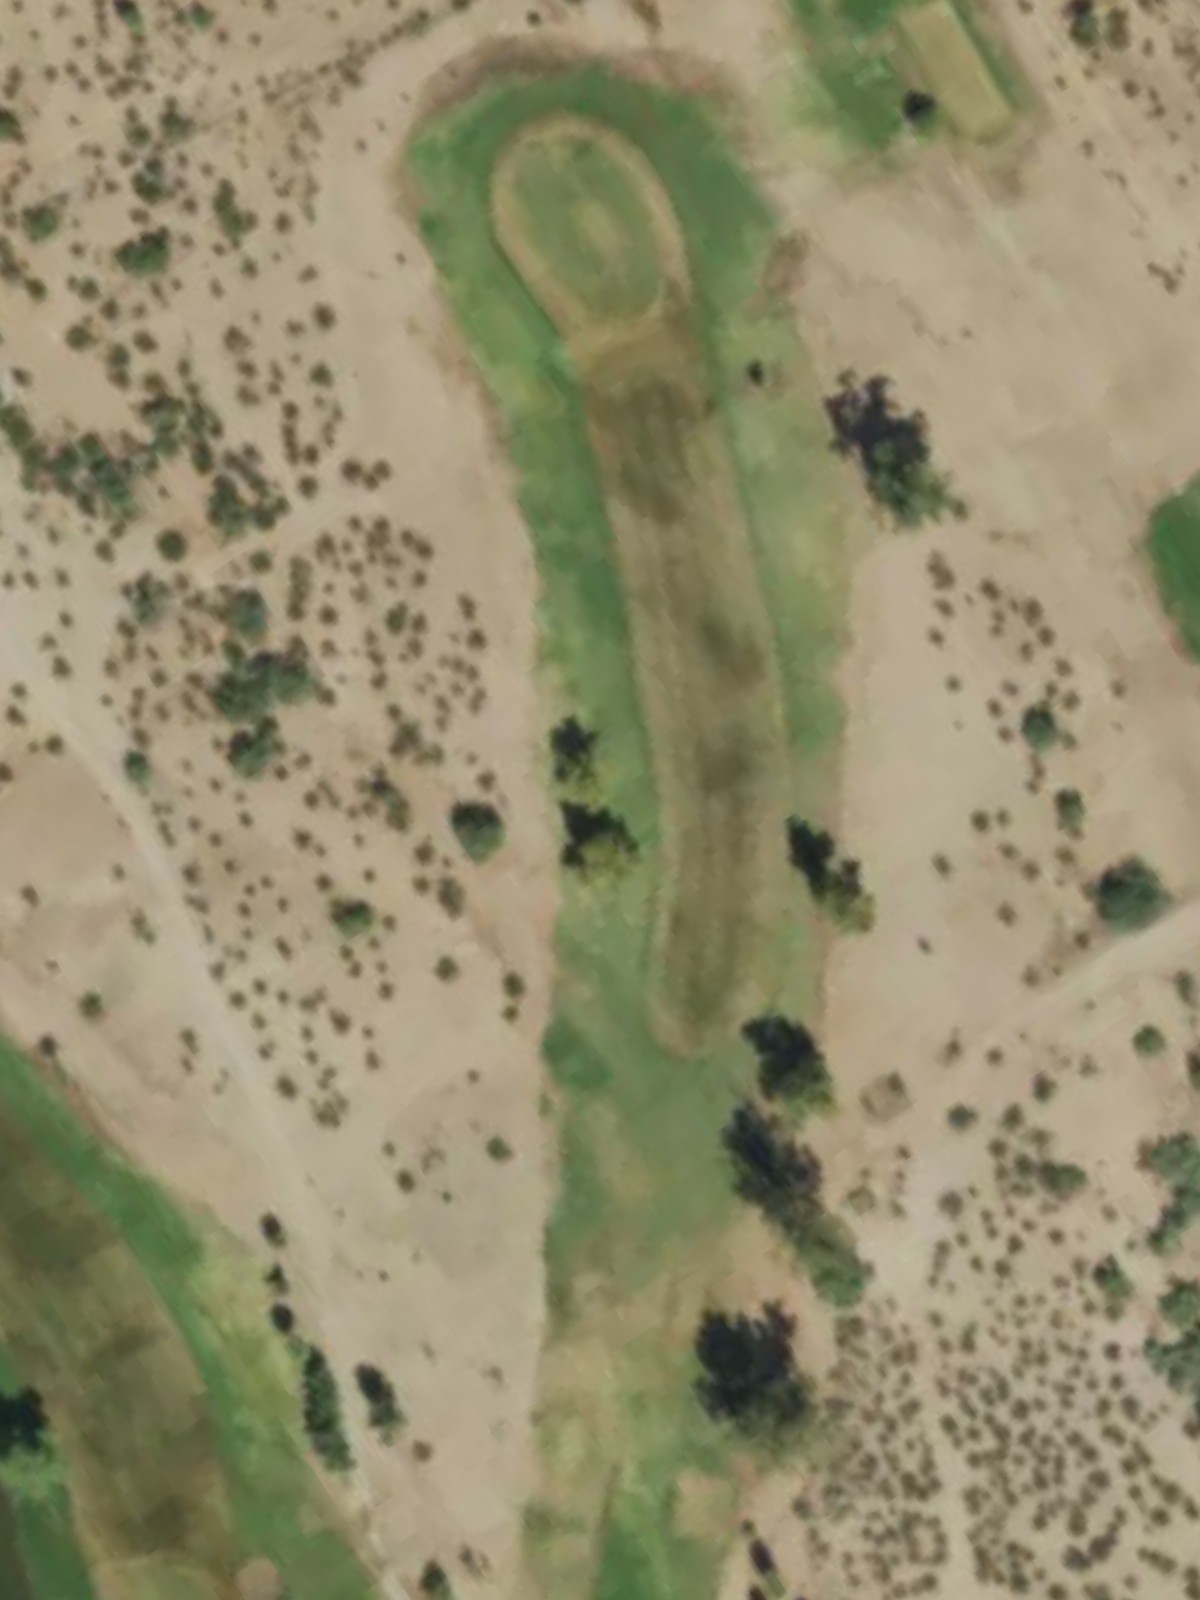
A diminutive par 3 with minimal rough and a small, well-protected green. The brevity of this hole is deceptive—precision is rewarded more than distance.
A short par 3 with an open approach to a modestly sized green surrounded by light bunkering. This manageable one-shotter provides a scoring opportunity in the early par-3 rotation.
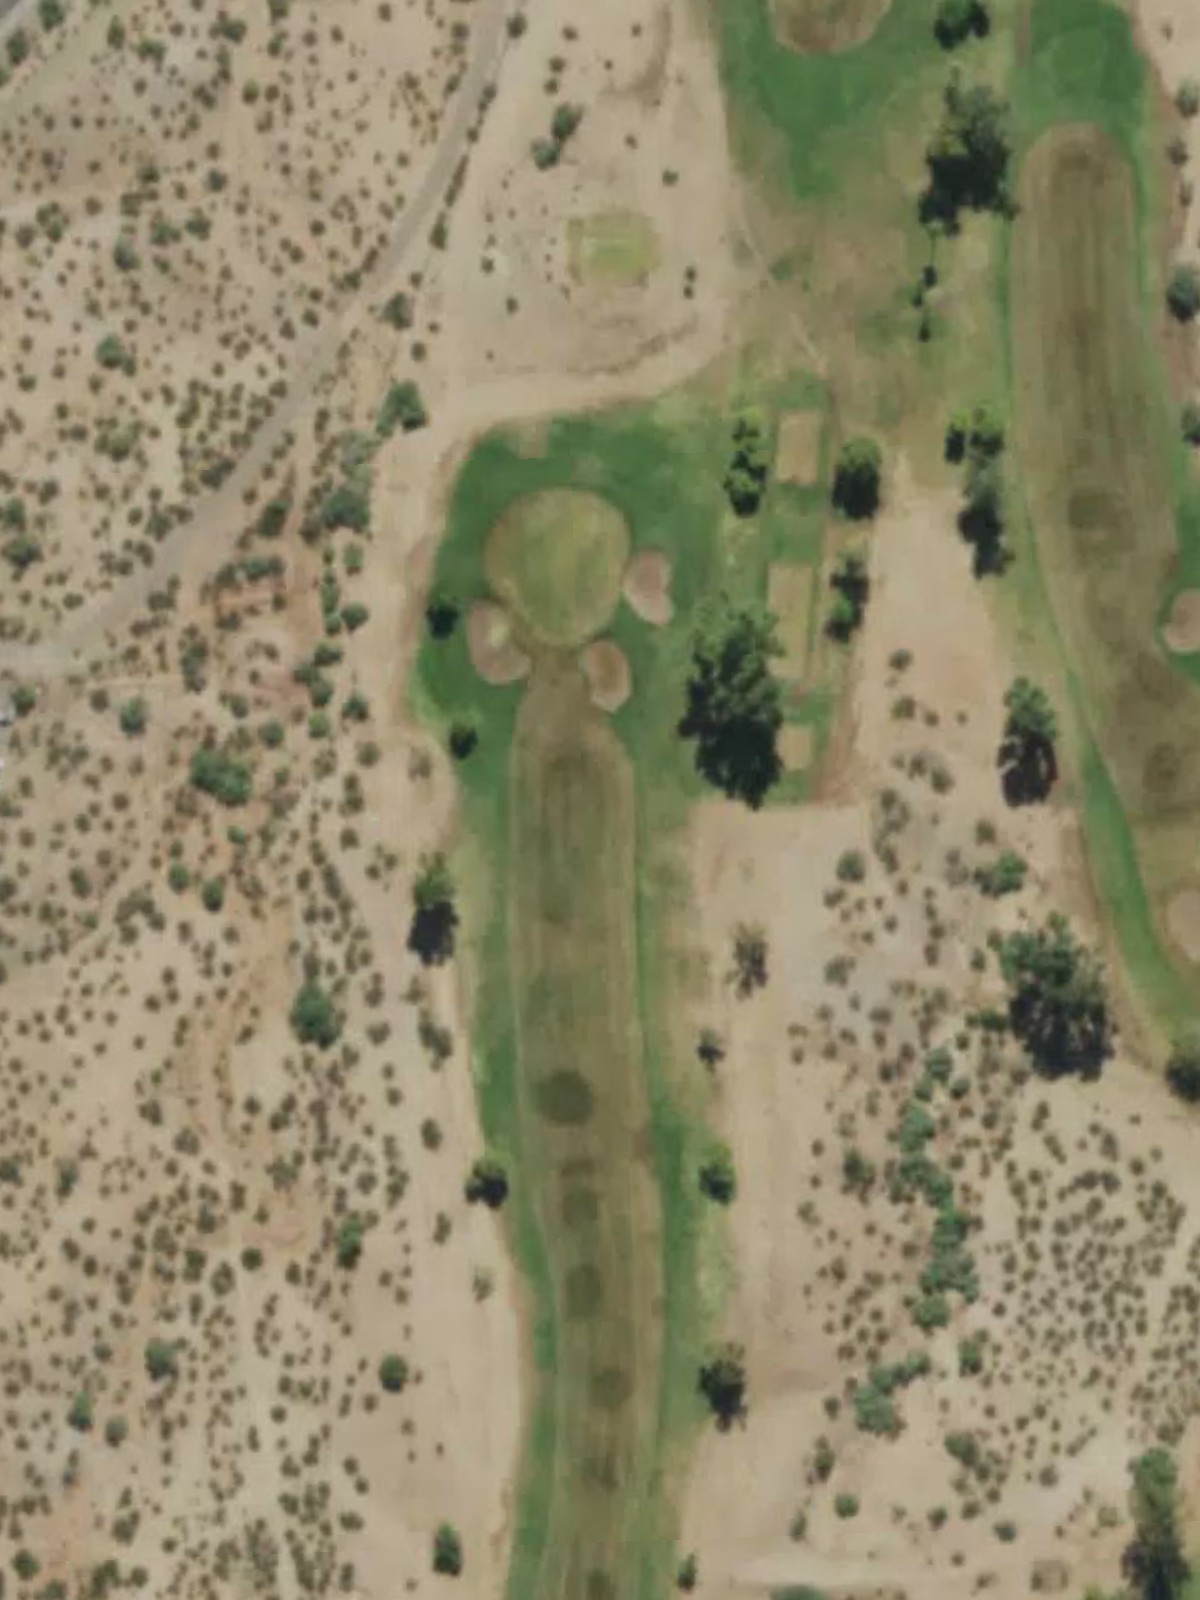
A modest par 3 with a narrow green guarded by bunkers on both sides. The compact target area makes club selection and accuracy paramount despite the short yardage.
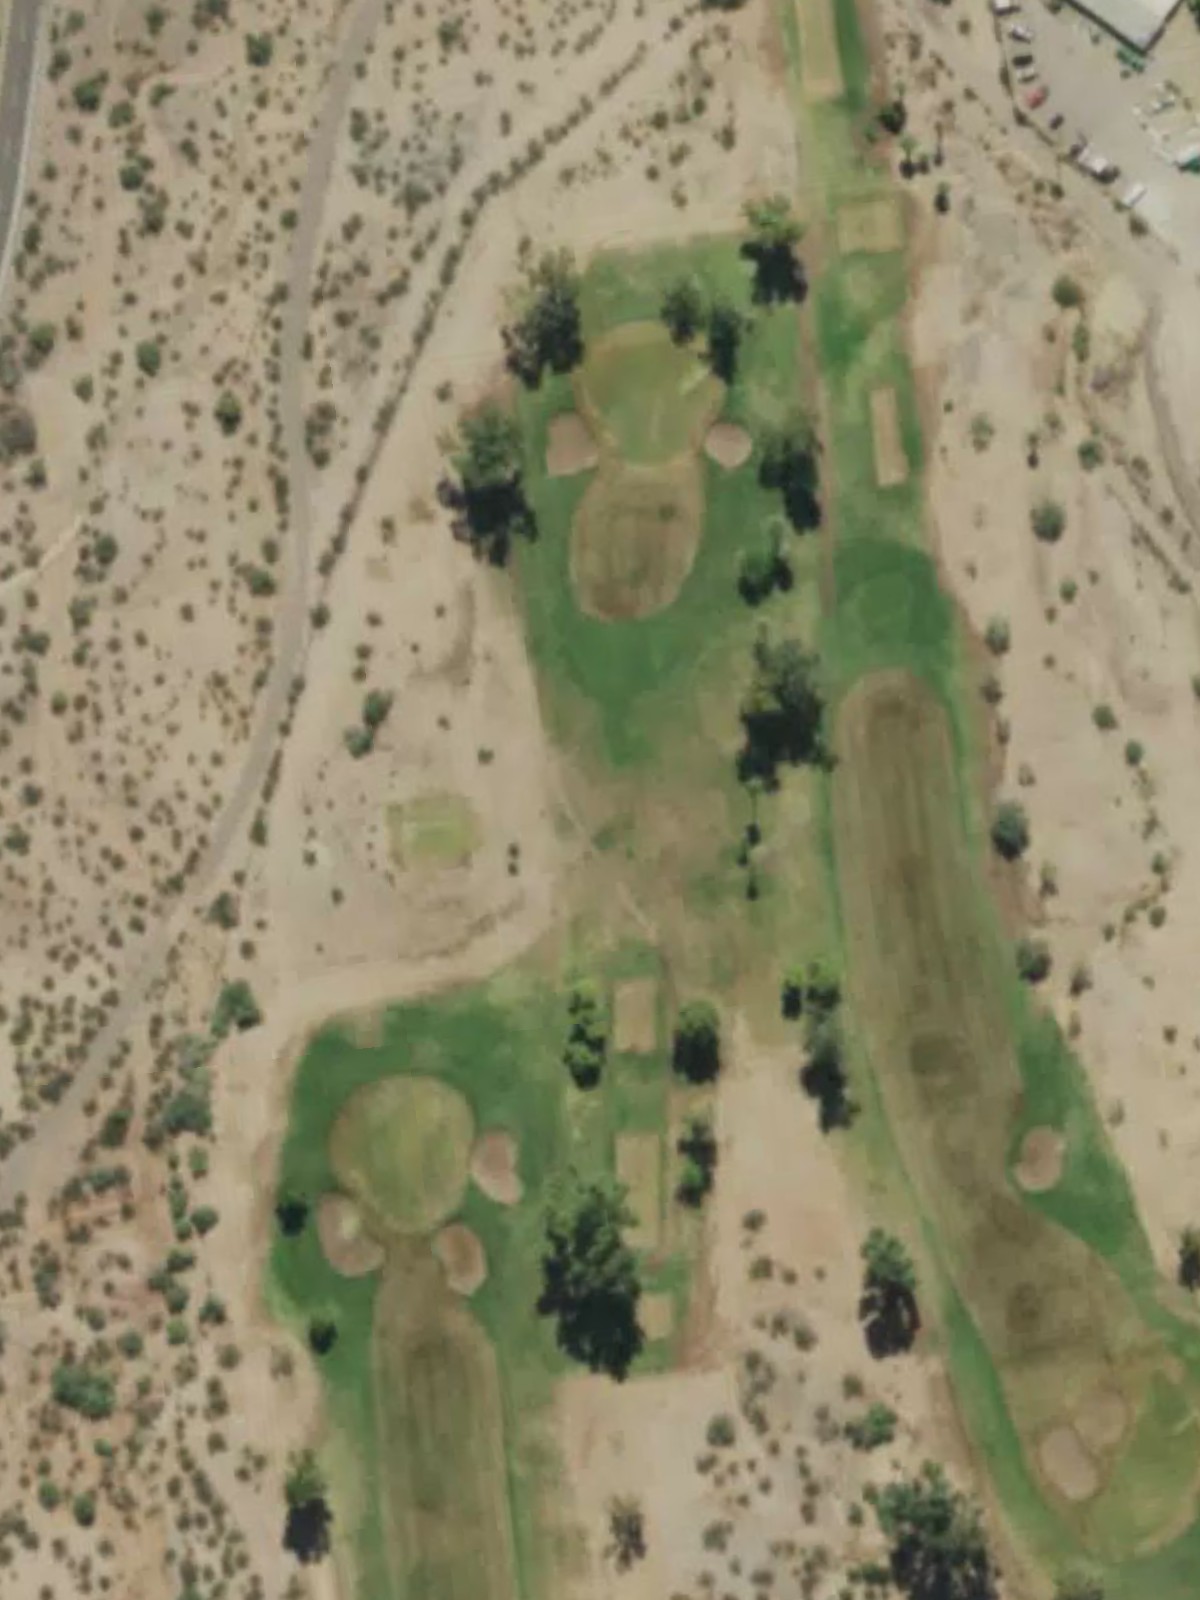
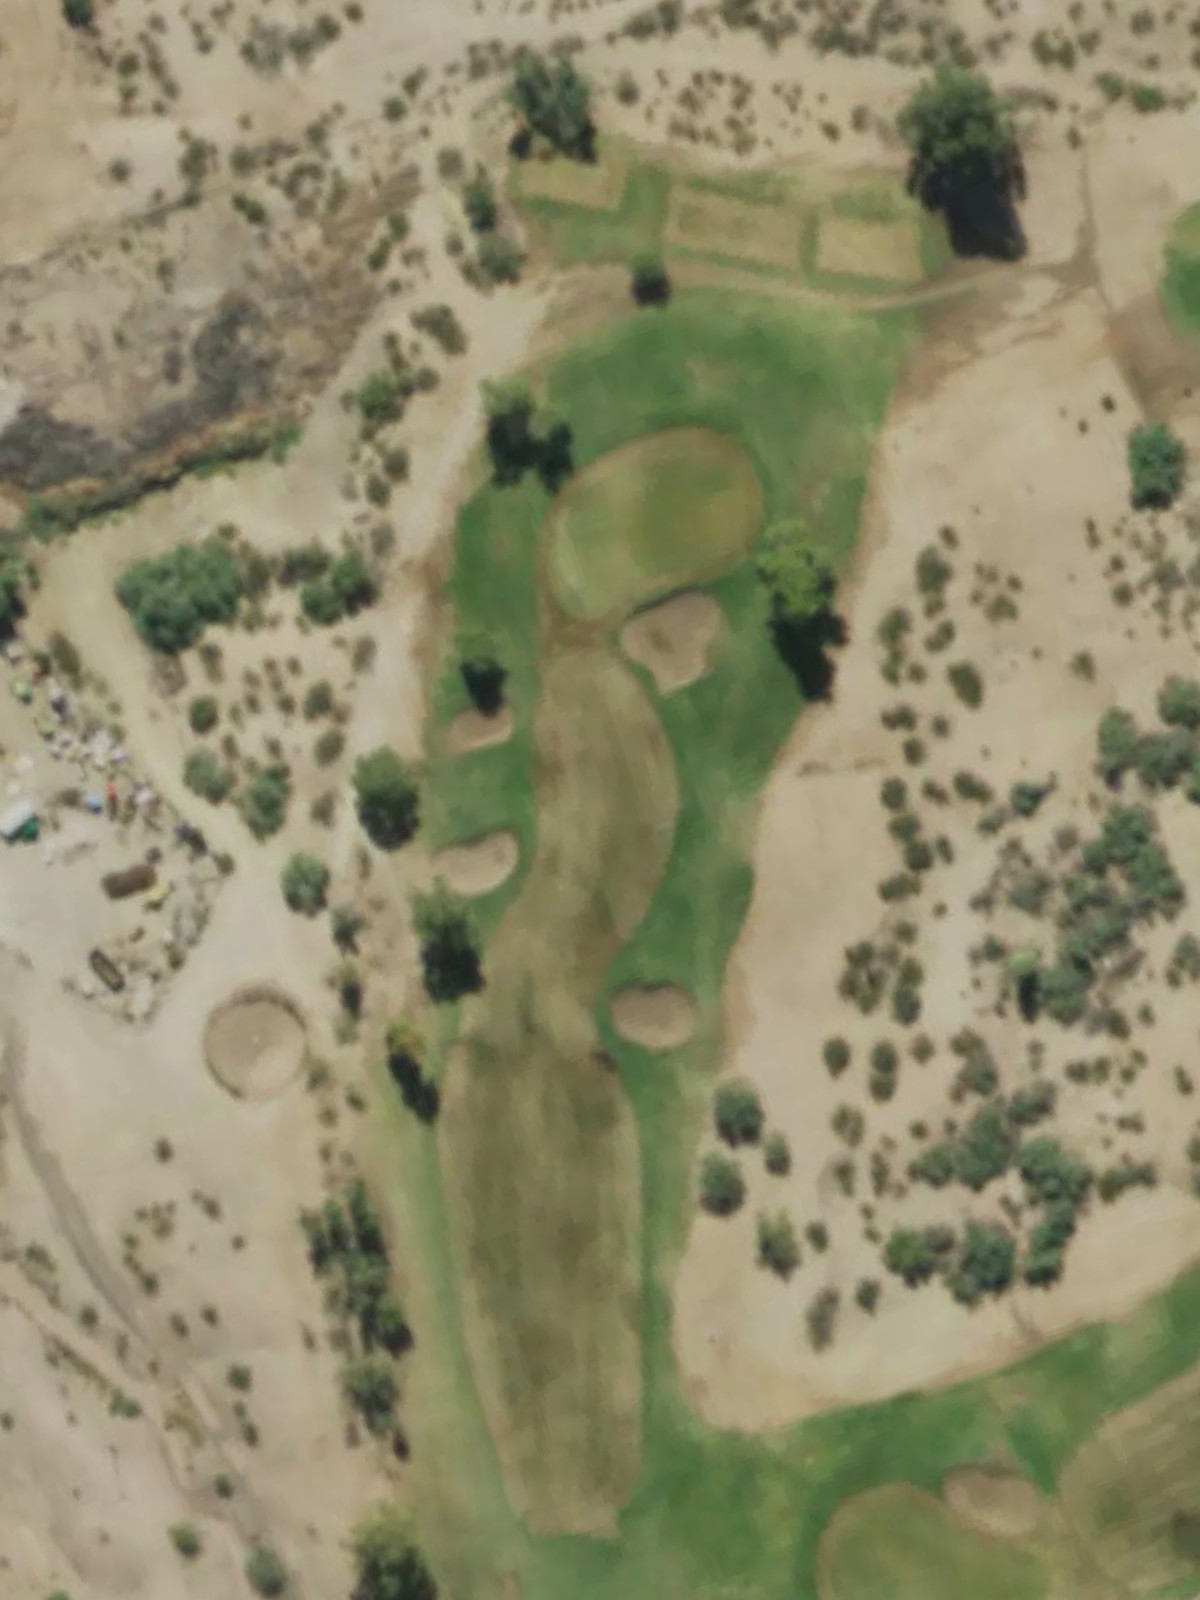
A picturesque mid-length par 3 with strategic bunkering that frames the green's entrance. The hole's elevated difficulty ranking suggests well-placed hazards that penalize wayward shots.
A generous par 3 with a forgiving layout and minimal hazard concerns, playing as the easiest hole on the course. This presents a prime birdie opportunity late in the front nine.
A solid par 4 with a fair fairway that opens to the green. Bunkers protect the sides of the putting surface, requiring a precise approach to find the center of the green.
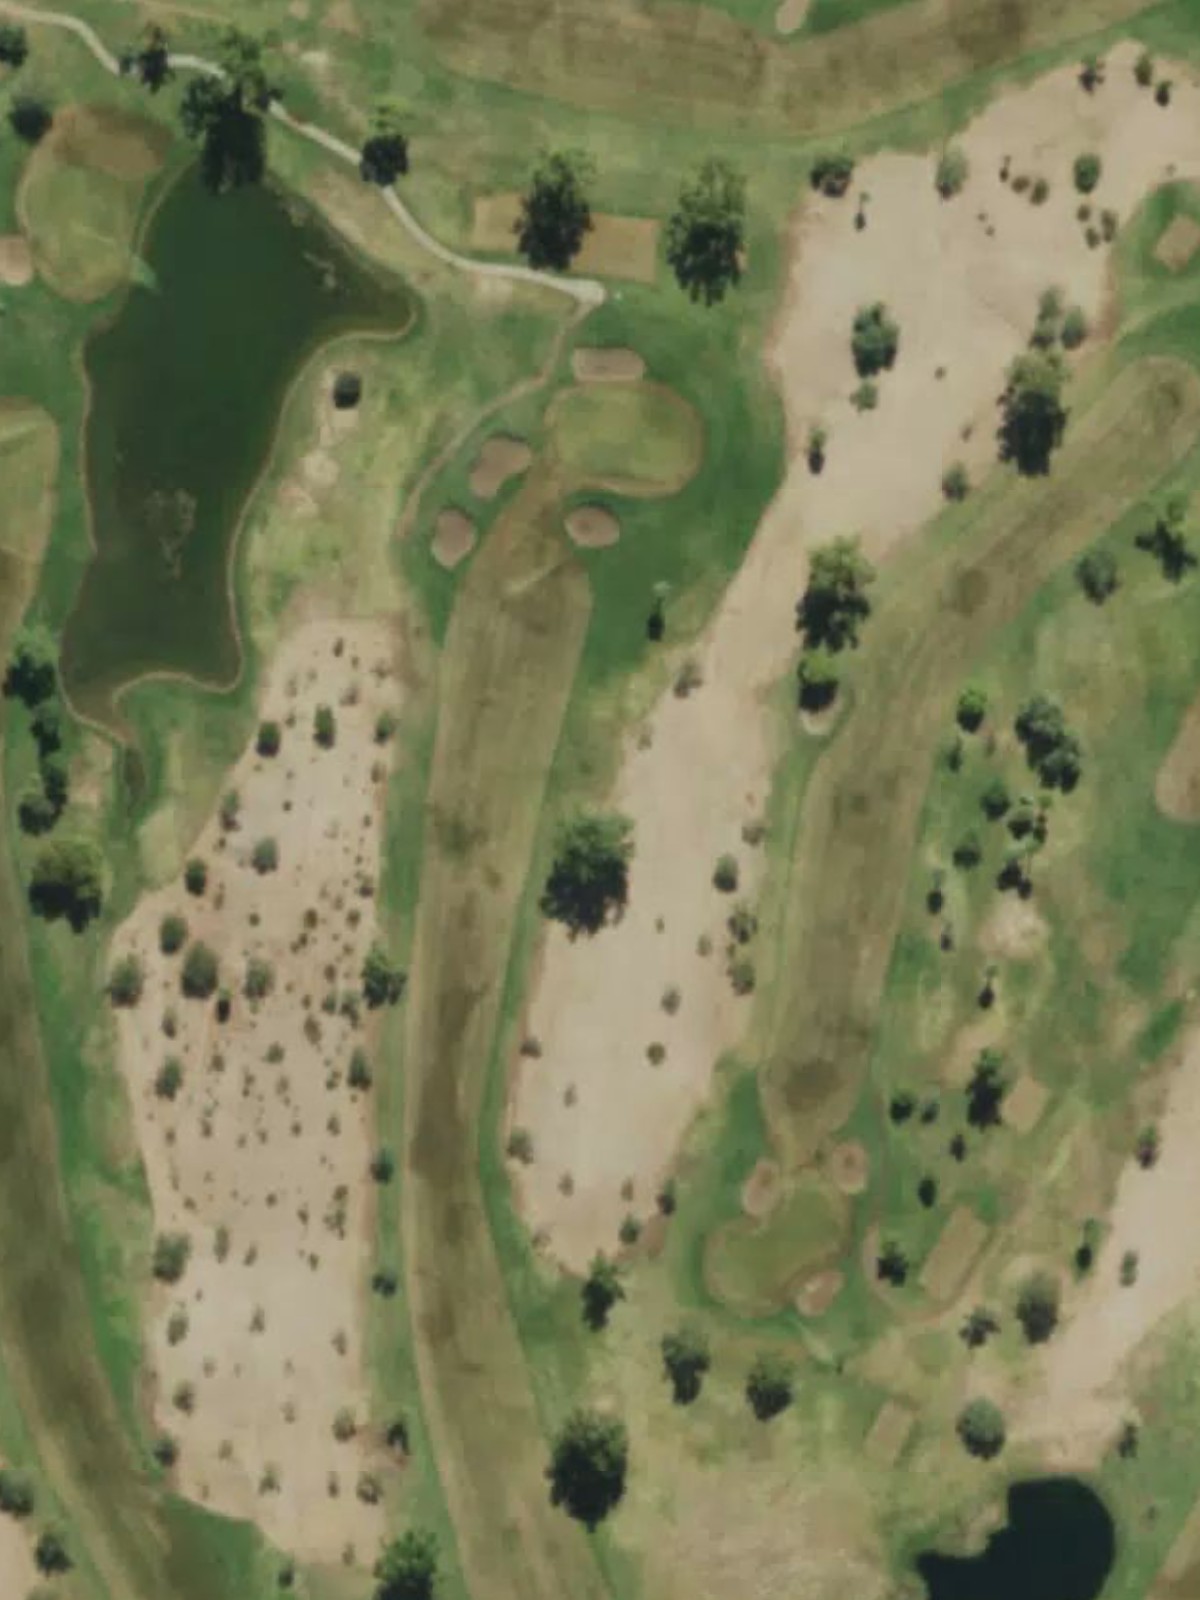
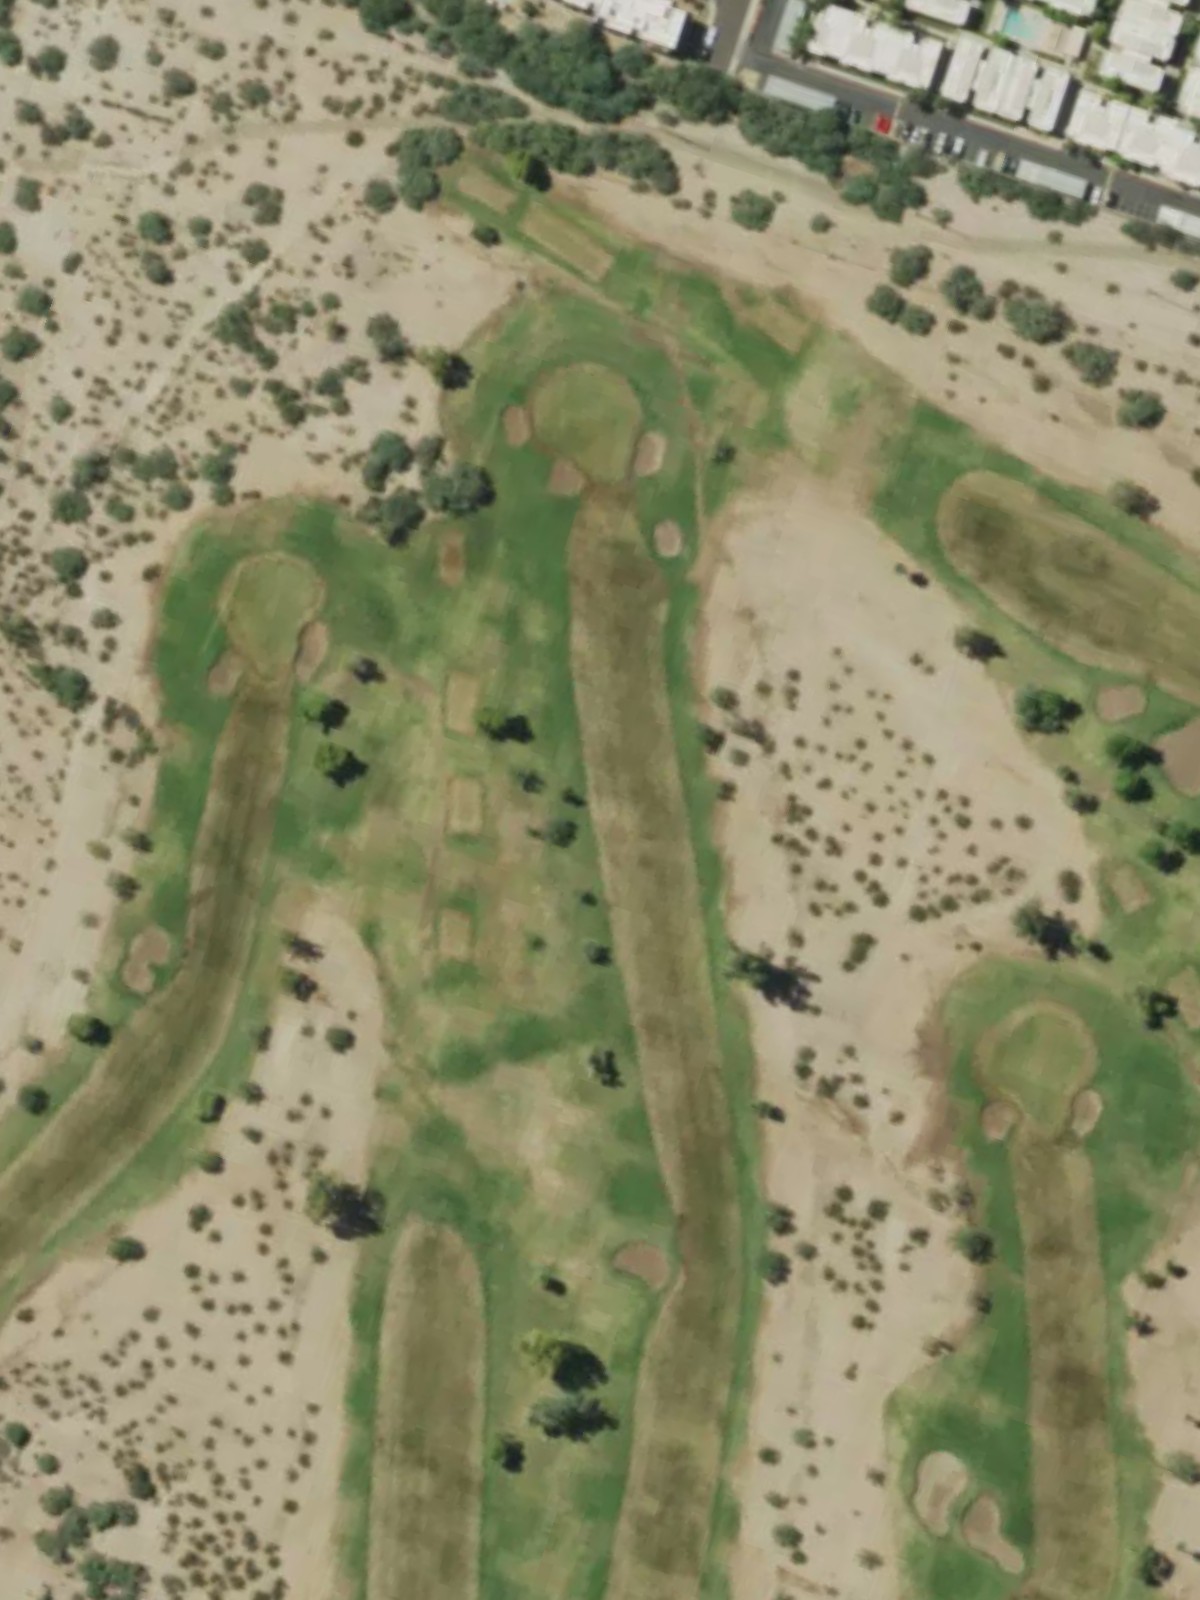
A dramatic par 4 that plays much longer from the blue tees, with significant yardage variation across the tee boxes. Strategic bunkering and potential water hazards create a stiff opening hole for the back nine.
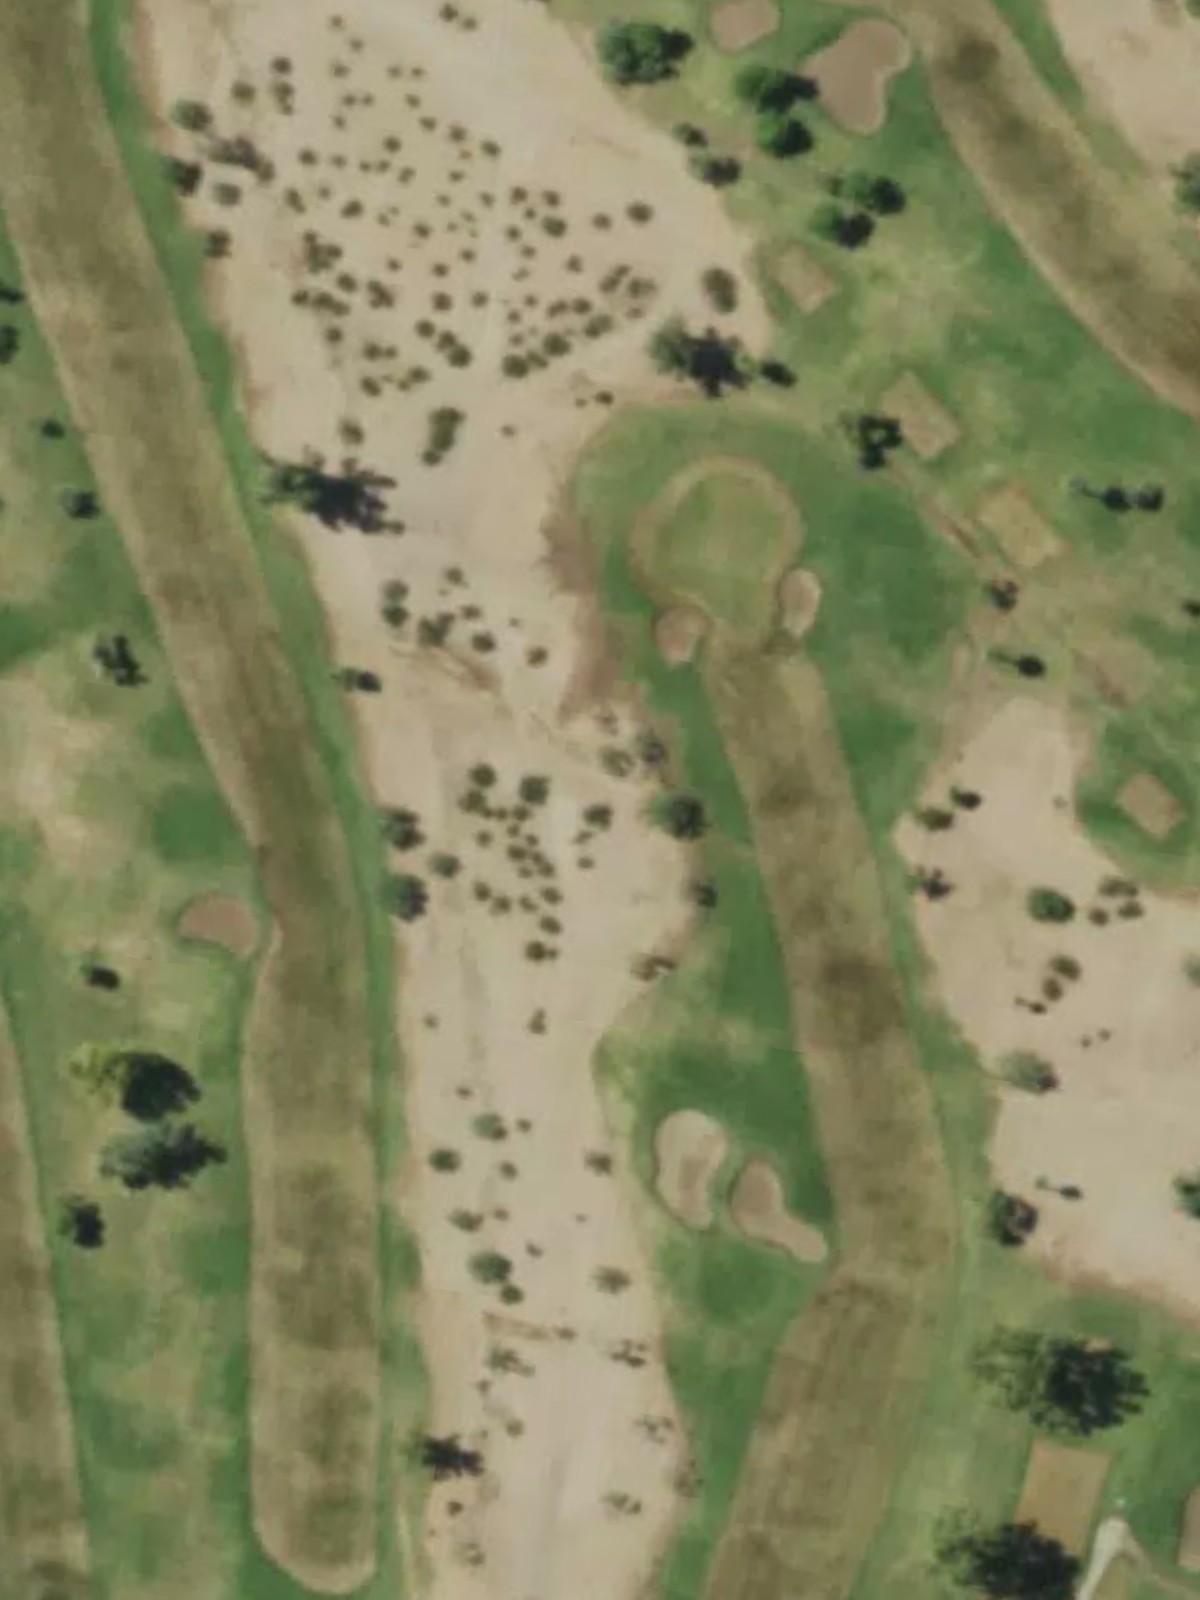
The back nine's most formidable test, a lengthy par 4 with a fairway that demands placement over power. Hazards tighten the corridor to the green, making this the course's second-hardest hole.
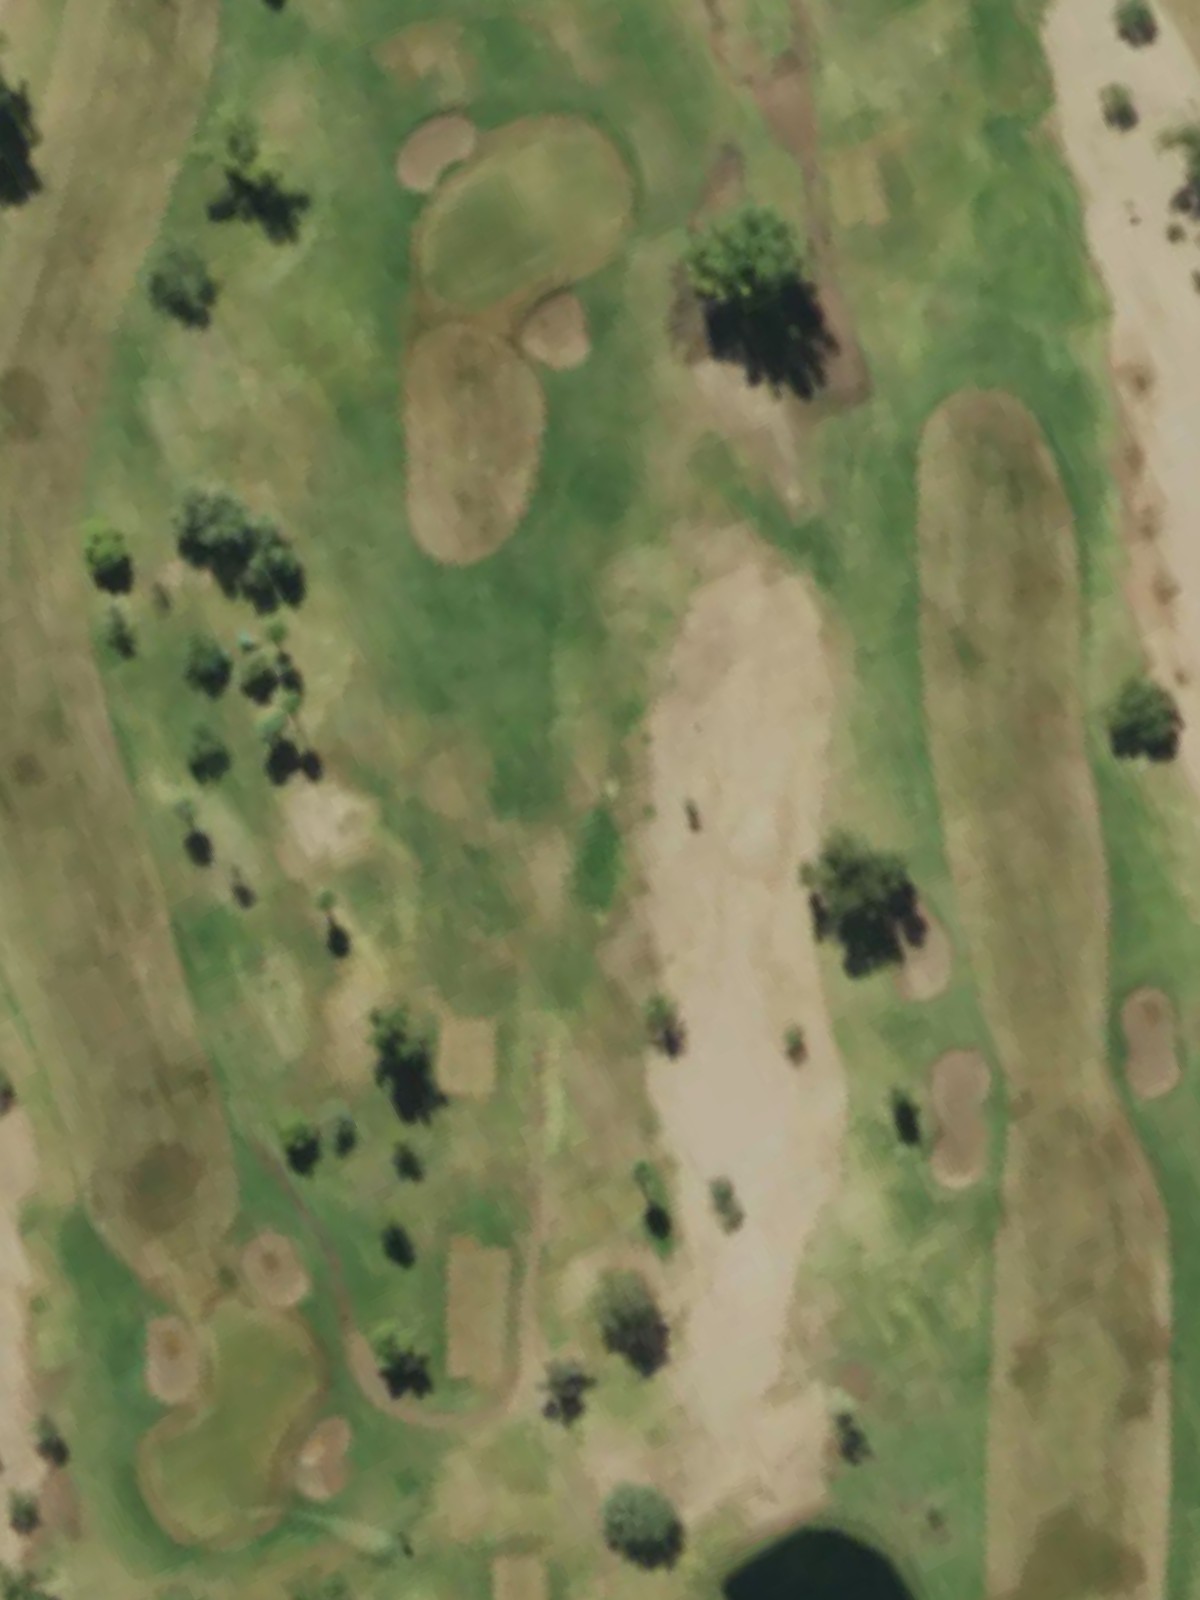
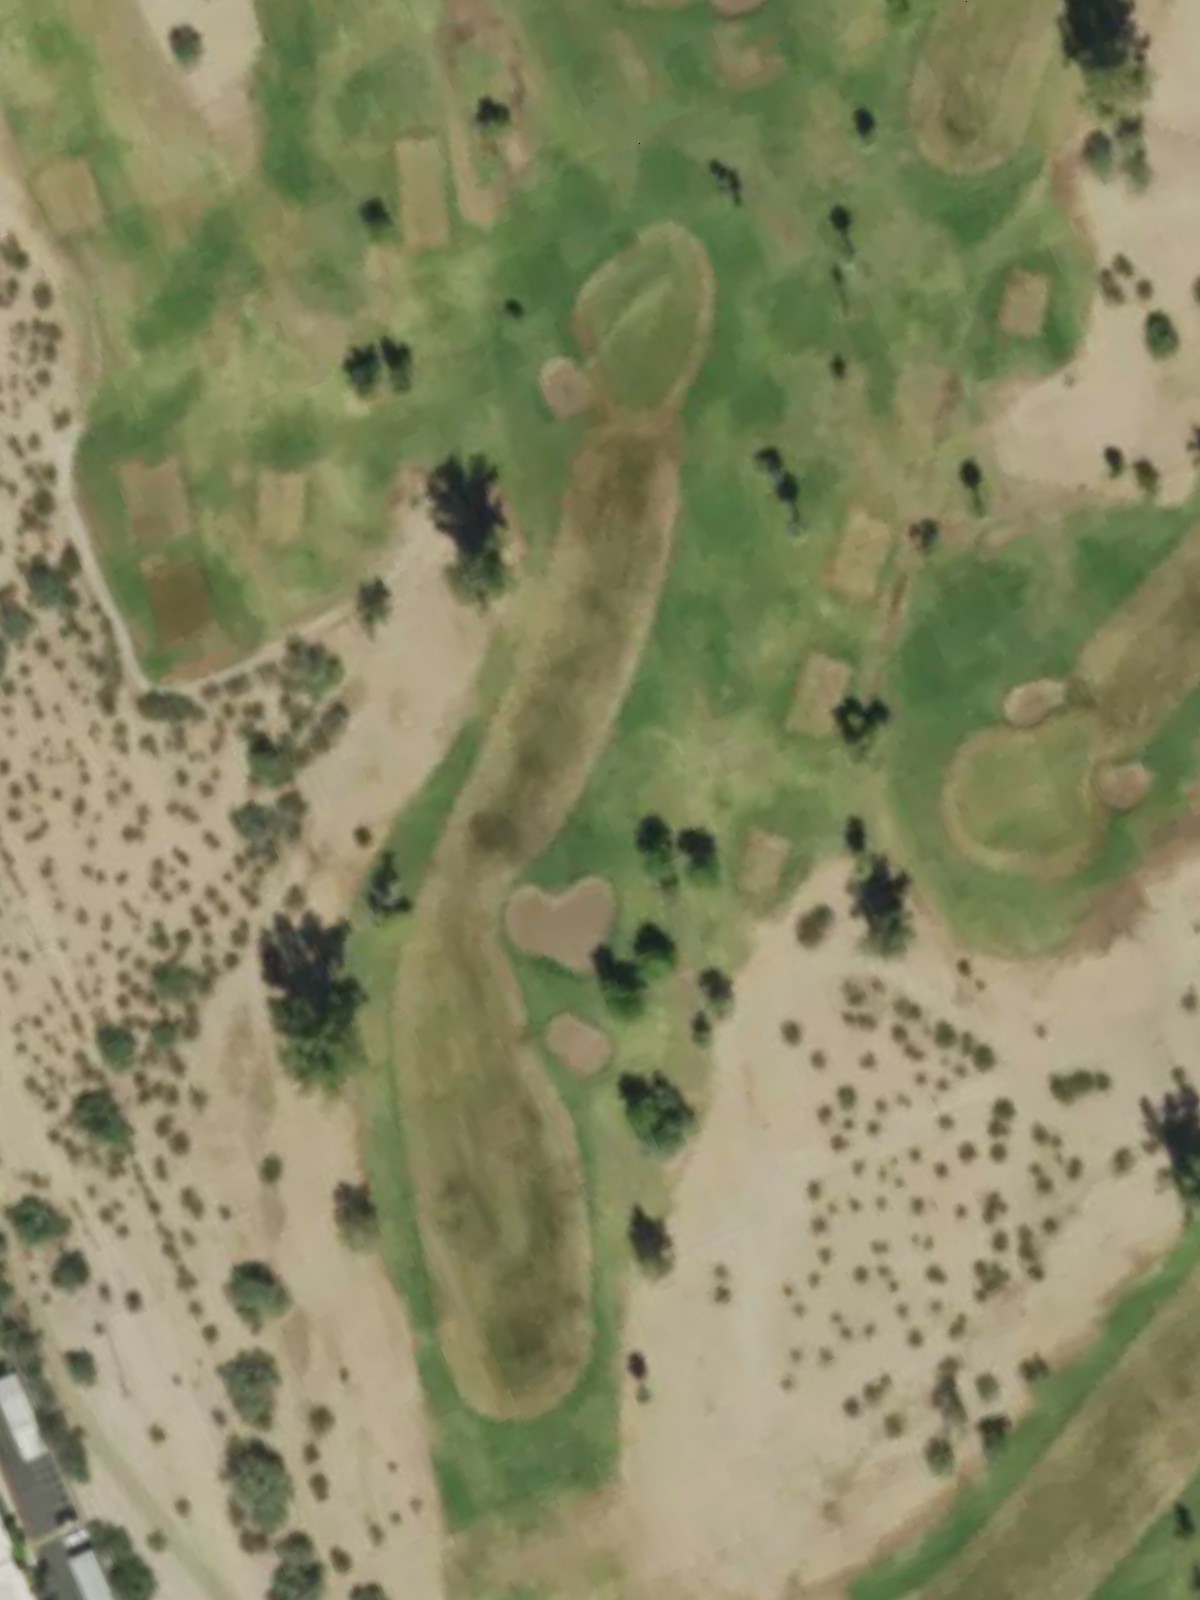
A well-bunkered par 4 with a fairway that narrows in the approach zone. Strategic sand placement on both sides of the green rewards smart positioning off the tee.
The course's shortest par 3, offering a genuine scoring chance with a minimal target area. This petite one-shotter provides welcome relief in the mid-back nine stretch.
A mid-range par 3 with bunkers guarding the approach to the green. The hole's moderate difficulty suggests a well-balanced design that challenges without overwhelming.
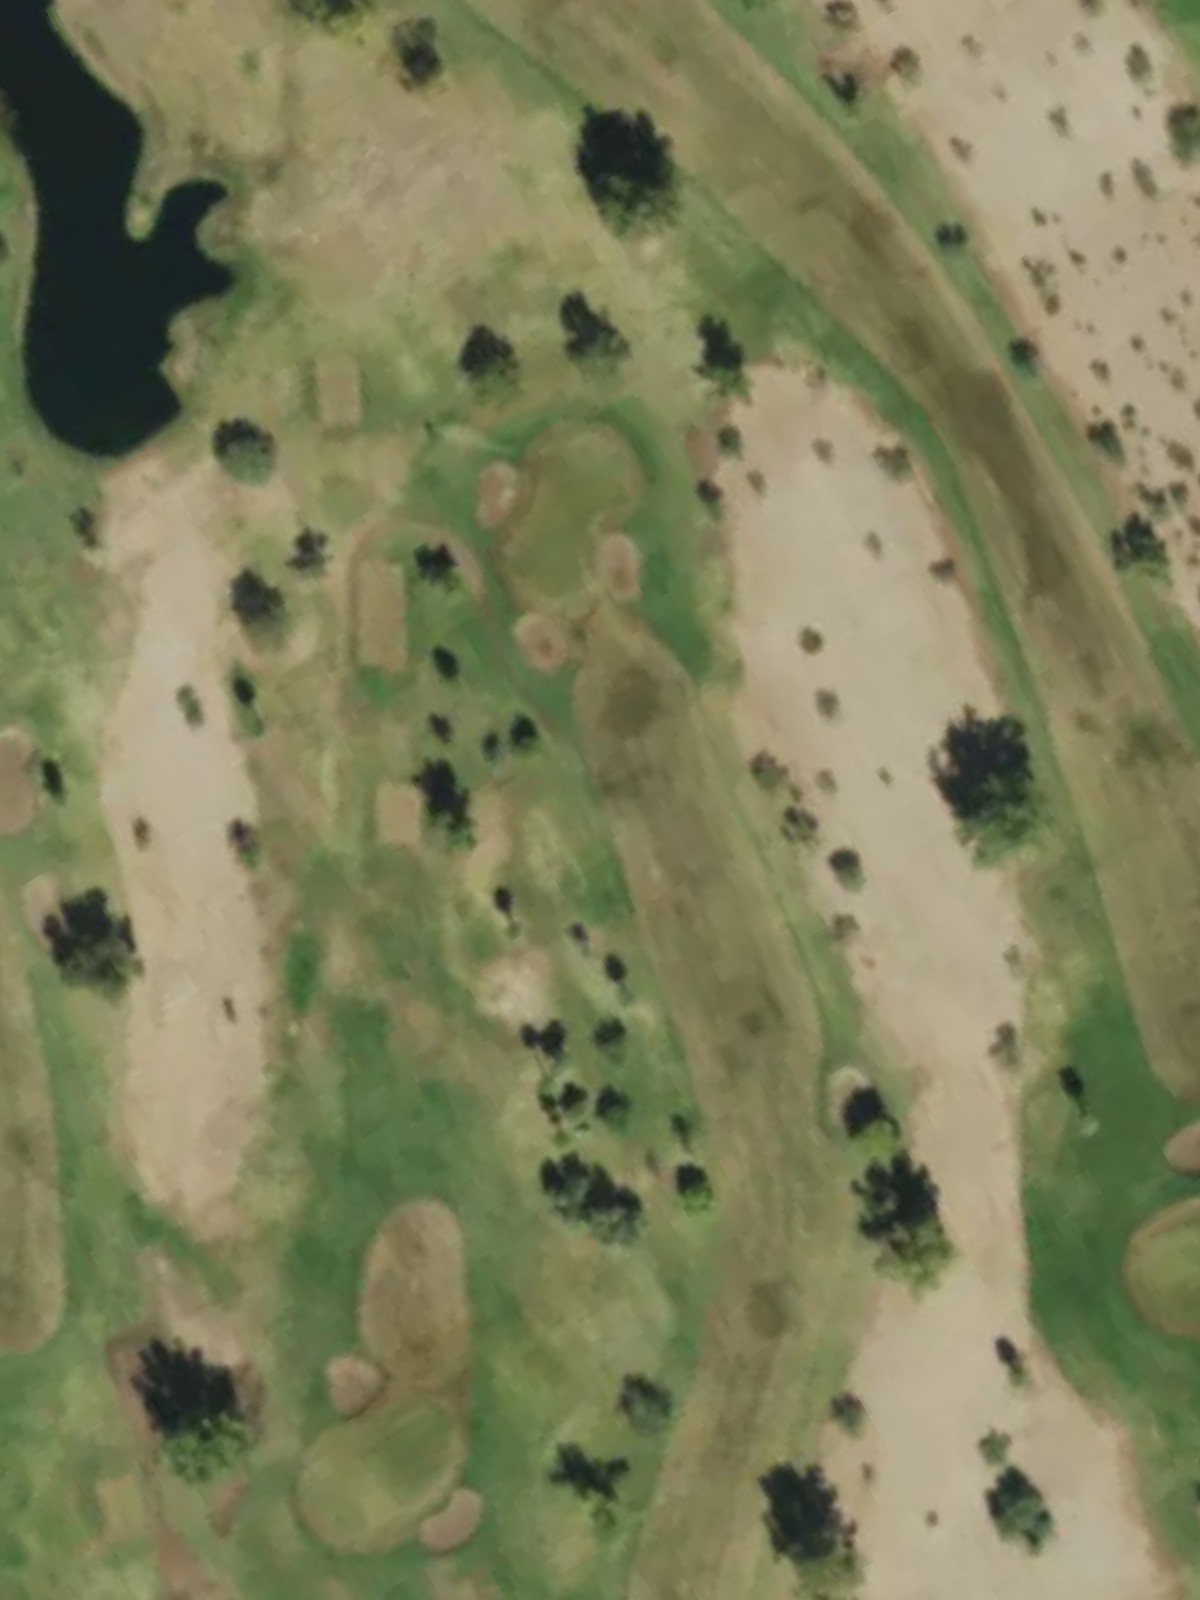
A strategic par 4 with significant length variation across the tees and a fairway that likely doglegs or narrows at distance. Hazards near the green demand careful shot placement to avoid penalty.
A short par 3 with straightforward hazard placement around the green. The brevity of the hole makes it an accessible opportunity in the closing stretch.
A compact par 3 with moderate green-side bunkering and a relatively open approach. This hole provides a balanced test before the demanding home hole.
A monumental finishing par 4 requiring length and accuracy, with dramatic yardage separation across the tees. This signature closer demands a strong tee shot and precise approach to conclude the round, living up to its ranking as the course's most difficult hole.
Scorecard
| Hole | 1 | 2 | 3 | 4 | 5 | 6 | 7 | 8 | 9 | Out | 10 | 11 | 12 | 13 | 14 | 15 | 16 | 17 | 18 | In | Tot |
|---|---|---|---|---|---|---|---|---|---|---|---|---|---|---|---|---|---|---|---|---|---|
| Par | 4 | 3 | 4 | 3 | 3 | 3 | 3 | 3 | 4 | 30 | 4 | 4 | 4 | 3 | 3 | 4 | 3 | 3 | 4 | 32 | 62 |
| HCP | 6 | 10 | 2 | 14 | 16 | 12 | 4 | 18 | 8 | 5 | 3 | 9 | 17 | 11 | 7 | 15 | 13 | 1 | |||
| blue | 236 | 170 | 291 | 115 | 133 | 136 | 153 | 135 | 284 | 1653 | 255 | 335 | 269 | 132 | 188 | 315 | 150 | 166 | 396 | 2206 | 3859 |
| white | 230 | 166 | 260 | 109 | 125 | 108 | 149 | 123 | 276 | 1546 | 229 | 278 | 247 | 103 | 158 | 283 | 129 | 132 | 308 | 1867 | 3413 |
| red | 224 | 160 | 253 | 103 | 117 | 98 | 145 | 120 | 268 | 1488 | 202 | 268 | 224 | 85 | 144 | 251 | 121 | 121 | 294 | 1710 | 3198 |