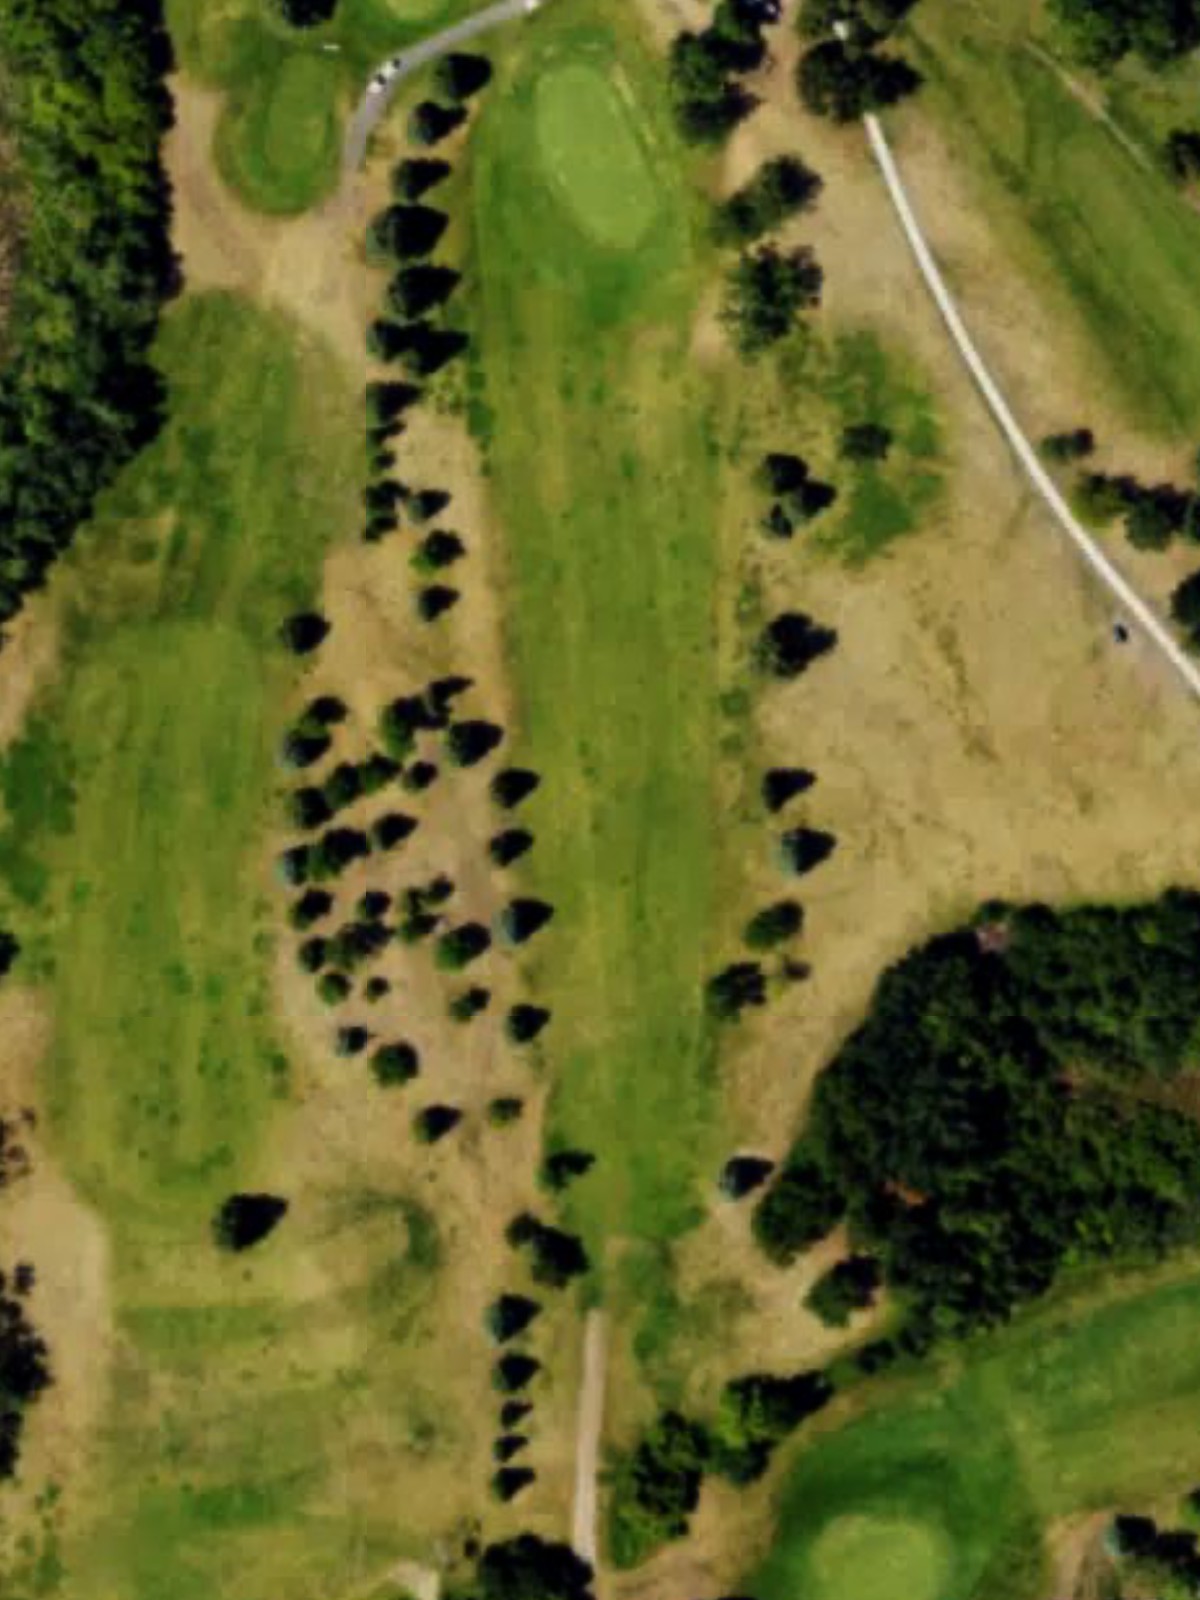
Rolla Municipal Golf Course is an 18-hole golf course in Rolla, ND with a par of 72. It offers 2 tee sets: blue (6,162 yards, slope 127, rating 70.6), white (5,878 yards, slope 124, rating 69.4). The hardest hole is #5, a par 4 playing 393 yards from the first tee.
Rolla Municipal Golf Course
Rolla, ND
Get PDF Yardage Book
We'll email you the PDF link. No spam, ever.
Create Your Game Plan
Pick your tees, enter your bag, and get a personalized shot-by-shot strategy for every hole.
A straightforward par 4 that plays as a gentle opener with a wide fairway inviting an aggressive start. The green is fronted by a pair of bunkers, making accuracy on the approach shot more critical than distance off the tee.
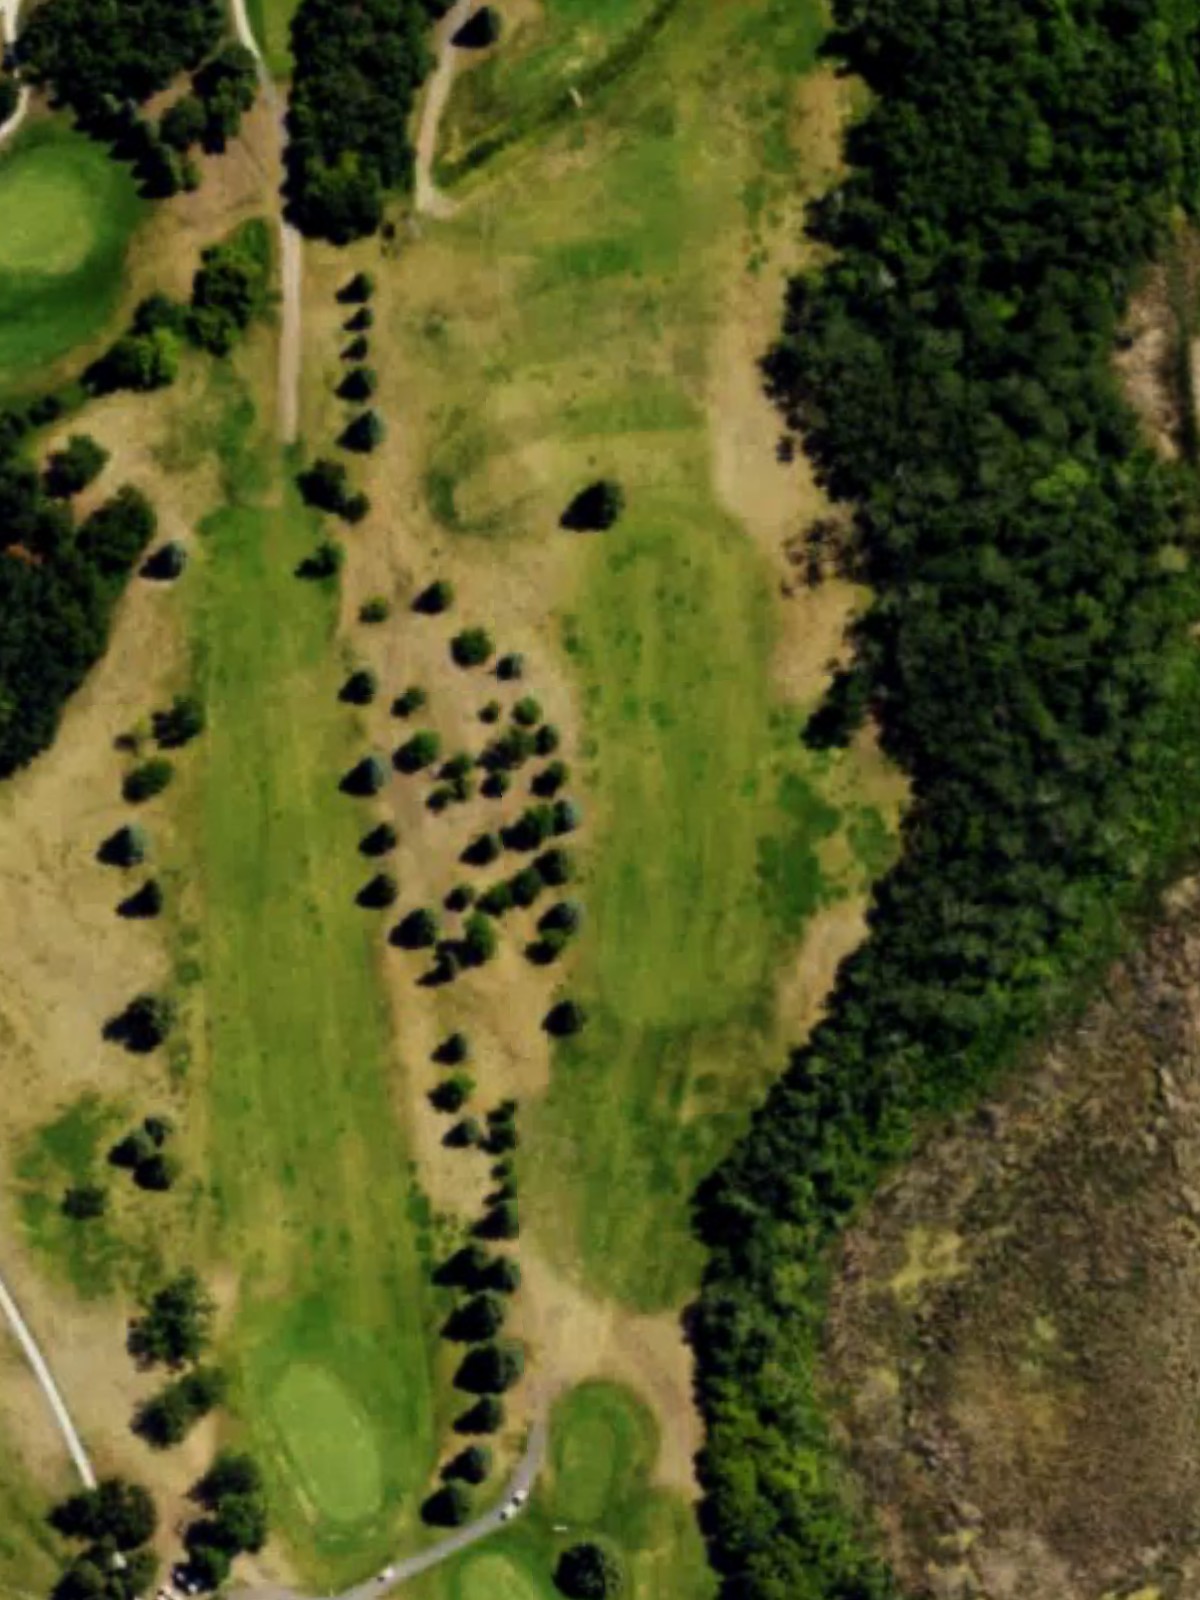
A demanding par 4 that ranks among the course's toughest, with out-of-bounds lurking along the right side throughout. The narrow fairway forces a precise tee shot, and the well-bunkered green demands a controlled approach.
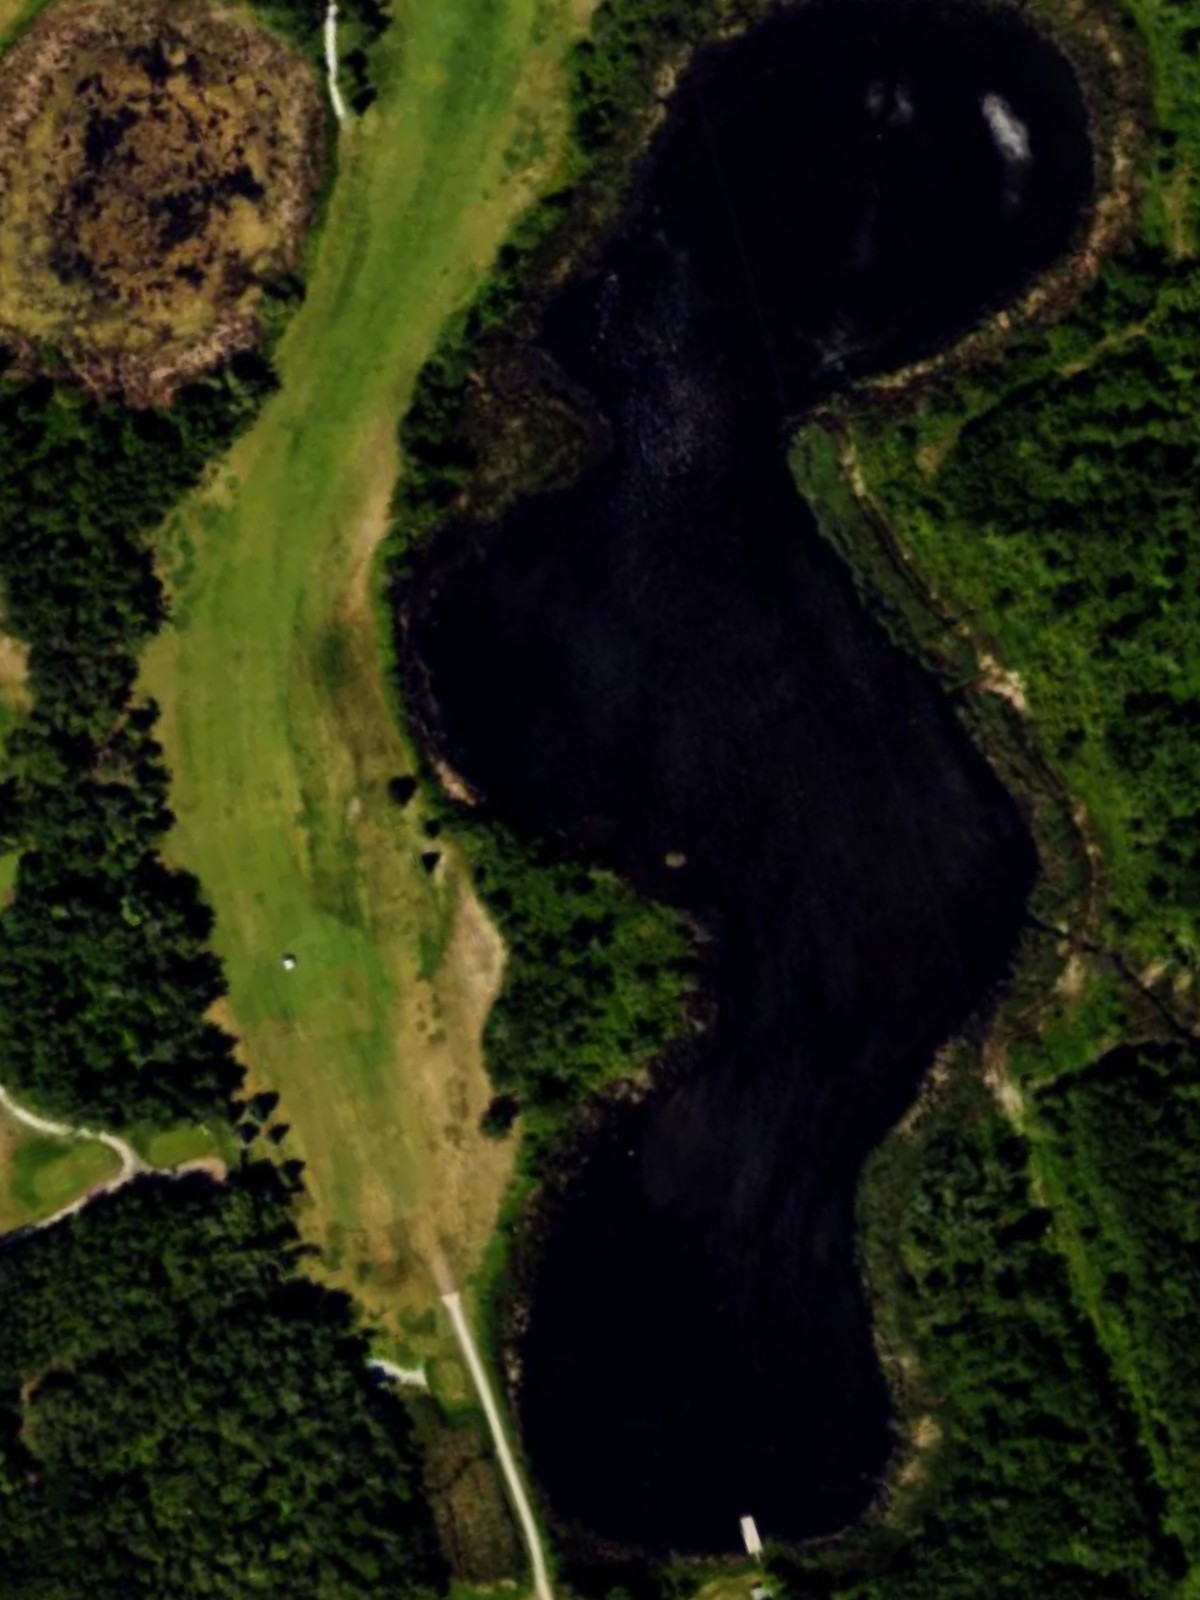
A three-shot par 5 that bends slightly left with water hazards protecting the left side of the fairway and green complex. The length and strategic bunkering make this one of the course's most challenging scoring opportunities.
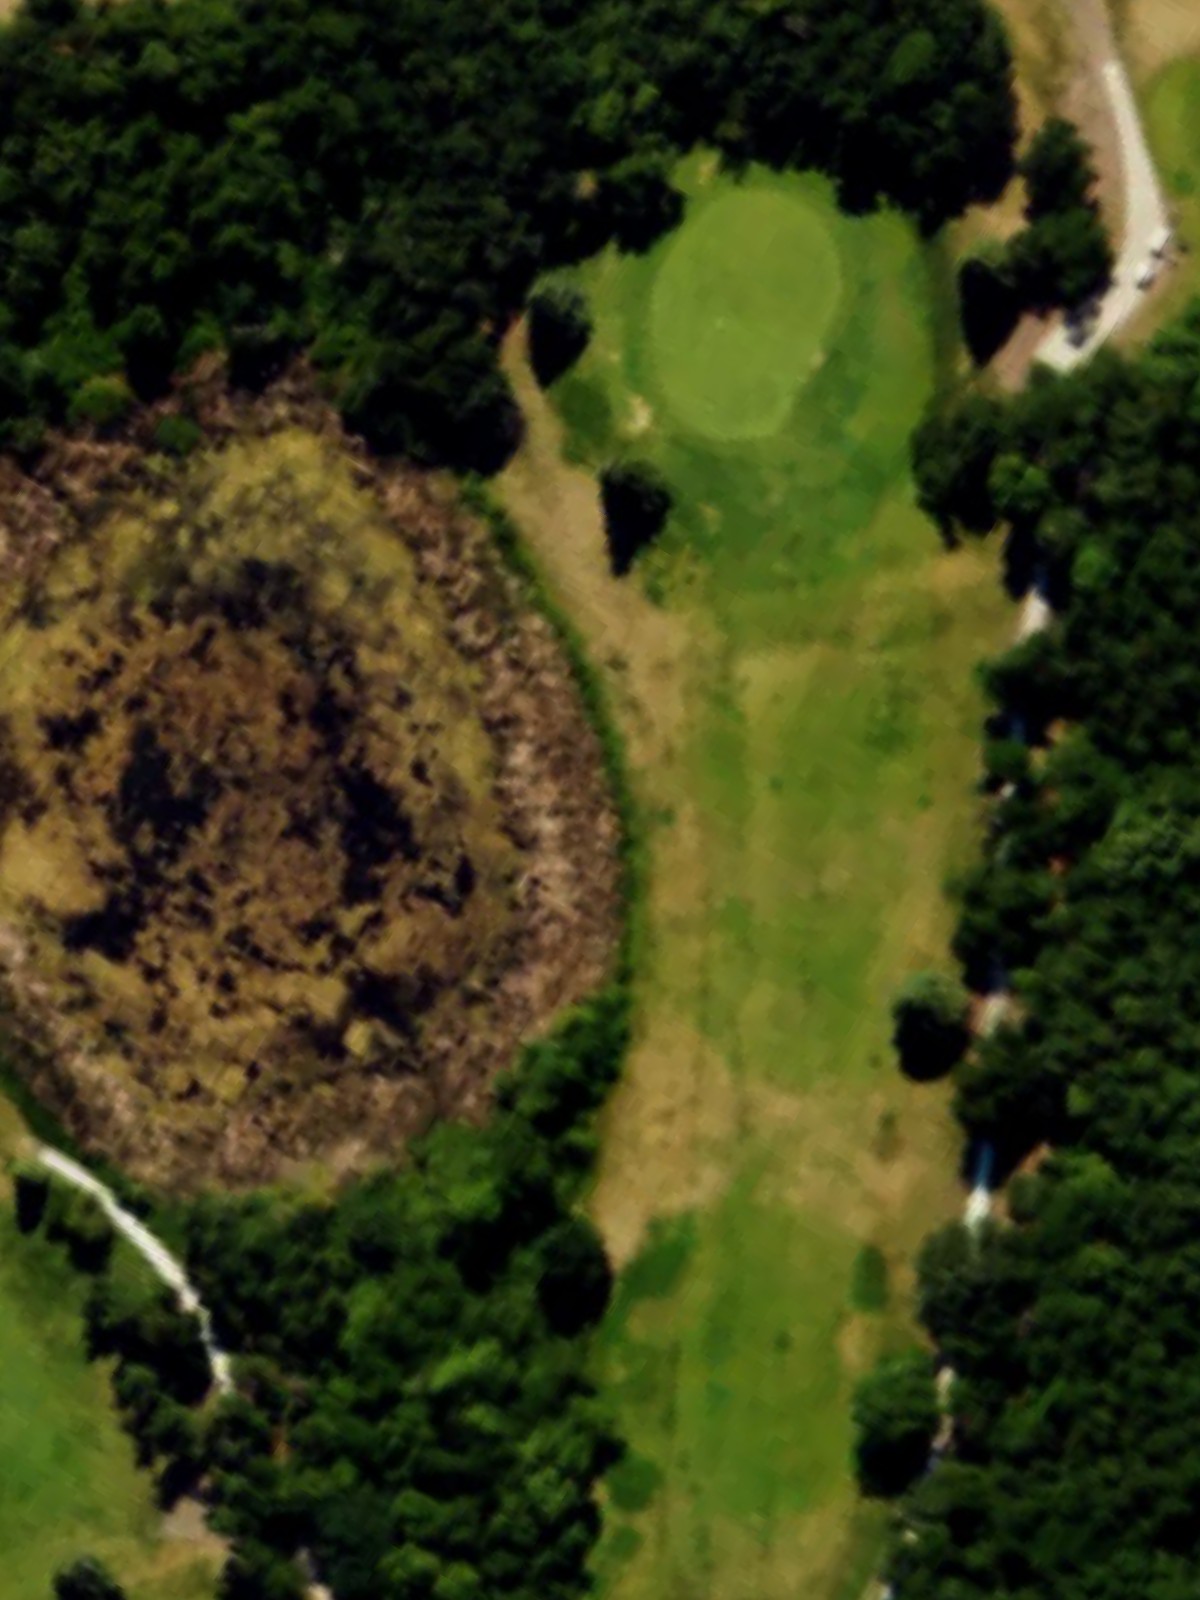
A short but deceptive par 3 with a dramatically elevated green protected by bunkers on both sides. The elevated target and surrounding sand make club selection and accuracy essential despite the modest yardage.
The course's most difficult hole, this par 4 demands precision from tee to green with minimal margin for error. Out-of-bounds and strategic bunkering frame both sides of the fairway and green, making this a true test of all-around skill.
A mid-length par 3 with water guarding the left side and bunkers protecting the right of the green. The hazards demand a well-struck tee shot to find the putting surface safely.
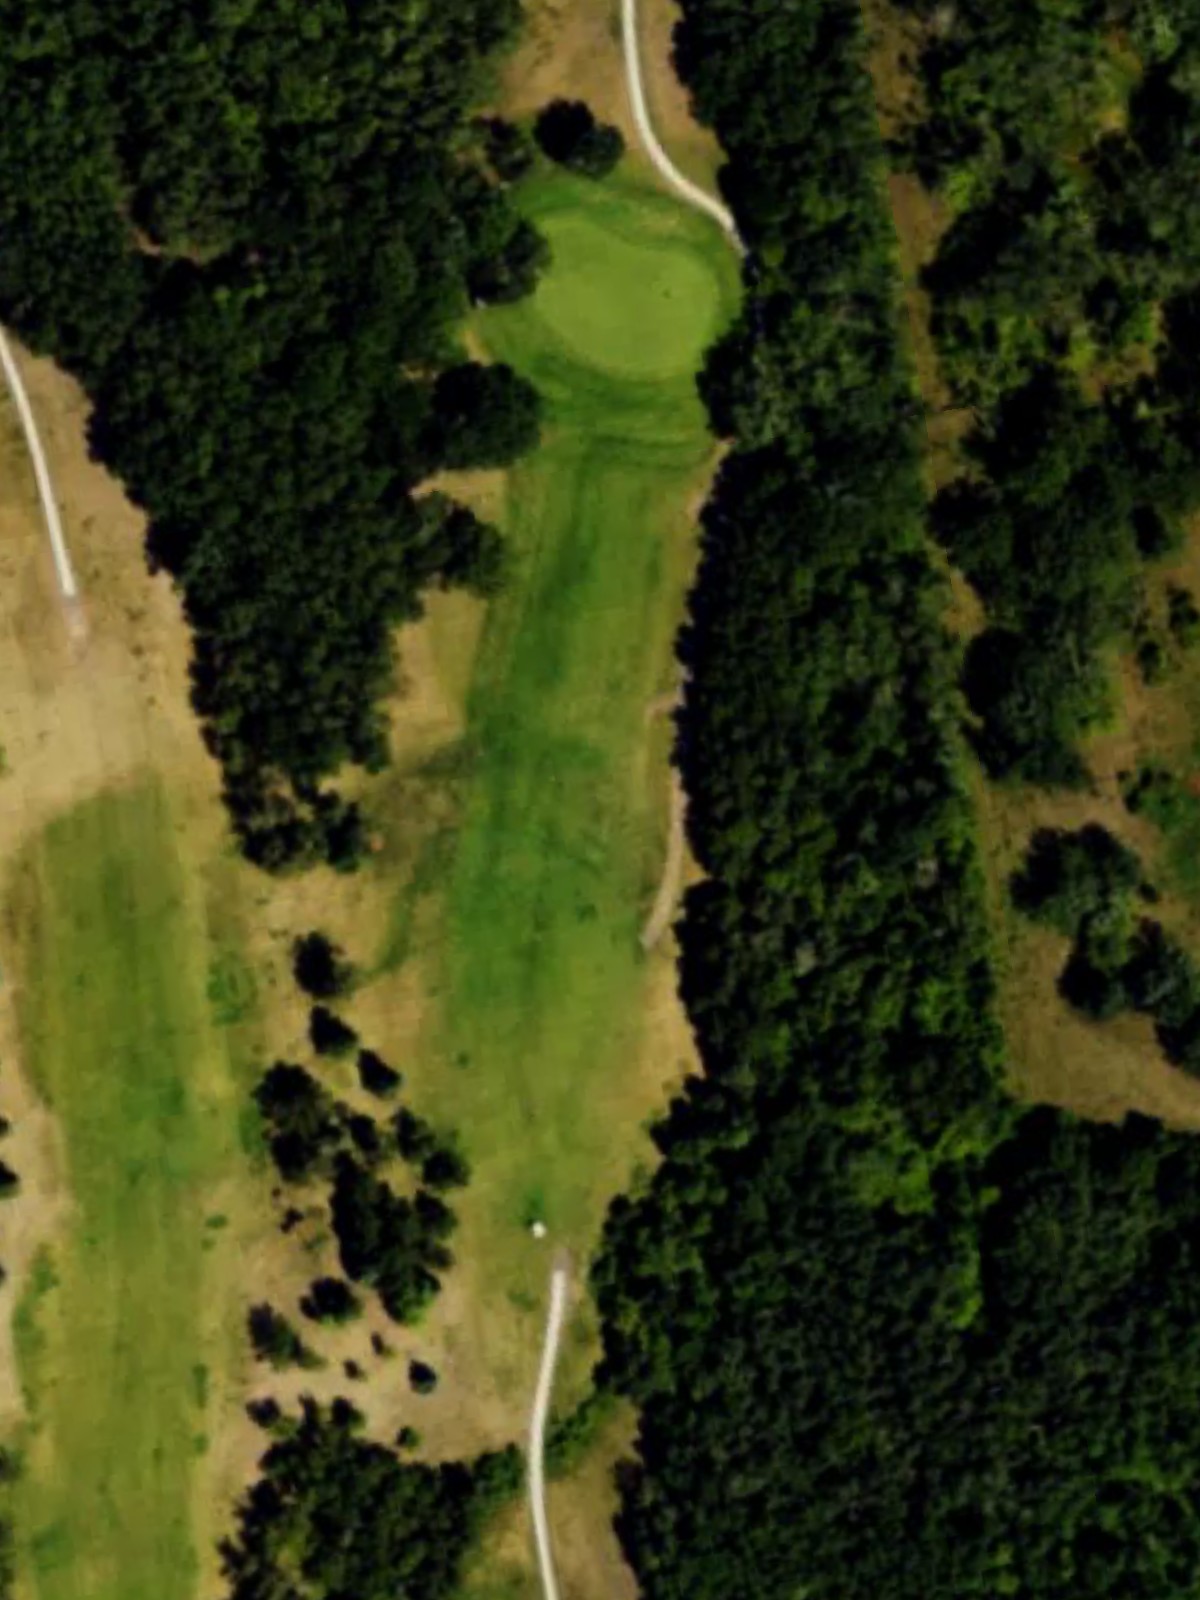
A short par 4 that plays downhill toward a tight, well-bunkered green framed by sand on both sides. The reduced yardage is offset by the severity of the green complex and the challenge of a precise approach.
A lengthy par 5 with water hazards positioned along the left side of the fairway and near the green. The hole's length and water alignment make proper positioning critical for a successful three-shot sequence.
A relatively short par 4 that offers scoring opportunity but demands accuracy into a small green surrounded by bunkers. The compact yardage shouldn't fool players into overconfidence given the tight green surrounds.
A straightforward par 4 with a fair landing area and a green that sits relatively open but is guarded by strategic bunker placement. The hole presents a good birdie chance for solid ball striking off the tee and into the green.
A tough par 4 that plays with out-of-bounds danger on the right and water hazards left, squeezing the fairway corridor. The well-protected green demands both distance and direction off the tee to set up a manageable approach.
A three-shot par 5 featuring water along the left side with bunkers strategically placed to challenge all three shots. The length combined with the lateral hazards makes positioning and aggressive but smart play essential.
A short par 3 with a firm green complex defended by bunkers front and sides, requiring a confident strike to find the putting surface. The elevated hazard placement makes this a trickier target than the modest yardage suggests.
The second-most difficult hole on the course, this par 4 is both long and tightly framed with hazards on both sides. Out-of-bounds and strategic bunkering throughout make this a relentless examination of control and consistency.
A mid-length par 3 with water positioned left and bunkers right, creating a narrow corridor to the green. The dual hazard placement requires a precise tee shot with little room for error.
A short par 4 that plays downhill with fairway bunkers tightening the landing area and a small green surrounded by sand. The compact yardage is deceiving given the demanding green complex and need for accuracy.
A long par 5 with water hazards threatening the left side and bunkers strategically placed throughout the hole's length. The substantial yardage combined with lateral water makes this one of the course's most formidable par 5s.
A short finishing par 4 that offers birdie opportunity but can penalize imprecision with bunkers and out-of-bounds right, and water left. The closing hole's modest length belies its challenge as a risk-reward finale to the round.
Scorecard
| Hole | 1 | 2 | 3 | 4 | 5 | 6 | 7 | 8 | 9 | Out | 10 | 11 | 12 | 13 | 14 | 15 | 16 | 17 | 18 | In | Tot |
|---|---|---|---|---|---|---|---|---|---|---|---|---|---|---|---|---|---|---|---|---|---|
| Par | 4 | 4 | 5 | 3 | 4 | 3 | 4 | 5 | 4 | 36 | 4 | 4 | 5 | 3 | 4 | 3 | 4 | 5 | 4 | 36 | 72 |
| HCP | 15 | 7 | 5 | 3 | 1 | 13 | 9 | 11 | 17 | 16 | 8 | 6 | 4 | 2 | 14 | 10 | 12 | 18 | |||
| blue | 352 | 361 | 452 | 206 | 393 | 196 | 326 | 471 | 324 | 3081 | 352 | 361 | 452 | 206 | 393 | 196 | 326 | 471 | 324 | 3081 | 6162 |
| white | 334 | 346 | 444 | 196 | 380 | 172 | 318 | 447 | 302 | 2939 | 334 | 346 | 444 | 196 | 380 | 172 | 318 | 447 | 302 | 2939 | 5878 |