Rockrimmon Country Club is an 18-hole golf course in Stamford, CT with a par of 72. It offers 4 tee sets: blue (6,785 yards, slope 132, rating 73.4), white (6,512 yards, slope 129, rating 72), green 2022 (m) (6,101 yards, slope 125, rating 70.2), gold (5,500 yards, slope 120, rating 67). The hardest hole is #3, a par 5 playing 562 yards from the first tee.
Rockrimmon Country Club
Stamford, CT
Get PDF Yardage Book
We'll email you the PDF link. No spam, ever.
Create Your Game Plan
Pick your tees, enter your bag, and get a personalized shot-by-shot strategy for every hole.
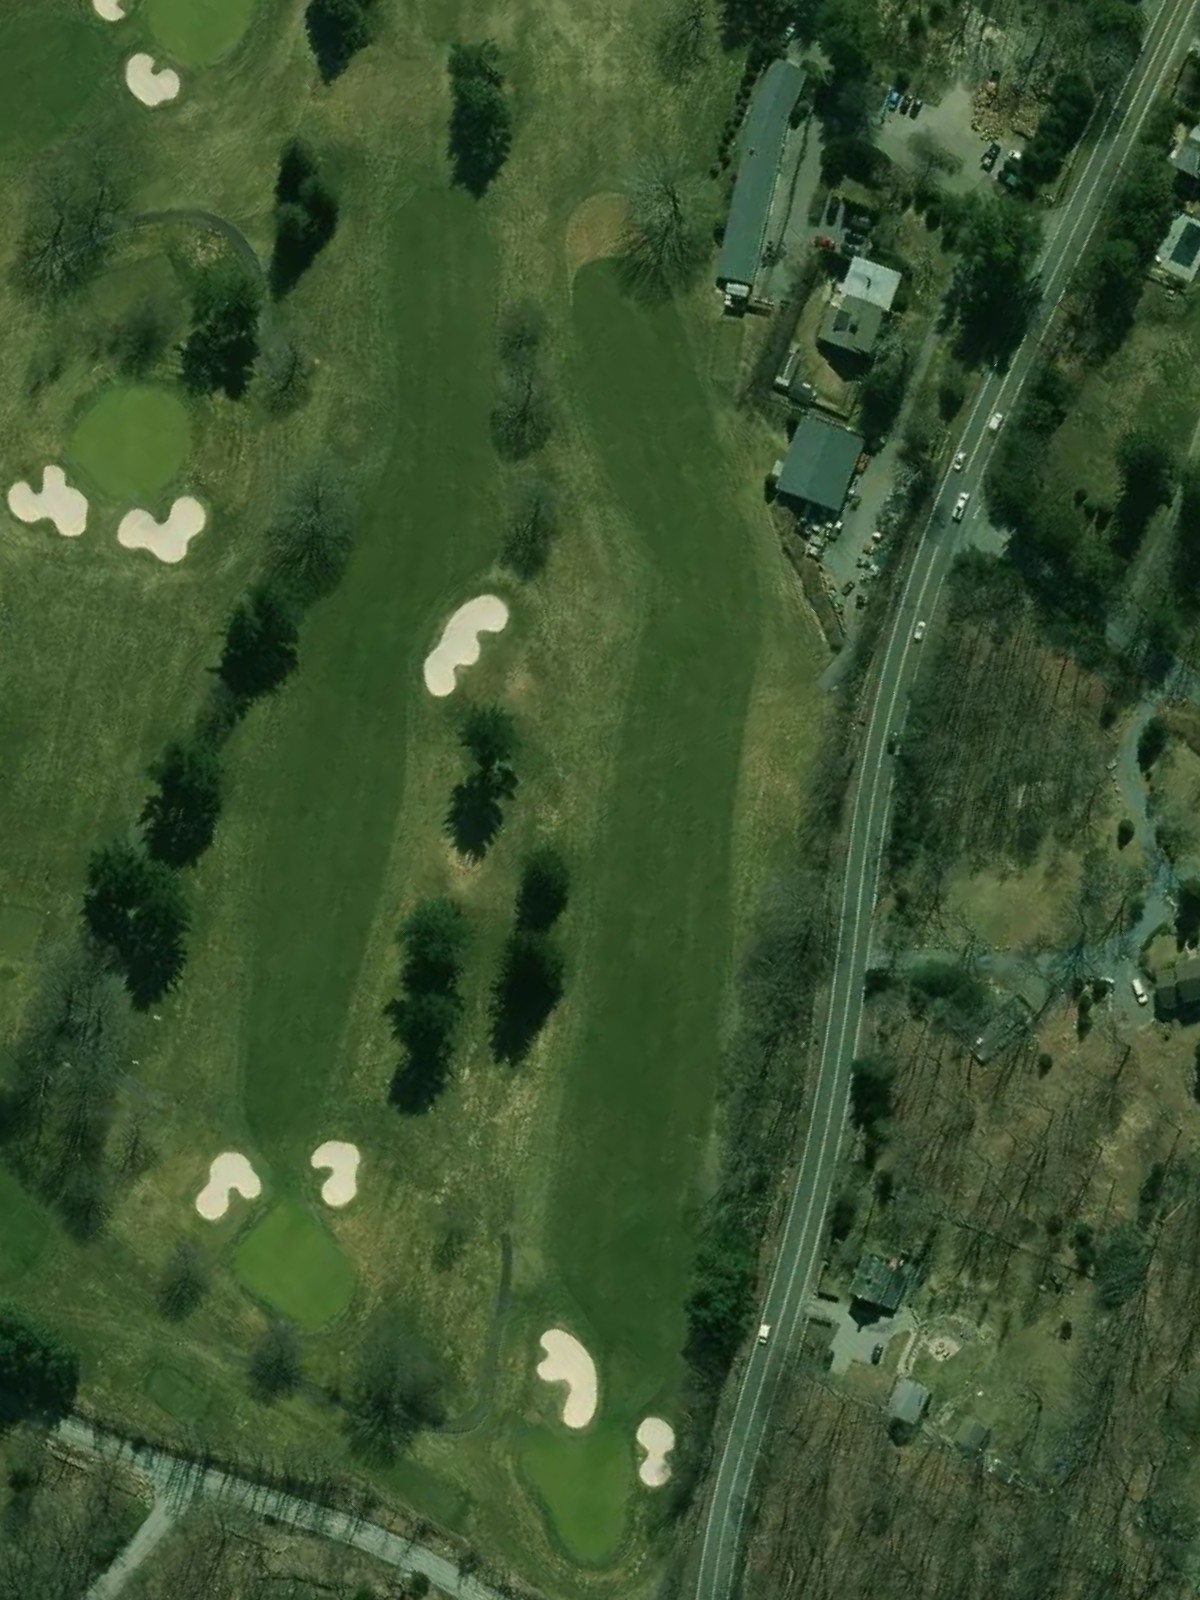
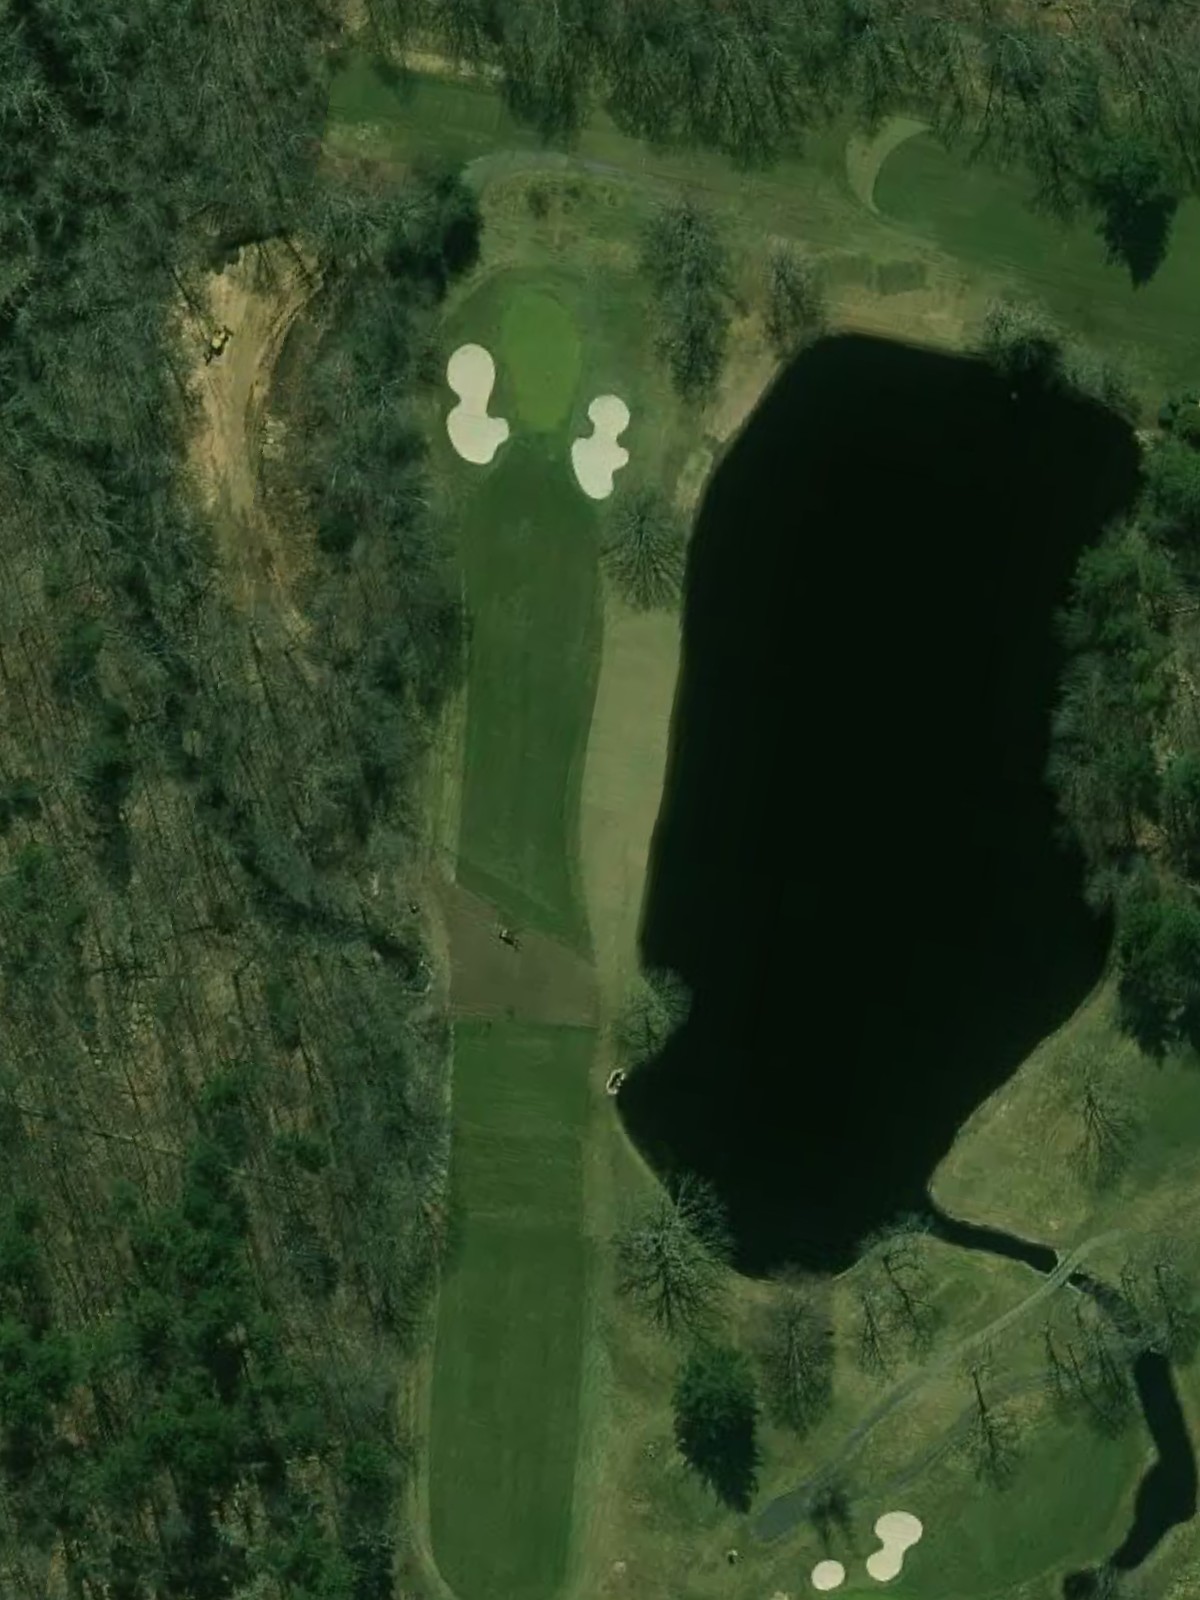
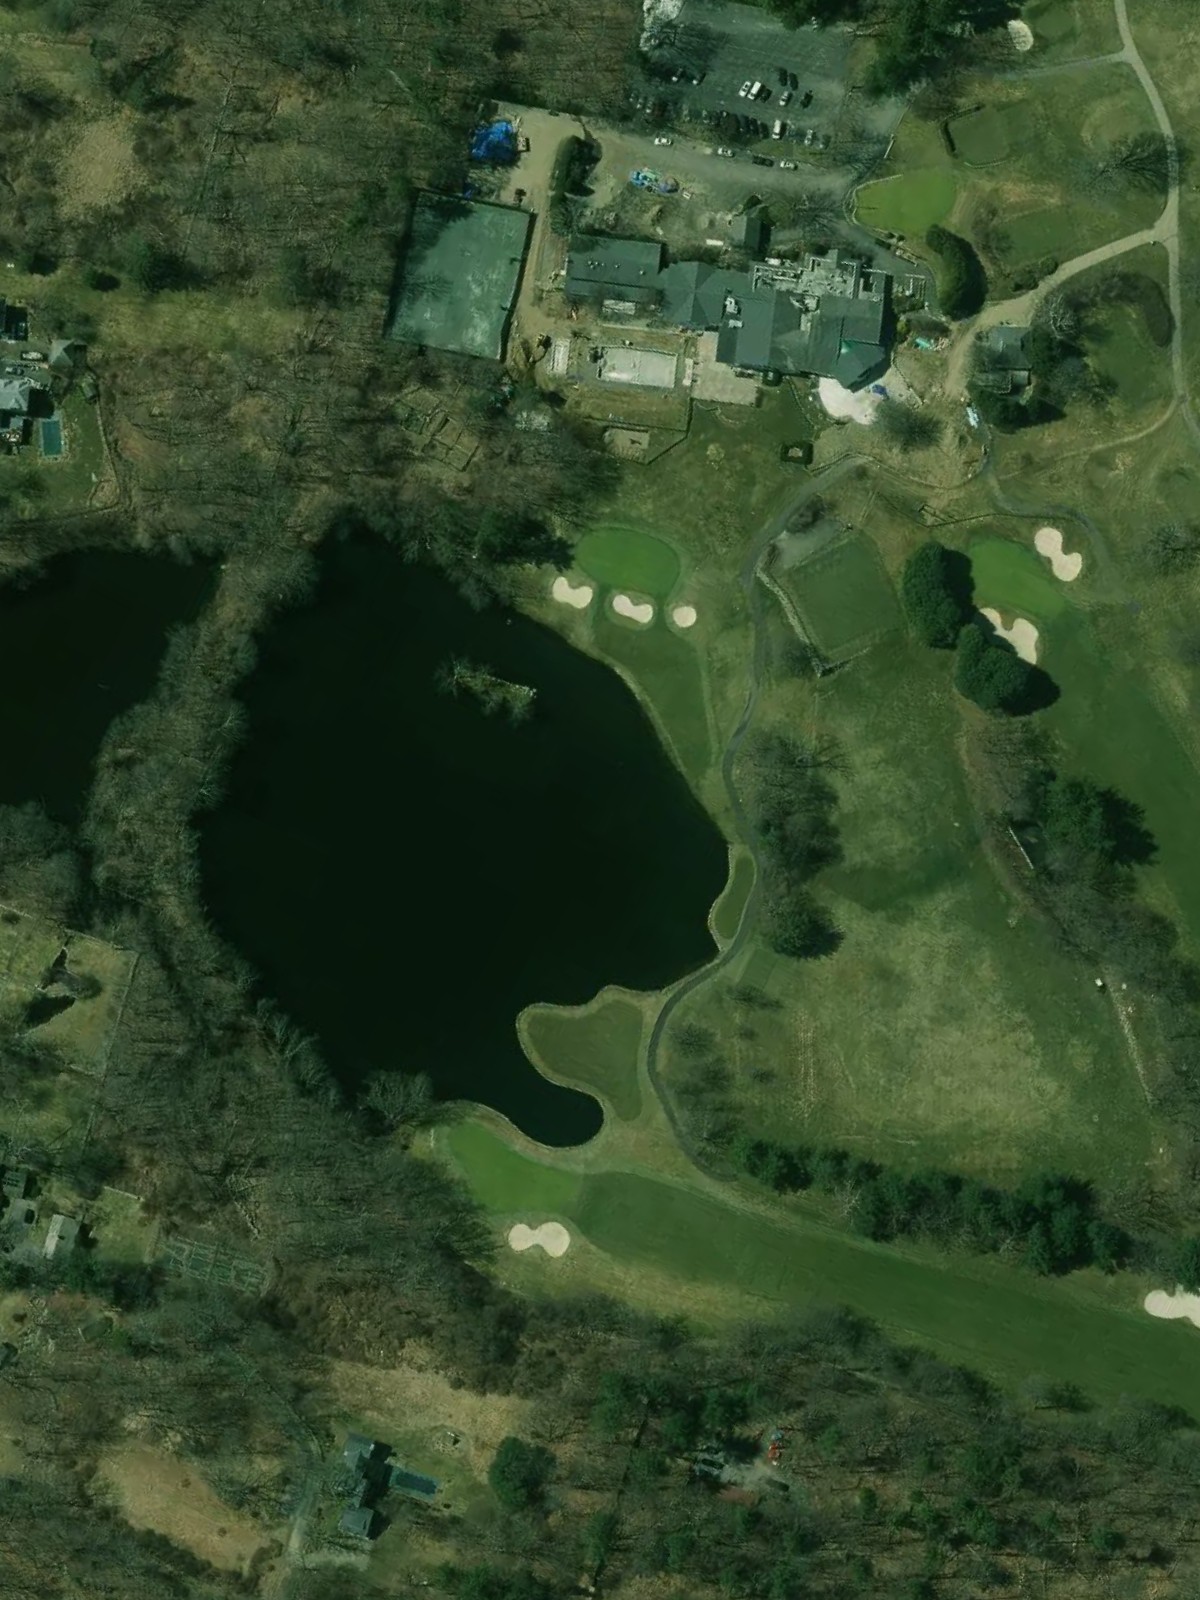
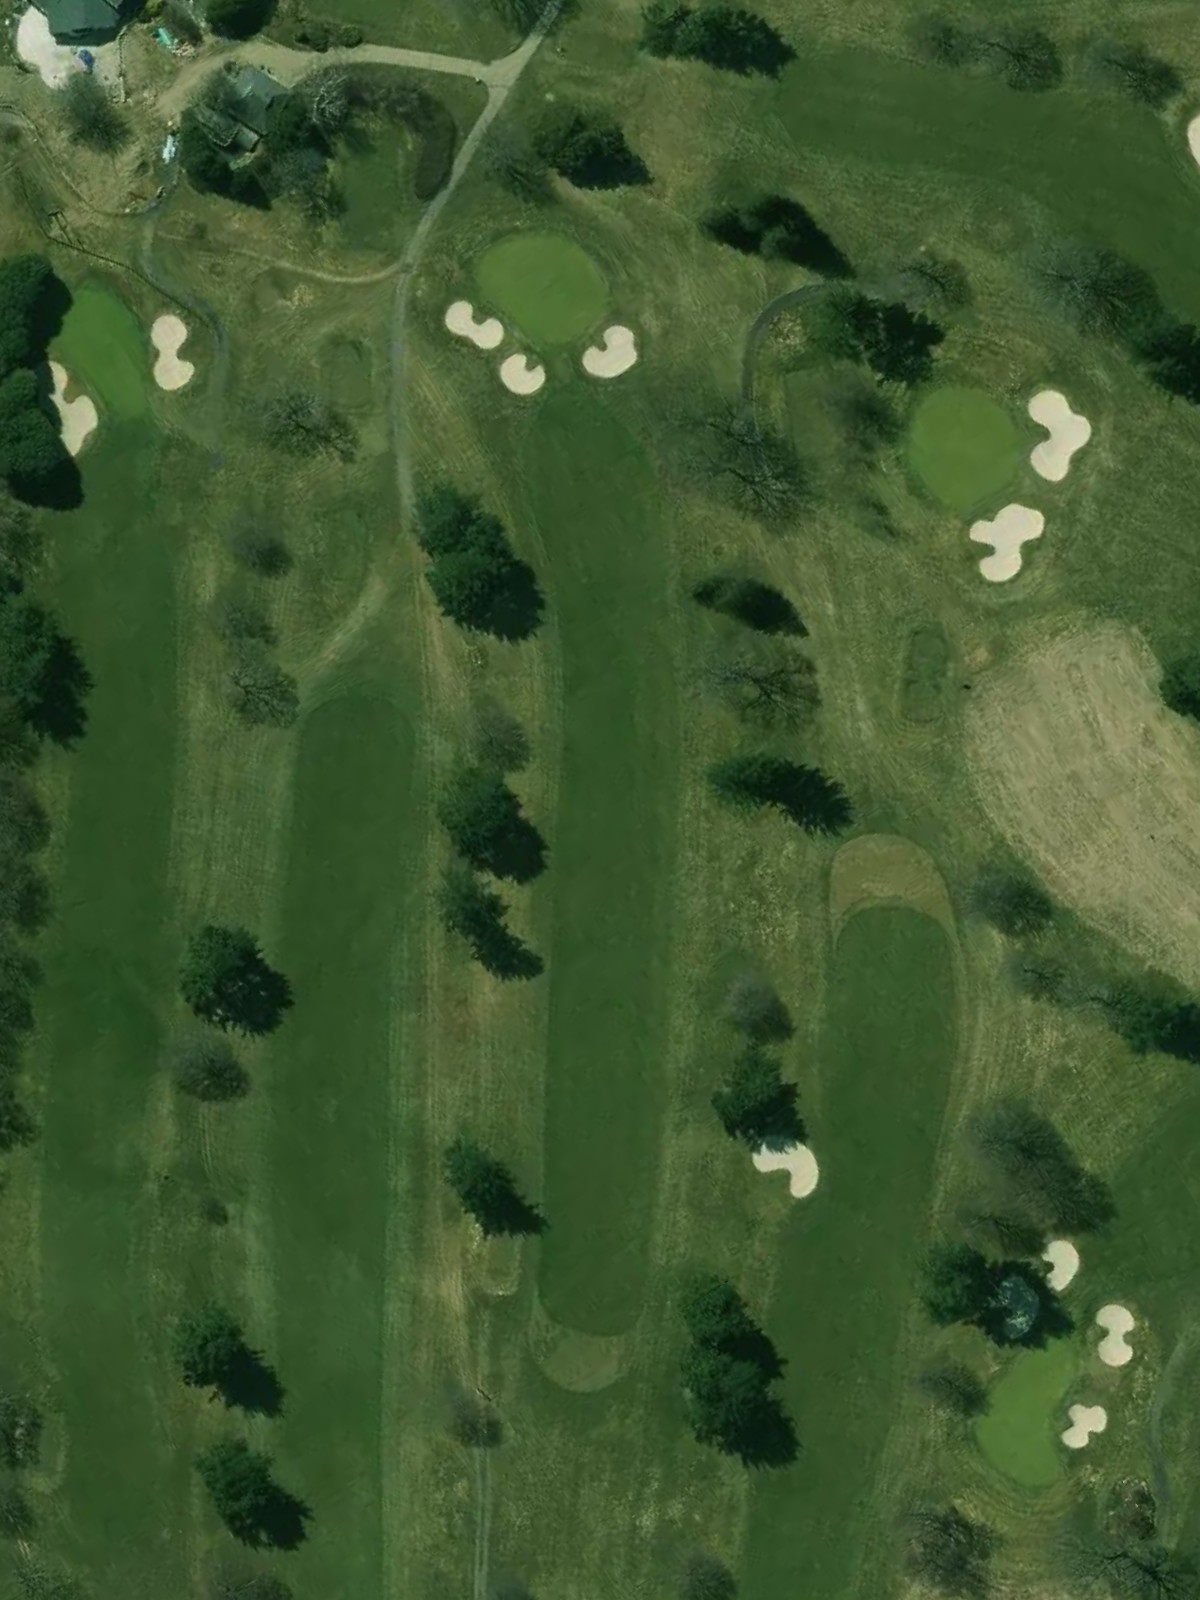
This opening par 5 plays as a relatively straightforward hole with a wide fairway that allows room for error off the tee. The green is well-bunkered and requires a precise approach to avoid sand guarding the putting surface.
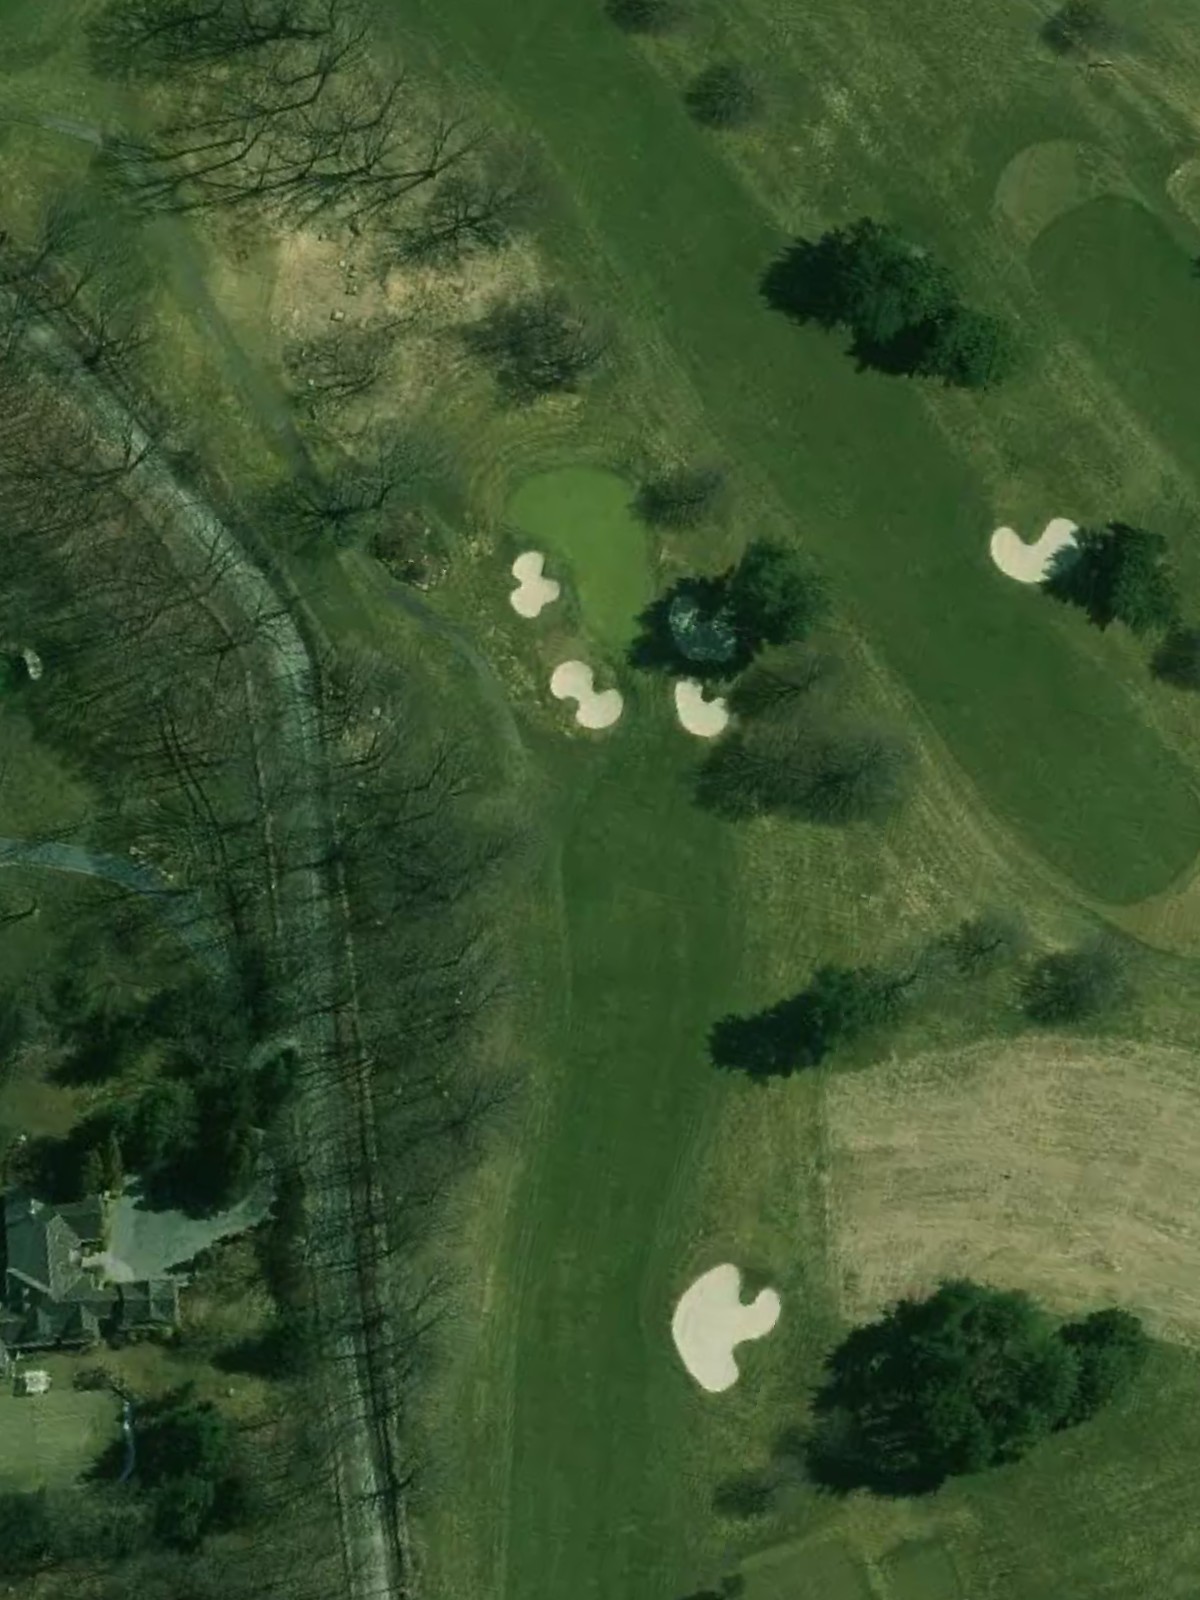
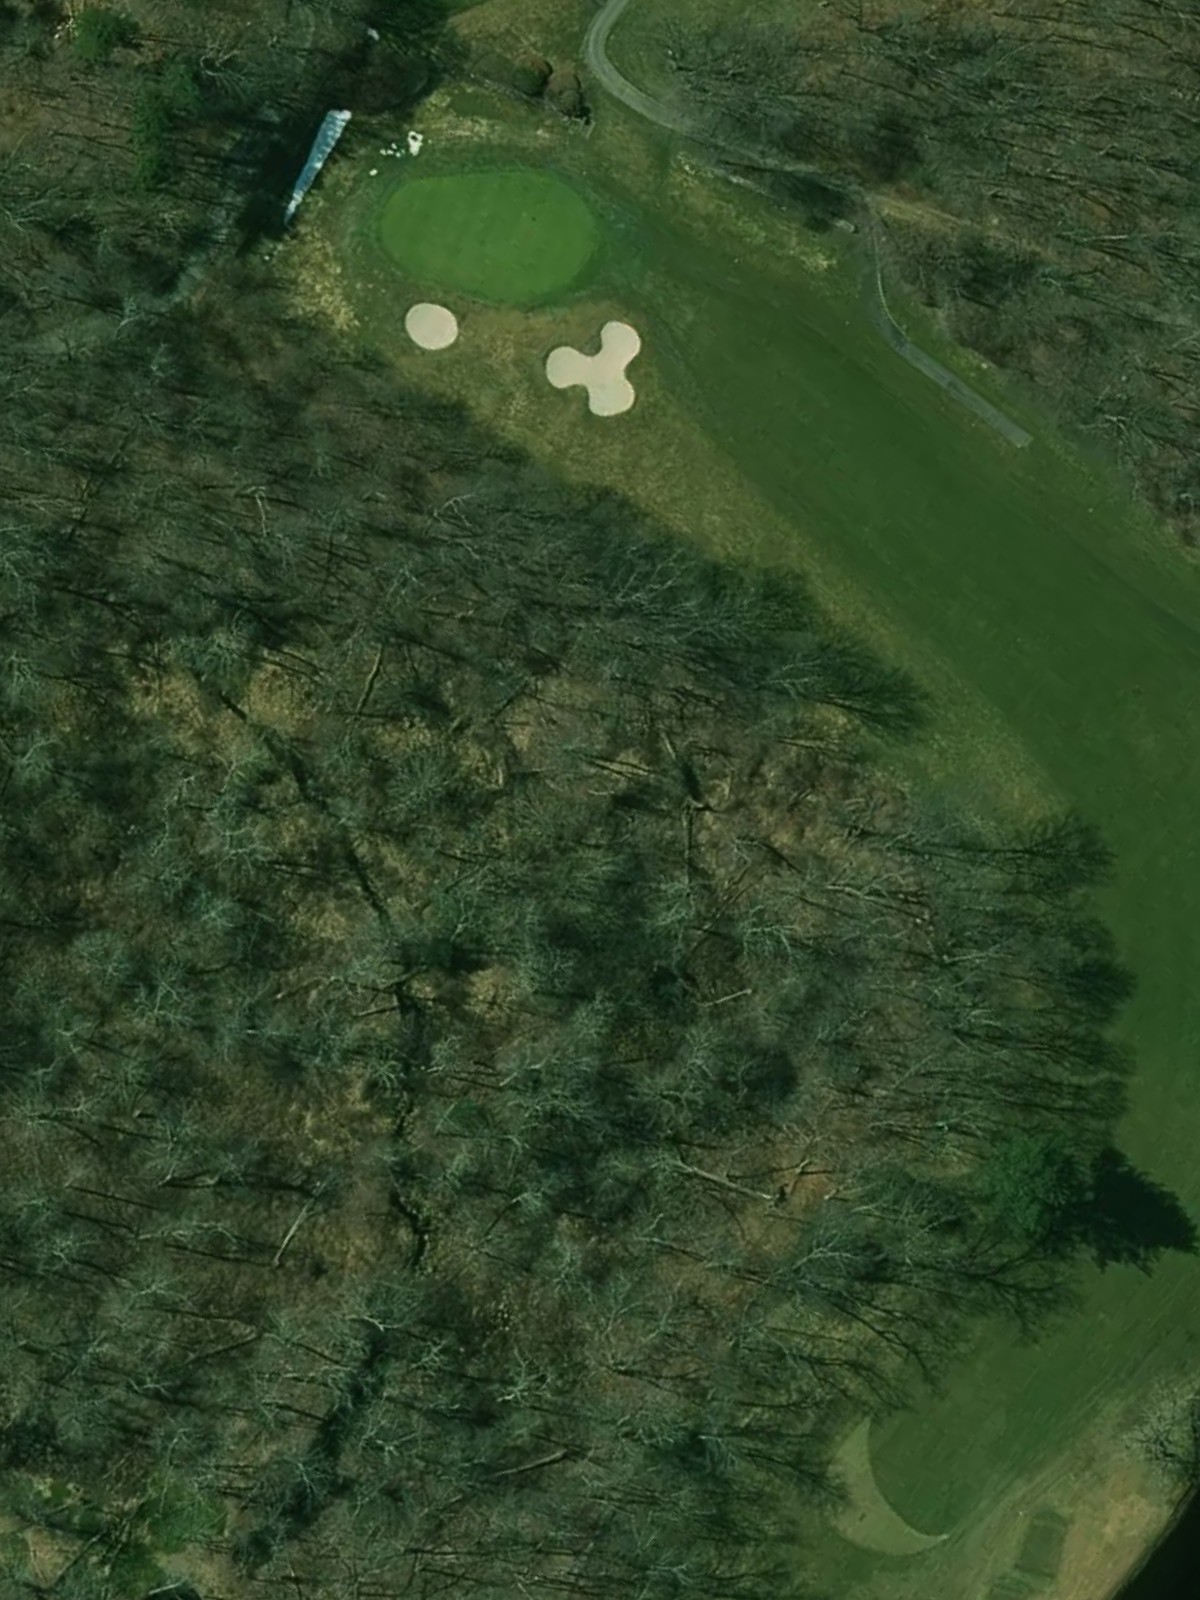
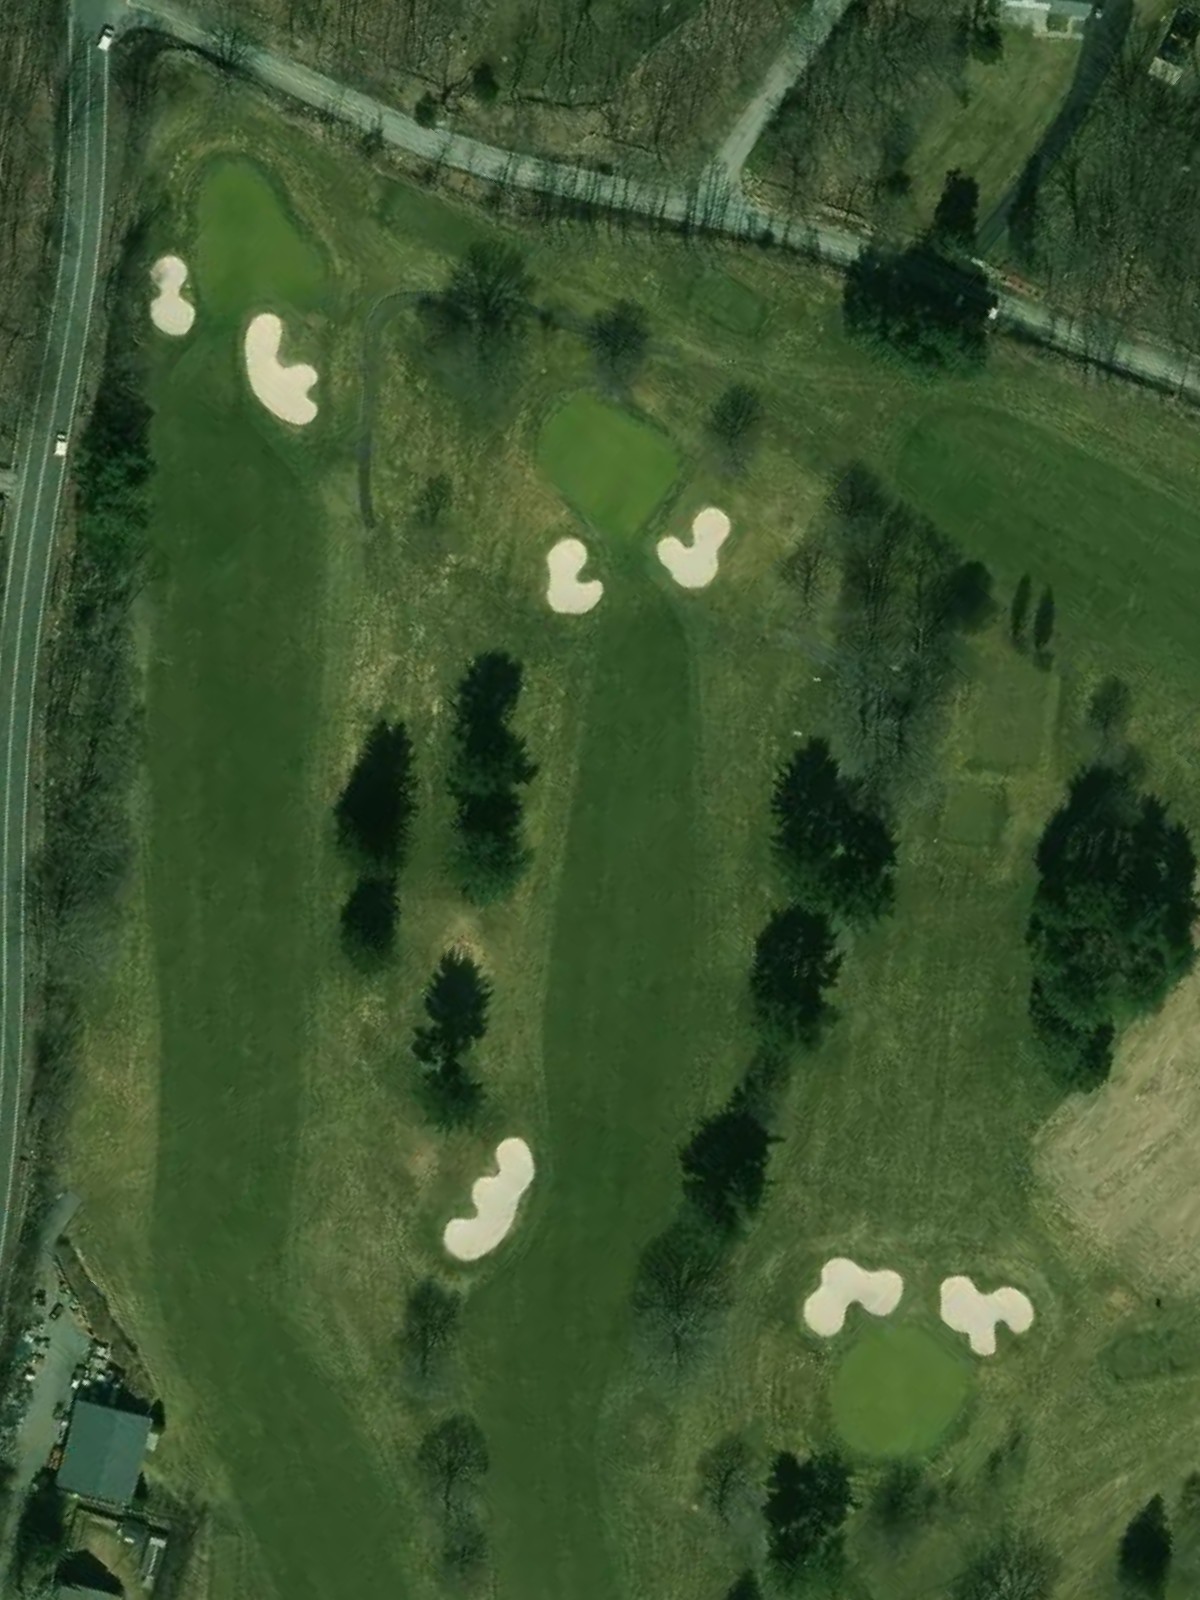
A short par 4 with a narrow fairway that demands accuracy from the start. Hazards frame both sides of the approach, making positioning from the tee critical to setting up a manageable second shot.
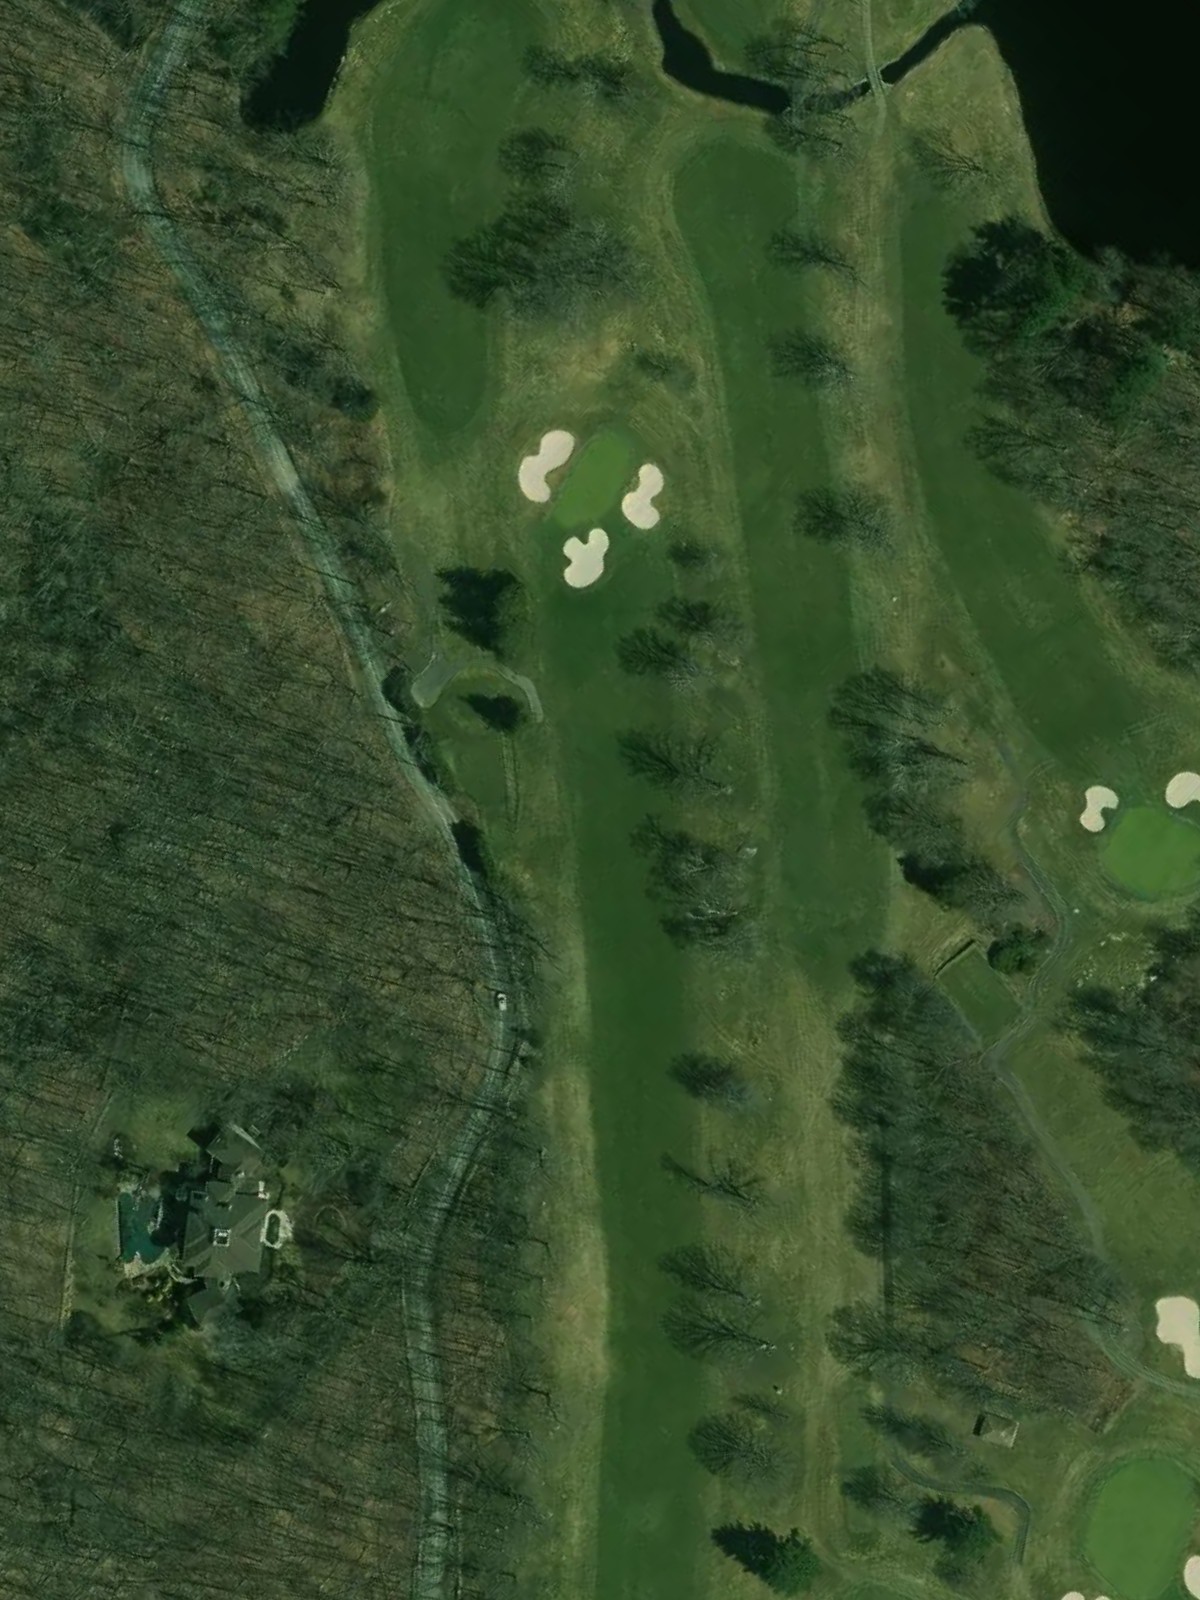
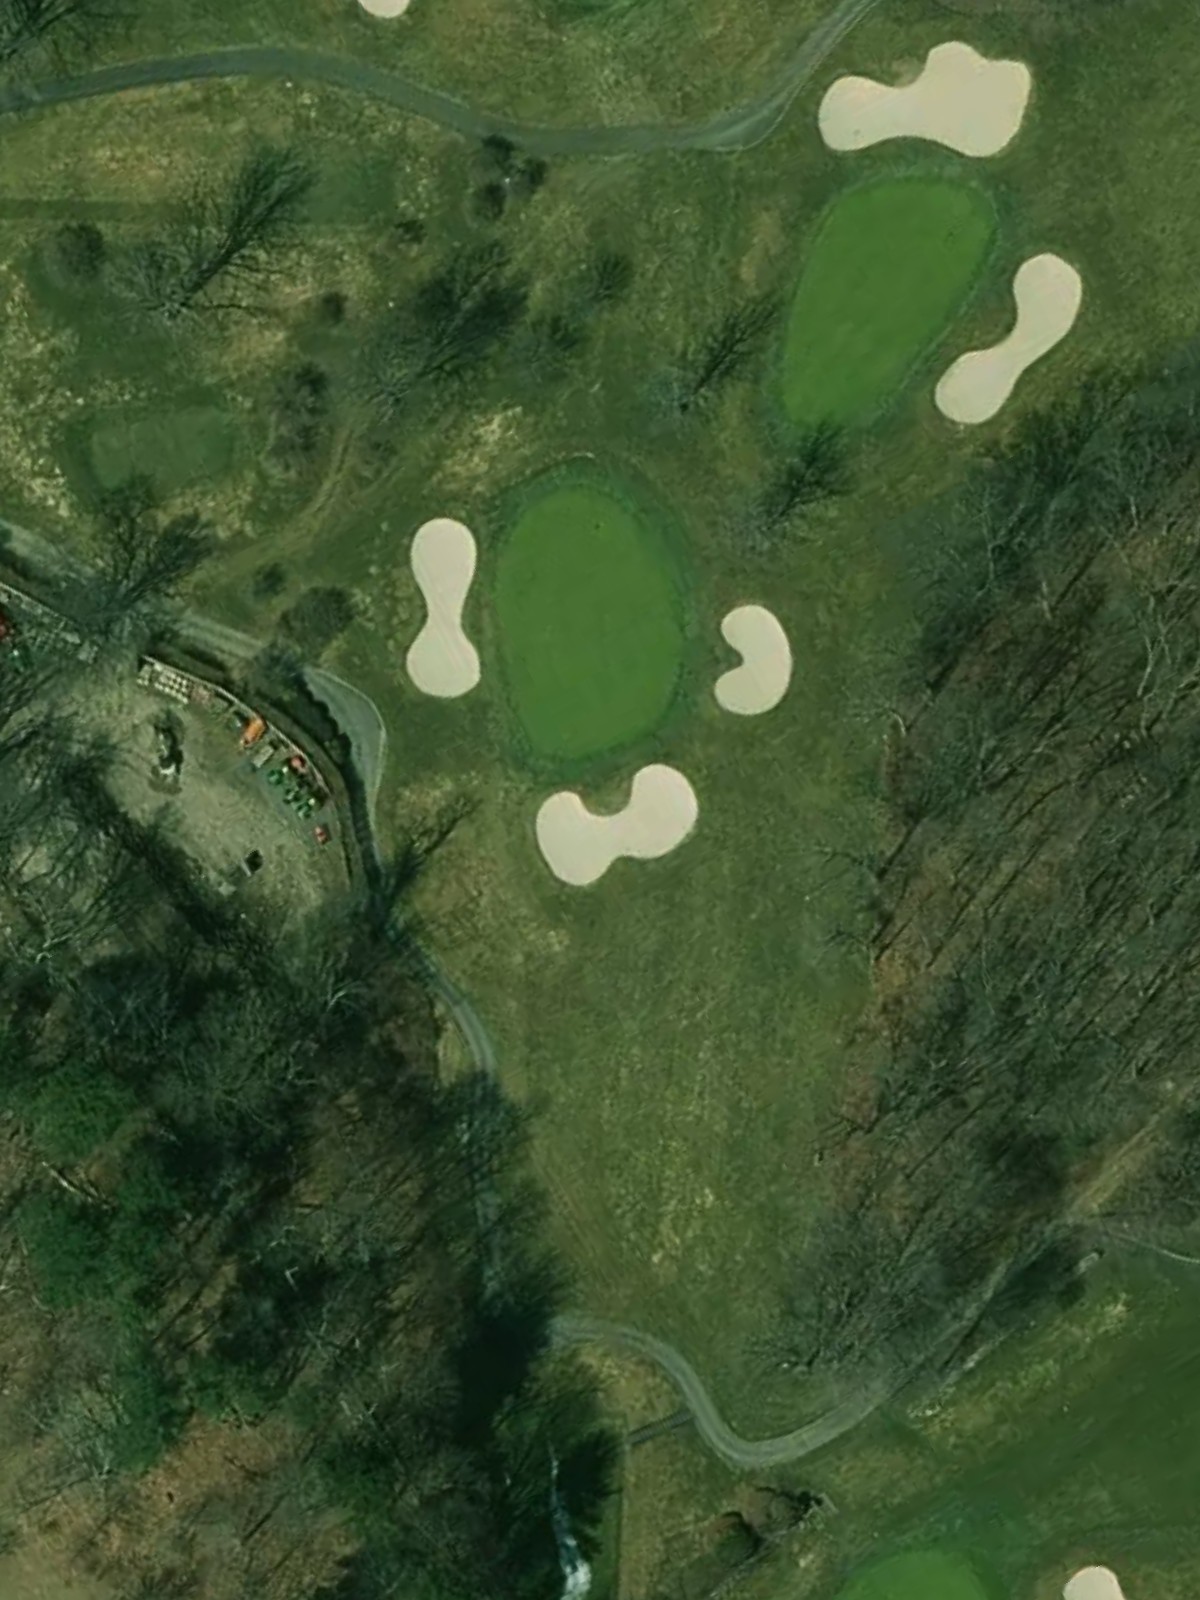
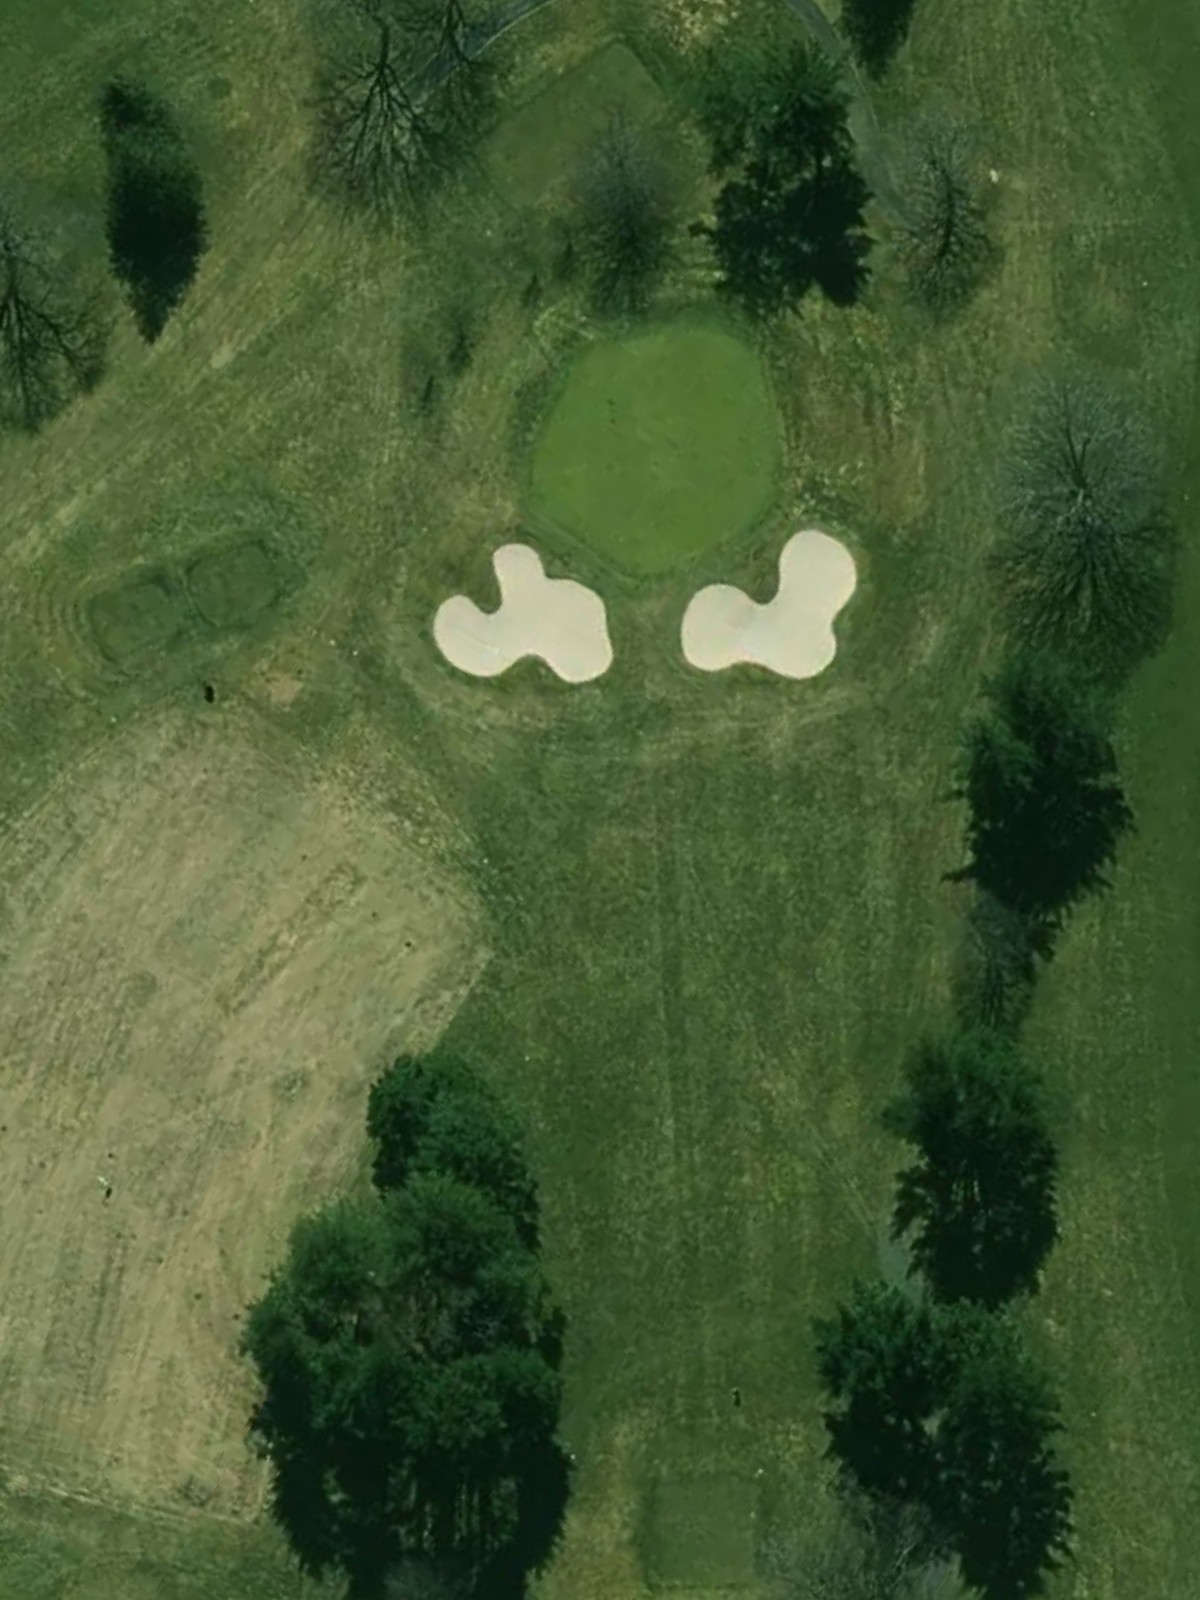
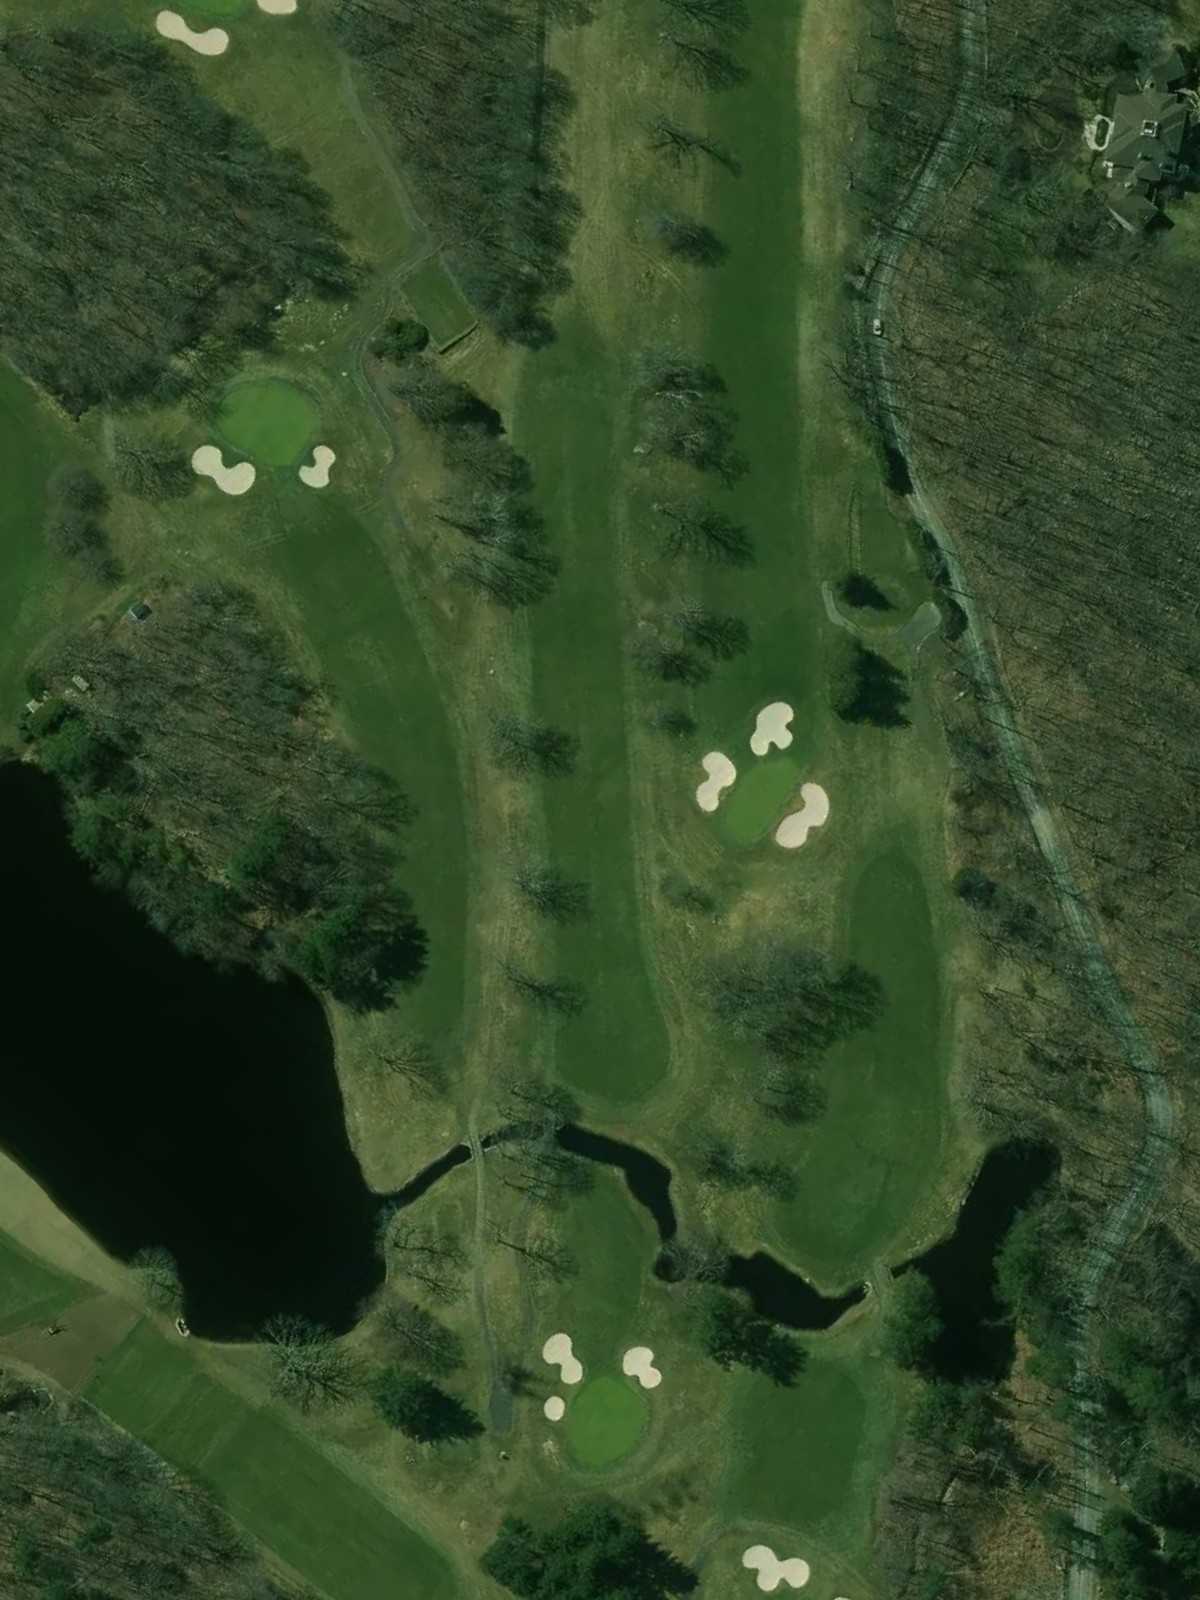
The stroke index 1 handicap, this formidable par 5 plays long and straight with minimal forgiveness off the tee. Water and/or strategic bunkering penalizes errant shots, making this one of the course's most demanding holes.
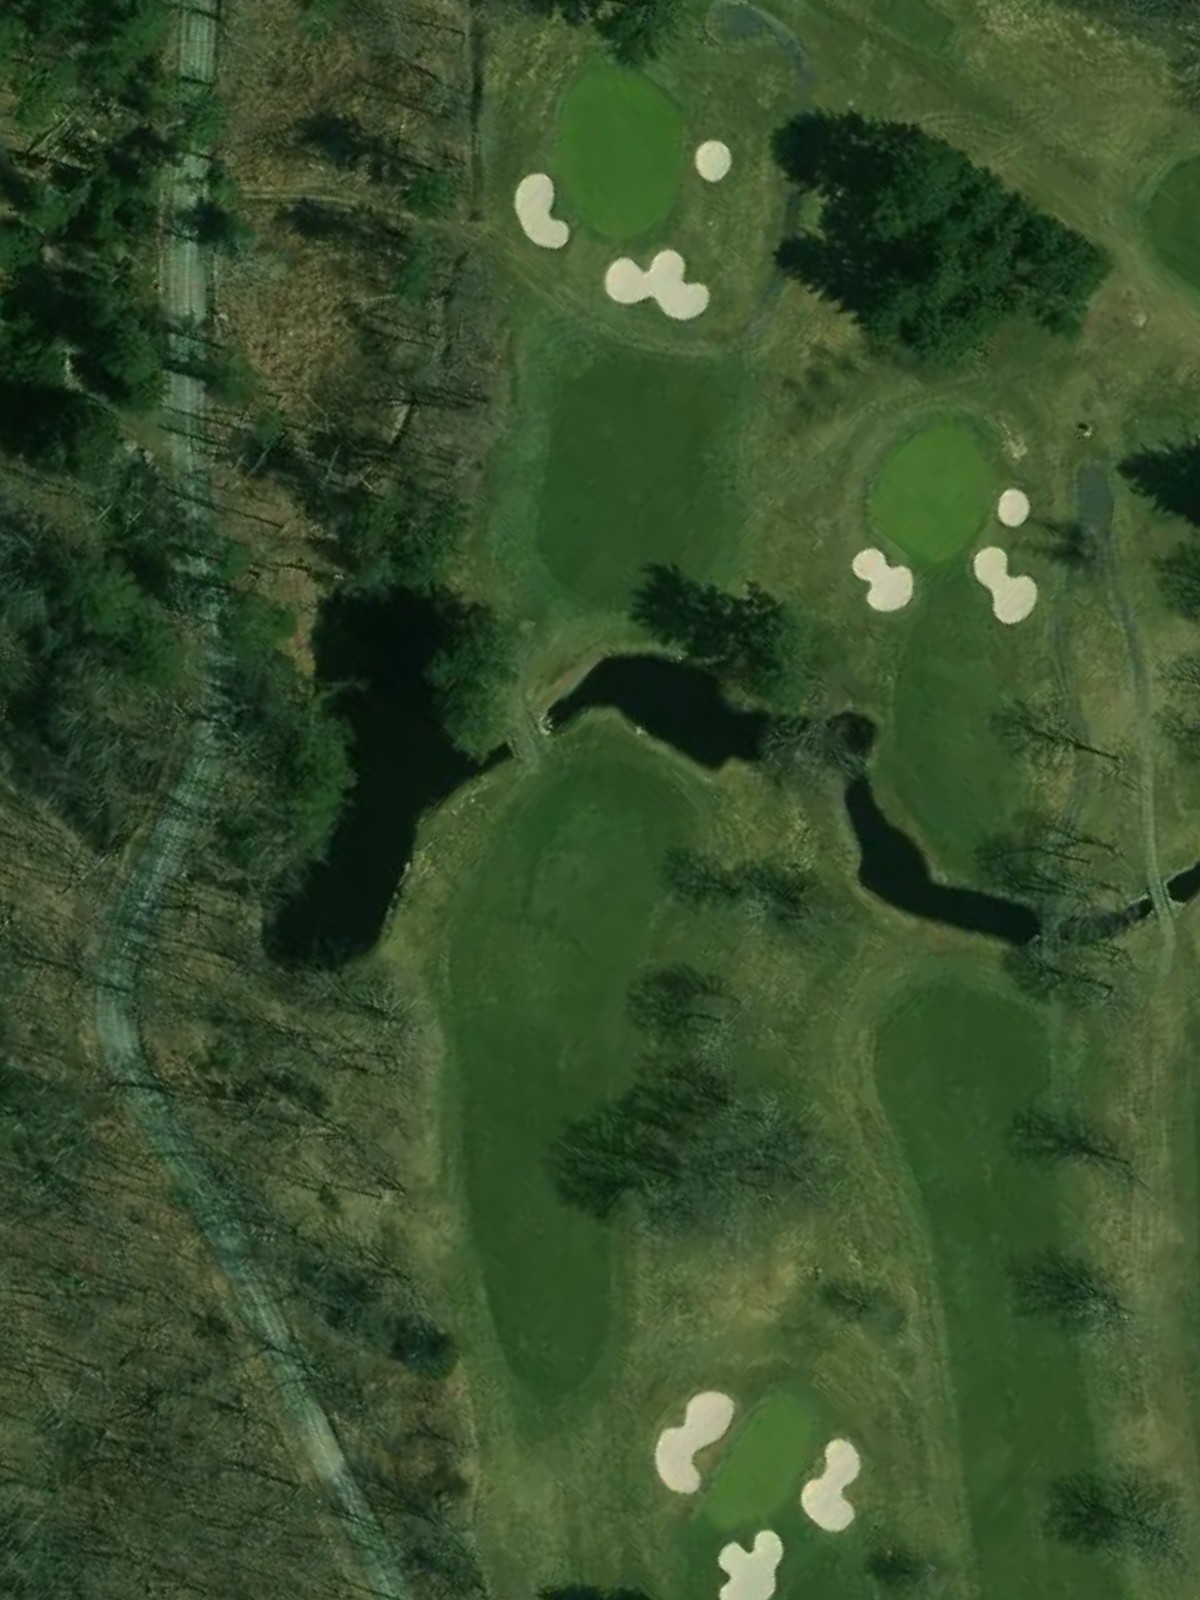
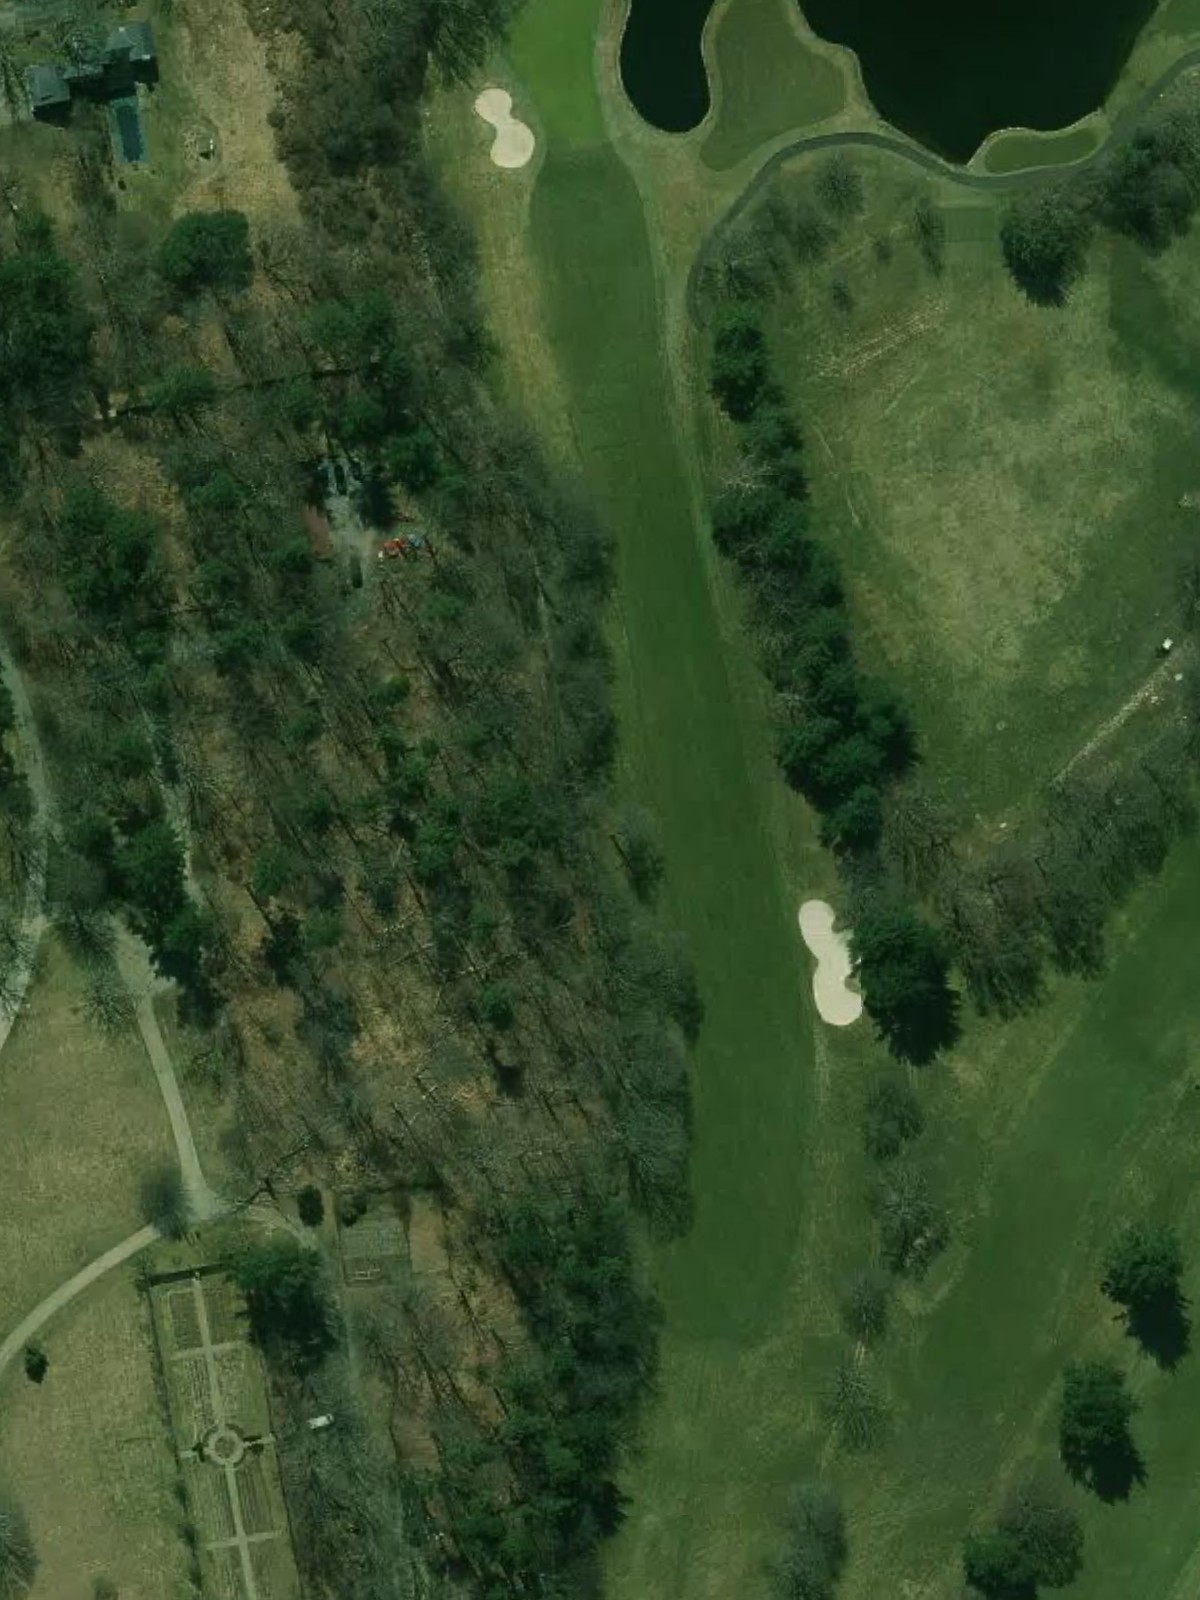
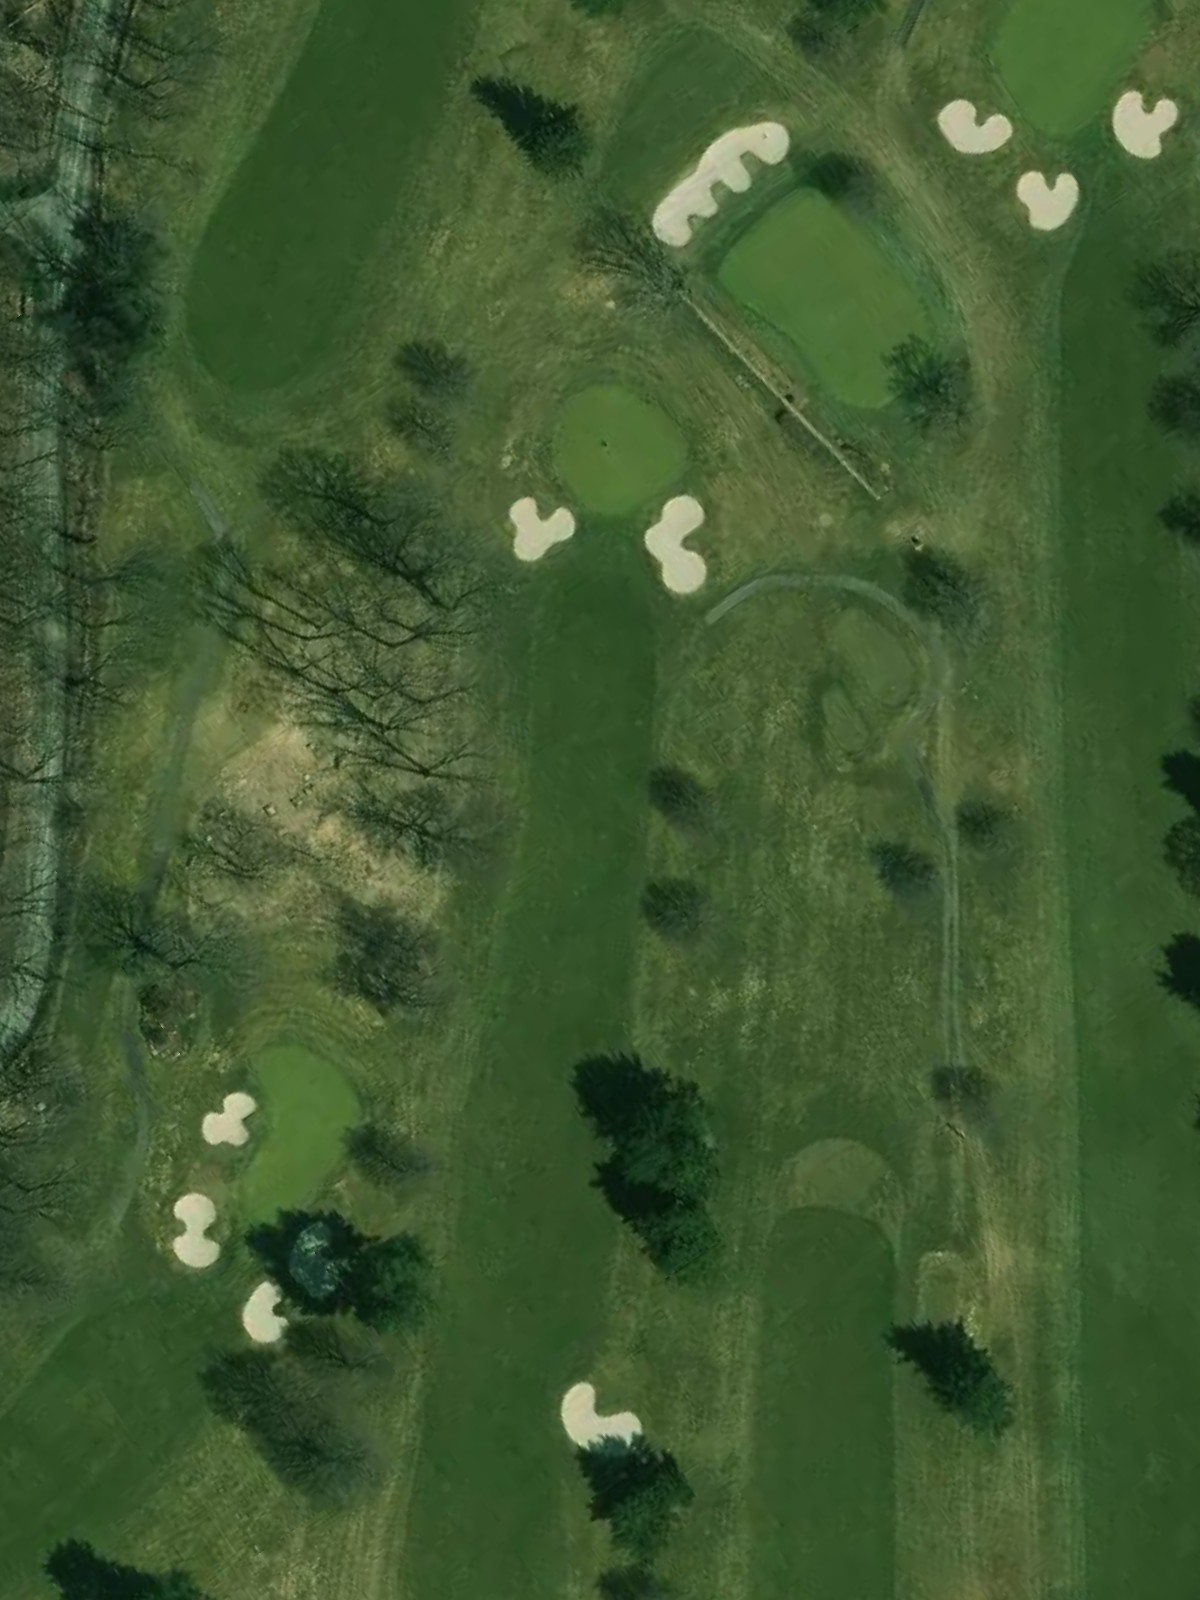
A manageable par 4 with a relatively open fairway corridor. The green is protected by bunkers that demand accuracy on the approach shot to avoid scrambling for par.
A solid par 4 featuring a fairway that requires precision rather than length. Bunkers frame the green's entrance, and the moderate yardage makes this a fair but testing hole.
Ranked as the 3rd hardest hole, this par 4 presents a challenging test with strategic bunkering throughout. The fairway narrows as it approaches the green, with sand hazards guarding critical areas.
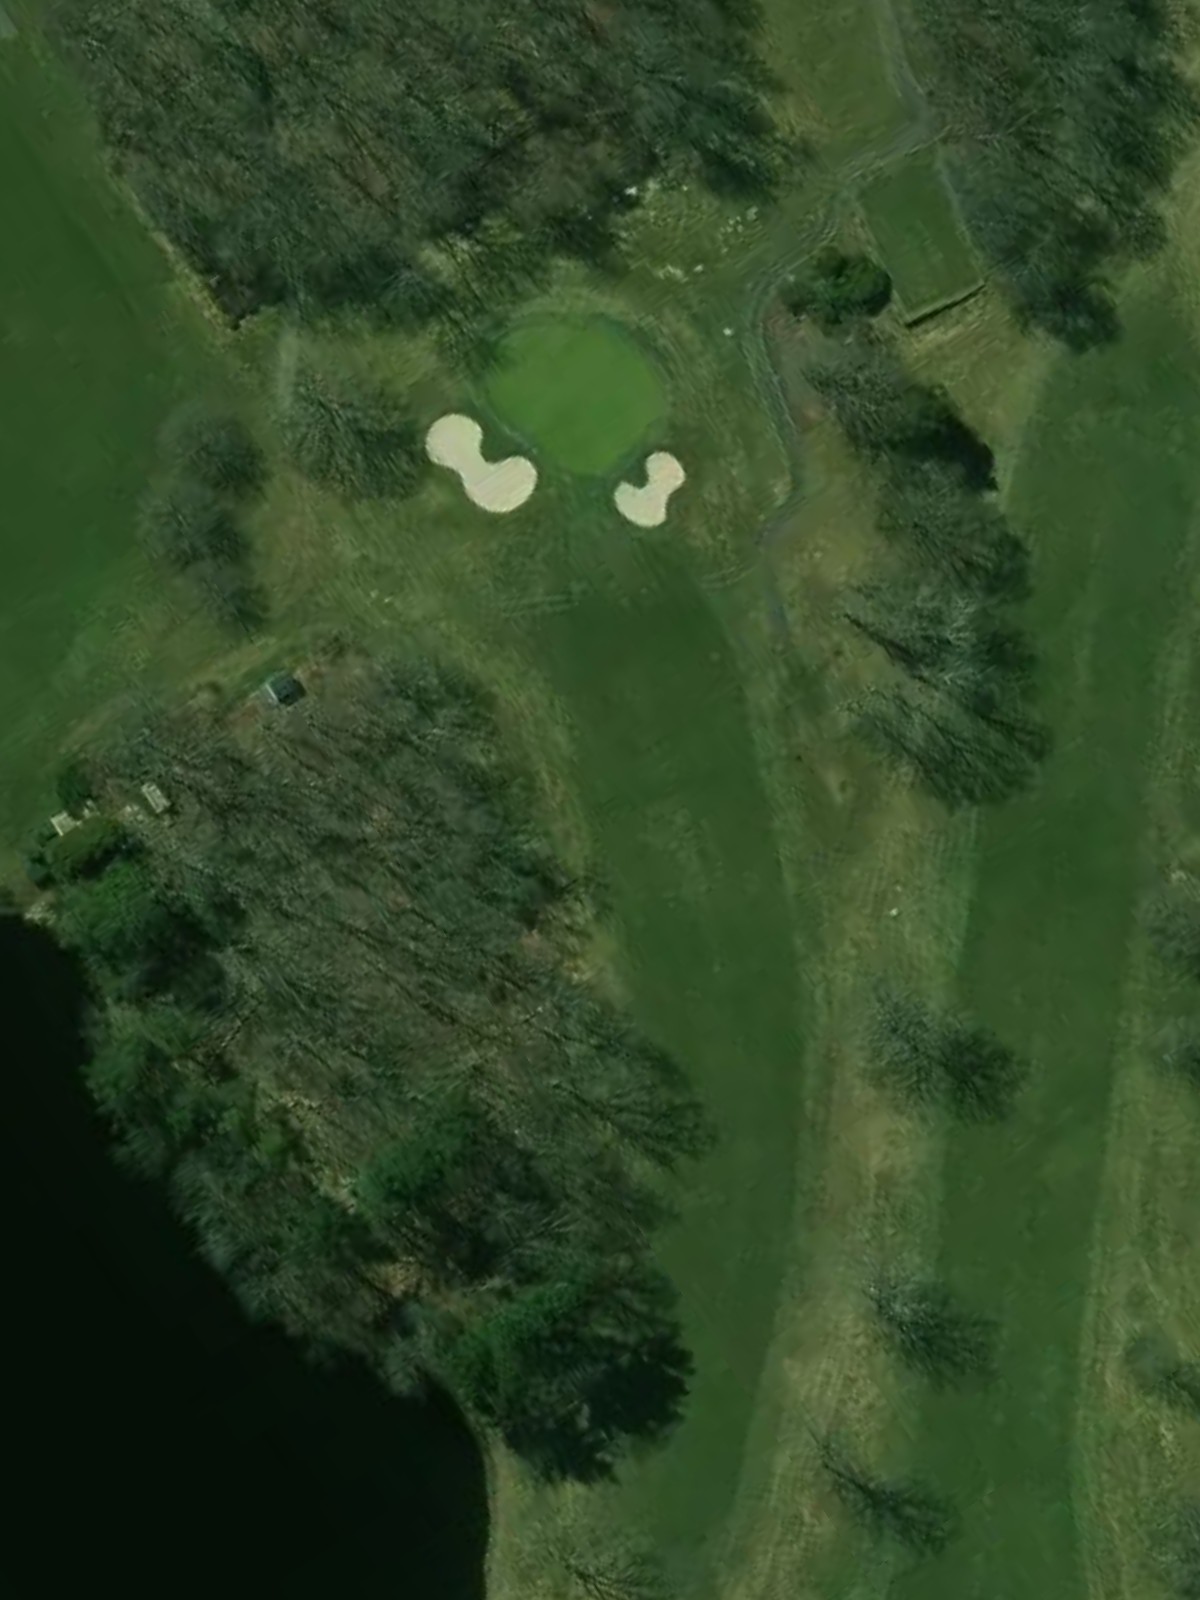
A short par 3 that plays downhill to an elevated green. The brevity of the hole is deceptive, as precision is required to avoid bunkers surrounding the putting surface.
One of the course's longest par 4s, this hole demands two solid strikes to reach a well-protected green. Bunkers guard the approach, and the extended yardage makes this a strength-testing hole.
A mid-length par 3 requiring an accurate tee shot to a relatively open green. The hole's moderate distance and accessible landing area make it a fair one-shot test.
This par 4 presents a balanced test with a fairway that allows for reasonable positioning off the tee. Greenside bunkers provide the primary defense, rewarding accurate approaches.
A short par 3 that is the easiest one-shot hole on the course, offering a receptive green with modest bunkering. The reduced yardage provides a scoring opportunity for accurate strikers.
A par 4 of moderate length with a fairway that narrows toward the green. Bunkers strategically position themselves around the putting surface, requiring precision on the approach.
The 4th hardest hole on the course, this par 4 demands two well-executed shots to a heavily defended green. Bunkers frame the approach and the elevated difficulty requires careful course management.
The 2nd stroke index hole, this imposing par 5 is one of the most difficult on the course with length and hazards creating a formidable challenge. Strategic bunkering penalizes both wayward tee shots and poor approach positioning.
A par 5 of moderate length that offers more accessibility than the course's longer par 5s. The fairway is reasonably wide, though hazards guard the green to protect par.
A shorter par 4 that provides a scoring opportunity despite its handicap ranking. The reduced yardage allows for aggressive play, though bunkers still guard the green's approach.
The second-easiest par 3 on the course, this short one-shotter plays to a receptive green with minimal hazard protection. The modest length makes this an excellent birdie opportunity.
This finishing par 4 combines moderate length with strategic bunkering to create a challenging conclusion. The fairway tightens toward the green, requiring precision on both tee and approach shots.
Scorecard
| Hole | 1 | 2 | 3 | 4 | 5 | 6 | 7 | 8 | 9 | Out | 10 | 11 | 12 | 13 | 14 | 15 | 16 | 17 | 18 | In | Tot |
|---|---|---|---|---|---|---|---|---|---|---|---|---|---|---|---|---|---|---|---|---|---|
| Par | 5 | 4 | 5 | 4 | 4 | 4 | 3 | 4 | 3 | 36 | 4 | 3 | 4 | 4 | 5 | 5 | 4 | 3 | 4 | 36 | 72 |
| HCP | 9 | 11 | 1 | 13 | 7 | 3 | 17 | 5 | 15 | 6 | 18 | 12 | 4 | 2 | 10 | 14 | 16 | 8 | |||
| blue | 465 | 386 | 562 | 379 | 422 | 415 | 125 | 466 | 182 | 3402 | 404 | 163 | 420 | 417 | 560 | 511 | 334 | 137 | 437 | 3383 | 6785 |
| white | 461 | 377 | 552 | 356 | 387 | 397 | 119 | 418 | 172 | 3239 | 396 | 157 | 416 | 392 | 554 | 485 | 330 | 130 | 413 | 3273 | 6512 |
| green 2022 (m) | 420 | 370 | 505 | 350 | 379 | 385 | 114 | 407 | 160 | 3090 | 336 | 152 | 351 | 378 | 512 | 440 | 310 | 126 | 406 | 3011 | 6101 |
| gold | 334 | 321 | 479 | 336 | 345 | 281 | 109 | 401 | 126 | 2732 | 336 | 135 | 351 | 257 | 512 | 490 | 269 | 123 | 295 | 2768 | 5500 |