Rock Creek Cattle Company is an 18-hole golf course in Deer Lodge, MT with a par of 71. It offers 9 tee sets: tee i (7,486 yards, slope 146, rating 75.1), tee i/ii combo (7,122 yards, slope 137, rating 73.3), tee ii (6,767 yards, slope 127, rating 71.7), tee ii/iii combo (6,421 yards, slope 125, rating 70), tee iii (6,274 yards, slope 121, rating 69.4), tee iii/iv combo (5,682 yards, slope 116, rating 66.9), tee iv (5,494 yards, slope 113, rating 65.9), tee iv/v combo (5,059 yards, slope 109, rating 63.5), tee v (4,574 yards, slope 101, rating 61.3). The hardest hole is #4, a par 4 playing 457 yards from the first tee.
Rock Creek Cattle Company
Deer Lodge, MT
Get PDF Yardage Book
We'll email you the PDF link. No spam, ever.
Create Your Game Plan
Pick your tees, enter your bag, and get a personalized shot-by-shot strategy for every hole.
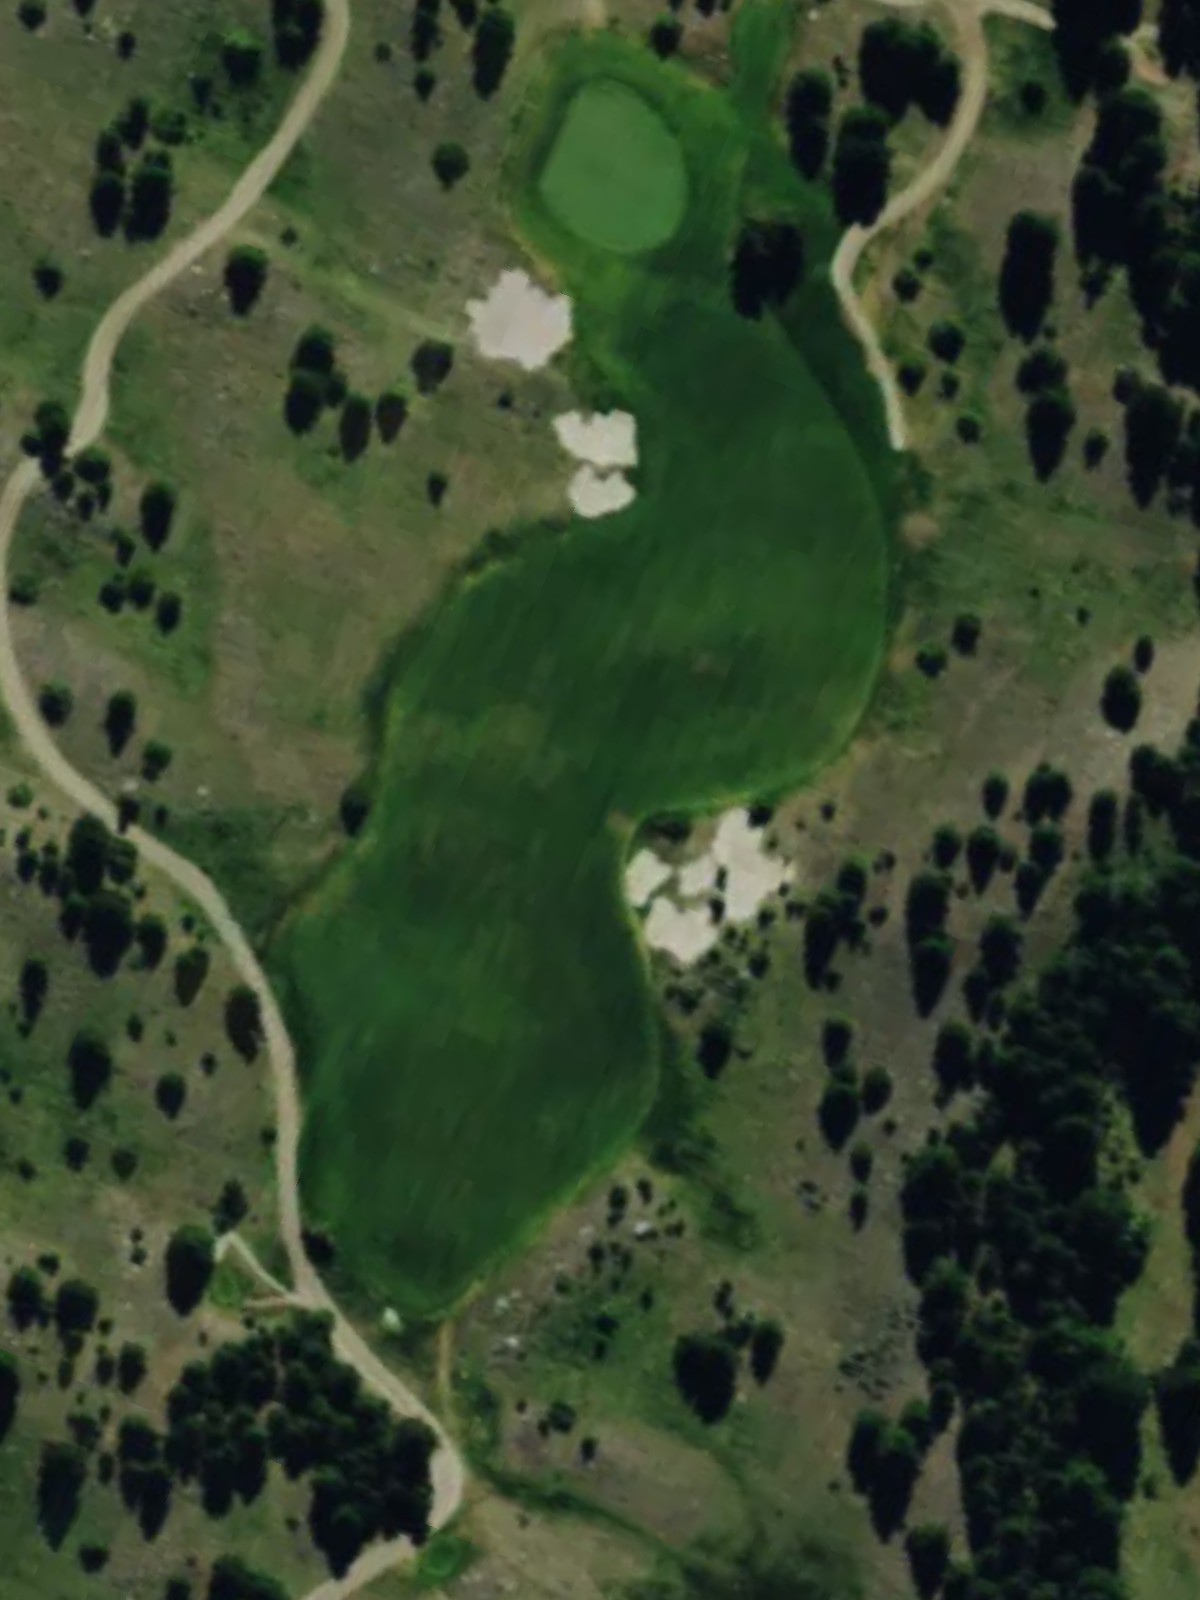
A relatively straightforward par 4 from the back tees that plays shorter from forward positions. The fairway is receptive off the tee, but the approach narrows as it approaches the green where bunkers and rough demand accuracy on the final shot.
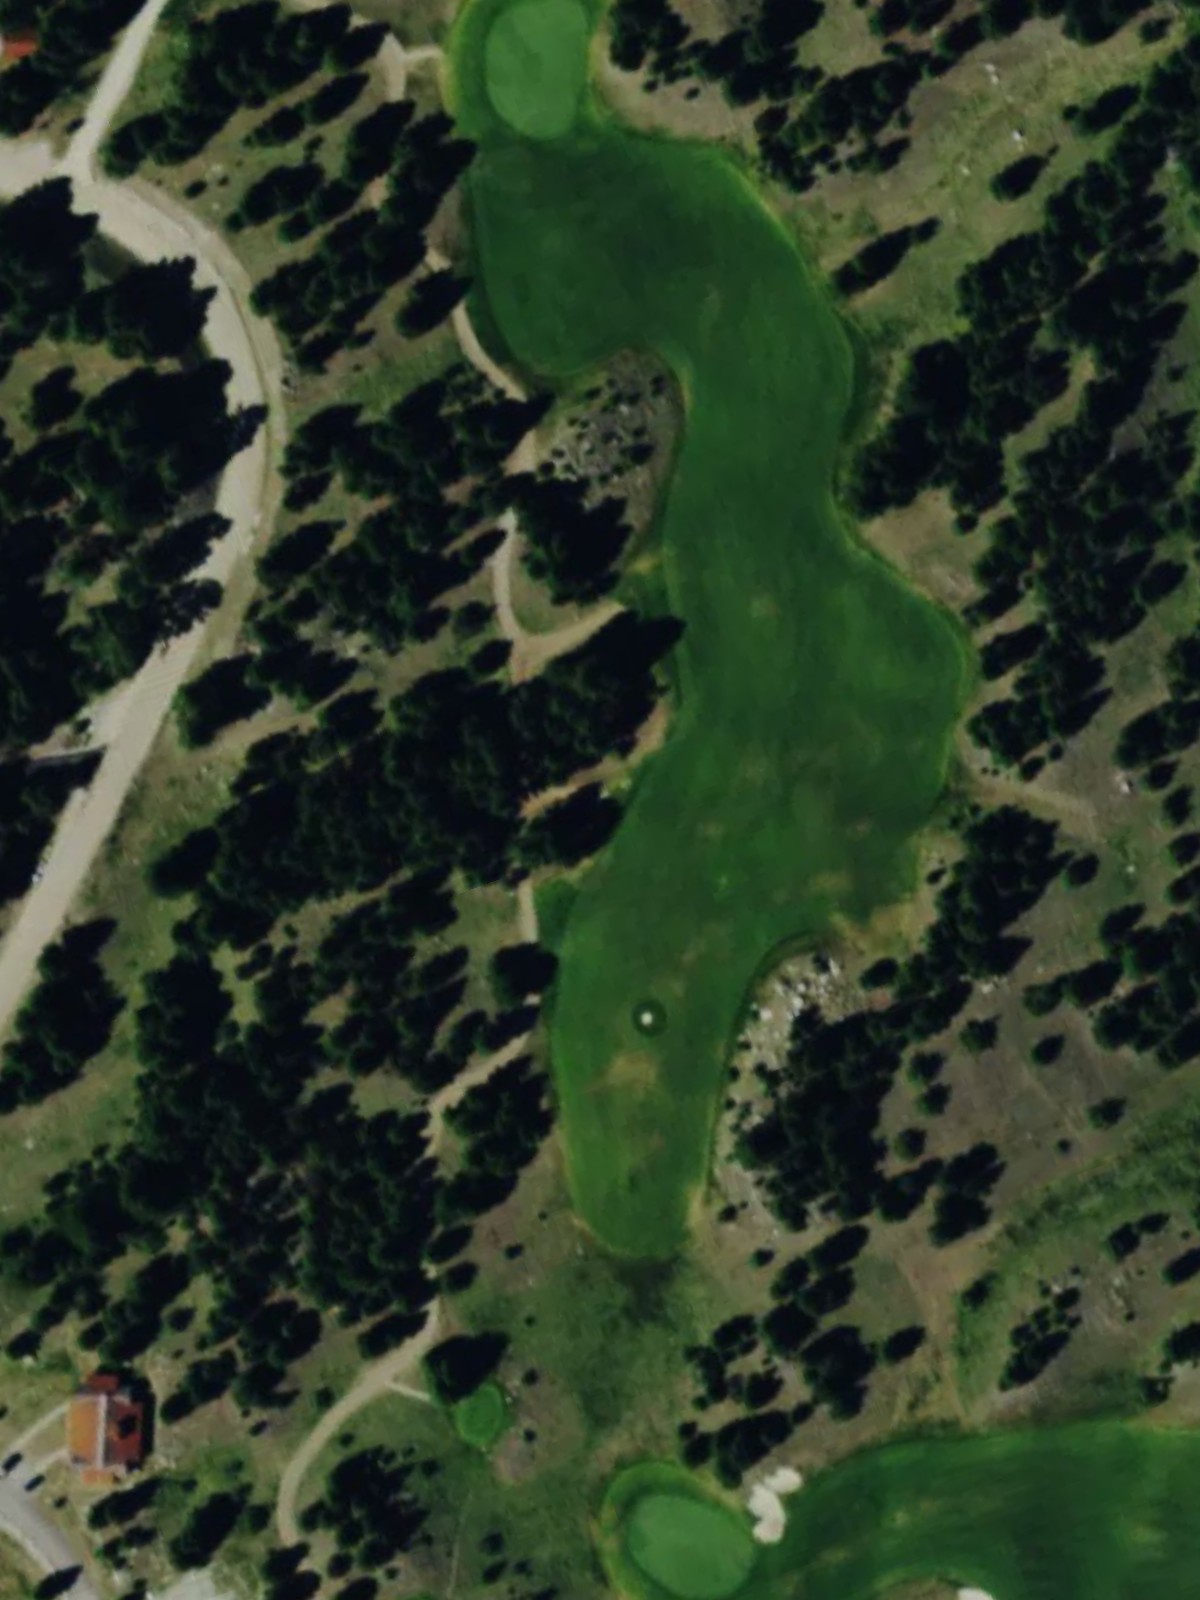
A demanding par 4 that stretches significantly from the championship tees, making this one of the course's most difficult holes. Strategic positioning off the tee is essential, as the fairway tightens toward a well-bunkered green that penalizes wayward approaches.
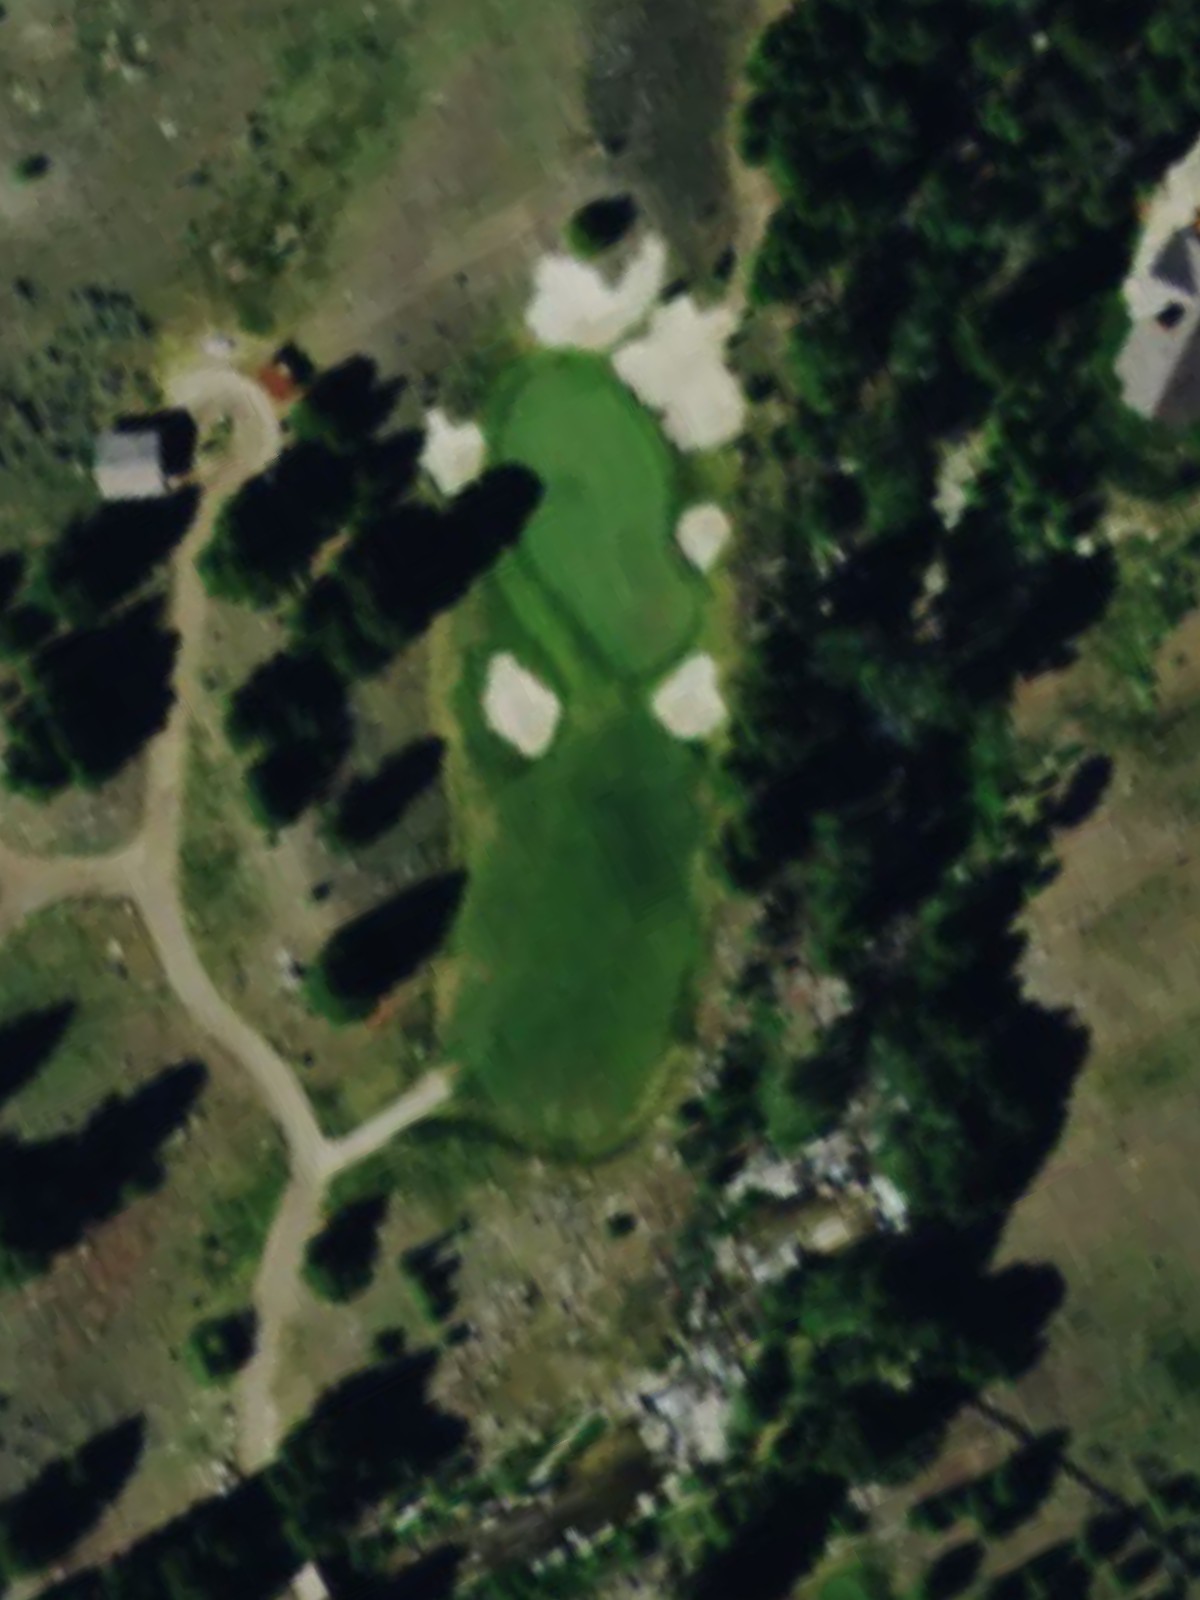
A long par 5 that offers birdie opportunities for players who can navigate the extended length, particularly from forward tees. The hole's size and layout reward solid striking, though hazards and bunkering around the green demand a precise final shot.
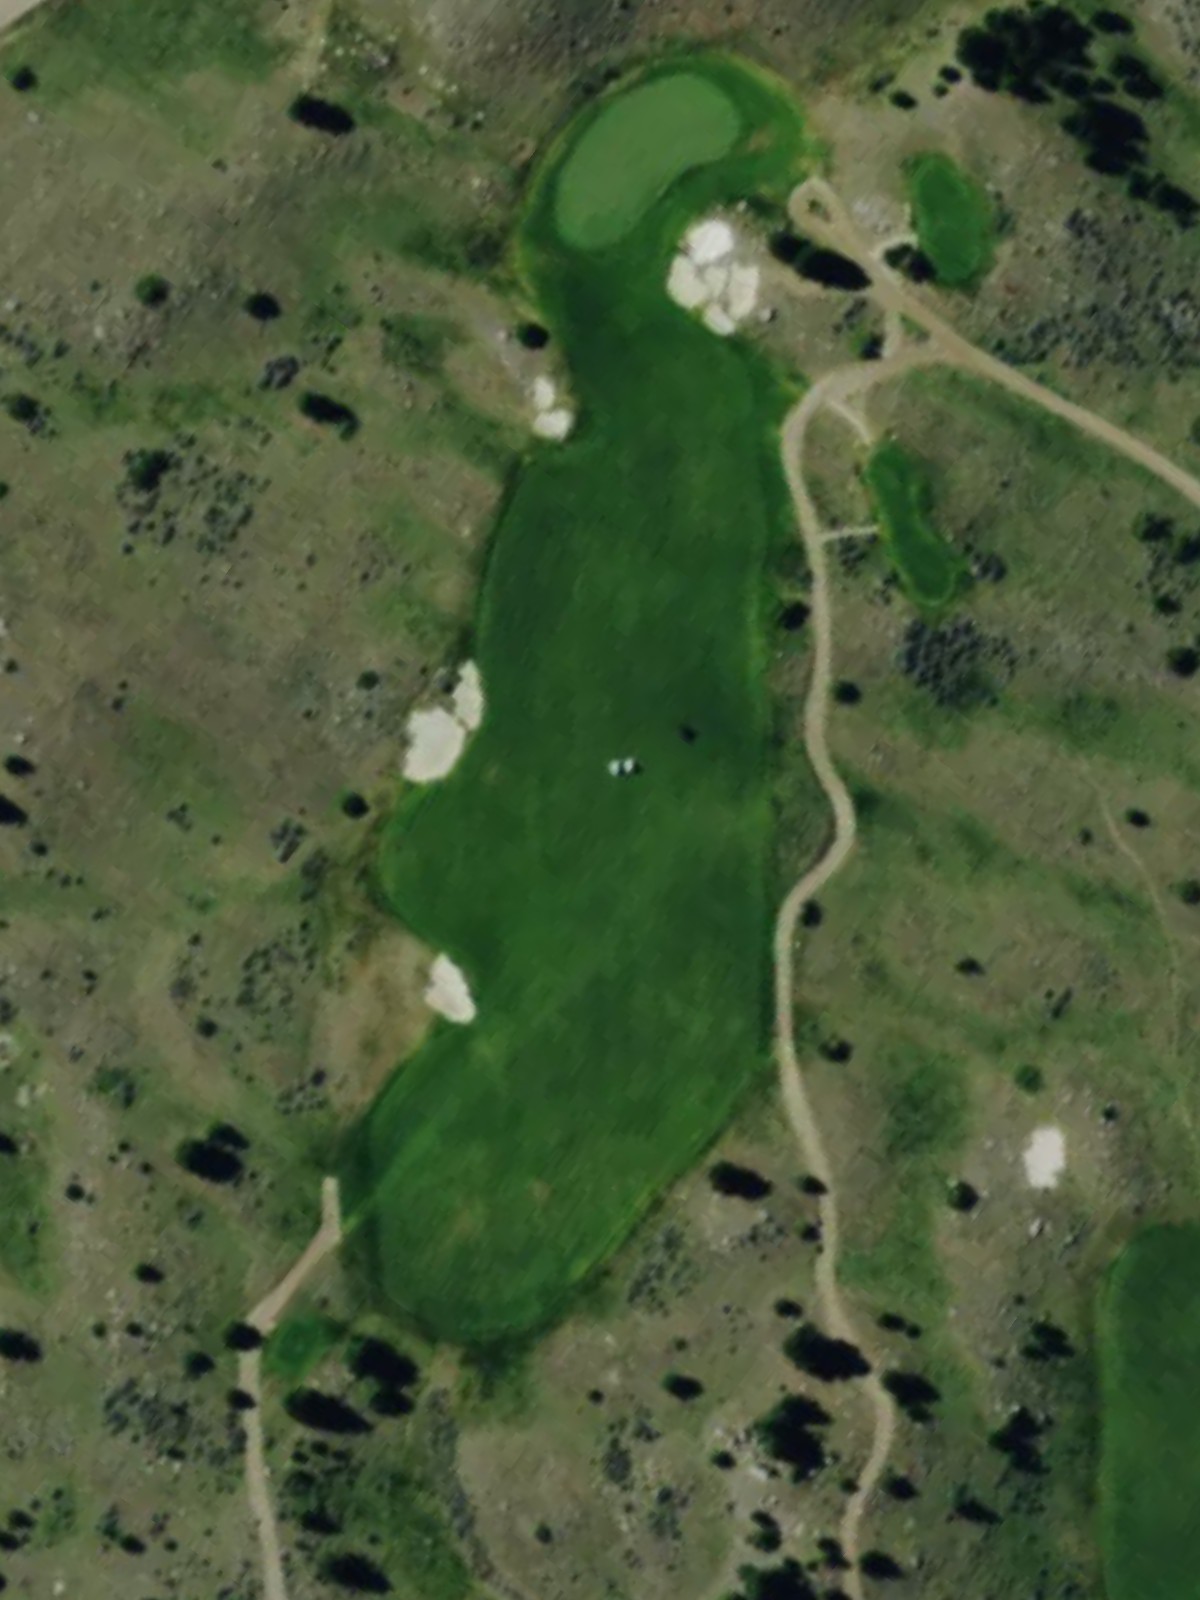
The stroke index 1 handicap hole—a severe par 4 that challenges from every tee. Length and strategic hazard placement around the green combine to make this one of Rock Creek's most punishing tests.
A short par 4 that presents an excellent scoring opportunity despite its modest length. The tight corridor and greenside hazards require accuracy over distance, making club selection and placement off the tee crucial.

A mid-length par 4 with a fairway that demands positional awareness. Bunkers and rough strategically placed throughout require thoughtful play, particularly on the approach to a protected green.
A long par 4 that stretches considerably from the back tees, with the fairway playing narrower as it approaches the green. Hazards frame both sides of the approach, making accuracy essential for a good score.
A mid-length par 3 featuring a green that is relatively open in front but flanked by bunkers on the sides. The hole's straightforward nature masks the precision required to find the correct part of the green.
A moderate par 4 with a fairway that allows room off the tee but tightens on the approach. Greenside hazards protect a well-bunkered target, rewarding accurate shotmaking down the stretch.
A lengthy par 5 that plays as one of the course's longer three-shot holes even from forward tees. The expansive yardage requires strategic positioning through all three shots, with hazards tightening around the green.
The second-most difficult hole on the course, this par 4 combines length with tight fairway corridors and strategic bunker placement. The approach shot demands precision into a well-guarded green.

A short par 3 that offers a birdie chance for accurate strikers but can quickly punish poor execution. The small green is surrounded by bunkers and rough, making club selection and distance control paramount.
A dramatic par 3 with significant yardage variation depending on tee selection, stretching to 265 yards from the back. The small green is well-protected, making this a demanding one-shot hole with little room for error.
A powerful par 4 that ranks as the fourth-most difficult on the scorecard, particularly from the championship tees where it plays over 540 yards. Strategic bunkering and a firm, well-shaped green demand precise execution.
A short par 4 that presents genuine scoring opportunity across all tee positions. Despite its modest length, greenside hazards and bunker placement require careful navigation into the green.
A long, demanding par 4 with a fairway that plays narrower as distance increases. Bunkers and strategic rough placement along the corridors reward tee placement and penalize loose drives.
A very short par 3 that varies dramatically with tee selection, from just 70 yards to nearly 200. The tiny green surrounded by bunkers and trouble makes this a deceptive short hole that can derail scores quickly.
A strong finishing par 5 that plays long and demanding from the back tees as a final test of endurance. The fairway narrows through the middle sections with bunkers and hazards framing the approaches, requiring precision on all three shots to close out the round.
Scorecard
| Hole | 1 | 2 | 3 | 4 | 5 | 6 | 7 | 8 | 9 | Out | 10 | 11 | 12 | 13 | 14 | 15 | 16 | 17 | 18 | In | Tot |
|---|---|---|---|---|---|---|---|---|---|---|---|---|---|---|---|---|---|---|---|---|---|
| Par | 4 | 4 | 5 | 4 | 4 | 4 | 4 | 3 | 4 | 36 | 5 | 4 | 3 | 3 | 4 | 4 | 4 | 3 | 5 | 35 | 71 |
| HCP | 3 | 7 | 15 | 1 | 17 | 5 | 9 | 11 | 13 | 14 | 2 | 16 | 8 | 4 | 18 | 6 | 12 | 10 | |||
| tee i | 435 | 471 | 577 | 457 | 354 | 443 | 486 | 193 | 403 | 3819 | 632 | 439 | 175 | 265 | 548 | 352 | 467 | 191 | 598 | 3667 | 7486 |
| tee i/ii combo | 435 | 436 | 577 | 441 | 354 | 443 | 443 | 193 | 395 | 3717 | 576 | 412 | 175 | 221 | 454 | 352 | 426 | 191 | 598 | 3405 | 7122 |
| tee ii | 385 | 436 | 543 | 441 | 301 | 383 | 443 | 173 | 395 | 3500 | 576 | 412 | 155 | 221 | 454 | 299 | 426 | 169 | 555 | 3267 | 6767 |
| tee ii/iii combo | 385 | 385 | 543 | 400 | 301 | 341 | 423 | 173 | 372 | 3323 | 576 | 395 | 155 | 182 | 454 | 299 | 386 | 169 | 482 | 3098 | 6421 |
| tee iii | 376 | 385 | 537 | 400 | 296 | 341 | 423 | 151 | 372 | 3281 | 554 | 395 | 132 | 182 | 415 | 293 | 386 | 154 | 482 | 2993 | 6274 |
| tee iii/iv combo | 345 | 385 | 448 | 351 | 296 | 341 | 364 | 151 | 348 | 3029 | 458 | 316 | 132 | 182 | 365 | 293 | 337 | 154 | 416 | 2653 | 5682 |
| tee iv | 345 | 349 | 448 | 351 | 284 | 332 | 364 | 130 | 348 | 2951 | 458 | 316 | 132 | 170 | 365 | 234 | 337 | 115 | 416 | 2543 | 5494 |
| tee iv/v combo | 271 | 349 | 448 | 256 | 284 | 332 | 229 | 130 | 271 | 2570 | 458 | 300 | 132 | 170 | 351 | 234 | 313 | 115 | 416 | 2489 | 5059 |
| tee v | 271 | 250 | 350 | 256 | 233 | 311 | 229 | 130 | 271 | 2301 | 458 | 300 | 105 | 78 | 351 | 234 | 313 | 70 | 364 | 2273 | 4574 |