Roaring Gap Club is an 18-hole golf course in Roaring Gap, NC with a par of 72. It offers 5 tee sets: black tees (6,307 yards, slope 131, rating 69.8), back combo (6,008 yards, slope 128, rating 68.7), blue tees (5,904 yards, slope 127, rating 68.2), short combo (5,661 yards, slope 122, rating 67.4), white tees (5,161 yards, slope 114, rating 65.2). The hardest hole is #7, a par 5 playing 498 yards from the first tee.
Roaring Gap Club
Roaring Gap, NC
Get PDF Yardage Book
We'll email you the PDF link. No spam, ever.
Create Your Game Plan
Pick your tees, enter your bag, and get a personalized shot-by-shot strategy for every hole.

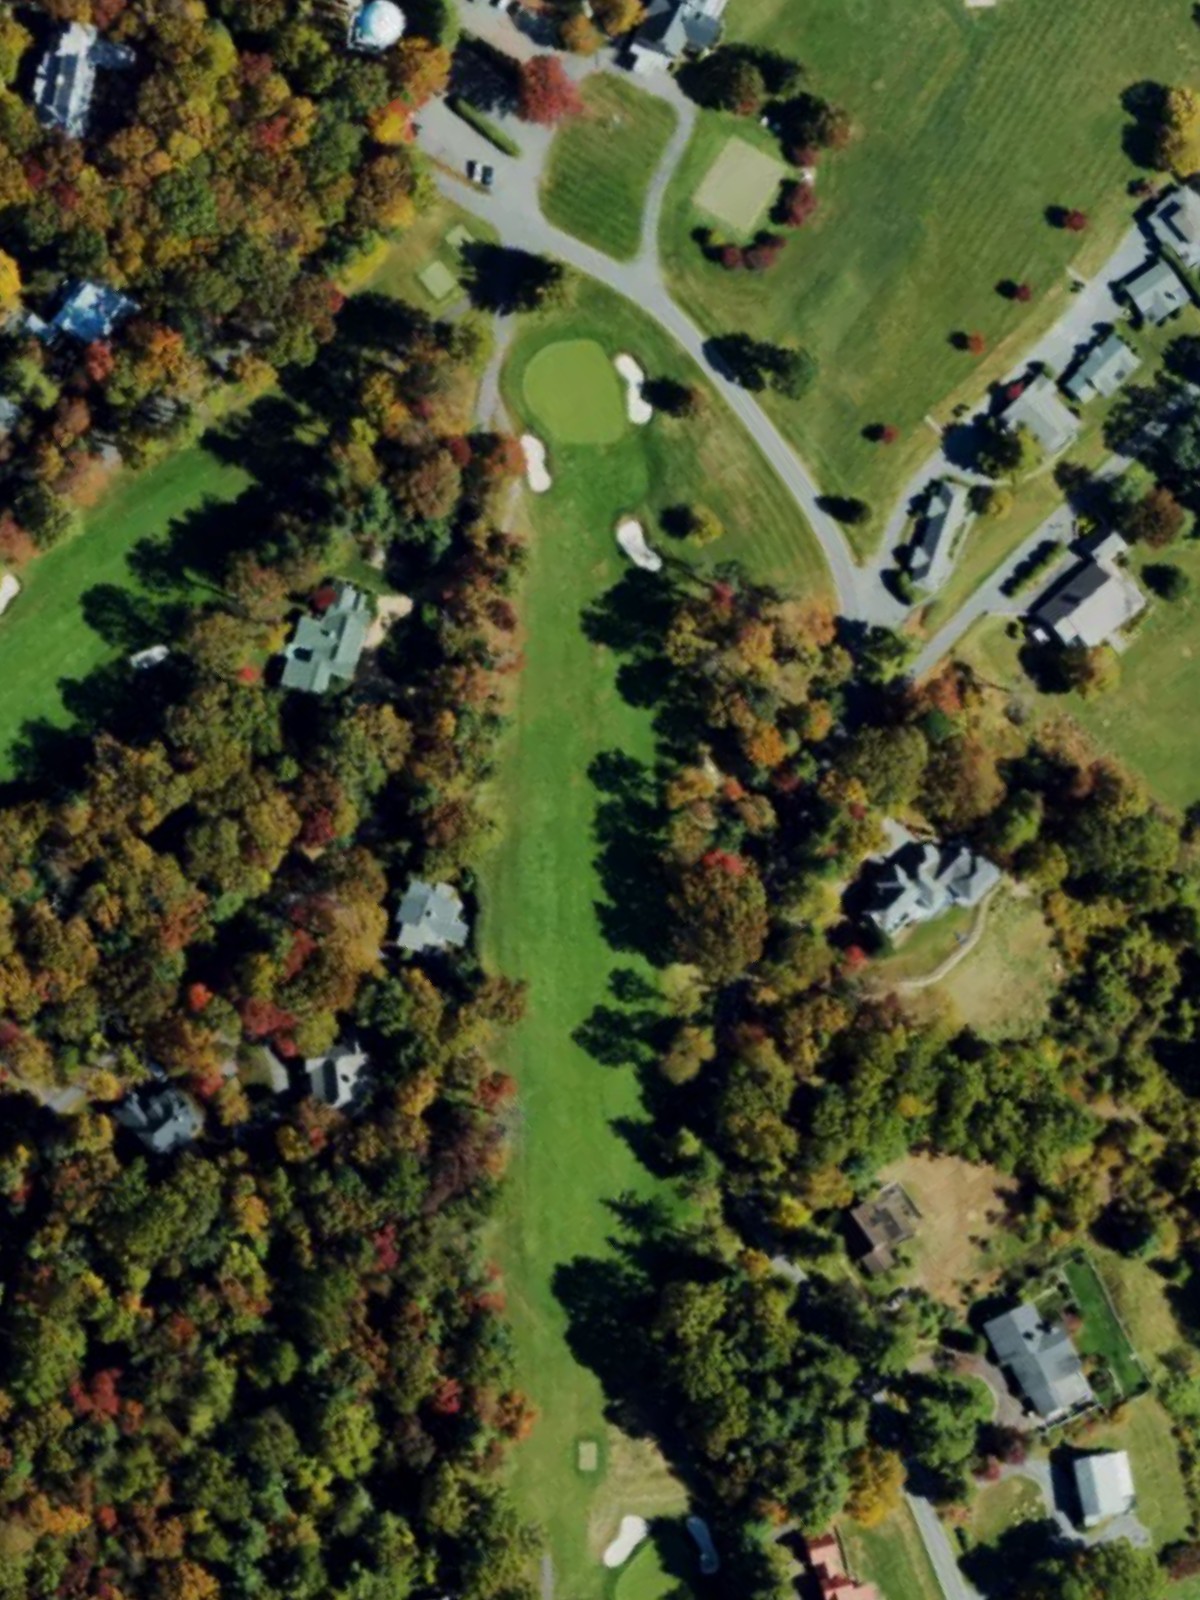
This opening par 5 plays relatively short and straightforward, offering a birdie opportunity for the field. The fairway is receptive, but accurate approach shots are needed to avoid missing the green on either side.

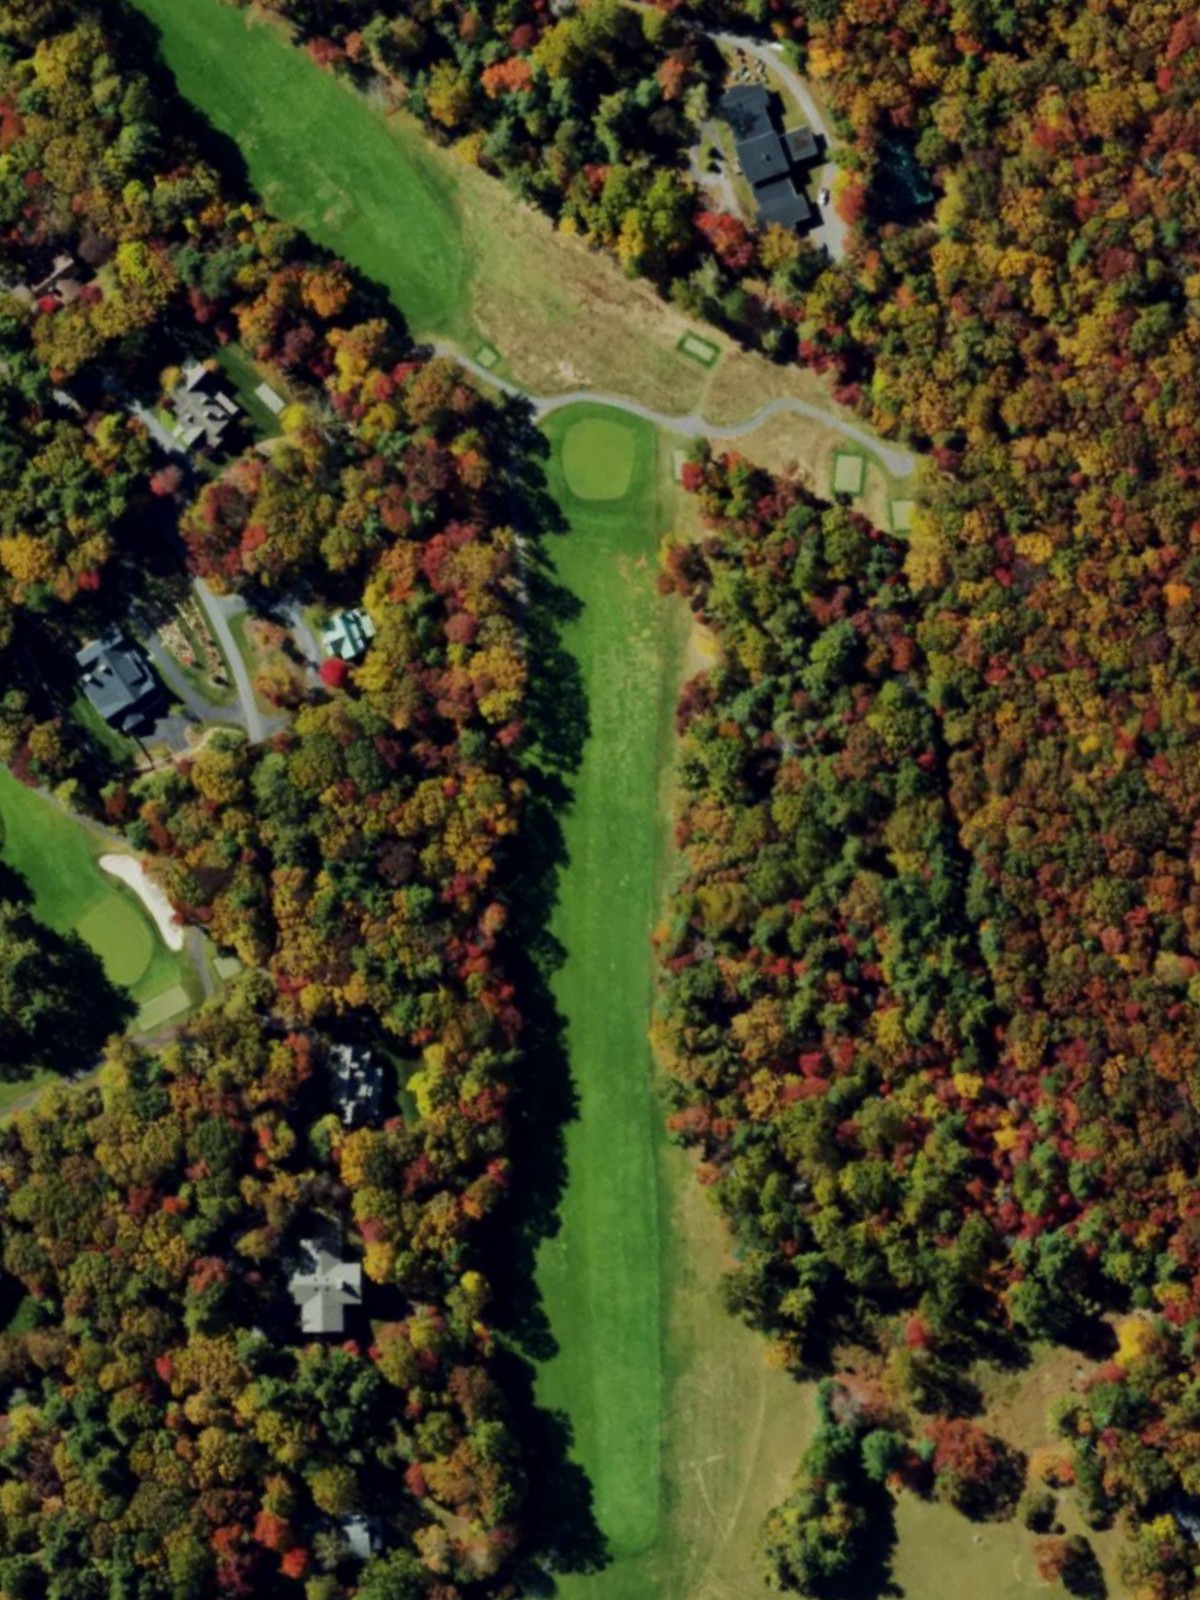
A short par 3 that demands precision over distance. The green is well-bunkered and there is limited margin for error on this straightforward one-shotter.

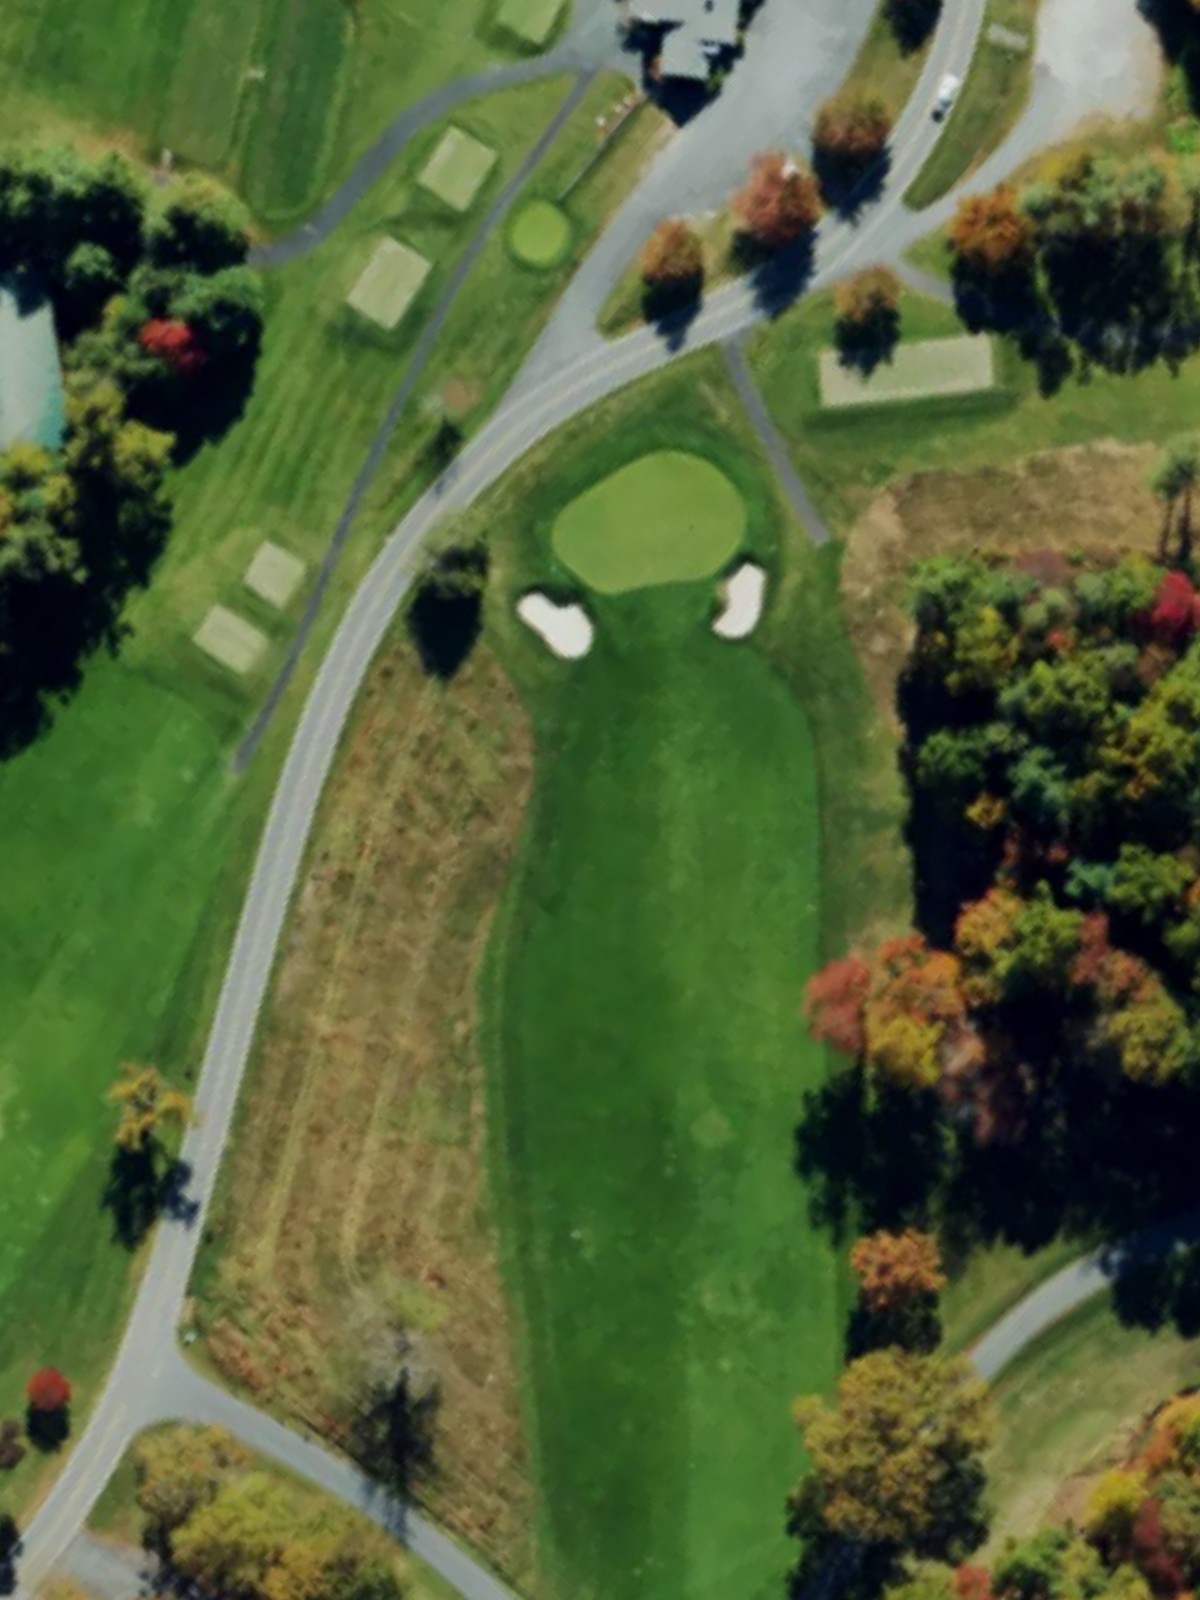
A compact par 4 with a tight landing area that requires control off the tee. The approach to the green is unforgiving, making this a deceptive short hole that plays much harder than its yardage suggests.
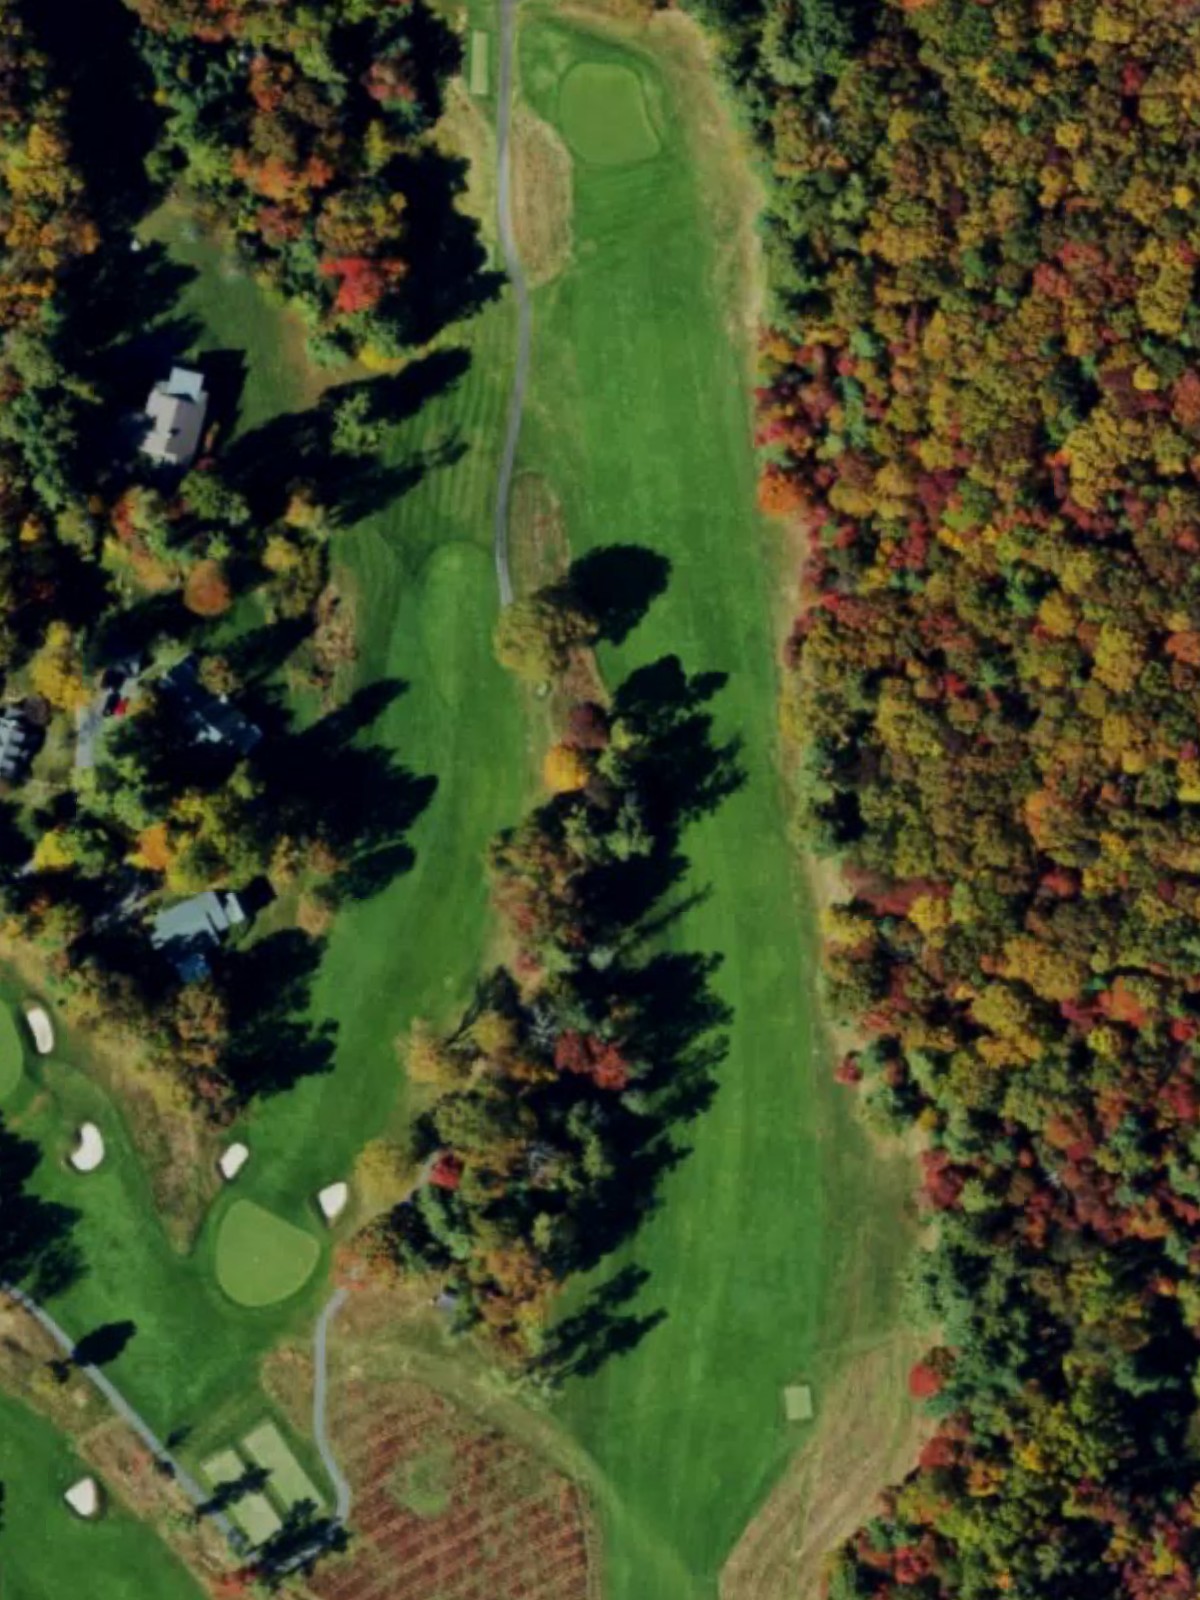
A well-balanced par 4 with a fair fairway and a moderately protected green. This hole presents a good test of consistent ball-striking without excessive difficulty.

The second-hardest hole on the front nine, this par 4 demands two solid shots to reach the green in regulation. Length and precise approach placement are essential to avoid trouble around the green.

A short and straightforward par 3 that serves as a welcome reprieve on the front nine. The compact green and minimal hazards make this one of the course's more forgiving holes.
The signature par 5 and the course's most difficult hole, stretching over 500 yards from the back tees. This three-shot hole demands distance and accuracy throughout, with strategic positioning crucial for a good score.

A solid mid-length par 4 with a fairly open design that allows for aggressive play. The key is landing in the right portion of the fairway to set up a manageable approach.
A shorter par 4 that plays downhill and offers scoring opportunity for the aggressive player. The quick length can be deceptive; precision placement matters more than raw distance here.

A straightforward par 4 that marks the beginning of the back nine with a clean test of fundamental ball-striking. The hole offers no major surprises but demands solid execution on both shots.
The second-hardest hole overall, this par 5 is a stern test that requires three well-struck shots to find the green. Length, elevation changes, and strategic hazards combine to make this a significant challenge.

A mid-length par 4 with a balanced design and moderate green-side protection. This hole provides a reasonable scoring opportunity within the context of the back nine's difficulty.

The easiest hole on the course, this diminutive par 3 is a chance to build momentum. The small green is straightforward to hit, making this an ideal place to make a birdie.
This par 4 is one of the more challenging mid-length holes, requiring accuracy on both the drive and approach. Strategic hazards and a well-protected green demand careful shot planning.
A stern par 4 that ranks among the course's top five most difficult holes. The balance of length and hazard placement makes this a pivotal test in the back-nine stretch.

The fourth-most difficult hole, this long par 5 demands distance and accuracy across three shots. The length and strategic hazards combine to create a challenging finishing stretch on the back nine.

A mid-length par 4 that plays relatively straightforward and offers a birdie opportunity before the closing hole. The fair design allows for confident striking and scoring.

The finishing hole is a dramatic par 3 that demands a quality strike to close the round. The length and green-side protection create a memorable conclusion to the round.
Scorecard
| Hole | 1 | 2 | 3 | 4 | 5 | 6 | 7 | 8 | 9 | Out | 10 | 11 | 12 | 13 | 14 | 15 | 16 | 17 | 18 | In | Tot |
|---|---|---|---|---|---|---|---|---|---|---|---|---|---|---|---|---|---|---|---|---|---|
| Par | 5 | 3 | 4 | 4 | 4 | 3 | 5 | 4 | 4 | 36 | 4 | 5 | 4 | 3 | 4 | 4 | 5 | 4 | 3 | 36 | 72 |
| HCP | 3 | 15 | 9 | 7 | 5 | 17 | 1 | 11 | 13 | 12 | 2 | 10 | 18 | 8 | 6 | 4 | 14 | 16 | |||
| black tees | 452 | 155 | 350 | 379 | 390 | 140 | 511 | 386 | 293 | 3056 | 364 | 503 | 359 | 151 | 380 | 403 | 529 | 343 | 219 | 3251 | 6307 |
| back combo | 403 | 155 | 325 | 363 | 390 | 140 | 511 | 363 | 293 | 2943 | 364 | 484 | 341 | 151 | 380 | 355 | 467 | 343 | 180 | 3065 | 6008 |
| blue tees | 403 | 146 | 325 | 363 | 377 | 132 | 498 | 363 | 272 | 2879 | 348 | 484 | 341 | 142 | 372 | 355 | 467 | 336 | 180 | 3025 | 5904 |
| short combo | 403 | 138 | 325 | 363 | 338 | 125 | 459 | 363 | 257 | 2771 | 296 | 484 | 341 | 133 | 323 | 355 | 467 | 336 | 155 | 2890 | 5661 |
| white tees | 342 | 138 | 256 | 310 | 338 | 125 | 459 | 314 | 257 | 2539 | 296 | 363 | 289 | 133 | 323 | 314 | 419 | 330 | 155 | 2622 | 5161 |