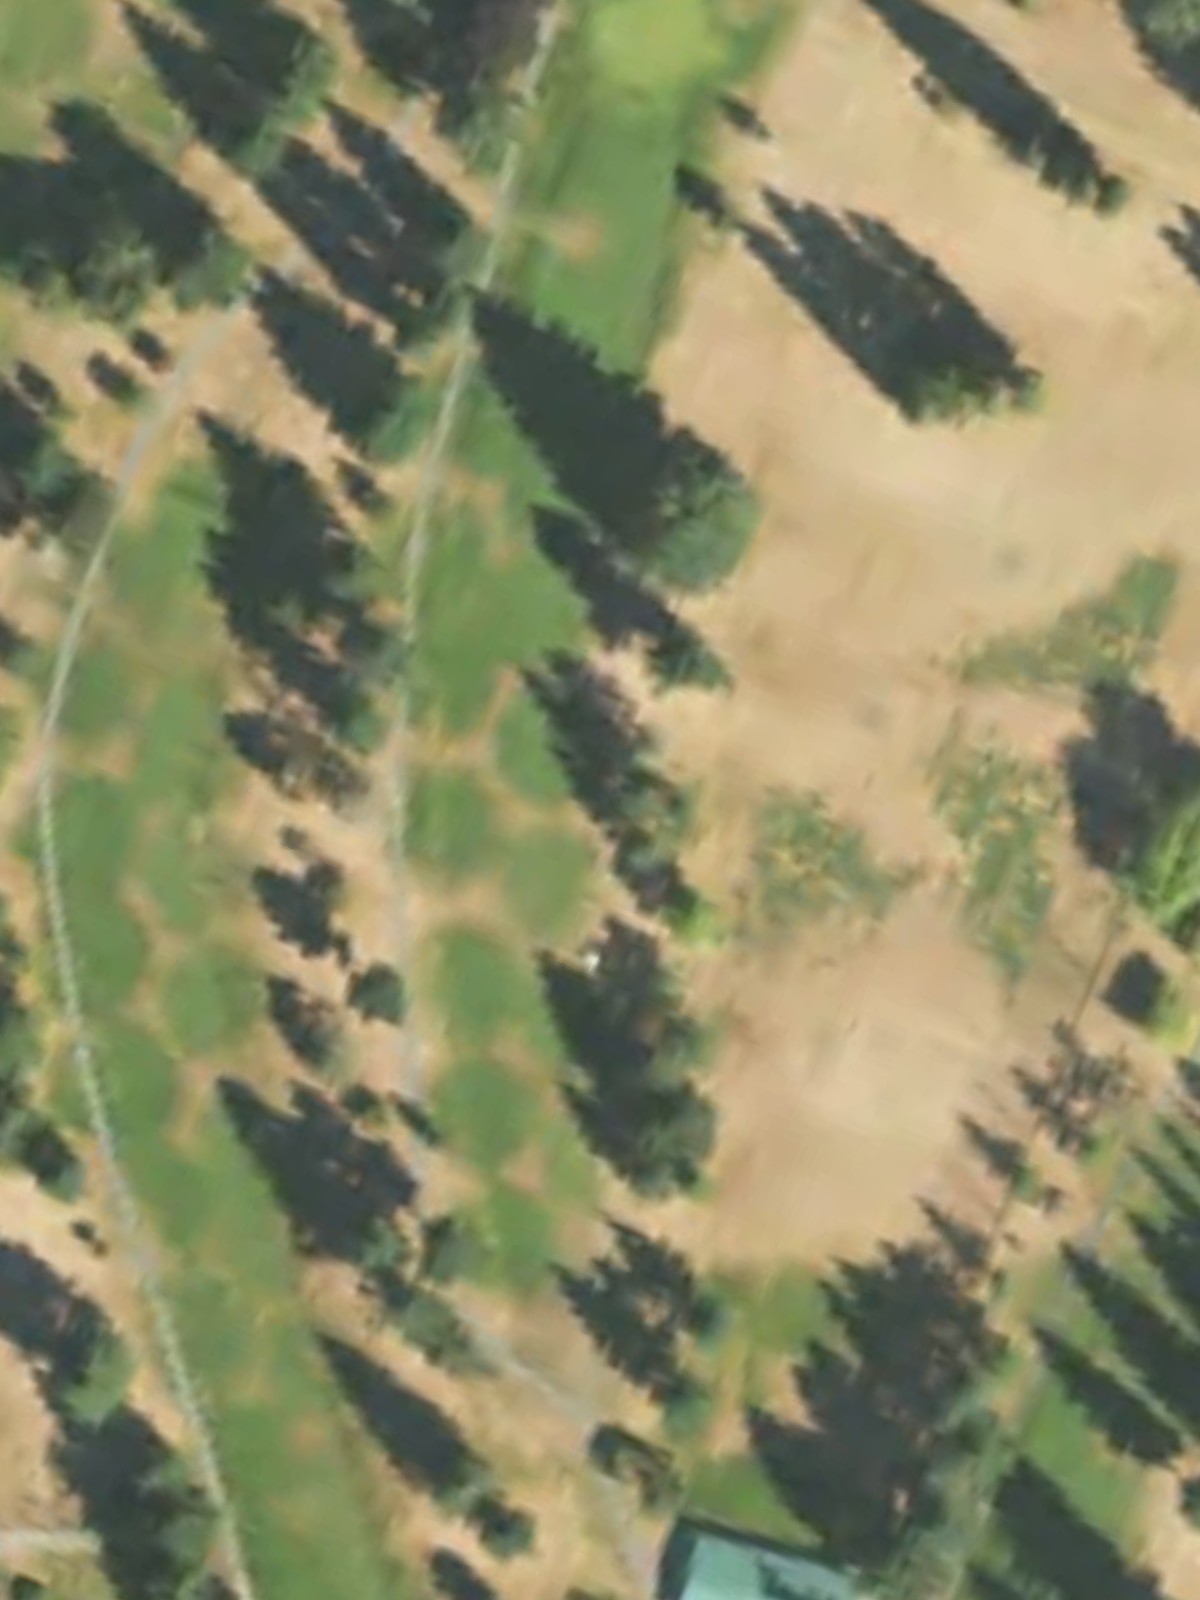
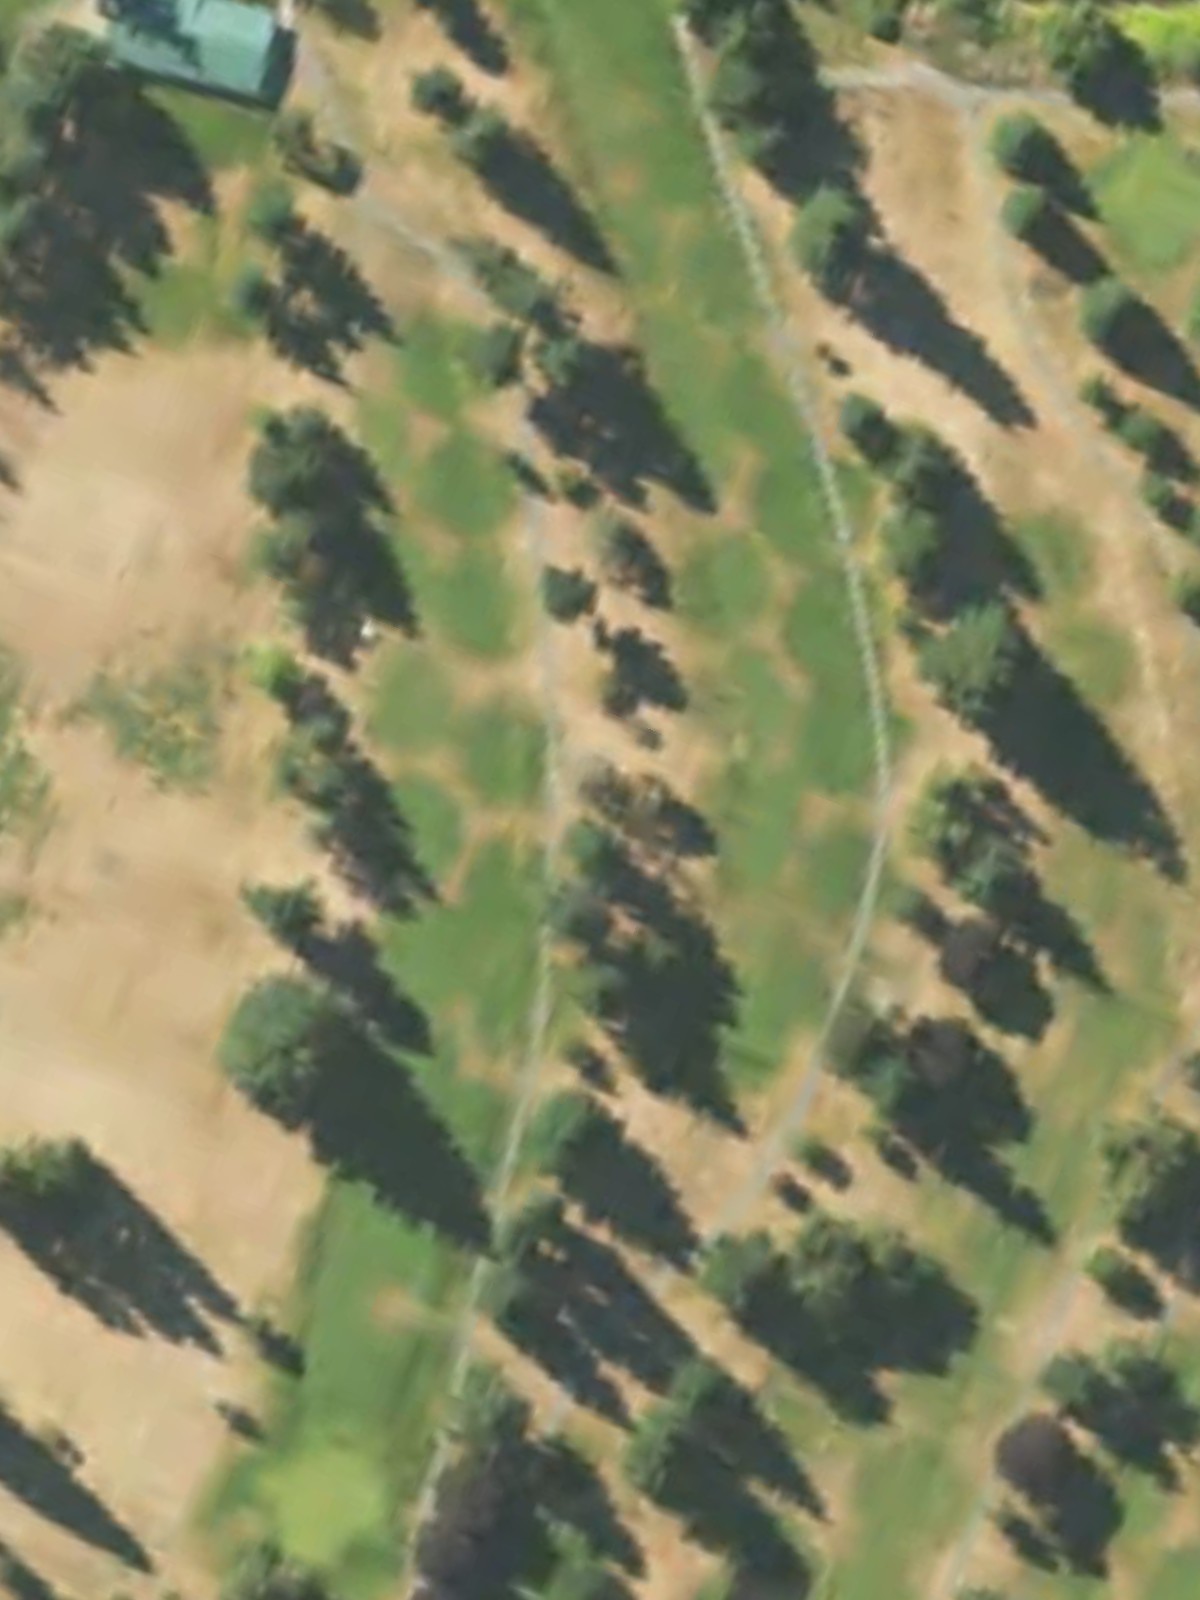
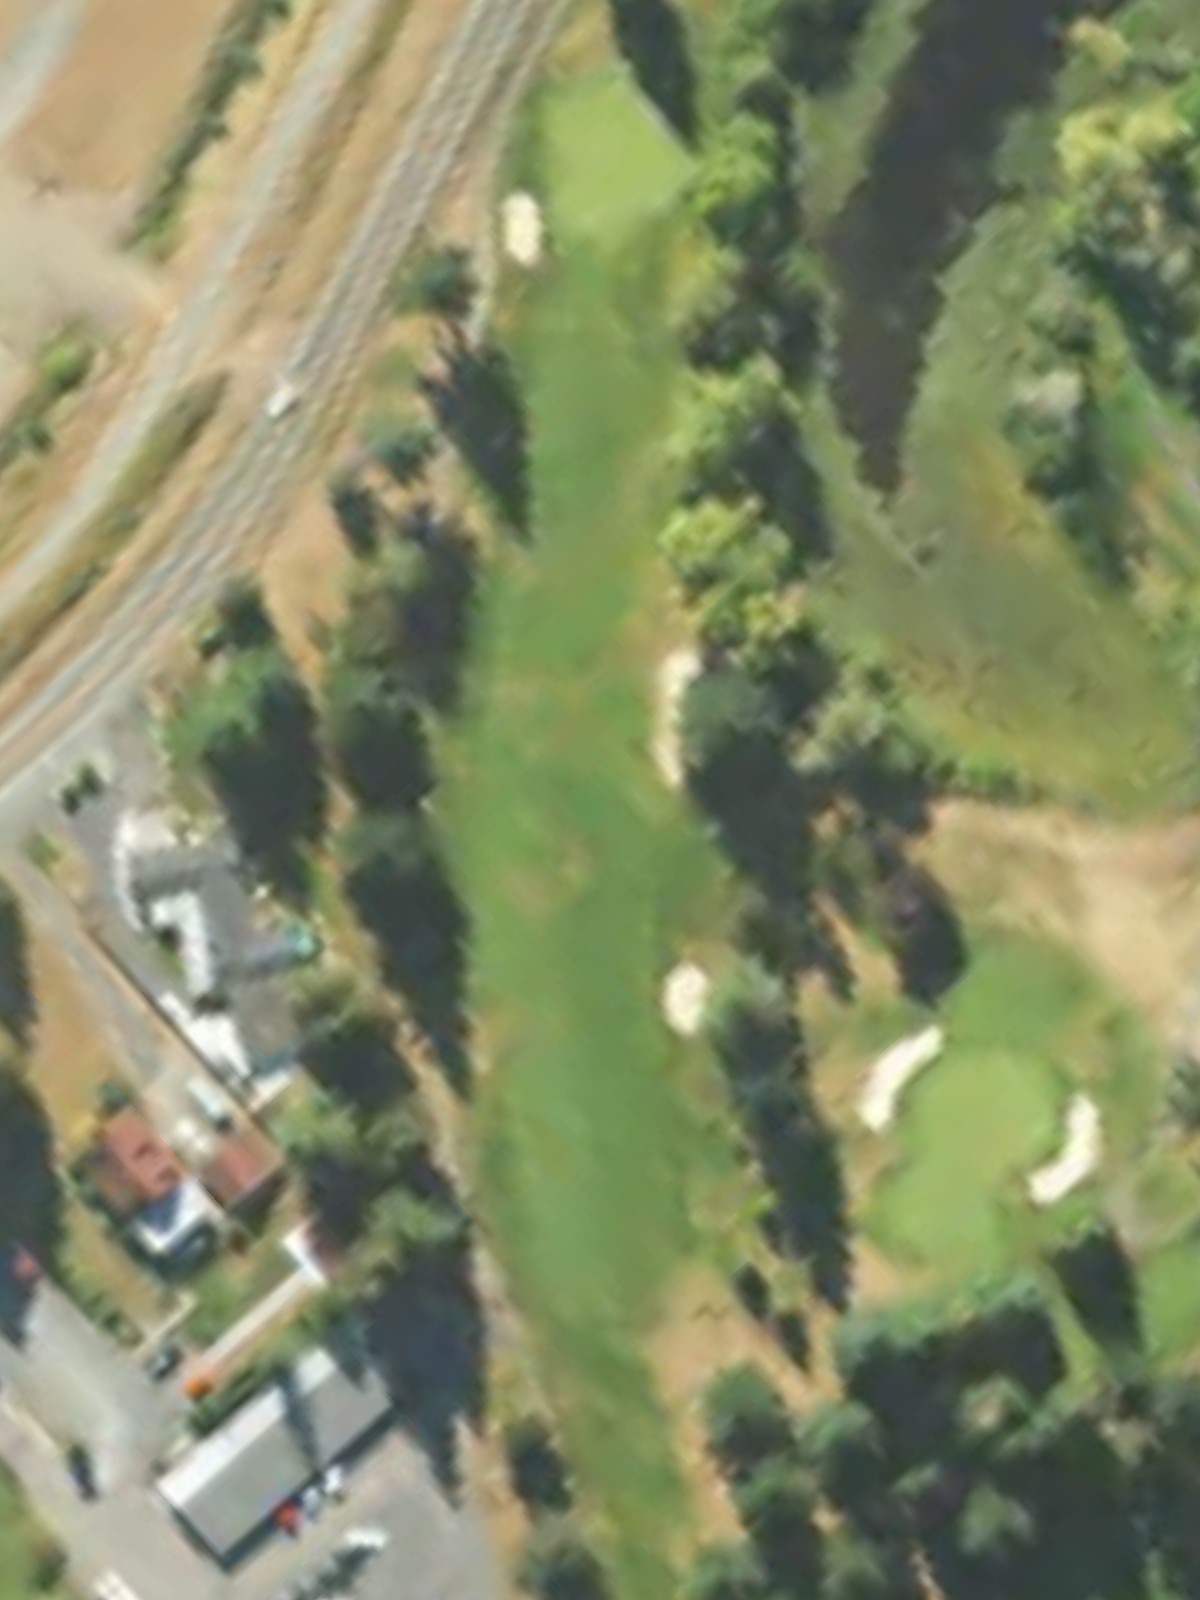
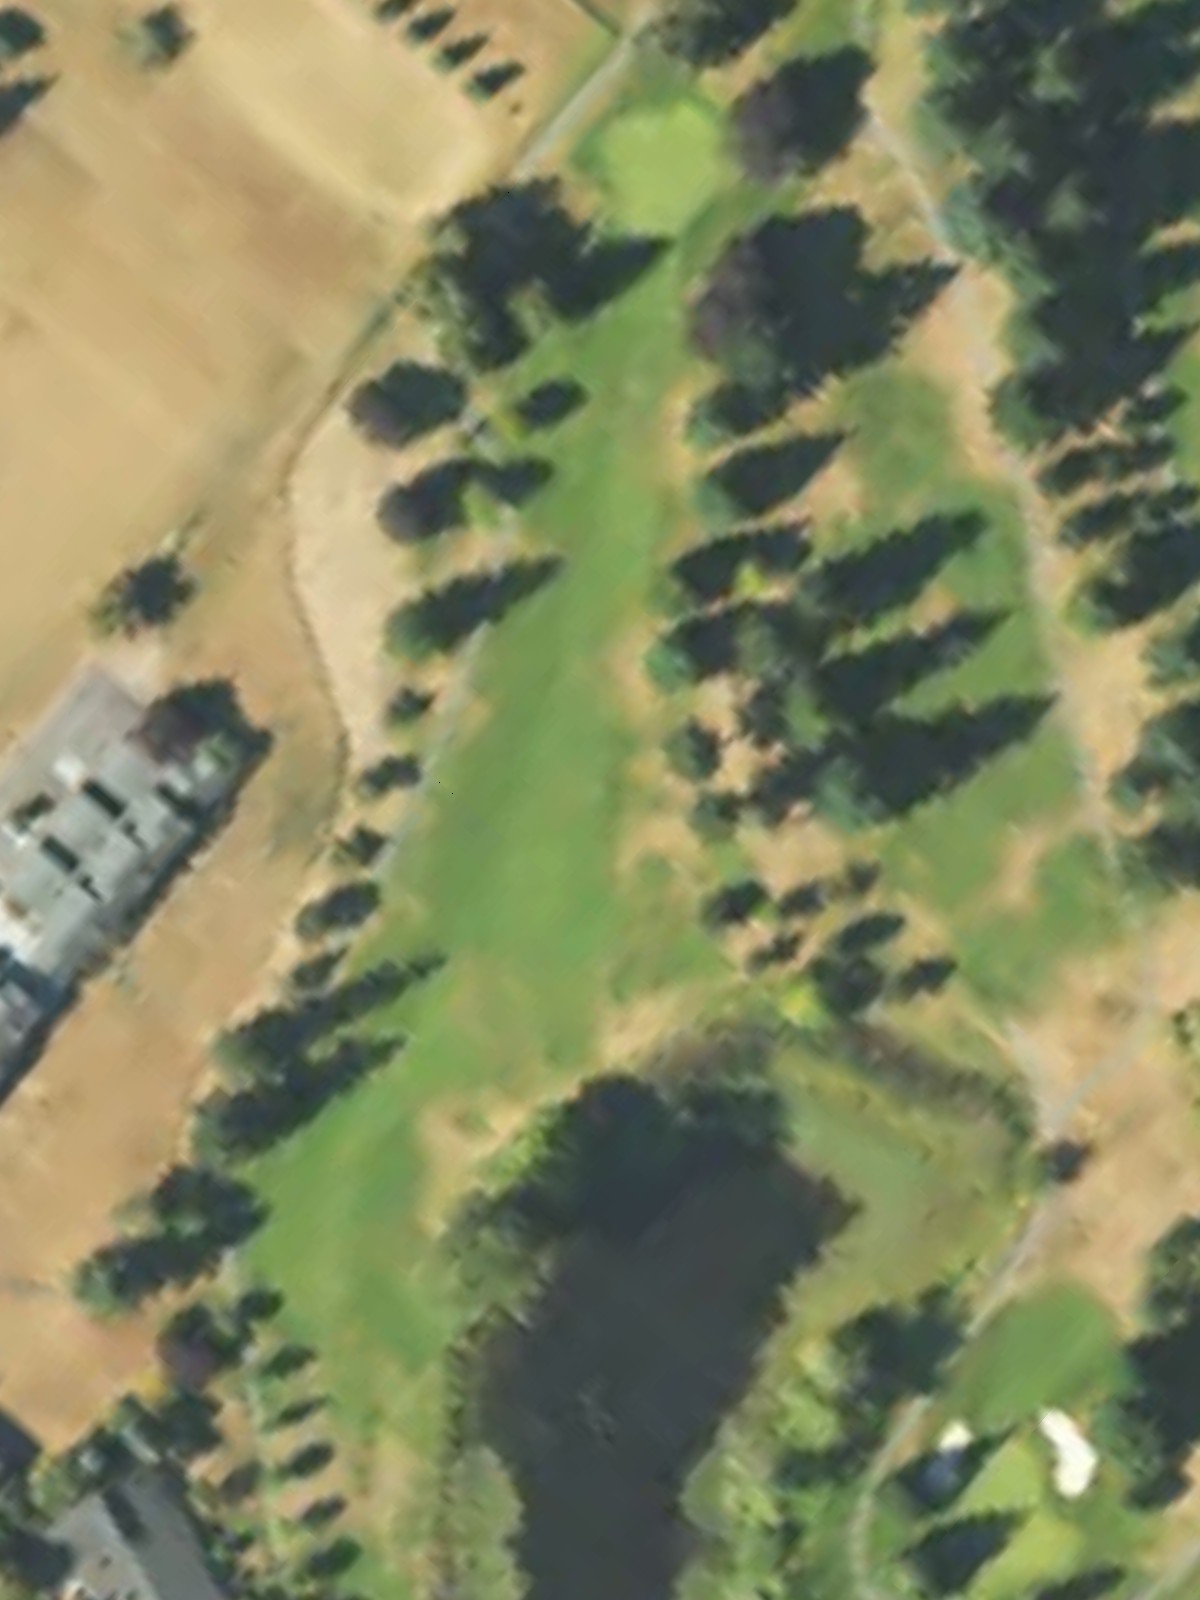
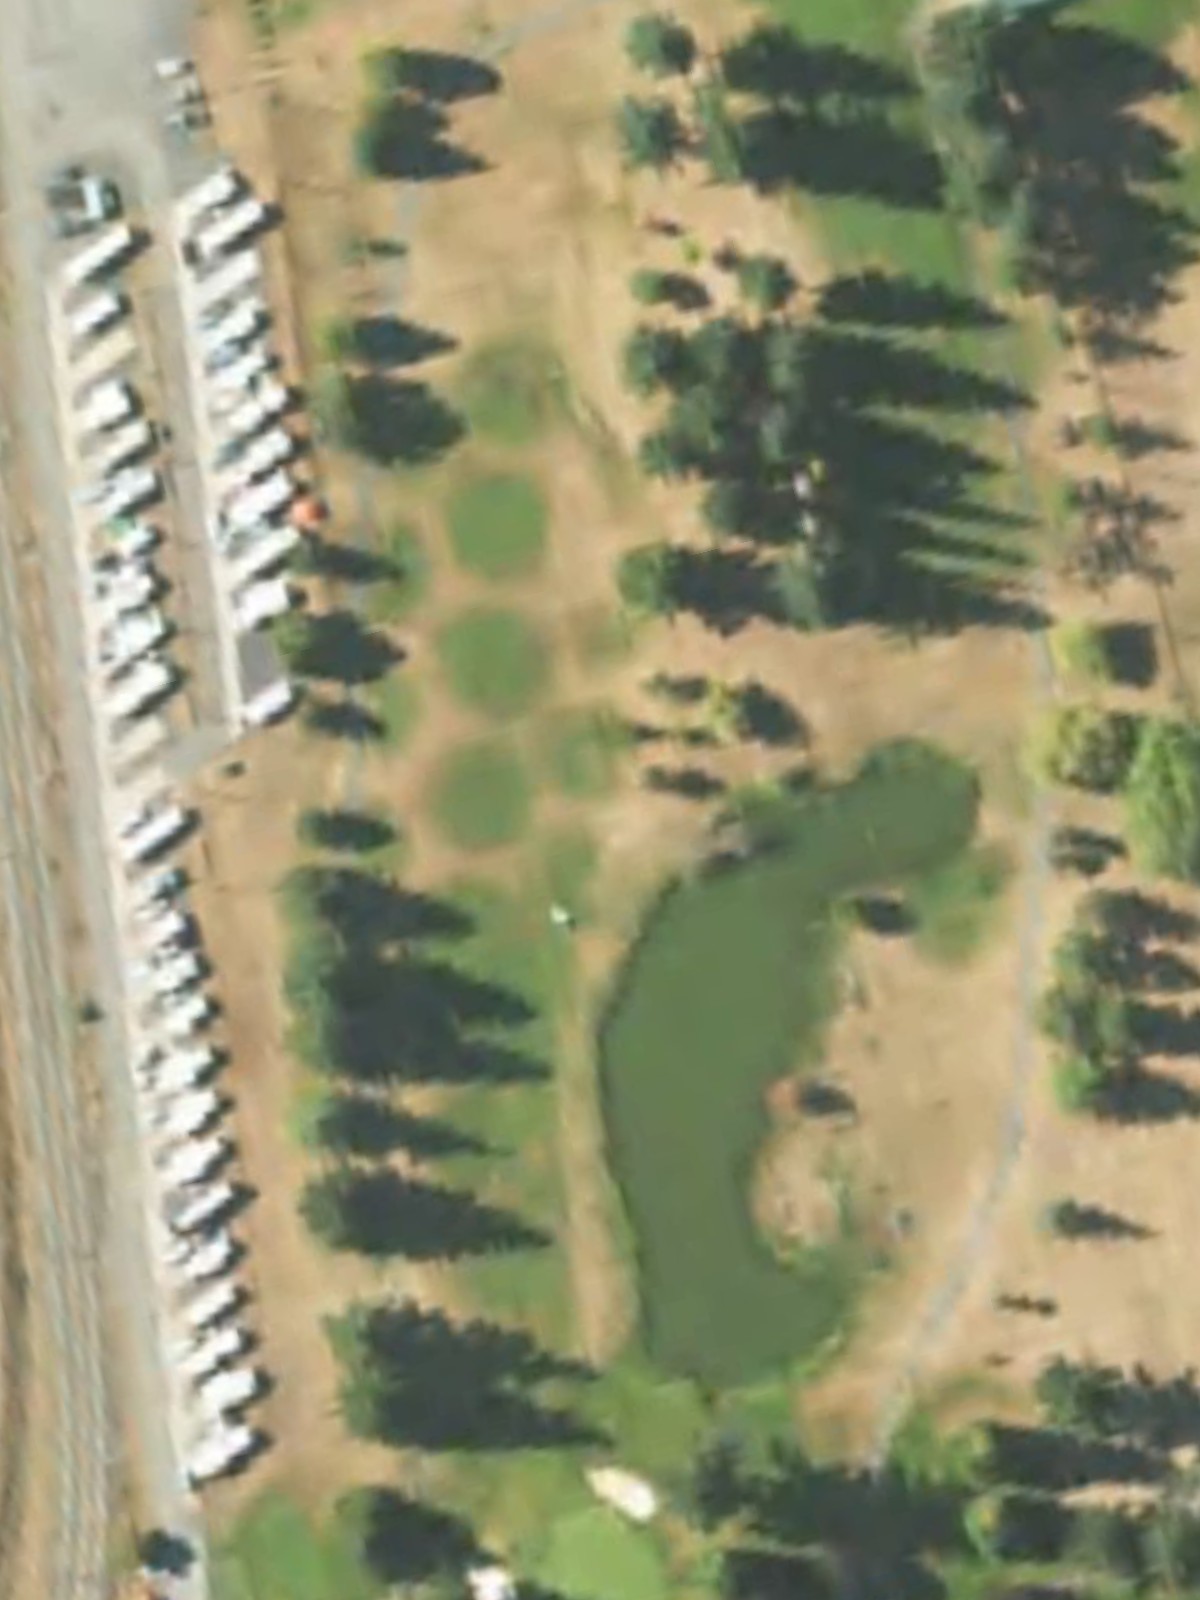
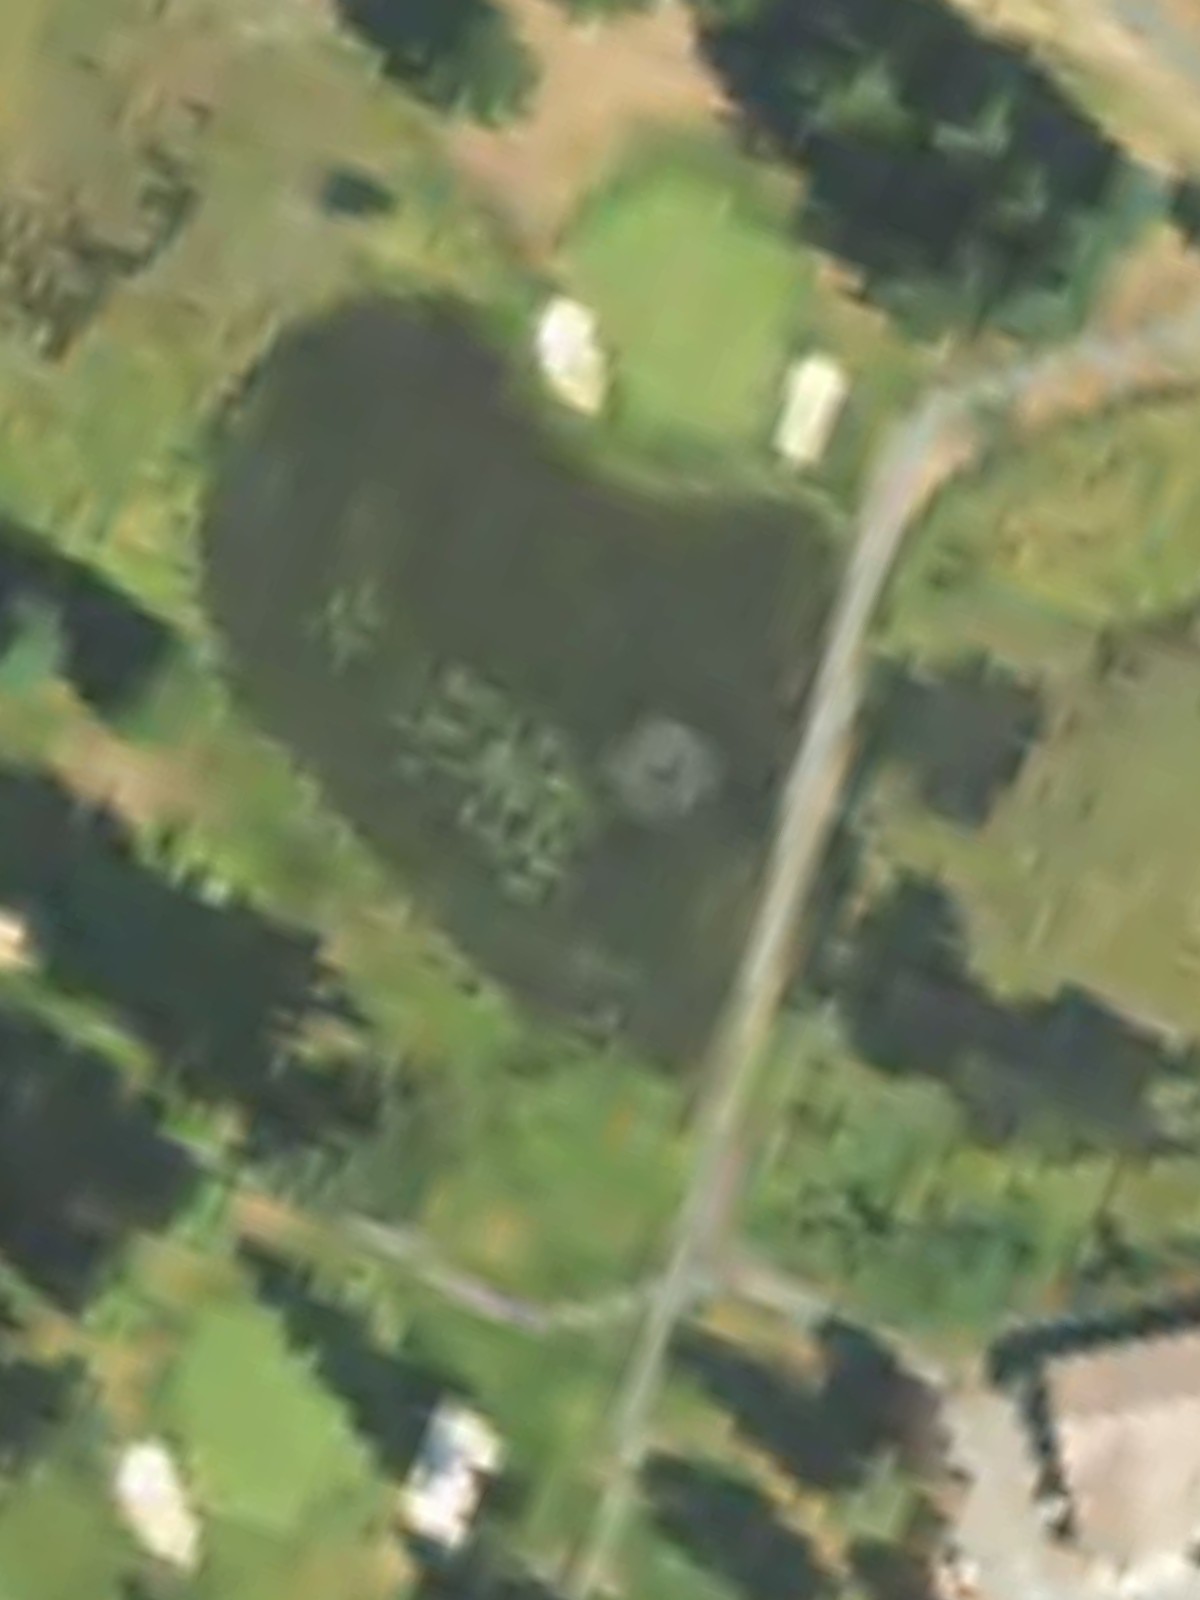
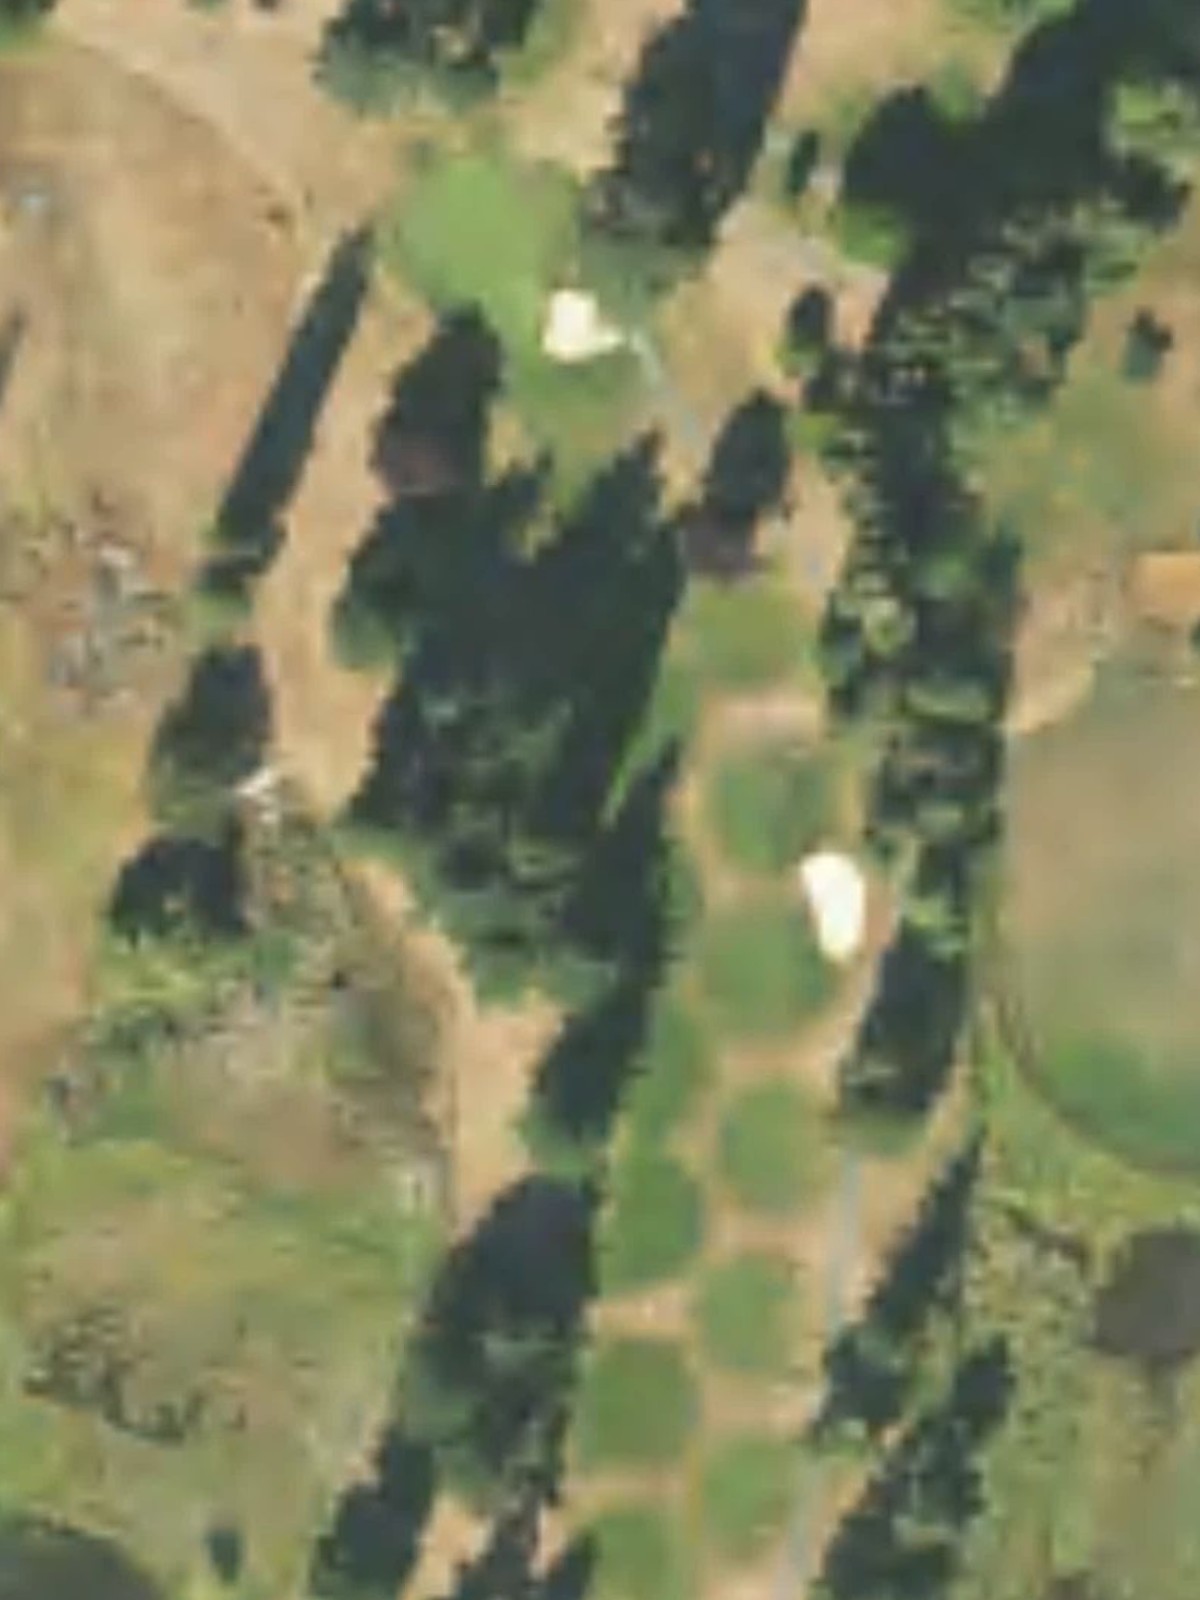
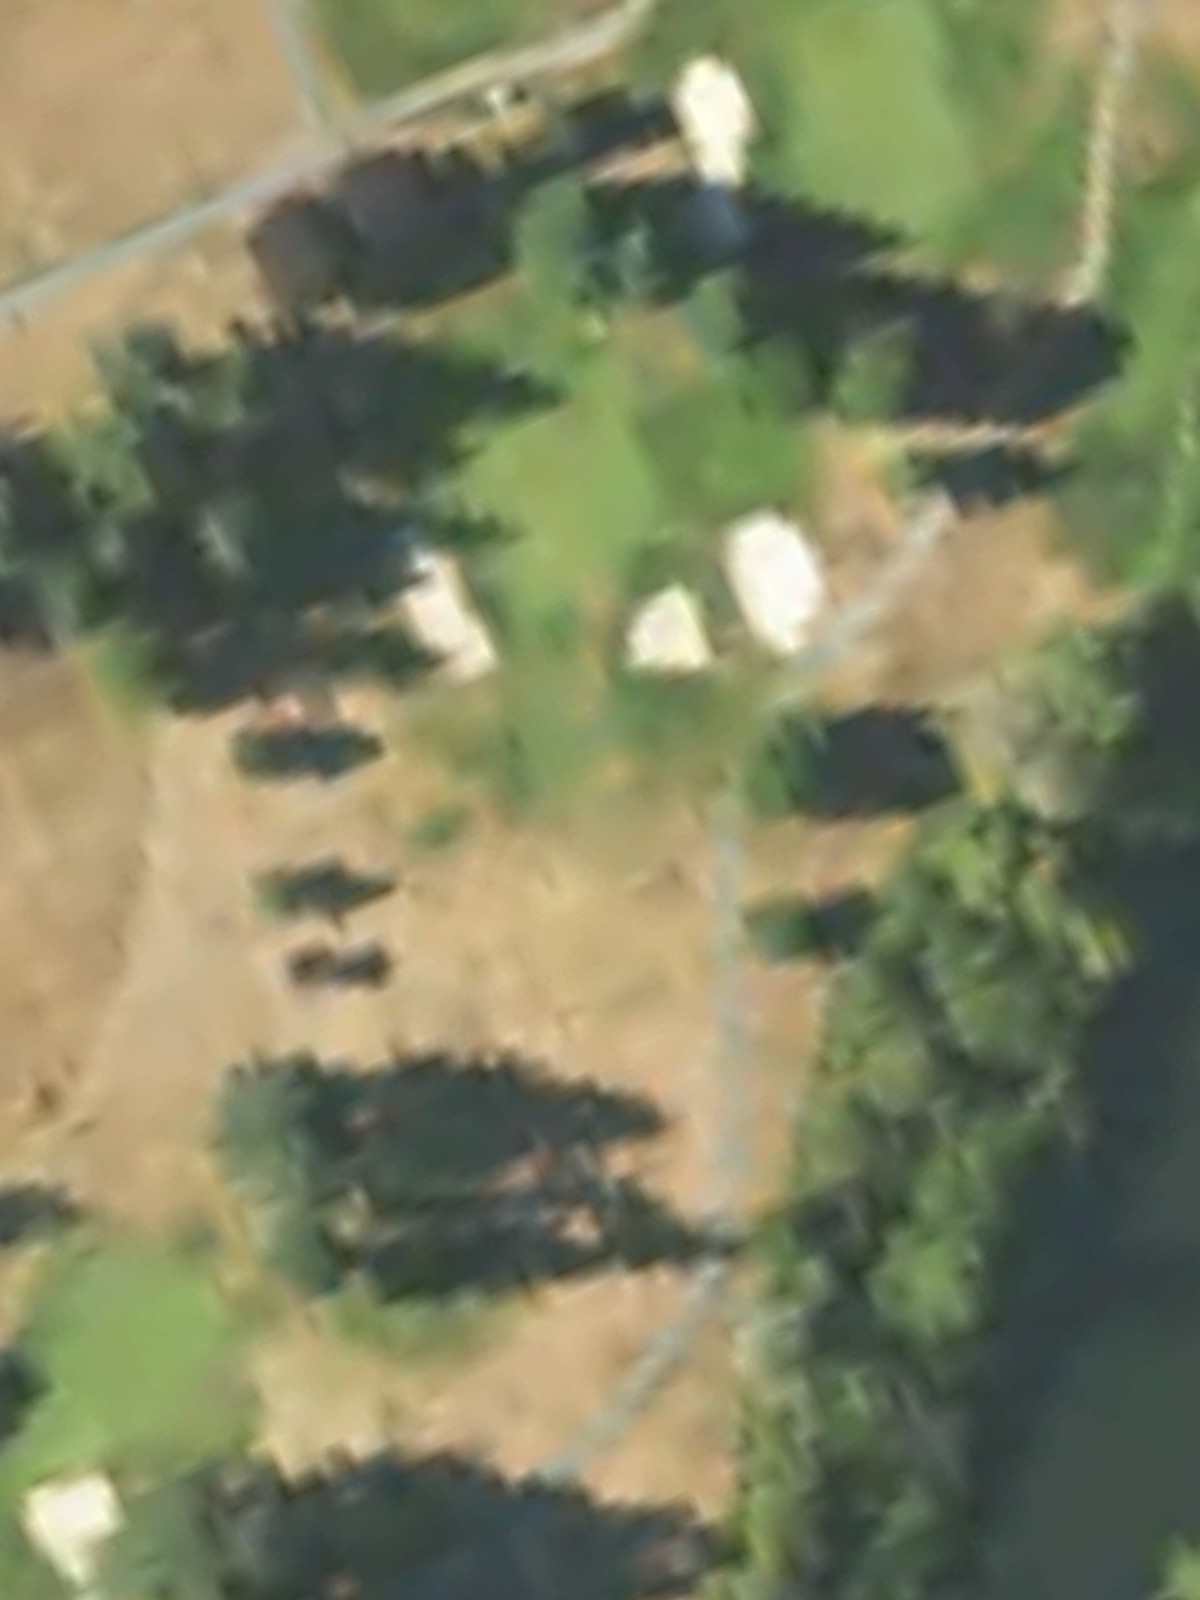
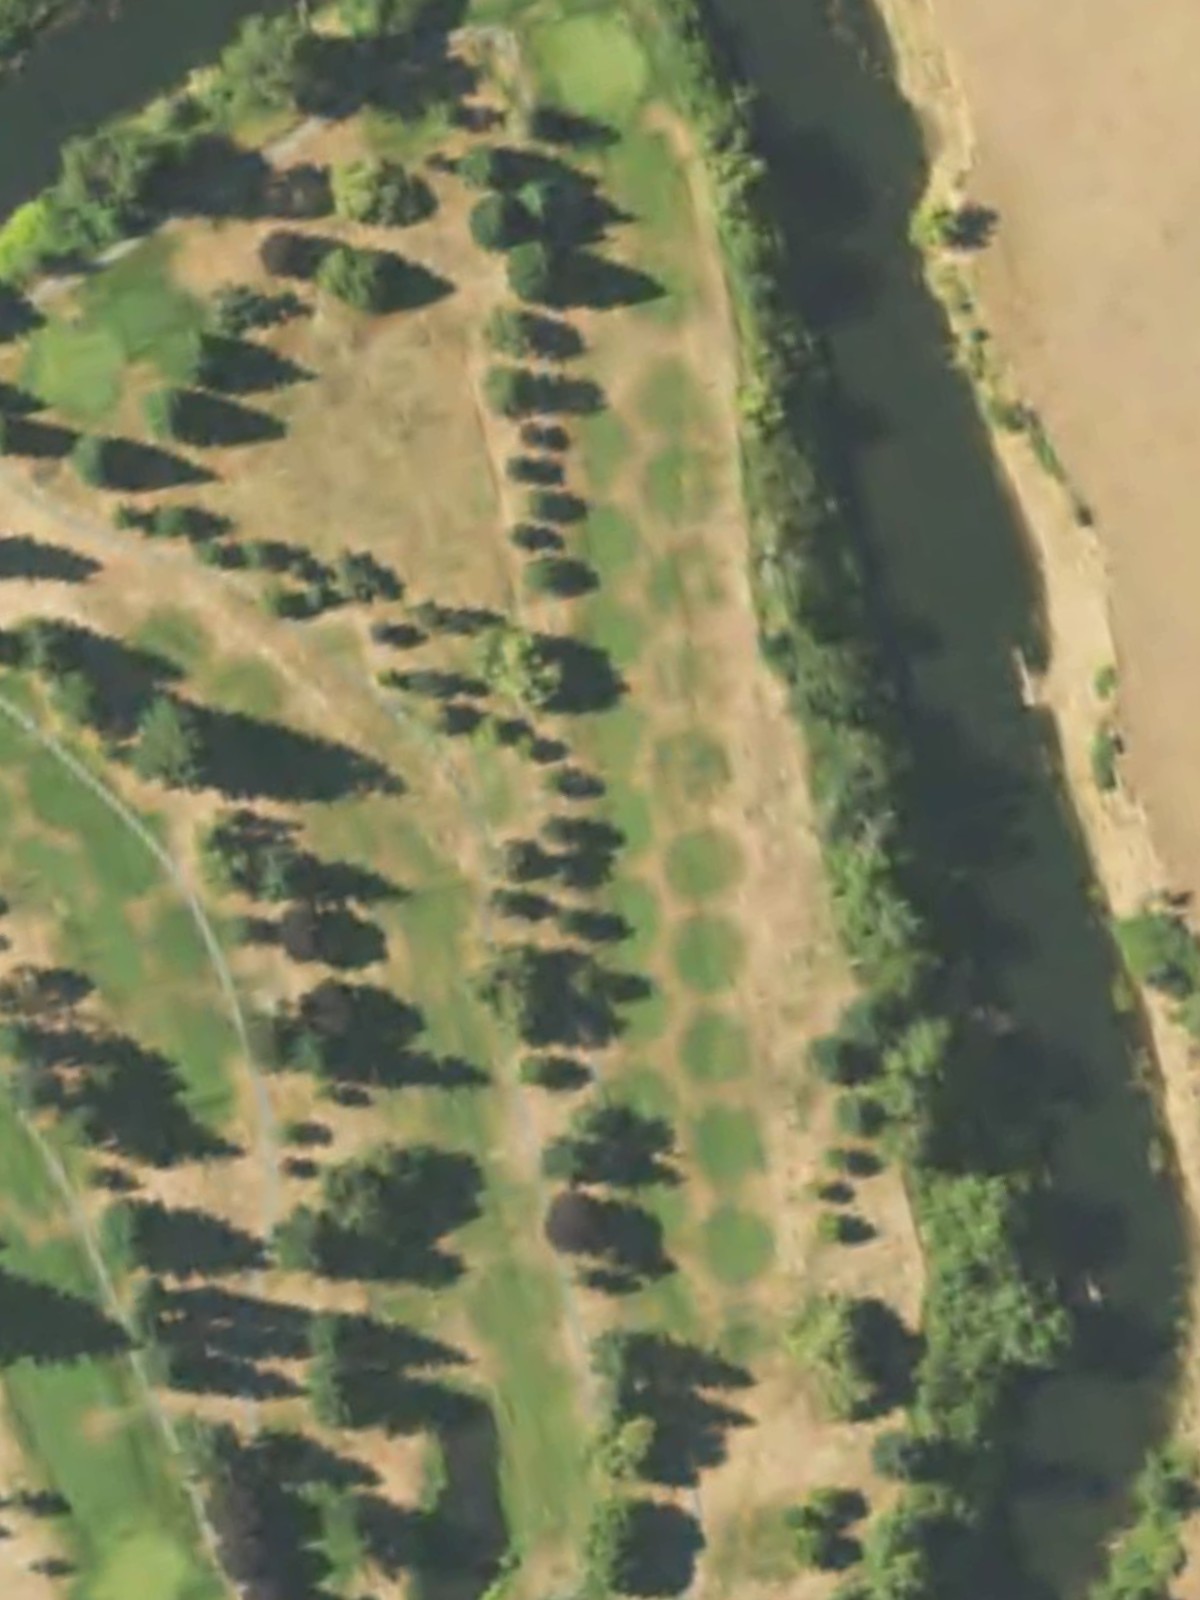
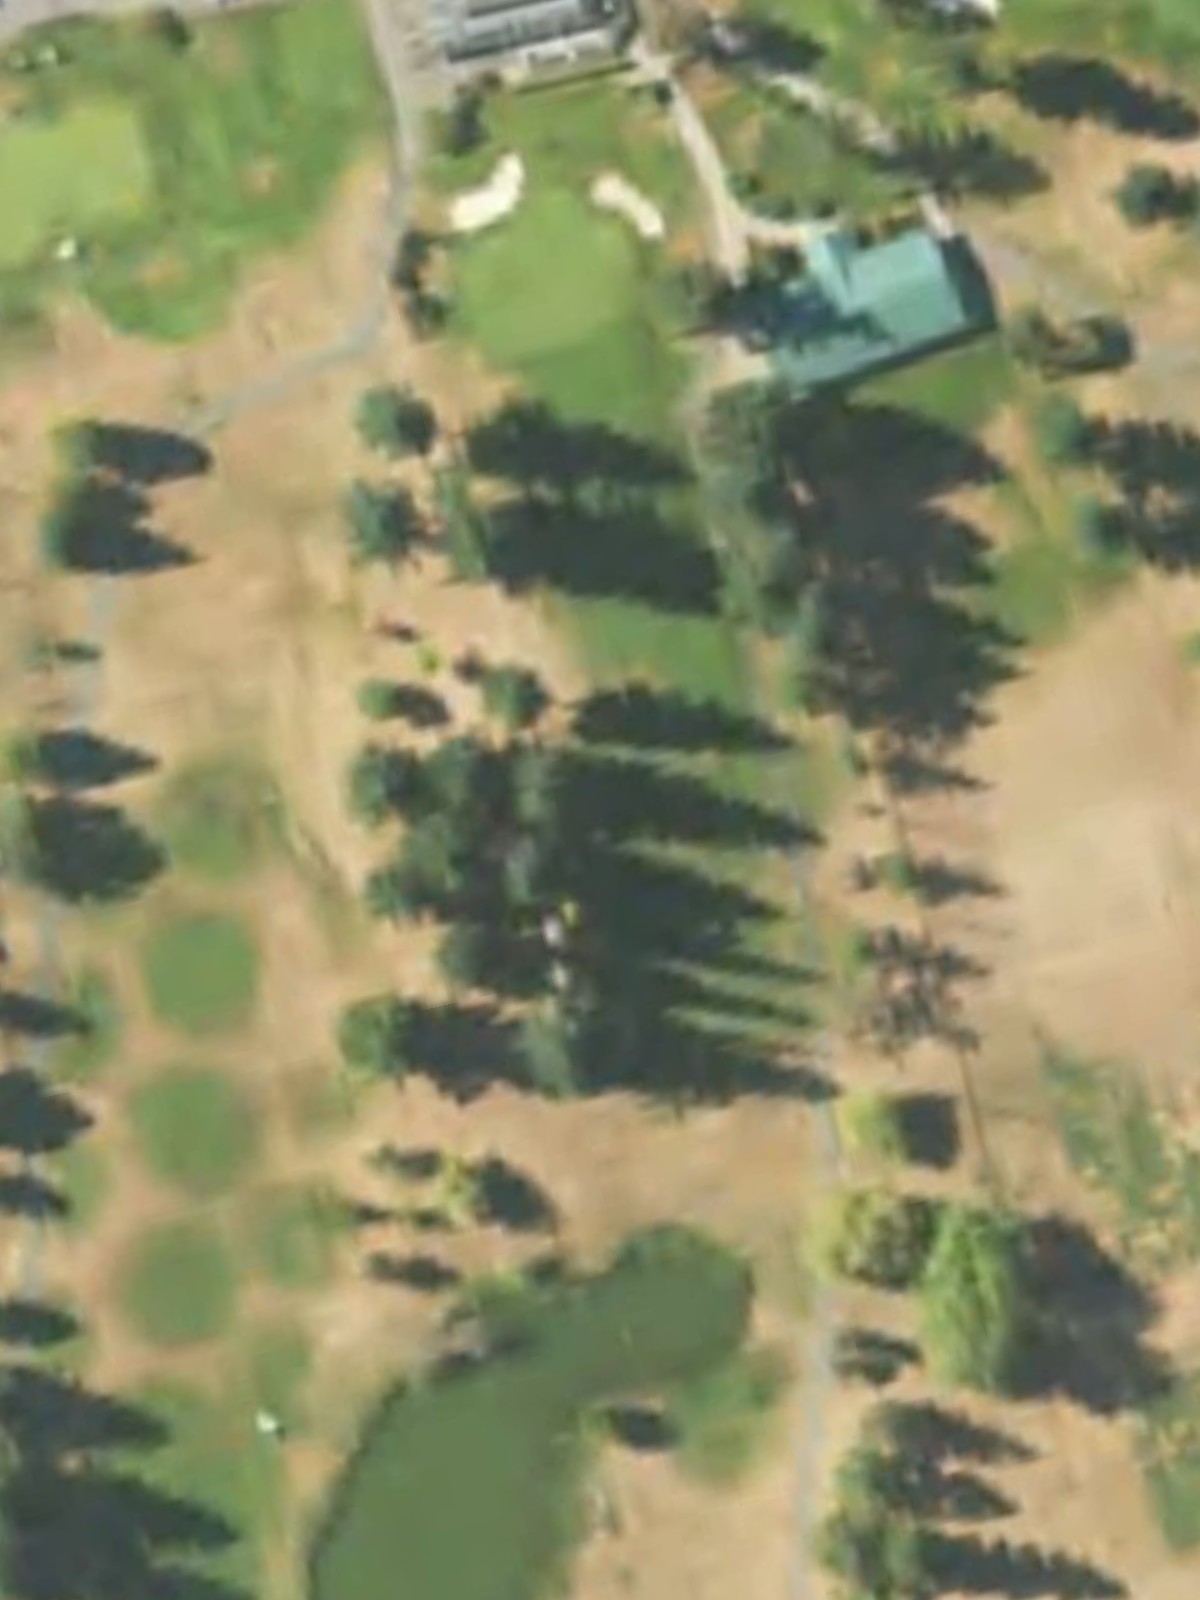
Riverside Golf Club is an 18-hole golf course in Chehalis, WA with a par of 71. It offers 6 tee sets: yellow (6,005 yards, slope 125, rating 68.4), white (5,738 yards, slope 123, rating 67.2), white/green combo (5,432 yards, slope 116, rating 66.6), green (5,306 yards, slope 112, rating 66), green/gray combo (4,575 yards, slope 107, rating 62.4), gray (4,161 yards, slope 104, rating 60.8). The hardest hole is #7, a par 5 playing 365 yards from the first tee.
Riverside Golf Club
Chehalis, WA
Get PDF Yardage Book
We'll email you the PDF link. No spam, ever.
Create Your Game Plan
Pick your tees, enter your bag, and get a personalized shot-by-shot strategy for every hole.
A straightforward par 4 that plays shorter from the gray tees but lengthens considerably from the back. The fairway remains relatively open, though bunkers protect the right side of the green and demand accuracy on the approach shot.
The course's third-toughest hole, this par 4 requires precision from an elevated tee with water lurking left throughout the hole. The green sits well-protected, making this a stern test of both driving accuracy and approach play.
A short par 4 that offers the most generous scoring opportunity on the front nine from all tees. Despite its length, the hole presents a straightforward design that rewards solid fundamentals without excessive hazards.
A devilish short par 4 that disguises its difficulty with modest yardage. Strategic hazards and a compact green complex make this hole play far longer than the scorecard suggests, particularly from the longer tees.

A mid-length par 4 with a relatively open character that gradually lengthens across the different tee boxes. The hole's straightforward design provides a scoring opportunity before the back nine intensifies.
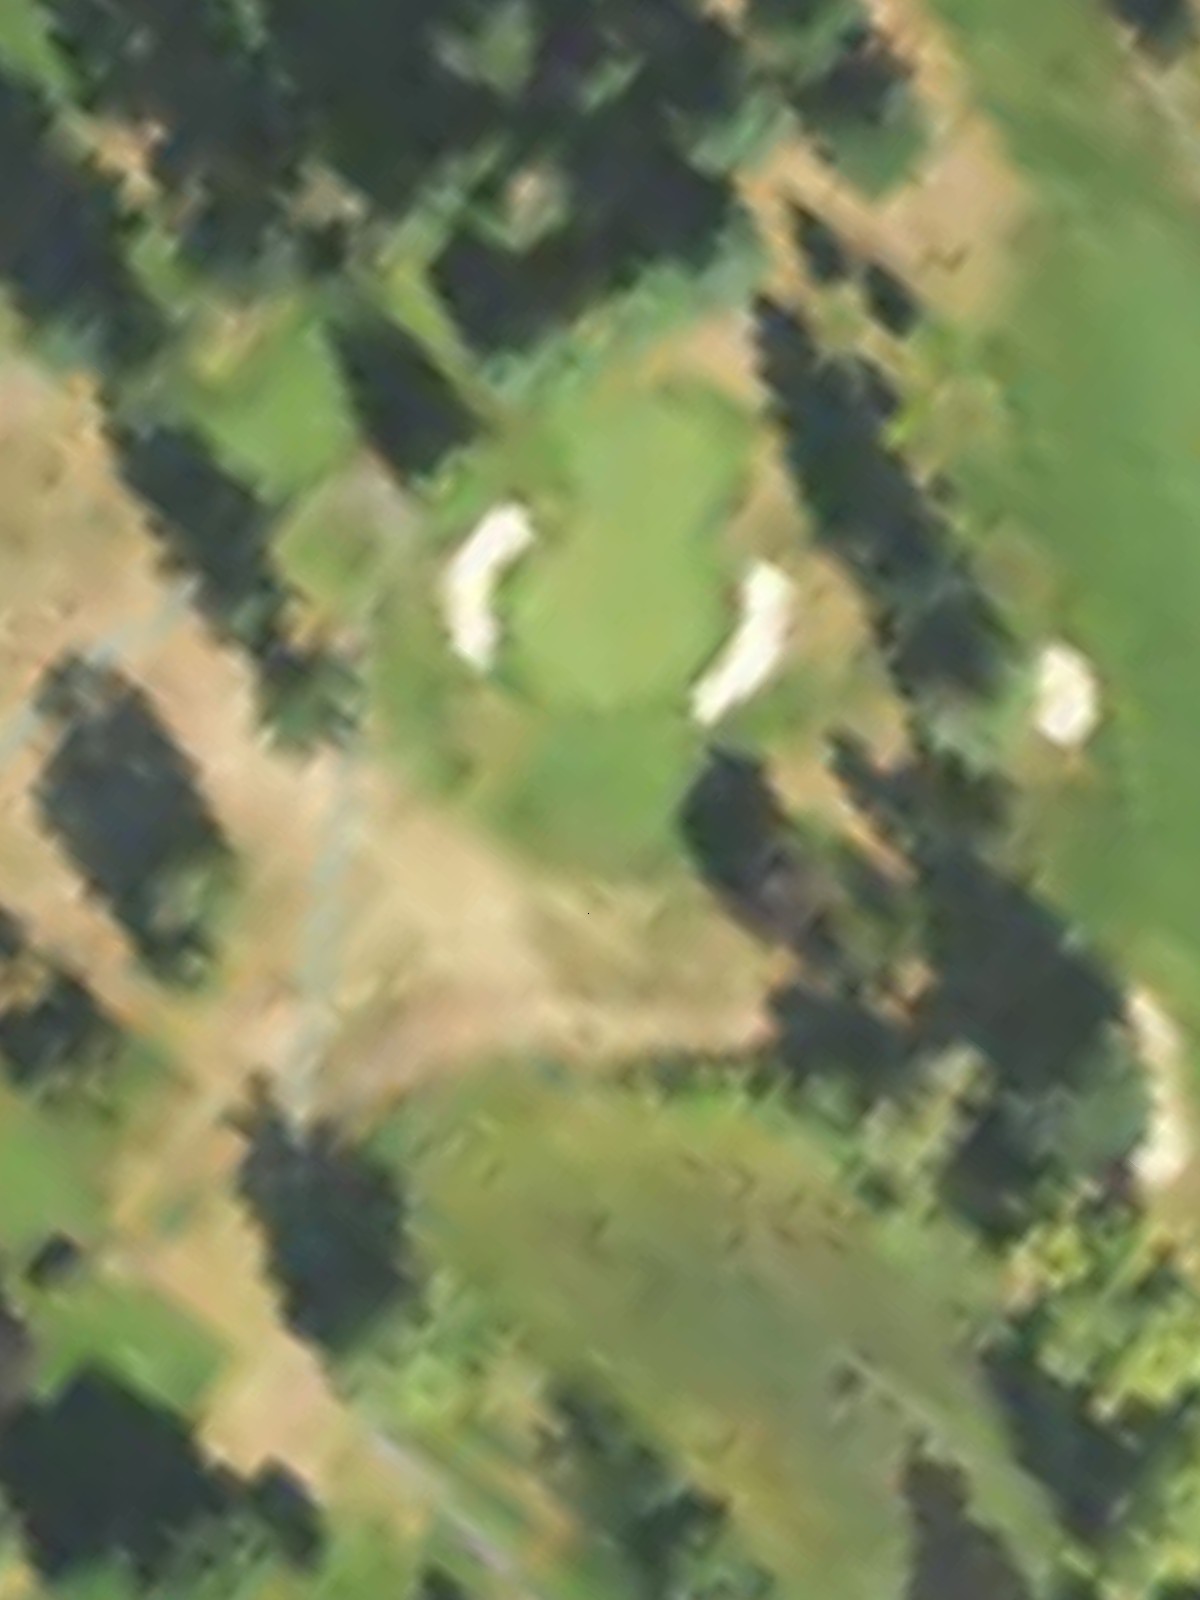
The front nine's easier par 3, playing under 165 yards from the longest tees with minimal hazard threats. This short one-shotter serves as a welcome breather before the challenges ahead.
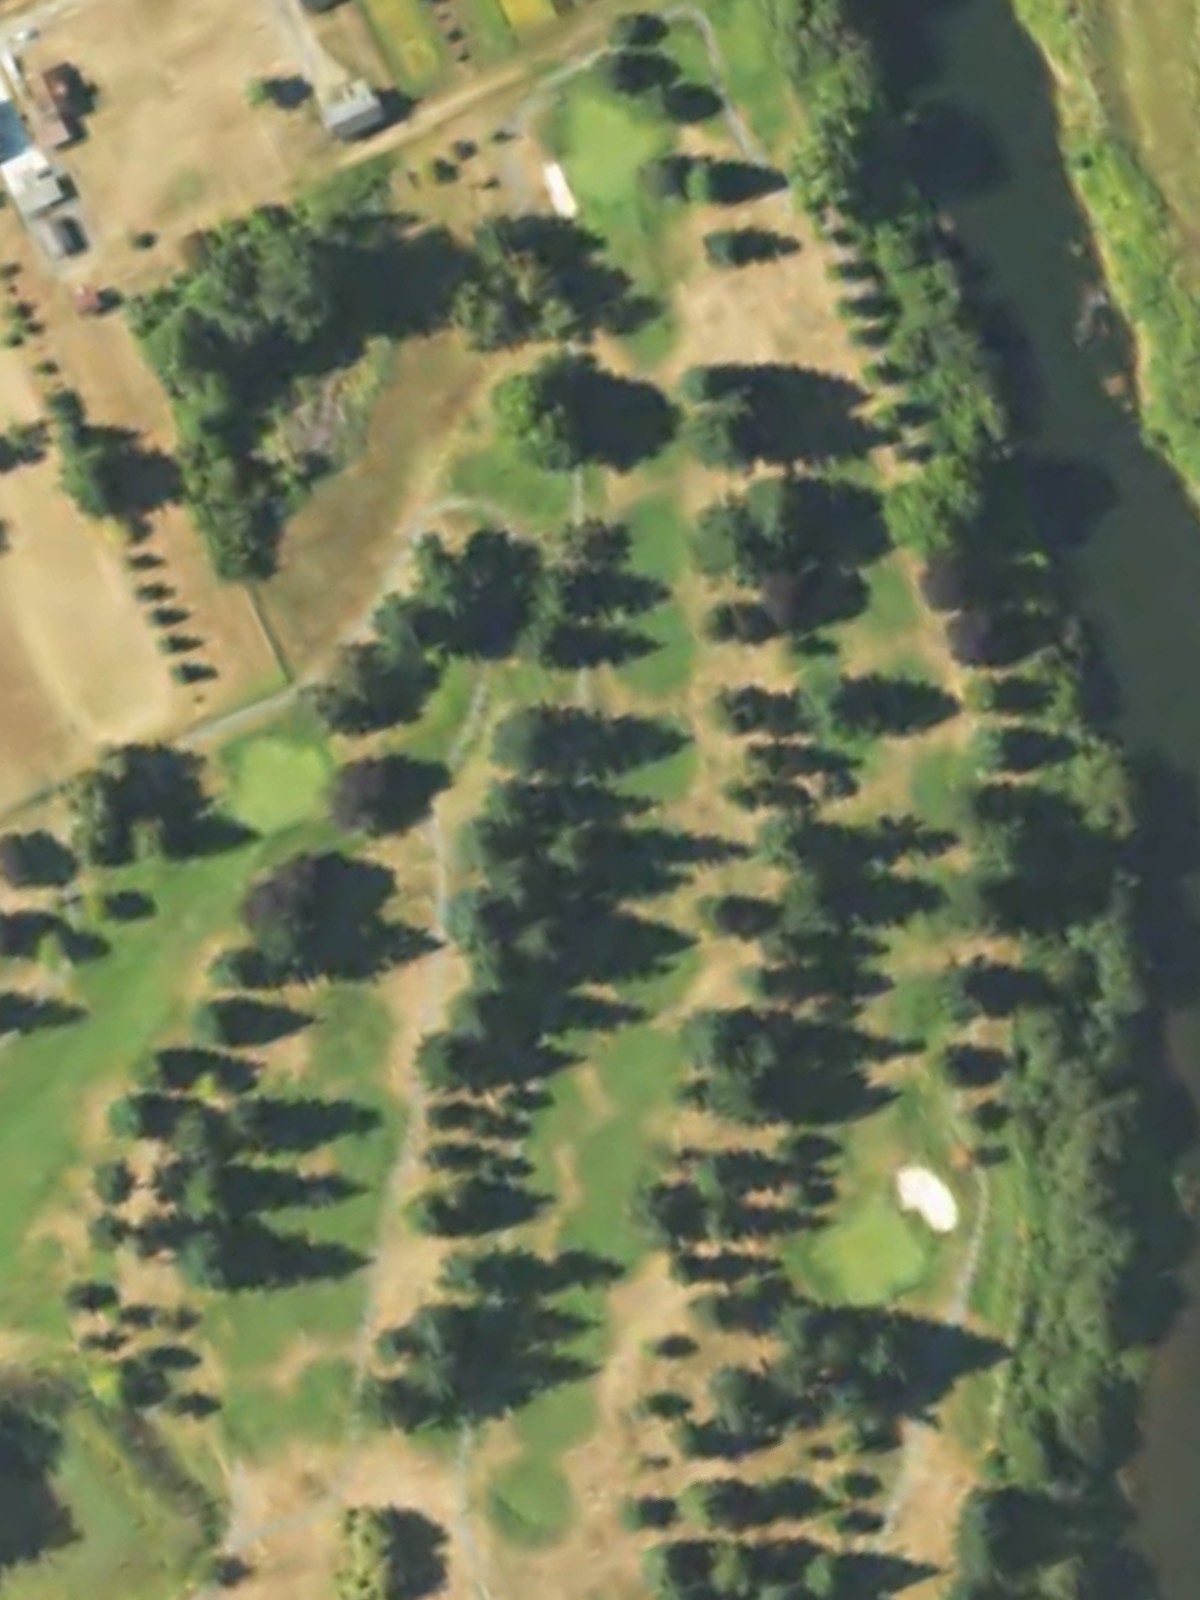
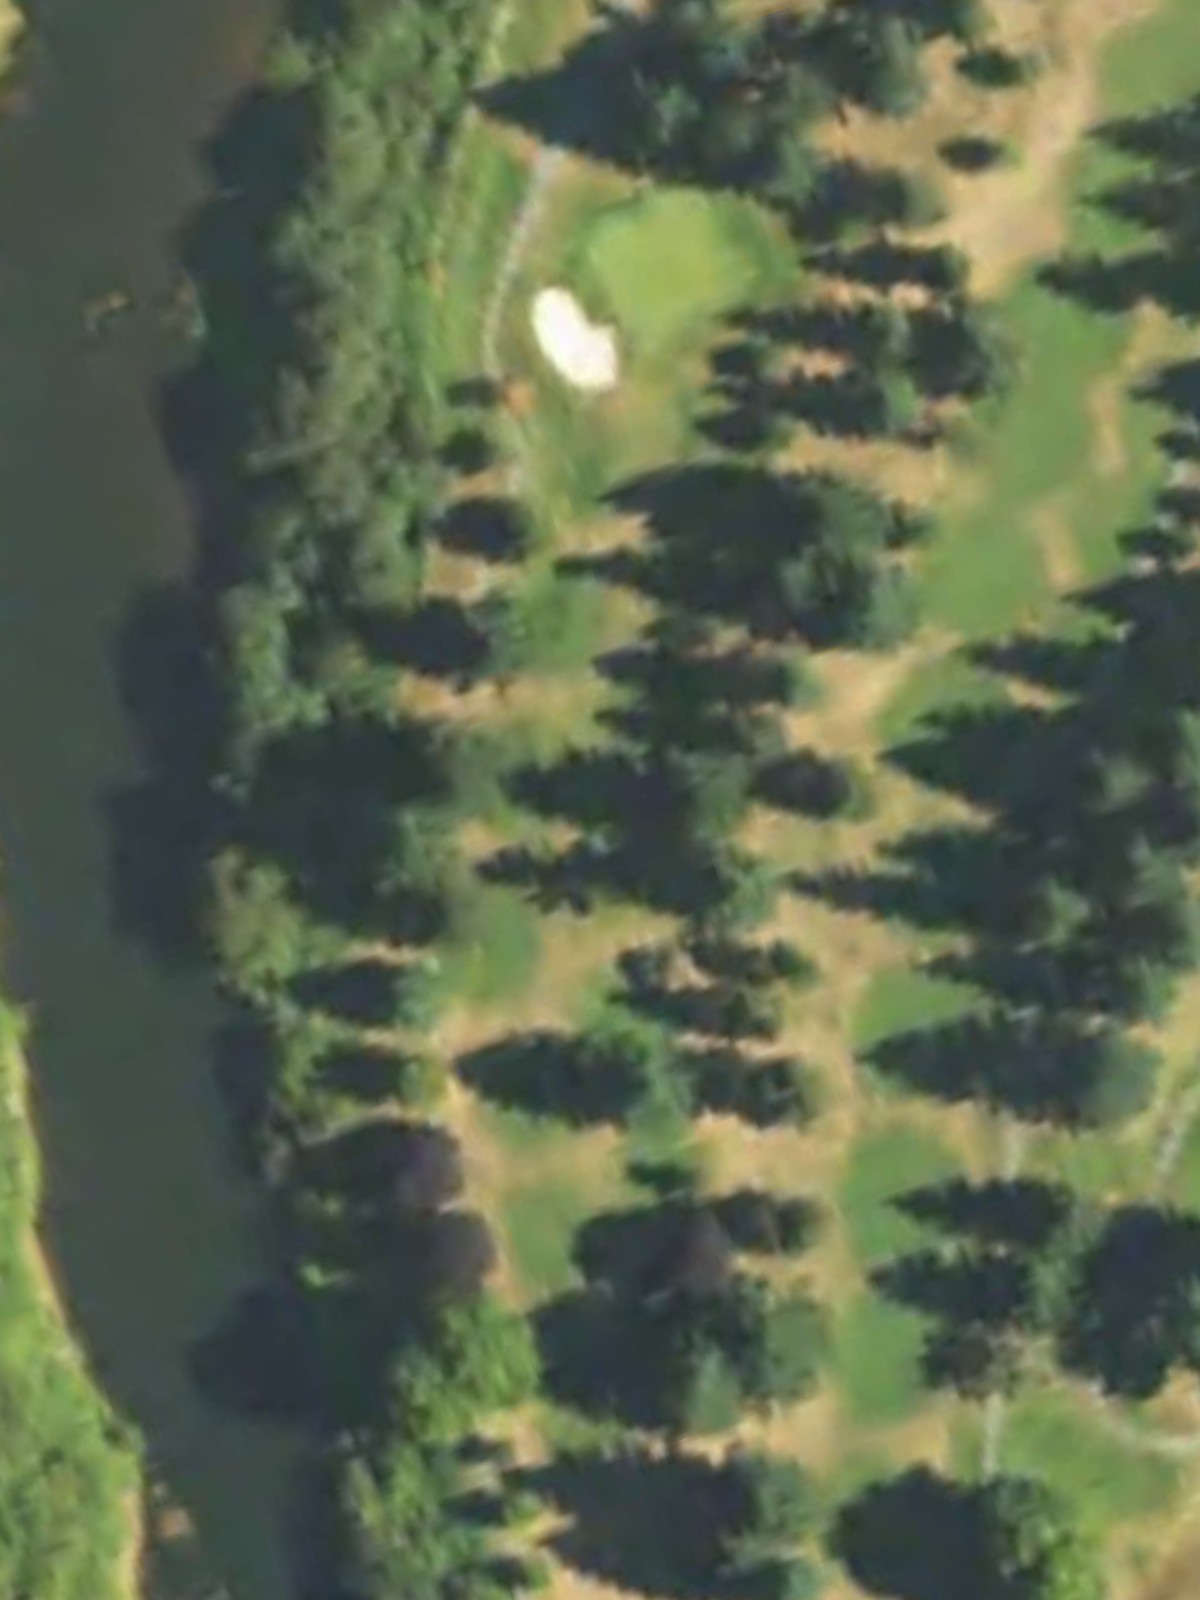
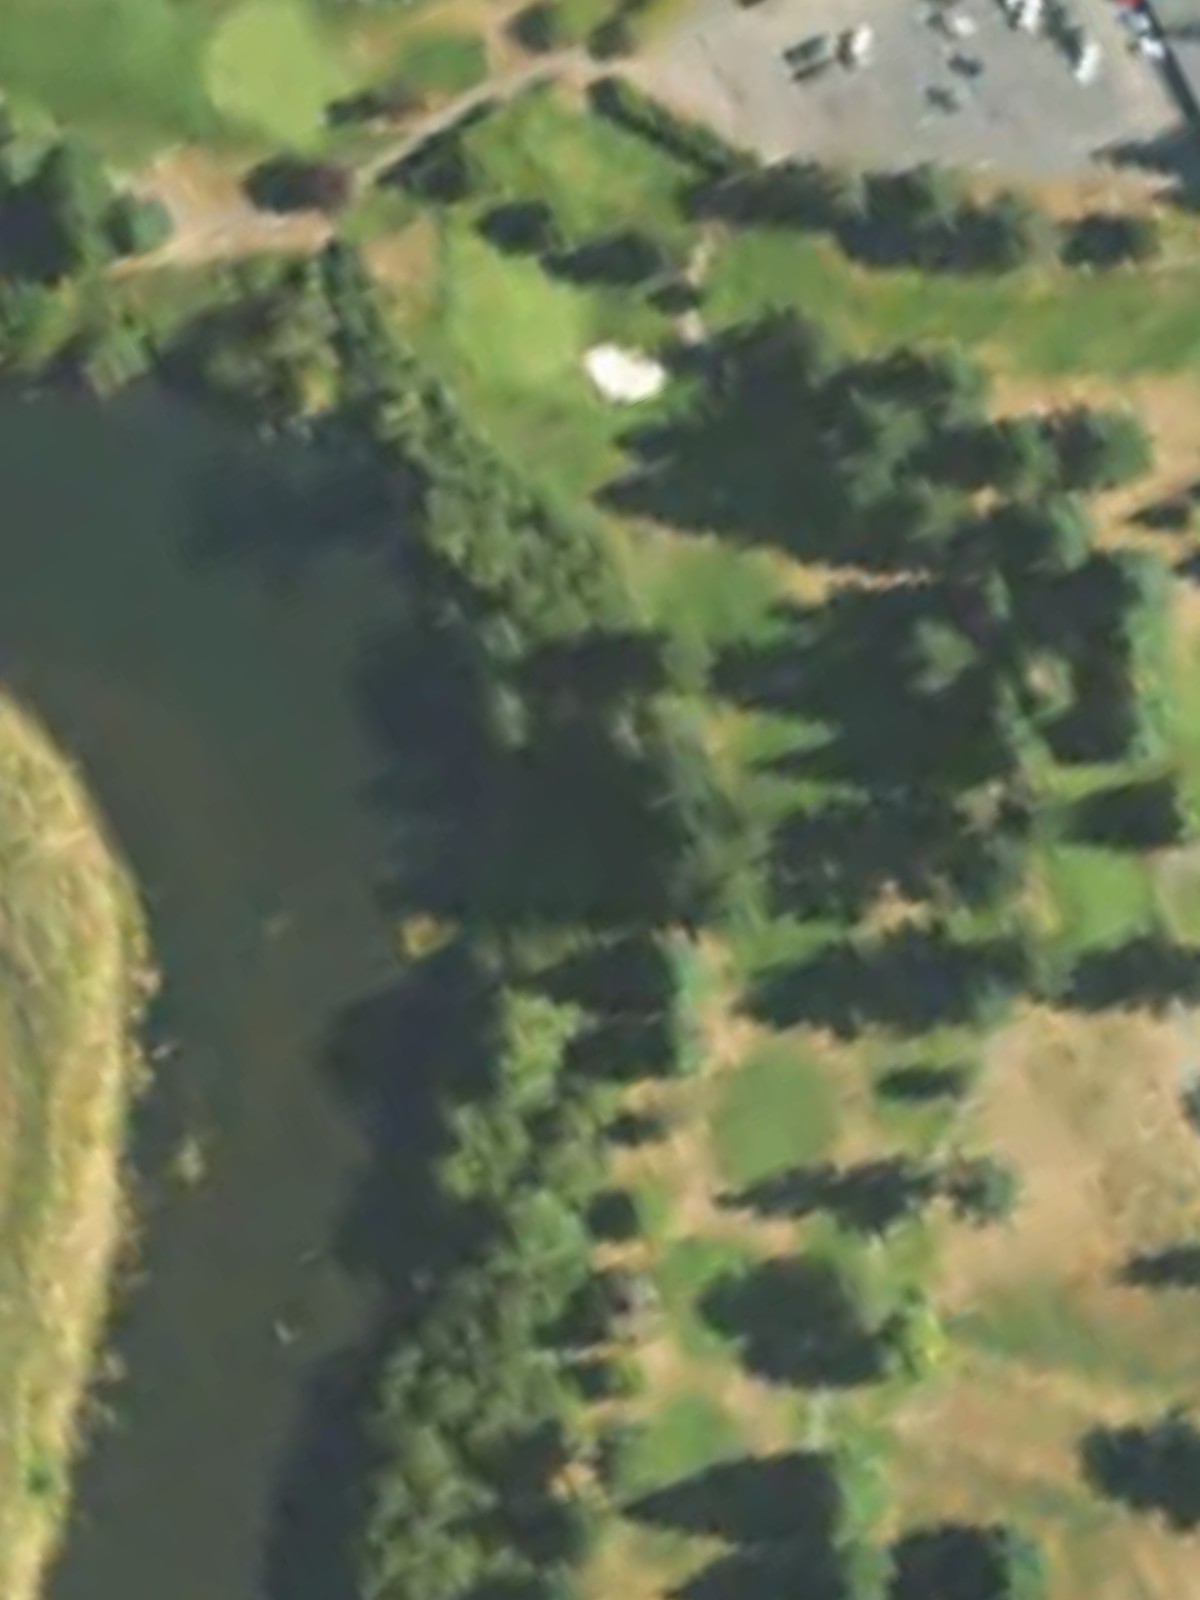
The course's signature hole and toughest par 5, stretching to over 500 yards from the back tees with a demanding layout throughout. Length combined with strategic hazards makes this a pivotal hole in the round.
A mid-length par 4 with a straightforward design that doesn't overwhelm despite its ranking as the back nine's easier four. The hole presents a manageable target for solid ball-strikers.
A compact par 4 that requires control over distance, with the back tees pushing it near 350 yards. Strategic placement off the tee is essential to approach this green effectively.
The back nine opens with a stern par 4 that ranks among the course's toughest holes. A dramatic yardage spread across tees demands careful consideration of your optimal playing length.
A generous par 3 playing under 170 yards from the longest tee with a forgiving nature. This short hole offers another scoring opportunity in the back nine's first half.
A mid-length par 4 with moderate difficulty sitting in the easier half of the back nine. The hole presents a straightforward risk-reward scenario for players of all levels.
A short par 3 that plays under 180 yards even from the back tees with a compact footprint. This three-shotter provides another accessible birdie opportunity on the back nine.
The second-toughest hole on the course, this par 5 stretches well over 500 yards from the back and demands both length and precision. Multiple decision points throughout the hole make it strategically complex.
The course's easiest hole, this brief par 3 plays well under 170 yards from all tees with generous scoring potential. A straightforward one-shotter that rewards solid execution.
A formidable par 5 ranked fourth in difficulty, stretching nearly 480 yards from the back tees with strategic hazards throughout. The hole's length and complexity demand careful planning across the entire hole.
A mid-length par 4 with moderate difficulty that provides breathing room before the closing hole. The straightforward layout offers a realistic scoring chance near the round's end.
The closing par 4 plays dramatically shorter from the gray tees but extends significantly from the white boxes onward, creating a dynamic finishing hole. A fitting conclusion that can play anywhere from a comfortable par to a demanding challenge depending on tee selection.
Scorecard
| Hole | 1 | 2 | 3 | 4 | 5 | 6 | 7 | 8 | 9 | Out | 10 | 11 | 12 | 13 | 14 | 15 | 16 | 17 | 18 | In | Tot |
|---|---|---|---|---|---|---|---|---|---|---|---|---|---|---|---|---|---|---|---|---|---|
| Par | 4 | 4 | 4 | 4 | 4 | 3 | 5 | 4 | 4 | 36 | 4 | 3 | 4 | 3 | 5 | 3 | 5 | 4 | 4 | 35 | 71 |
| HCP | 9 | 3 | 15 | 5 | 11 | 17 | 1 | 13 | 7 | 6 | 16 | 8 | 14 | 2 | 18 | 4 | 12 | 10 | |||
| yellow | 374 | 406 | 303 | 372 | 368 | 163 | 518 | 331 | 348 | 3183 | 367 | 169 | 323 | 179 | 514 | 160 | 477 | 313 | 320 | 2822 | 6005 |
| white | 354 | 380 | 297 | 357 | 329 | 149 | 507 | 323 | 331 | 3027 | 361 | 133 | 316 | 165 | 496 | 154 | 469 | 305 | 312 | 2711 | 5738 |
| white/green combo | 323 | 380 | 289 | 346 | 329 | 103 | 437 | 323 | 331 | 2861 | 361 | 100 | 316 | 165 | 401 | 154 | 460 | 305 | 309 | 2571 | 5432 |
| green | 323 | 364 | 289 | 346 | 301 | 103 | 437 | 313 | 308 | 2784 | 354 | 100 | 306 | 152 | 401 | 144 | 460 | 296 | 309 | 2522 | 5306 |
| green/gray combo | 323 | 277 | 215 | 234 | 301 | 103 | 365 | 313 | 229 | 2360 | 232 | 100 | 306 | 152 | 401 | 144 | 381 | 296 | 203 | 2215 | 4575 |
| gray | 271 | 277 | 215 | 234 | 218 | 103 | 365 | 238 | 229 | 2150 | 232 | 100 | 232 | 106 | 401 | 111 | 381 | 245 | 203 | 2011 | 4161 |