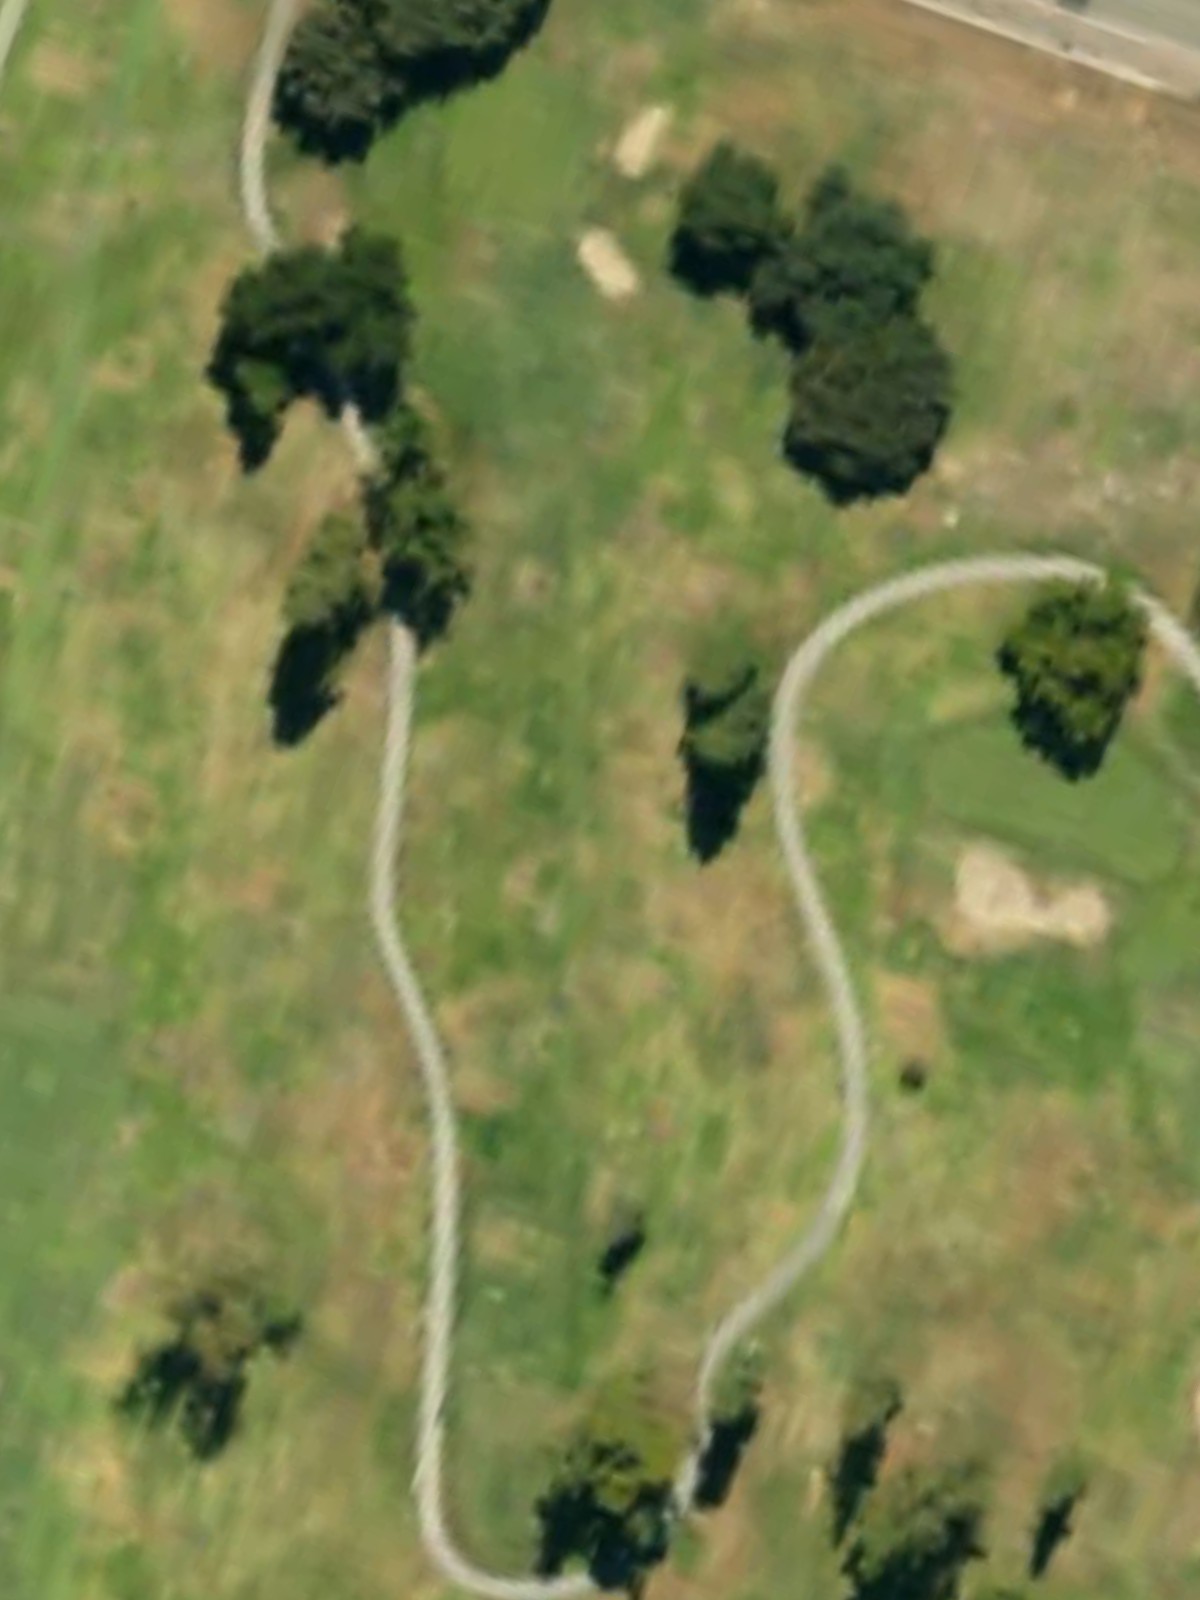
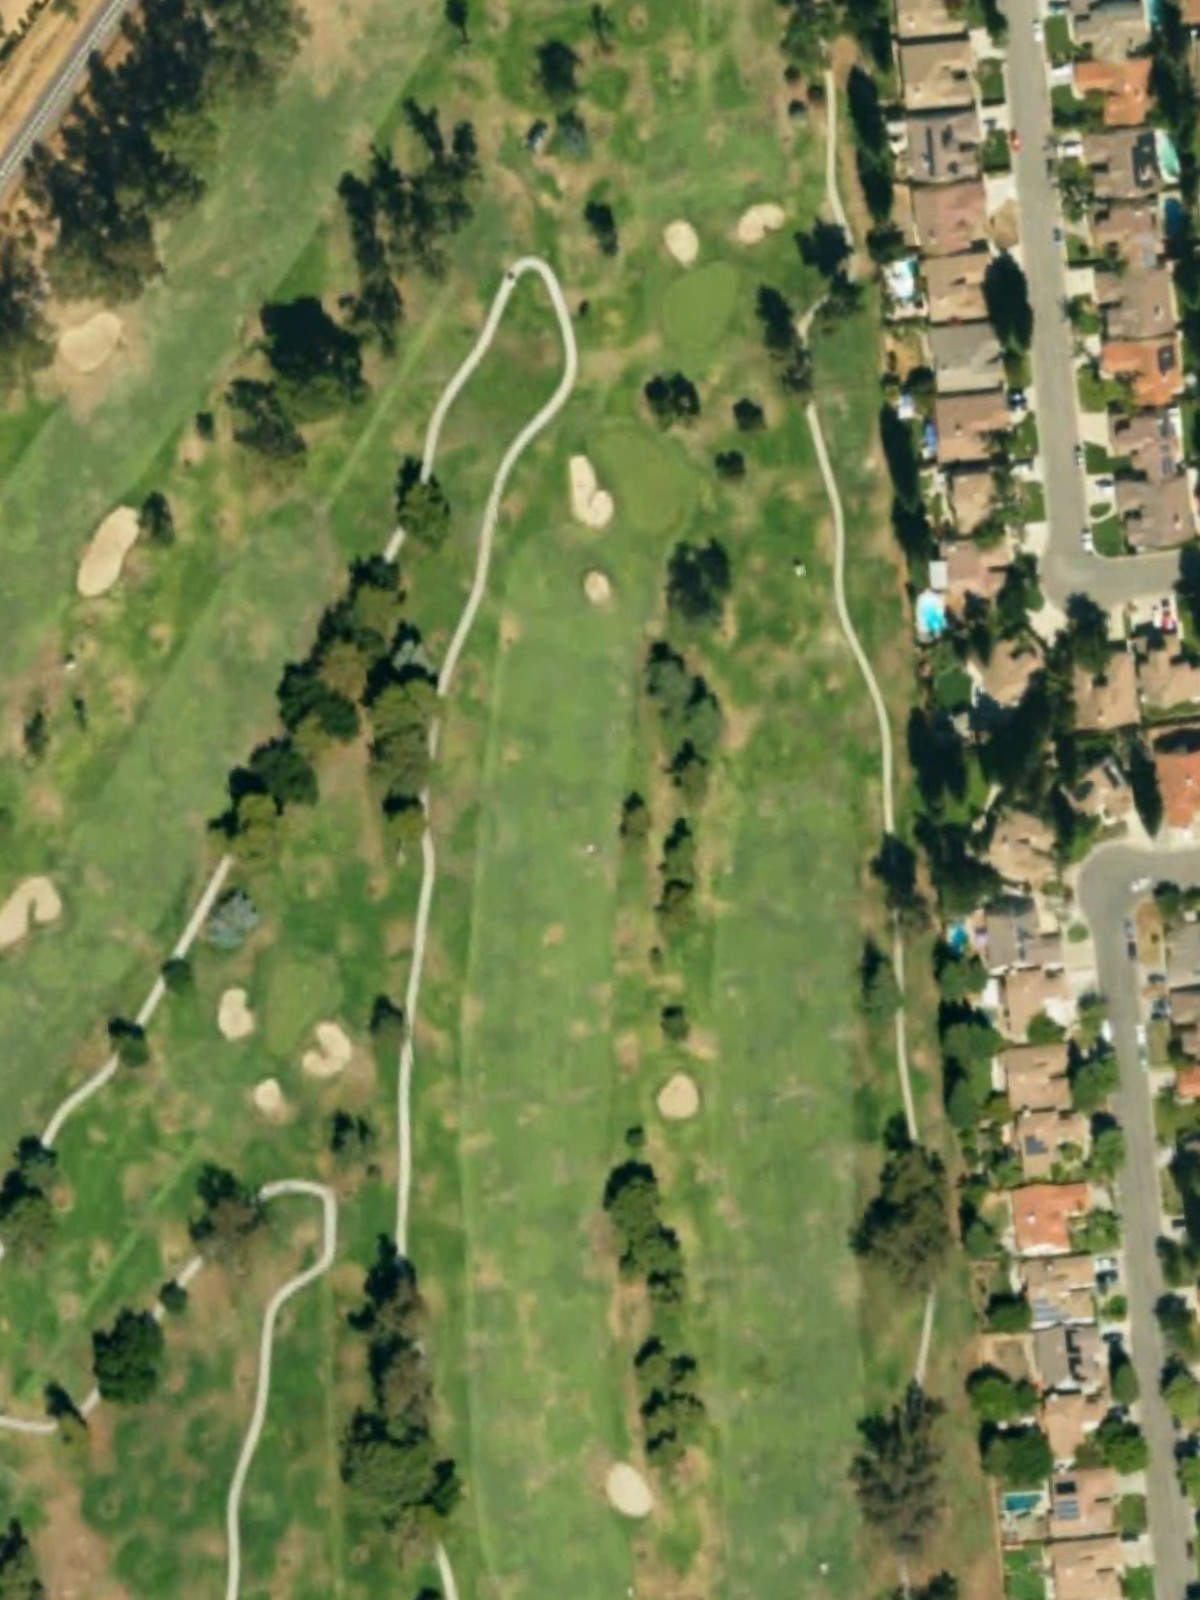
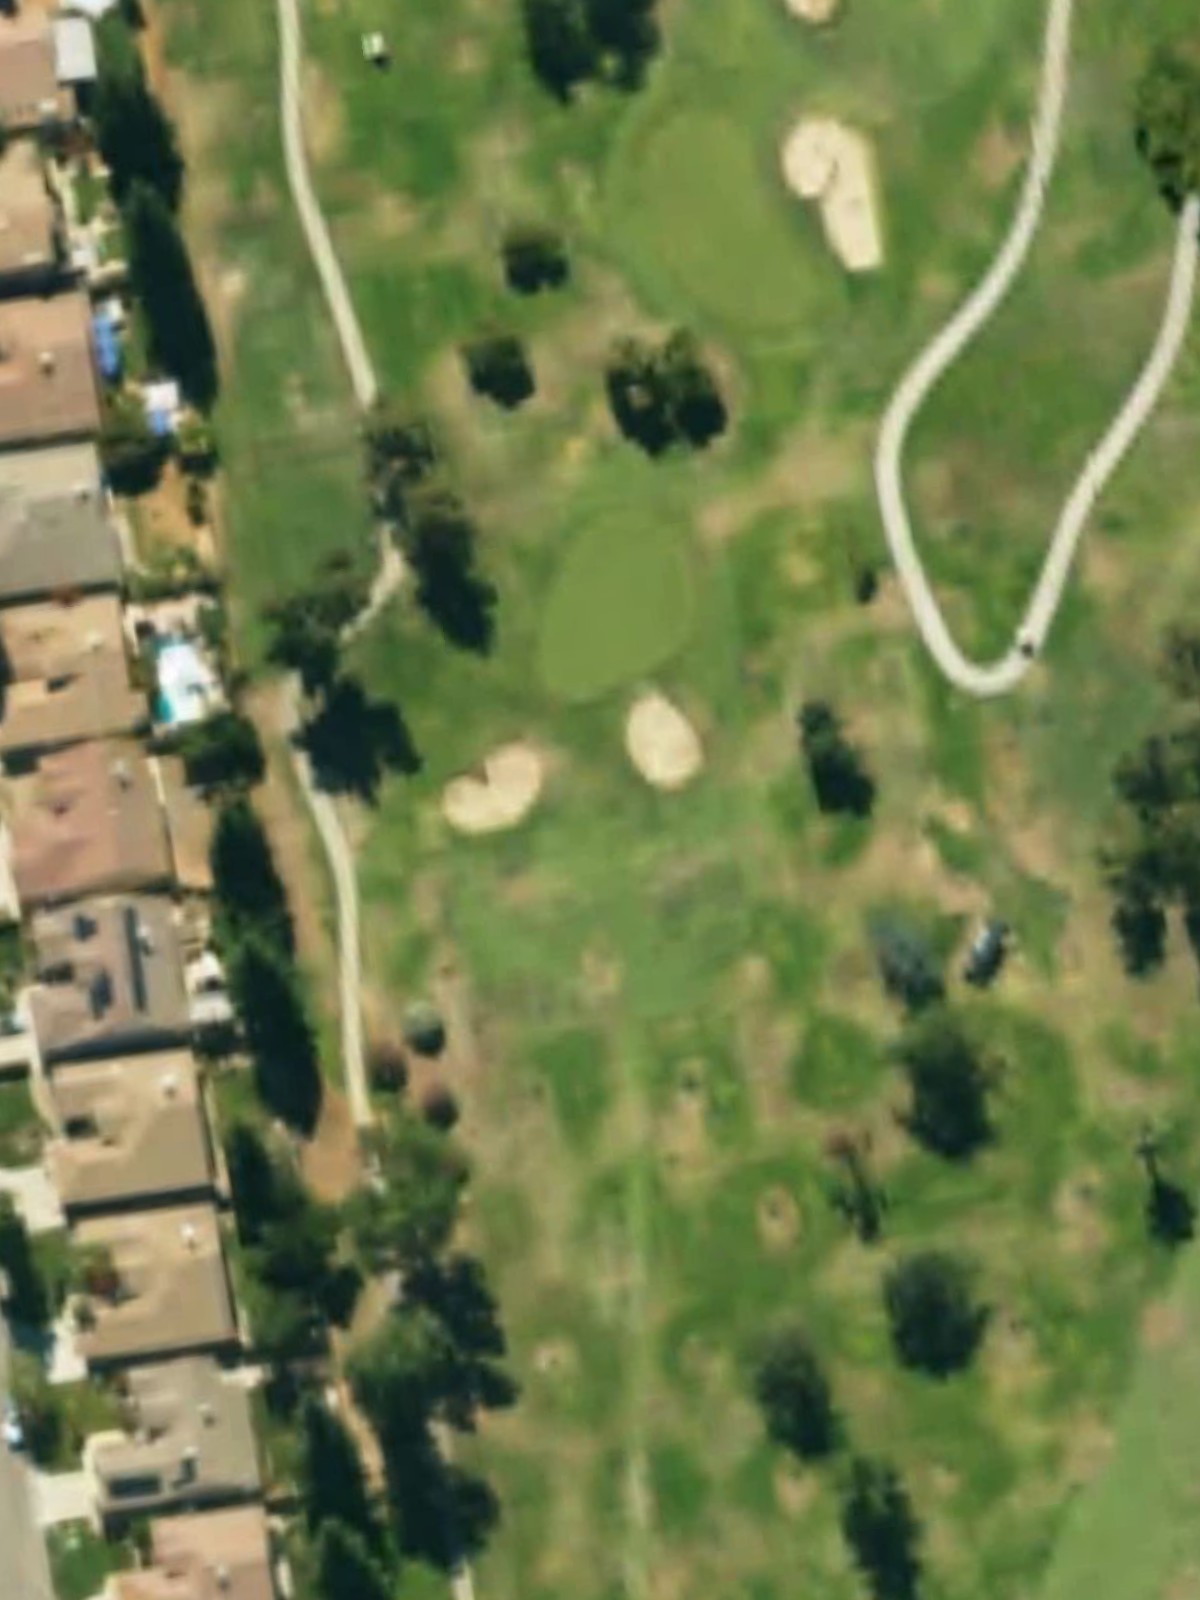
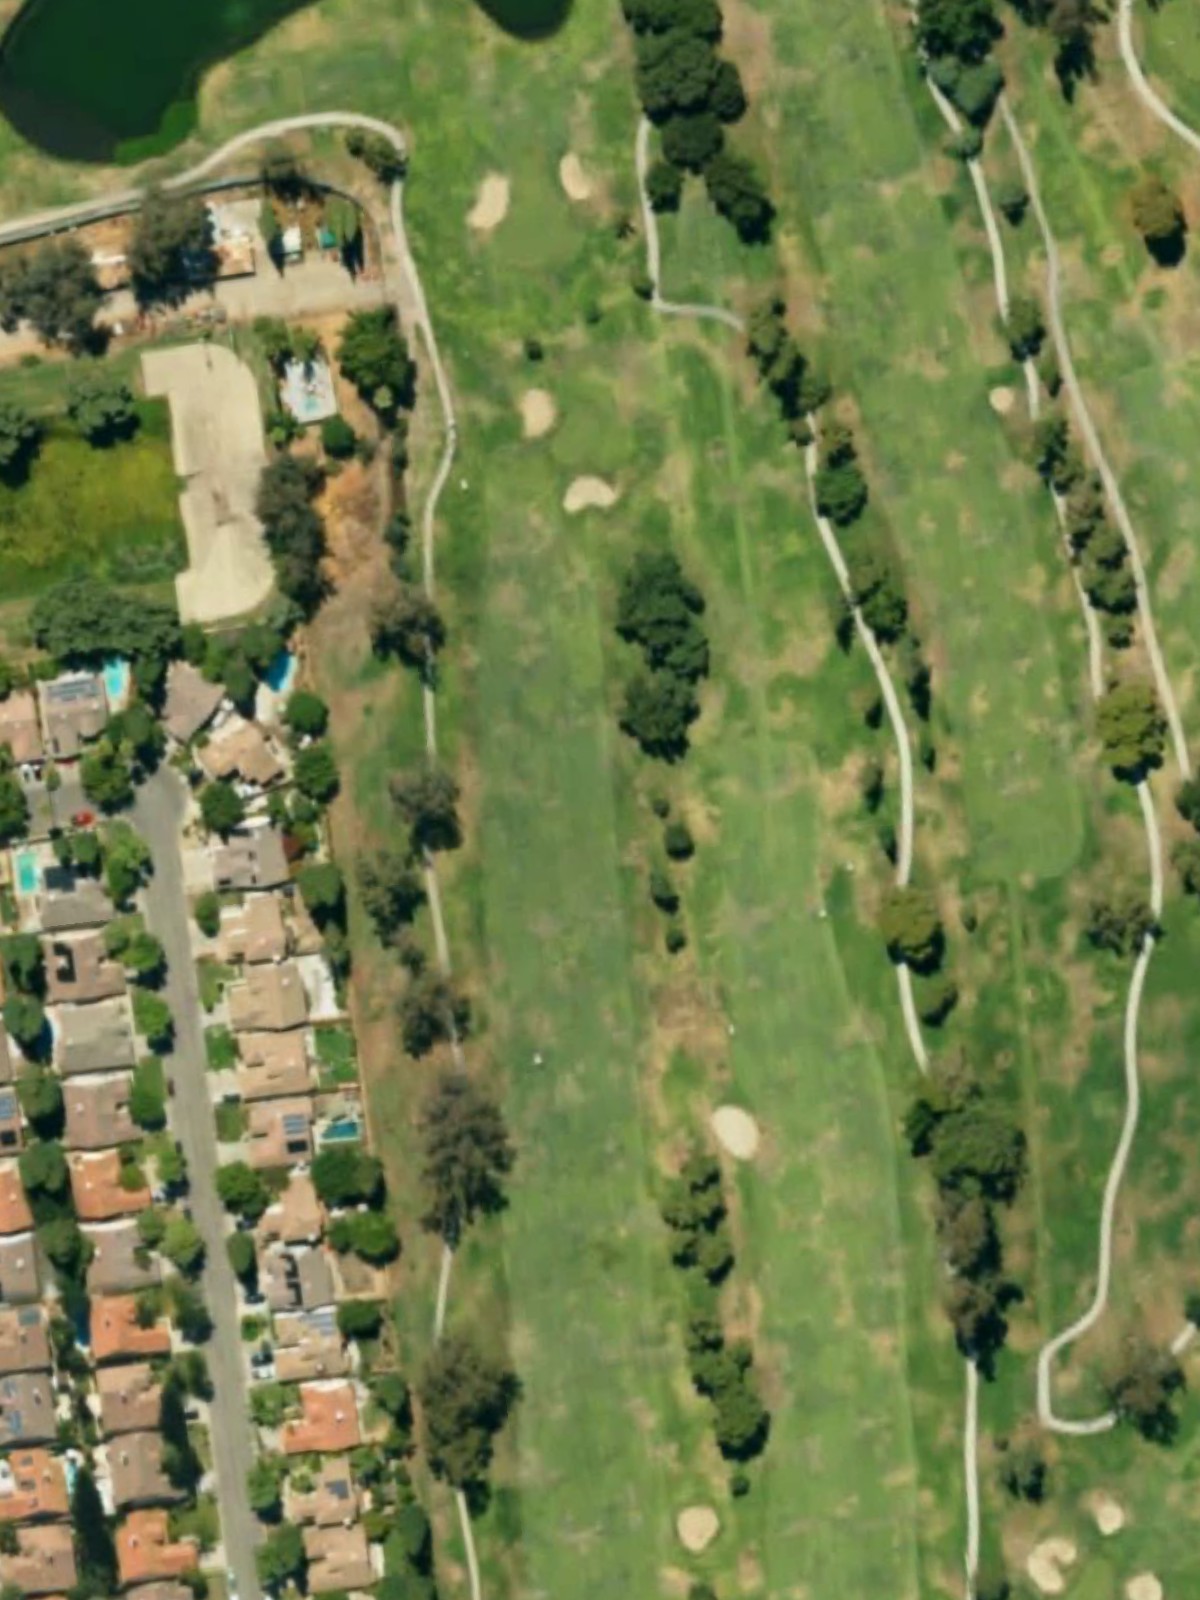
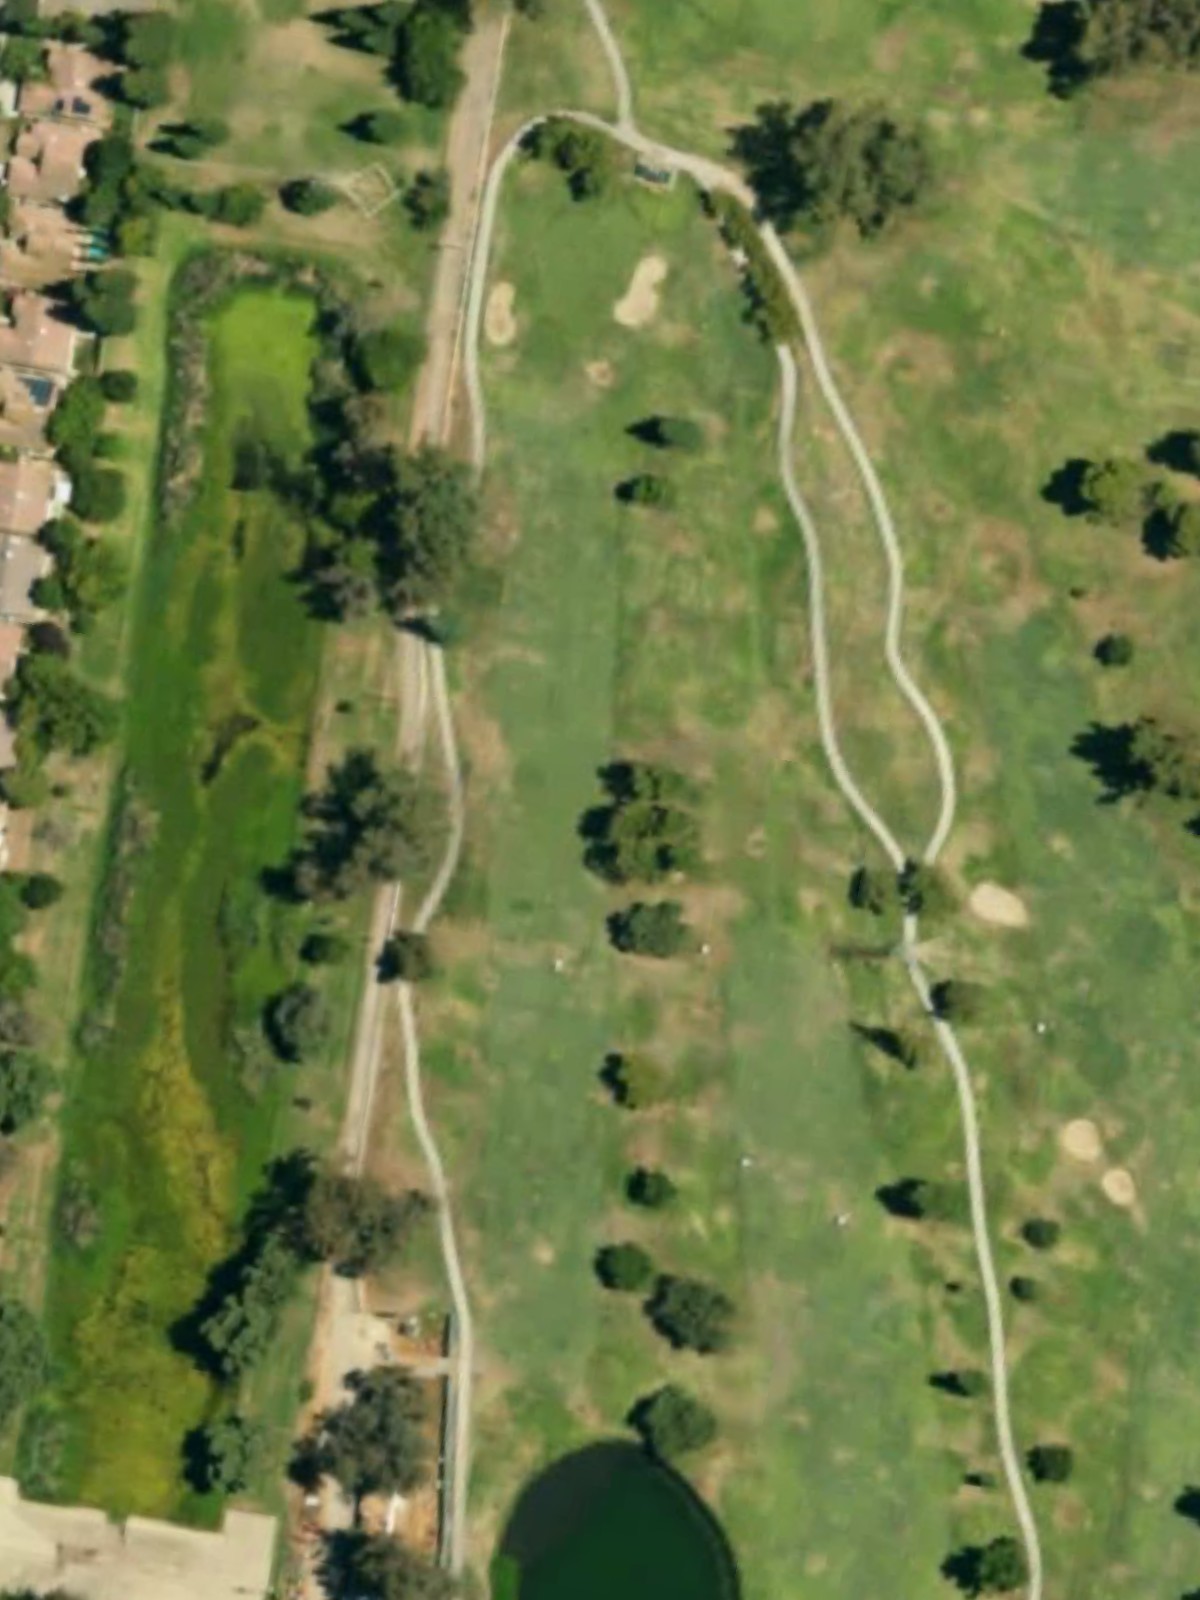
Riverside Gc is an 18-hole golf course in Fresno, CA with a par of 72. It offers 4 tee sets: blue (6,650 yards, slope 130, rating 71.9), white (6,340 yards, slope 127, rating 70.6), red (5,710 yards, slope 119, rating 67.8), gold (5,181 yards, slope 111, rating 65.5). The hardest hole is #4, a par 4 playing 334 yards from the first tee.
Riverside Gc
Fresno, CA
Get PDF Yardage Book
We'll email you the PDF link. No spam, ever.
Create Your Game Plan
Pick your tees, enter your bag, and get a personalized shot-by-shot strategy for every hole.

A straightforward par 4 that plays shorter than its yardage suggests, offering a relatively open approach to the green. The fairway is forgiving off the tee, though accuracy into the green is rewarded as the landing area tightens near the putting surface.
A short par 3 with a modest green that demands precision over distance. The compact nature of this hole makes club selection and accuracy critical, as there is little margin for error around the green.
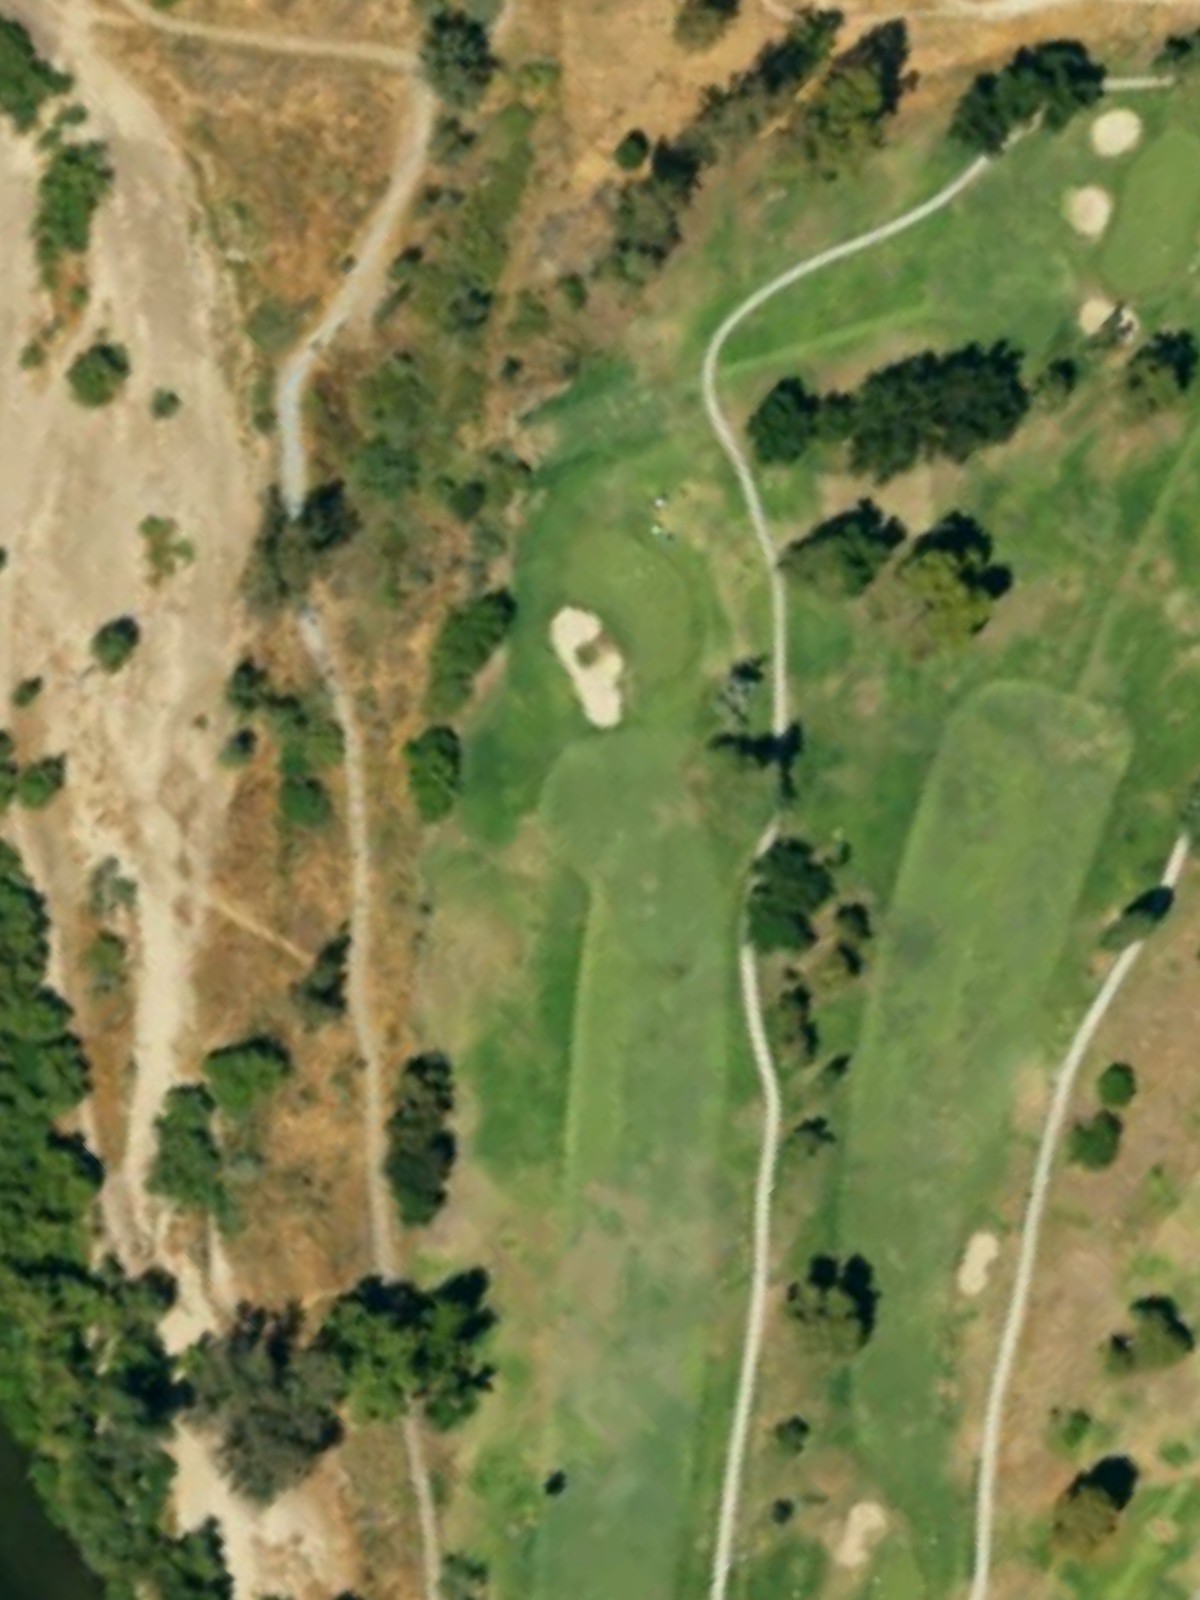
A well-bunkered par 4 that plays as one of the course's most demanding holes despite a moderate handicap ranking. Strategic placement off the tee is essential, as hazards surround the green and narrow the target area for approach shots.
The most difficult hole on the course, this par 4 is a formidable test from the back tees and plays significantly longer than it appears. Hazards frame both sides of the fairway and guard the green, demanding two strong, accurate shots.
A short par 3 that plays deceptively tricky despite modest yardage, ranking among the course's hardest short holes. The small, well-protected green requires a precise tee shot with little room for recovery.
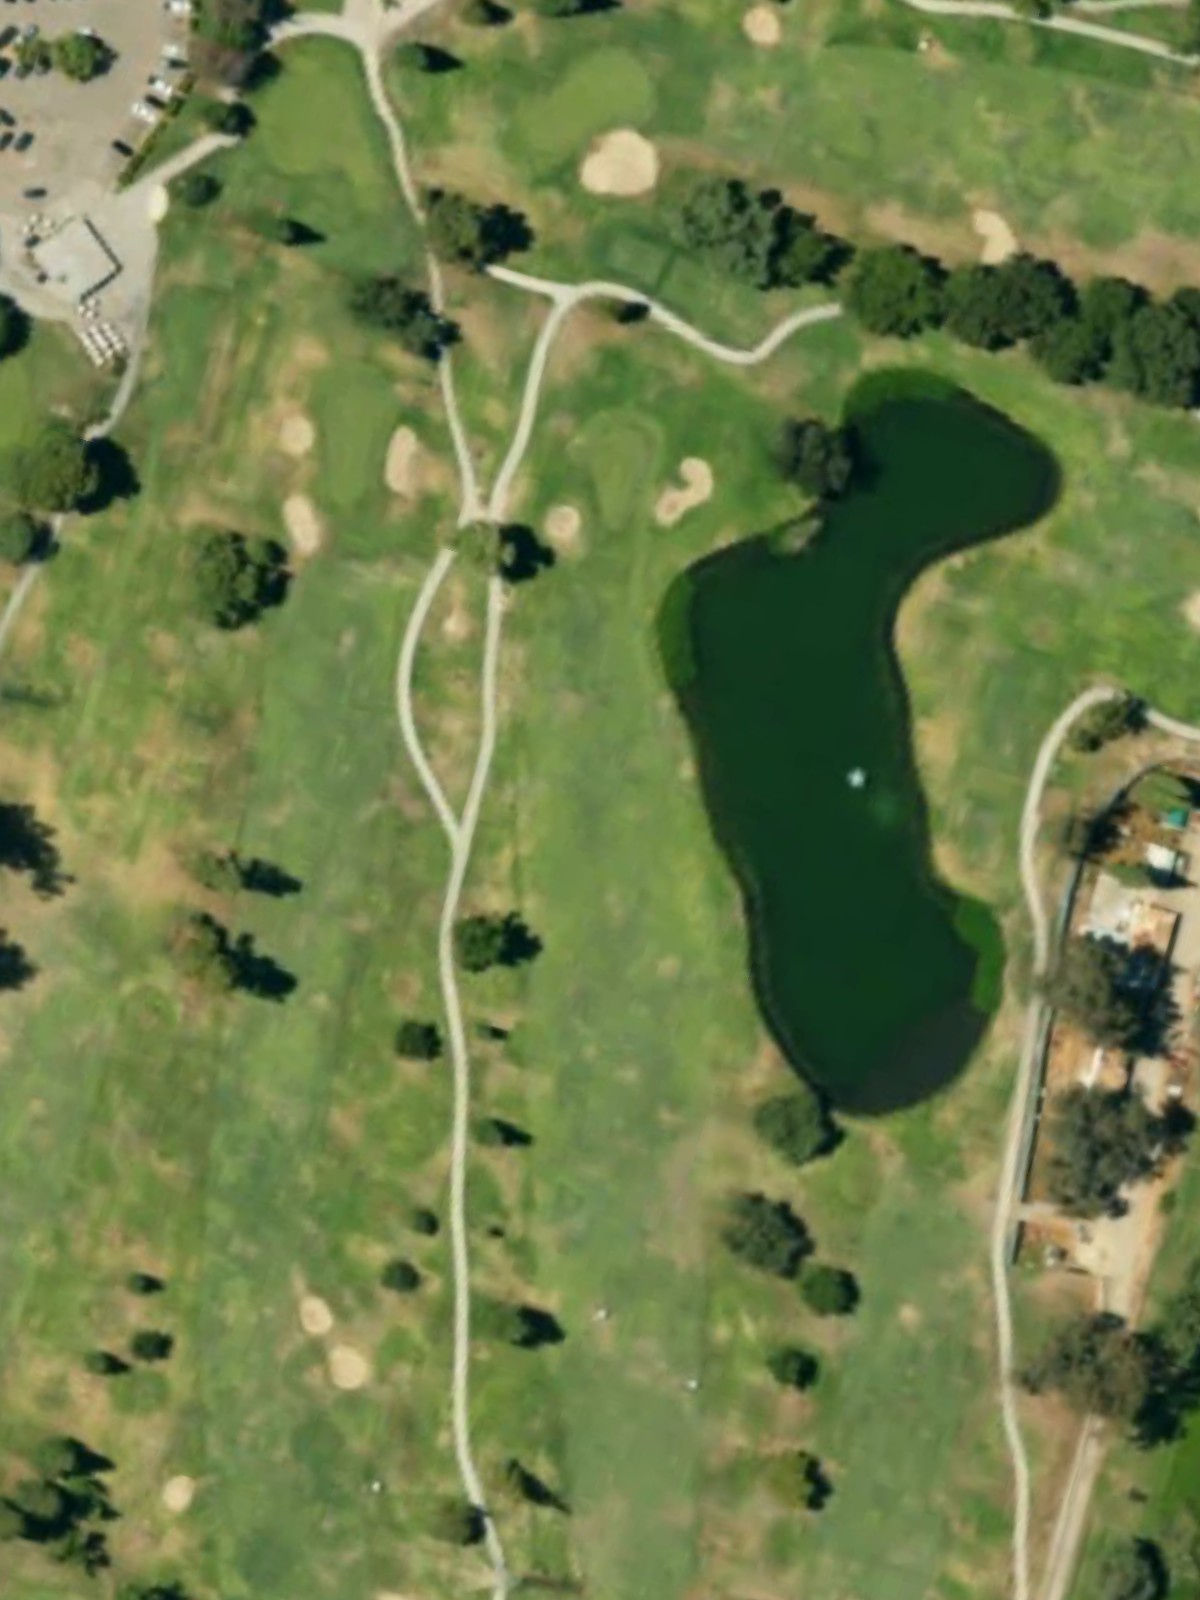
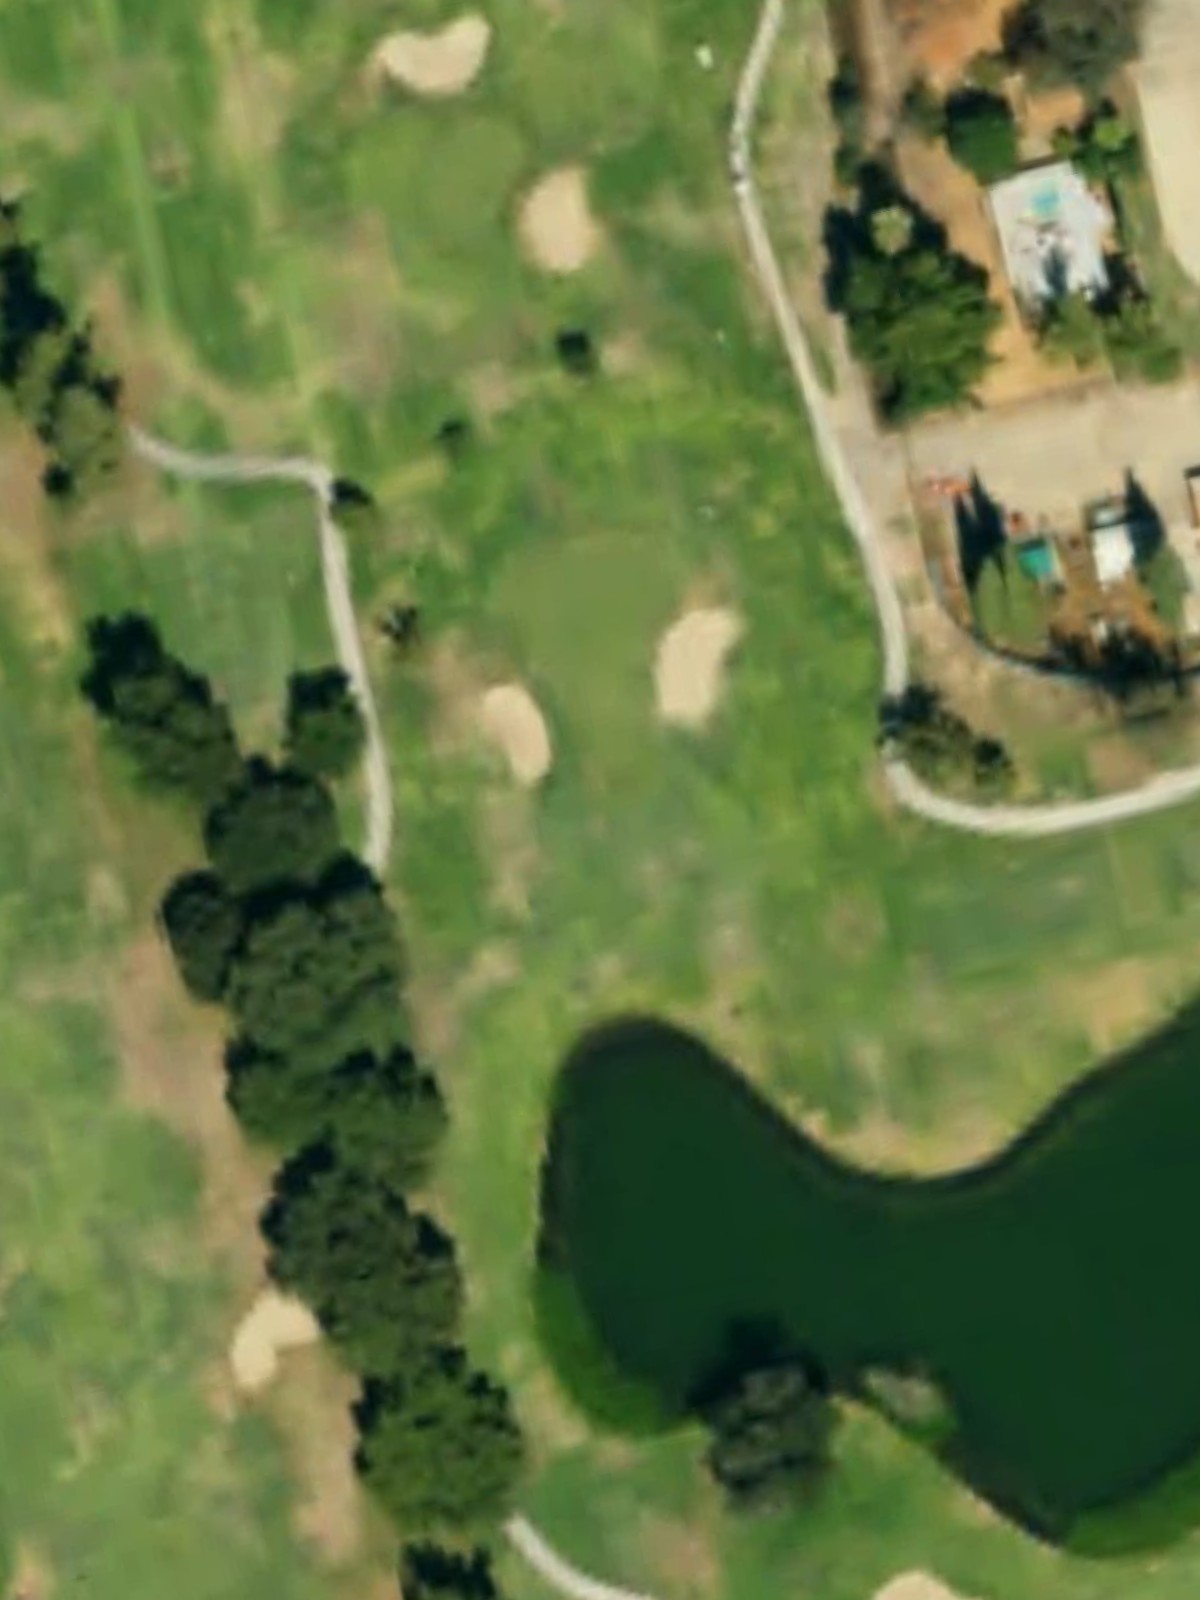
A substantial par 5 that offers birdie opportunities for longer hitters while remaining challenging for mid-handicappers. Water hazards and strategic bunkering create decision points throughout the hole and complicate the approach to the green.
A mid-length par 4 with a fairway that opens up the approach angle to the green. Bunkers positioned strategically around the green reward accurate iron play and penalize wayward shots.
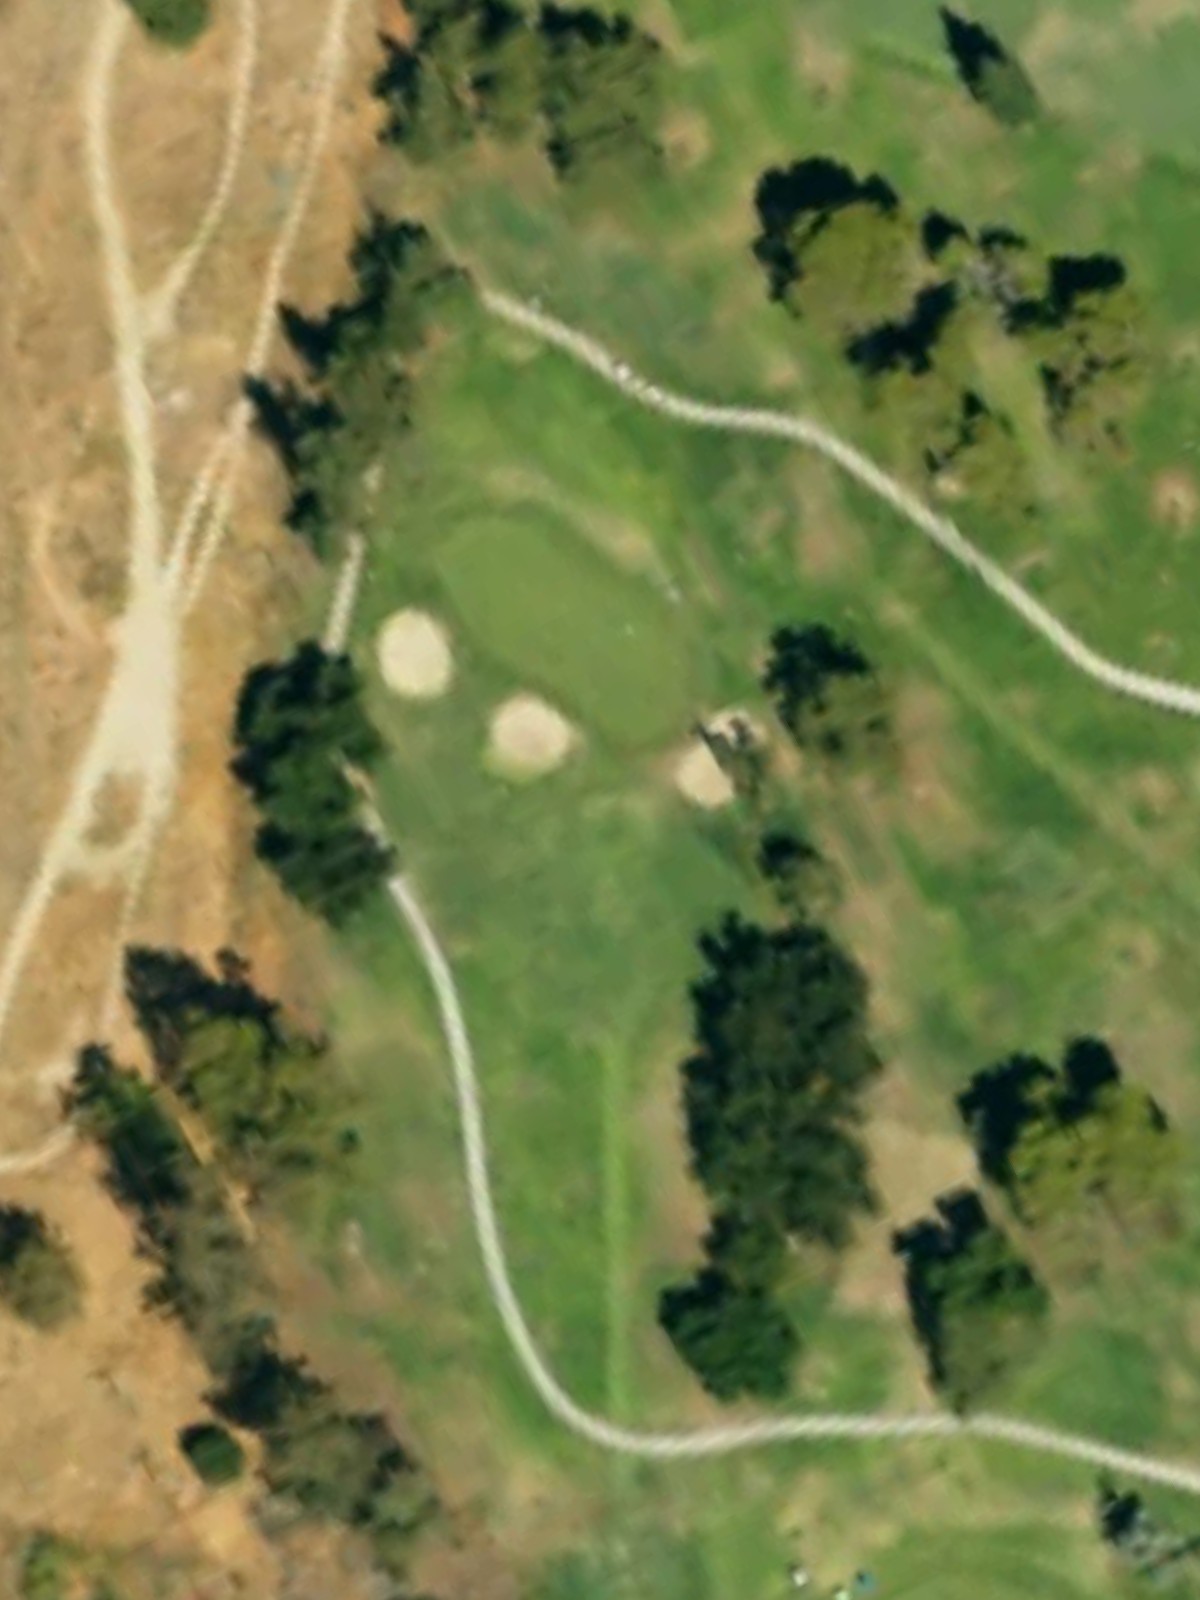
A mid-range par 3 with an elevated green that plays longer than its yardage indicates. Bunkers front and side the green, making distance control and accuracy essential for finding the putting surface.
One of the course's premier holes, this lengthy par 5 ranks among the most challenging and requires three quality shots to reach the green in regulation. Water and bunkering create strategic angles and force decisions on the approach.
A strong par 4 that plays consistently difficult and demands respect from tee to green. Hazards positioned throughout the hole—particularly around the green—punish both wayward drives and imprecise approaches.
A deceptively tricky short par 3 that plays as one of the course's most difficult short holes despite its modest length. The small green and surrounding hazards require an exact tee shot with virtually no margin for error.
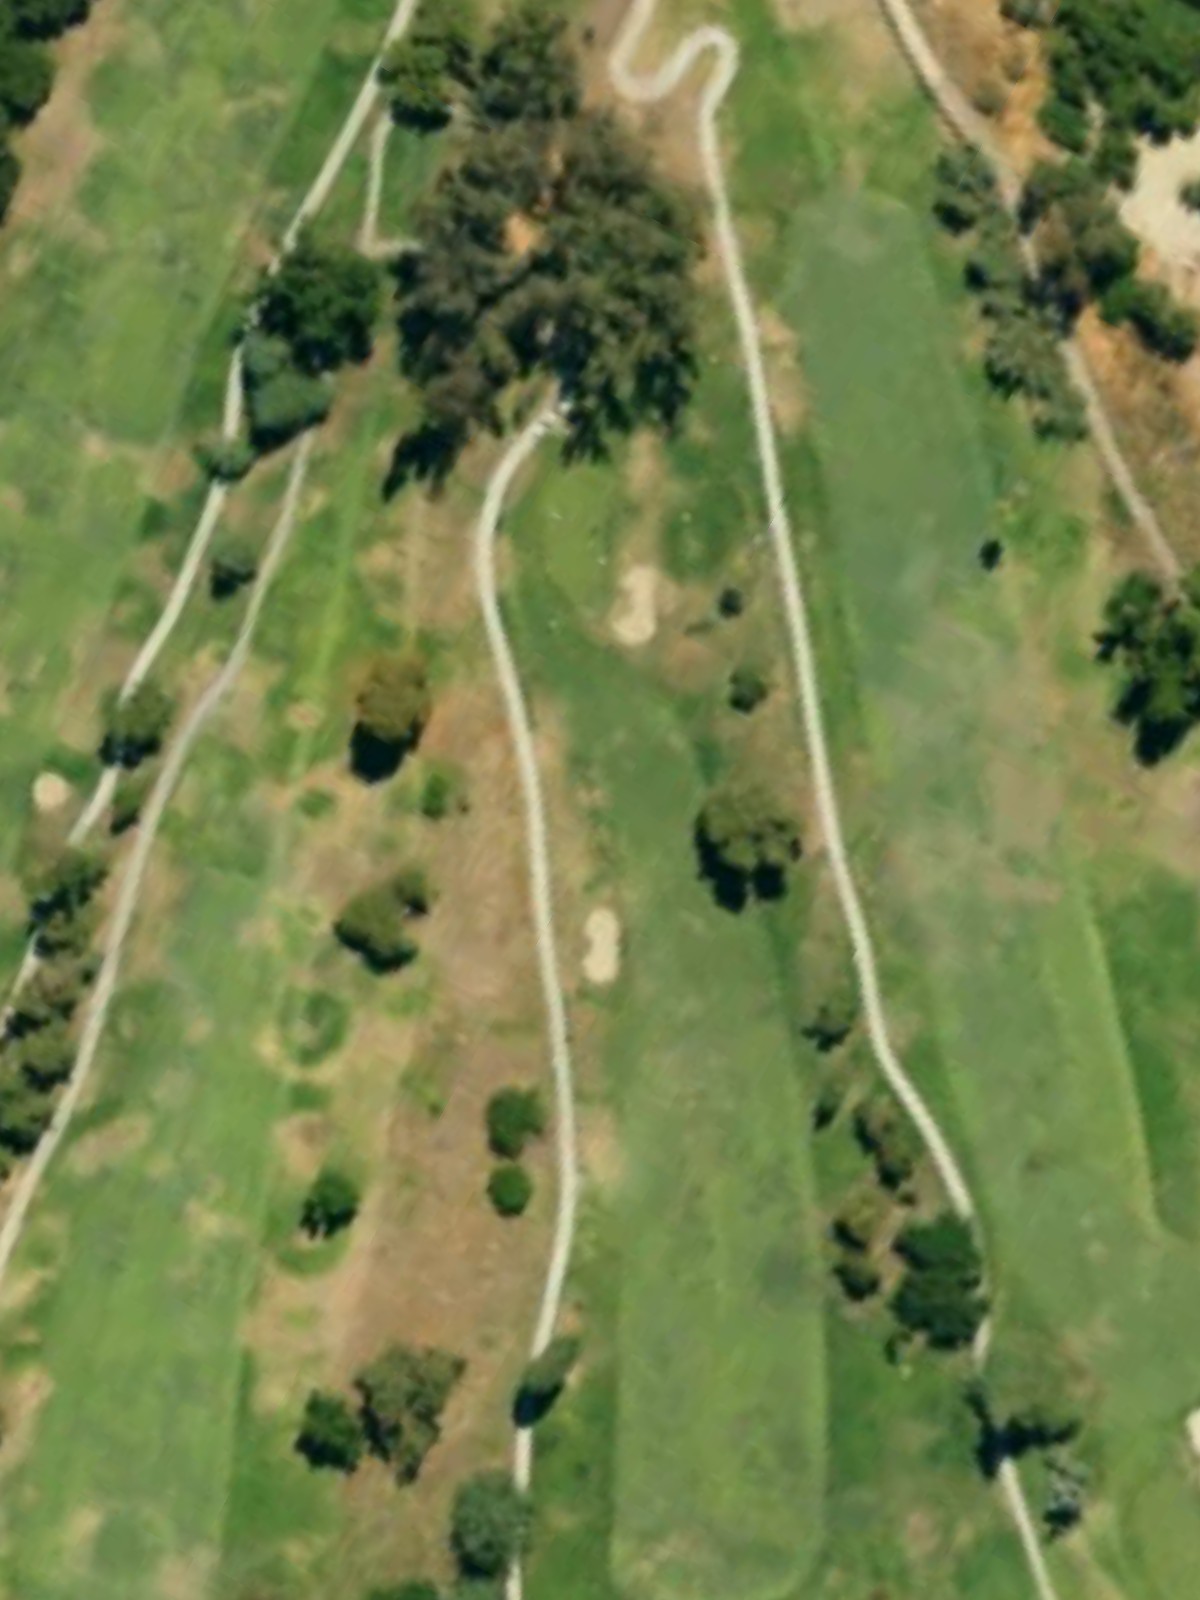
A mid-length par 4 that offers a relatively straightforward layout from the tee. Bunkers guard the approach to the green, rewarding accurate iron play and positioning.

The second-most difficult hole on the course, this powerful par 4 tests every aspect of the golf swing with length, bunkering, and a well-defended green. A strong, accurate drive is essential to set up a manageable approach shot.
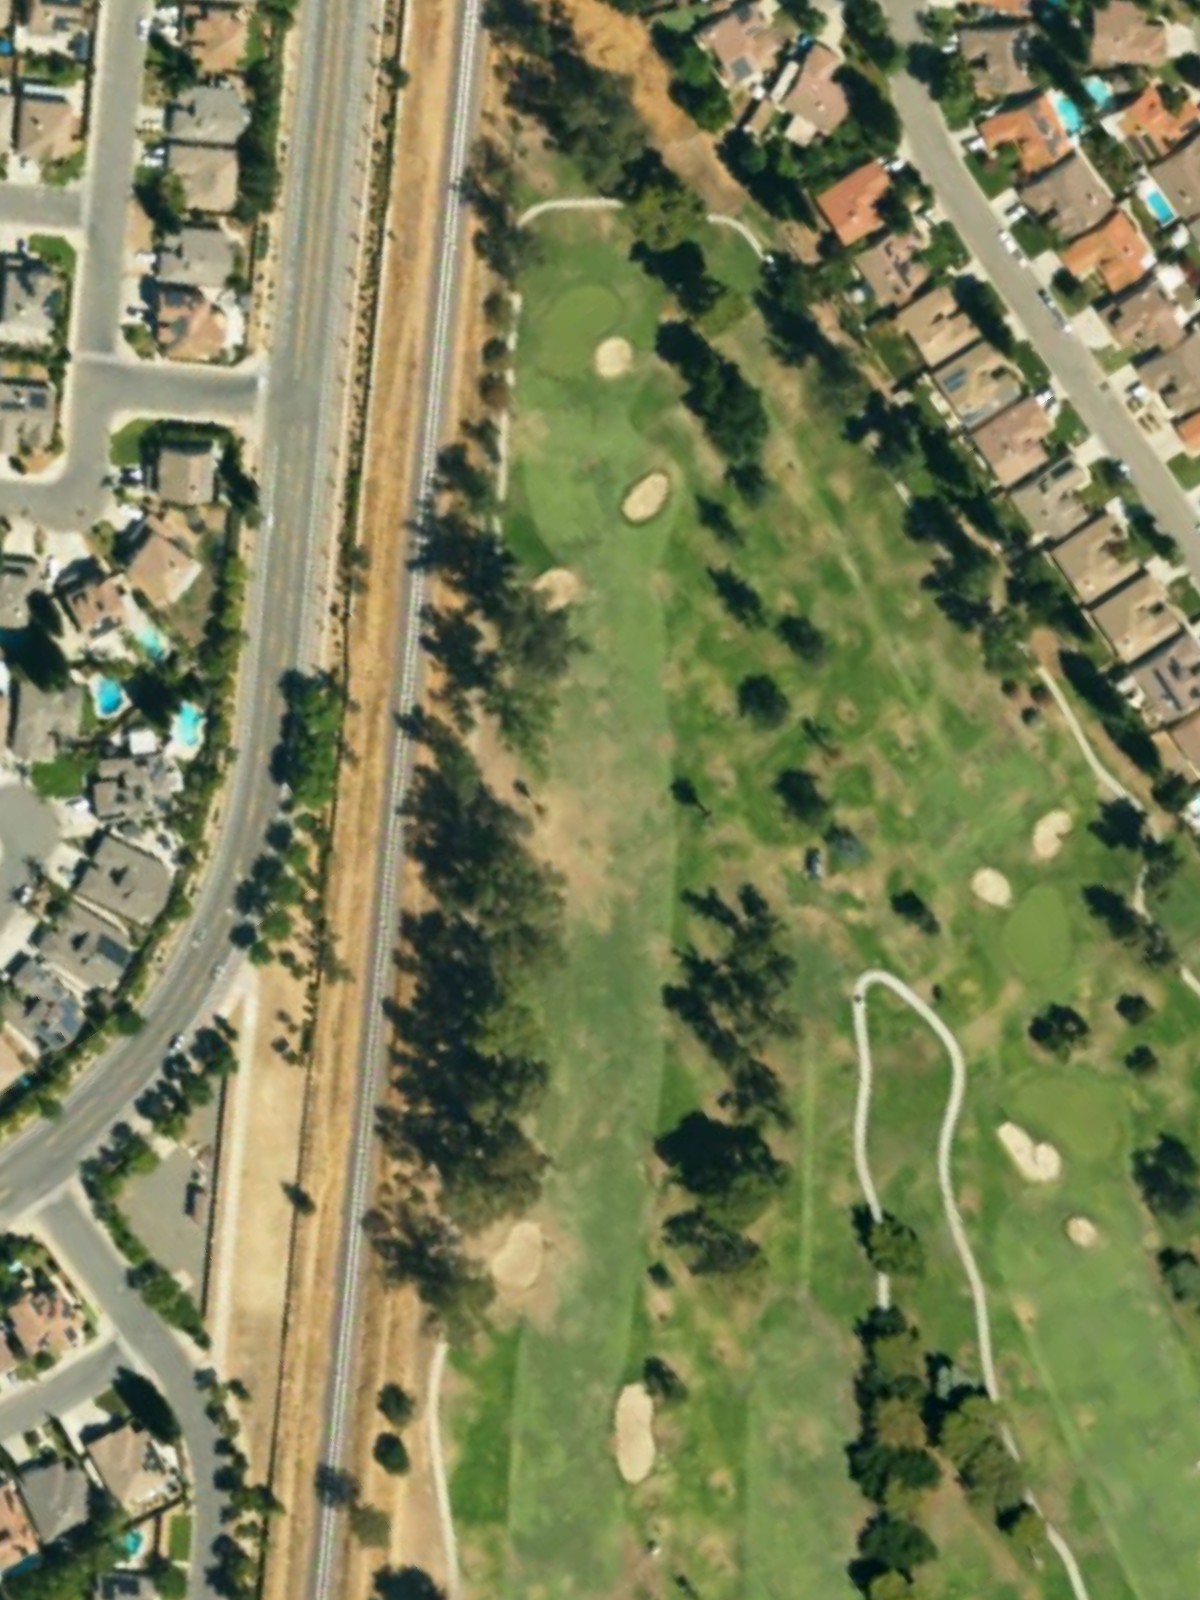
A par 5 that plays moderately difficult and offers scoring opportunities for those who navigate its hazards effectively. Water and bunkering create strategic challenges throughout the hole, particularly on the approach to the green.
A mid-range par 3 with a well-protected green that demands a precise tee shot over hazards. The elevated green and bunker placement around it create a challenging target that punishes imprecision.
A substantial par 5 that provides genuine birdie potential while remaining a stern test, particularly from the back tees. Strategic bunkering and water hazards reward smart positioning and punish aggressive overzealousness.
A strong par 4 that plays consistently difficult with bunkering and hazards framing both the fairway and green. The tight approach area demands accuracy and penalizes wayward second shots.

A finishing par 5 that ranks among the course's easiest holes, offering a relatively generous layout for the closing hole. Despite its accessibility, hazards positioned throughout—particularly near the green—provide a final test of execution.
Scorecard
| Hole | 1 | 2 | 3 | 4 | 5 | 6 | 7 | 8 | 9 | Out | 10 | 11 | 12 | 13 | 14 | 15 | 16 | 17 | 18 | In | Tot |
|---|---|---|---|---|---|---|---|---|---|---|---|---|---|---|---|---|---|---|---|---|---|
| Par | 4 | 3 | 4 | 4 | 3 | 5 | 4 | 3 | 5 | 35 | 4 | 3 | 4 | 4 | 5 | 3 | 5 | 4 | 5 | 37 | 72 |
| HCP | 13 | 9 | 7 | 1 | 17 | 5 | 15 | 11 | 3 | 4 | 16 | 12 | 2 | 14 | 6 | 10 | 8 | 18 | |||
| blue | 377 | 197 | 380 | 430 | 161 | 548 | 363 | 180 | 535 | 3171 | 419 | 142 | 356 | 437 | 540 | 208 | 521 | 389 | 467 | 3479 | 6650 |
| white | 354 | 161 | 371 | 409 | 142 | 534 | 350 | 168 | 527 | 3016 | 402 | 130 | 334 | 403 | 527 | 196 | 500 | 374 | 458 | 3324 | 6340 |
| red | 324 | 121 | 302 | 334 | 129 | 488 | 338 | 154 | 495 | 2685 | 391 | 119 | 307 | 344 | 433 | 152 | 485 | 353 | 441 | 3025 | 5710 |
| gold | 270 | 117 | 268 | 330 | 113 | 429 | 275 | 121 | 452 | 2375 | 386 | 89 | 248 | 341 | 430 | 128 | 460 | 343 | 381 | 2806 | 5181 |