Rivers Edge is an 18-hole golf course in Shallotte, NC with a par of 72. It offers 7 tee sets: gold tees (6,635 yards, slope 142, rating 72.7), black tees (6,239 yards, slope 137, rating 70.8), white/black combo (5,974 yards, slope 131, rating 69.9), white tees (5,759 yards, slope 126, rating 68.6), green/white combo (5,428 yards, slope 121, rating 67.2), green tees (5,176 yards, slope 117, rating 66), blue tees (4,525 yards, slope 111, rating 63.4). The hardest hole is #9, a par 5 playing 415 yards from the first tee.
Rivers Edge
Shallotte, NC
Get PDF Yardage Book
We'll email you the PDF link. No spam, ever.
Create Your Game Plan
Pick your tees, enter your bag, and get a personalized shot-by-shot strategy for every hole.
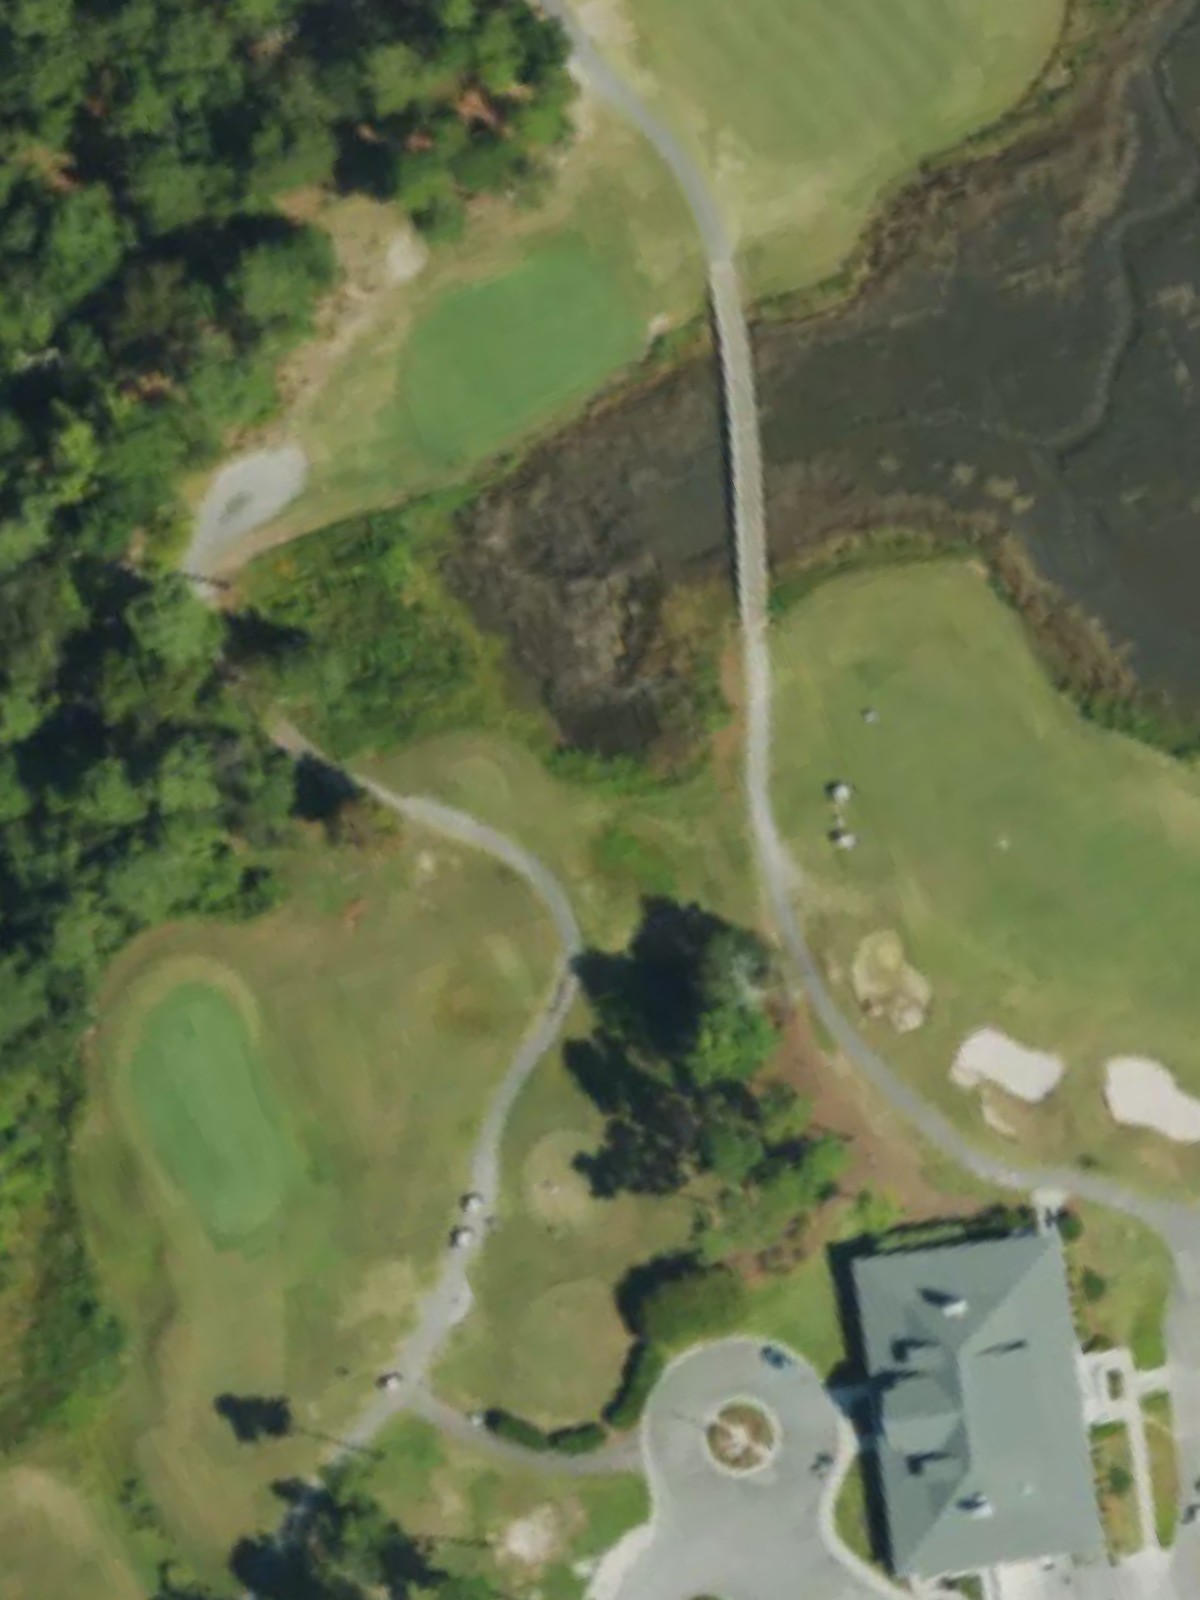
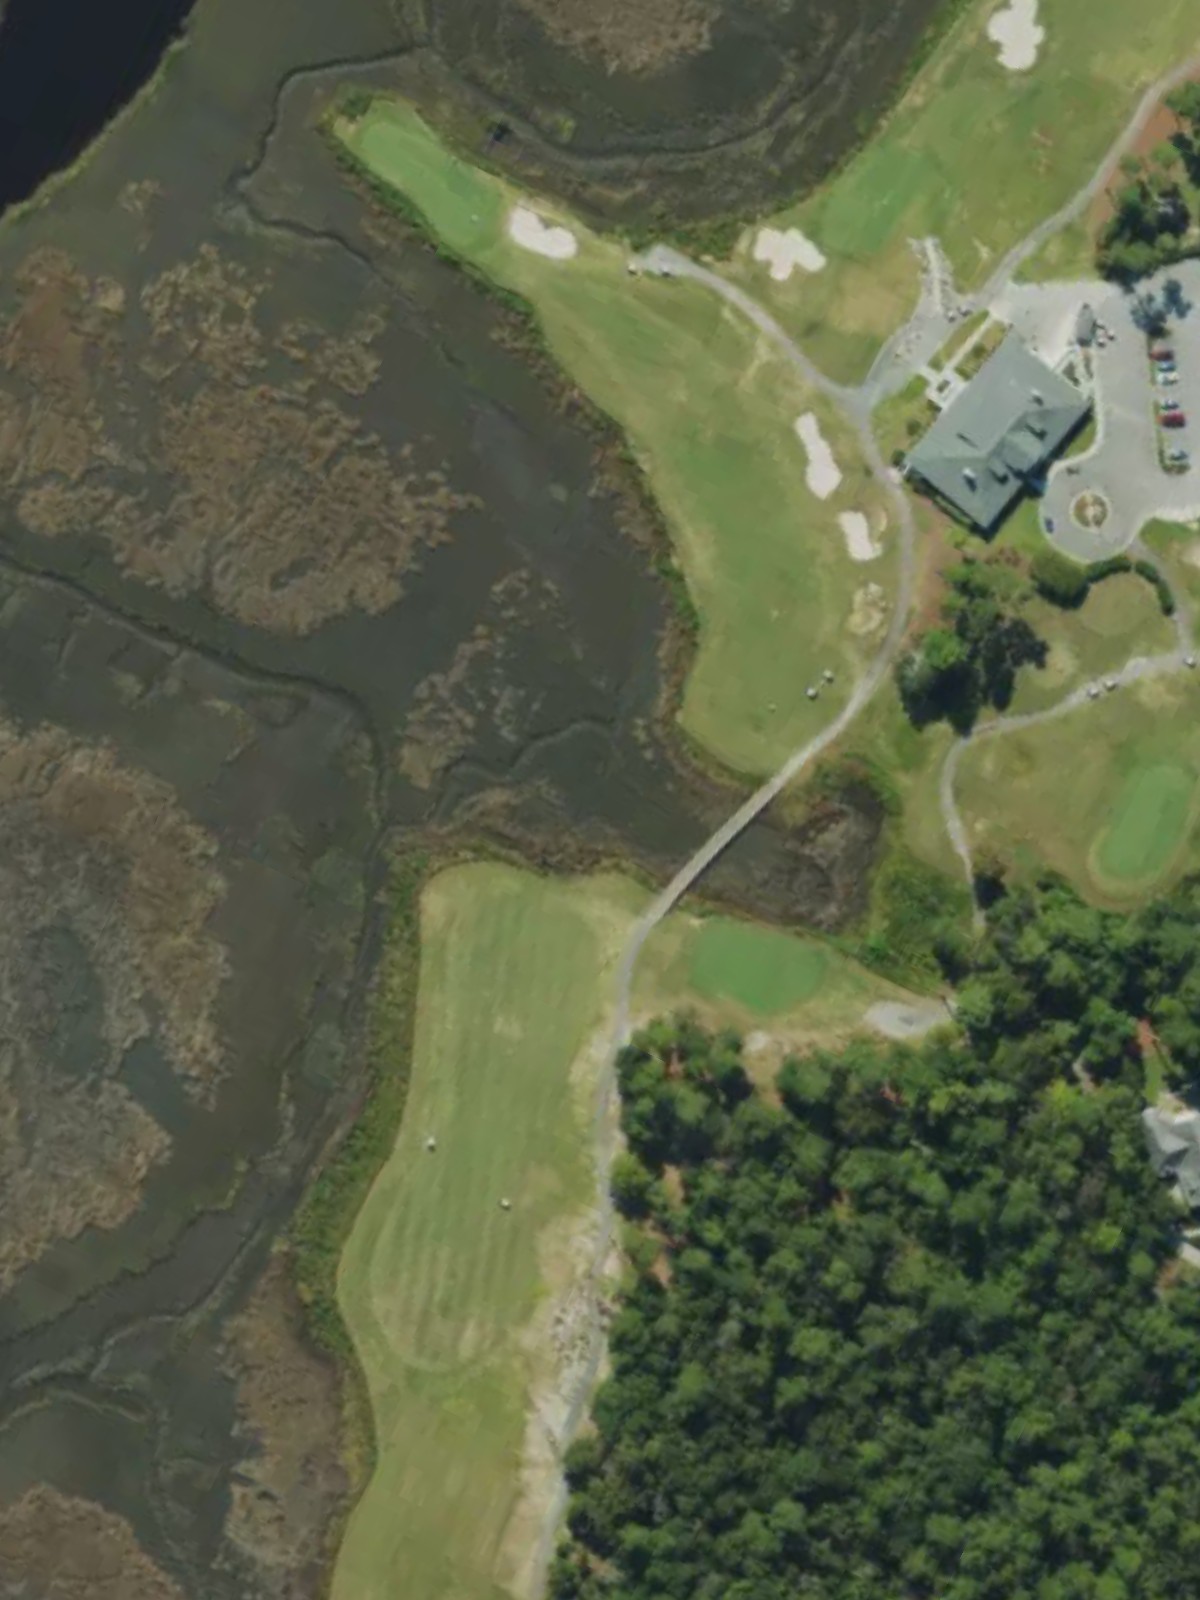
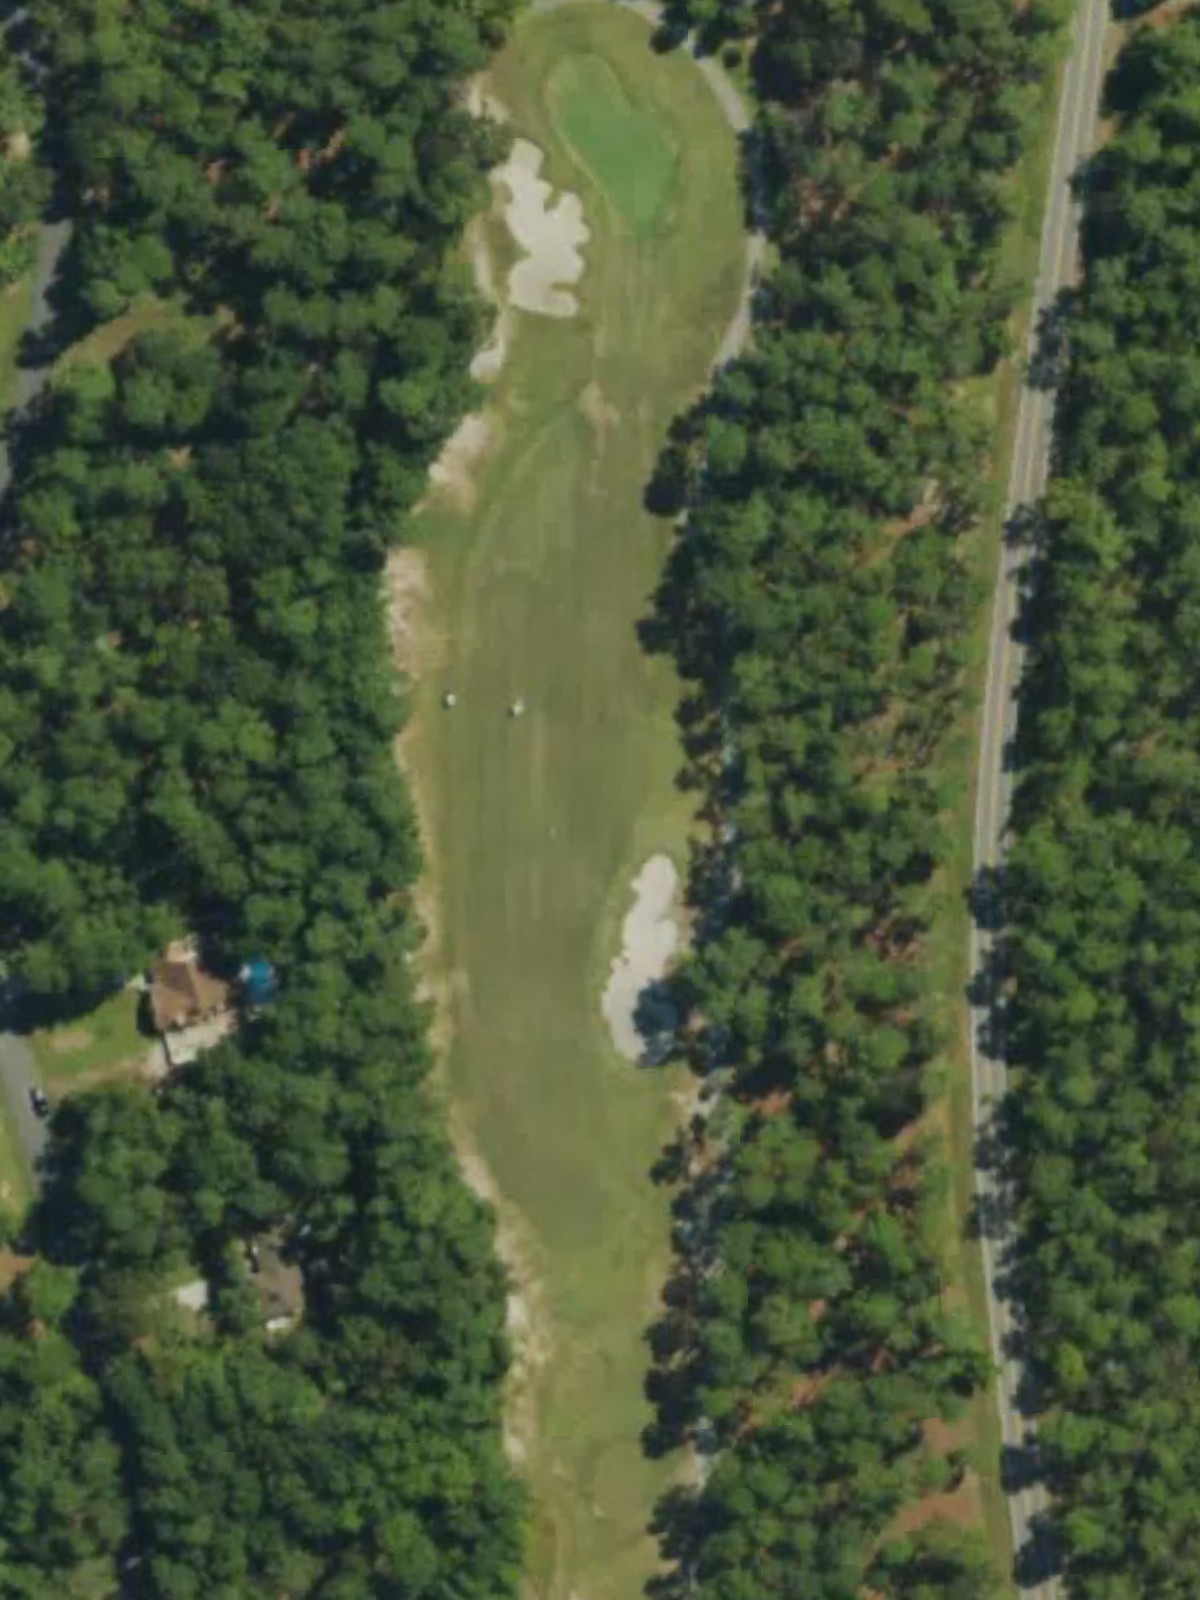
A welcoming opening par 4 with a fairly generous fairway that gradually narrows as it approaches the green. Greenside bunkers protect the right side of the putting surface, requiring accuracy on the approach shot.
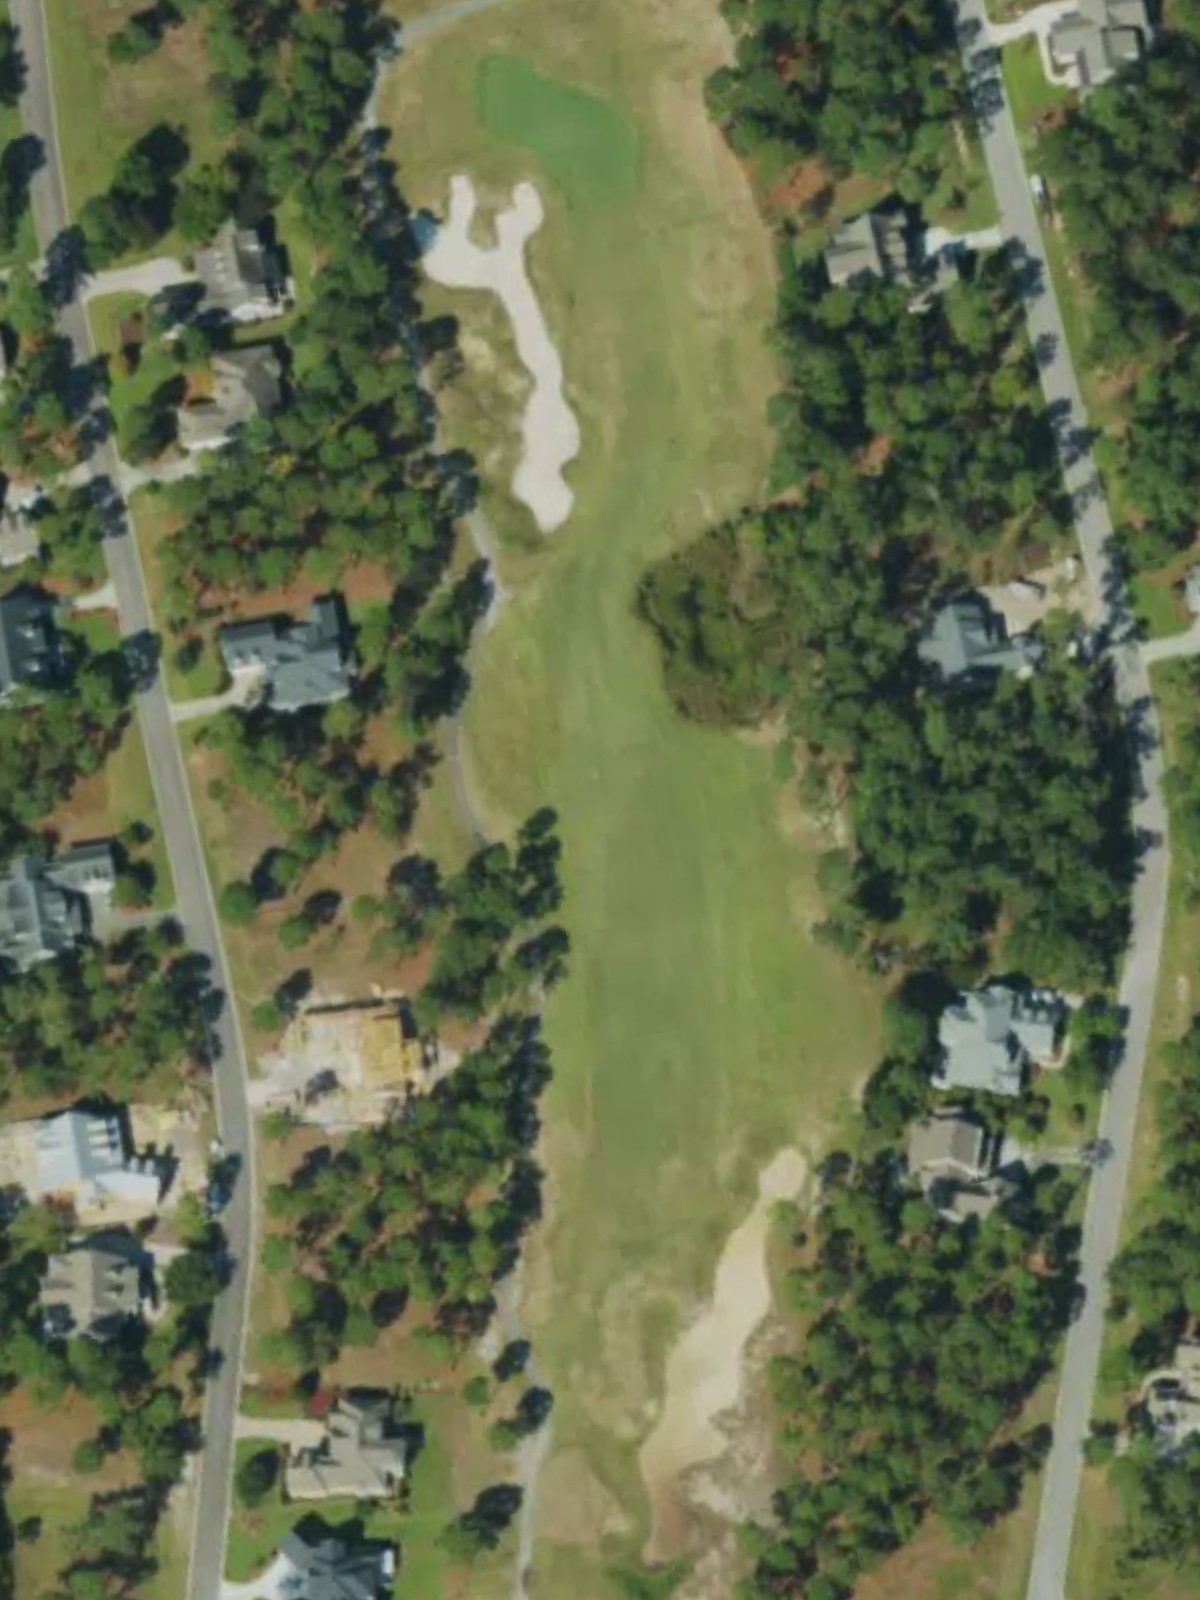
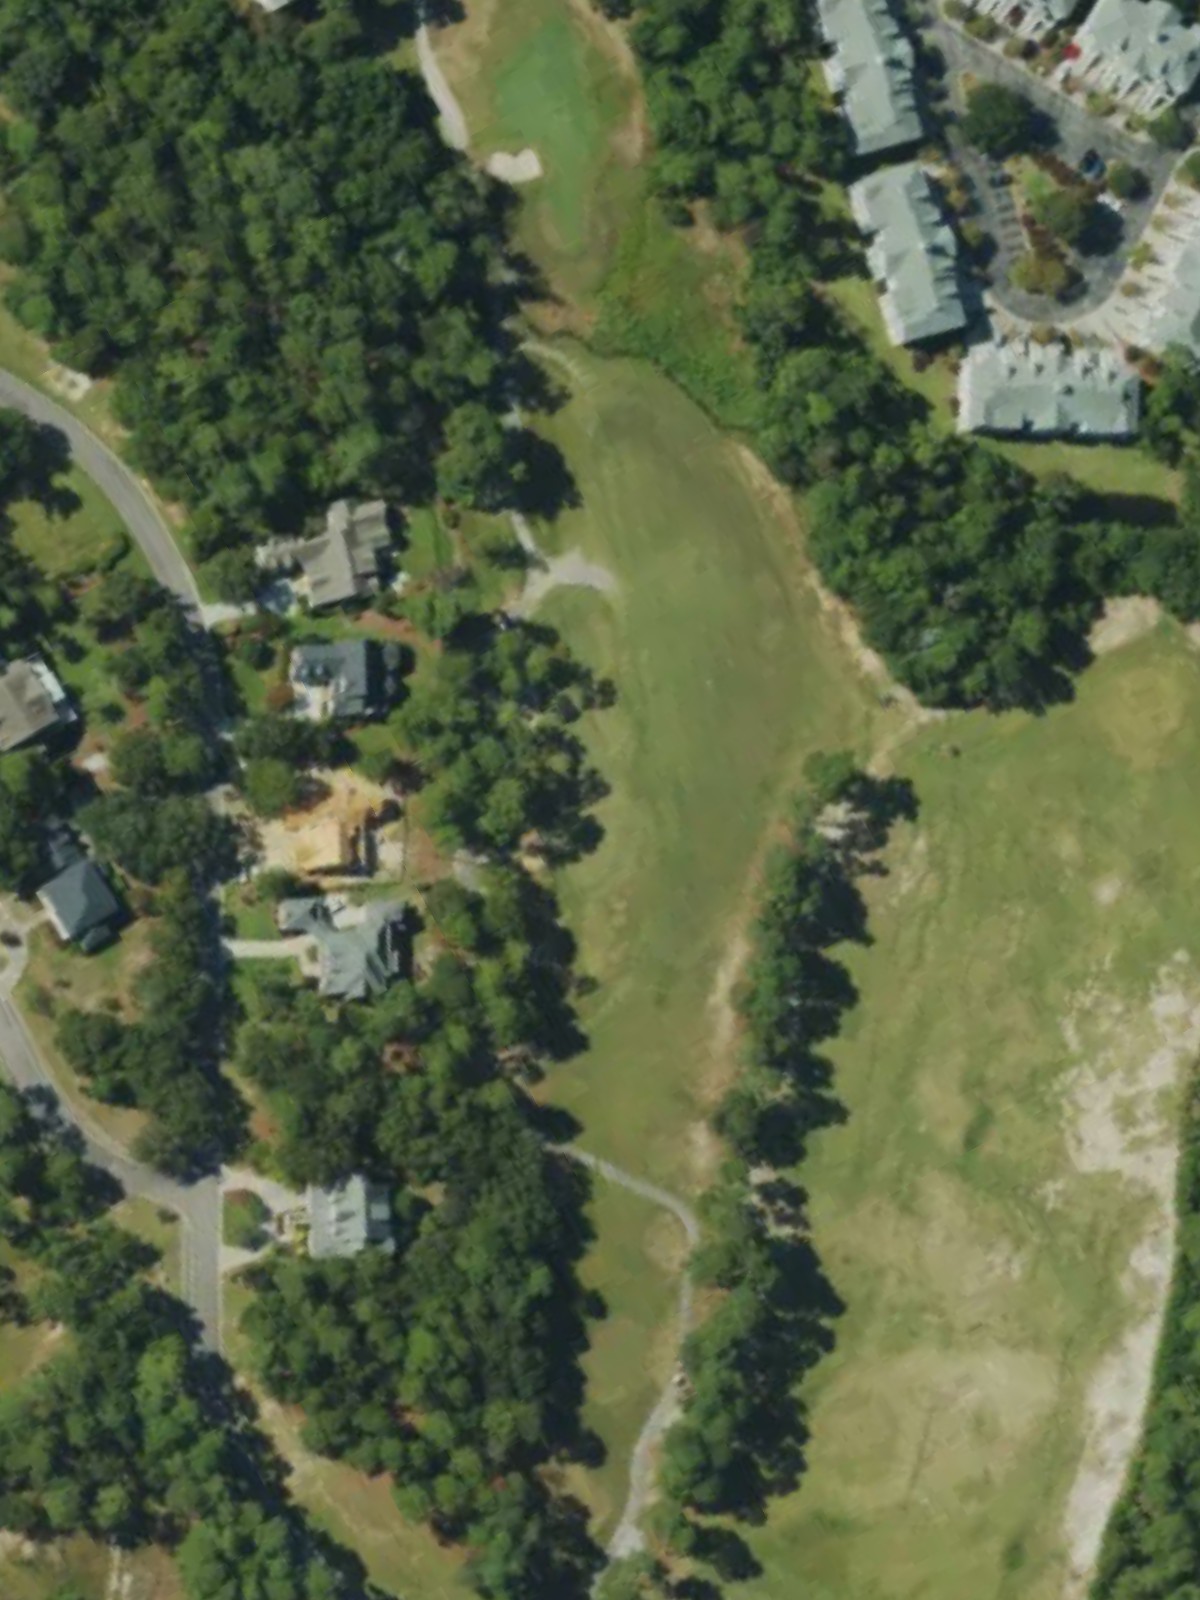
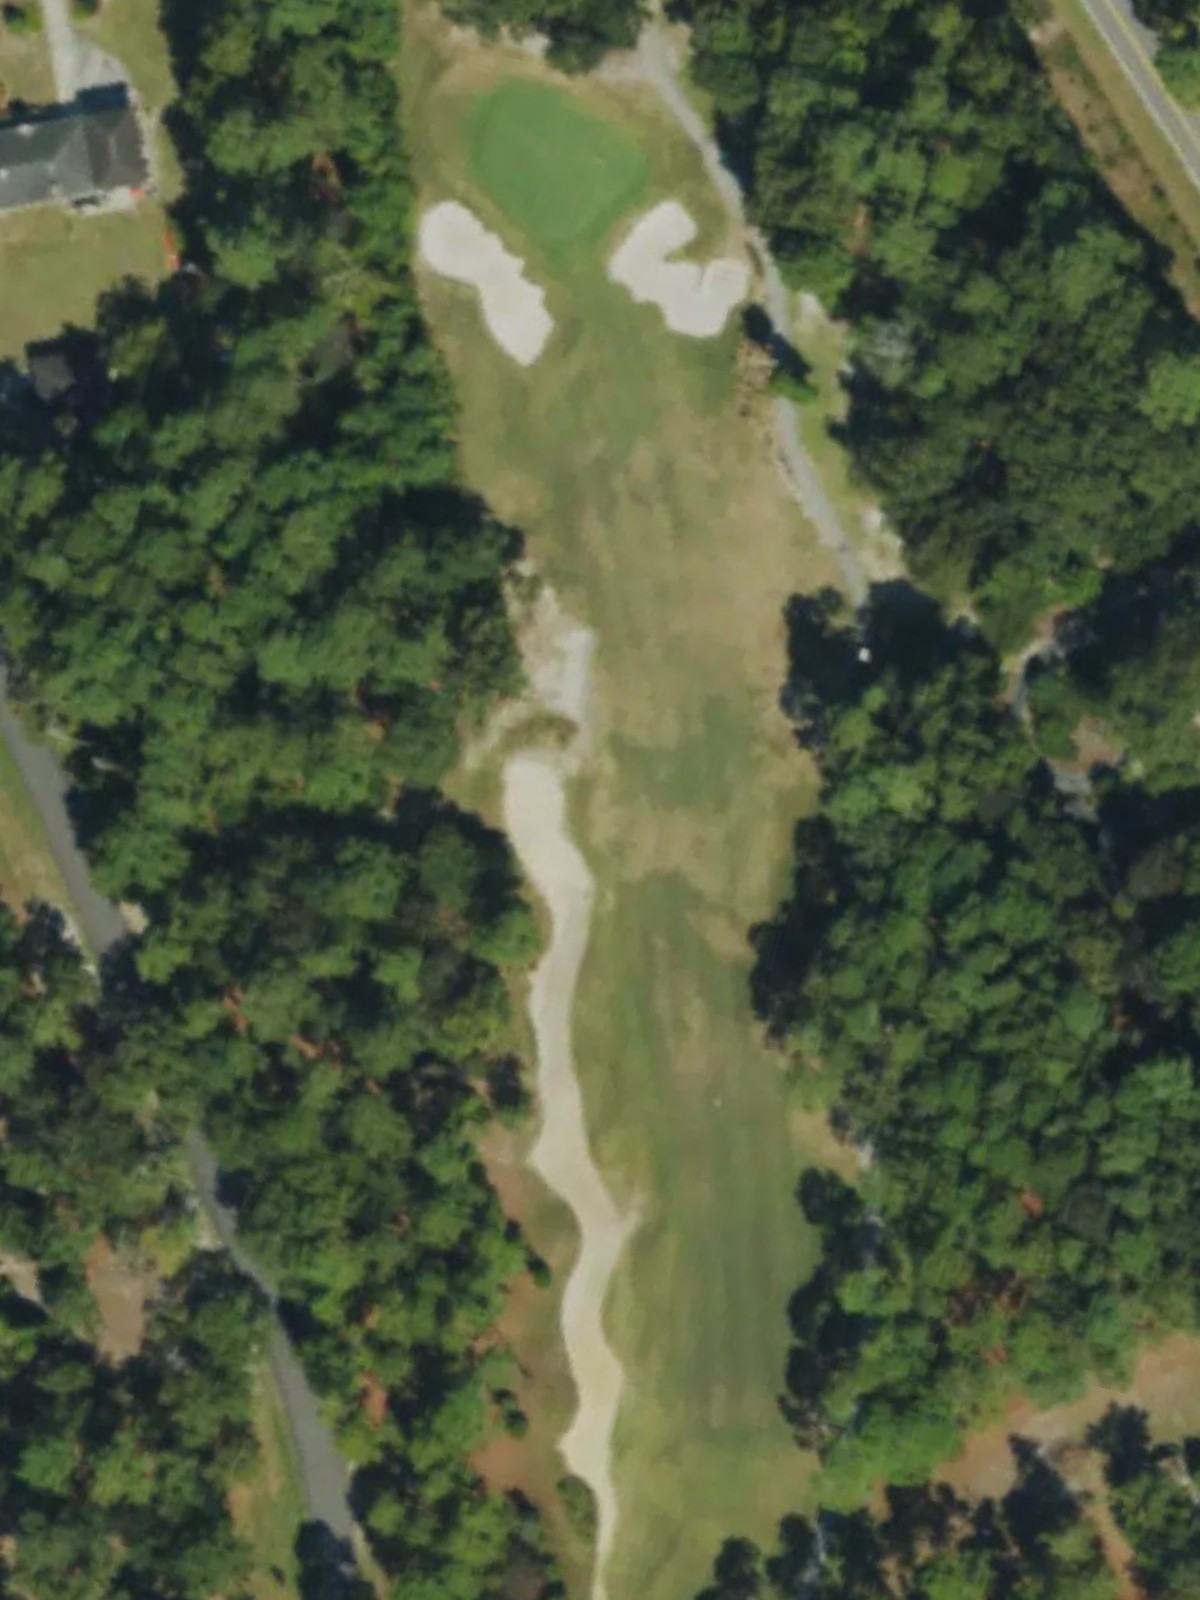
A short par 4 that plays deceptively tight, with the fairway narrowing significantly toward the green. Strategic bunkering frames both sides of the landing area and guards the green complex.
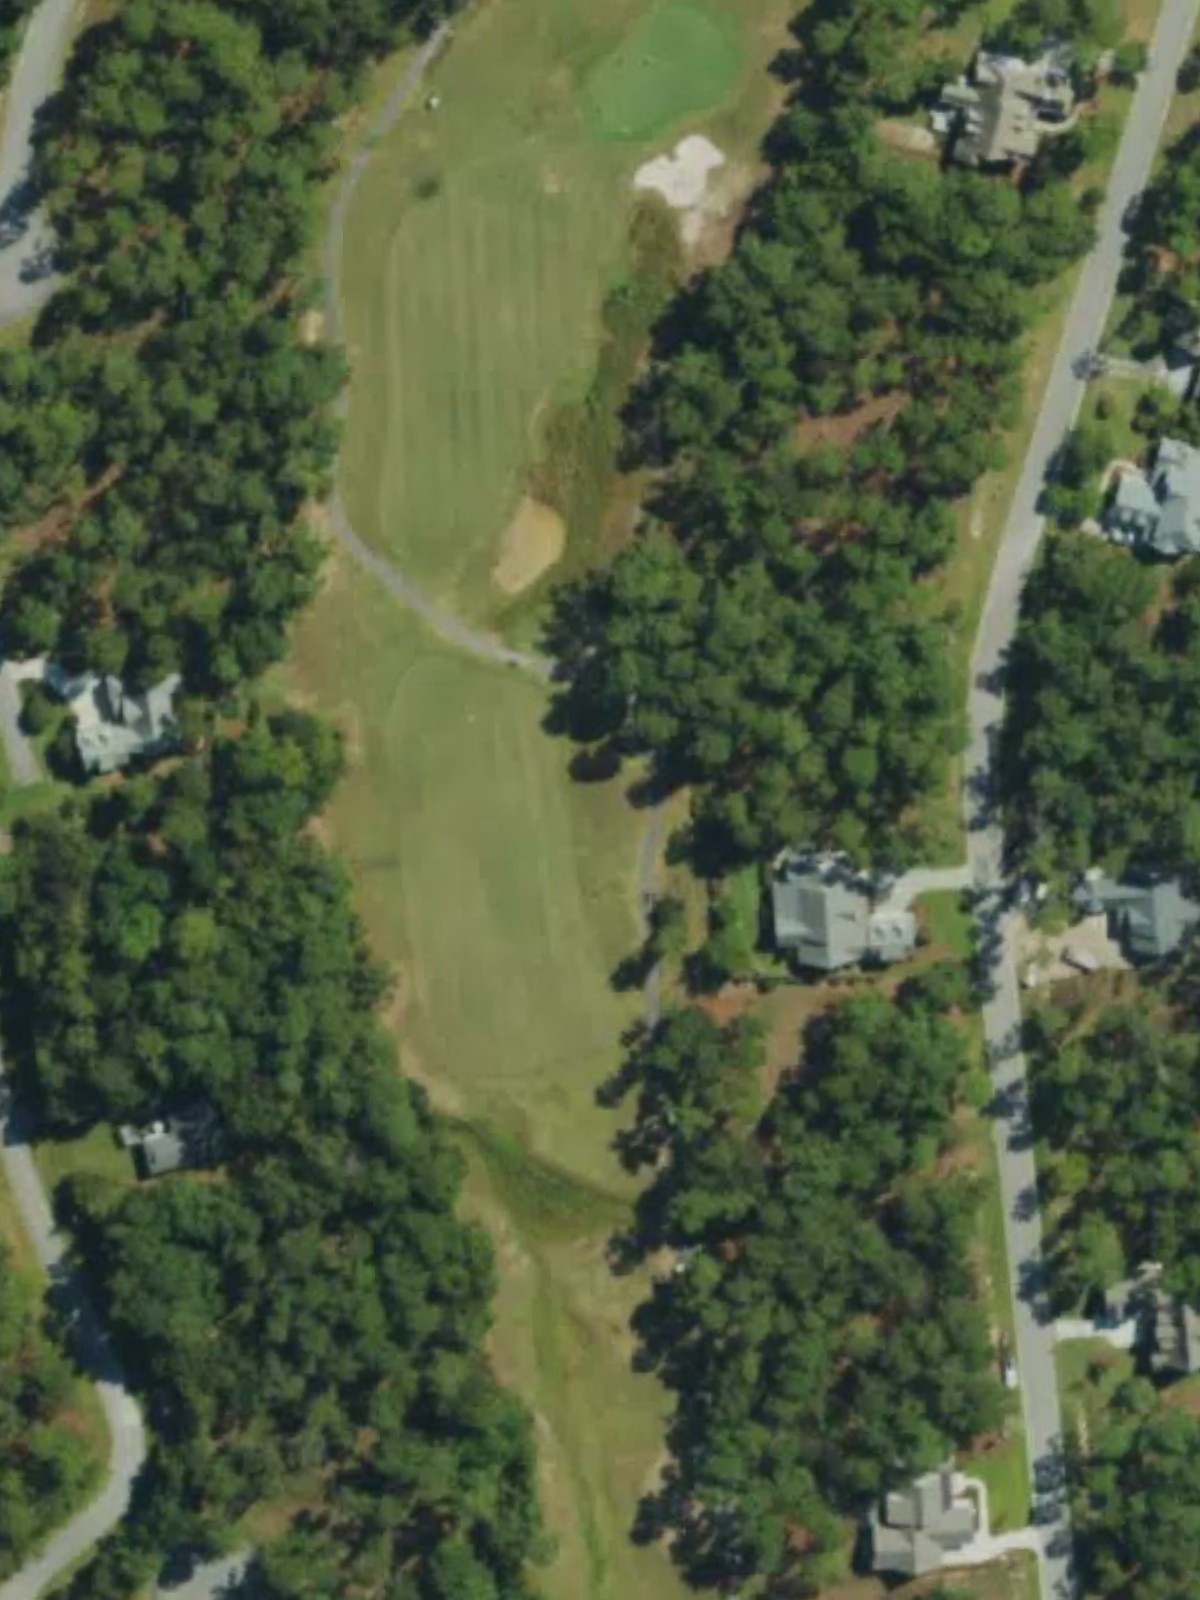
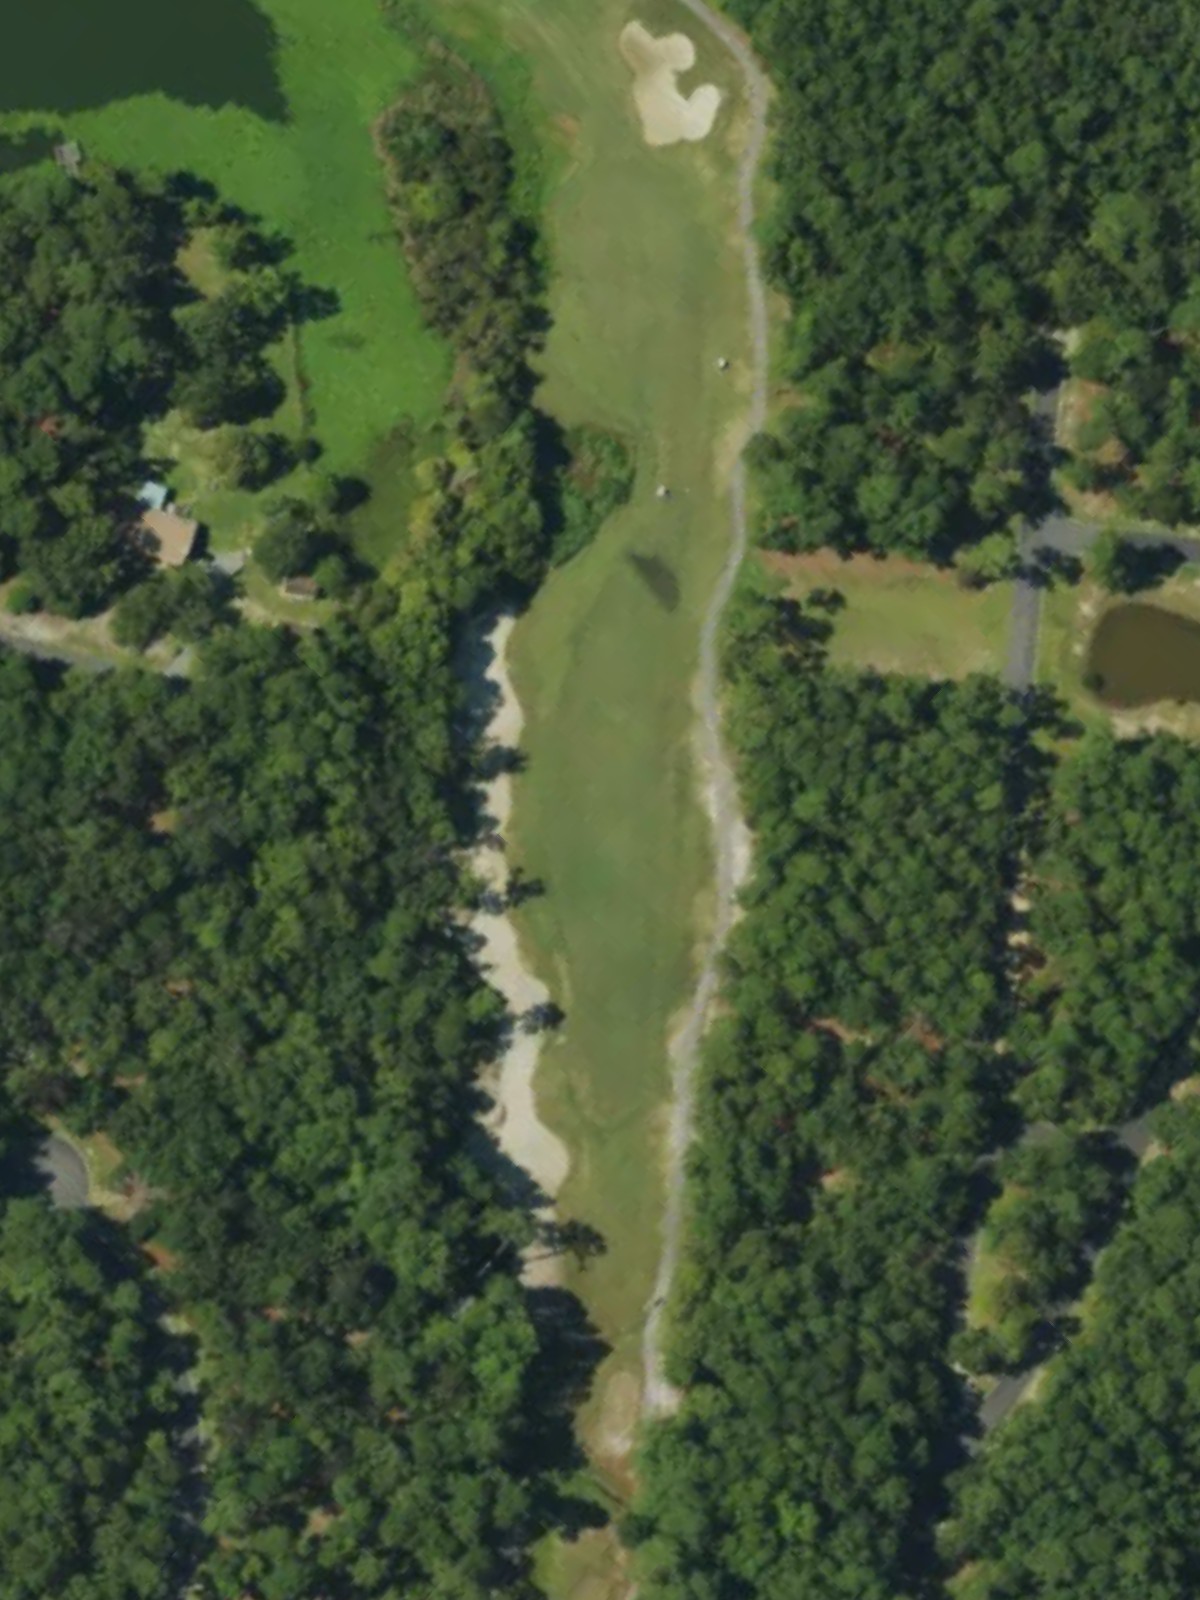
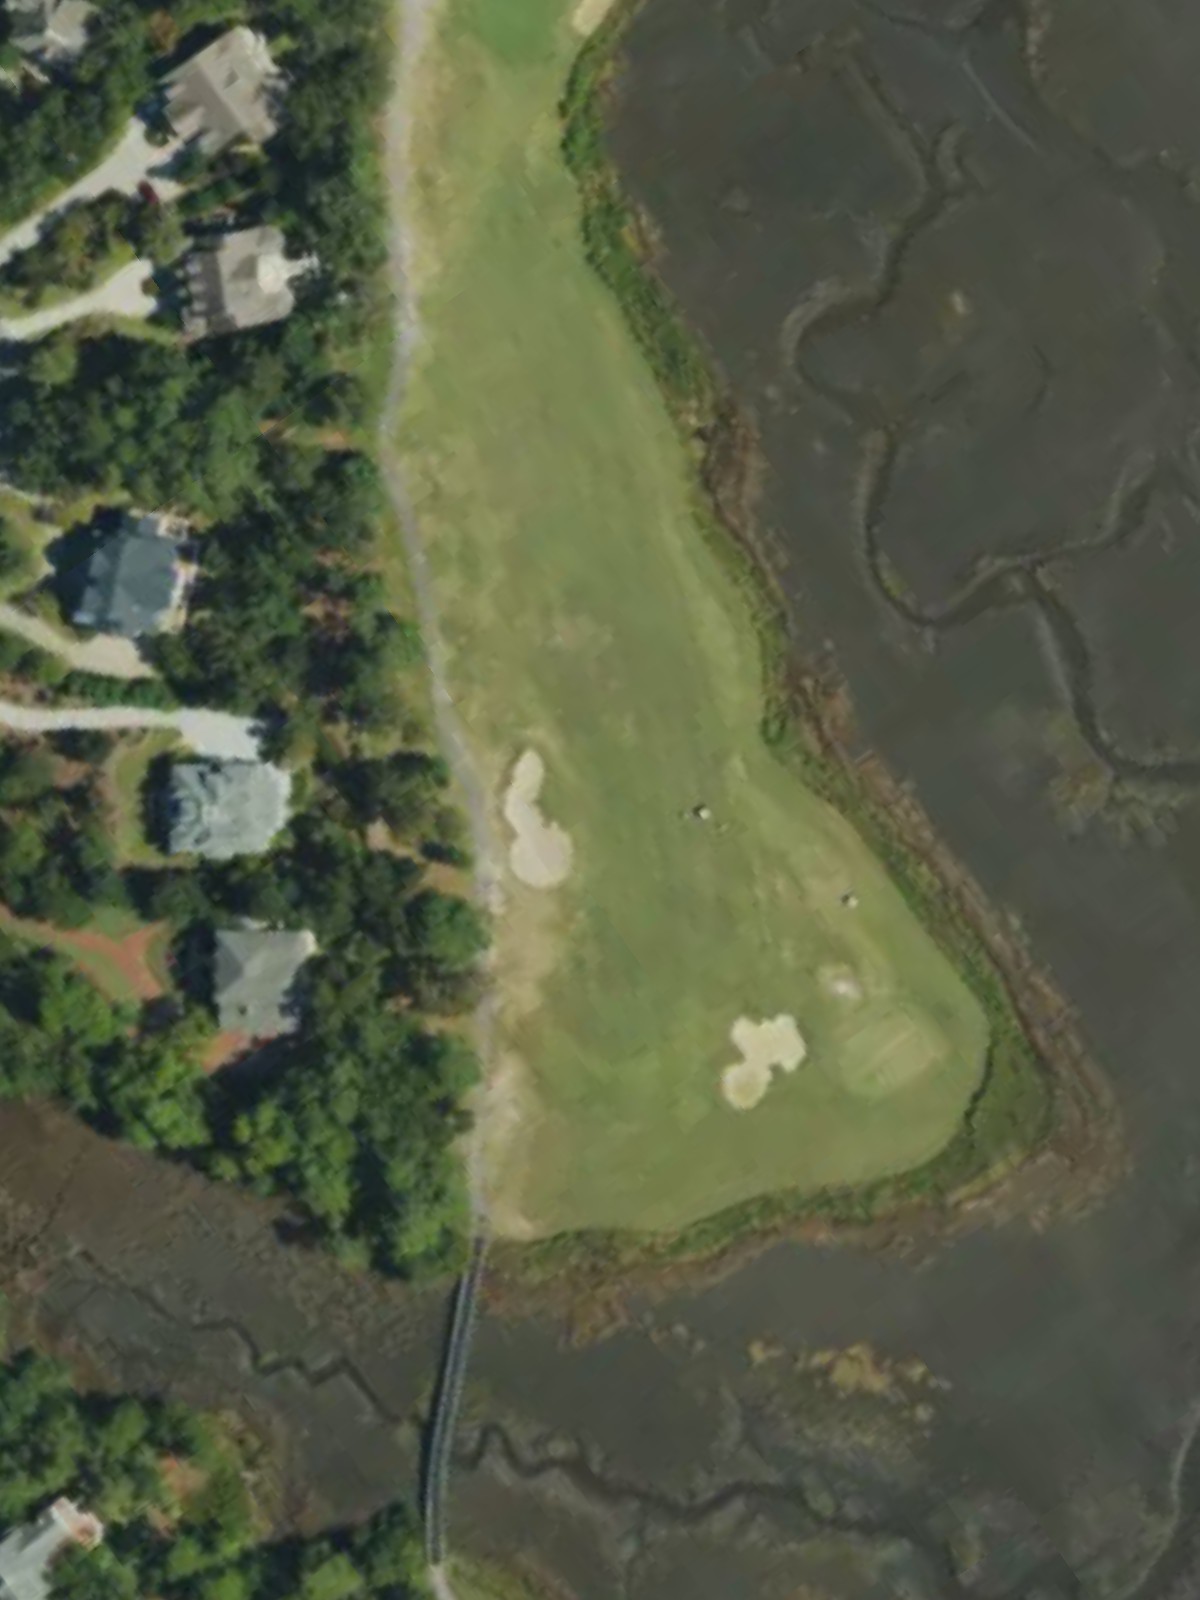
A reachable par 5 that bends gently through an open corridor of play. The length is moderate for the five-par, making this hole manageable for those who find the fairway and avoid any hazards guarding the green.
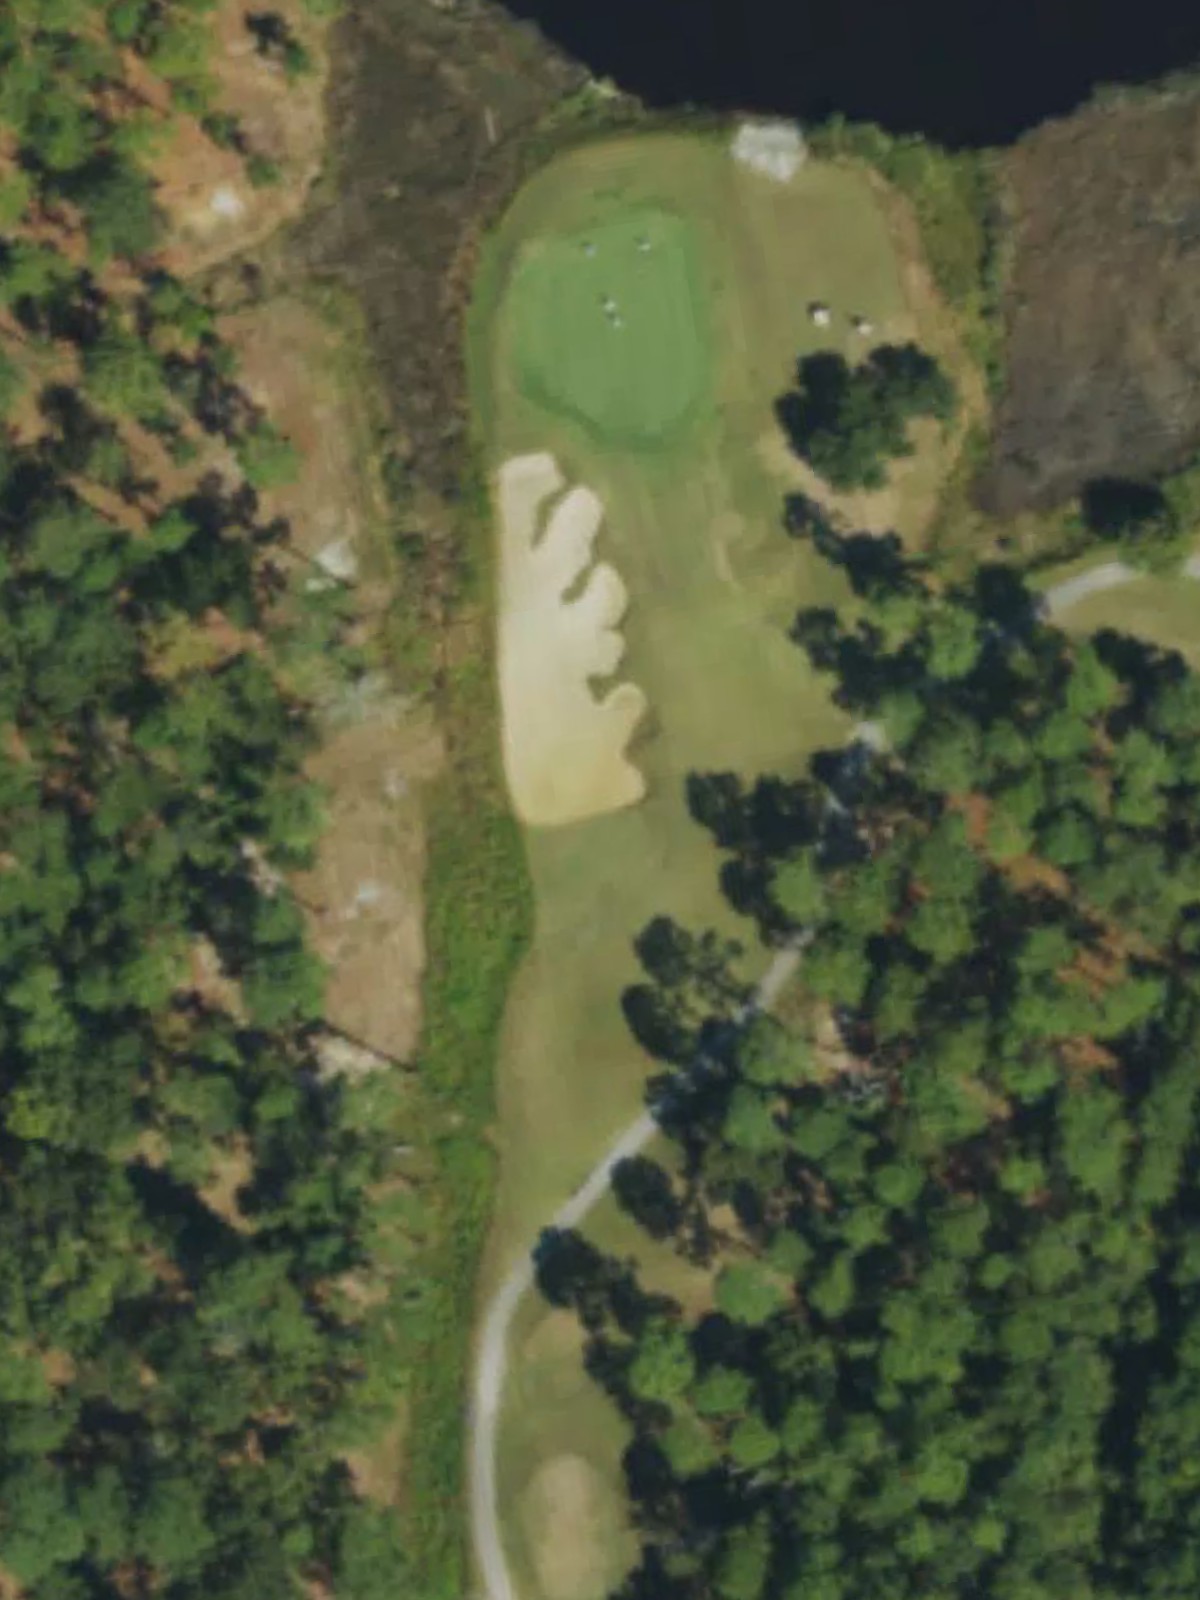
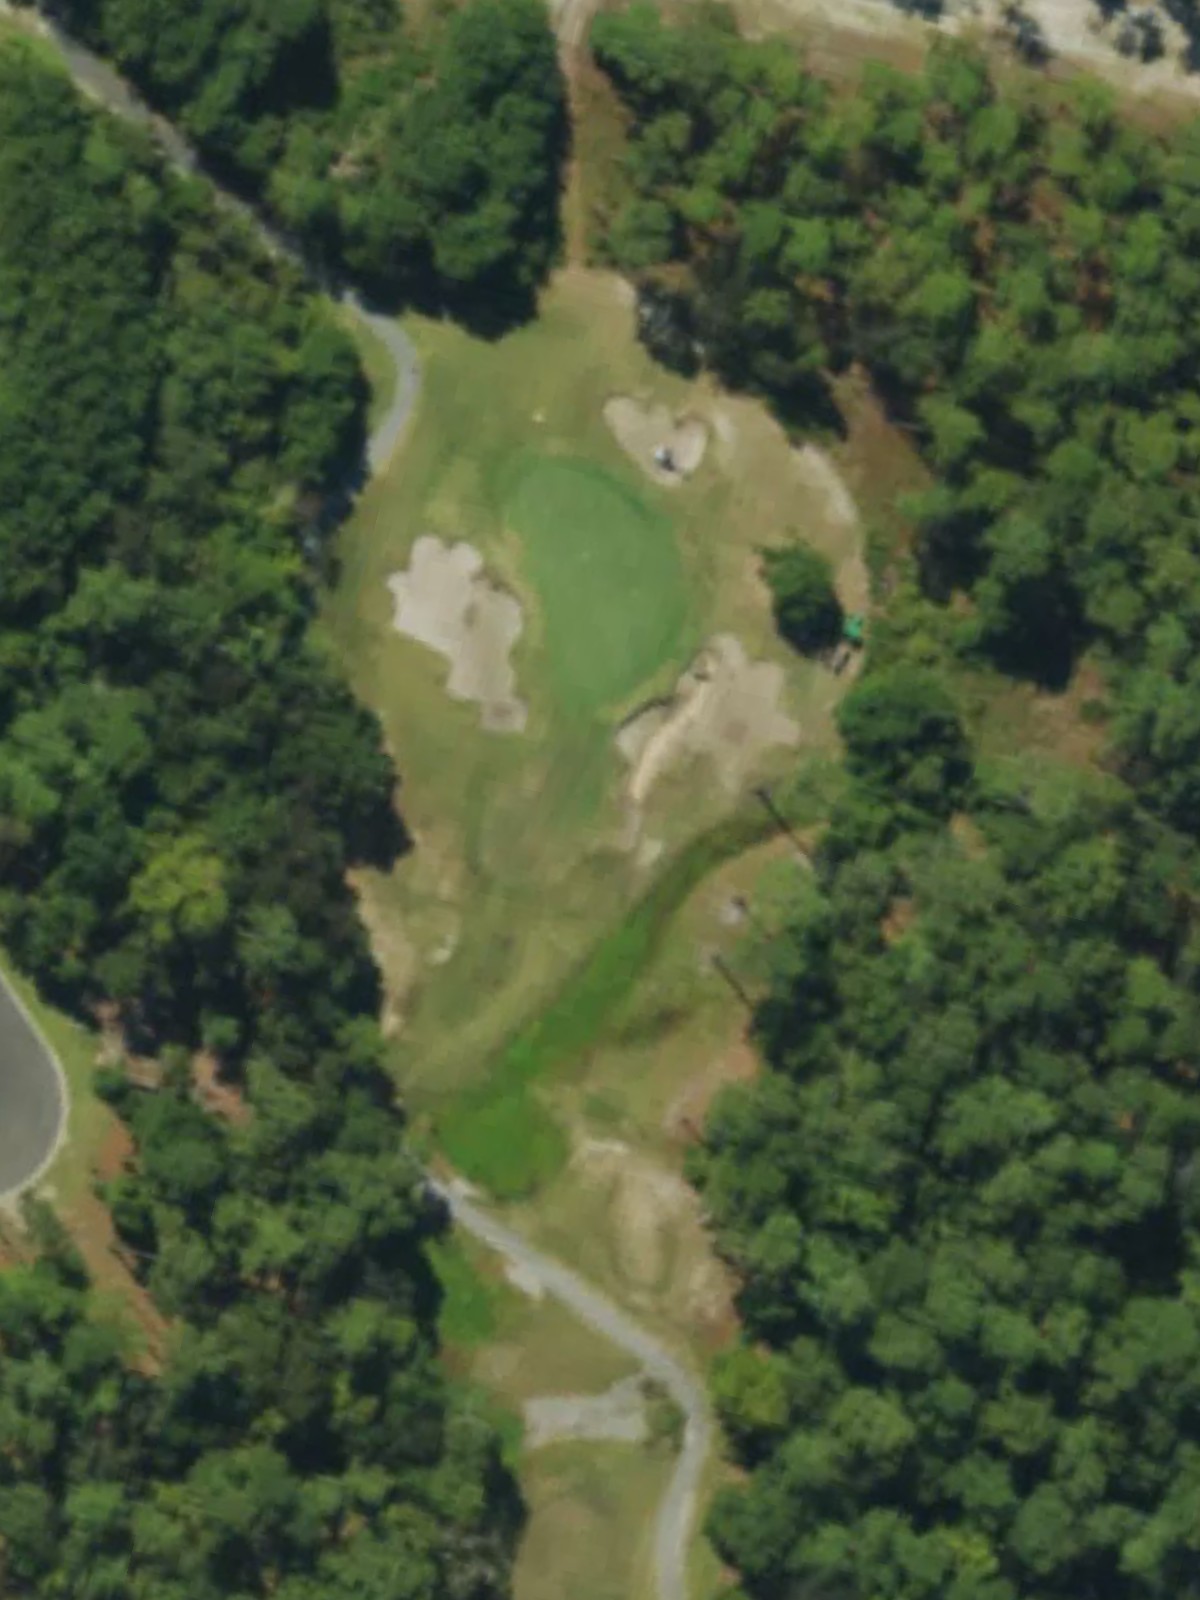
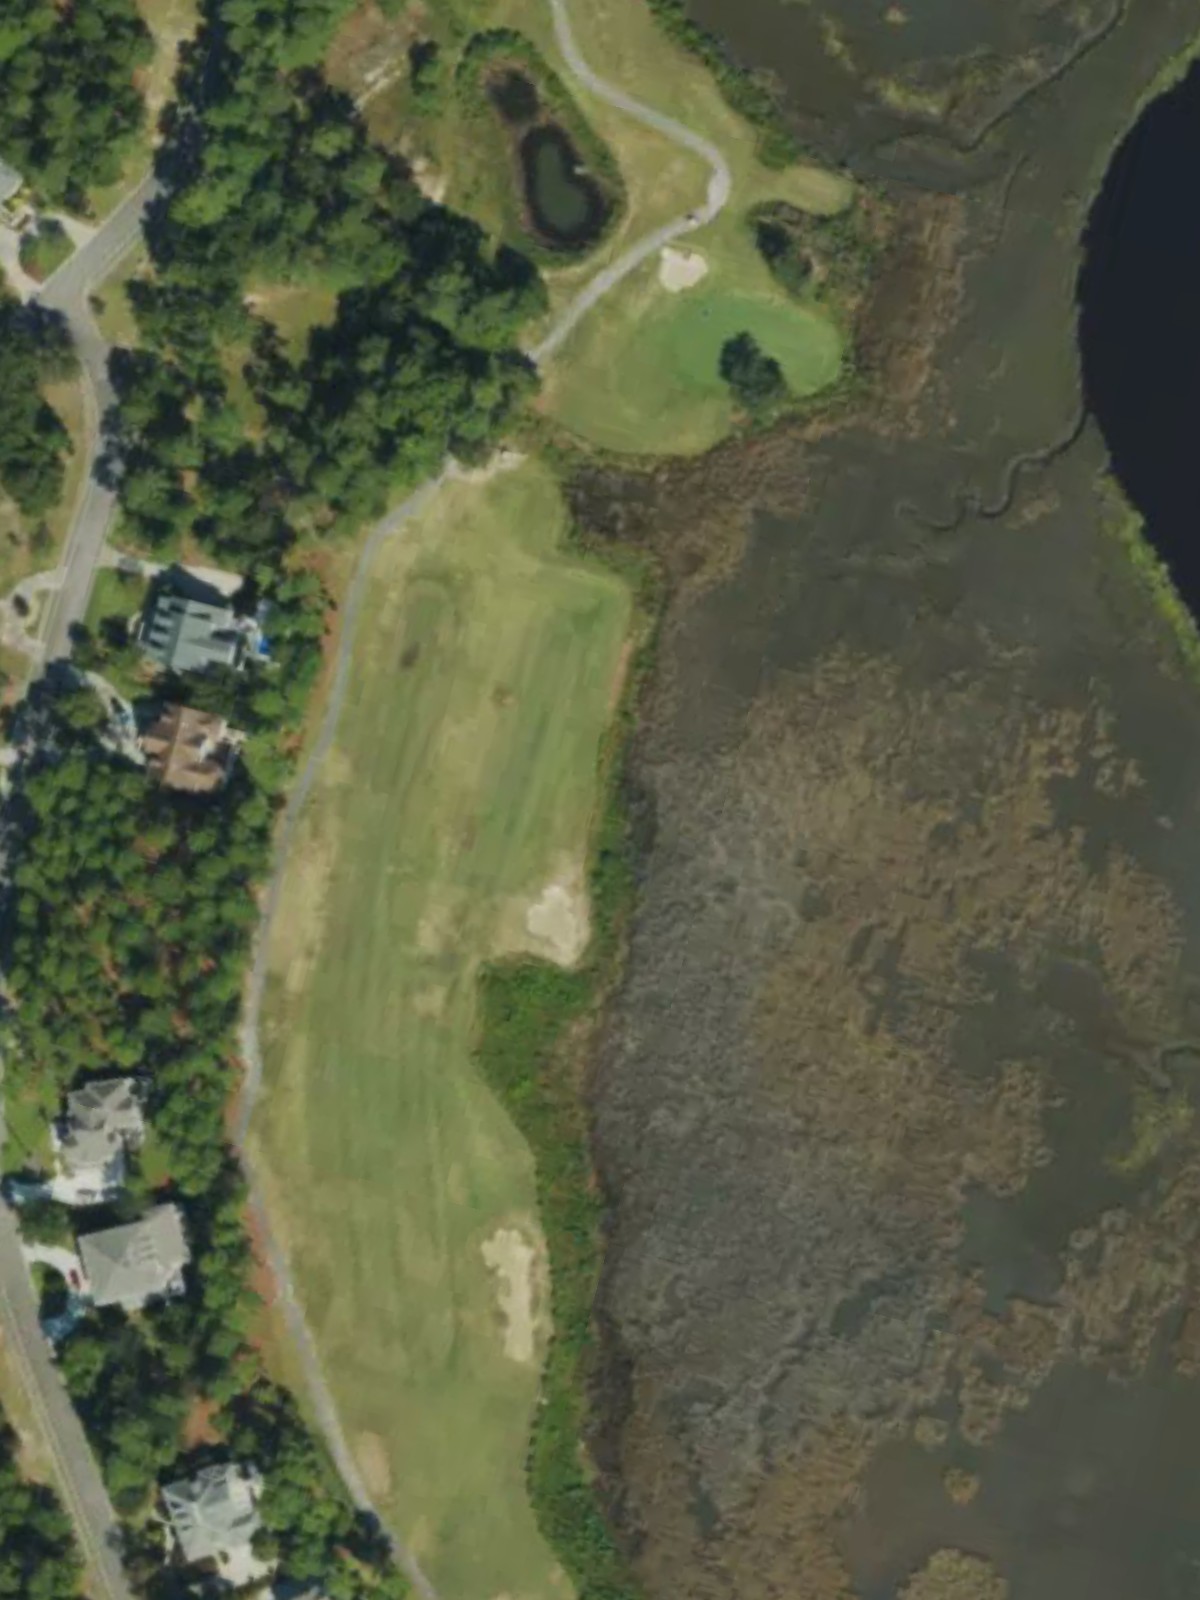
A short par 4 characterized by its compact design and straightforward routing. Bunkers frame the green on both sides, demanding a precise approach to avoid sand near the putting surface.
A short par 3 with minimal trouble, offering an opportunity to make a birdie or at worst secure par. The small green is relatively unguarded, making this a confidence-building hole early in the round.
The course's most challenging par 4, this hole demands precision from tee to green with multiple hazards in play. Strategic bunkering and potentially water hazards frame both the fairway and green, making this a defining test of skill.
A strong par 4 that plays uphill or features significant elevation change, creating a visual and physical challenge. Bunkers guard the approach, and the green's positioning requires thoughtful club selection and execution.
A mid-length par 3 played to an elevated or well-bunkered green that demands accuracy over distance. The isolated green complex presents a clear target but little margin for error.
The course's signature hole and hardest par 5, featuring a dramatic risk-reward layout with substantial hazards throughout. Water or out-of-bounds likely threatens both sides, making positioning crucial on each successive shot.
A short par 4 that plays decisively, with a fairway that provides a clear landing zone but narrows near the green. Strategic bunkering or water hazards near the putting surface penalize careless approach shots.
The second-most difficult hole on the course, this lengthy par 5 features a challenging layout with hazards demanding respect. The hole's configuration forces strategic decision-making on both the second and third shots.
A brief par 3 that may play downhill or to an elevated green, offering a scoring opportunity despite its difficulty rating. Bunkers or water near the green provide the primary defense on this short one-shotter.
A well-designed par 4 that rewards smart positioning off the tee and approach work into the green. Bunkering frames the fairway and green, creating a complete examination of ball striking.
The easiest hole on the course, this short par 4 features a receptive fairway and approachable green. Wide landing areas and minimal hazards offer an excellent scoring opportunity.

A deceptive short par 3 that plays from an elevated tee or to a challenging green despite its modest length. Bunkers and potentially water hazards guard the putting surface, making club selection critical.
A demanding par 4 requiring precision and strategic thinking, with hazards threatening both the fairway and green. The hole's configuration creates a compelling challenge despite its shorter yardage.
A long par 5 that stretches across the landscape with multiple strategic positions to consider. Hazards may frame the fairway or guard the green, requiring solid execution on all three shots.
A finishing par 4 that provides a memorable conclusion to the round with a compact yet challenging layout. Greenside bunkers and positioning hazards create drama on the home hole.
Scorecard
| Hole | 1 | 2 | 3 | 4 | 5 | 6 | 7 | 8 | 9 | Out | 10 | 11 | 12 | 13 | 14 | 15 | 16 | 17 | 18 | In | Tot |
|---|---|---|---|---|---|---|---|---|---|---|---|---|---|---|---|---|---|---|---|---|---|
| Par | 4 | 4 | 5 | 4 | 3 | 4 | 4 | 3 | 5 | 36 | 4 | 5 | 3 | 4 | 4 | 3 | 4 | 5 | 4 | 36 | 72 |
| HCP | 9 | 11 | 7 | 13 | 17 | 3 | 5 | 15 | 1 | 8 | 2 | 14 | 6 | 18 | 10 | 4 | 16 | 12 | |||
| gold tees | 409 | 397 | 538 | 374 | 135 | 443 | 432 | 190 | 554 | 3472 | 363 | 510 | 174 | 399 | 294 | 195 | 392 | 465 | 371 | 3163 | 6635 |
| black tees | 379 | 367 | 508 | 349 | 113 | 420 | 405 | 183 | 540 | 3264 | 342 | 485 | 169 | 367 | 277 | 185 | 372 | 433 | 345 | 2975 | 6239 |
| white/black combo | 343 | 319 | 467 | 332 | 115 | 397 | 370 | 162 | 494 | 2999 | 342 | 485 | 169 | 367 | 277 | 185 | 372 | 433 | 345 | 2975 | 5974 |
| white tees | 343 | 319 | 467 | 332 | 115 | 397 | 370 | 162 | 494 | 2999 | 316 | 455 | 142 | 339 | 255 | 155 | 359 | 420 | 319 | 2760 | 5759 |
| green/white combo | 308 | 280 | 419 | 302 | 83 | 357 | 333 | 139 | 447 | 2668 | 316 | 455 | 142 | 339 | 255 | 155 | 359 | 420 | 319 | 2760 | 5428 |
| green tees | 308 | 280 | 419 | 302 | 83 | 357 | 333 | 139 | 447 | 2668 | 286 | 437 | 130 | 322 | 247 | 106 | 348 | 356 | 276 | 2508 | 5176 |
| blue tees | 283 | 257 | 380 | 279 | 59 | 323 | 279 | 118 | 415 | 2393 | 264 | 385 | 89 | 286 | 229 | 106 | 248 | 302 | 223 | 2132 | 4525 |