Riveredge Golf Course is an 18-hole golf course in Marshfield, WI with a par of 72. It offers 4 tee sets: blue (6,422 yards, slope 132, rating 72), white (6,205 yards, slope 127, rating 70.8), green (5,245 yards, slope 114, rating 66.6), red (5,181 yards, slope 113, rating 66.3). The hardest hole is #11, a par 5 playing 444 yards from the first tee.
Riveredge Golf Course
Marshfield, WI
Get PDF Yardage Book
We'll email you the PDF link. No spam, ever.
Create Your Game Plan
Pick your tees, enter your bag, and get a personalized shot-by-shot strategy for every hole.
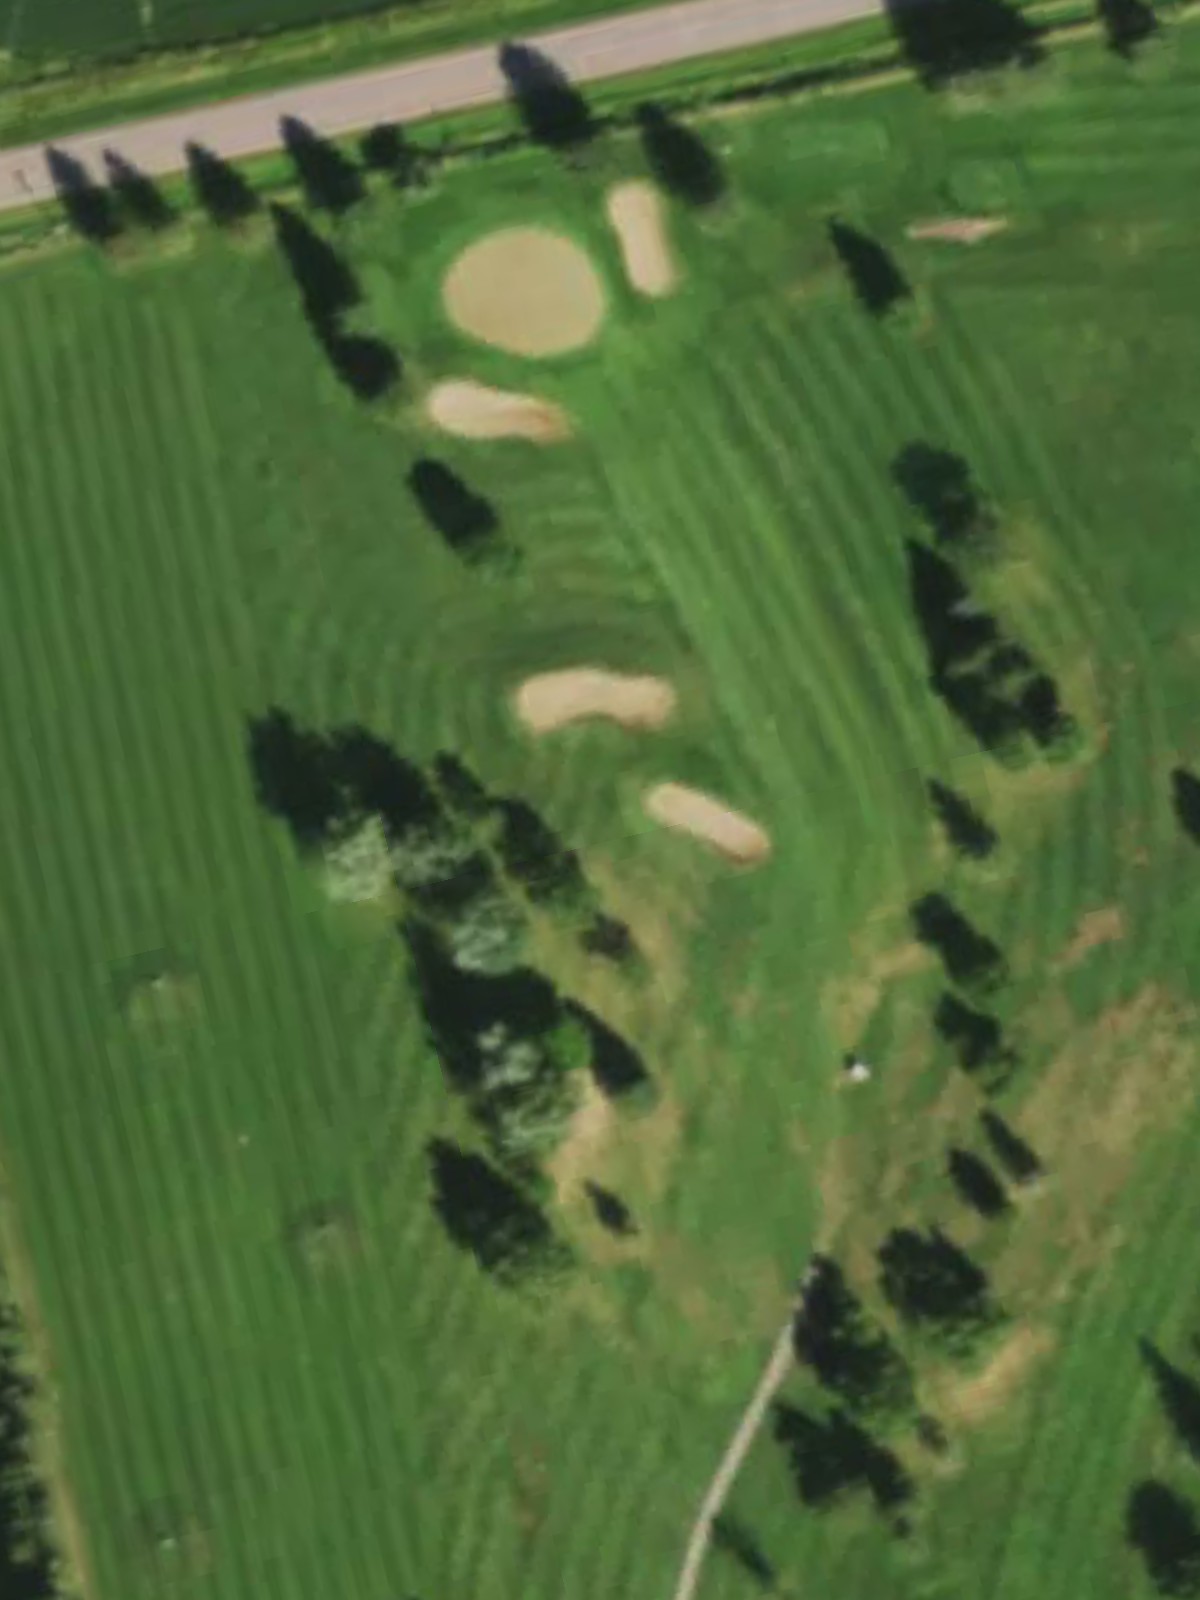
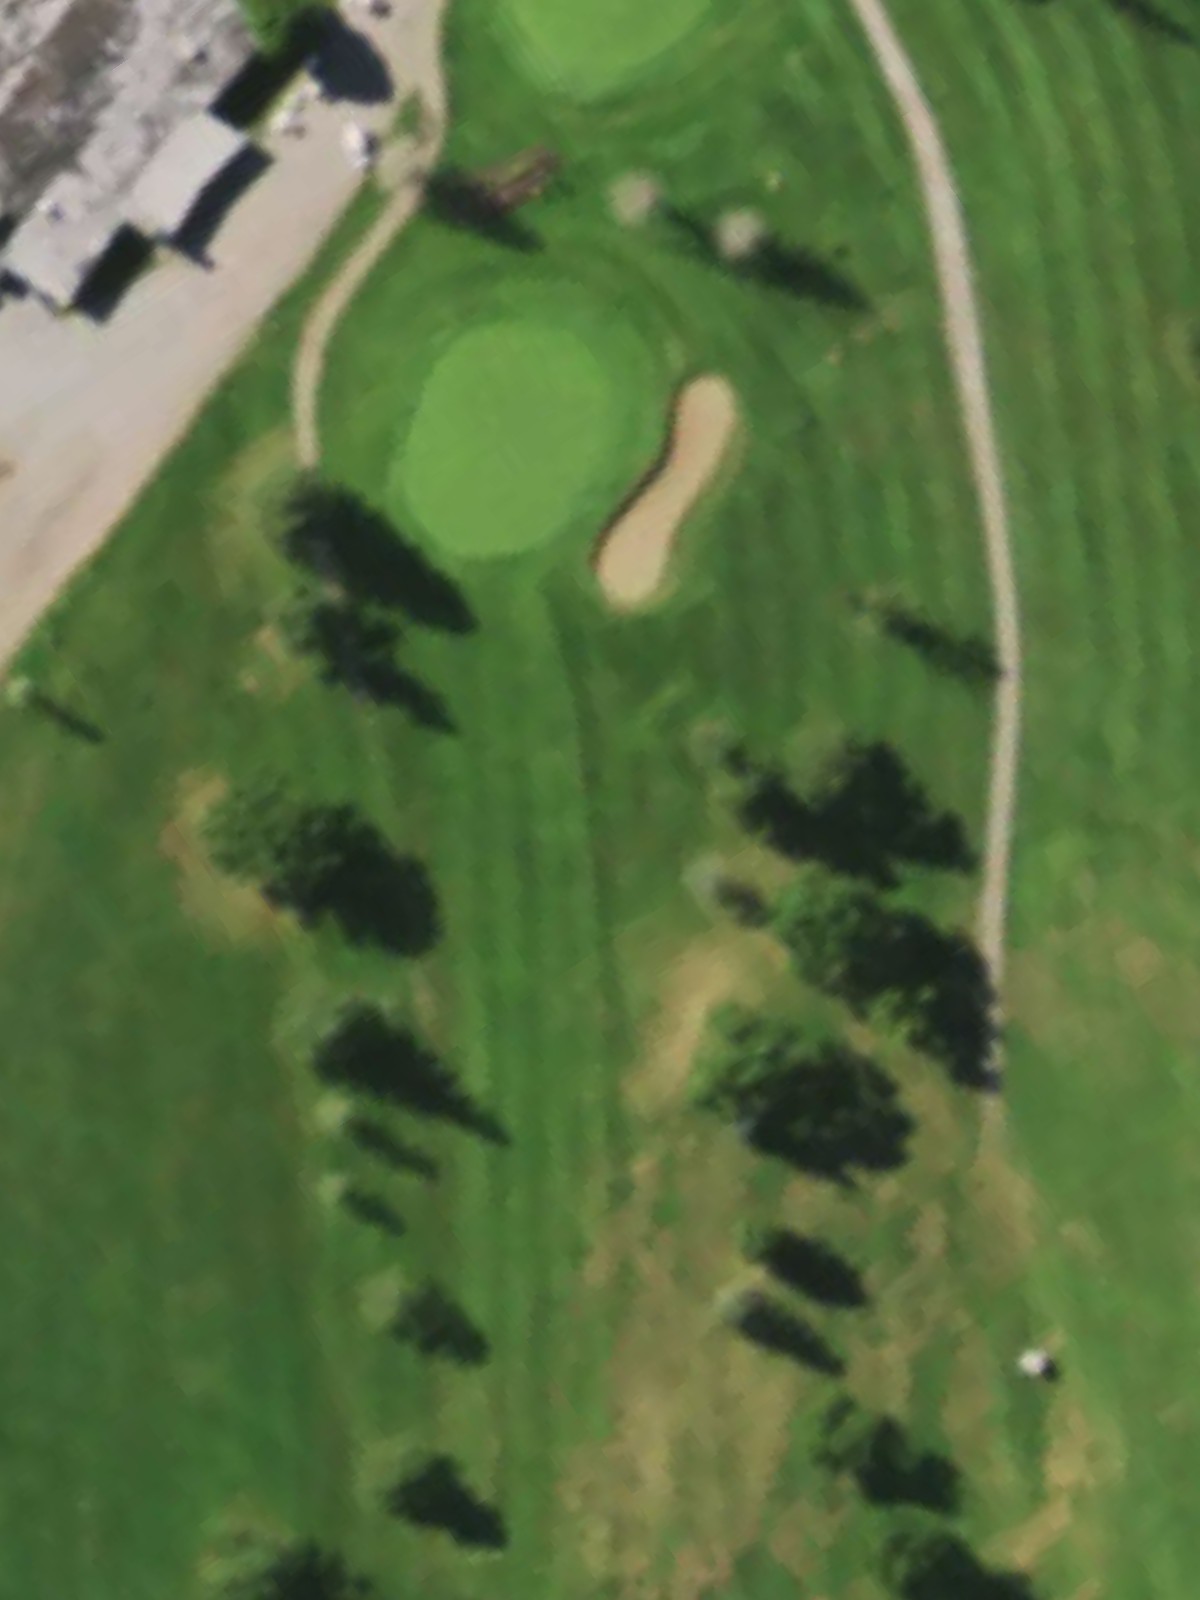
A straightforward par 4 with a fairway that gradually narrows as it approaches the green. Bunkers guard the right side of the green, requiring accuracy on the approach shot to find the putting surface.
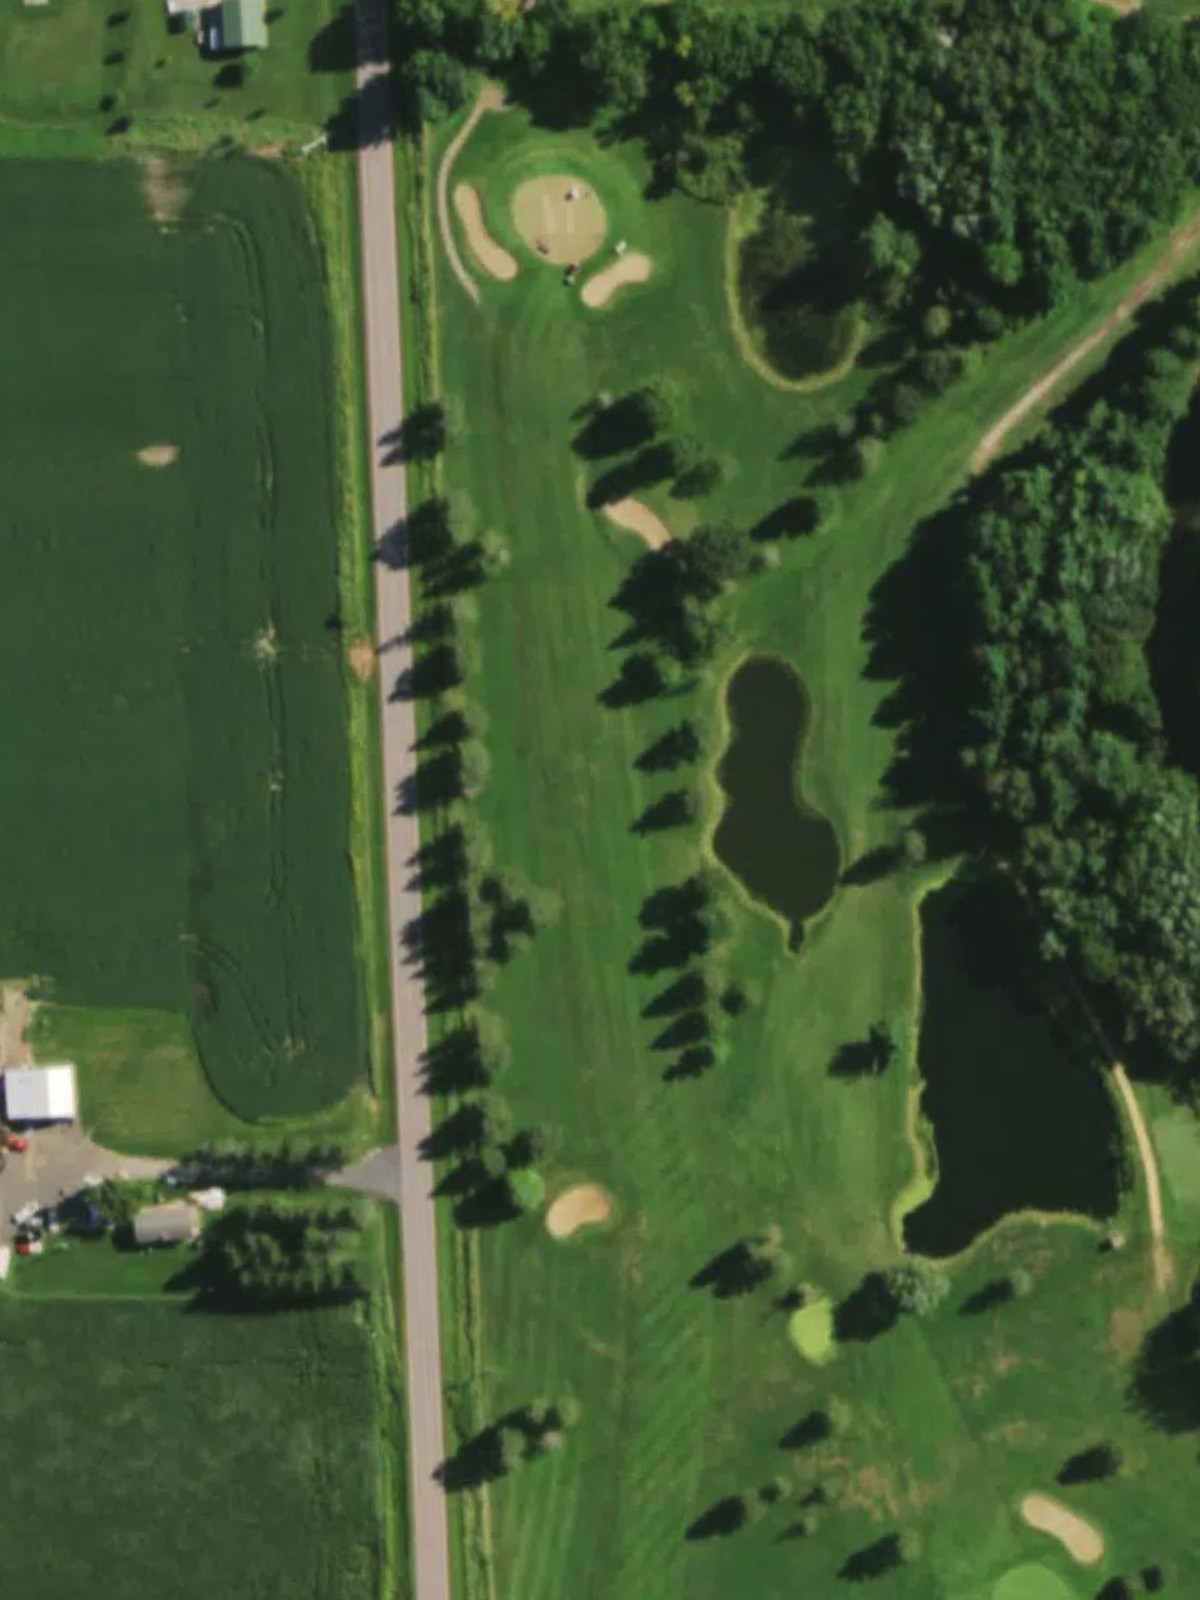
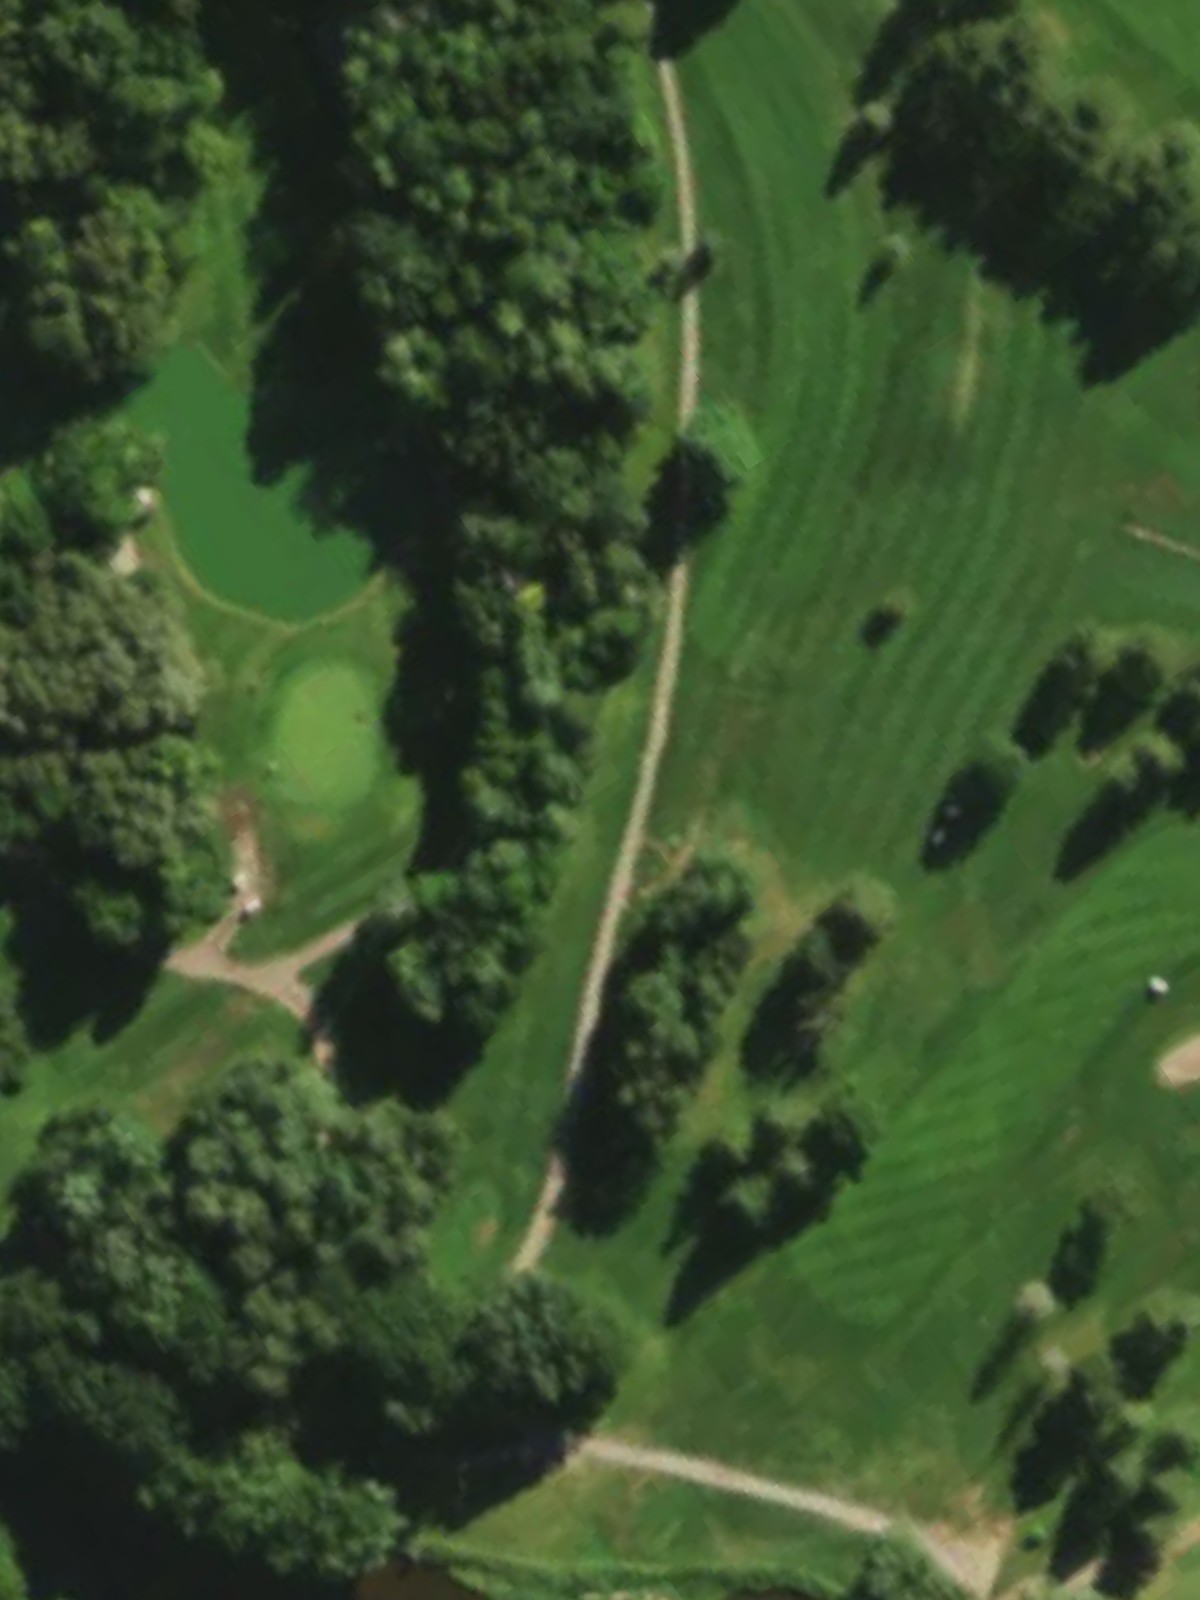
The course's most challenging hole, this lengthy par 5 demands two solid strikes to reach scoring position. Water hazards left and strategic bunkering throughout require careful route selection on both the drive and layup.
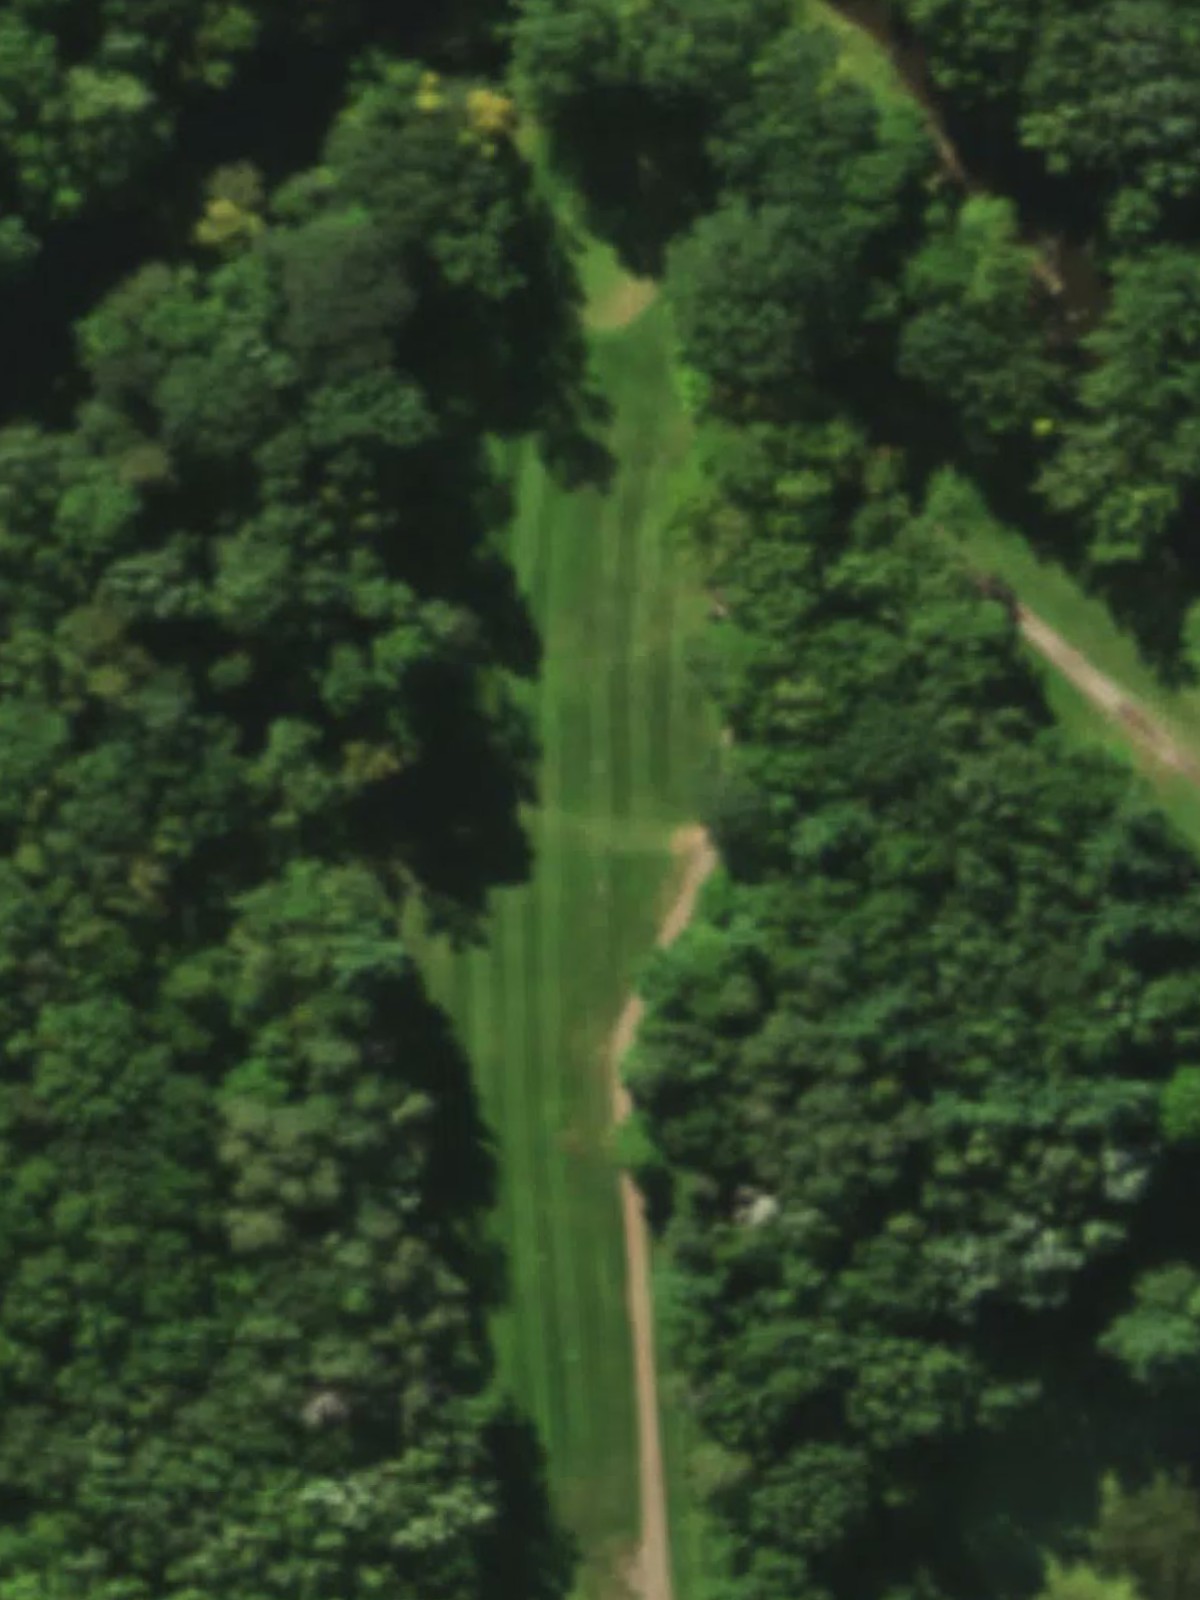
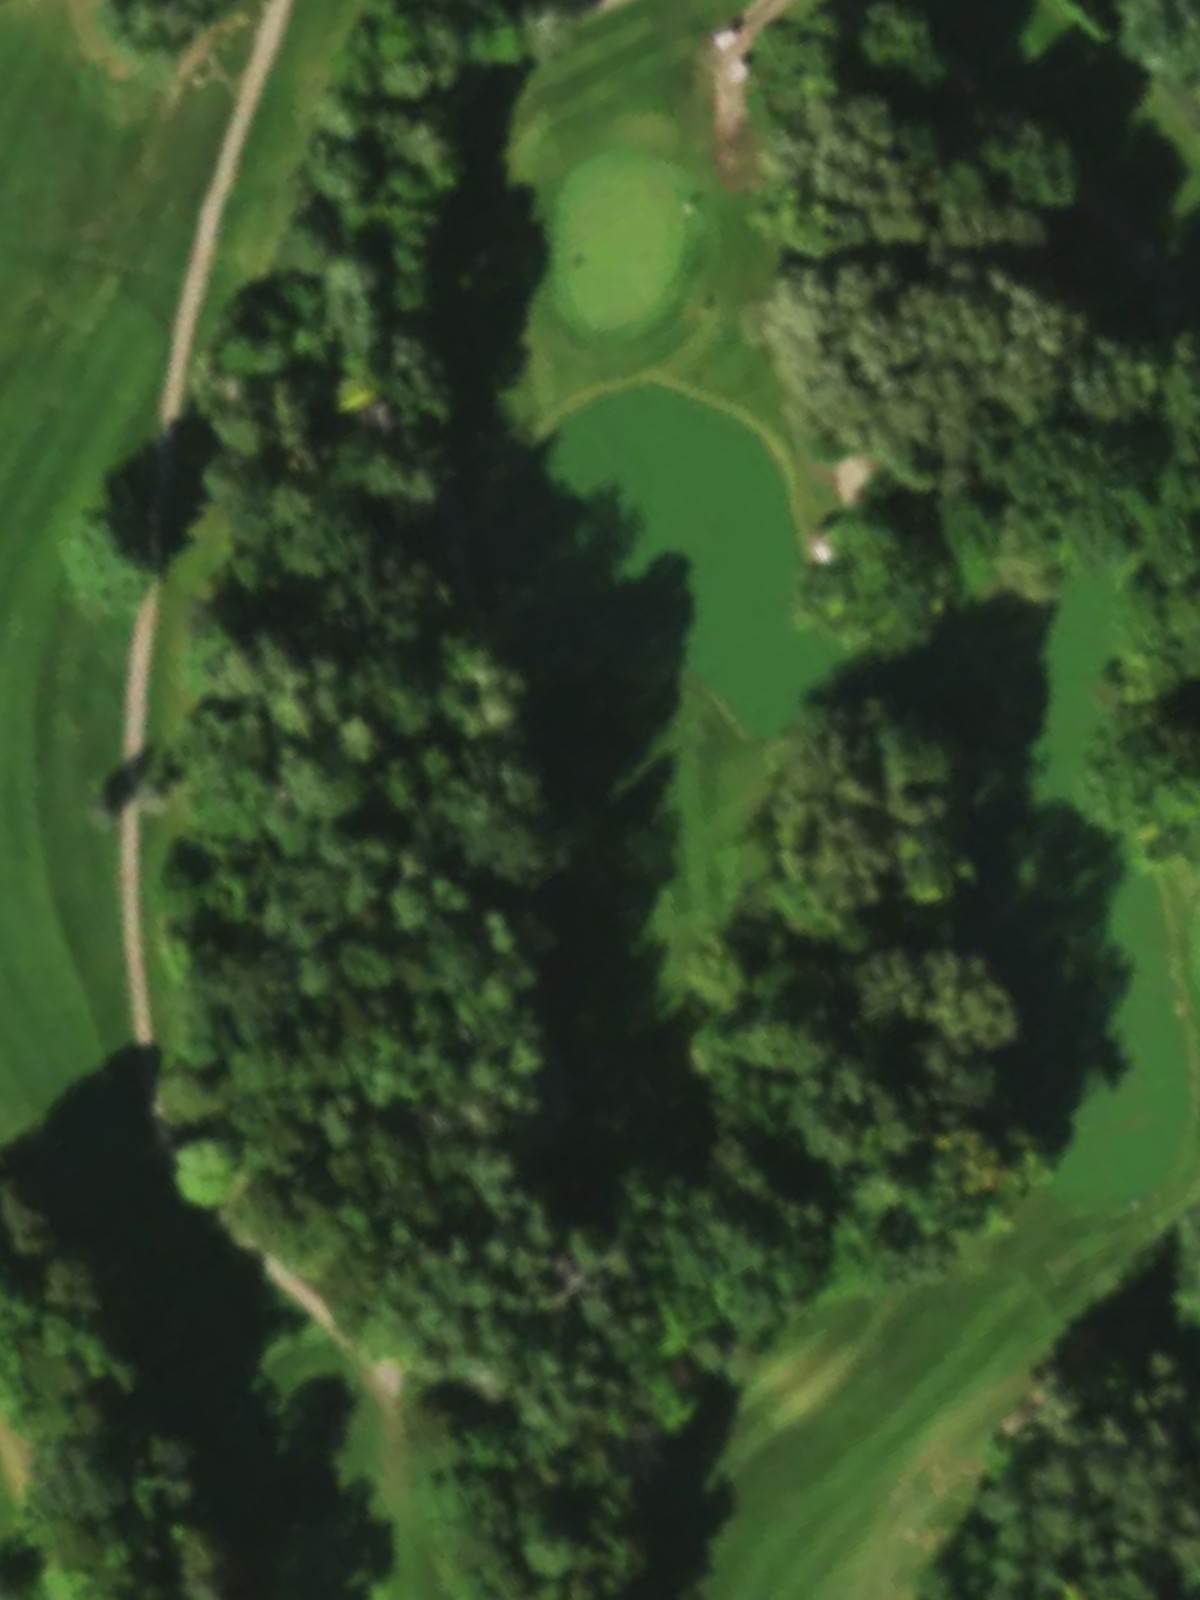
A short par 4 that plays deceptively difficult despite modest yardage. Tight fairway corridors and greenside bunkers make precision off the tee essential to set up a manageable approach.
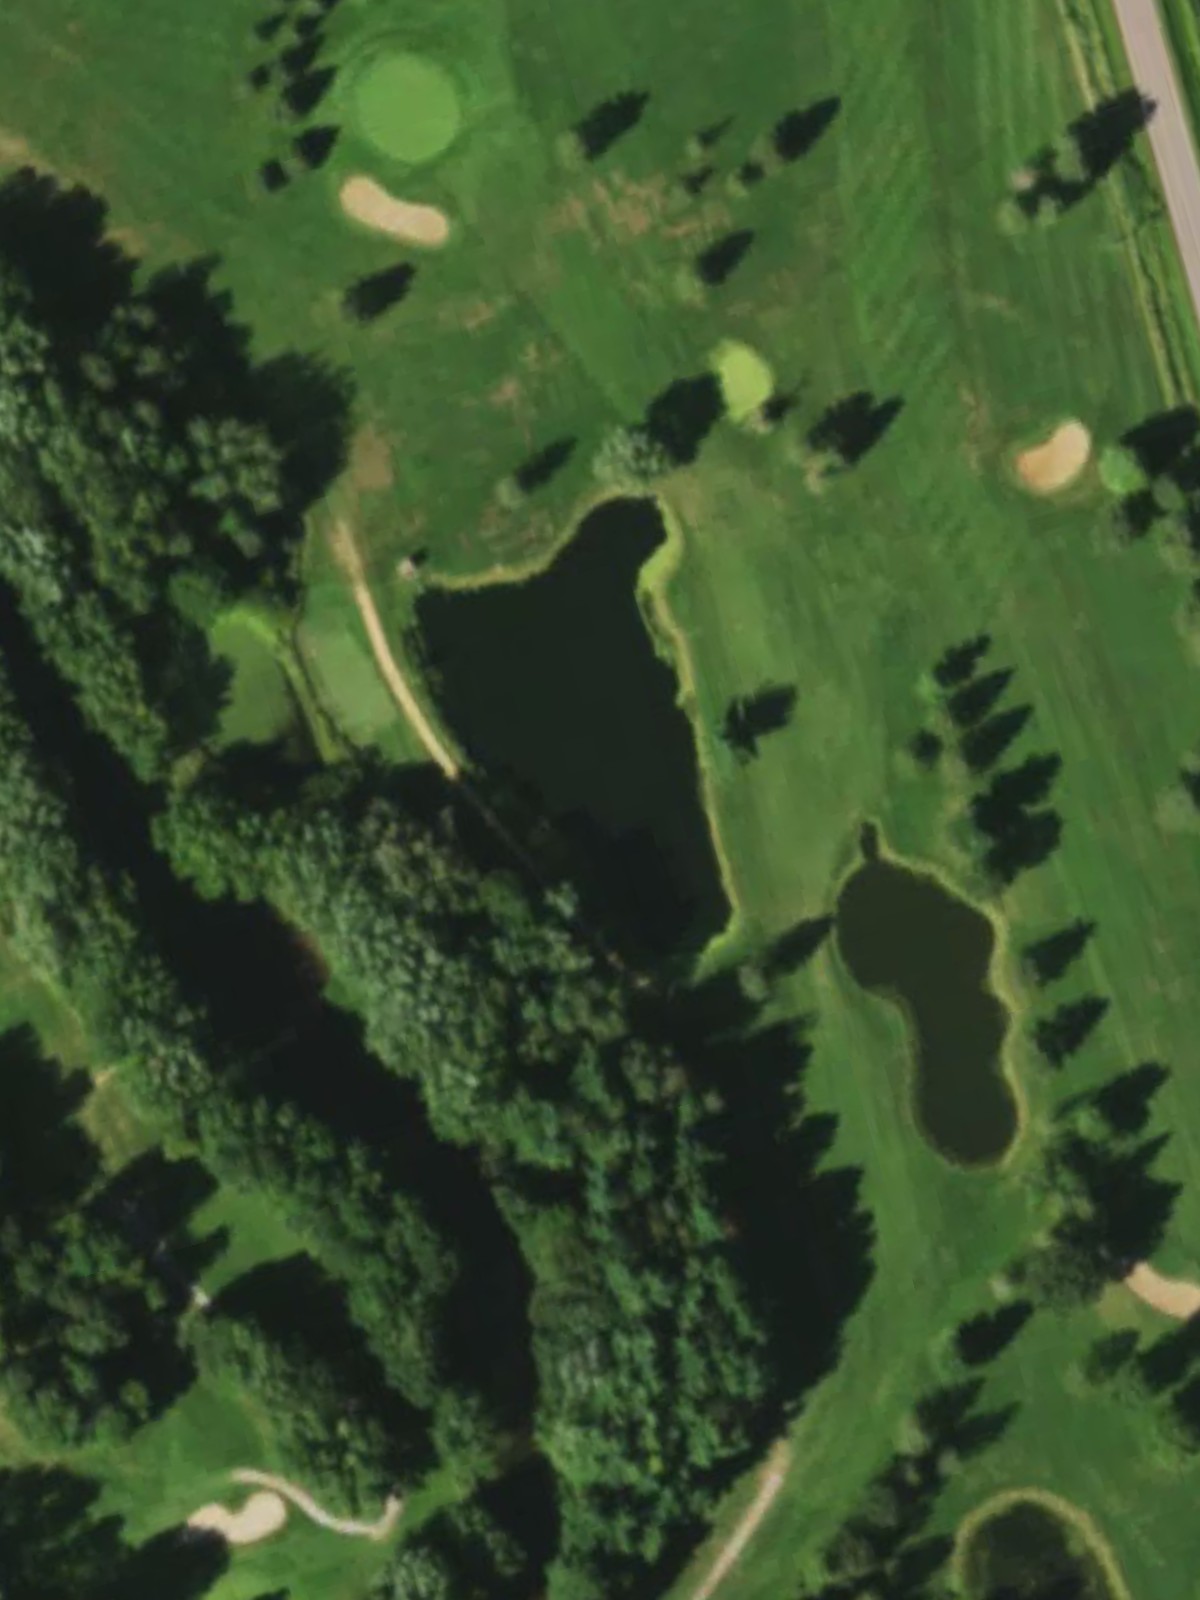
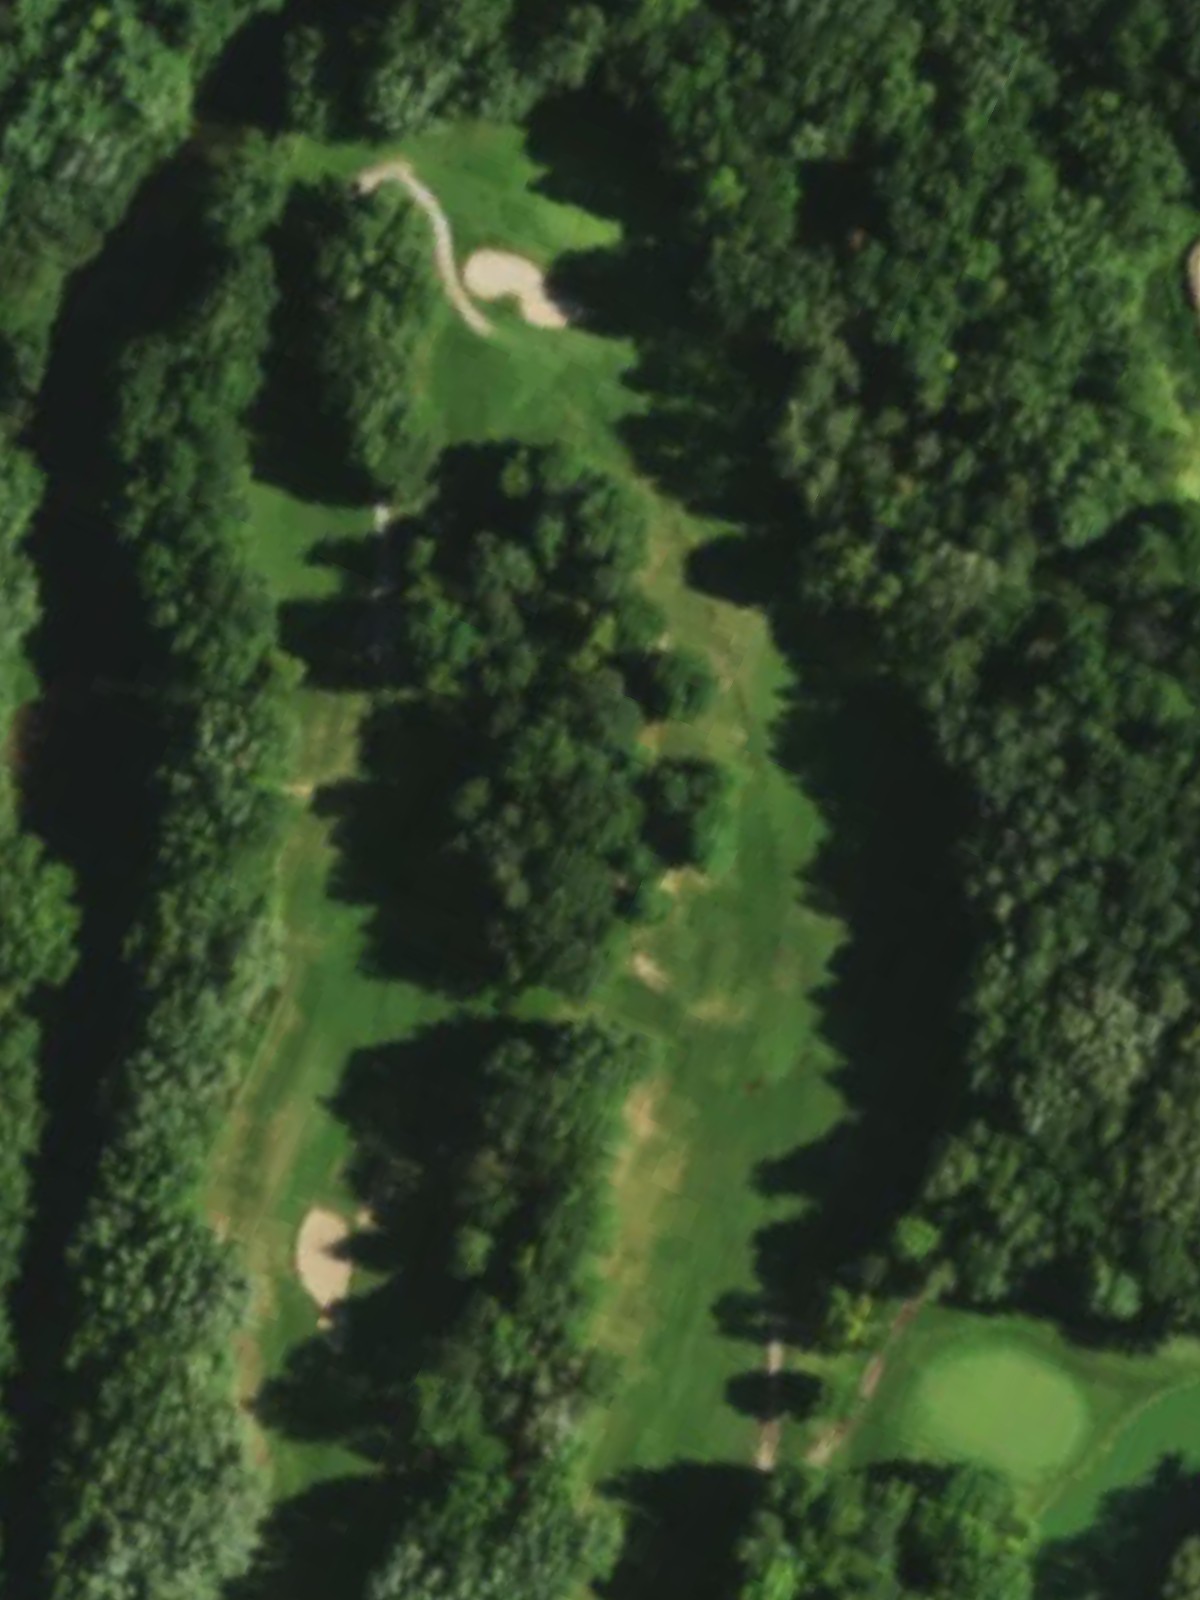
A powerful par 5 and the second-most difficult hole on the course, with length the primary defense. Water left of the fairway threatens errant shots, while strategic bunkering rewards smart positioning over distance.
A mid-length par 3 featuring a narrow green surrounded by sand. The isolated target demands an accurate tee shot with little margin for error on either side.
A compact par 4 offering a relatively short hole that still commands respect through its tight layout. Bunkers frame the green closely, making the approach shot the key challenge.
The course's shortest hole, this par 3 provides a brief respite with a modest green complex. Despite the short distance, accurate aim is critical as the small target offers limited forgiveness.
A strong par 4 that features an interesting shape and elevated green. Strategic bunkering and the green's positioning create a challenging finishing sequence to reach the putting surface.
A solid par 4 presenting a balanced test of accuracy and distance off the tee. Fairway hazards and greenside bunkers reward controlled strikes and thoughtful shot placement.

A mid-length par 4 with a generous fairway that provides room for the tee shot. Bunkers frame the approach zone, requiring a precise second shot to secure par.
The most difficult hole on the course, this lengthy par 5 demands power and precision throughout. Strategic hazards and bunker placement force golfers to plot a careful route across all three shots.

A challenging par 4 that plays longer than its yardage suggests due to its sustained difficulty. Water and bunkers threaten throughout, requiring both a strong drive and careful approach.

A short par 3 with a well-defined green surrounded by sand and hazards. The intimate setting demands exacting aim and clean contact from the tee.
A third-most difficult par 5 with ample length and strategic hazard placement throughout. The routing requires thoughtful shot selection to avoid penalties and set up a realistic birdie opportunity.
A formidable par 4 and one of the course's most demanding holes, playing long with limited forgiveness. Hazards left and right, along with a well-bunkered green complex, create a severe examination of ball striking.
A lengthy par 4 featuring a fairway that tightens significantly near the green. Out-of-bounds danger and strategic bunkering combine to make this a stern two-shot test.
A brief par 3 with a modest green that offers a more approachable mid-round breather. Despite the short distance, bunkers and hazards still demand precise aim.
A strong finishing par 4 with a narrowing fairway and well-guarded green complex. The demanding approach shot and strategic bunkering provide a fitting conclusion to the round.
Scorecard
| Hole | 1 | 2 | 3 | 4 | 5 | 6 | 7 | 8 | 9 | Out | 10 | 11 | 12 | 13 | 14 | 15 | 16 | 17 | 18 | In | Tot |
|---|---|---|---|---|---|---|---|---|---|---|---|---|---|---|---|---|---|---|---|---|---|
| Par | 4 | 5 | 4 | 5 | 3 | 4 | 3 | 4 | 4 | 36 | 4 | 5 | 4 | 3 | 5 | 4 | 4 | 3 | 4 | 36 | 72 |
| HCP | 10 | 4 | 14 | 2 | 16 | 12 | 18 | 6 | 8 | 13 | 1 | 9 | 15 | 3 | 5 | 11 | 17 | 7 | |||
| blue | 350 | 538 | 274 | 507 | 203 | 328 | 132 | 382 | 353 | 3067 | 393 | 504 | 390 | 162 | 513 | 446 | 435 | 123 | 389 | 3355 | 6422 |
| white | 343 | 513 | 266 | 497 | 194 | 319 | 128 | 363 | 342 | 2965 | 389 | 493 | 365 | 154 | 503 | 422 | 422 | 116 | 376 | 3240 | 6205 |
| green | 287 | 462 | 214 | 417 | 157 | 245 | 92 | 284 | 304 | 2462 | 306 | 449 | 284 | 132 | 422 | 375 | 377 | 112 | 326 | 2783 | 5245 |
| red | 284 | 459 | 209 | 413 | 154 | 243 | 89 | 282 | 300 | 2433 | 303 | 444 | 281 | 128 | 418 | 368 | 374 | 109 | 323 | 2748 | 5181 |