Rim Club, The is an 18-hole golf course in Payson, AZ with a par of 71. It offers 7 tee sets: black (7,040 yards, slope 140, rating 72.9), black/white (6,800 yards, slope 138, rating 71.9), white (6,594 yards, slope 135, rating 70.6), white/gold (6,128 yards, slope 129, rating 68.8), gold (5,859 yards, slope 121, rating 67.7), gold/red (5,482 yards, slope 117, rating 66), red (5,185 yards, slope 114, rating 64.9). The hardest hole is #2, a par 4 playing 366 yards from the first tee.
Rim Club, The
Payson, AZ
Get PDF Yardage Book
We'll email you the PDF link. No spam, ever.
Create Your Game Plan
Pick your tees, enter your bag, and get a personalized shot-by-shot strategy for every hole.
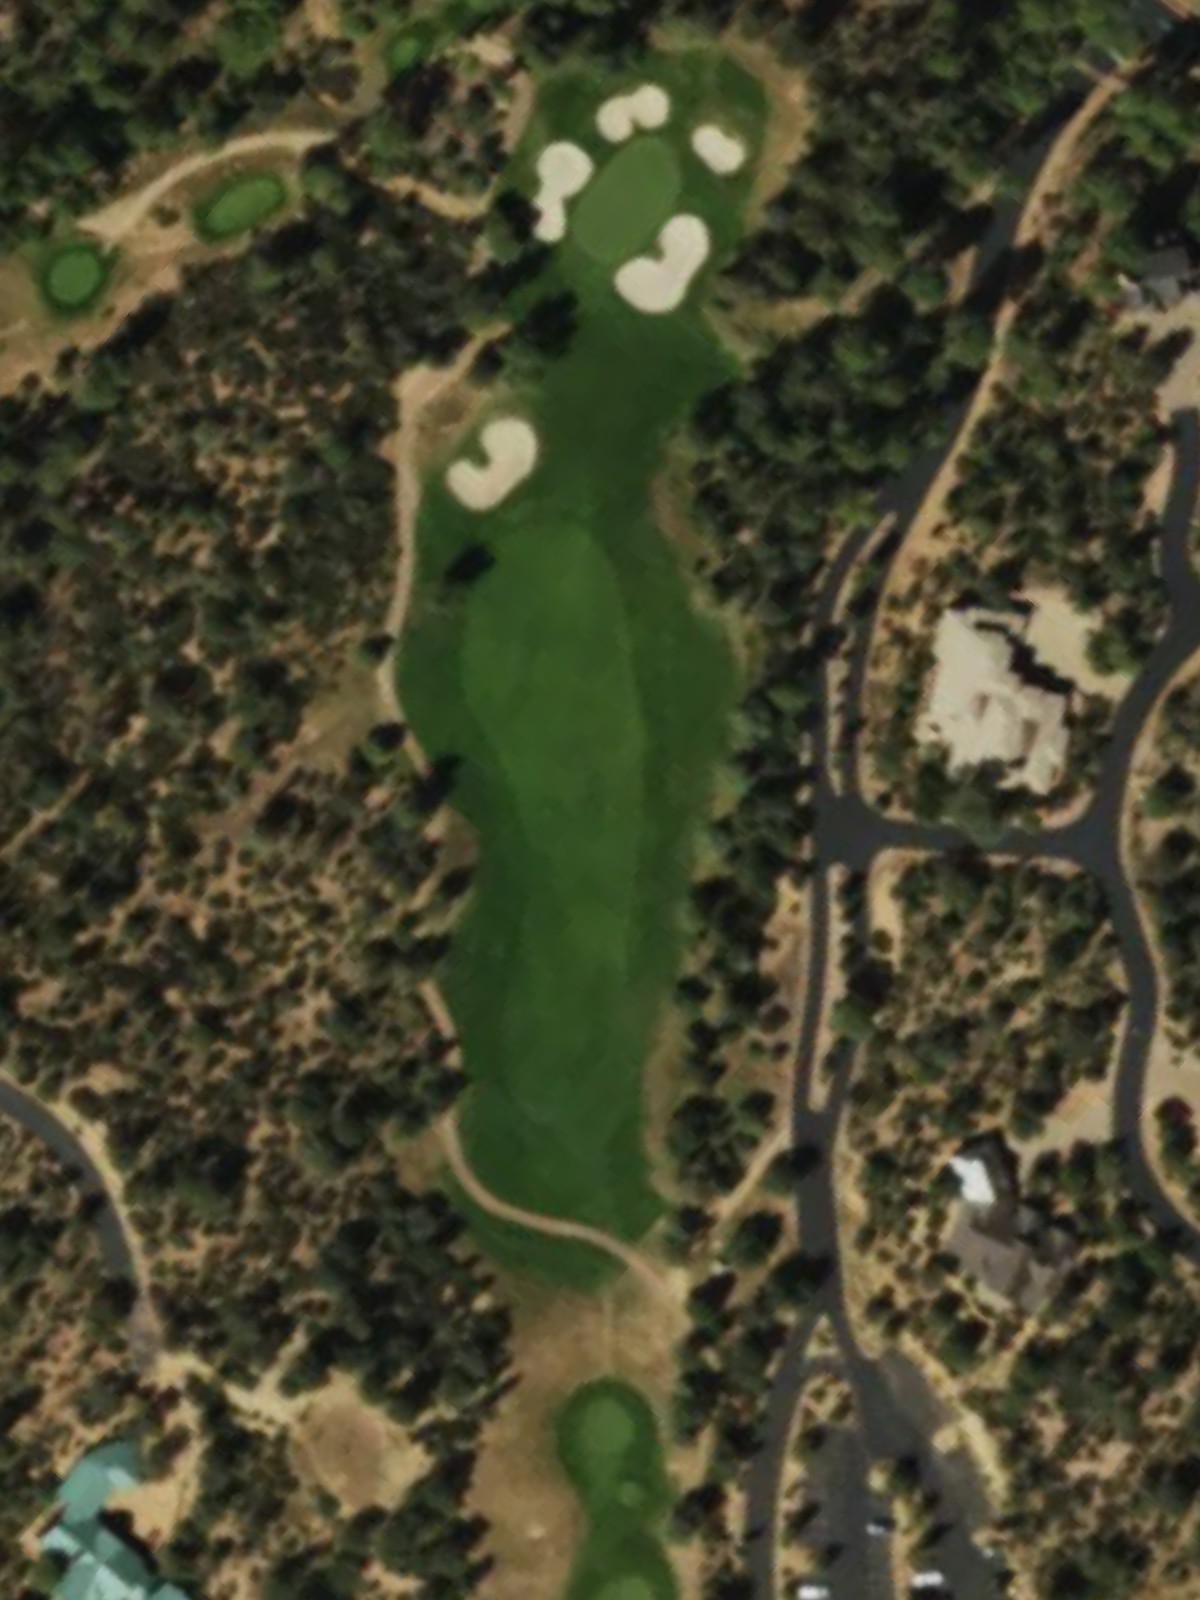
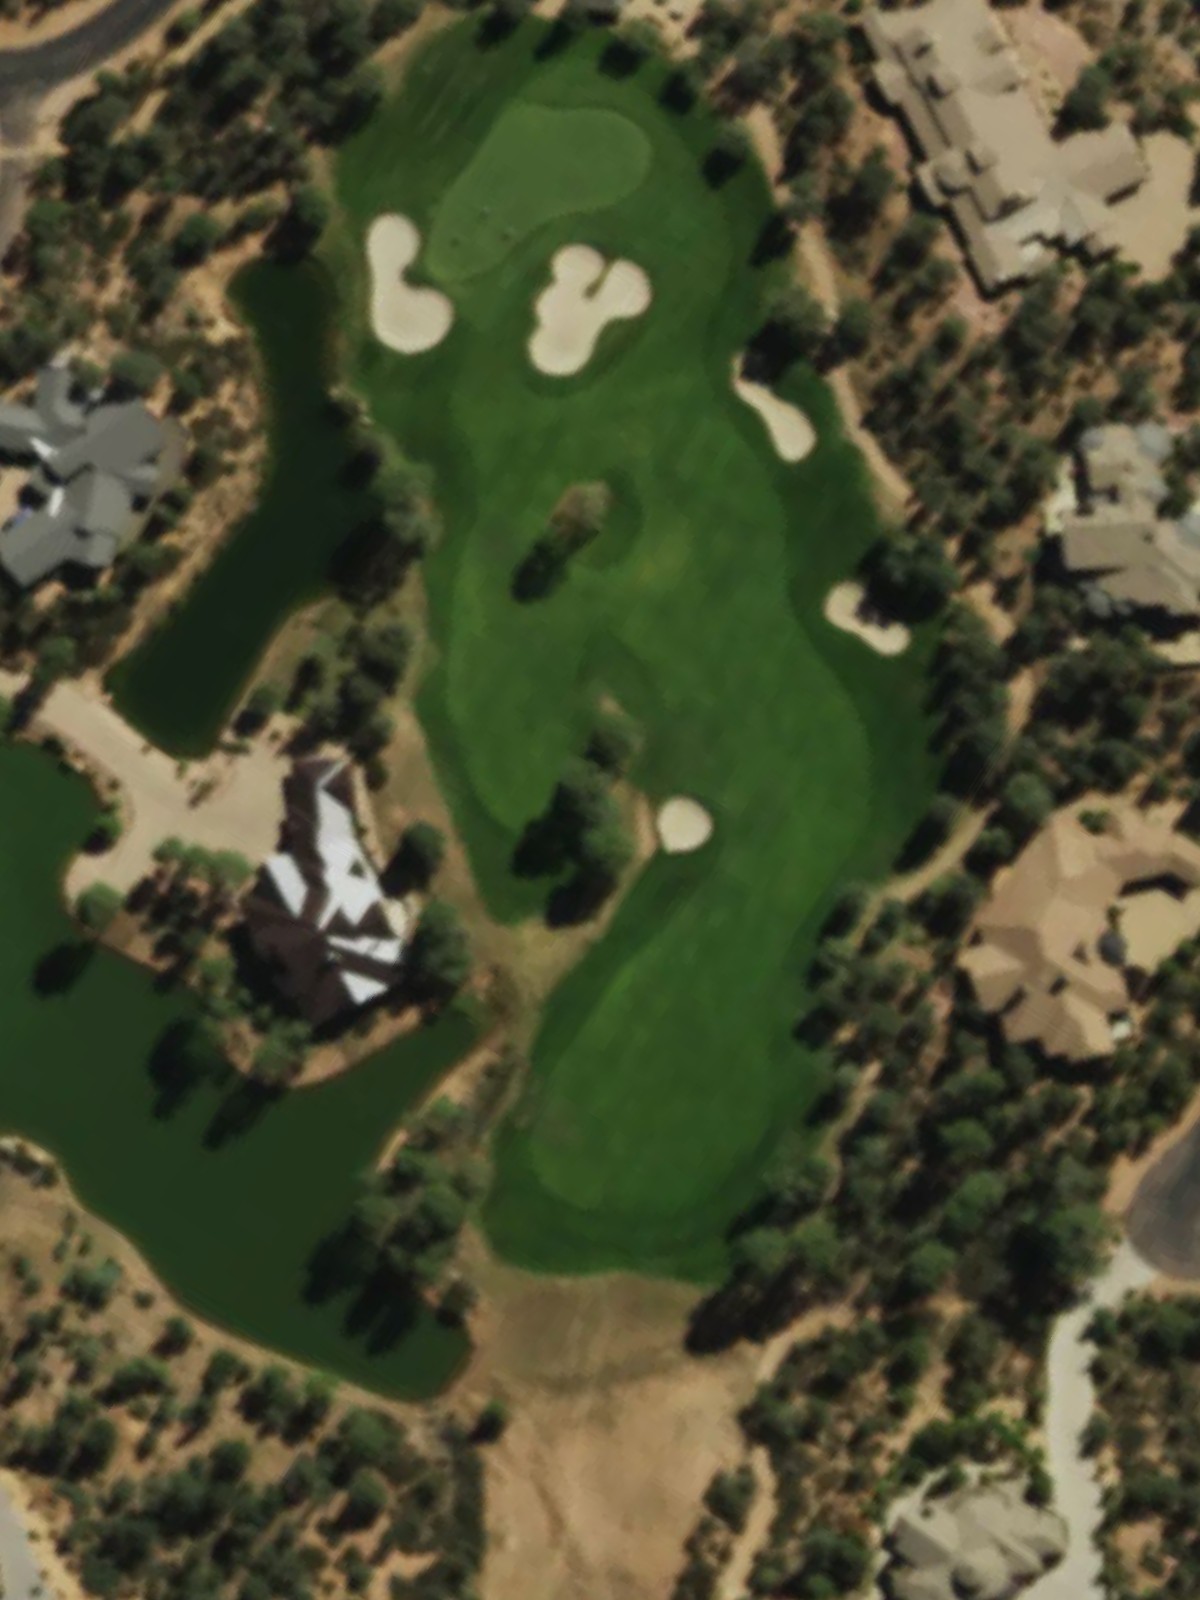
A welcoming opening par 4 with a relatively generous landing area that gradually tightens toward the green. The hole plays shorter from the forward tees but presents a solid test of accuracy from the back markers, with bunkers guarding the right side of the green.
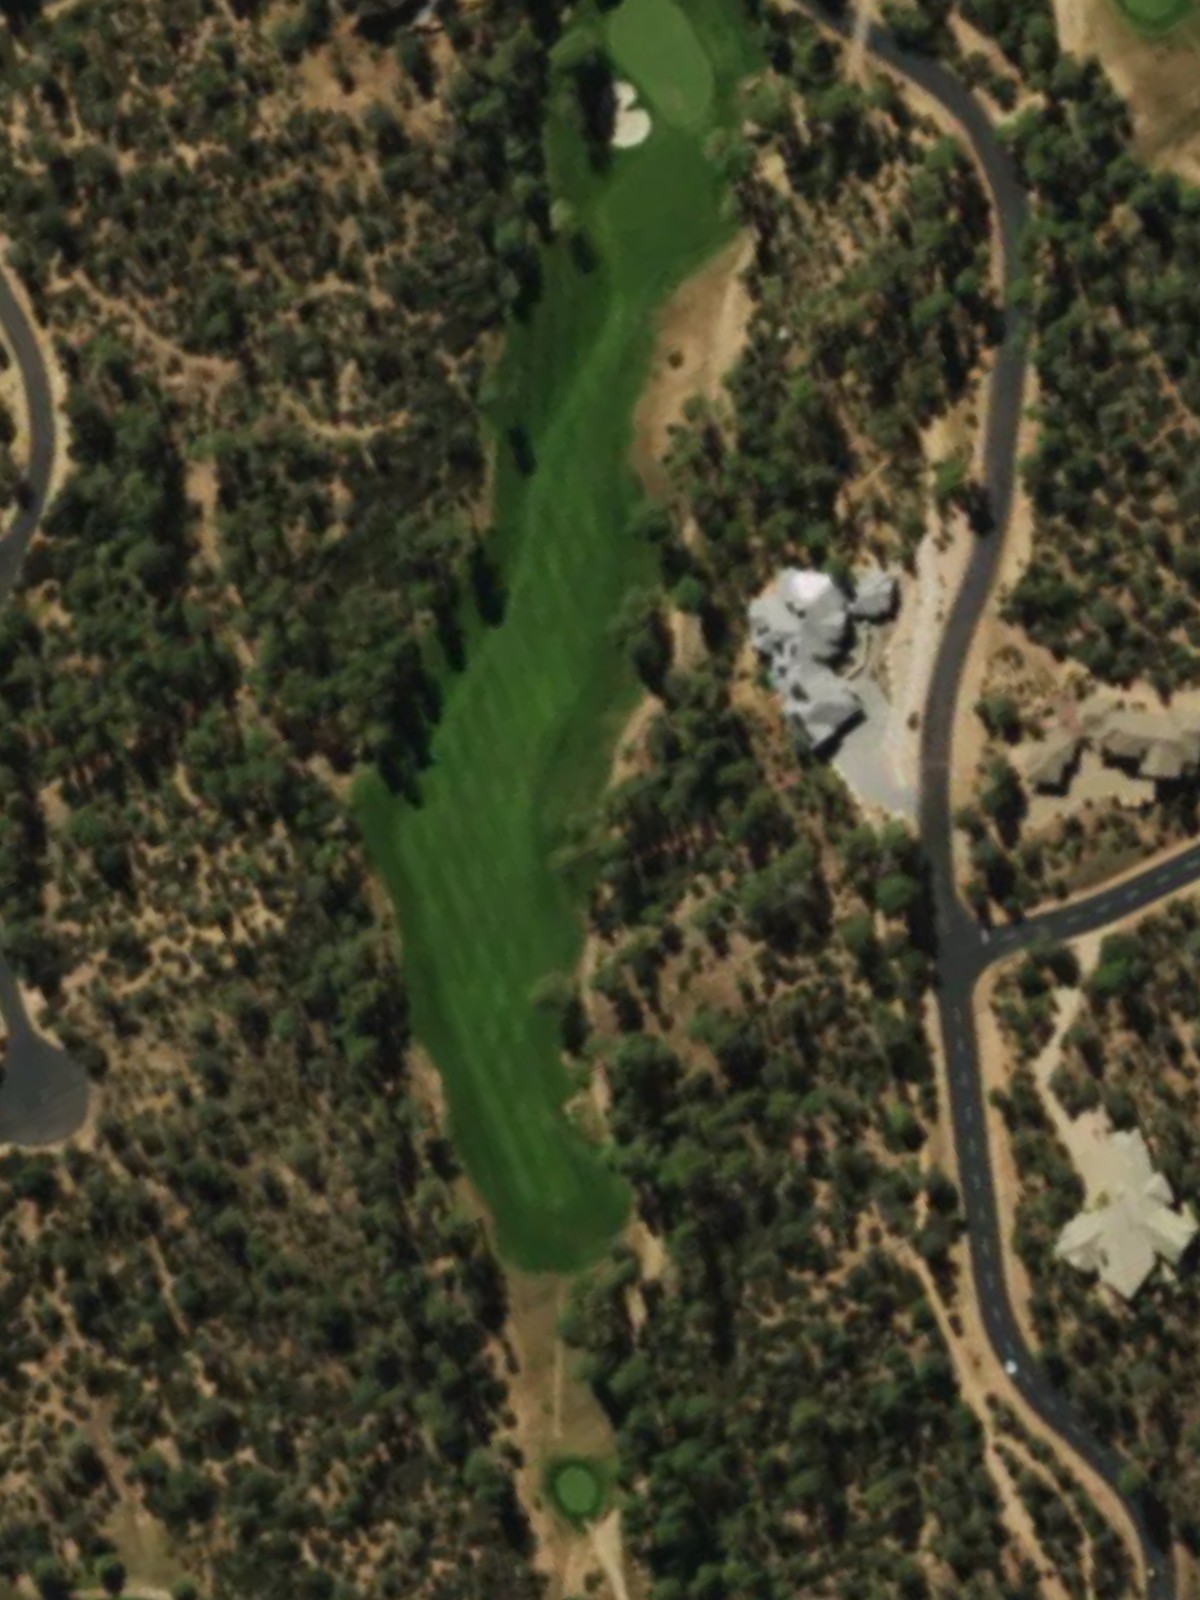
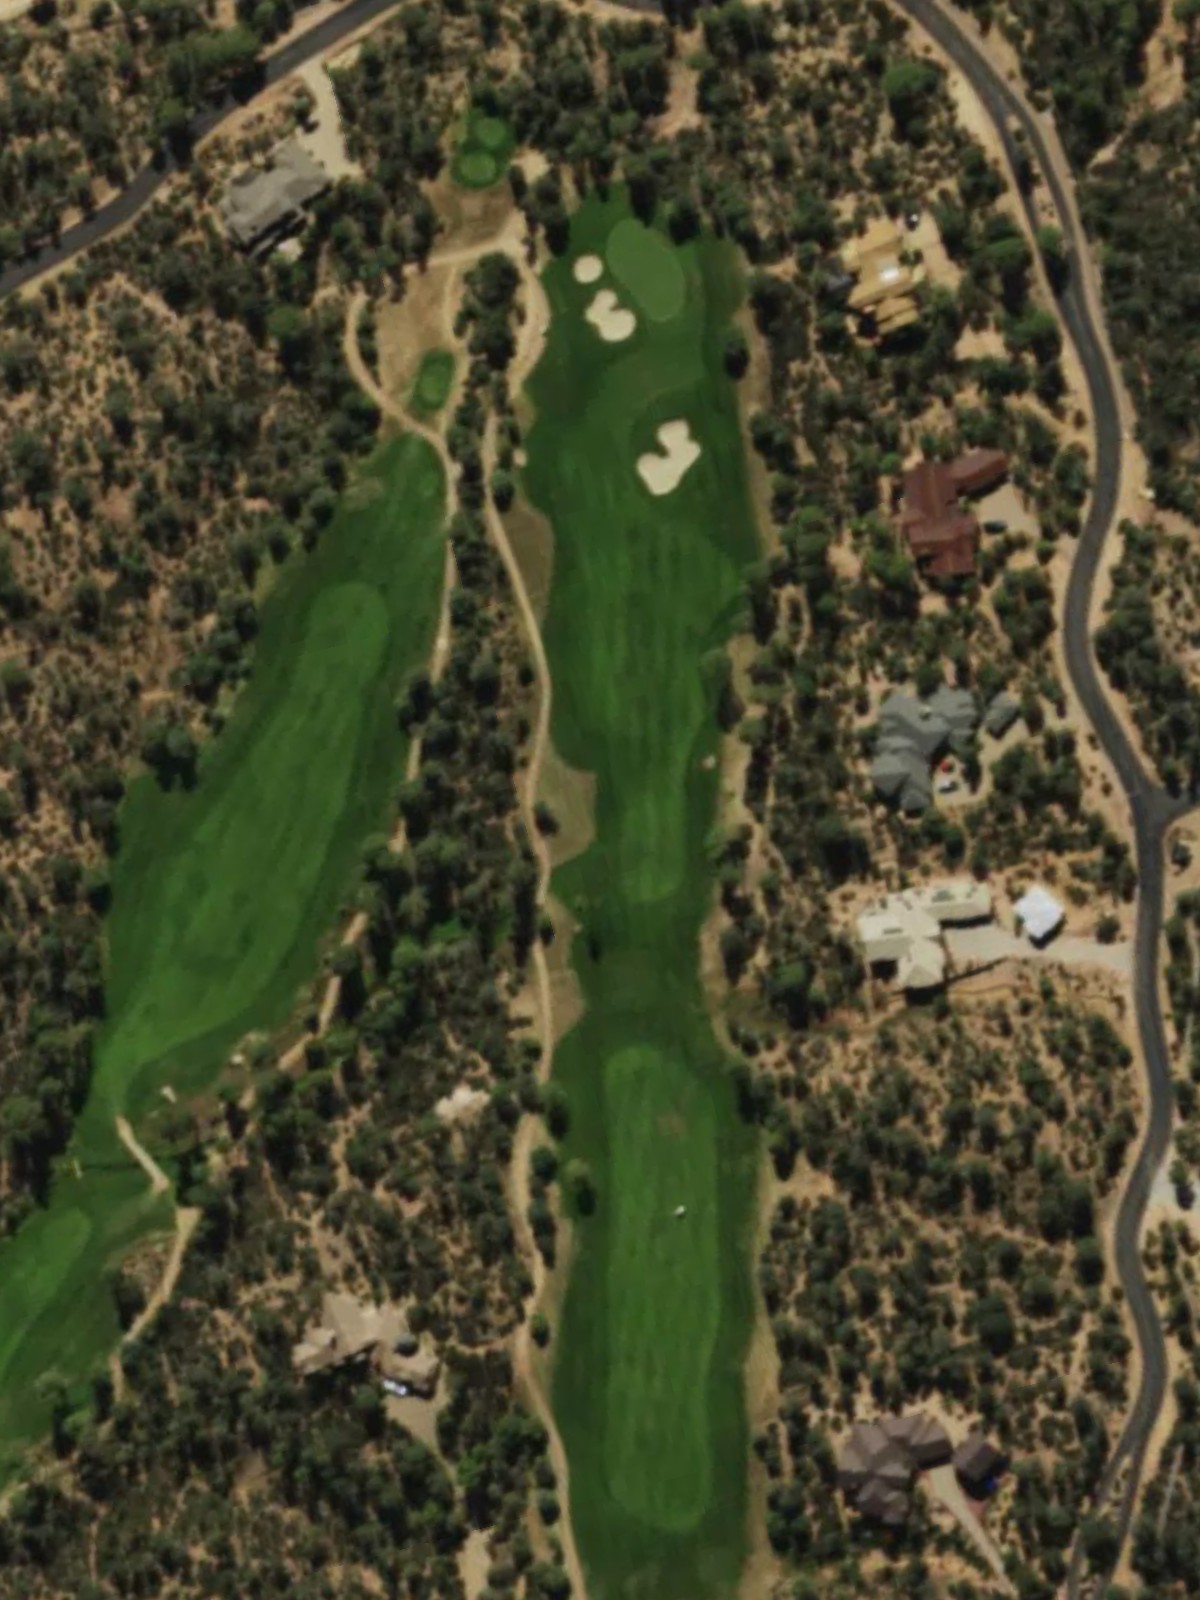
The course's most difficult hole, this par 4 demands length and precision off the tee with a narrow corridor throughout. Strategic hazards protect both sides of the fairway and surround the green, making placement critical on the approach shot.
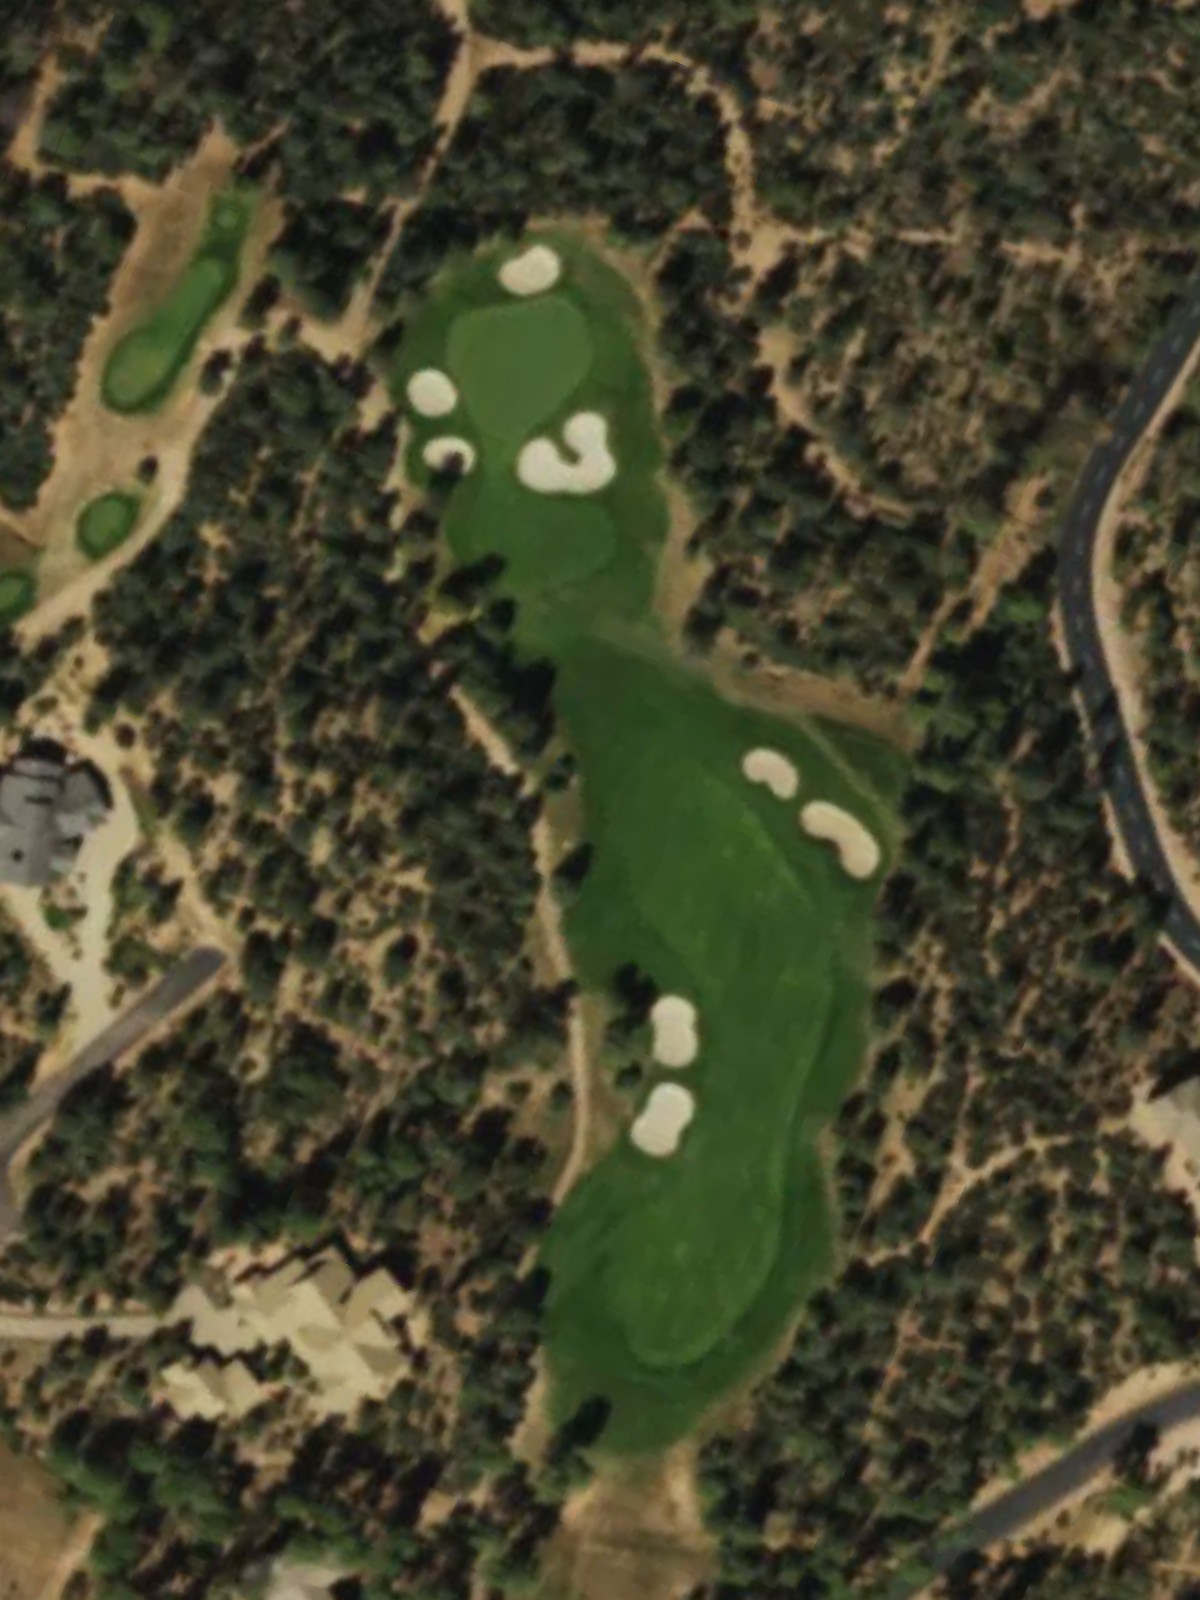
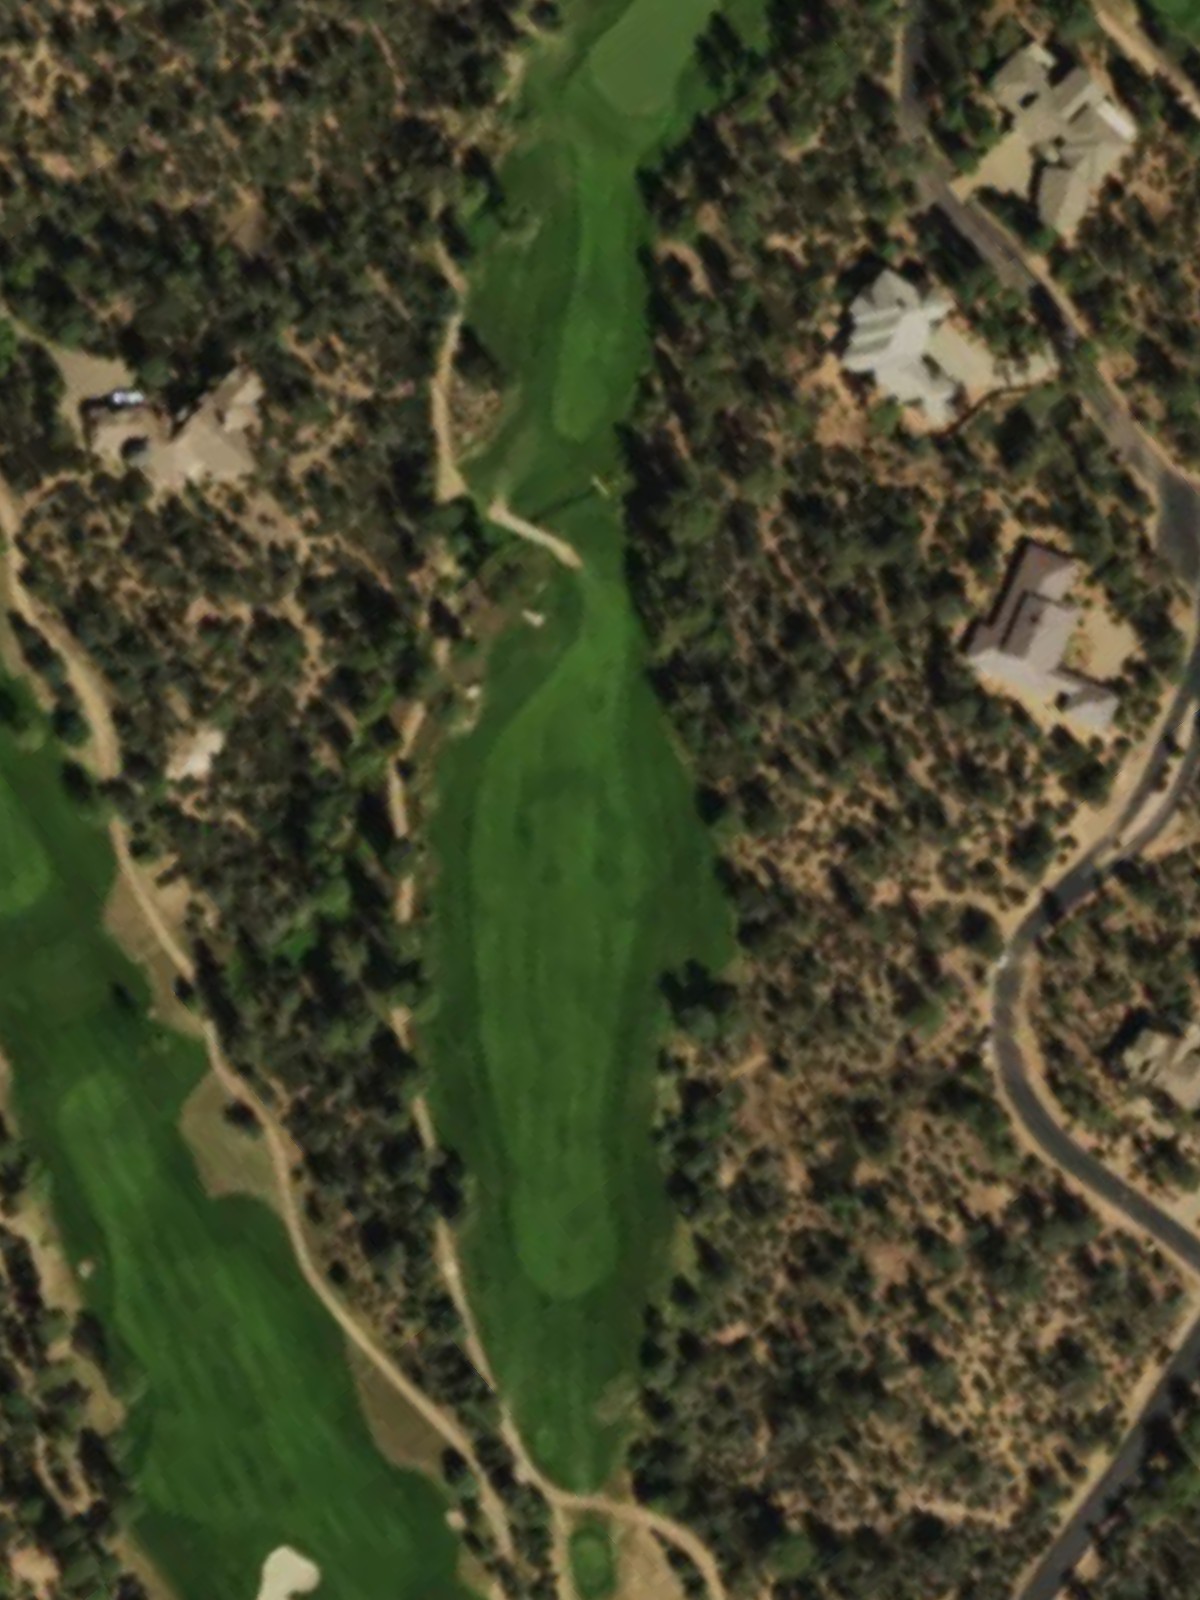
A mid-length par 4 that bends gently through its route with a fairway that narrows as it approaches the green. Well-positioned hazards on the right side of the fairway and around the putting surface reward accurate tee shots and thoughtful second shots.
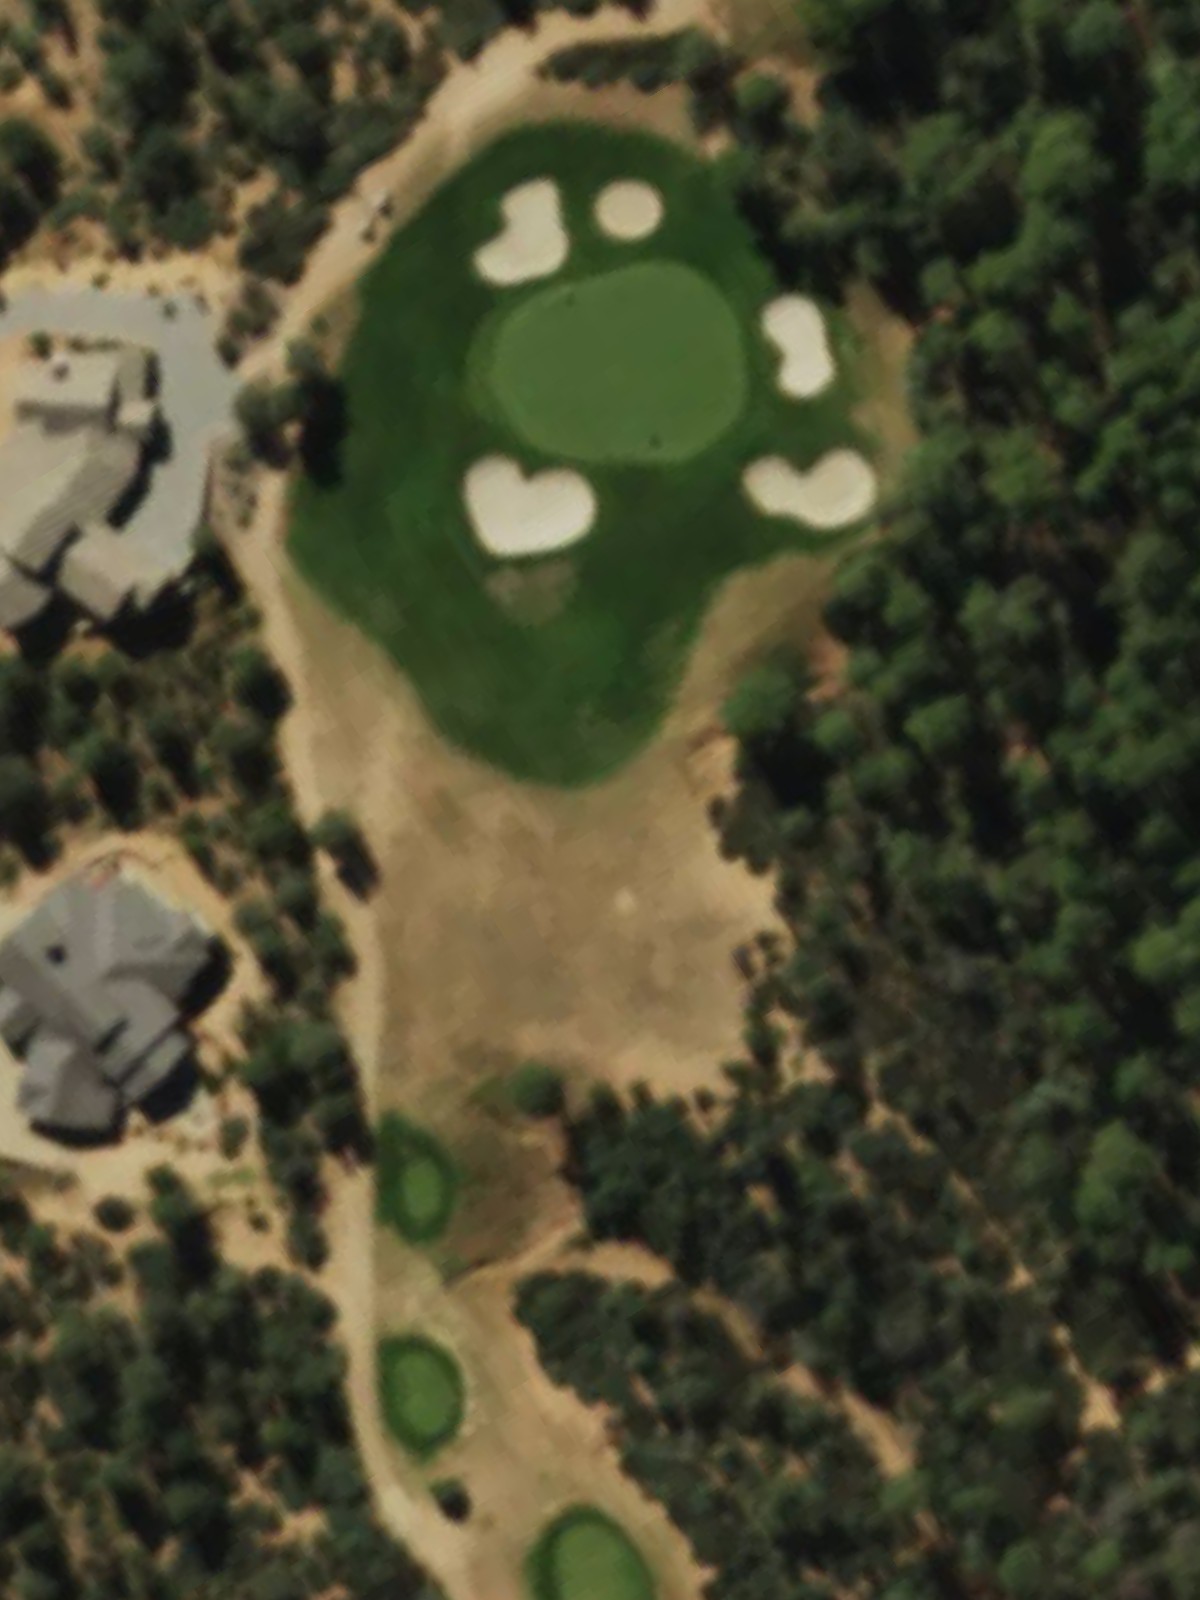
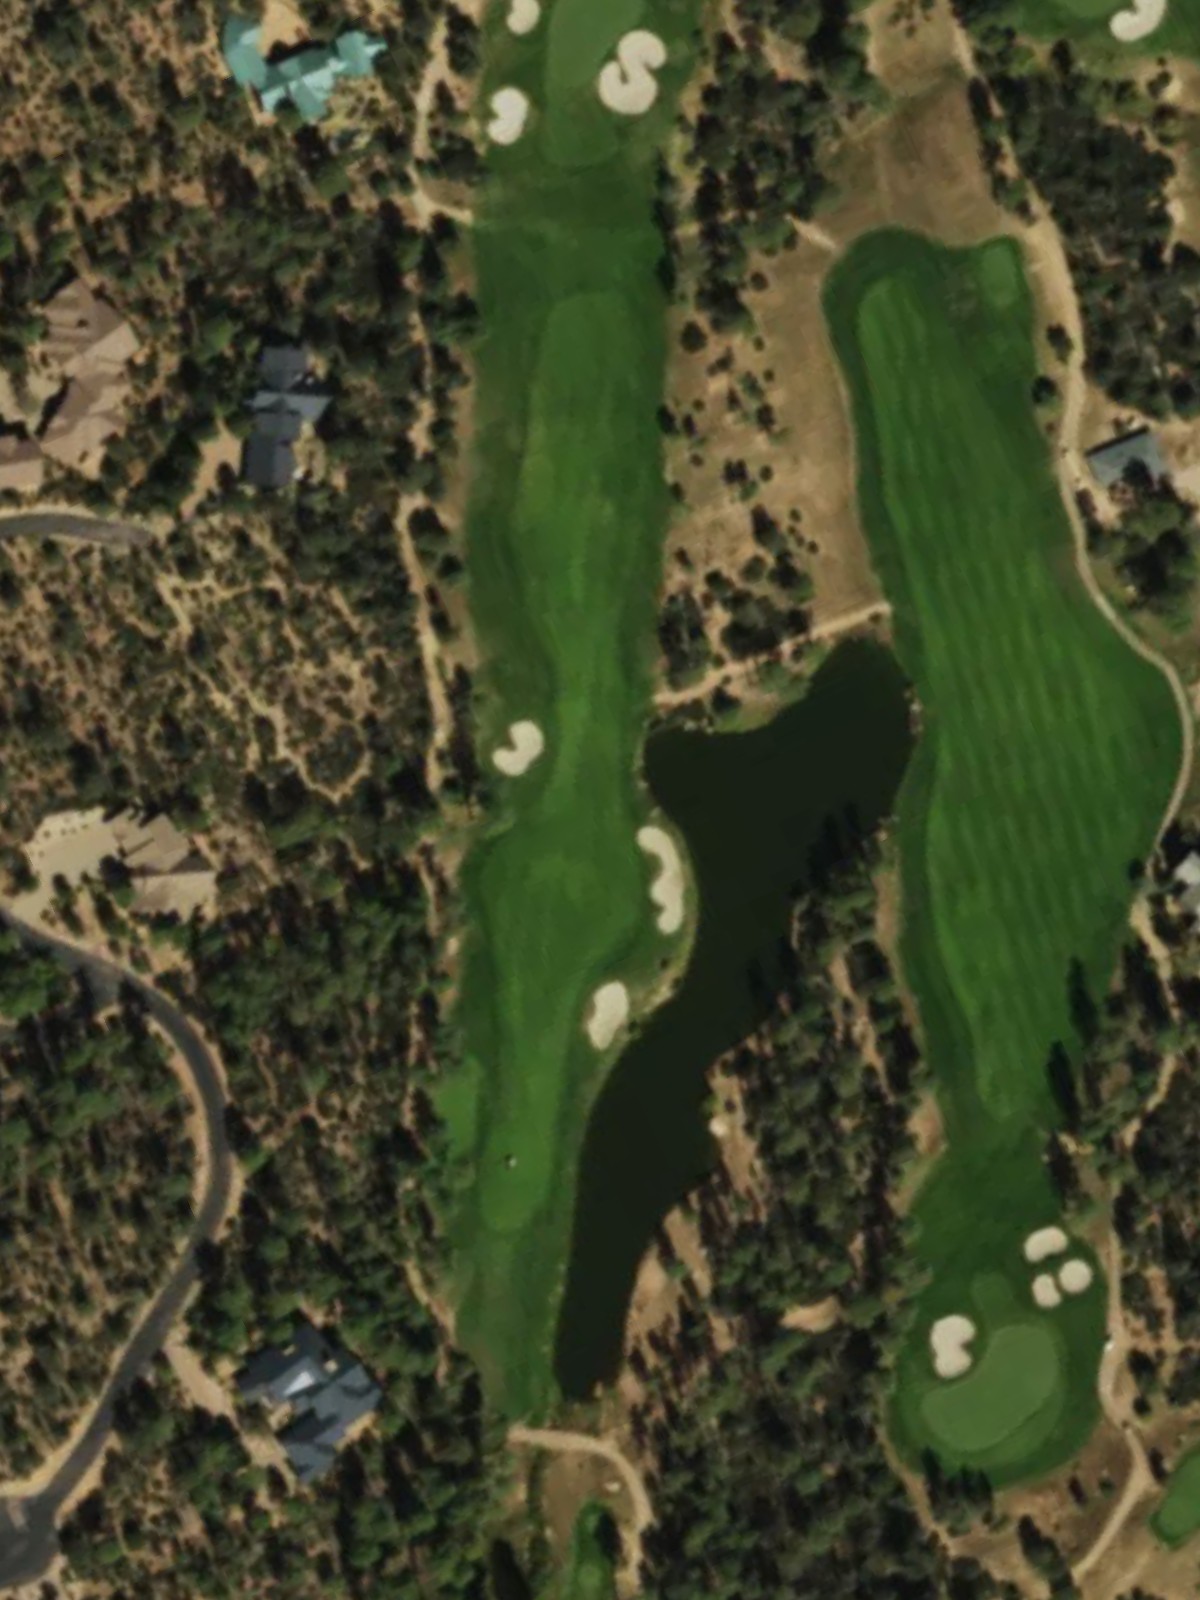
A short but deceptive par 3 with minimal landing area and significant elevation change playing a role in club selection. The green is tightly guarded by bunkers and surrounded by trouble, making accuracy paramount despite the modest yardage.
An elegant par 4 of moderate length that plays relatively straightforward with a wide-open fairway inviting aggressive play. Hazards tighten around the green complex, requiring a precise approach to avoid trouble on the short grass.
A strategic par 5 where positioning off the tee and at the second shot are equally important to scoring well. Water and bunkers distributed throughout the hole's length demand thoughtful layups and careful approach work rather than sheer distance.
A challenging par 4 that stretches significantly from the back tees and features strategic bunkering throughout. The fairway tightens considerably approaching the green, where bunkers frame the putting surface and demand a well-executed final shot.

A modest par 3 that belies its difficulty with a small, well-protected green surrounded by hazards on all sides. The short distance is offset by the precision required to find the putting surface and avoid the bunker complex that dominates the hole.
A substantial par 5 that offers birdie opportunity through smart positioning rather than pure length, with a fairway that widens in the landing zone. Strategic water and bunker placement reward accuracy on both the drive and layup, while the approach demands a deft touch into a sloped green.

An uphill par 4 of considerable difficulty that plays longer than its yardage suggests and penalizes wayward drives severely. Bunkers guard the right side of the fairway and tighten around the green, which sits elevated and demands a precise approach.
The second-most difficult hole on the course, this par 4 stretches across the card and features a fairway that narrows progressively toward a well-bunkered green. The length and strategic hazards throughout make this a true test of complete golf from tee to green.
The course's shortest par 3, this hole presents deceptive difficulty with a tiny target surrounded by trouble on all sides. The minimal green requires pinpoint accuracy despite the short distance, punishing anything less than a well-struck shot.
A long par 5 with a fairway that bends slightly and features water or bunkers creating strategic decision points for the approach. The hole rewards smart course management and accurate positioning, particularly on the second shot where layup area becomes critical.
A mid-length par 4 with a tight, tree-lined fairway that demands accuracy off the tee to reach an ideal approach zone. Strategic bunkers frame the green on both sides, making the second shot equally challenging and rewarding proper execution.
A shorter par 4 that offers scoring opportunity through the forward tees but stretches considerably from the back markers. The hole features bunkers guarding the approach and framing the green, keeping the challenge consistent across all playing lengths.
A mid-length par 4 with a fairway that tightens considerably in the approach zone near the green. Strategic bunkering on both sides of the fairway and around the putting surface makes position and precision equally important to distance.
A picturesque par 3 with significant elevation change and a wildly varying yardage depending on tee selection. The small green is heavily protected by bunkers and surrounding trouble, making the challenge of finding the putting surface consistent despite the fluctuating distances.
The finishing par 4 features a fairway that plays relatively open off the tee but tightens dramatically near the green complex. Well-placed bunkers frame both sides of the approach, creating a fitting climax that requires both length and precision to finish strong.
Scorecard
| Hole | 1 | 2 | 3 | 4 | 5 | 6 | 7 | 8 | 9 | Out | 10 | 11 | 12 | 13 | 14 | 15 | 16 | 17 | 18 | In | Tot |
|---|---|---|---|---|---|---|---|---|---|---|---|---|---|---|---|---|---|---|---|---|---|
| Par | 4 | 4 | 4 | 3 | 4 | 5 | 4 | 3 | 5 | 36 | 4 | 4 | 3 | 5 | 4 | 4 | 4 | 3 | 4 | 35 | 71 |
| HCP | 11 | 1 | 5 | 17 | 13 | 3 | 7 | 15 | 9 | 4 | 2 | 18 | 12 | 8 | 14 | 10 | 16 | 6 | |||
| black | 368 | 472 | 419 | 190 | 332 | 586 | 460 | 215 | 526 | 3568 | 451 | 470 | 136 | 580 | 397 | 356 | 429 | 203 | 450 | 3472 | 7040 |
| black/white | 368 | 453 | 370 | 170 | 332 | 574 | 460 | 215 | 526 | 3468 | 428 | 438 | 136 | 580 | 380 | 356 | 396 | 168 | 450 | 3332 | 6800 |
| white | 335 | 453 | 370 | 170 | 320 | 574 | 448 | 195 | 511 | 3376 | 428 | 438 | 105 | 538 | 380 | 337 | 396 | 168 | 428 | 3218 | 6594 |
| white/gold | 341 | 406 | 361 | 170 | 320 | 487 | 380 | 161 | 481 | 3107 | 409 | 376 | 105 | 538 | 338 | 337 | 396 | 168 | 354 | 3021 | 6128 |
| gold | 301 | 406 | 361 | 140 | 305 | 487 | 380 | 161 | 481 | 3022 | 409 | 376 | 93 | 491 | 338 | 293 | 370 | 113 | 354 | 2837 | 5859 |
| gold/red | 301 | 366 | 308 | 140 | 305 | 451 | 380 | 161 | 434 | 2846 | 318 | 376 | 93 | 491 | 292 | 293 | 322 | 113 | 338 | 2636 | 5482 |
| red | 264 | 366 | 308 | 115 | 284 | 451 | 352 | 137 | 434 | 2711 | 318 | 340 | 79 | 442 | 292 | 252 | 322 | 91 | 338 | 2474 | 5185 |