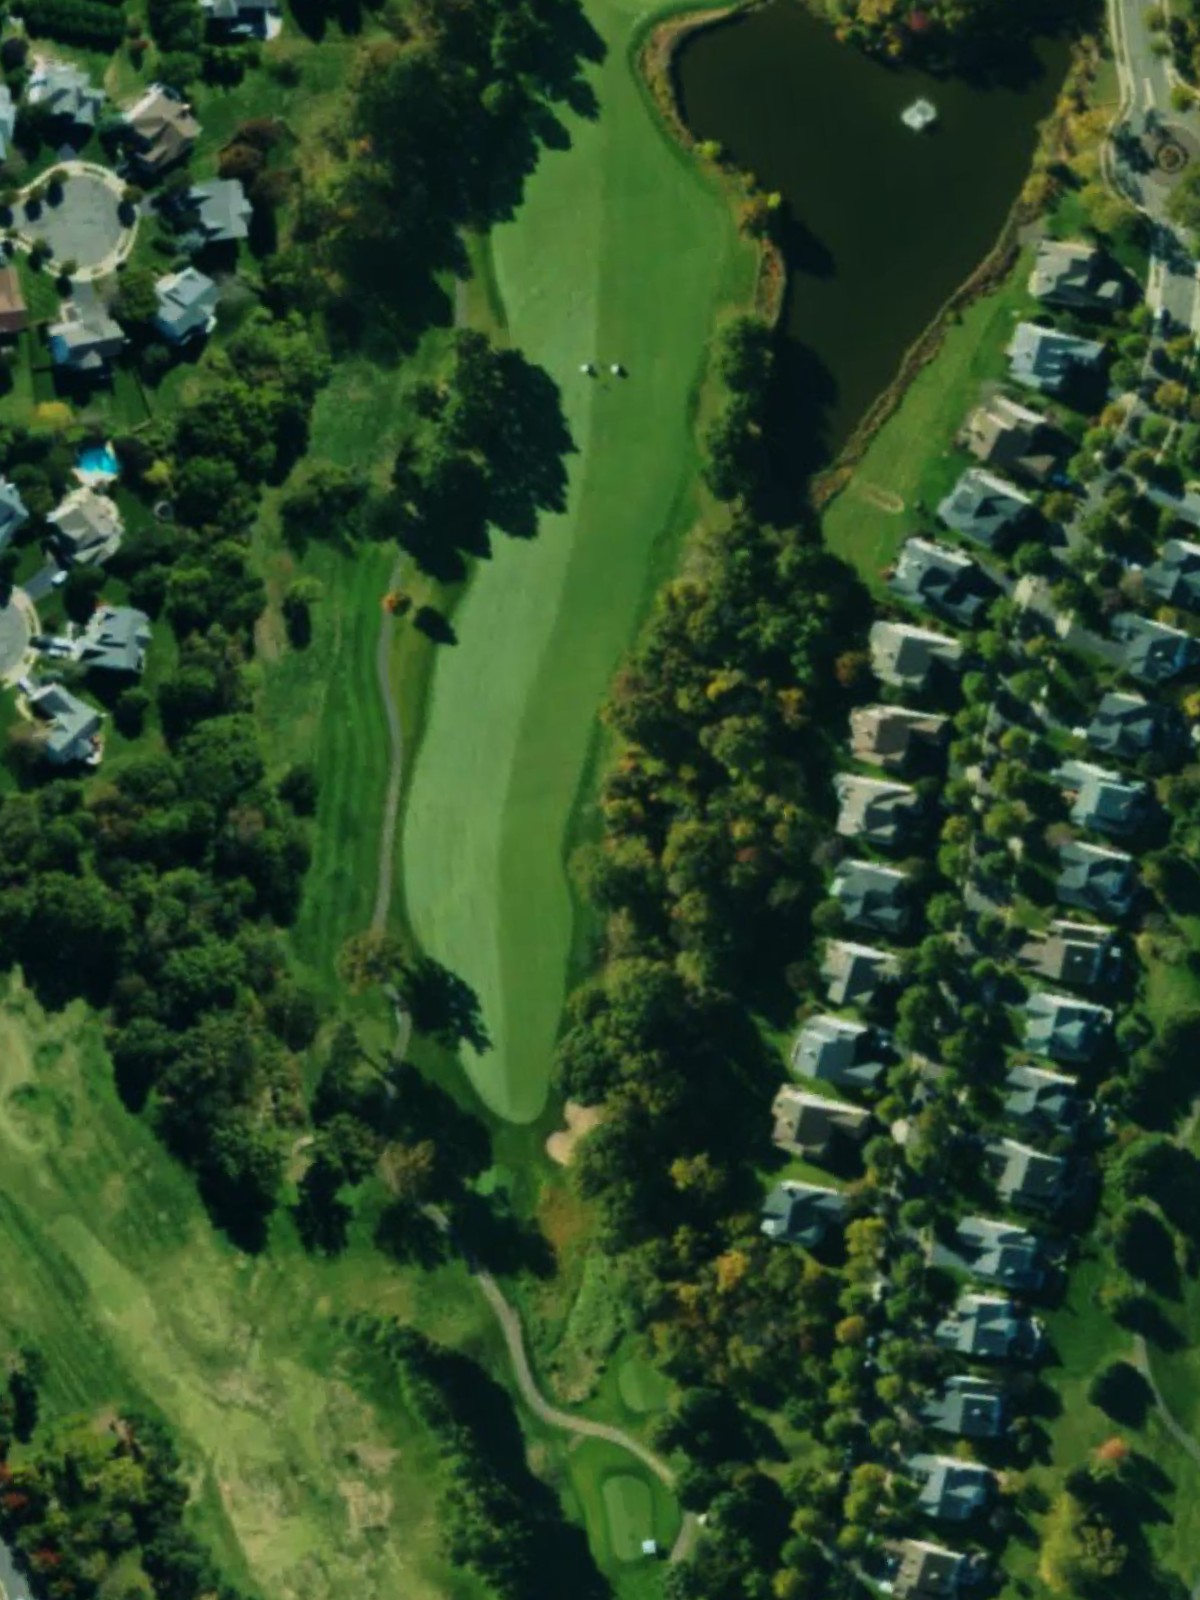
Regency At Dominion Valley is an 18-hole golf course in Haymarket, VA with a par of 62. It offers 5 tee sets: gold (4,052 yards, slope 110, rating 60.4), gold/blue (3,797 yards, slope 107, rating 59.7), blue (3,571 yards, slope 106, rating 59.1), blue/white (3,236 yards, slope 103, rating 57.9), white (3,074 yards, slope 102, rating 57.4). The hardest hole is #14, a par 4 playing 339 yards from the first tee.
Regency At Dominion Valley
Haymarket, VA
Get PDF Yardage Book
We'll email you the PDF link. No spam, ever.
Create Your Game Plan
Pick your tees, enter your bag, and get a personalized shot-by-shot strategy for every hole.
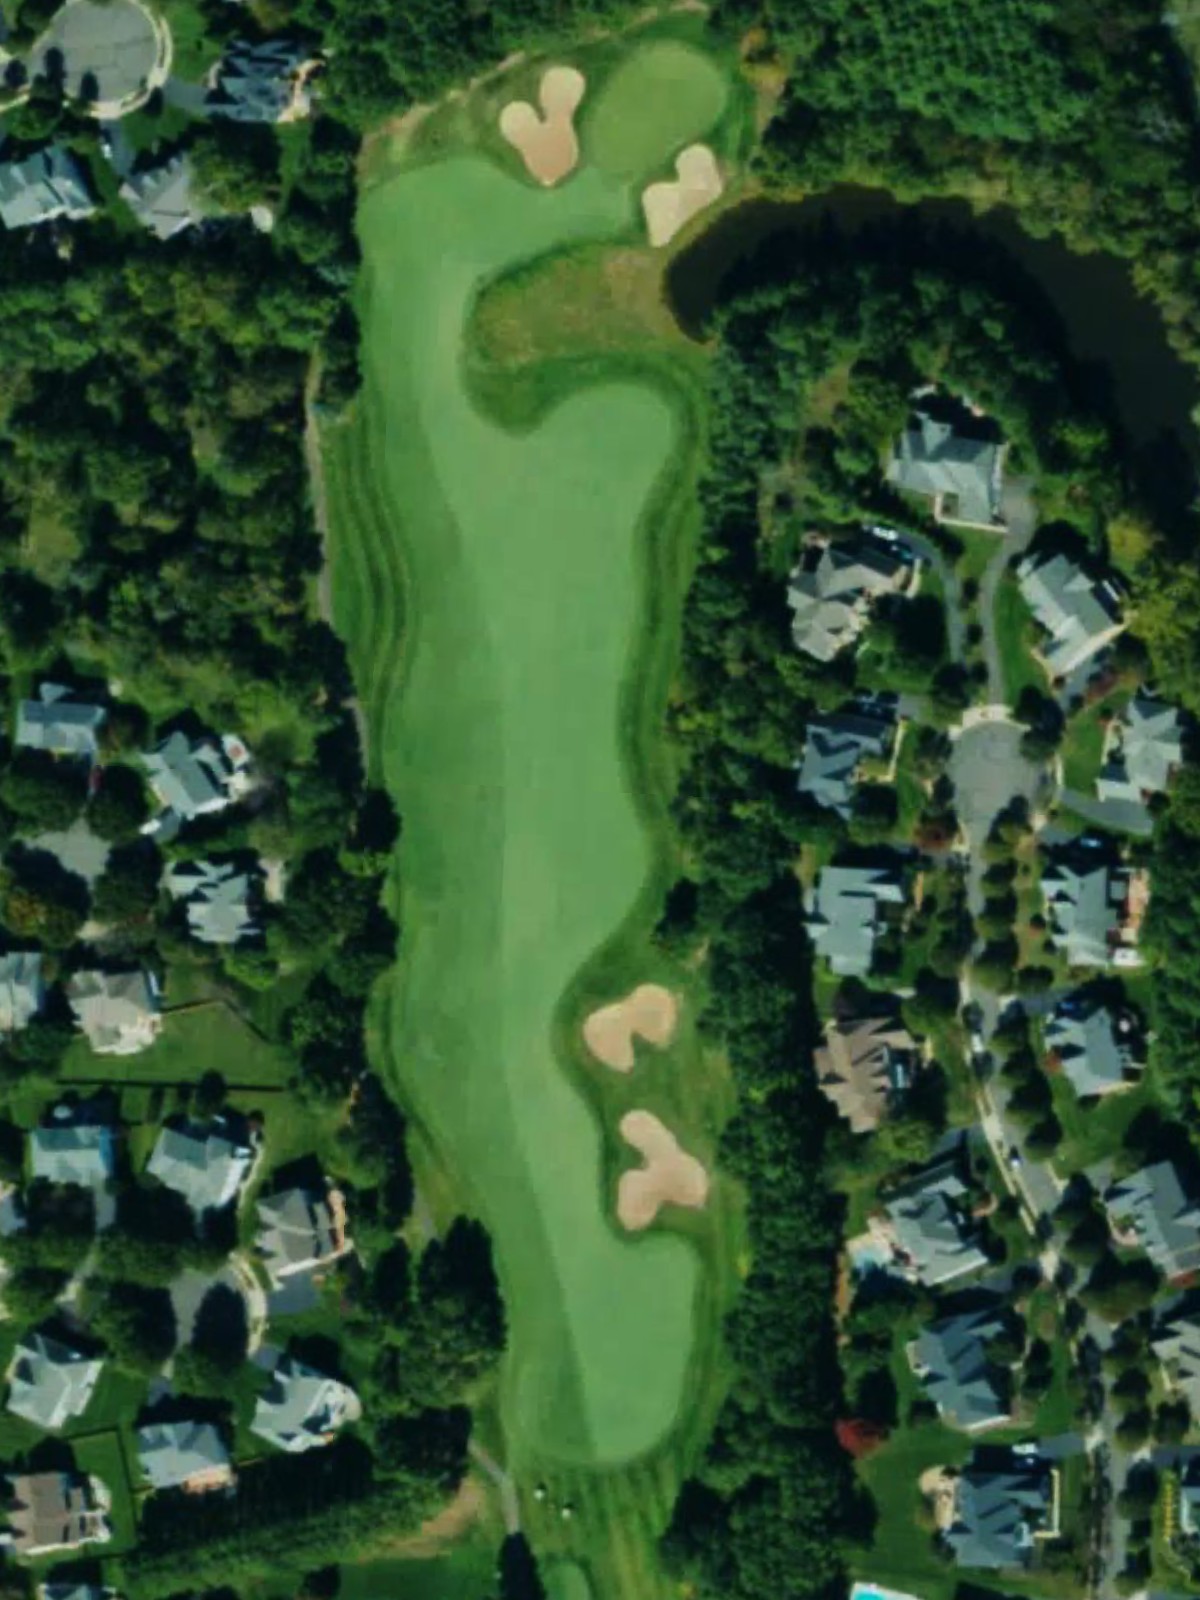
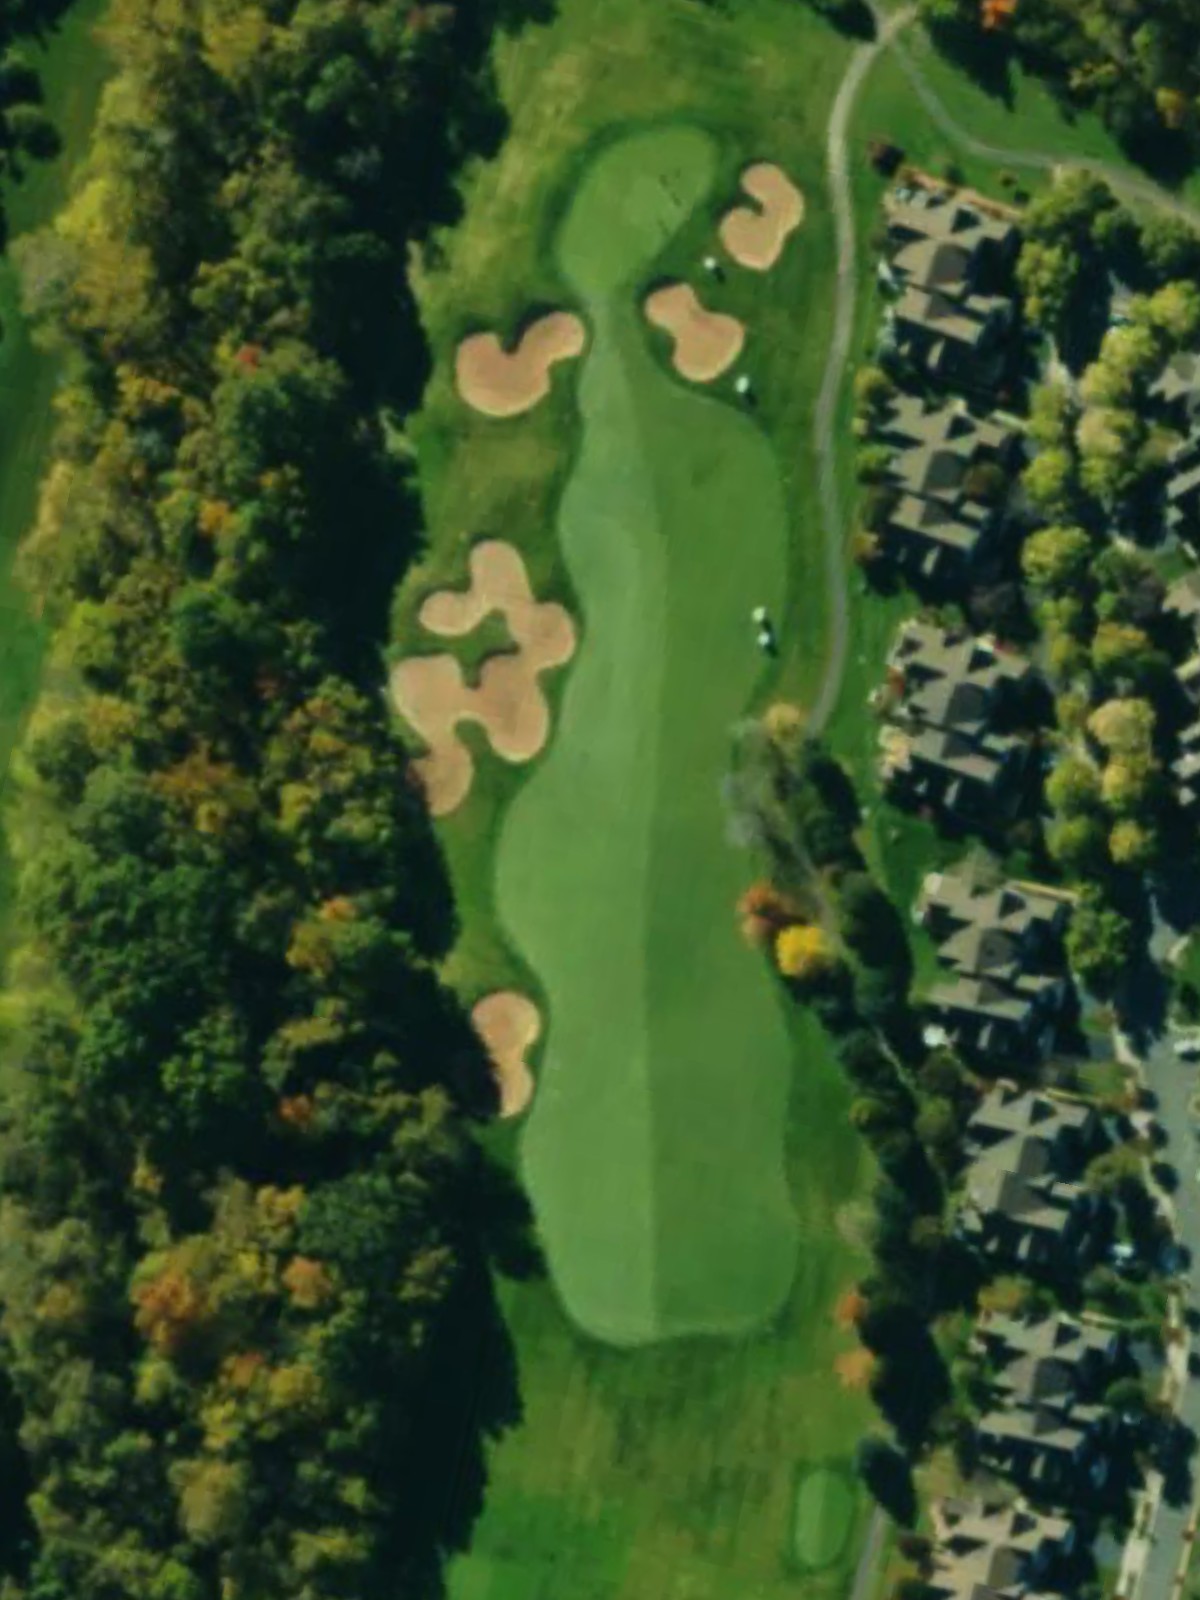
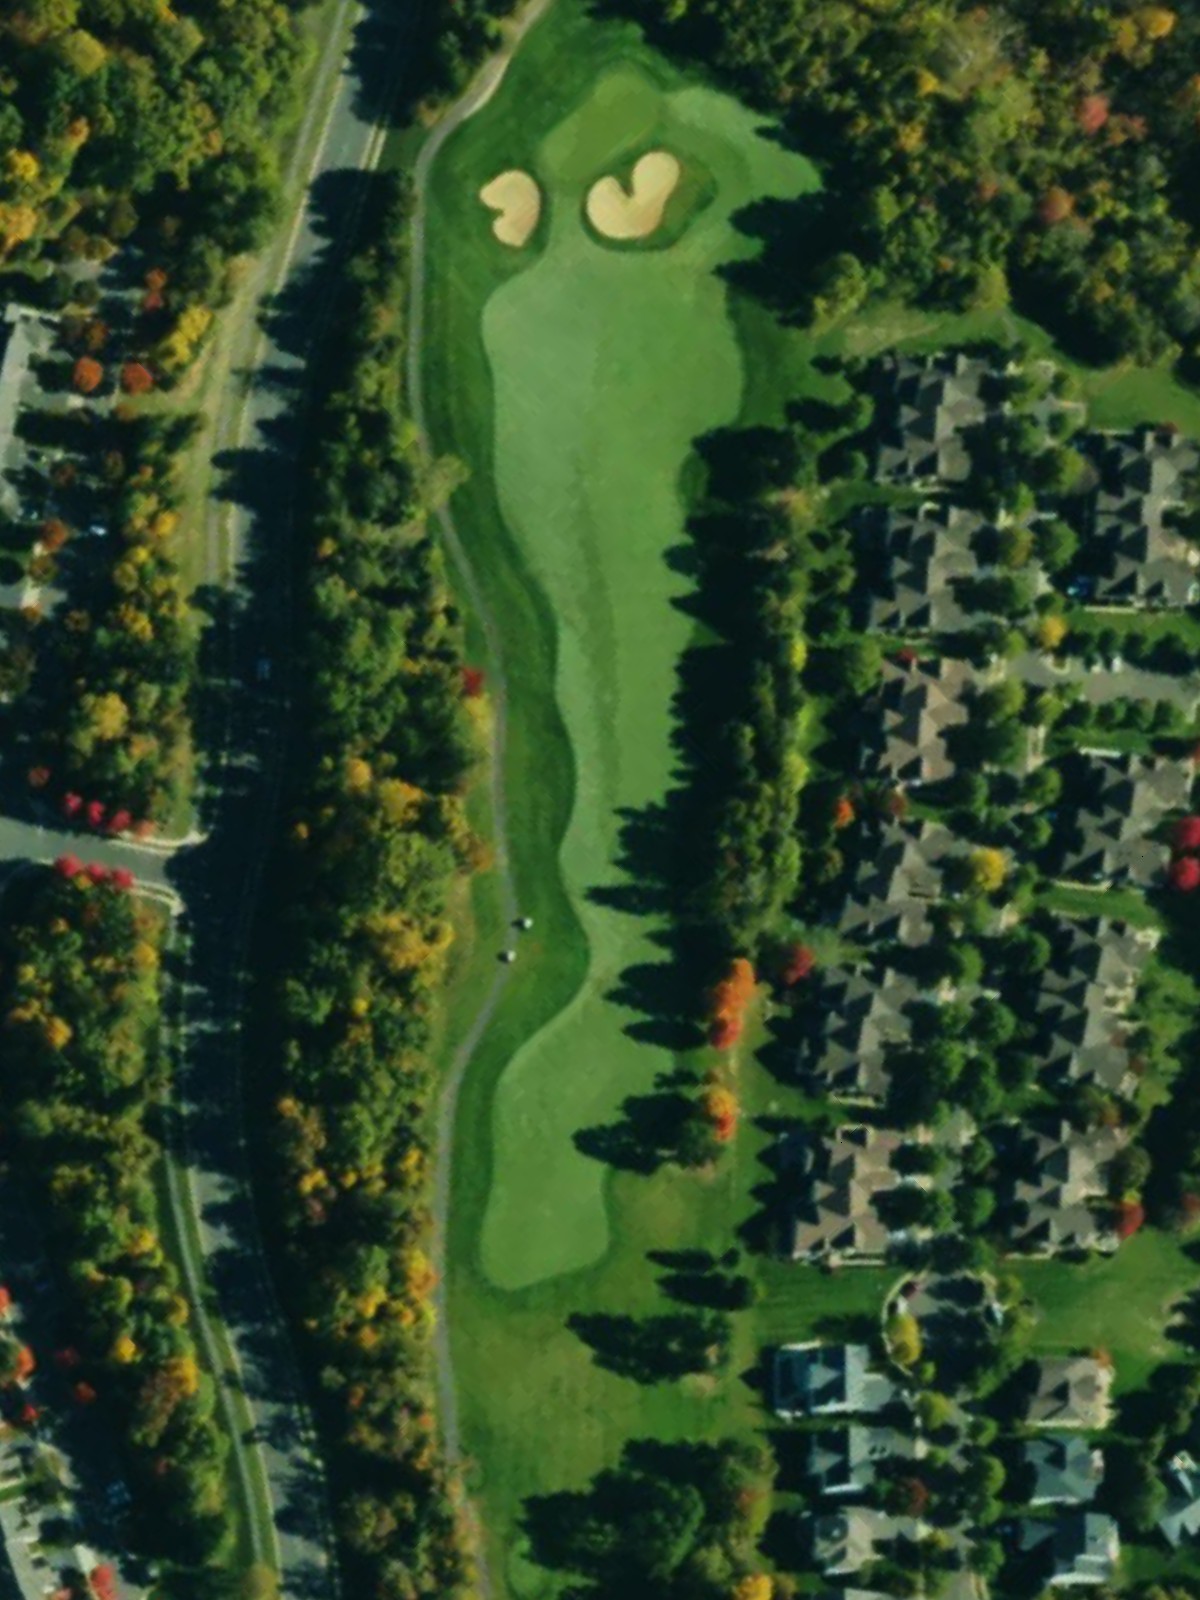
A straightforward par 4 with a fairway that gradually narrows as it approaches the green. Bunkers guard the right side of the green, requiring accuracy on the approach shot to avoid sand.
A par 4 with water hazard in play along the hole. Bunkers protect the green, making this a demanding risk-reward hole that requires both length and precision.
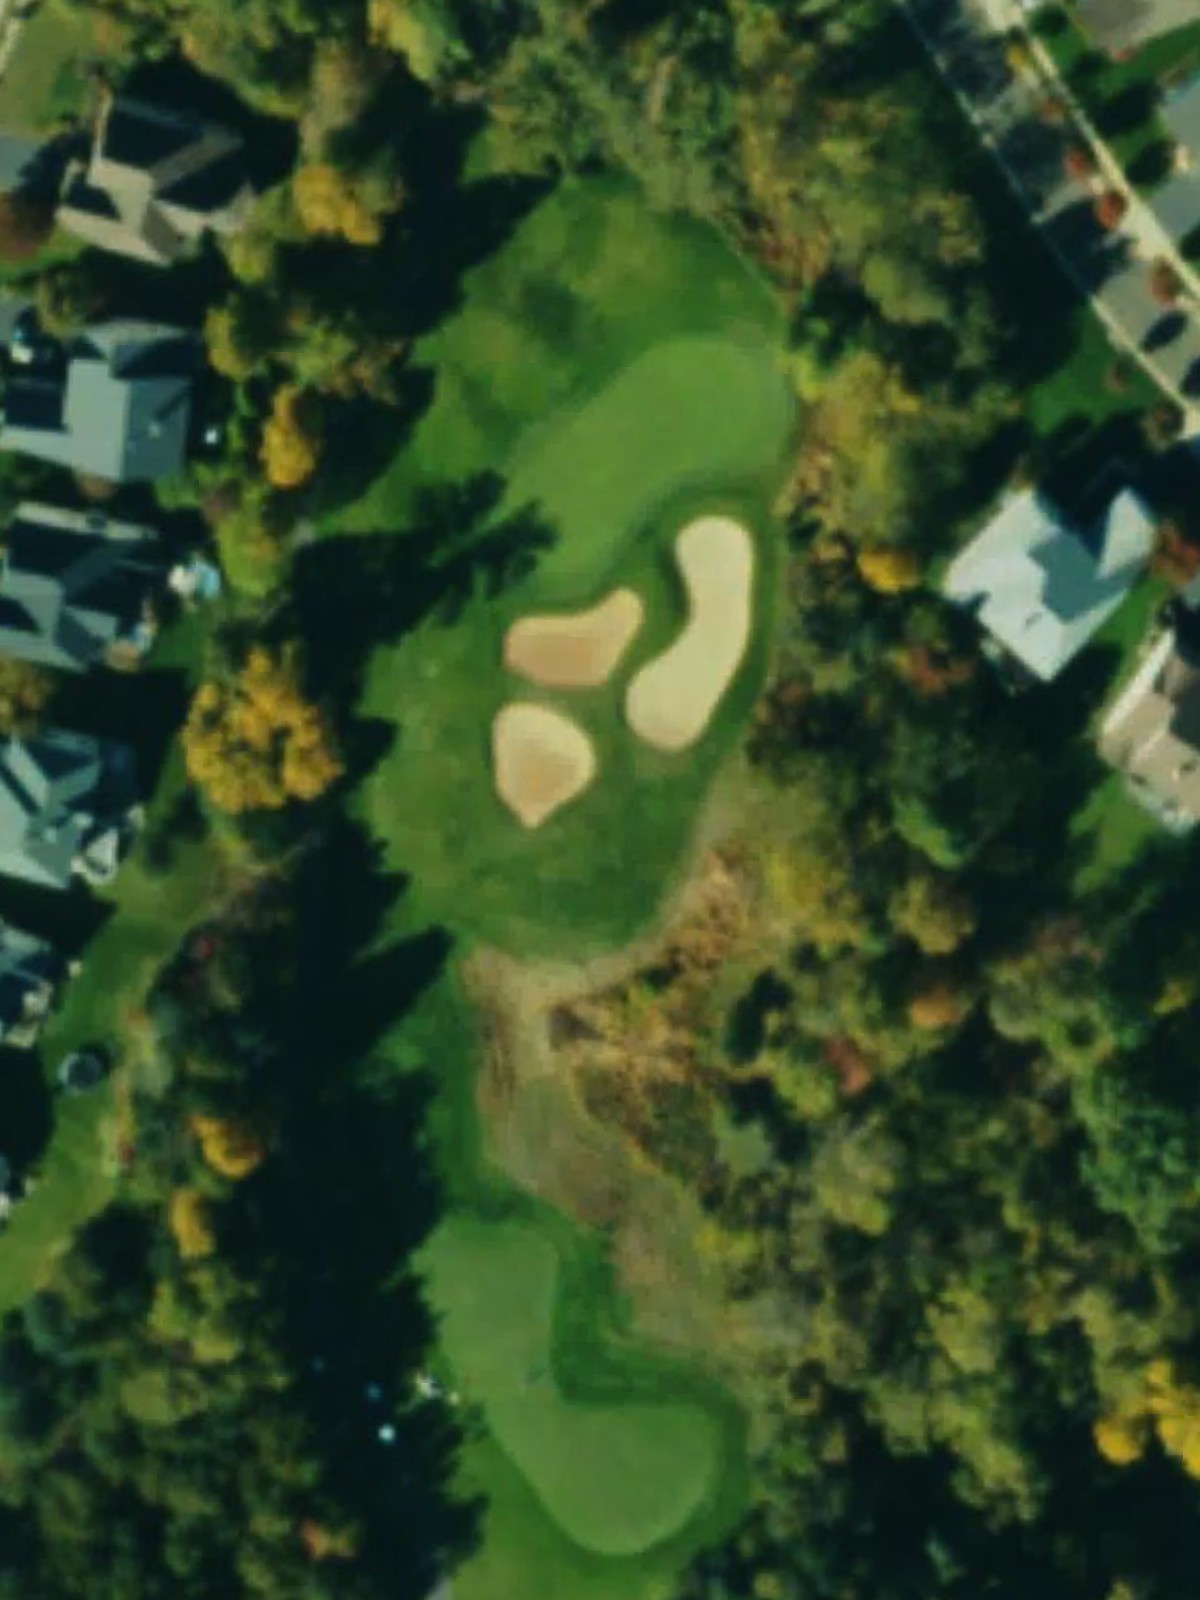
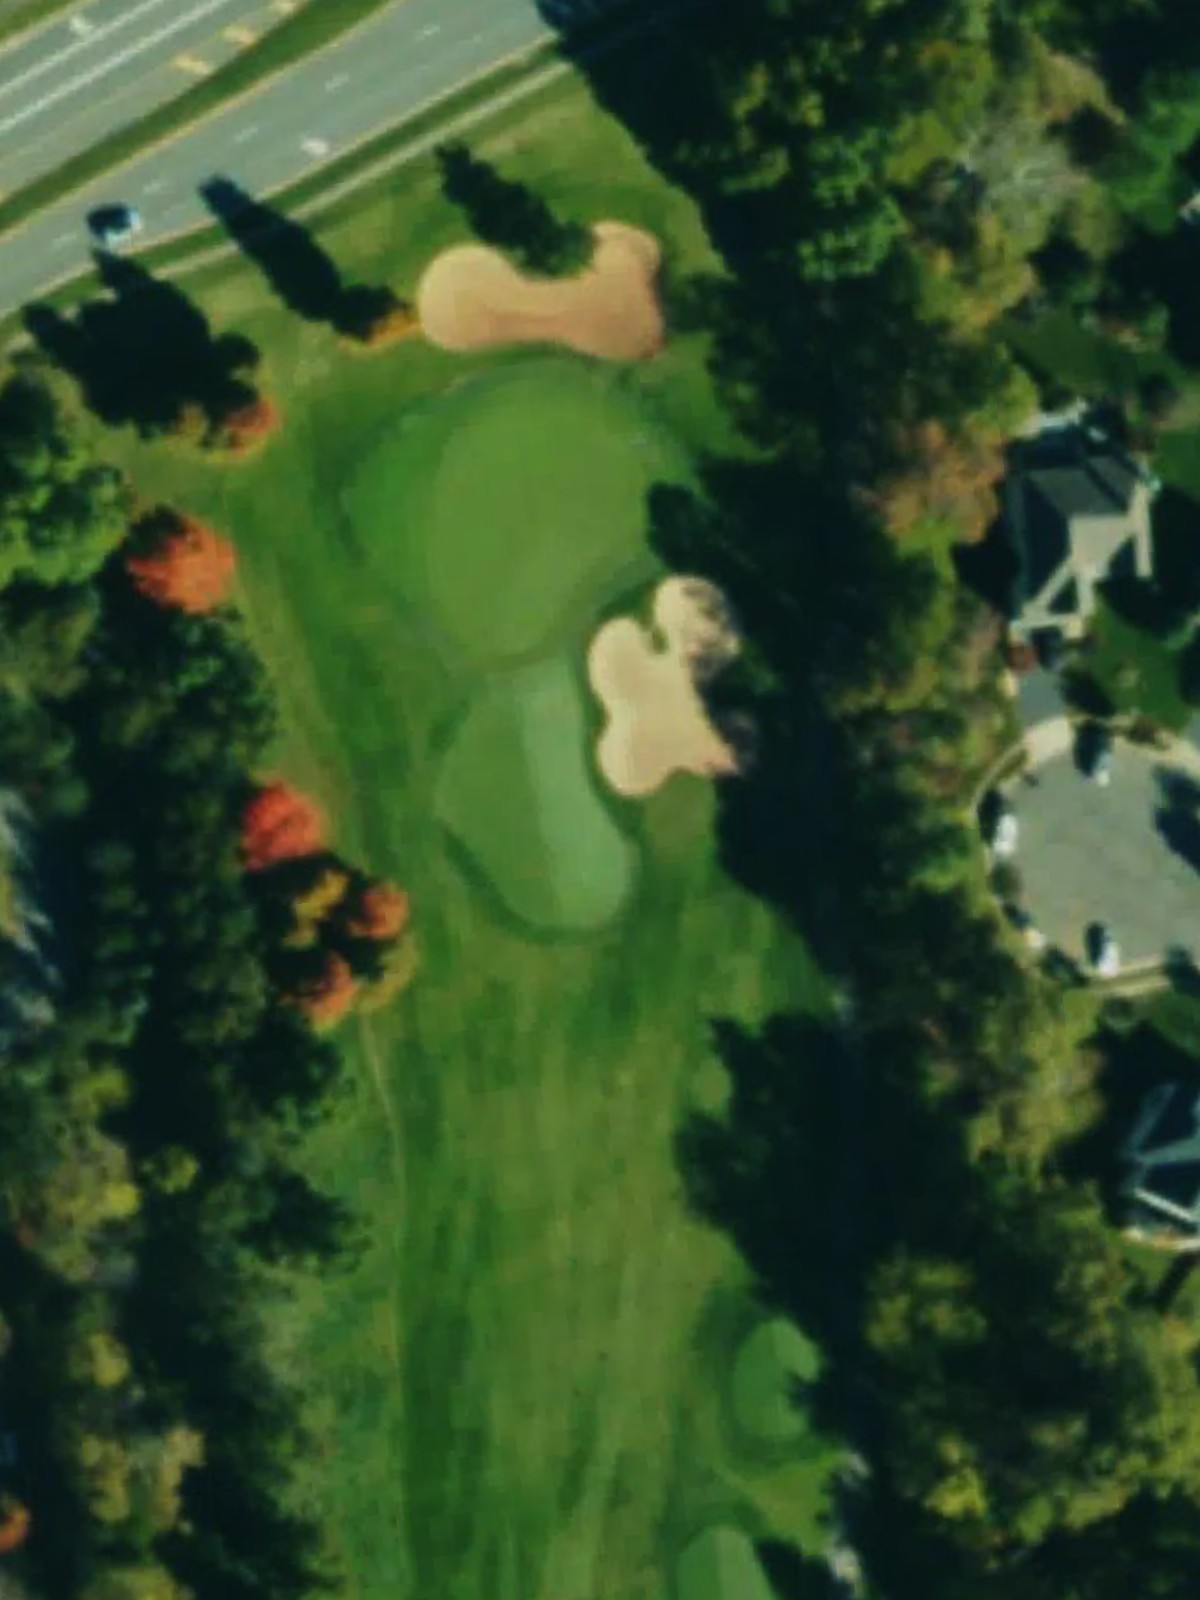
A short par 3 with bunkers framing the green. The relatively open fairway provides a clear approach, though the bunkers demand an accurate tee shot to reach the putting surface cleanly.

A very short par 3 with bunkers guarding the green. Despite its brevity, accuracy is essential as the green is well-protected and leaves little margin for error.

A par 3 of modest length with bunkers positioned near the green. The fairway is relatively open, but bunker placement demands a precise tee shot to avoid trouble around the putting surface.
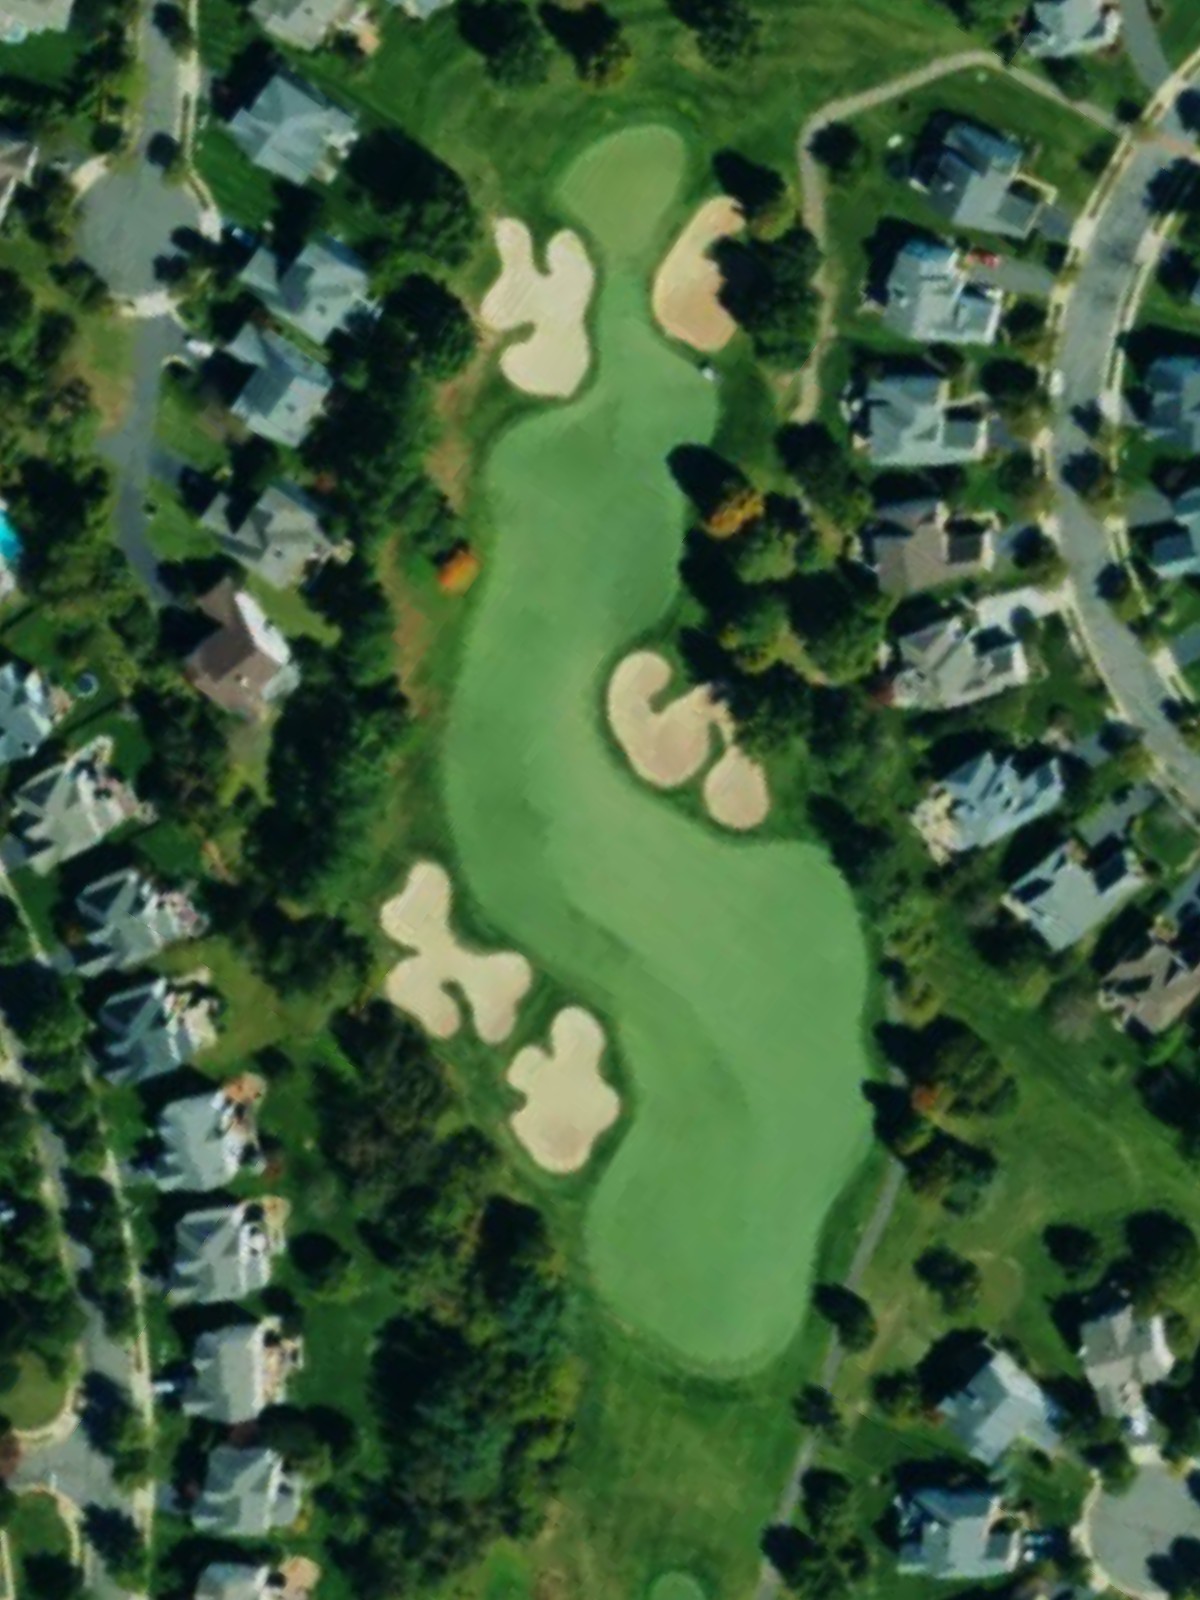
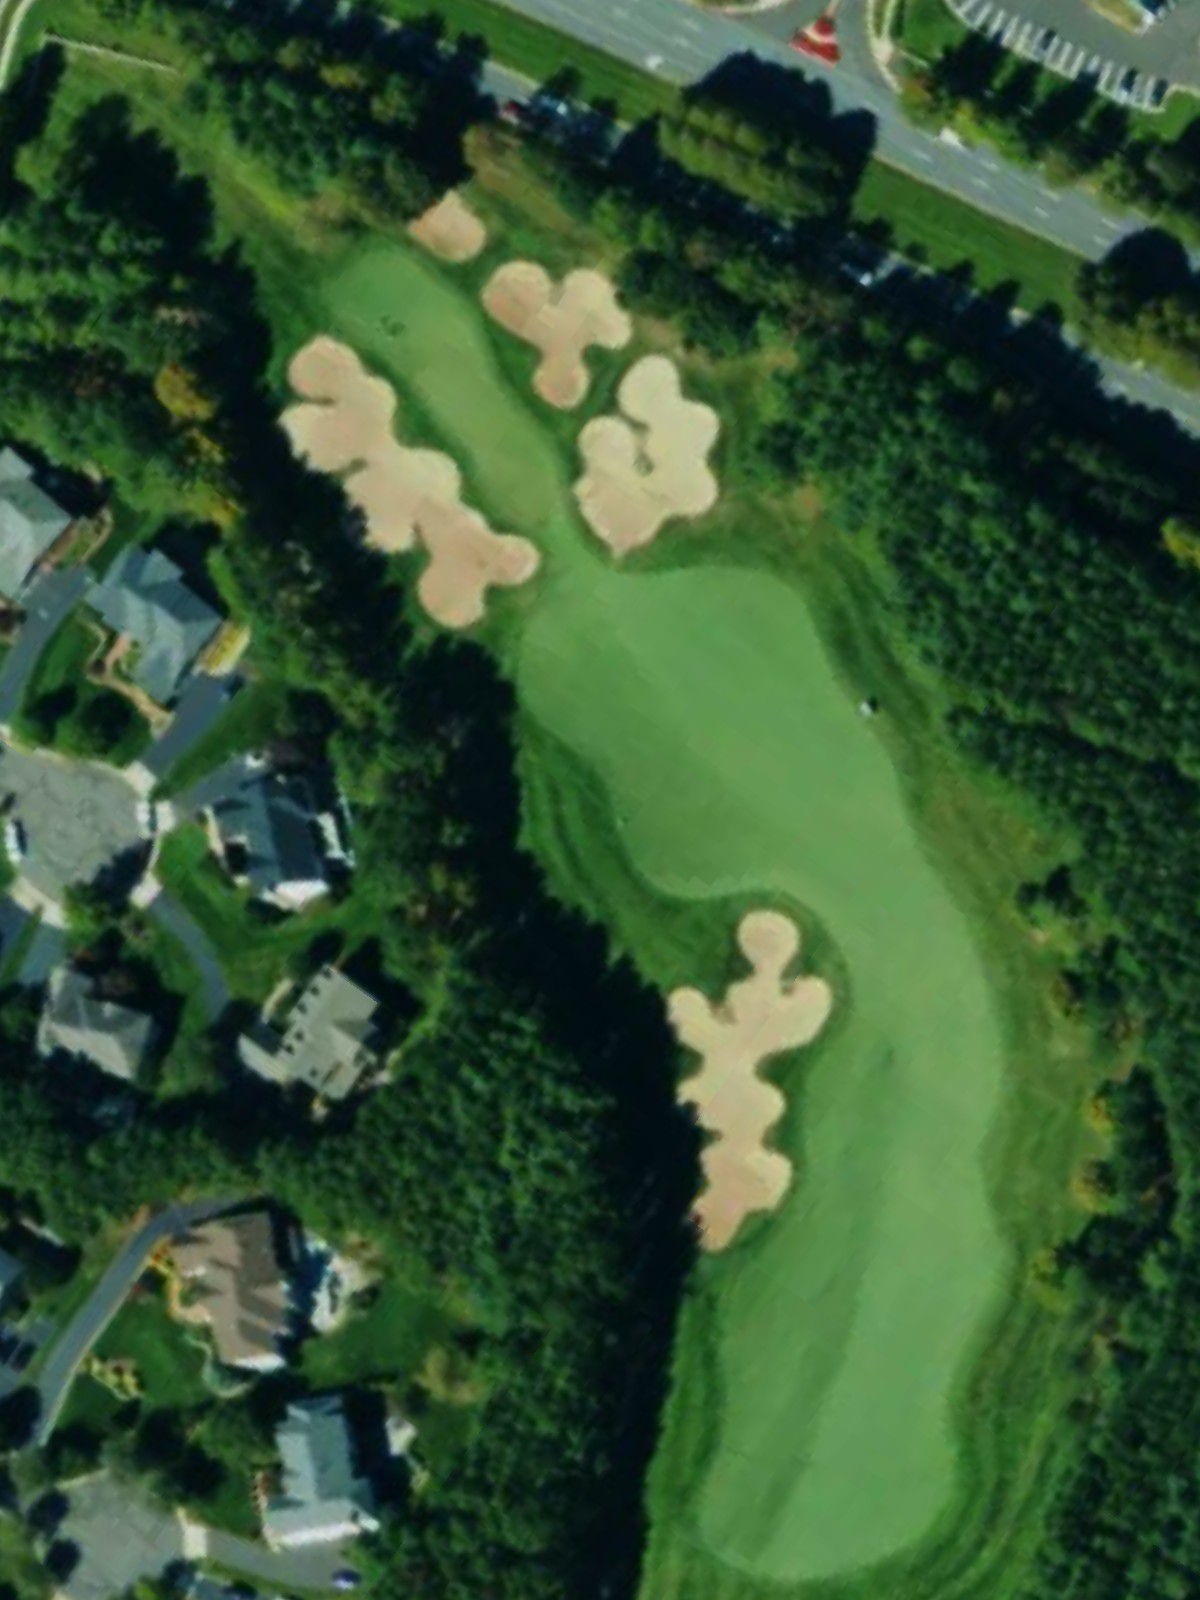
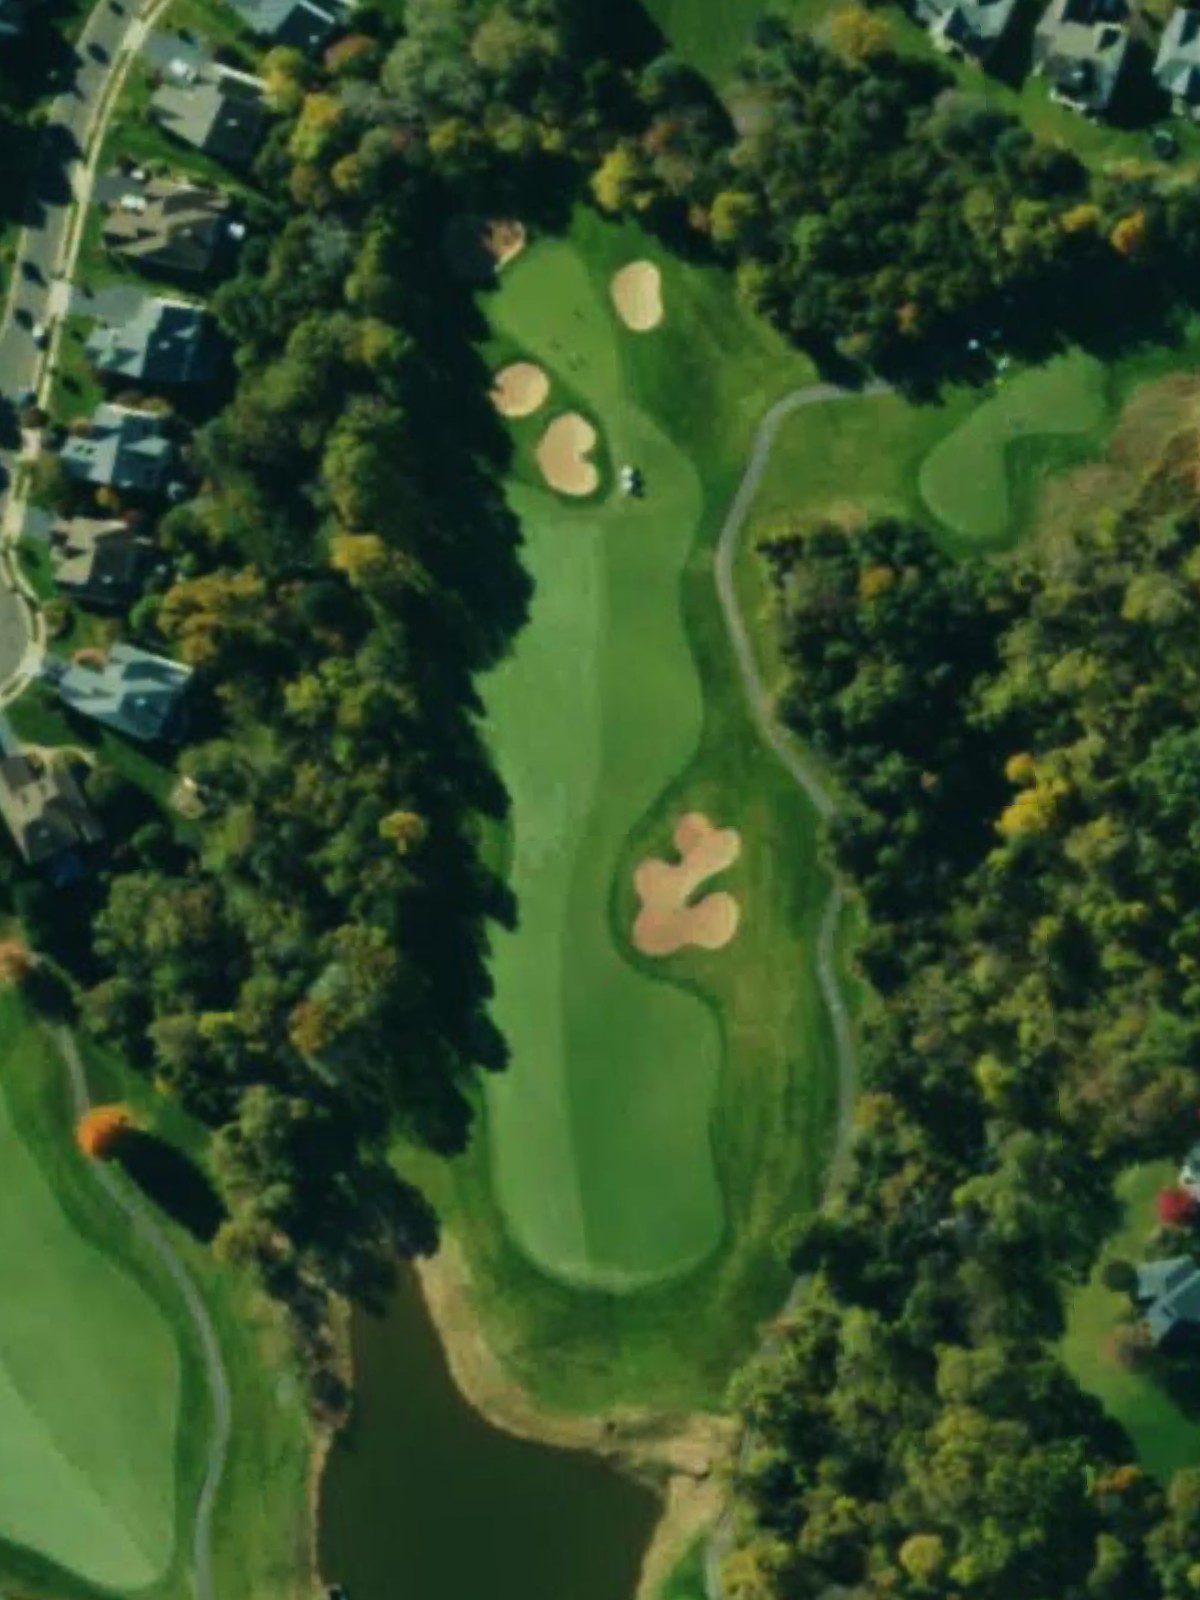
A challenging par 4 that ranks among the course's most difficult holes. Bunkers are strategically placed to test both the drive and approach, requiring solid execution from tee to green.
A short par 3 with bunkers in play around the green. The relatively compact hole demands accuracy despite its shorter yardage, with bunkers standing ready to catch imprecise shots.
The course's shortest par 3 with bunkers protecting the green. Though length is minimal, the well-guarded green requires a confident and accurate tee shot.
A substantial par 4 that plays as one of the course's most difficult holes. The hole demands both distance and control, with the green providing the primary challenge.
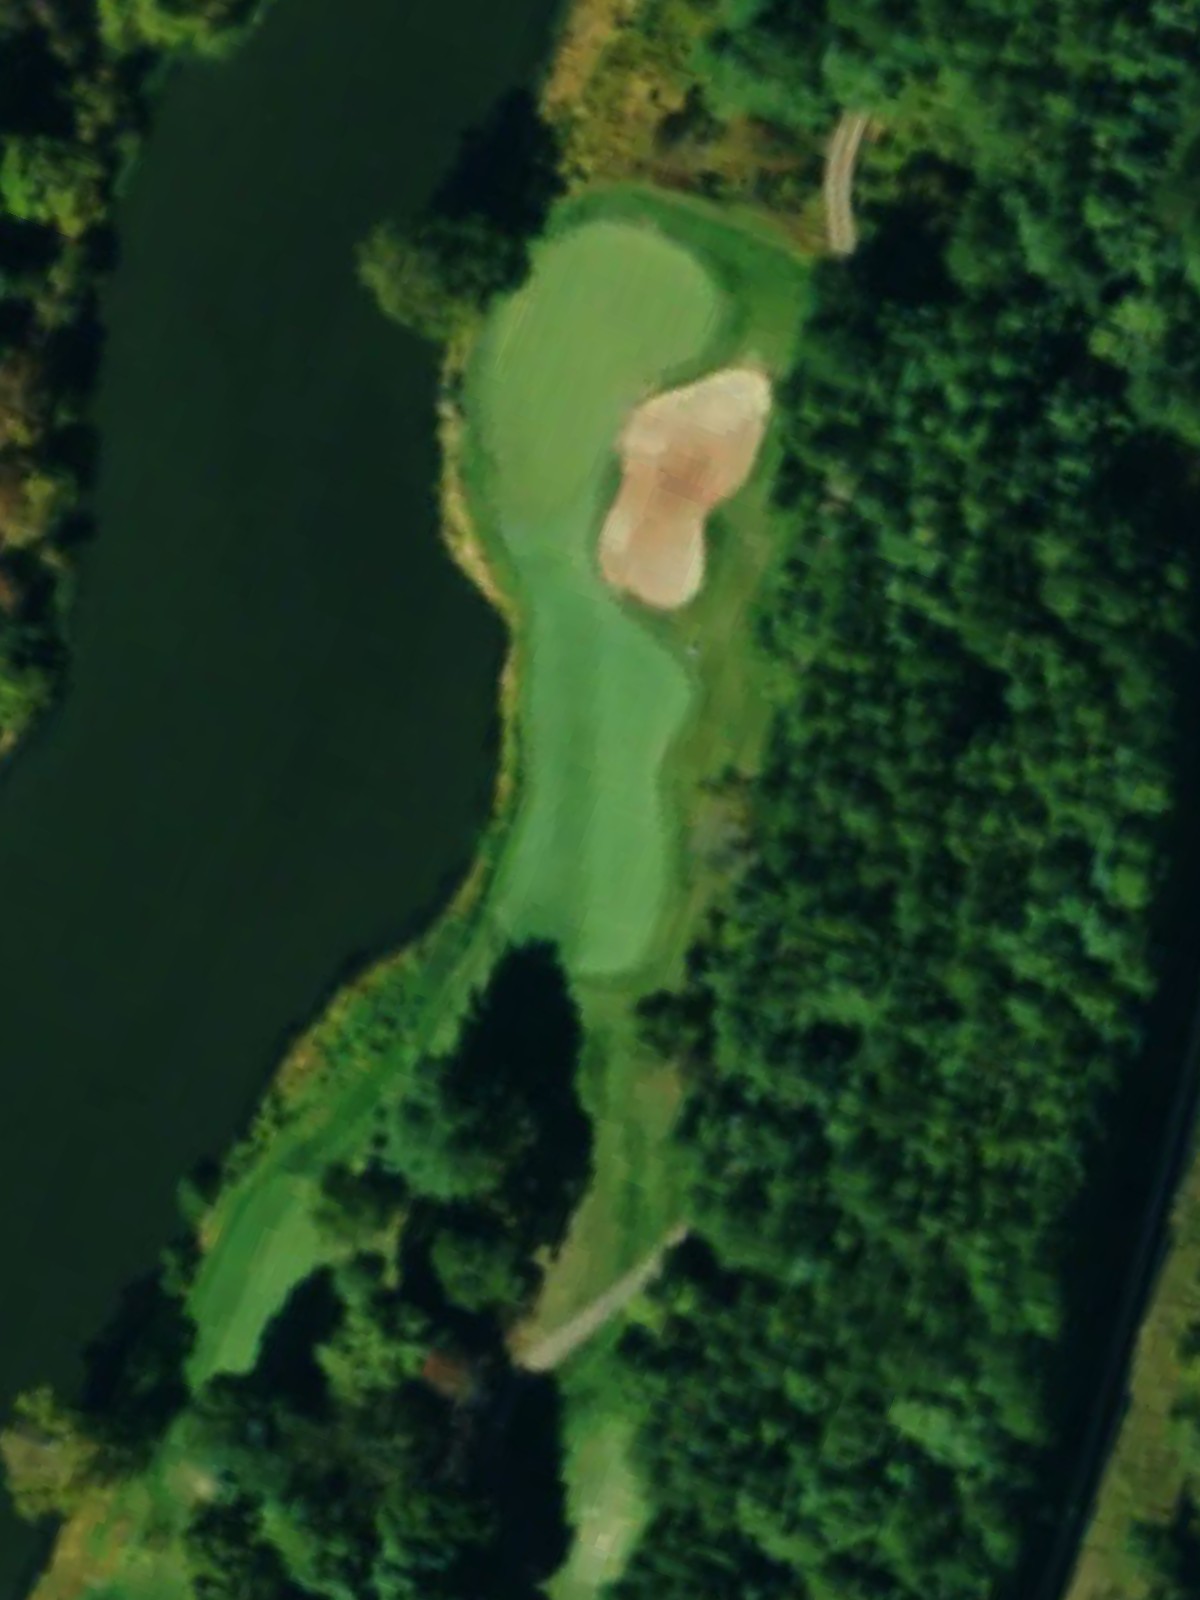
A par 3 with water and bunkers creating a multi-layered defense around the green. The combination of hazards makes this a demanding one-shot hole requiring careful club selection.
A short par 3 with bunkers framing the green. The fairway offers a direct approach, but the bunker placement demands precision on the tee shot to secure a clean miss.
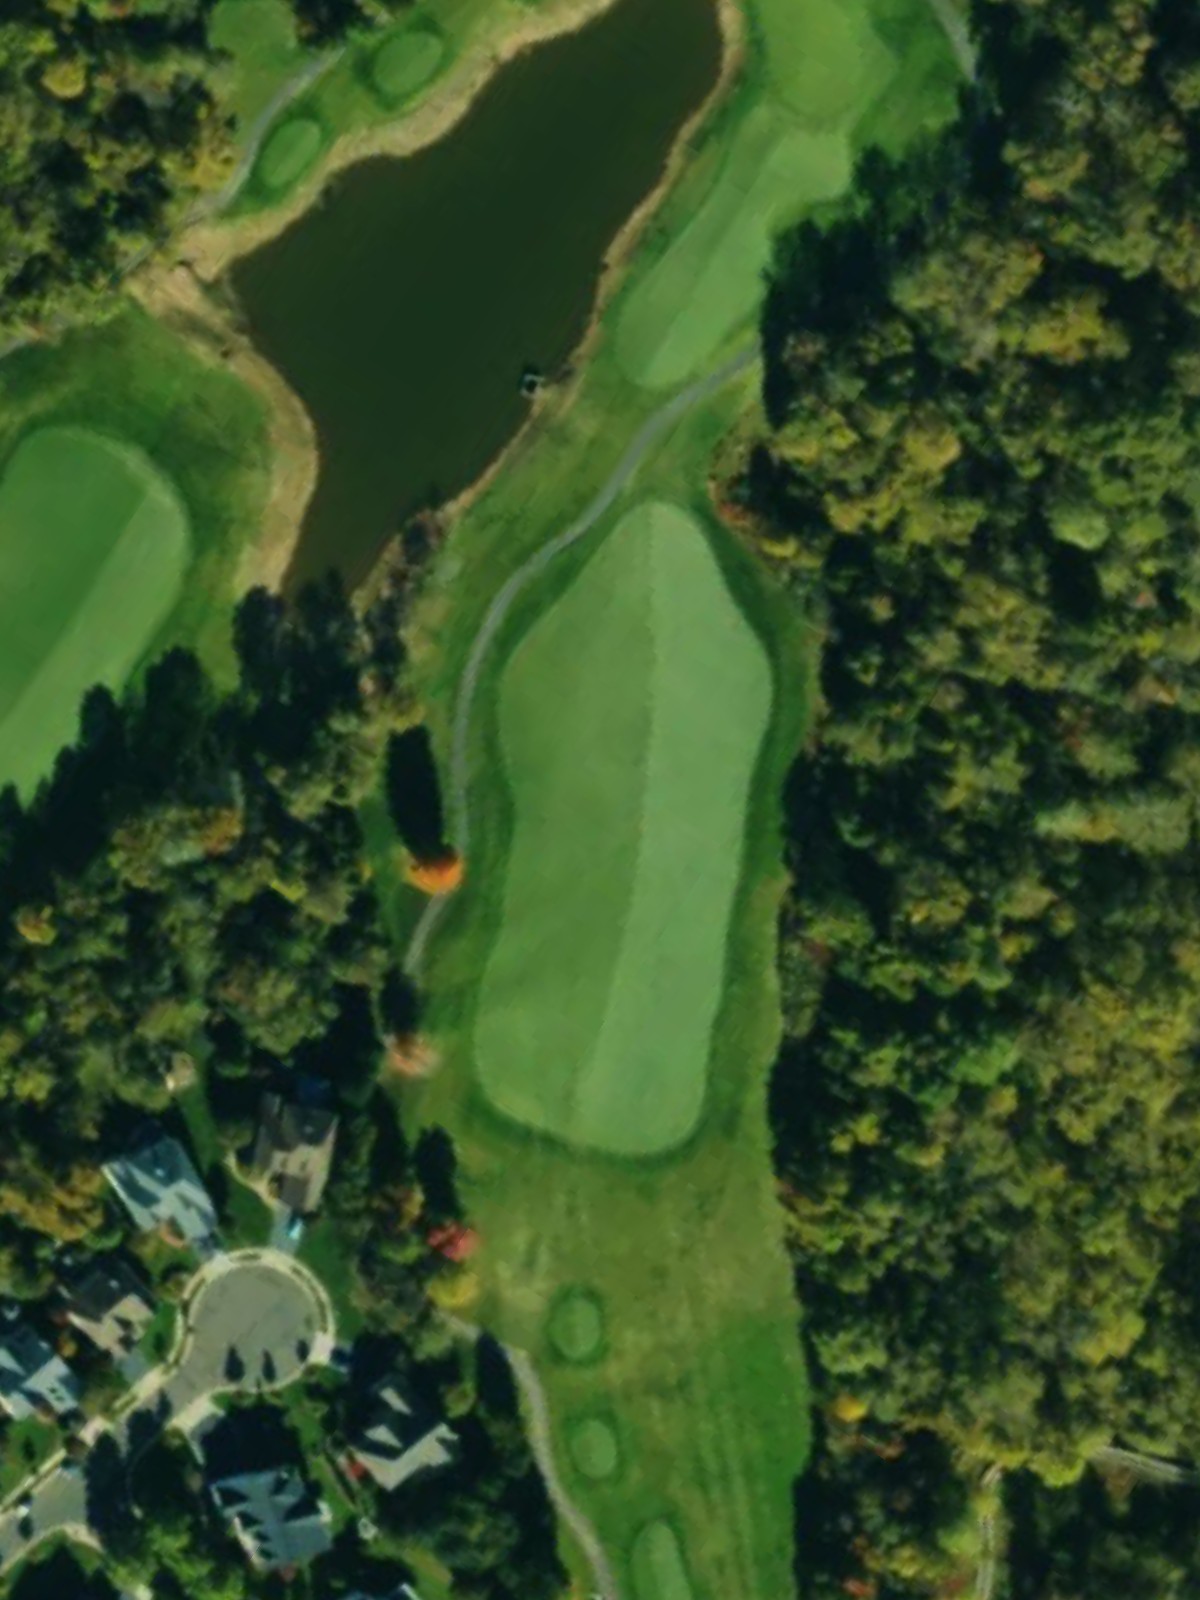
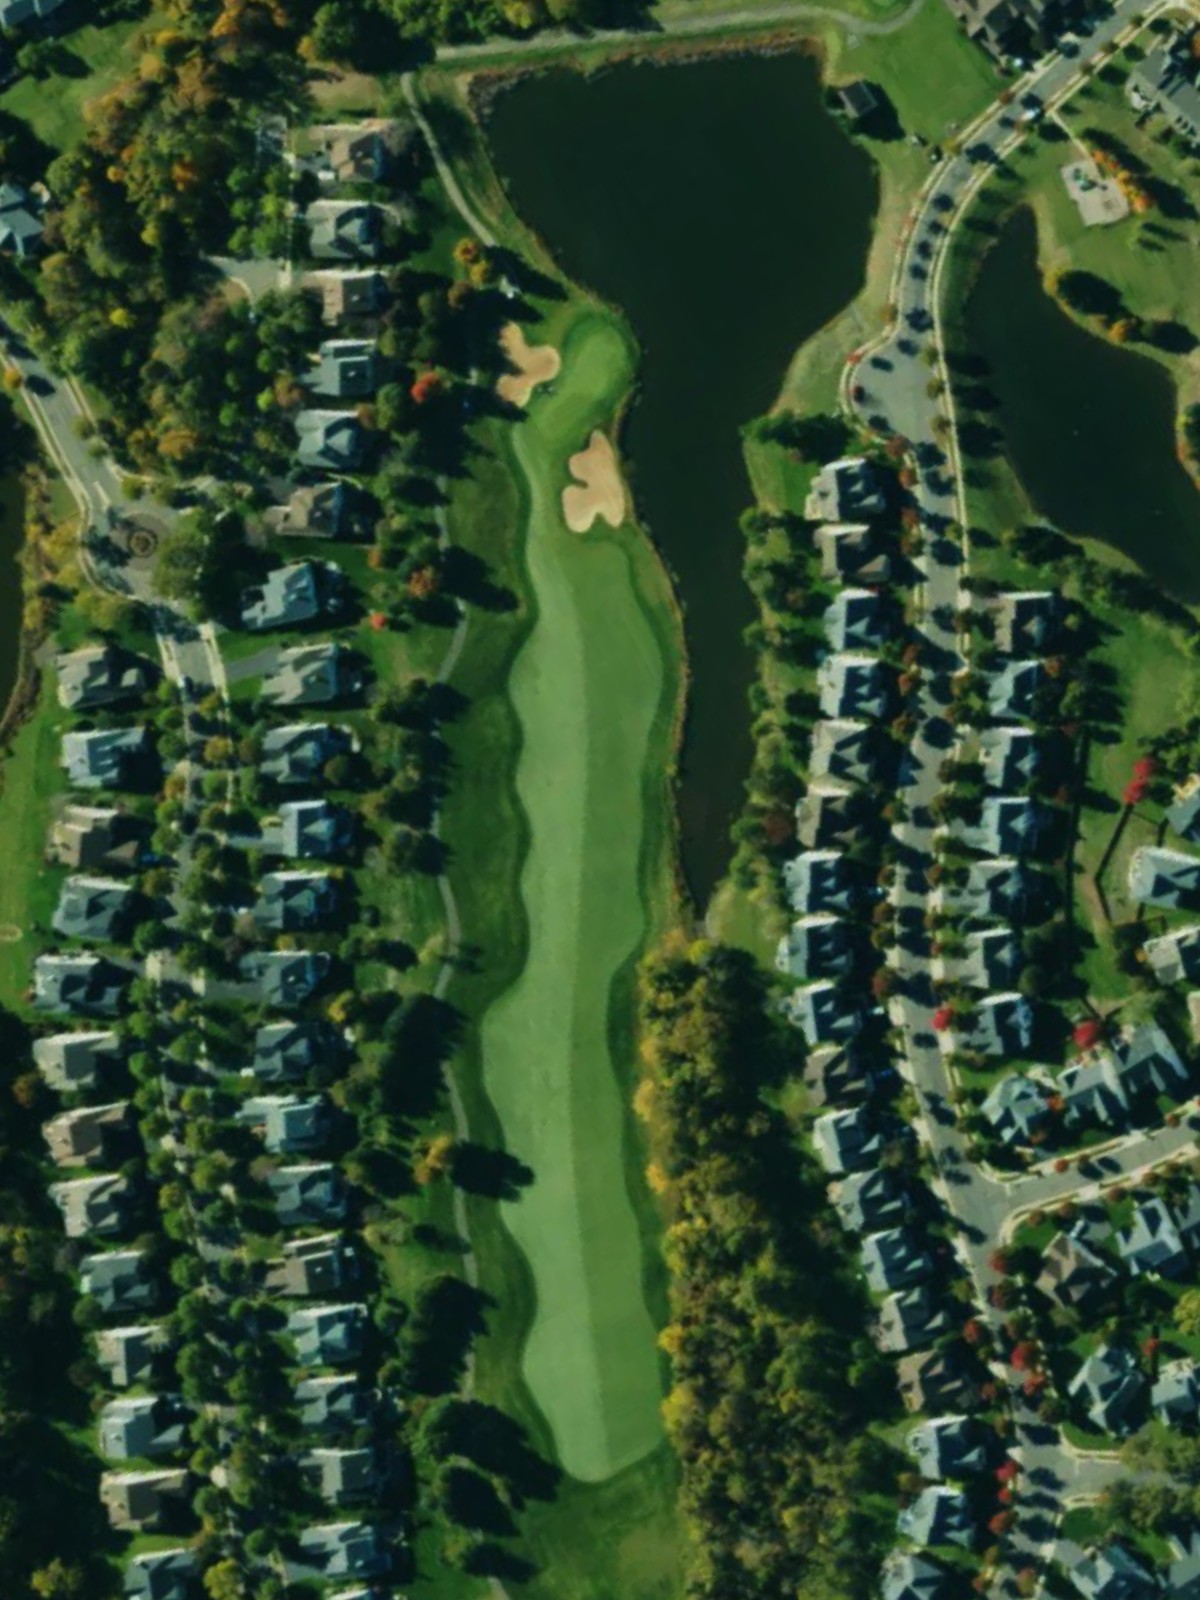
A strong par 4 with water hazard in play that significantly impacts strategy. The water requires respect and demands an accurate approach to reach the green safely.
A par 3 with bunkers protecting the green and fairway in play. Though modest in length, the bunker placement requires an accurate tee shot to avoid sand around the putting surface.
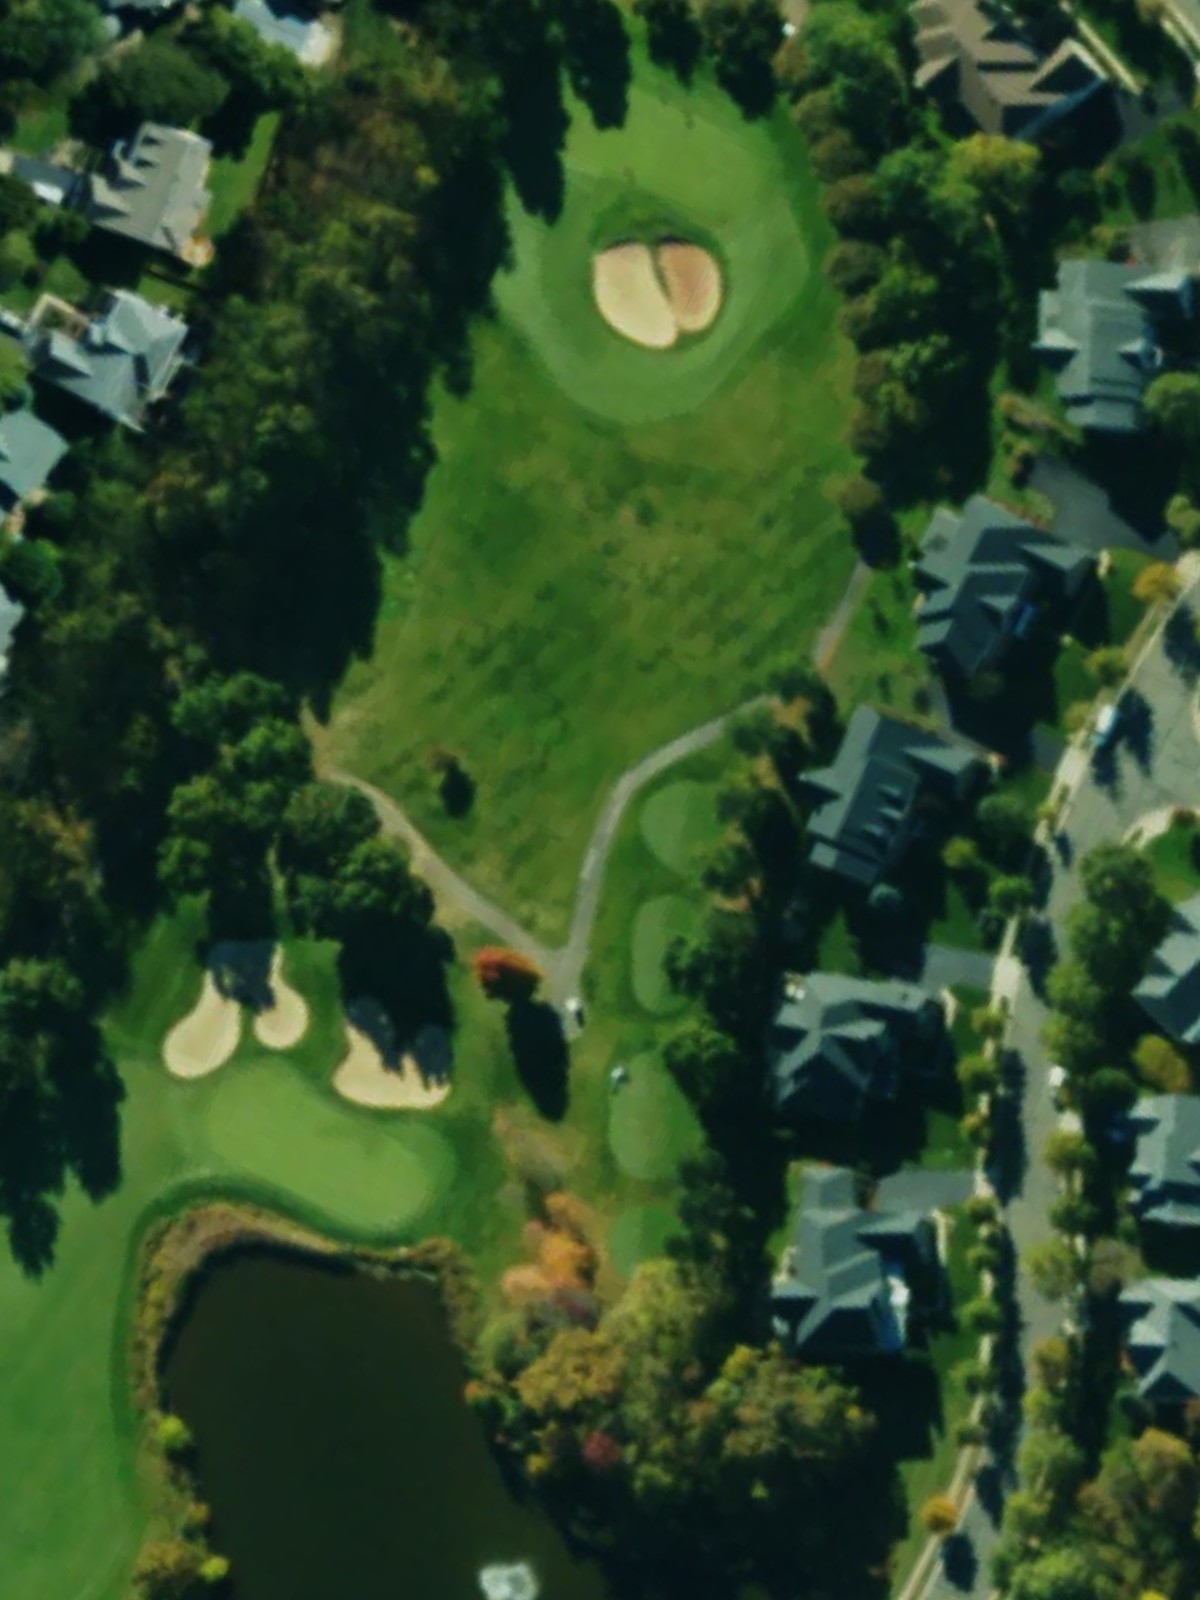
The course's signature hole, a formidable par 4 that ranks as the most difficult. Bunkers strategically guard the green, and the hole demands precision from tee to finish.

A par 4 with a fairway and bunkers positioned to test shot-making. The bunkers near the green demand an accurate approach, making this a mid-length challenge with real teeth.
A short par 3 with bunkers flanking the green and fairway in play. Despite the modest yardage, the bunker placement requires a precise tee shot to find the green cleanly.
A par 4 with a compact design that emphasizes accuracy over distance. Bunkers guard the green, making the approach shot the critical element despite the hole's relatively modest yardage.

A finishing par 3 with bunkers protecting the green and fairway in play. The bunker placement around the putting surface demands an accurate tee shot to secure a clean conclusion to the round.
Scorecard
| Hole | 1 | 2 | 3 | 4 | 5 | 6 | 7 | 8 | 9 | Out | 10 | 11 | 12 | 13 | 14 | 15 | 16 | 17 | 18 | In | Tot |
|---|---|---|---|---|---|---|---|---|---|---|---|---|---|---|---|---|---|---|---|---|---|
| Par | 4 | 4 | 3 | 3 | 3 | 4 | 3 | 3 | 4 | 31 | 3 | 3 | 4 | 3 | 4 | 4 | 3 | 4 | 3 | 31 | 62 |
| HCP | 8 | 6 | 14 | 16 | 12 | 2 | 10 | 18 | 4 | 11 | 13 | 3 | 15 | 1 | 9 | 17 | 5 | 7 | |||
| gold | 312 | 342 | 126 | 113 | 162 | 374 | 131 | 116 | 380 | 2056 | 159 | 129 | 305 | 116 | 369 | 333 | 109 | 310 | 166 | 1996 | 4052 |
| gold/blue | 295 | 295 | 126 | 113 | 162 | 334 | 131 | 116 | 350 | 1922 | 159 | 129 | 281 | 116 | 339 | 302 | 109 | 274 | 166 | 1875 | 3797 |
| blue | 295 | 295 | 118 | 94 | 122 | 334 | 111 | 86 | 350 | 1805 | 128 | 99 | 281 | 104 | 339 | 302 | 91 | 274 | 148 | 1766 | 3571 |
| blue/white | 262 | 242 | 118 | 94 | 122 | 300 | 111 | 86 | 325 | 1660 | 128 | 99 | 247 | 104 | 253 | 269 | 91 | 237 | 148 | 1576 | 3236 |
| white | 262 | 242 | 99 | 85 | 96 | 300 | 88 | 65 | 325 | 1562 | 117 | 90 | 247 | 89 | 253 | 269 | 86 | 237 | 124 | 1512 | 3074 |