Reems Creek Gc is an 18-hole golf course in Weaverville, NC with a par of 71. It offers 4 tee sets: blue tees (6,235 yards, slope 131, rating 70.3), white tees (5,696 yards, slope 119, rating 68.4), gold tees (5,069 yards, slope 114, rating 65.3), red tees (4,143 yards, slope 107, rating 61.4). The hardest hole is #3, a par 4 playing 285 yards from the first tee.
Reems Creek Gc
Weaverville, NC
Get PDF Yardage Book
We'll email you the PDF link. No spam, ever.
Create Your Game Plan
Pick your tees, enter your bag, and get a personalized shot-by-shot strategy for every hole.
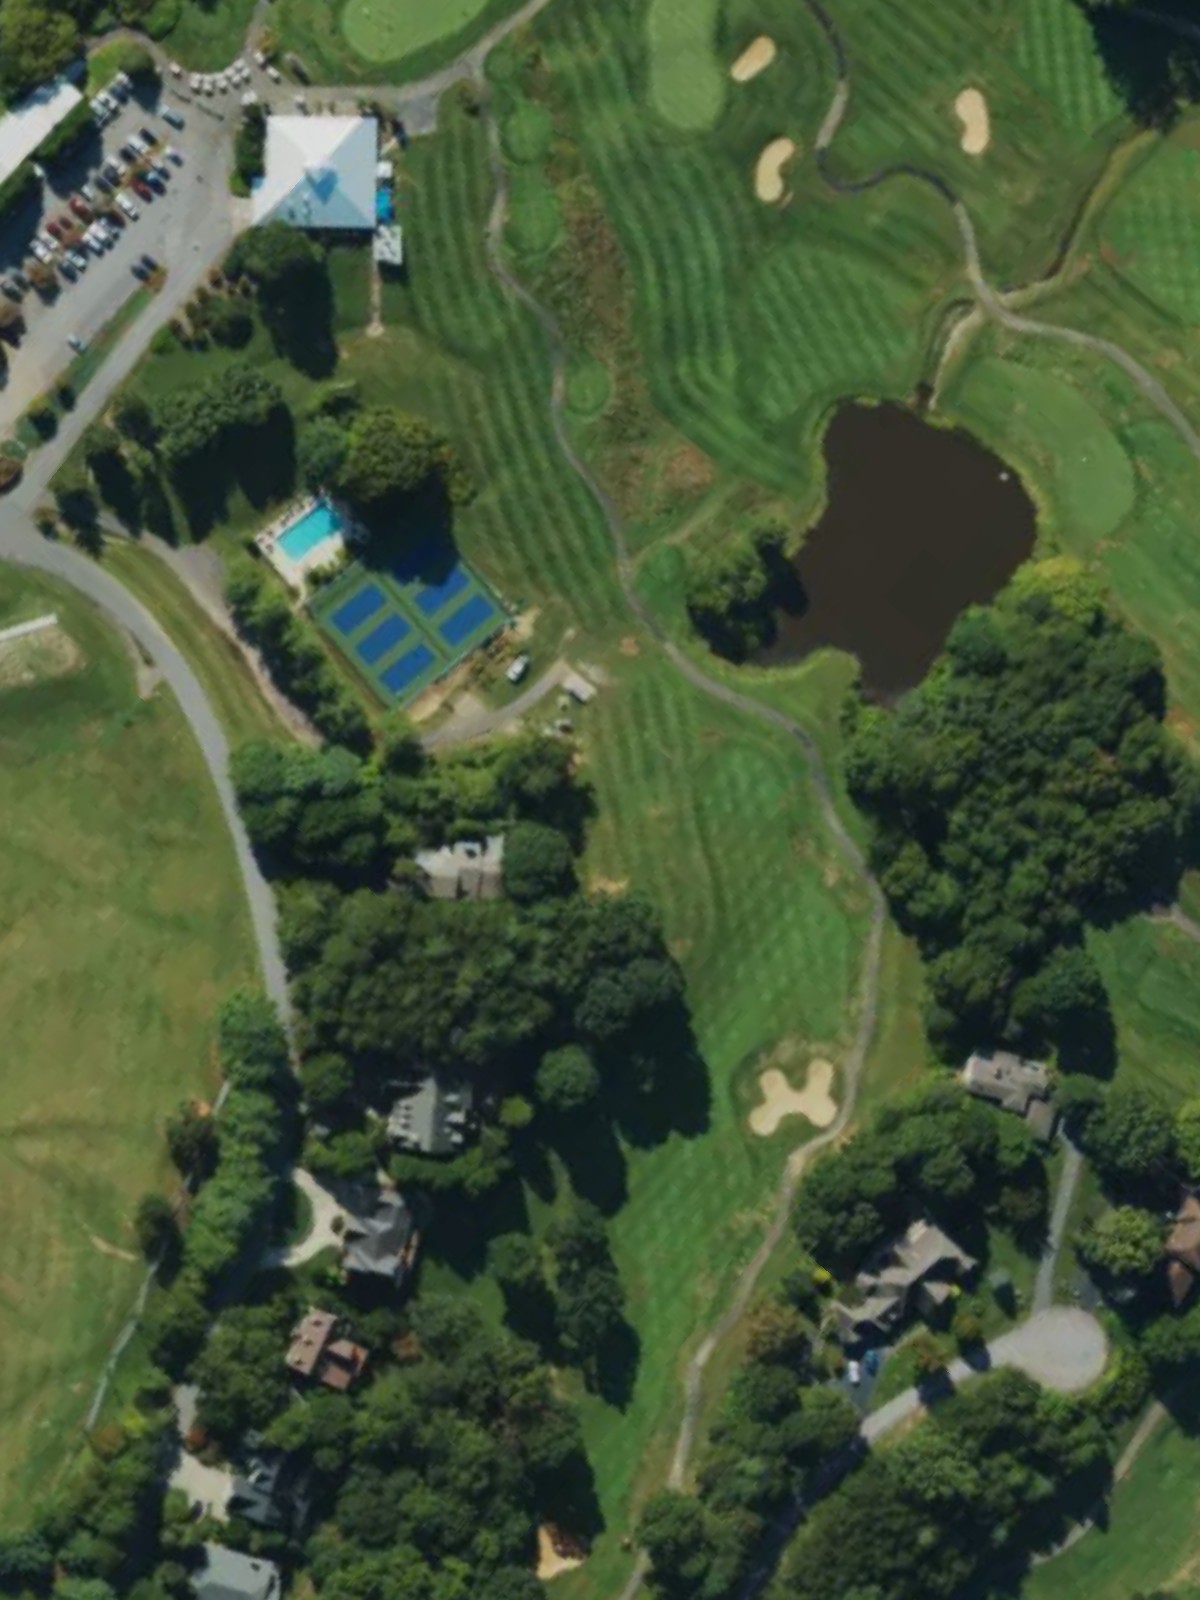
A straightforward opening par 4 with a receptive fairway that provides an approachable introduction to the course. The green is relatively open, making this a good opportunity to settle in with an early score.
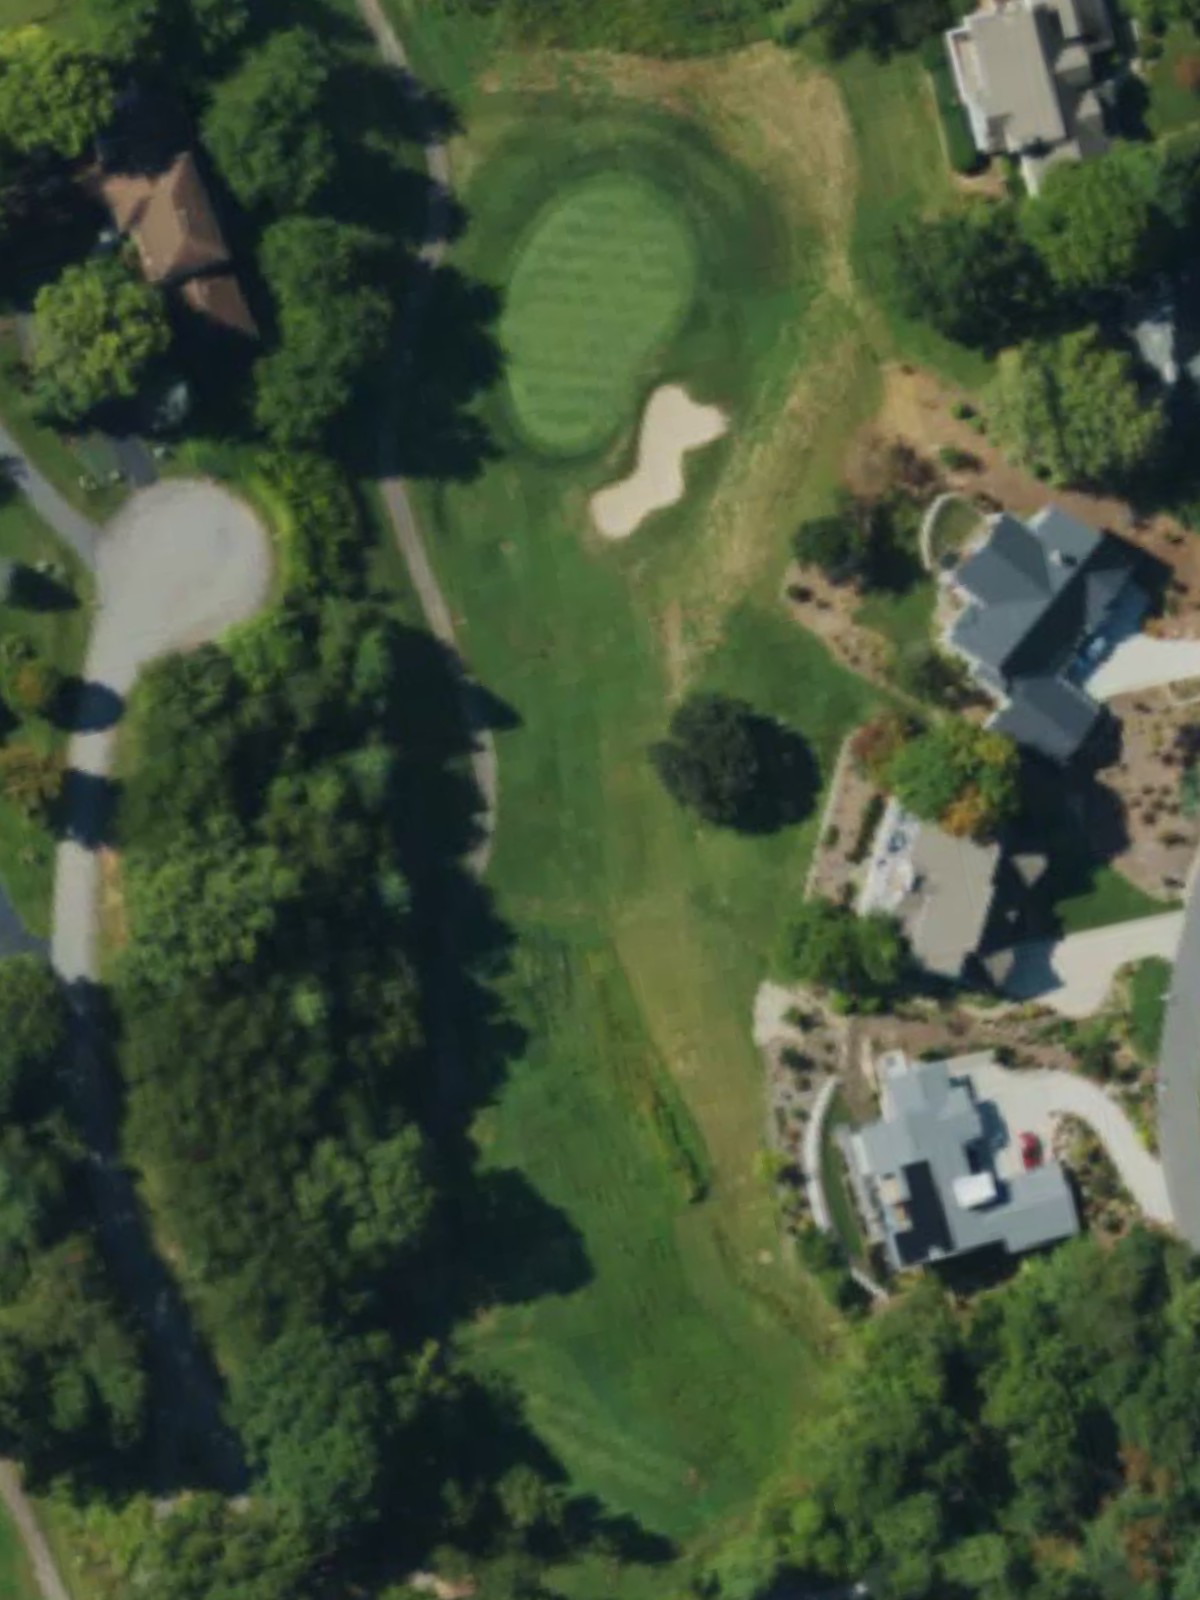
A solid par 4 that demands accuracy off the tee with a fairway that tightens through the middle. Strategic bunkering around the green rewards precise approach shots and penalizes wayward ones.
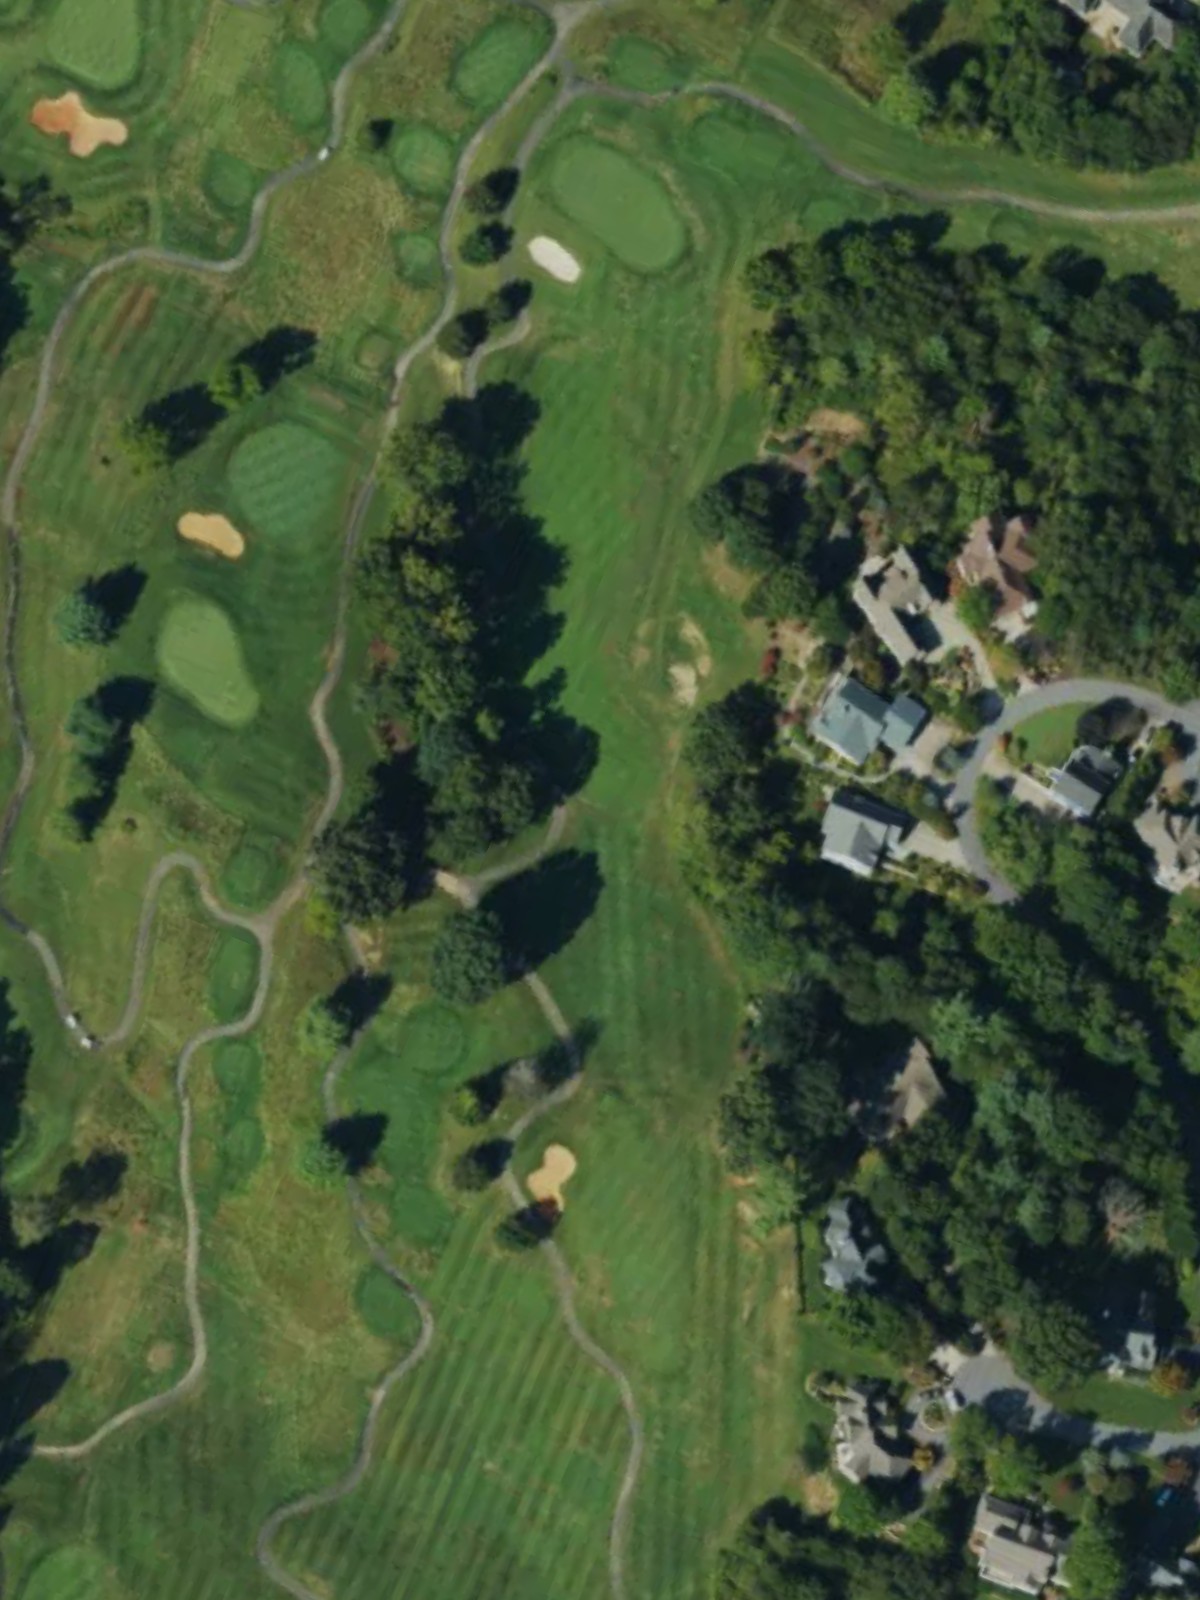
The most difficult hole on the course, this par 4 is a stern test of consistency with length and narrow fairways throughout. Hazards strategically placed at the landing zone and around the green demand respect from start to finish.
A challenging par 4 with a demanding tee shot into a fairway that requires placement and length. The green's defenses are significant, making the approach shot critical to securing a good score.
A mid-length par 4 with a fairway that offers reasonable width for the tee shot. The green complex is relatively forgiving, providing a slight reprieve in the round's rhythm.

A short par 3 that plays to a well-bunkered green, with sand hazards guarding the primary approaches. Precision over distance makes this a test of accuracy despite its modest length.
The third-most difficult hole on the course, this par 4 features significant length and complexity throughout. Careful navigation is required from tee to green to avoid the strategically placed hazards.
A moderate par 4 with a fairway that allows for a comfortable tee shot before presenting a deliberate approach to the green. The hole's character is straightforward but not without its demands.
A classic par 5 that rewards aggressive play while penalizing poor positioning, with hazards coming into play for those attempting to reach the green in two. The layup option provides an alternative path for those preferring a three-shot approach.
A lengthy par 4 that requires both power and accuracy, with length playing a significant role in the difficulty. Strategic hazards come into play on poorly struck approach shots.
The easiest hole on the course, this short par 3 offers a genuine birdie opportunity with a straightforward green. The modest length and forgiving nature provide a welcome breather in the round.
The second-most difficult hole on the course, this imposing par 5 demands respect with its length and strategic hazard placement throughout. Even strong players must carefully manage their approach to this formidable three-shot hole.

A deceptive par 4 with modest length that belies its difficulty, featuring a tight fairway and well-defended green. Accuracy is paramount on both tee and approach shots.
A short par 3 with a forgiving green that provides another scoring opportunity within the round. The hole's simplicity makes it an ideal reset point before the back nine's final stretch.
The fourth-most difficult hole on the course, this par 4 combines length with strategic hazard placement to create a formidable challenge. The green is particularly well-guarded, requiring a quality approach shot to secure par.
A moderately challenging par 4 with a fairway that demands reasonable accuracy from the tee. The approach shot is the pivotal moment on a hole that offers a fair but honest test.
A mid-length par 3 with a green that requires club selection and directional accuracy to find the putting surface. The hole provides solid context within the closing stretch of the round.
A strong finishing par 5 that leaves room for both aggressive and conservative play, with strategic positioning crucial for capitalizing on the final scoring opportunity. The closing hole's length and hazard placement create an appropriately demanding conclusion to the round.
Scorecard
| Hole | 1 | 2 | 3 | 4 | 5 | 6 | 7 | 8 | 9 | Out | 10 | 11 | 12 | 13 | 14 | 15 | 16 | 17 | 18 | In | Tot |
|---|---|---|---|---|---|---|---|---|---|---|---|---|---|---|---|---|---|---|---|---|---|
| Par | 4 | 4 | 4 | 4 | 4 | 3 | 4 | 4 | 5 | 36 | 4 | 3 | 5 | 4 | 3 | 4 | 4 | 3 | 5 | 35 | 71 |
| HCP | 15 | 9 | 1 | 5 | 11 | 17 | 3 | 13 | 7 | 12 | 18 | 2 | 8 | 16 | 4 | 10 | 14 | 6 | |||
| blue tees | 314 | 355 | 415 | 426 | 338 | 150 | 380 | 331 | 508 | 3217 | 444 | 181 | 518 | 304 | 174 | 381 | 343 | 182 | 491 | 3018 | 6235 |
| white tees | 286 | 326 | 367 | 396 | 306 | 131 | 344 | 311 | 479 | 2946 | 400 | 150 | 492 | 273 | 153 | 354 | 313 | 147 | 468 | 2750 | 5696 |
| gold tees | 252 | 303 | 333 | 354 | 277 | 102 | 311 | 276 | 437 | 2645 | 356 | 121 | 454 | 247 | 100 | 327 | 252 | 124 | 443 | 2424 | 5069 |
| red tees | 208 | 237 | 285 | 326 | 241 | 94 | 254 | 222 | 315 | 2182 | 310 | 95 | 408 | 197 | 100 | 258 | 216 | 96 | 281 | 1961 | 4143 |