Red Bridge G&Cc is an 18-hole golf course in Locust, NC with a par of 72. It offers 5 tee sets: black tees (6,743 yards, slope 139, rating 72.8), white tees (6,183 yards, slope 131, rating 69.8), gold tees (5,515 yards, slope 119, rating 66.9), blue hybrid (5,216 yards, slope 114, rating 65.6), red tees (4,890 yards, slope 105, rating 64.5). The hardest hole is #8, a par 4 playing 251 yards from the first tee.
Red Bridge G&Cc
Locust, NC
Get PDF Yardage Book
We'll email you the PDF link. No spam, ever.
Create Your Game Plan
Pick your tees, enter your bag, and get a personalized shot-by-shot strategy for every hole.
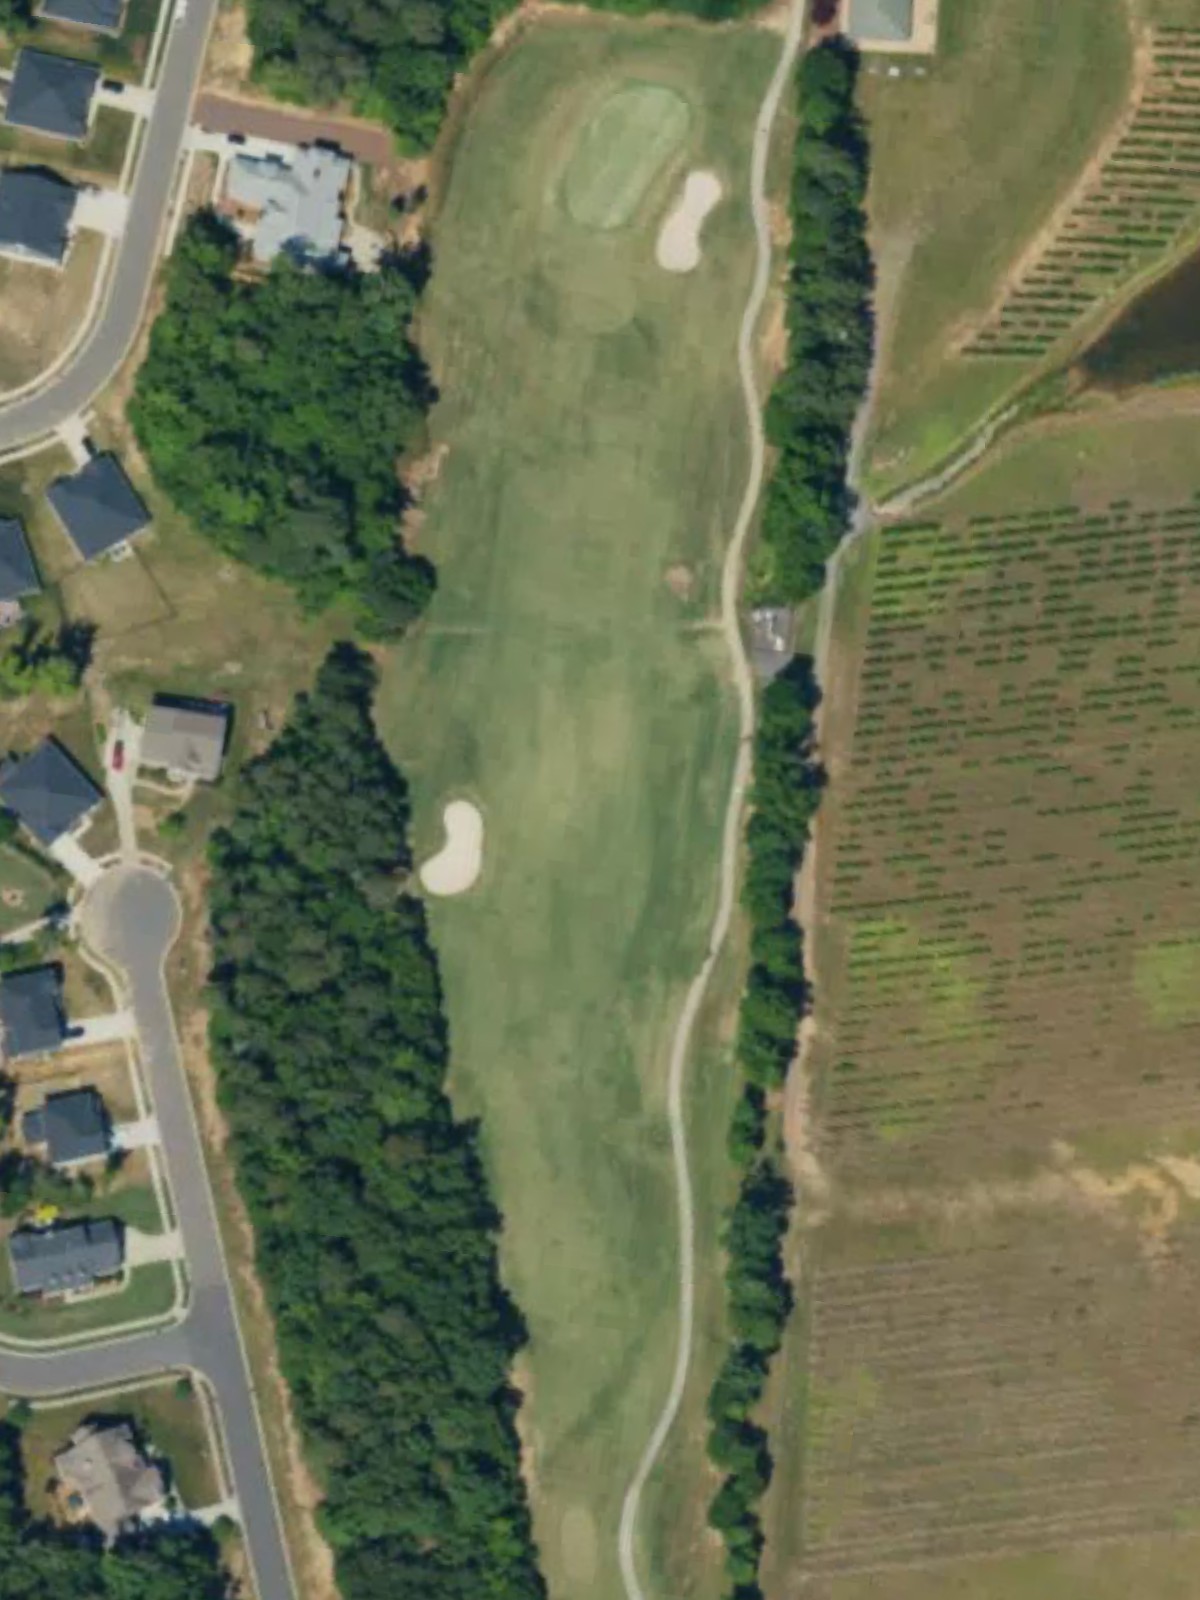
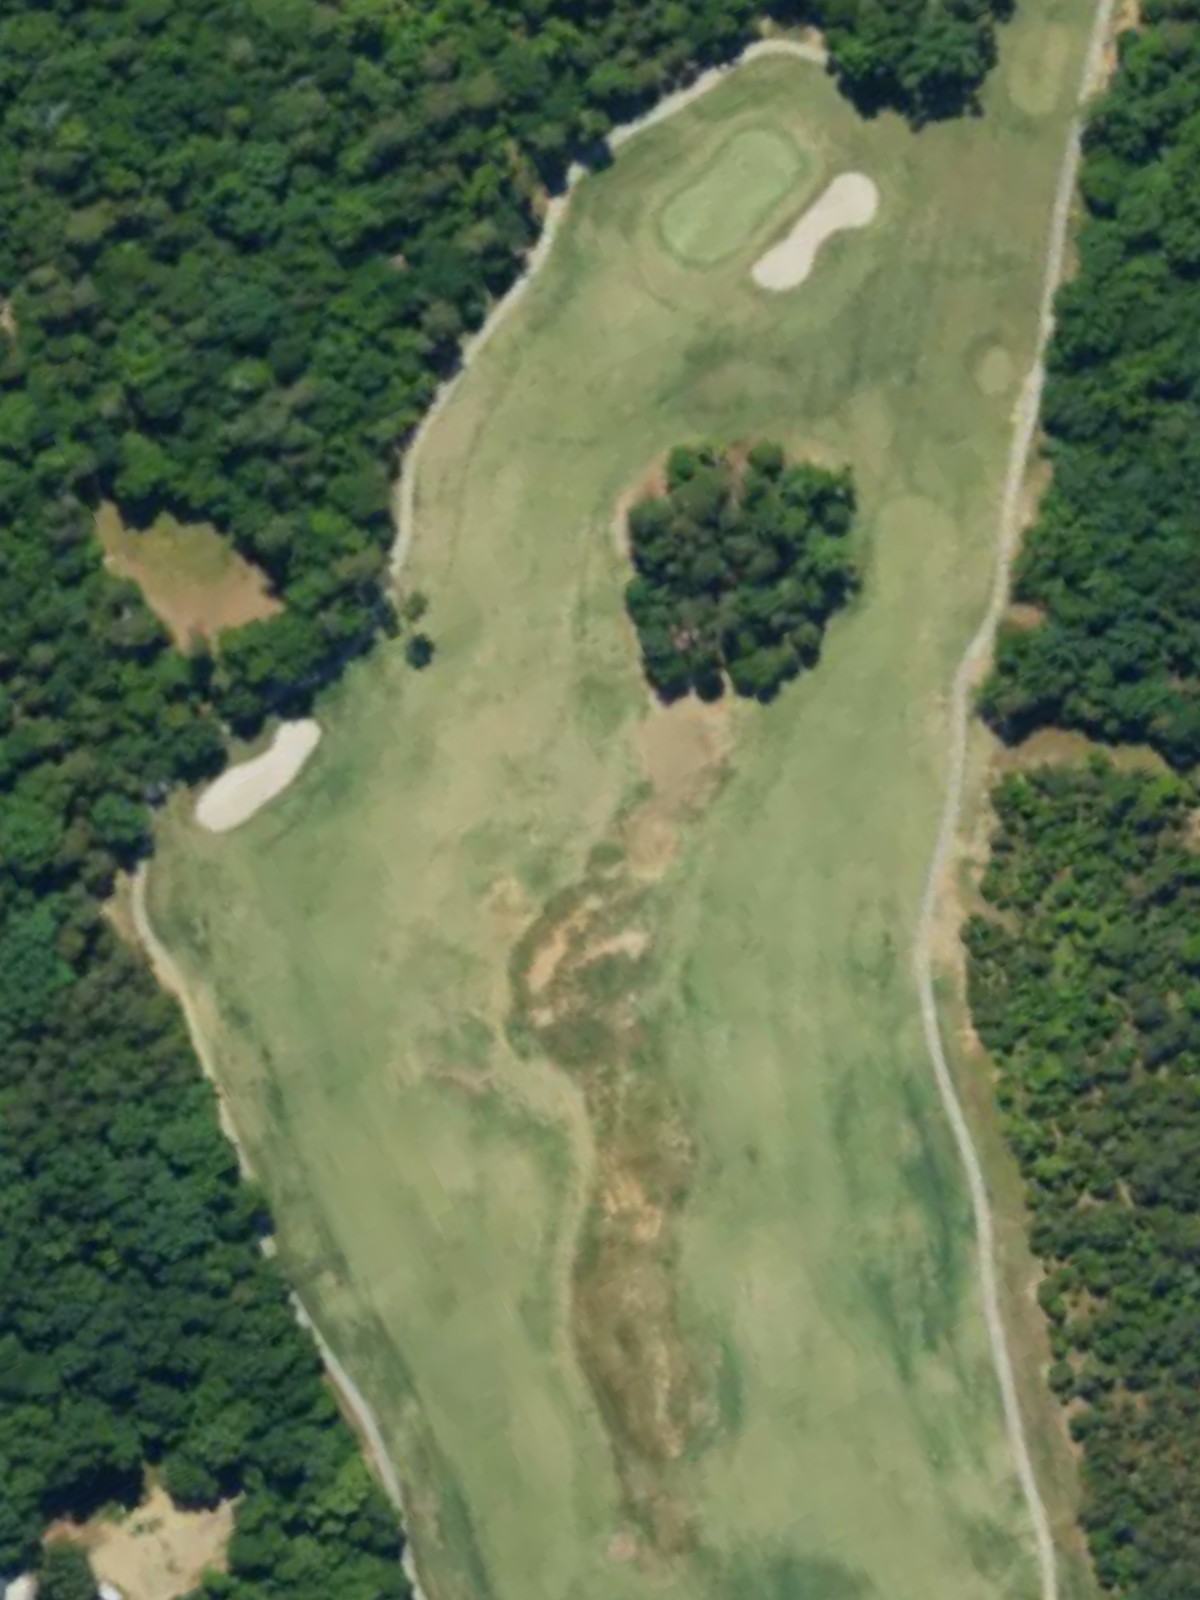
A welcoming opening par 4 with a fairway that gradually narrows as it approaches the green. Bunkers protect the right side of the green, requiring accuracy on the approach shot to a moderately-sized target.
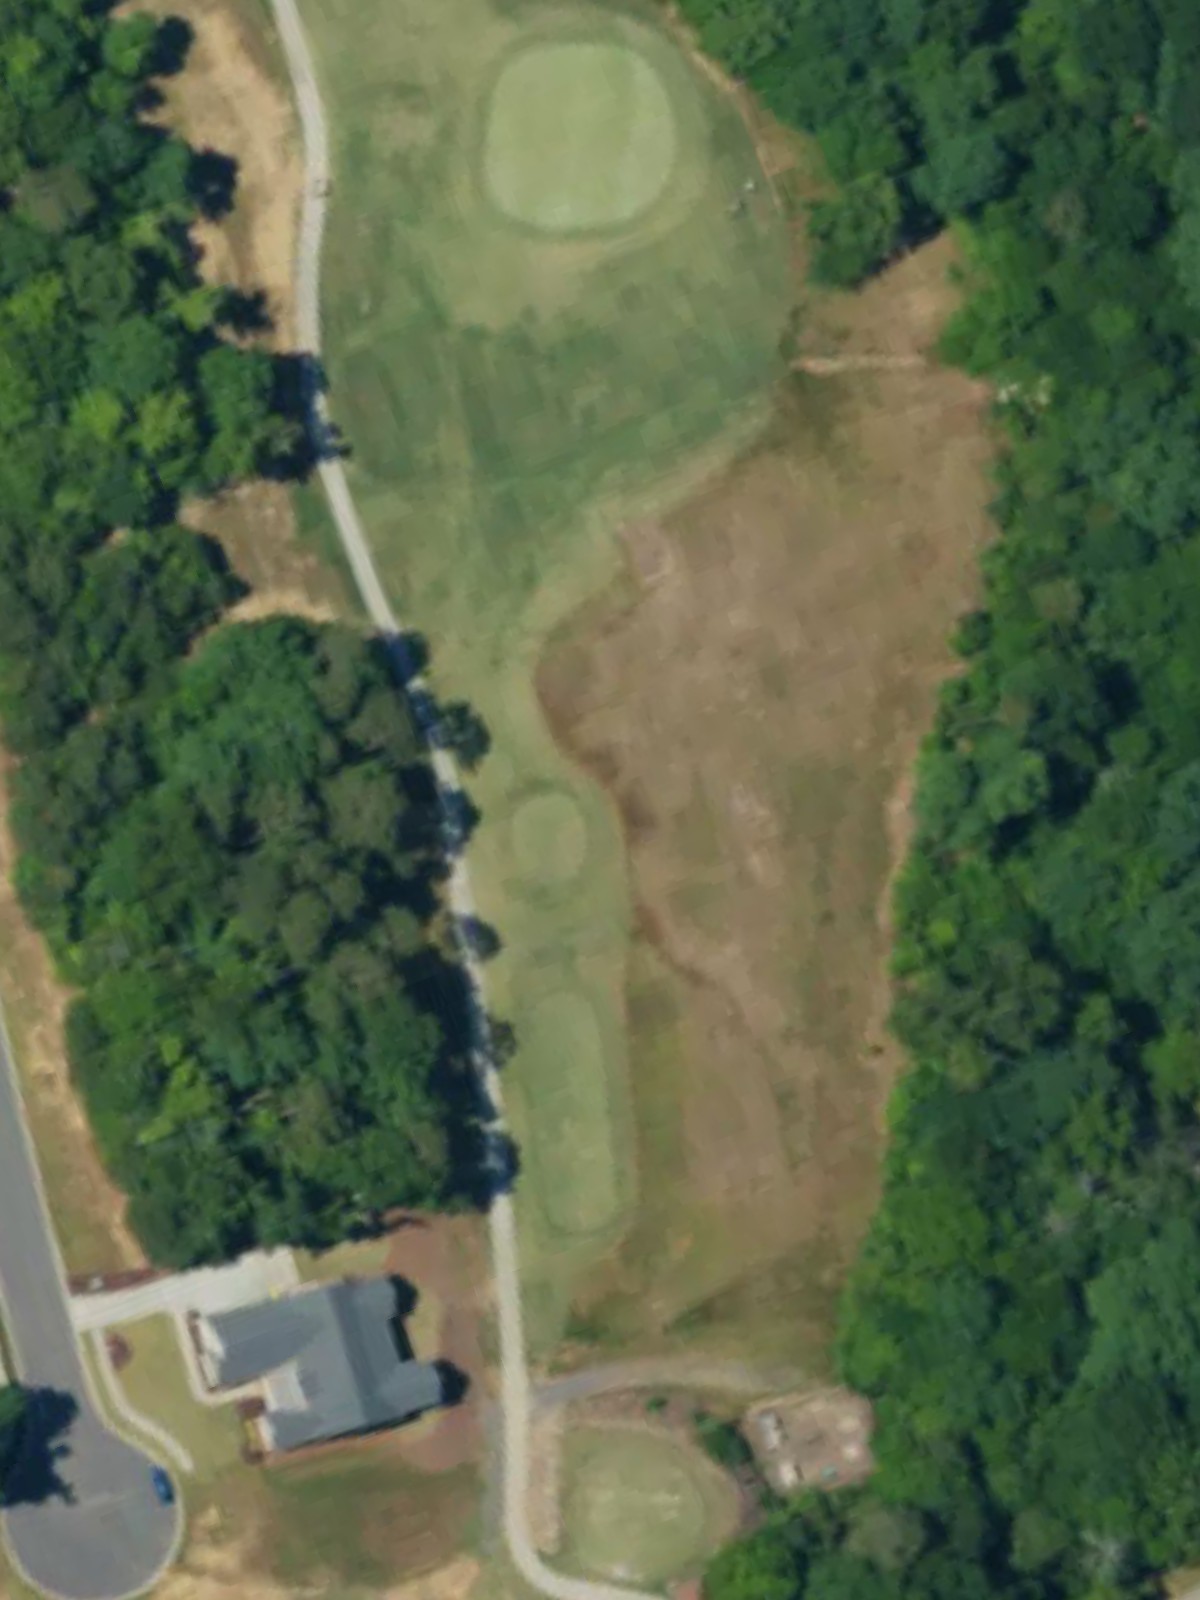
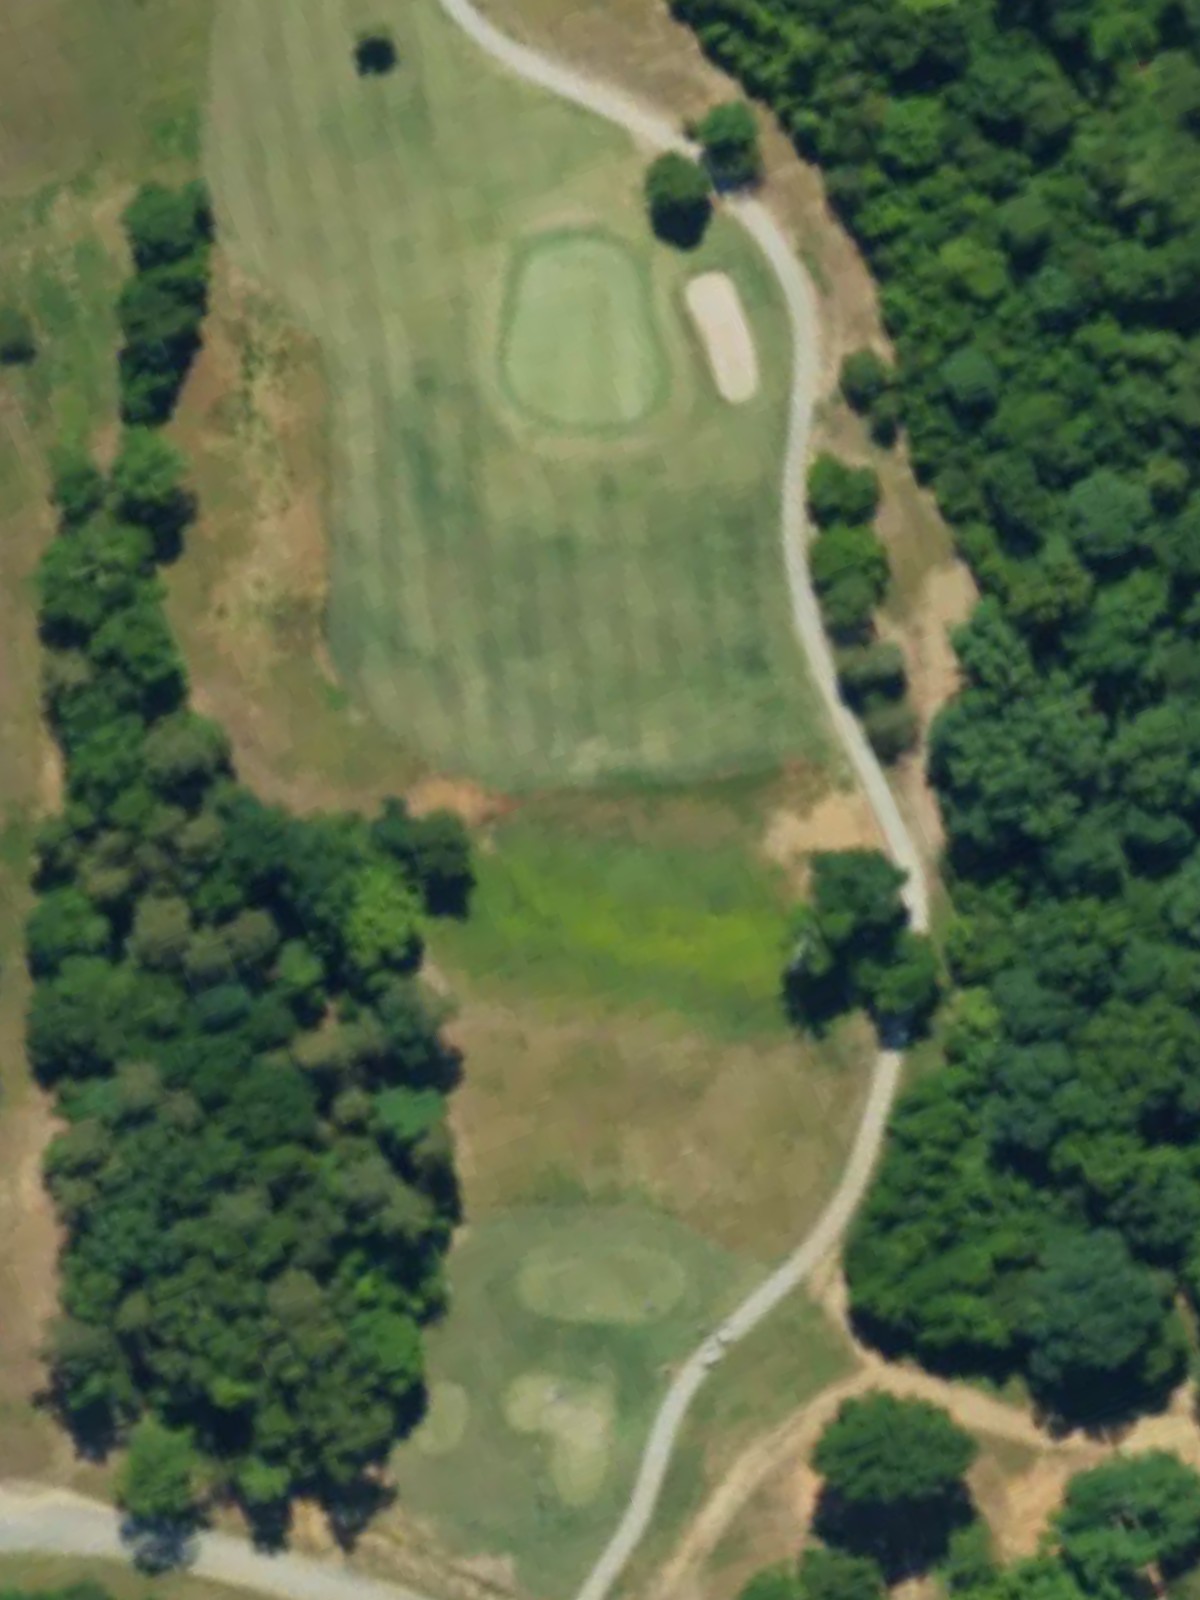
A short par 3 offering a straightforward test over a modest distance. The green is relatively open, making this an inviting hole to get the round started on a positive note.

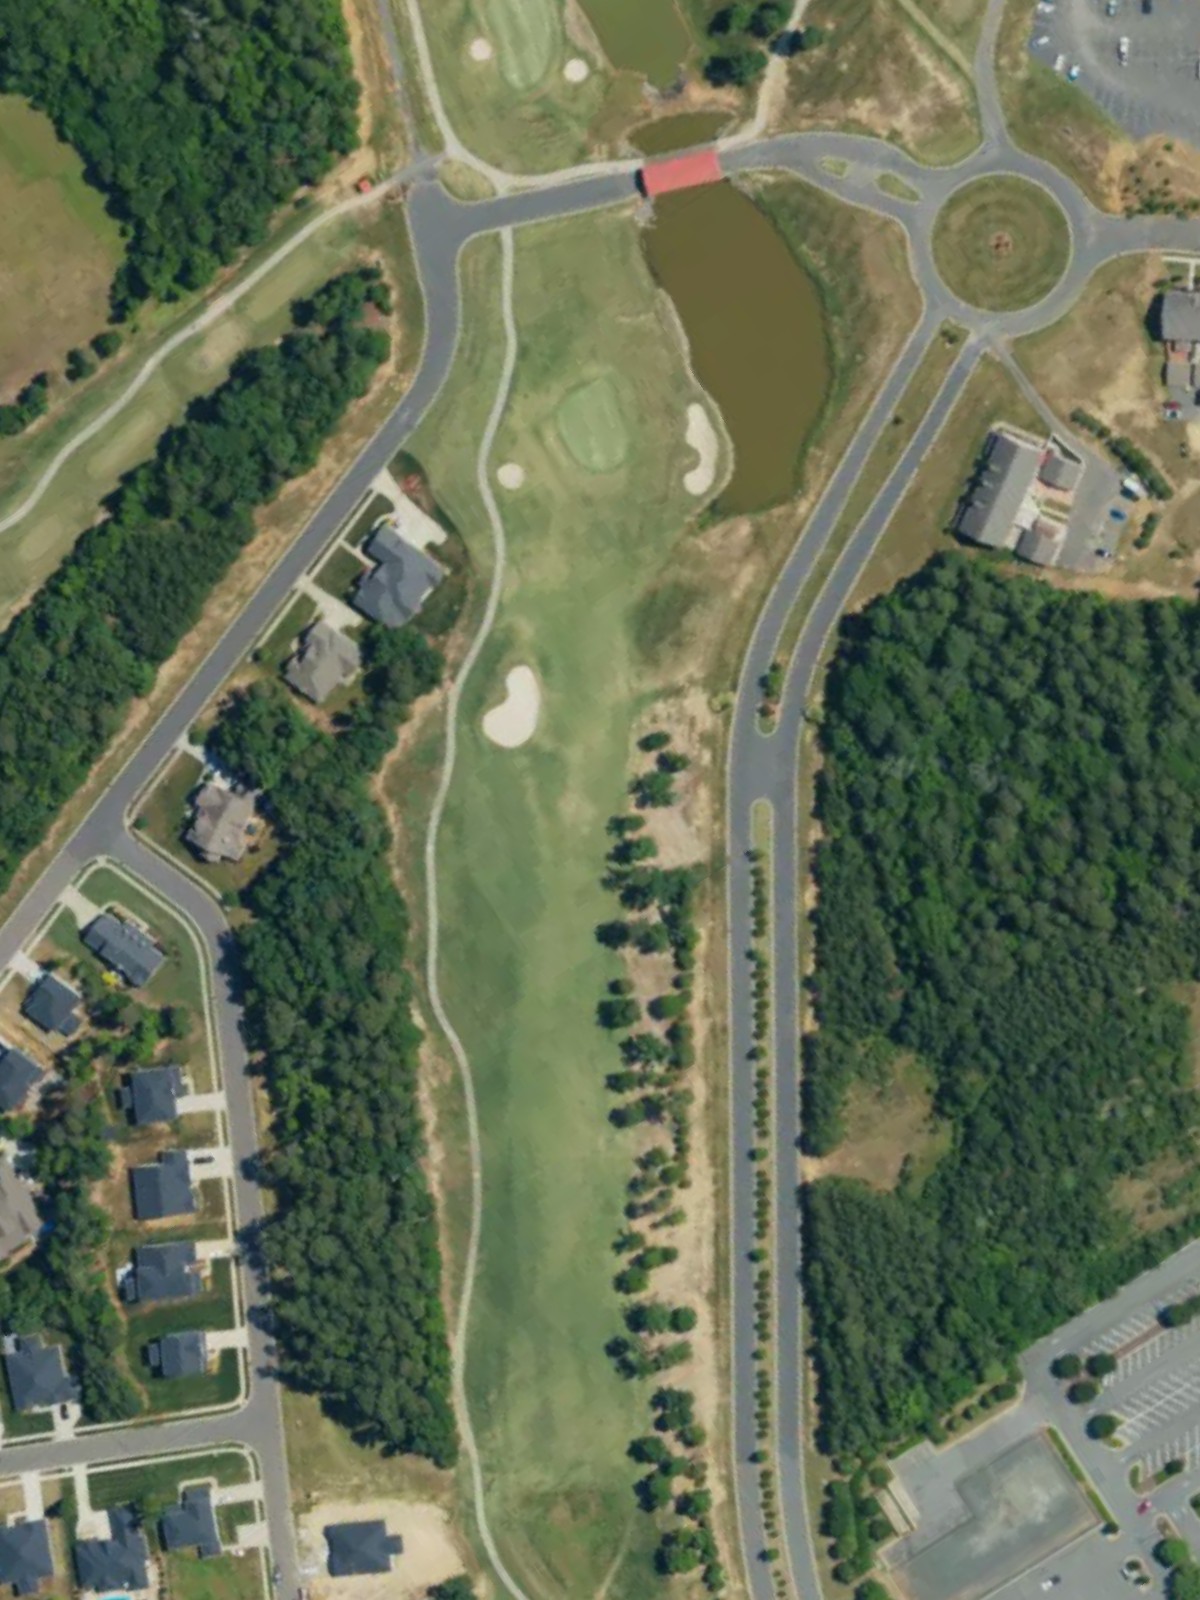
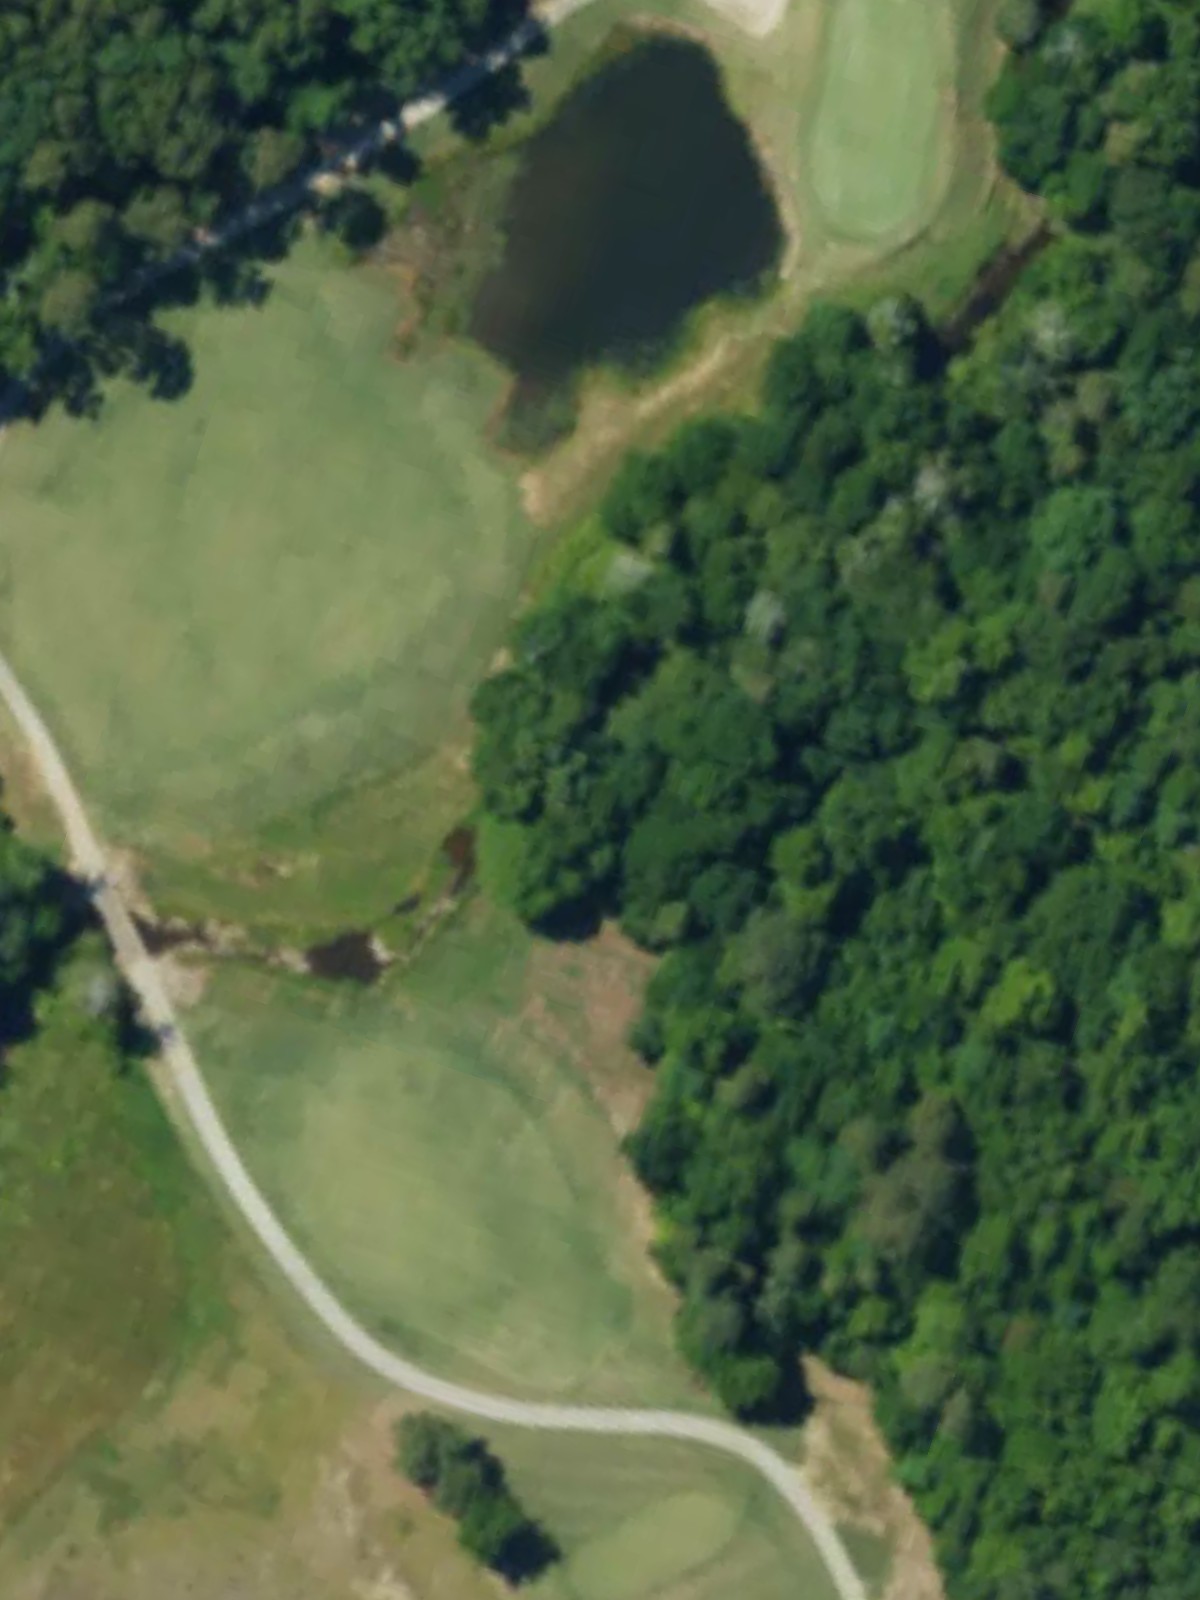
A lengthy par 5 that demands two solid shots to reach scoring position. The hole stretches out with a fairway that remains fairly open, though bunkers and potential hazards near the green will test the final approach.
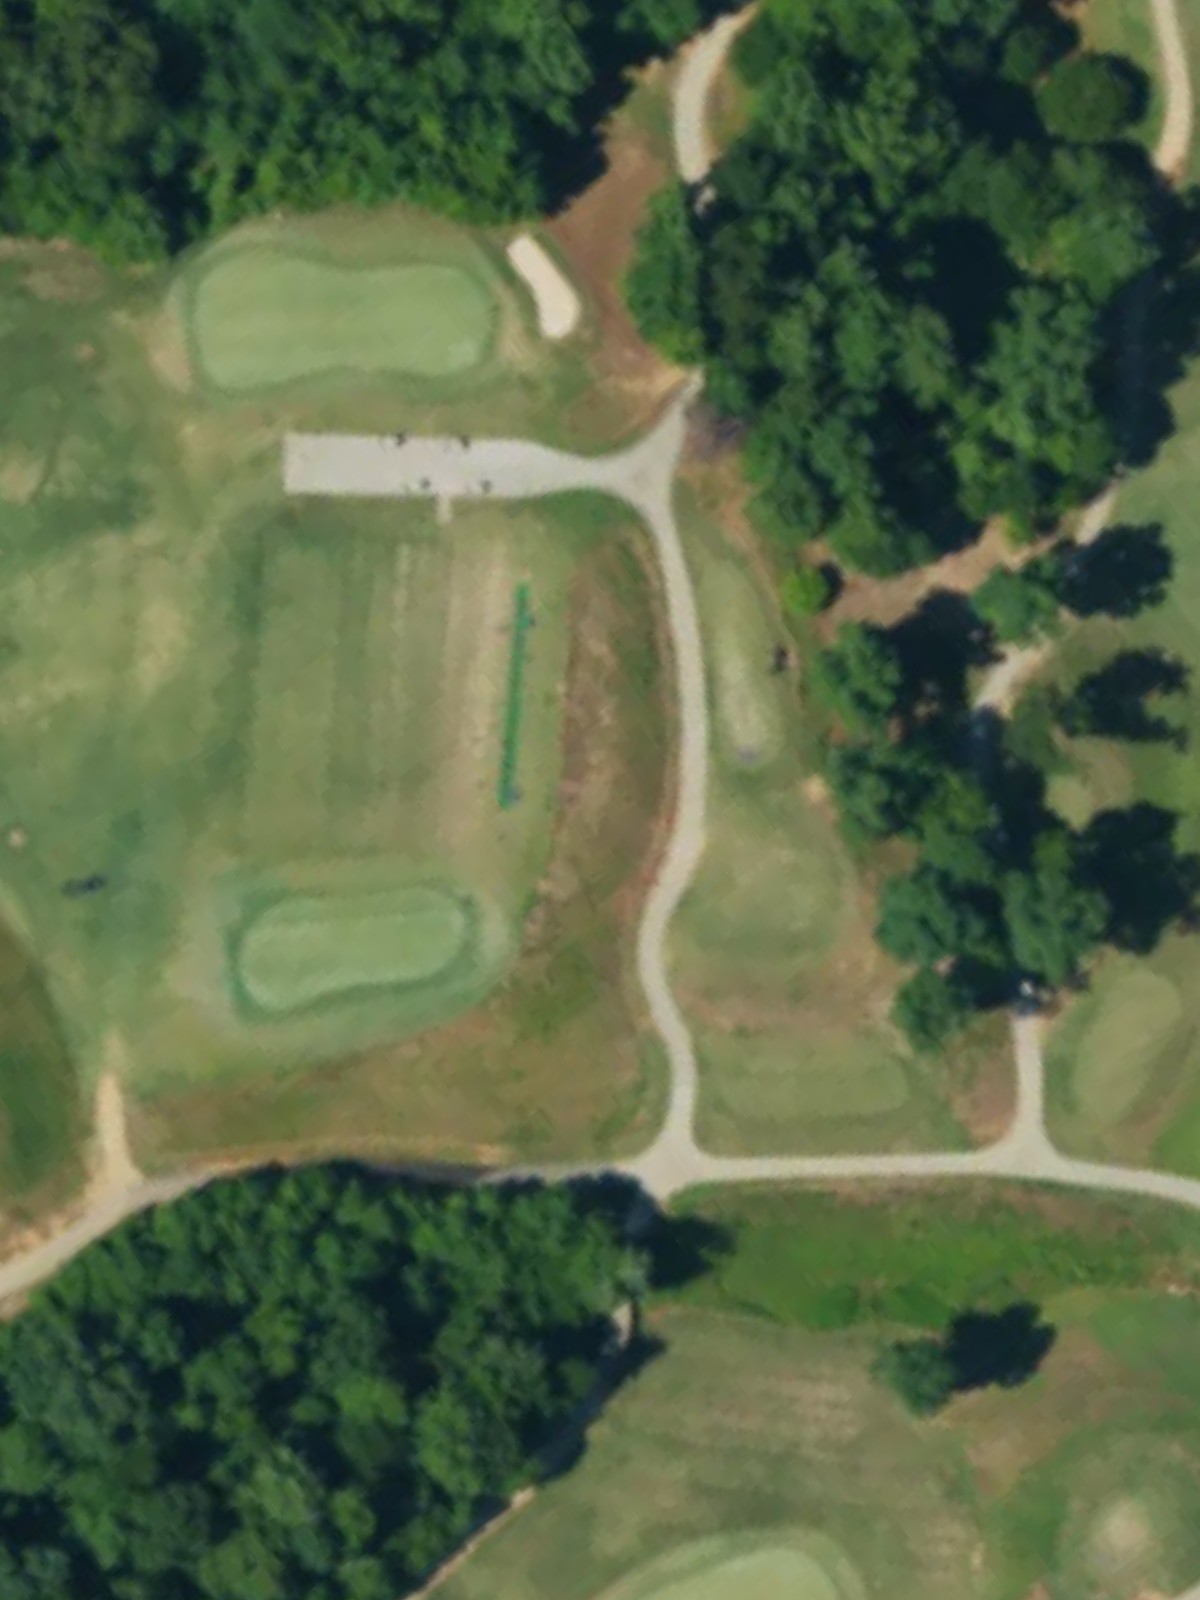
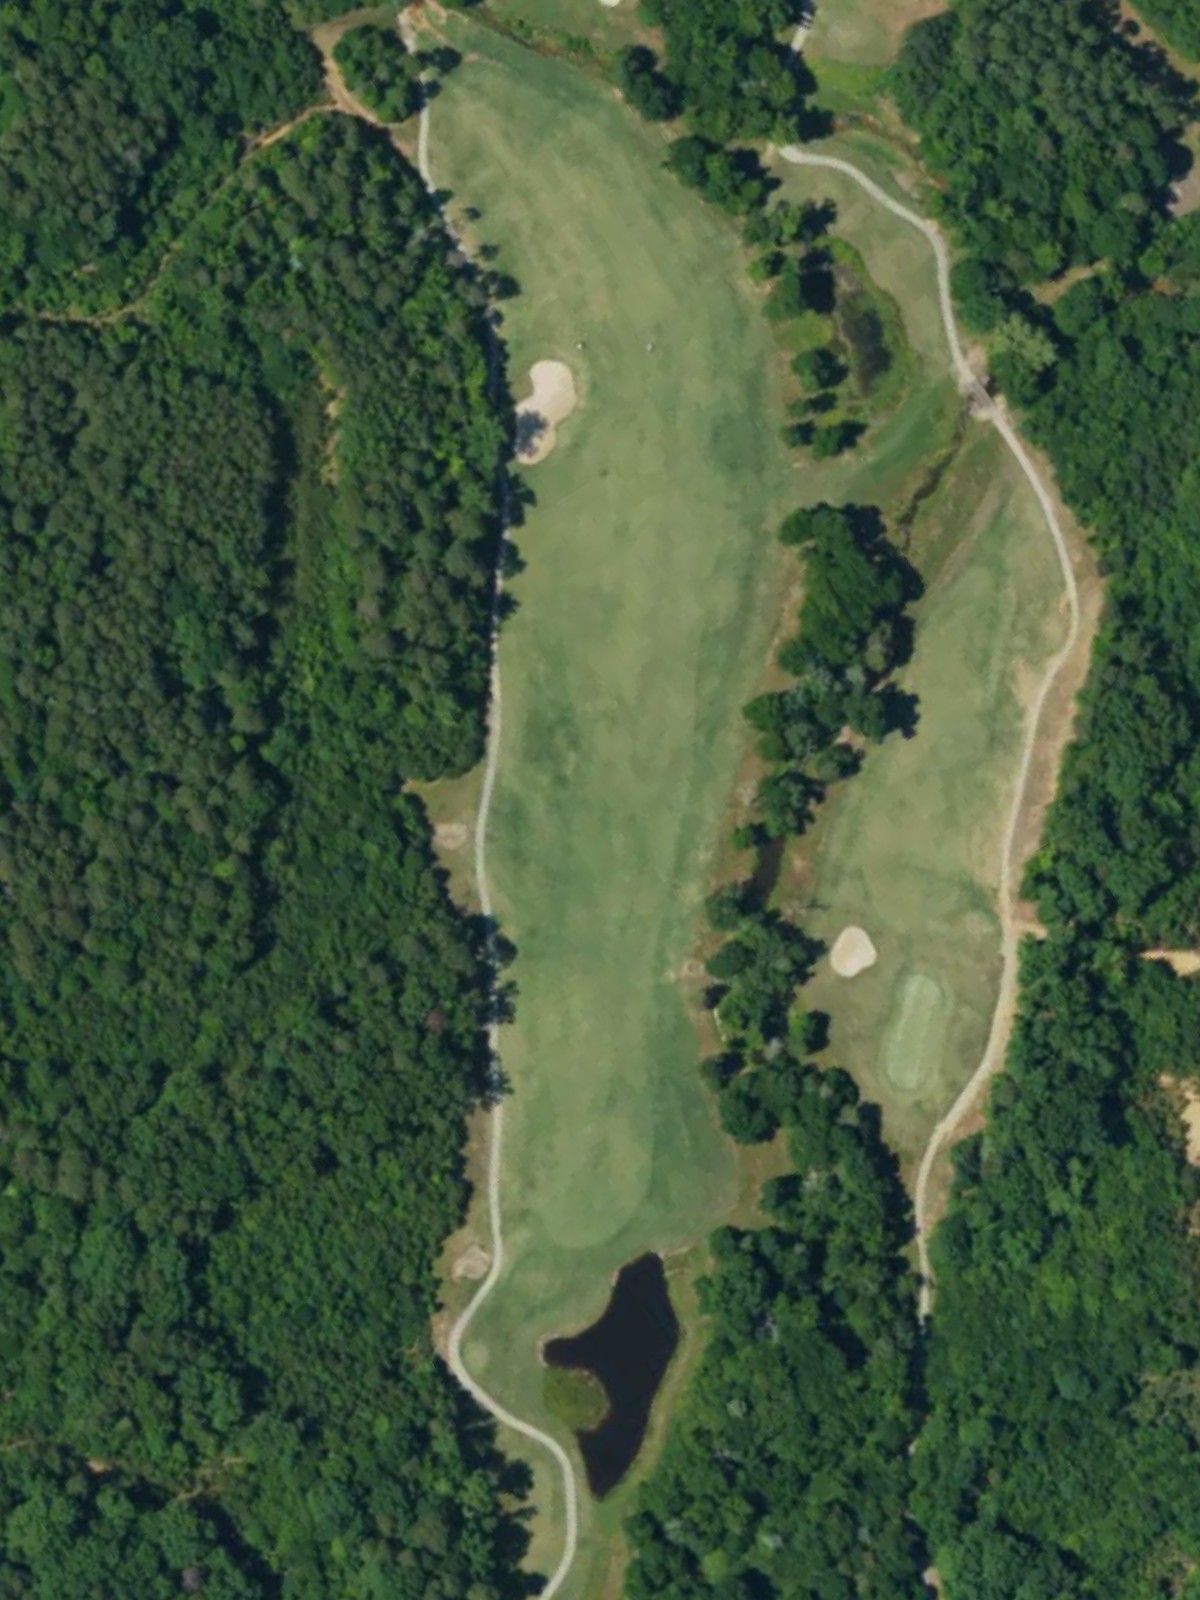
A substantial par 5 with a relatively open fairway that rewards distance off the tee. The hole's length and layout make it a genuine three-shot hole for most players, with hazards likely tightening near the green complex.
A very short par 3 that serves as a quick scoring opportunity mid-round. Despite its brevity, the small target area demands precision over pure distance.
The course's most difficult hole, this lengthy par 5 presents a formidable challenge requiring three well-executed shots. Hazards and bunkering likely guard the approach to the green, making accuracy critical on every shot.
A compact par 4 where position and precision matter more than distance. The tighter fairway and green demand controlled play and an accurate approach.
The signature hole, this short par 4 plays deceptively difficult despite modest yardage. Tight routing and strategic hazards make this a pivotal test of skill and focus.
A short par 3 that provides a breather before the back nine intensifies. The modest distance allows for an aggressive approach to set up birdie opportunities.

A relatively short par 4 that opens the back nine with a manageable but precise challenge. The fairway positioning is key to accessing a receptive green.
A mid-length par 3 with a straightforward character that tests accuracy without excessive length. The green size and hazard placement define the hole's difficulty.
A compact par 4 that emphasizes control and placement over raw distance. Strategic bunkering or water likely influences both the drive and approach shot decisions.
A solid par 5 that remains accessible for three-shot play while rewarding aggressive long-hitters. The hole's width and green complex present interesting risk-reward opportunities throughout.
A mid-length par 4 that plays moderately difficult, offering a fair test without excessive severity. Fairway contours and green-side hazards require thoughtful navigation.
A strong par 4 that demands two quality shots and poses one of the course's sterner challenges. Hazards are likely positioned to penalize poor positioning off the tee or into the green.
The easiest par 3 on the course, offering a confidence-building short-iron opportunity. The receptive green encourages an aggressive approach to set up birdie chances.
A shorter par 4 that relies on position and accuracy rather than distance to present its challenge. The compact layout makes this a strategic hole where placement trumps length.
A demanding finishing par 5 that closes the round with substance and drama. The significant length combined with strategic hazards makes this a formidable final test that can sway the outcome.
Scorecard
| Hole | 1 | 2 | 3 | 4 | 5 | 6 | 7 | 8 | 9 | Out | 10 | 11 | 12 | 13 | 14 | 15 | 16 | 17 | 18 | In | Tot |
|---|---|---|---|---|---|---|---|---|---|---|---|---|---|---|---|---|---|---|---|---|---|
| Par | 4 | 3 | 5 | 5 | 3 | 5 | 4 | 4 | 3 | 36 | 4 | 3 | 4 | 5 | 4 | 4 | 3 | 4 | 5 | 36 | 72 |
| HCP | 5 | 13 | 11 | 9 | 17 | 3 | 7 | 1 | 15 | 6 | 16 | 12 | 10 | 14 | 4 | 18 | 8 | 2 | |||
| black tees | 437 | 212 | 578 | 549 | 136 | 538 | 375 | 373 | 159 | 3357 | 359 | 180 | 373 | 526 | 402 | 437 | 147 | 314 | 648 | 3386 | 6743 |
| white tees | 409 | 185 | 507 | 528 | 122 | 509 | 328 | 343 | 139 | 3070 | 333 | 152 | 331 | 486 | 384 | 403 | 146 | 293 | 585 | 3113 | 6183 |
| gold tees | 364 | 133 | 458 | 447 | 100 | 475 | 293 | 279 | 102 | 2651 | 282 | 147 | 293 | 457 | 362 | 390 | 129 | 275 | 529 | 2864 | 5515 |
| blue hybrid | 323 | 133 | 426 | 447 | 100 | 410 | 293 | 279 | 102 | 2513 | 258 | 126 | 293 | 425 | 362 | 354 | 126 | 275 | 484 | 2703 | 5216 |
| red tees | 323 | 95 | 409 | 414 | 75 | 410 | 284 | 251 | 78 | 2339 | 237 | 126 | 246 | 425 | 296 | 354 | 126 | 257 | 484 | 2551 | 4890 |