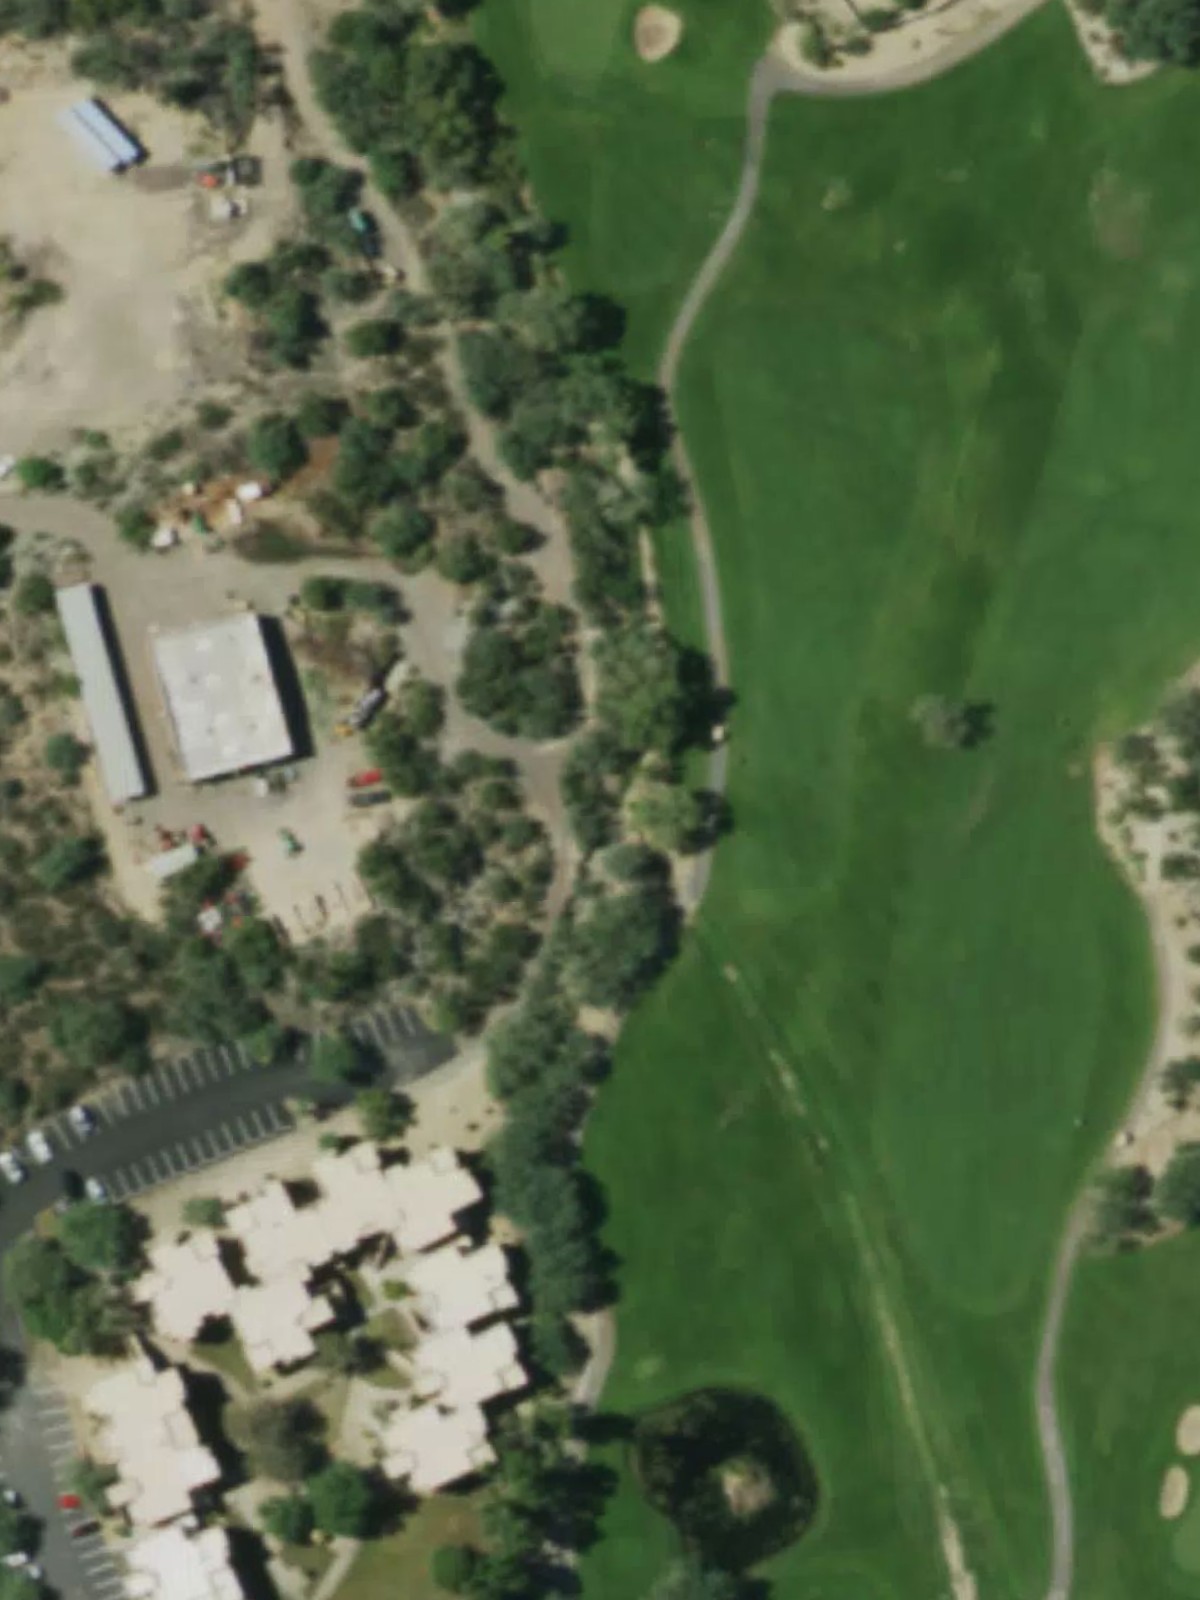
Rancho Manana Golf Club is an 18-hole golf course in Cave Creek, AZ with a par of 70. It offers 3 tee sets: blue (5,456 yards, slope 128, rating 66.7), white (4,979 yards, slope 119, rating 64), red (4,163 yards, slope 107, rating 61). The hardest hole is #4, a par 4 playing 253 yards from the first tee.
Rancho Manana Golf Club
Cave Creek, AZ
Get PDF Yardage Book
We'll email you the PDF link. No spam, ever.
Create Your Game Plan
Pick your tees, enter your bag, and get a personalized shot-by-shot strategy for every hole.
A straightforward par 4 that plays relatively short off the tee with a fairway that gradually narrows as it approaches the green. Bunkers guard both sides of the putting surface, requiring accuracy on the approach shot.
A mid-length par 4 with a wide fairway that tightens considerably in the landing zone. Water hazards line the left side throughout, making position off the tee critical for a clear approach to the green.
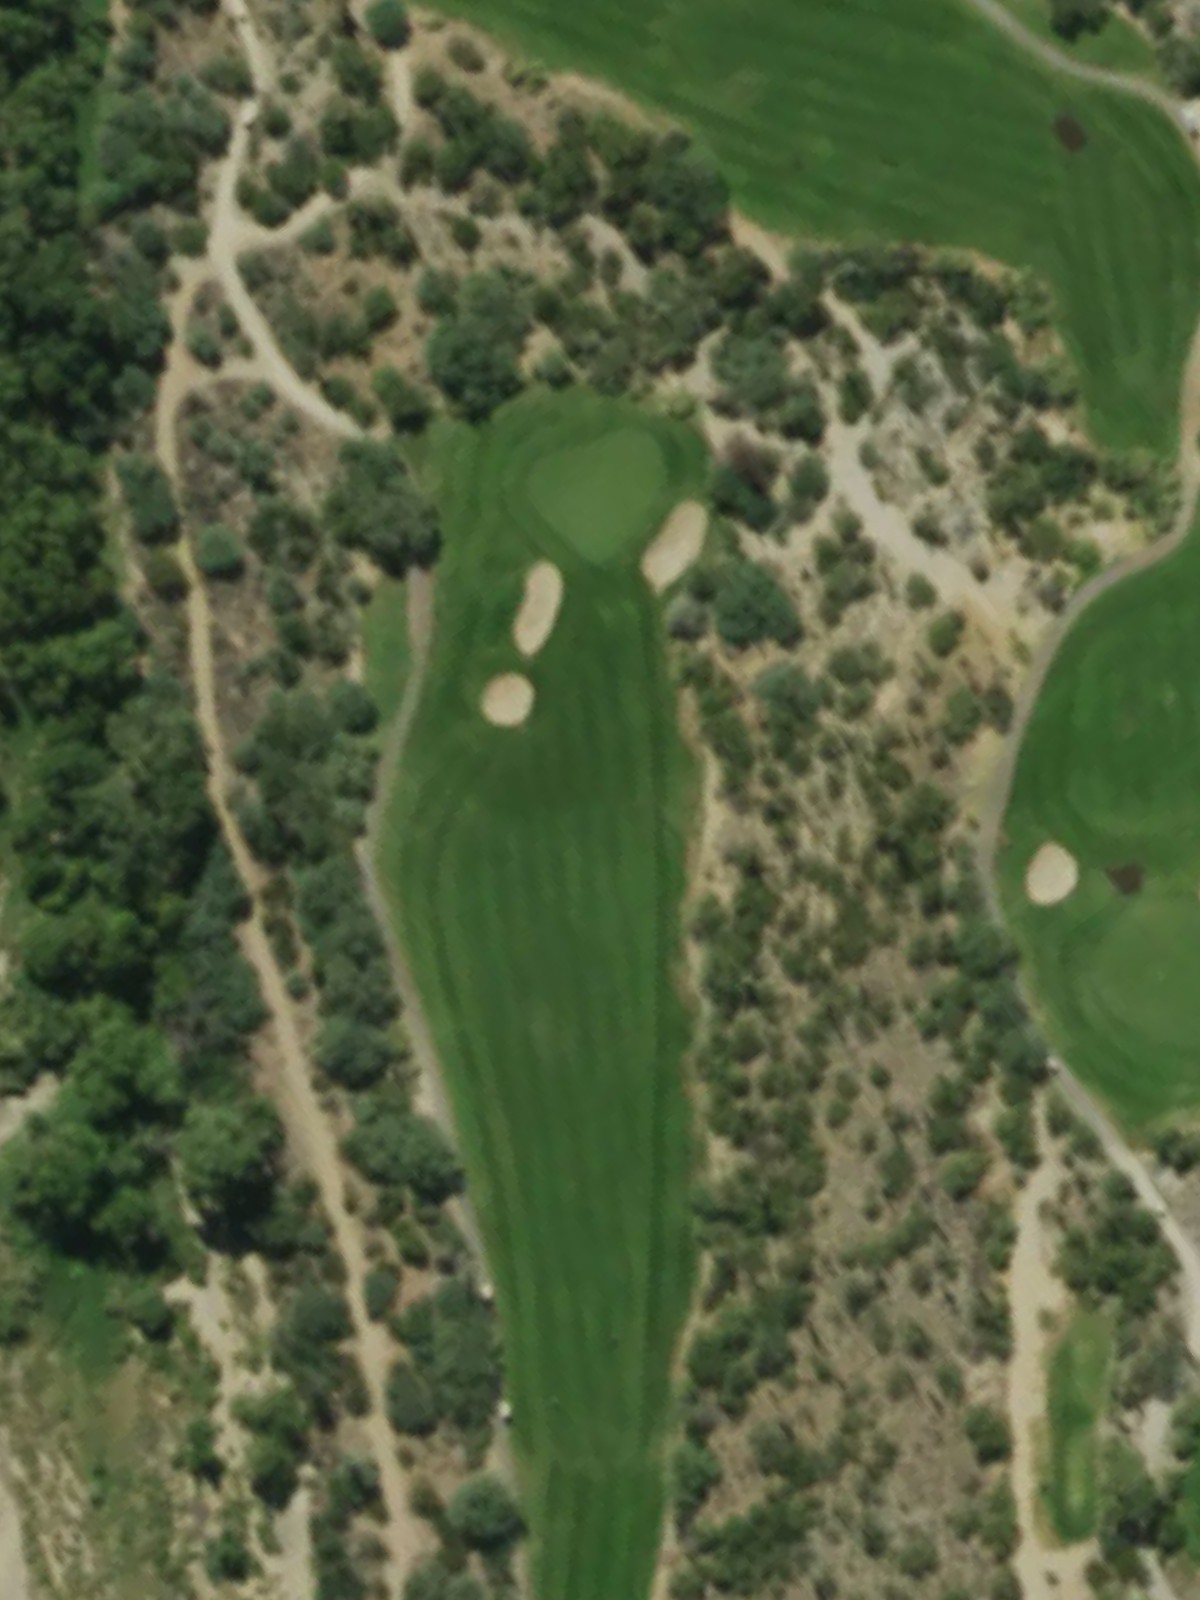
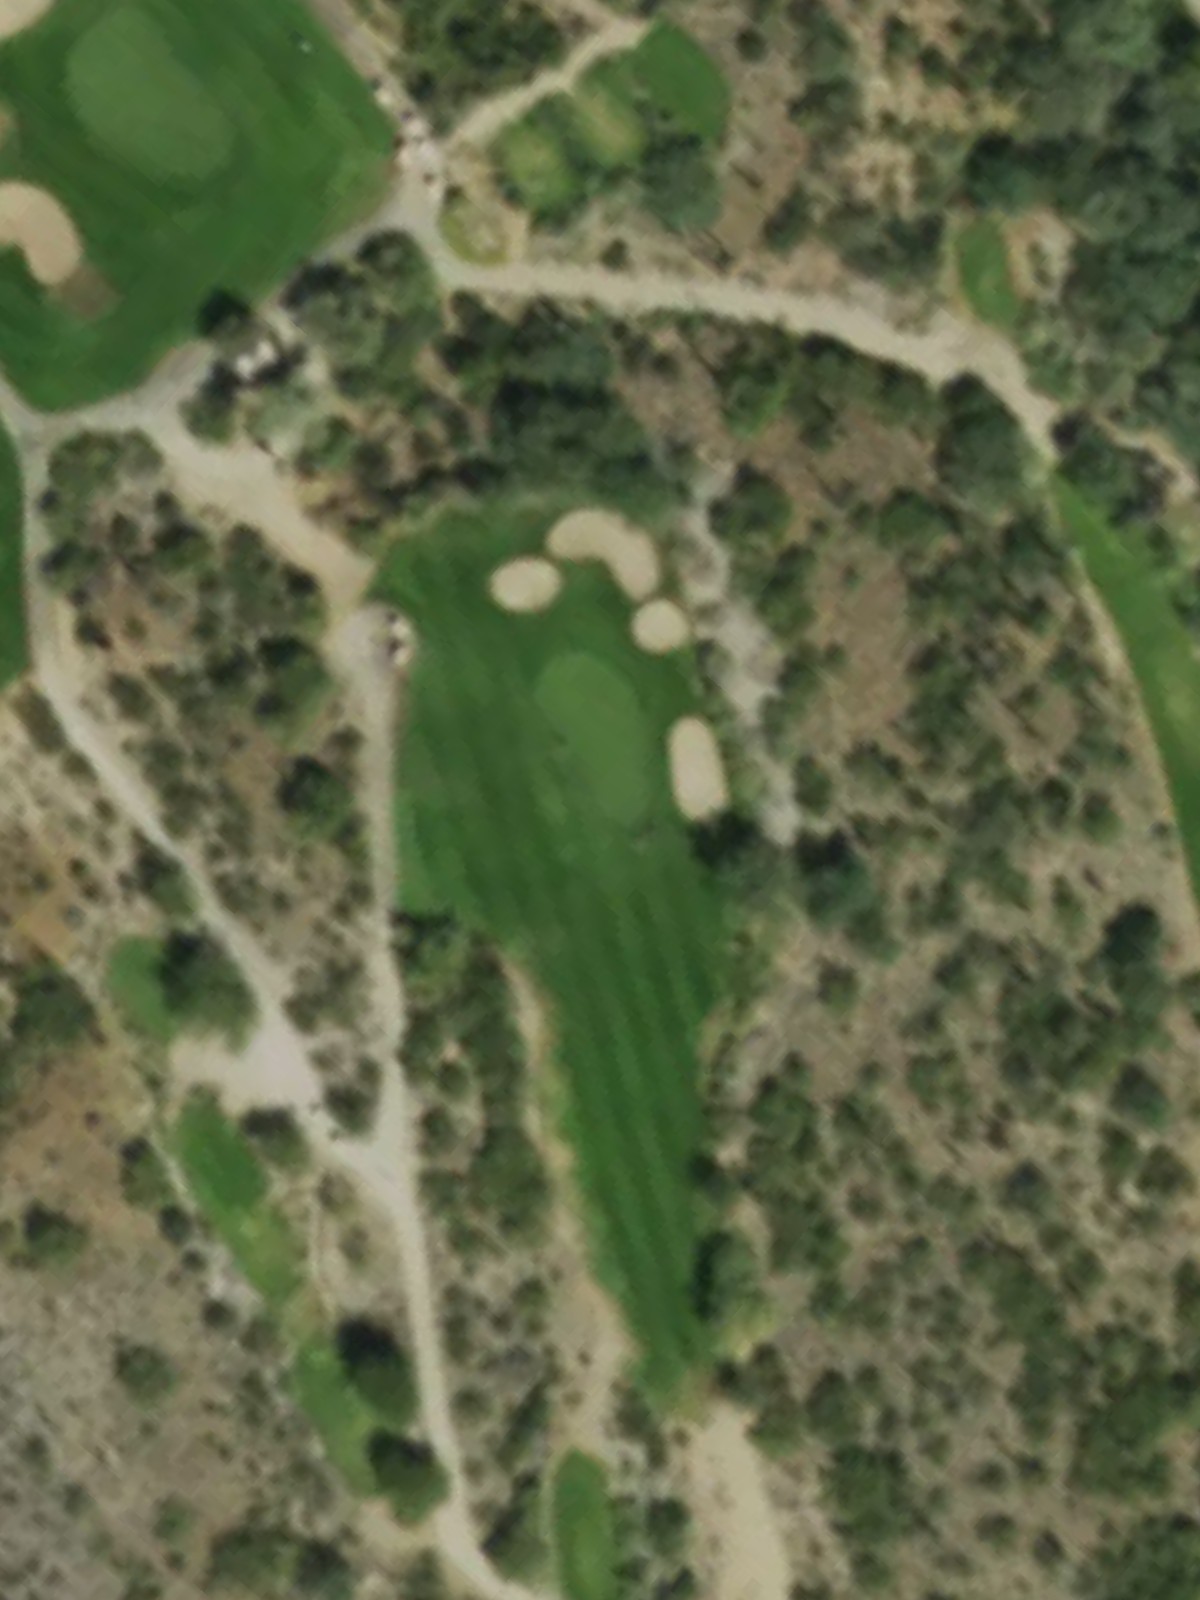
The course's third-hardest hole, this par 4 features a dramatic dogleg right with dense rough and trees defining the turn. The green sits elevated and is protected by bunkers, demanding both distance and precision to reach it in regulation.
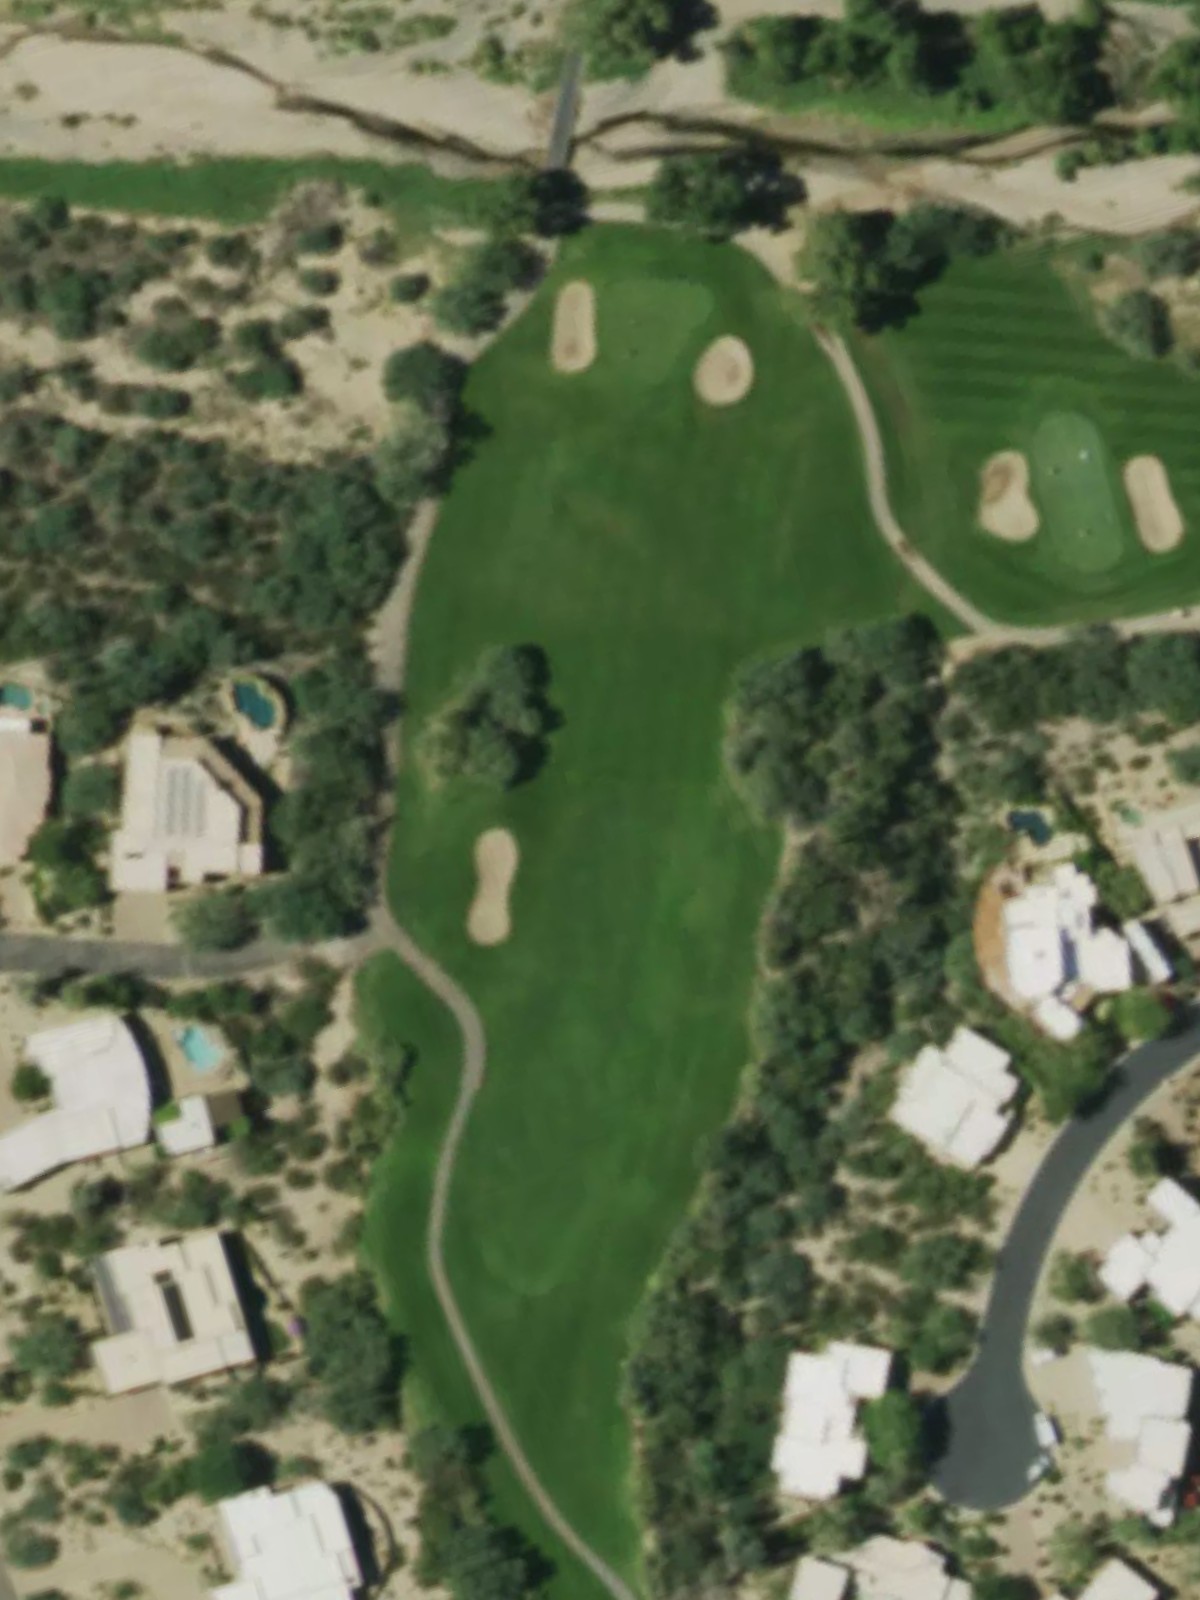
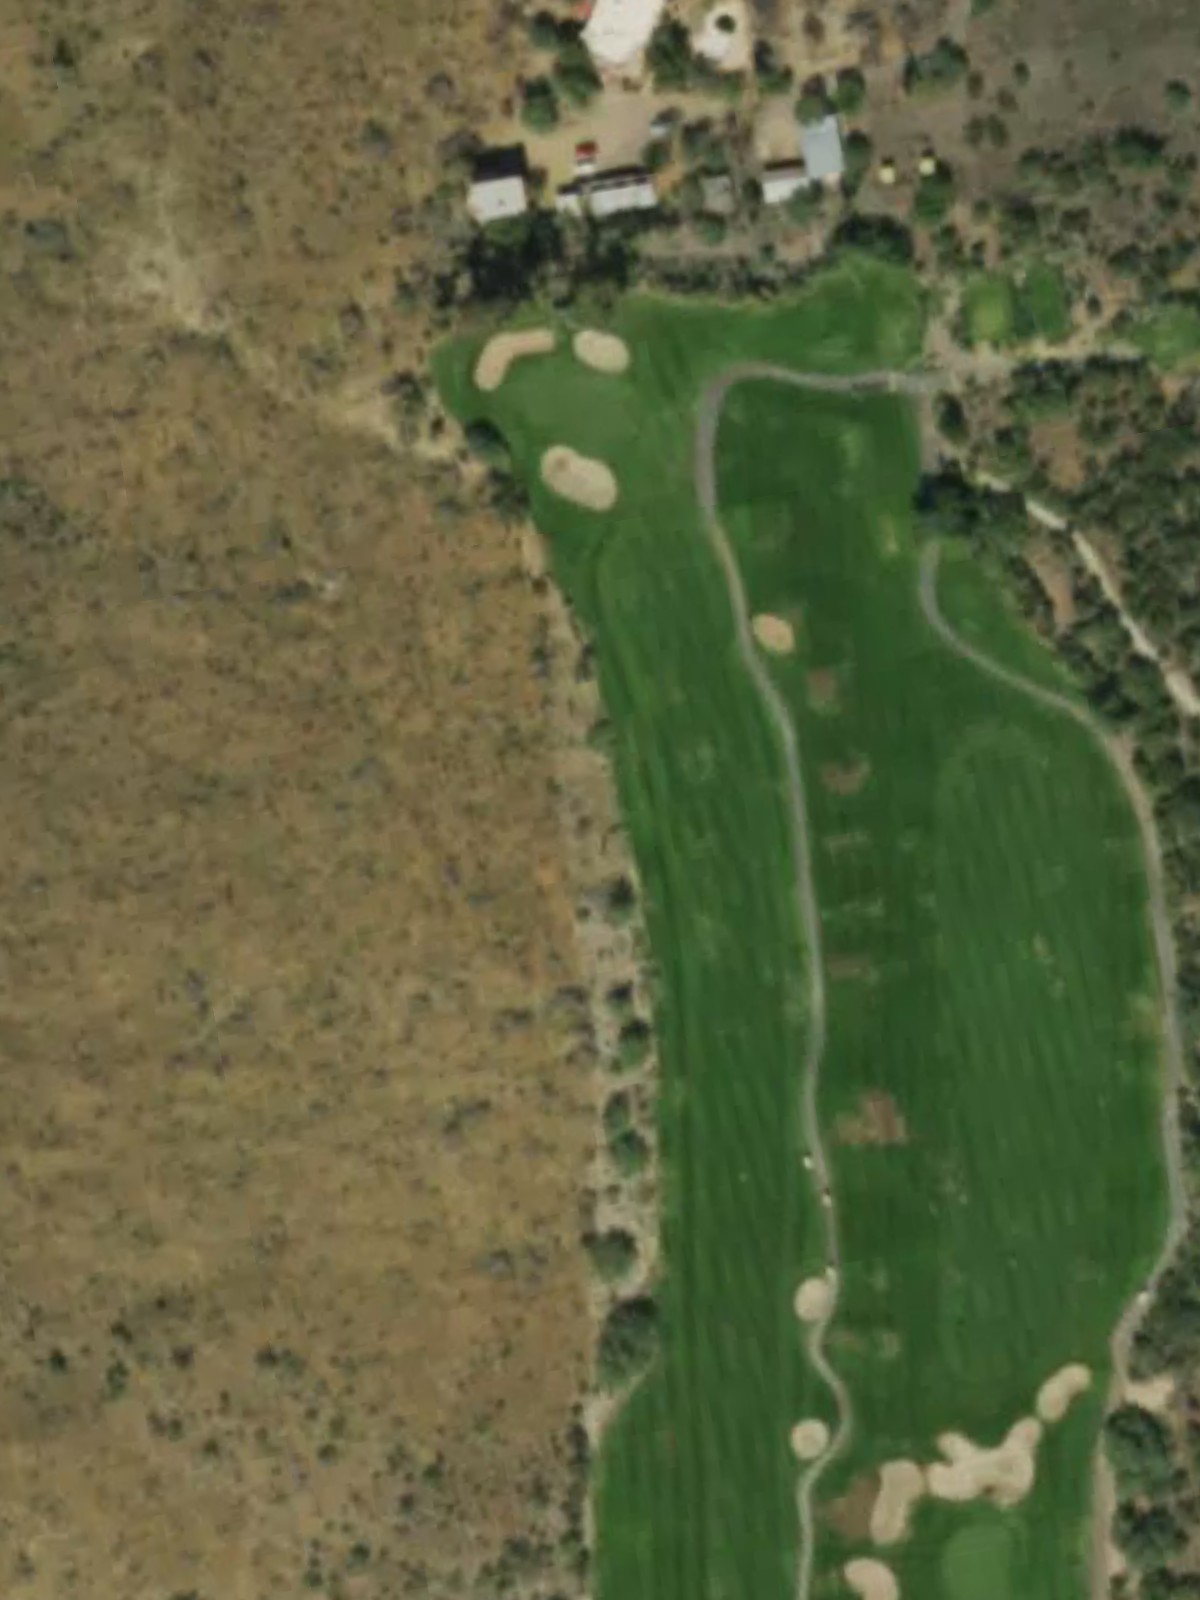
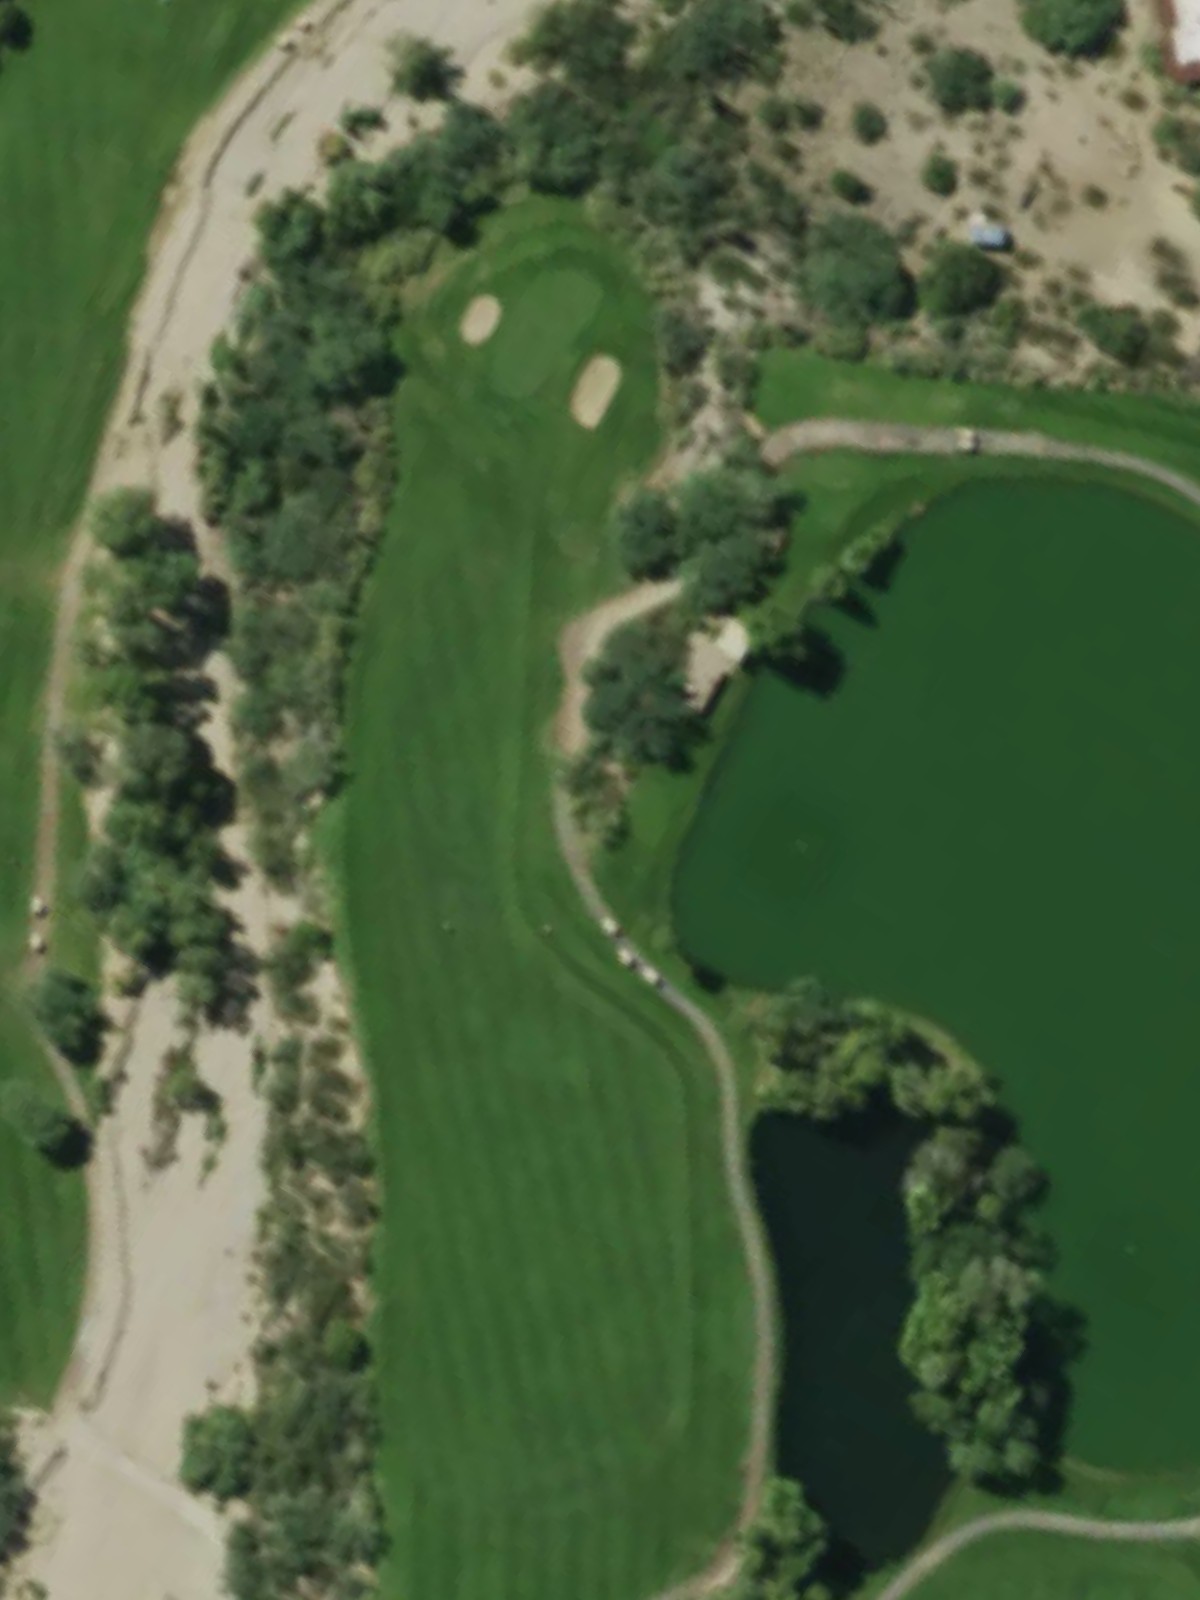
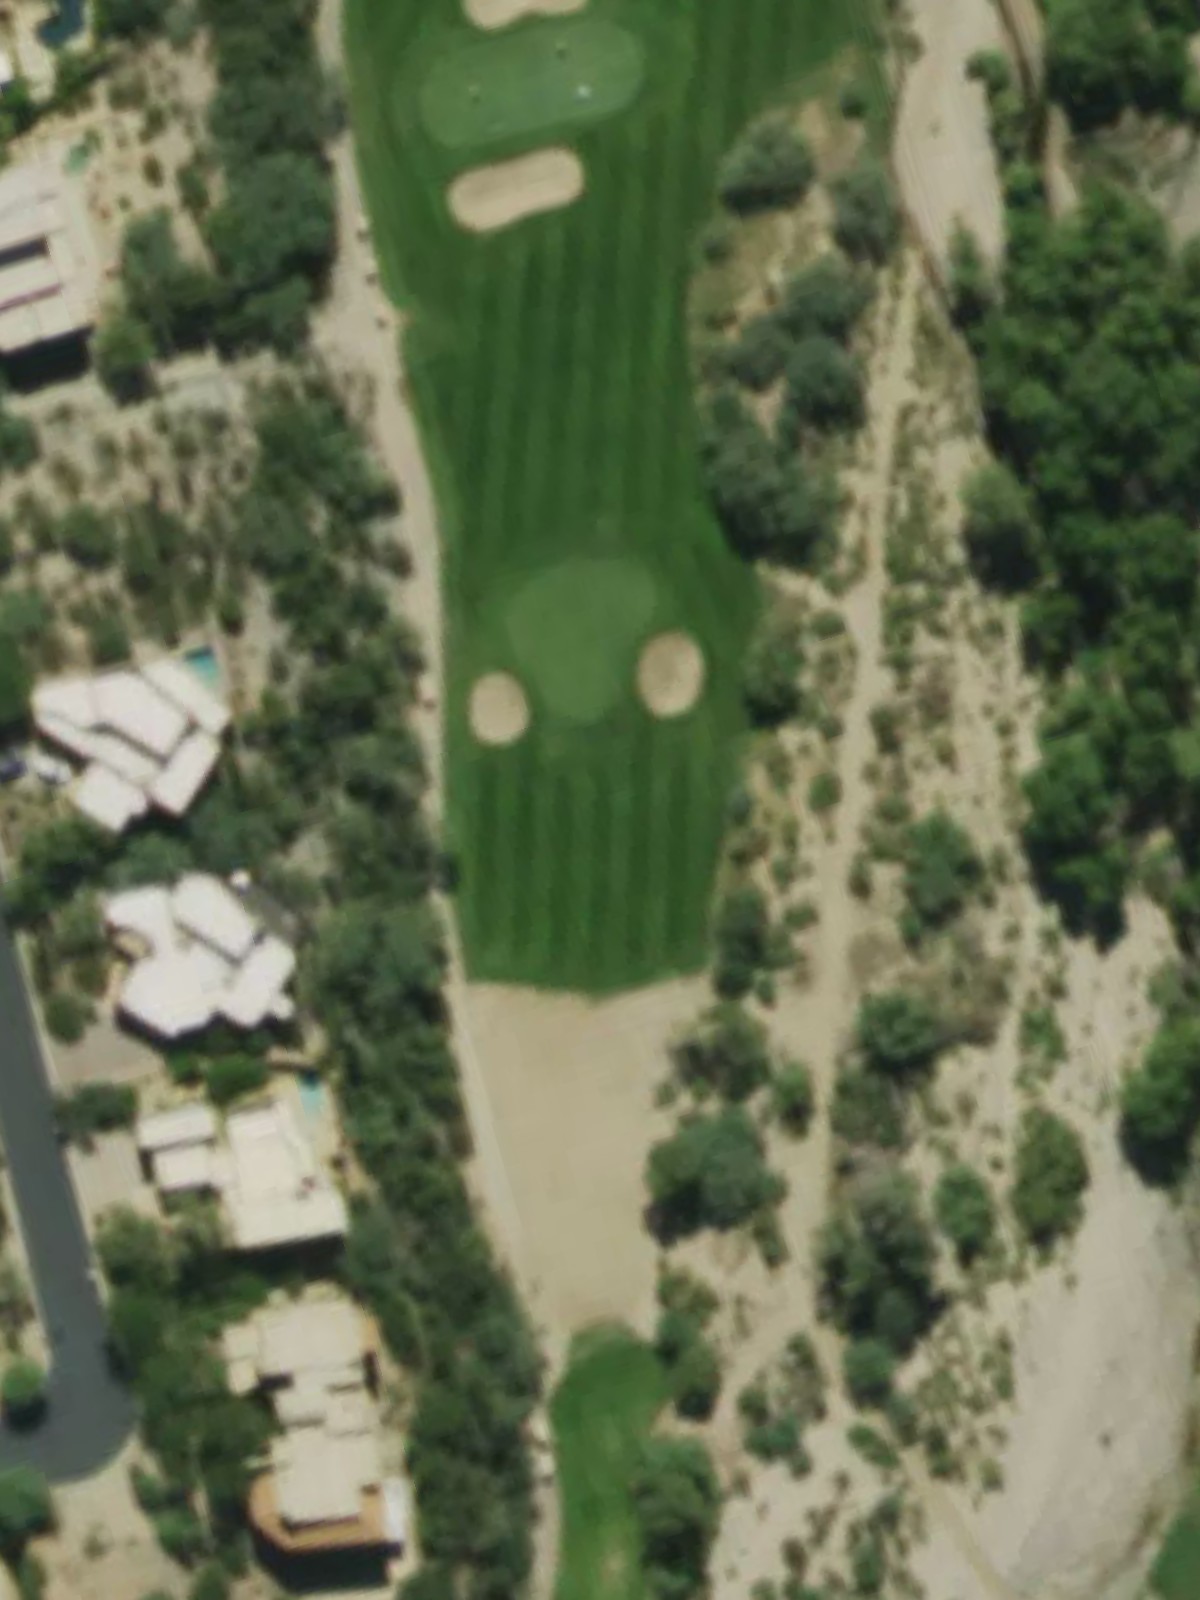
The most challenging hole on the course, this par 4 features a tight fairway with out-of-bounds along the right and water menacing the left. A narrow corridor to the green makes this a stern test of accuracy from tee to green.
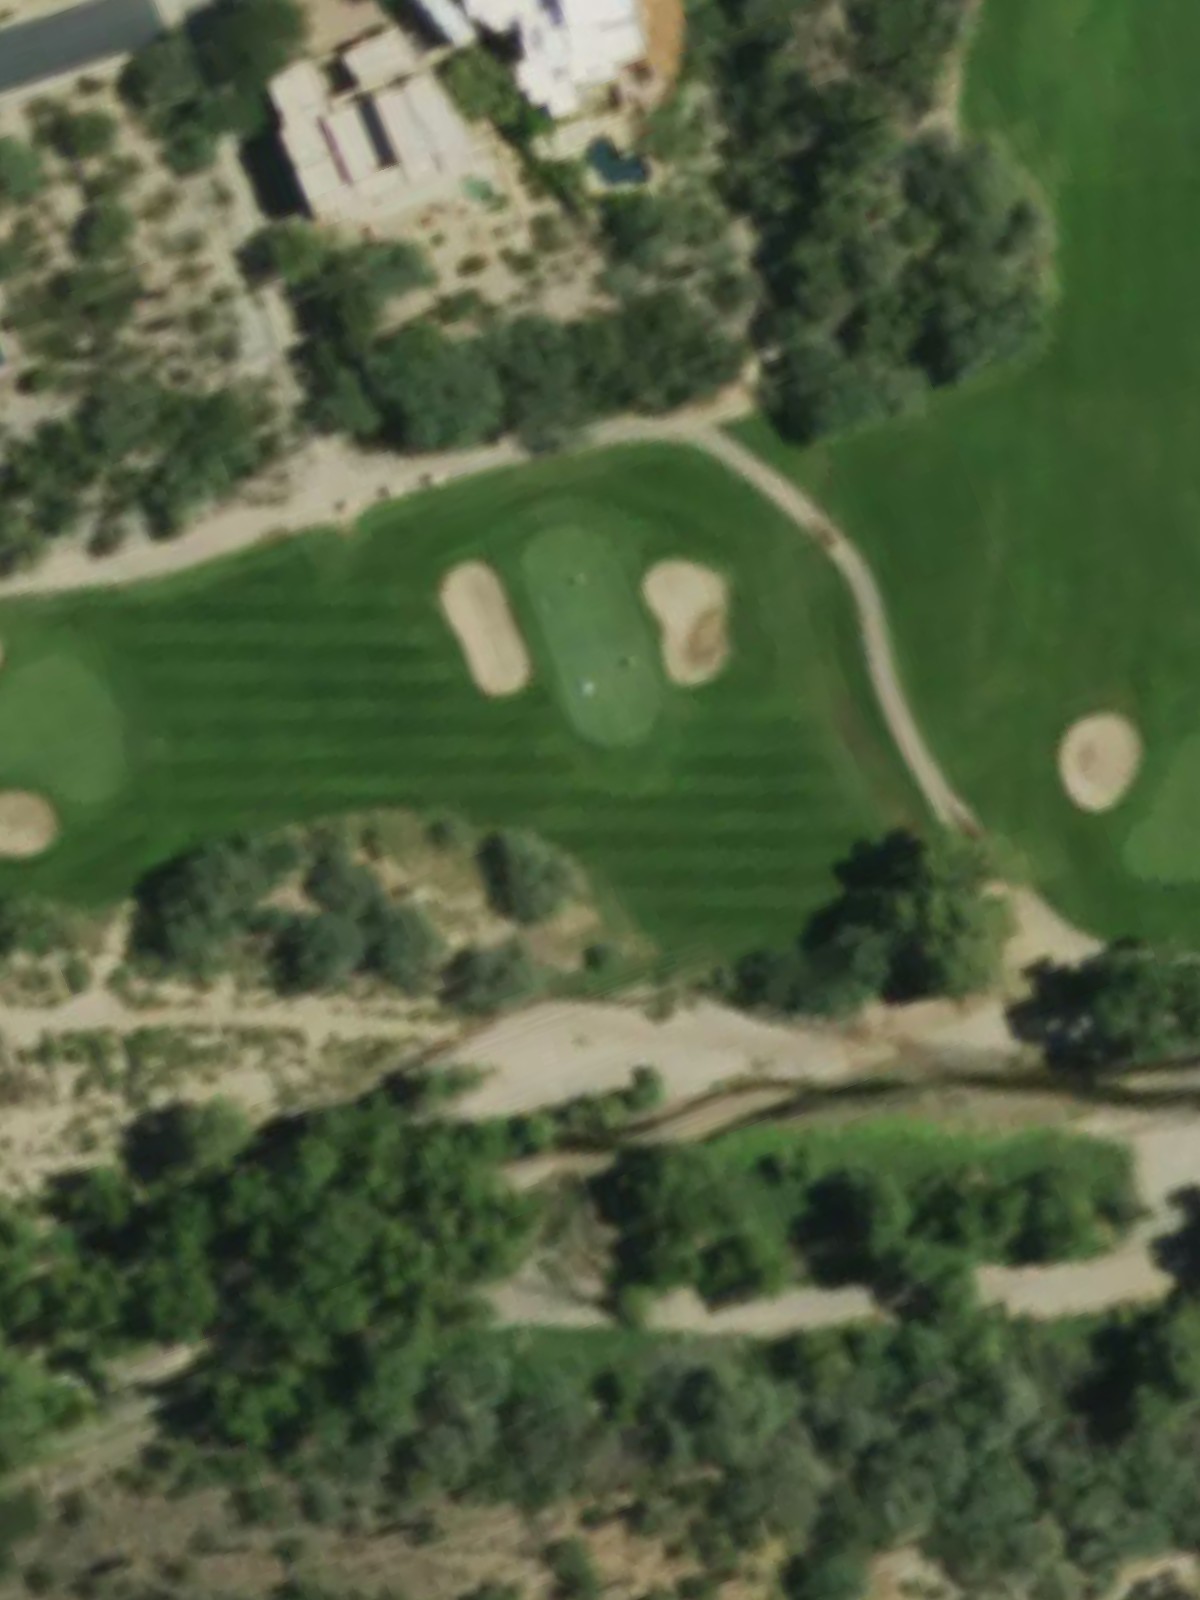
A short par 3 with a relatively straightforward green complex surrounded by light bunkering. The compact length makes this a reachable hole, though positioning is important for avoiding trouble around the putting surface.
A lengthy par 5 that demands two solid shots to set up a reasonable third. Water and bunkers frame the fairway in the landing zone, and the elevated green is well-defended, making this a genuine three-shot hole.
A mid-length par 3 over a natural hazard that frames the front of the green. The putting surface slopes significantly, and bunkers sit to the rear, demanding a well-judged tee shot to find the ideal position.
A short and quirky par 4 that plays downhill with an open fairway inviting an aggressive tee shot. The green is relatively unprotected but sits on a shelf, making the short approach delicate on this risk-reward hole.
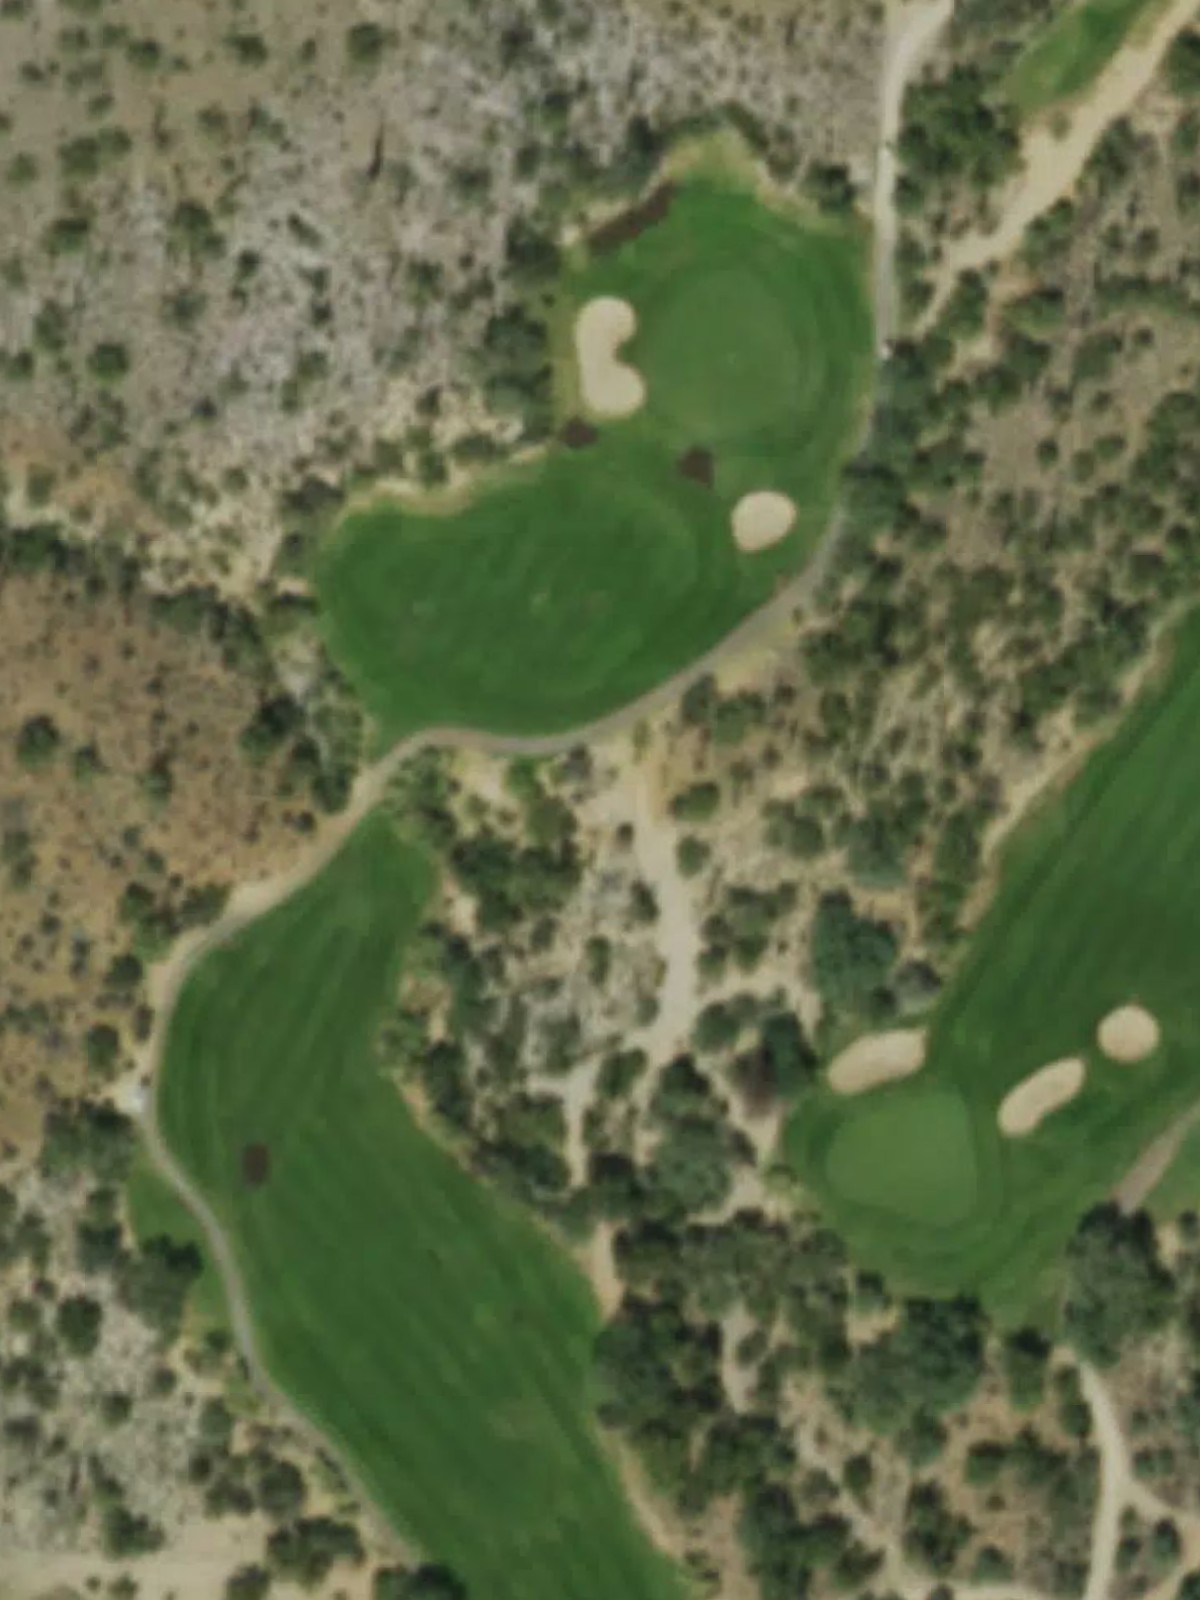
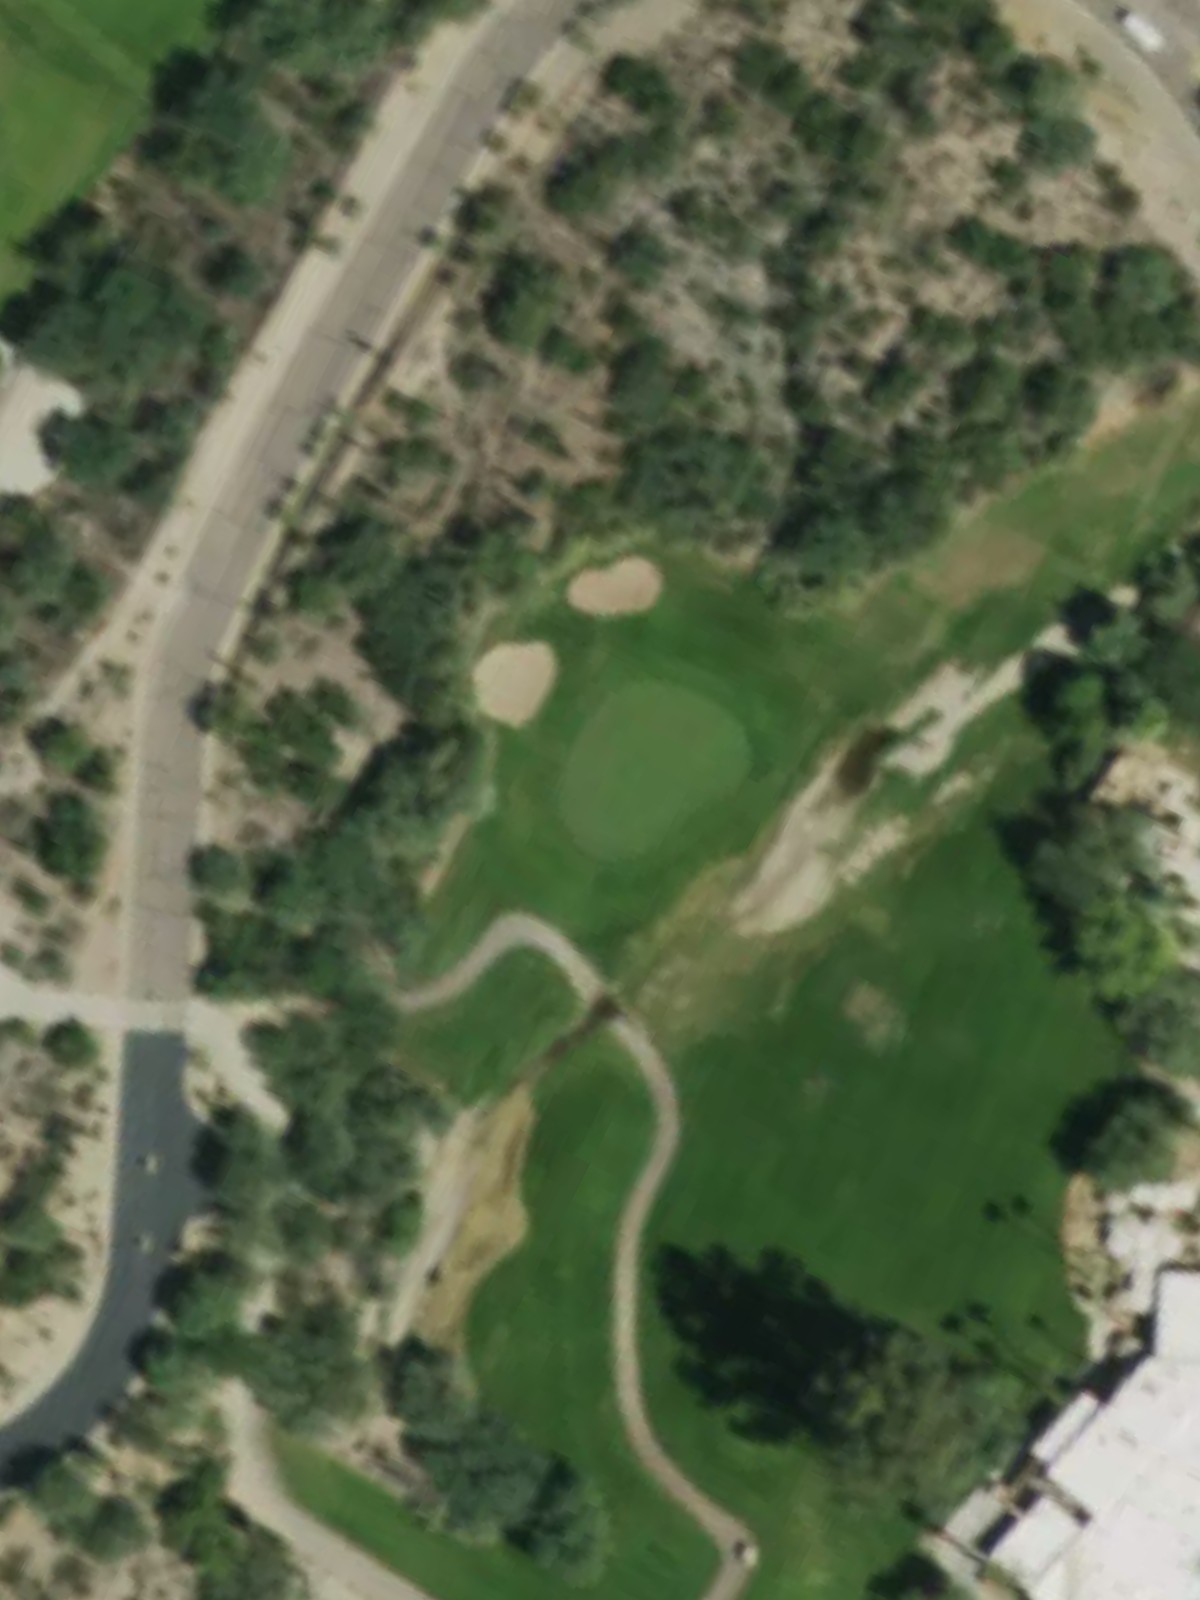
The fifth-most difficult hole on the course, this par 3 features a well-bunkered green surrounded by hazards on multiple sides. The putting surface is small and undulating, making accuracy from the tee essential.
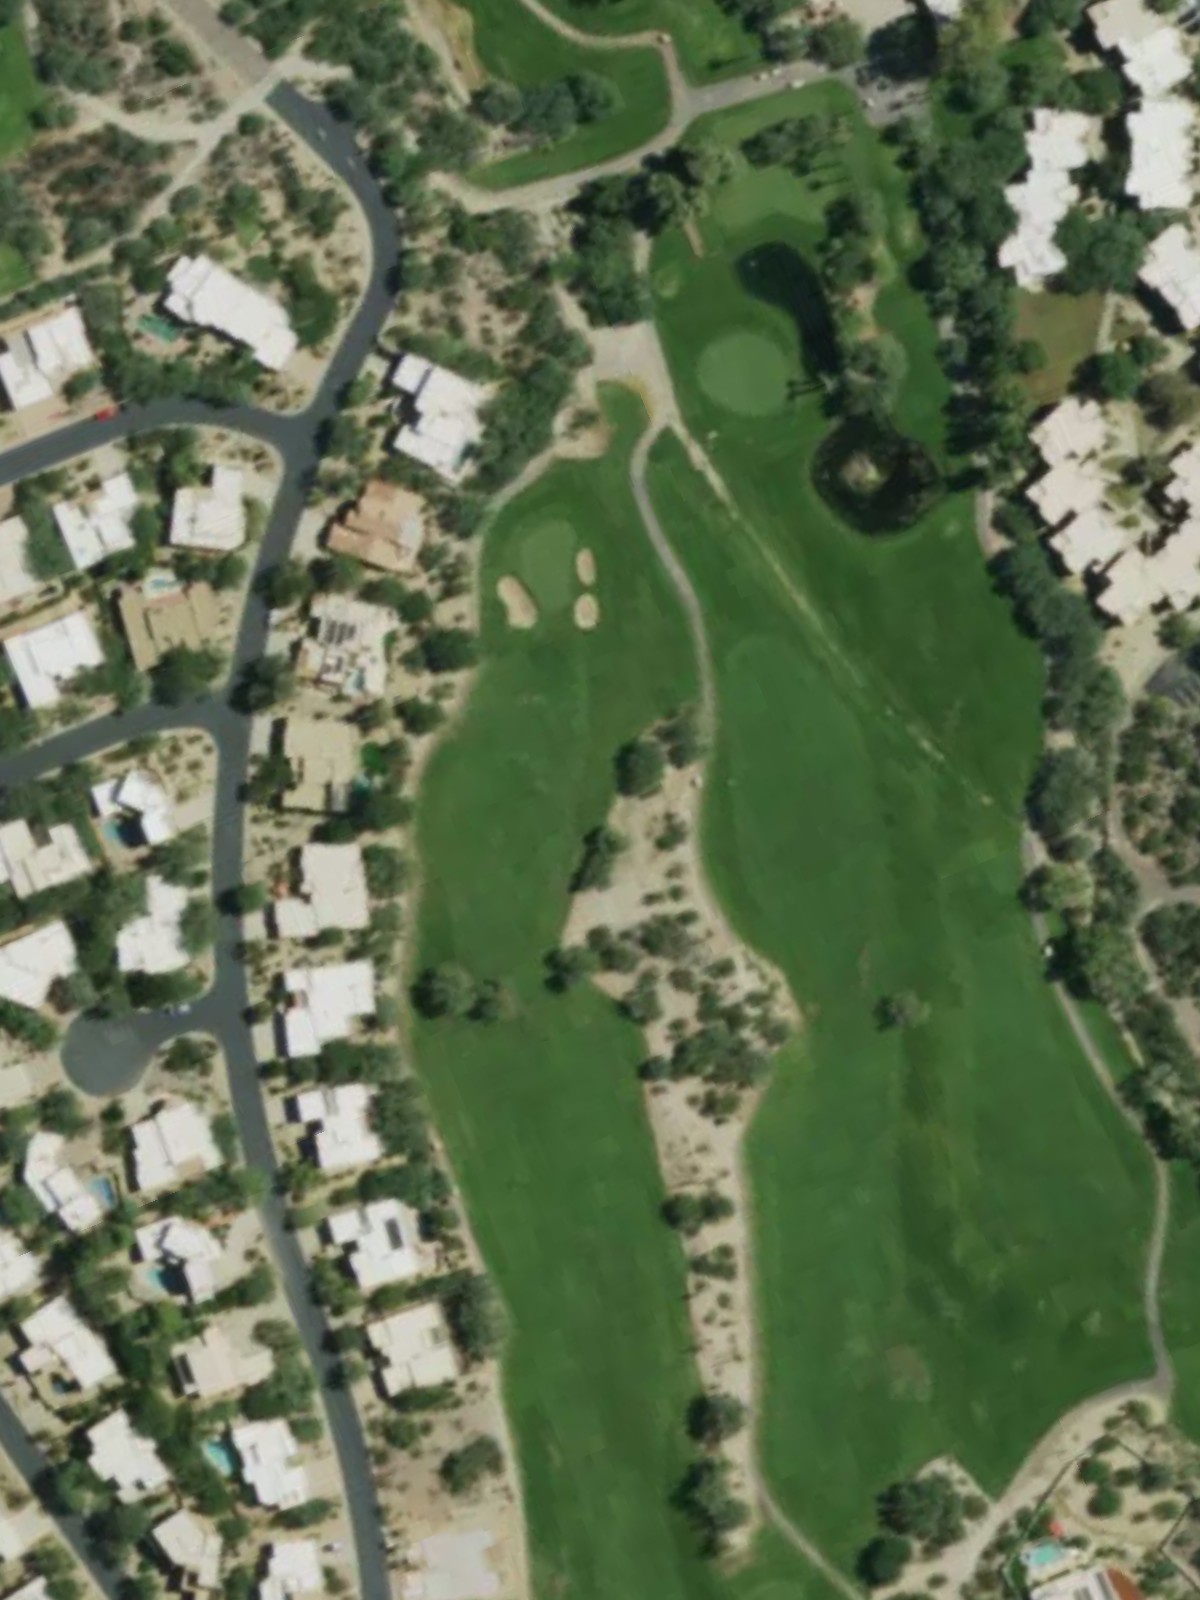
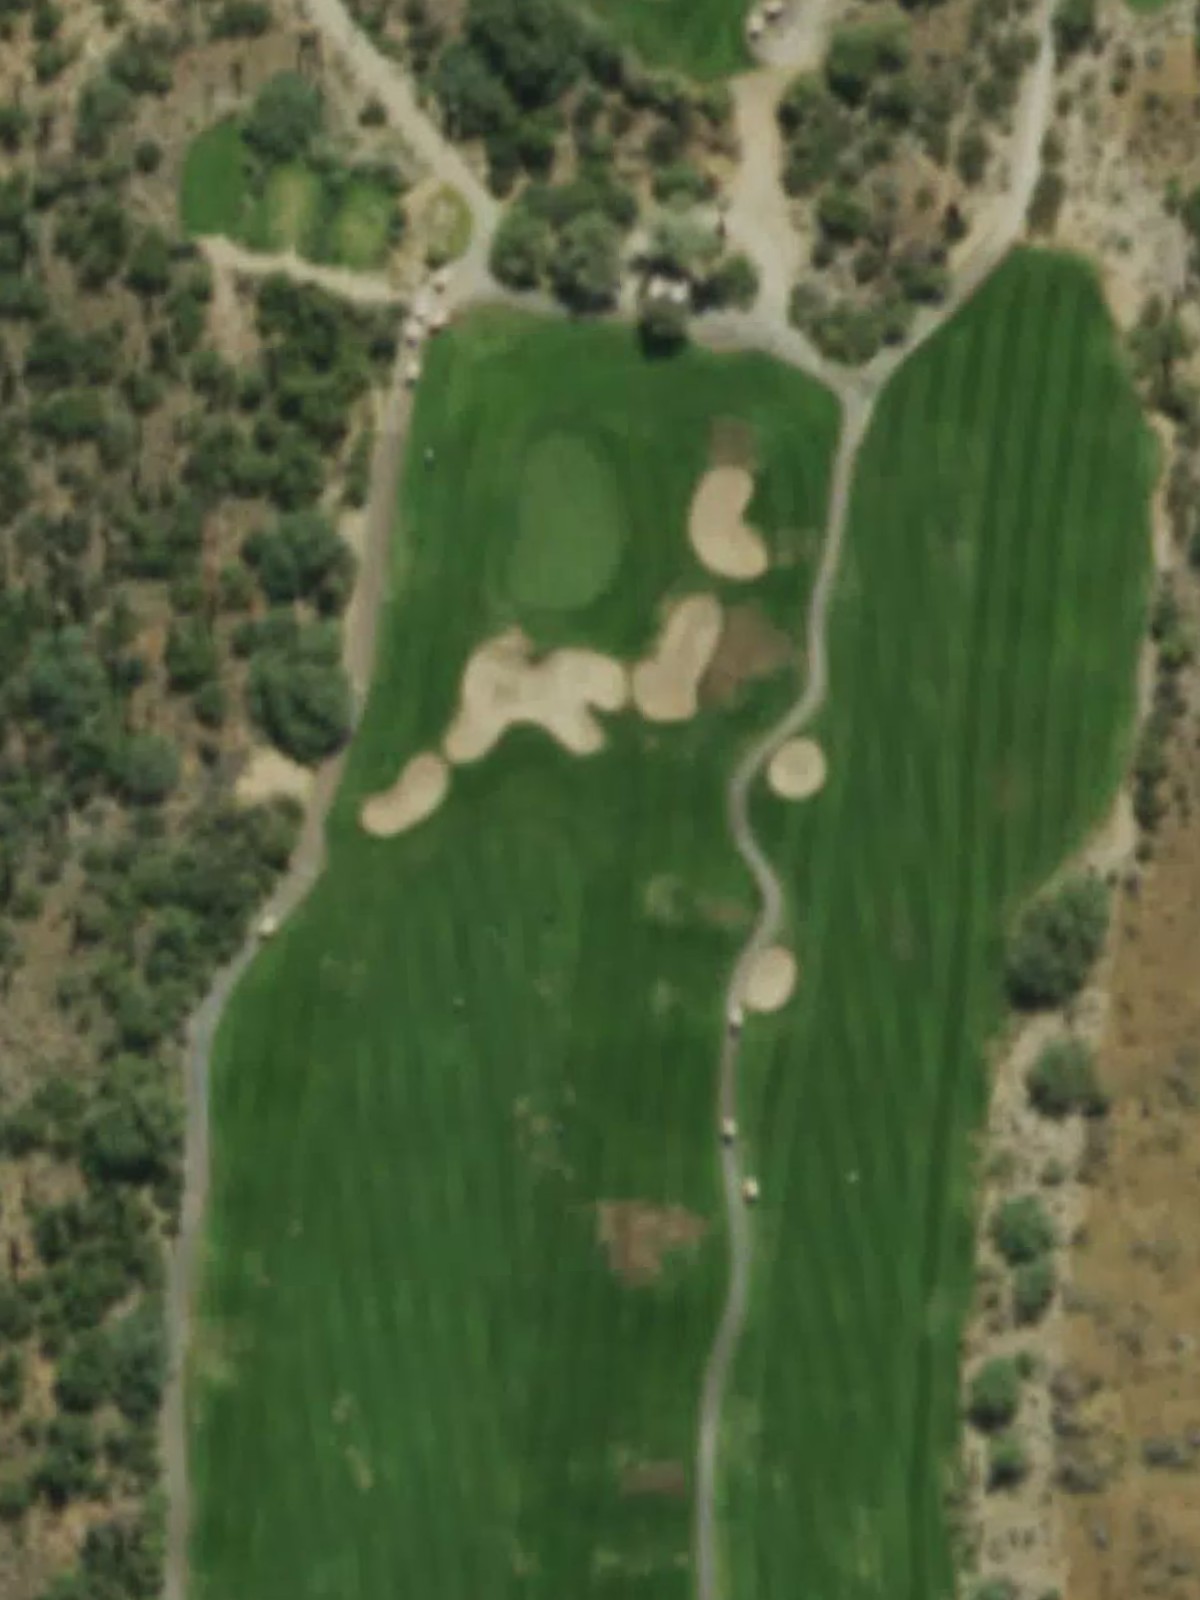
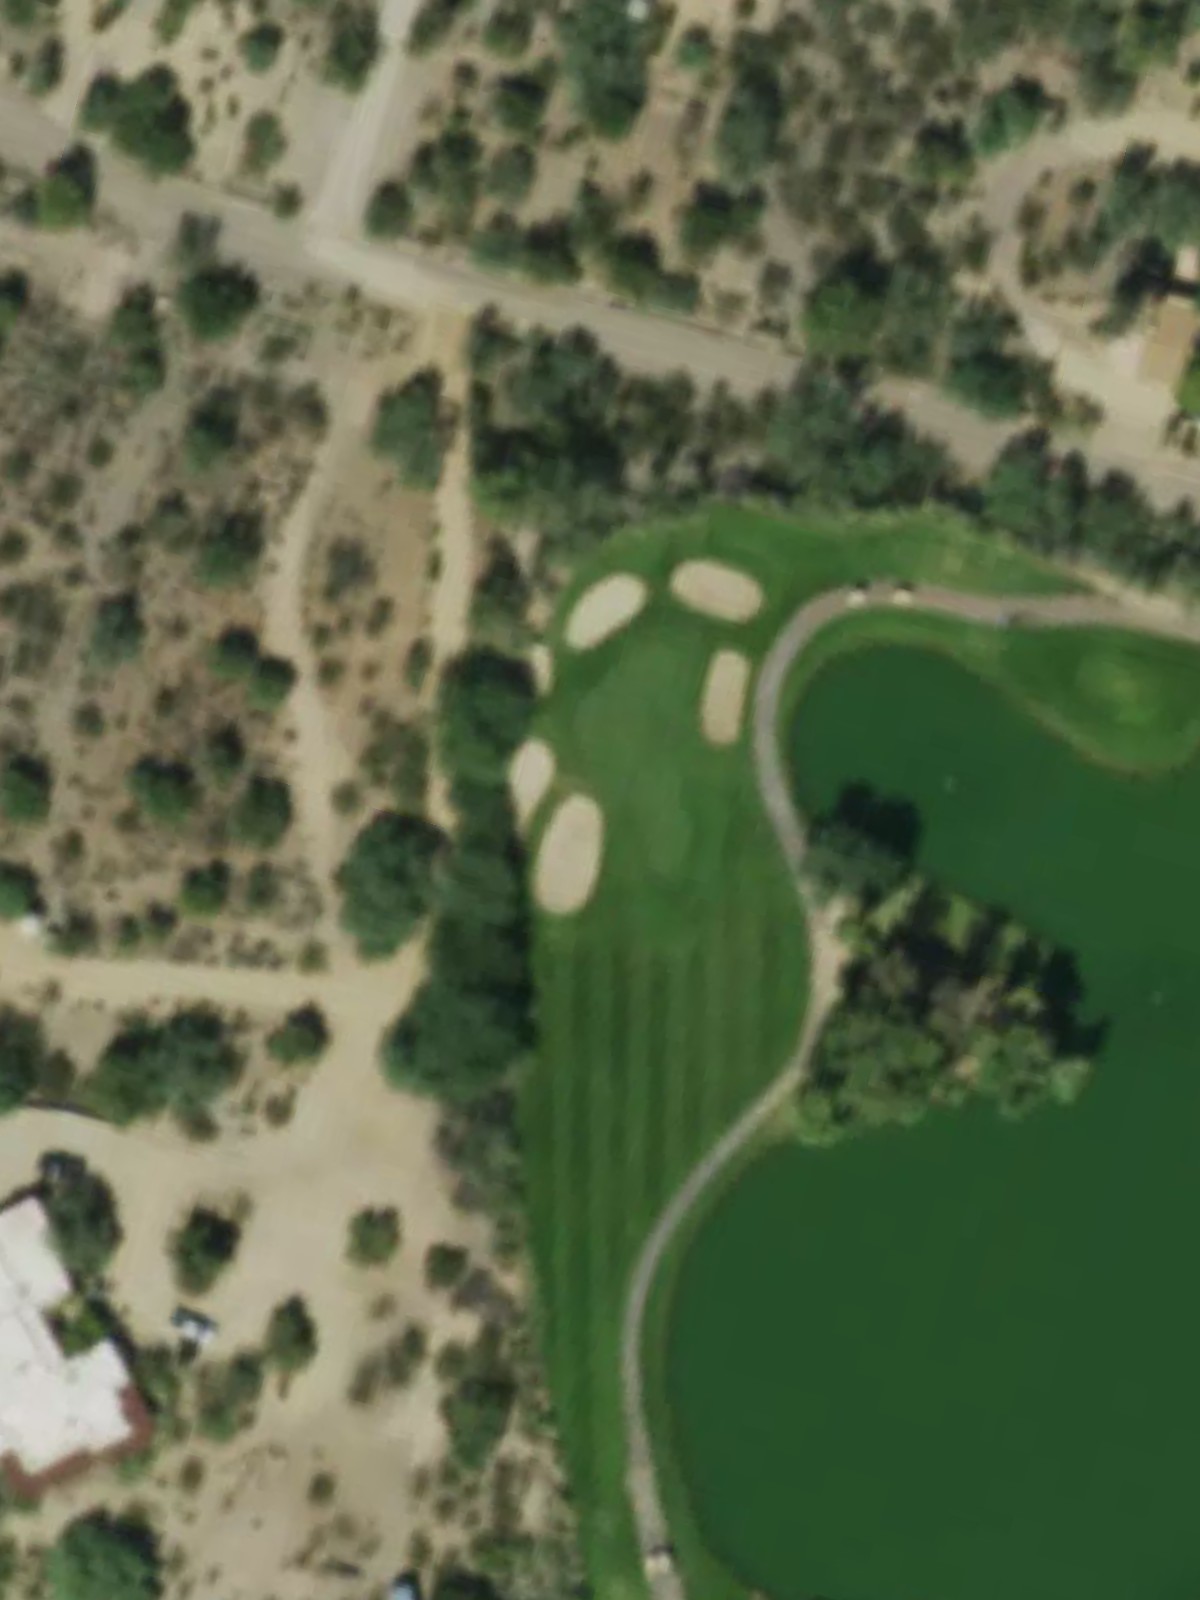
A generous par 5 with a wide fairway that narrows significantly in the landing zone near 250 yards. Water crosses the fairway mid-hole, and the green is protected by bunkers, making strategic layup positioning vital.
The easiest hole on the course, this par 3 is a short and straightforward one-shotter with minimal hazards. The green is open and receptive, offering a good scoring opportunity despite its modest length.
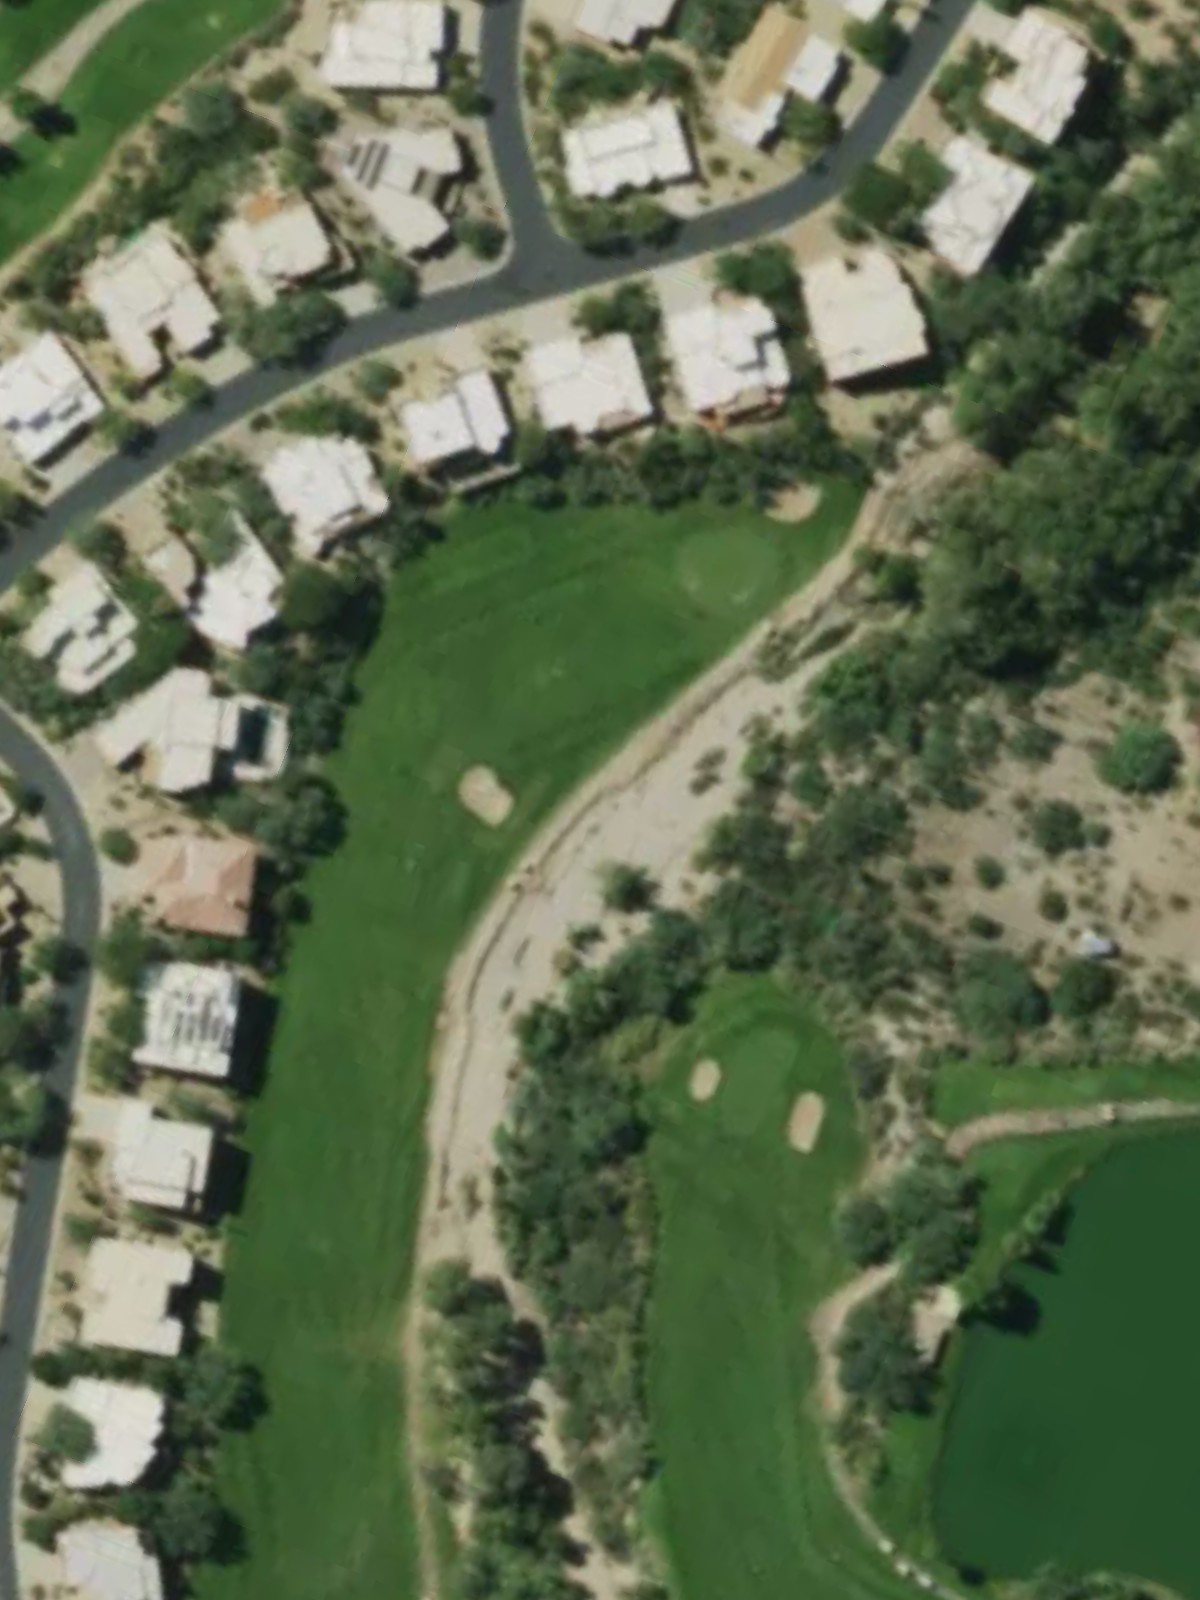
A sharp dogleg left par 4 with bunkers guarding the inside of the turn and rough tightening the fairway throughout. The green sits at an angle to the approach, requiring a precise shot to a modest target.
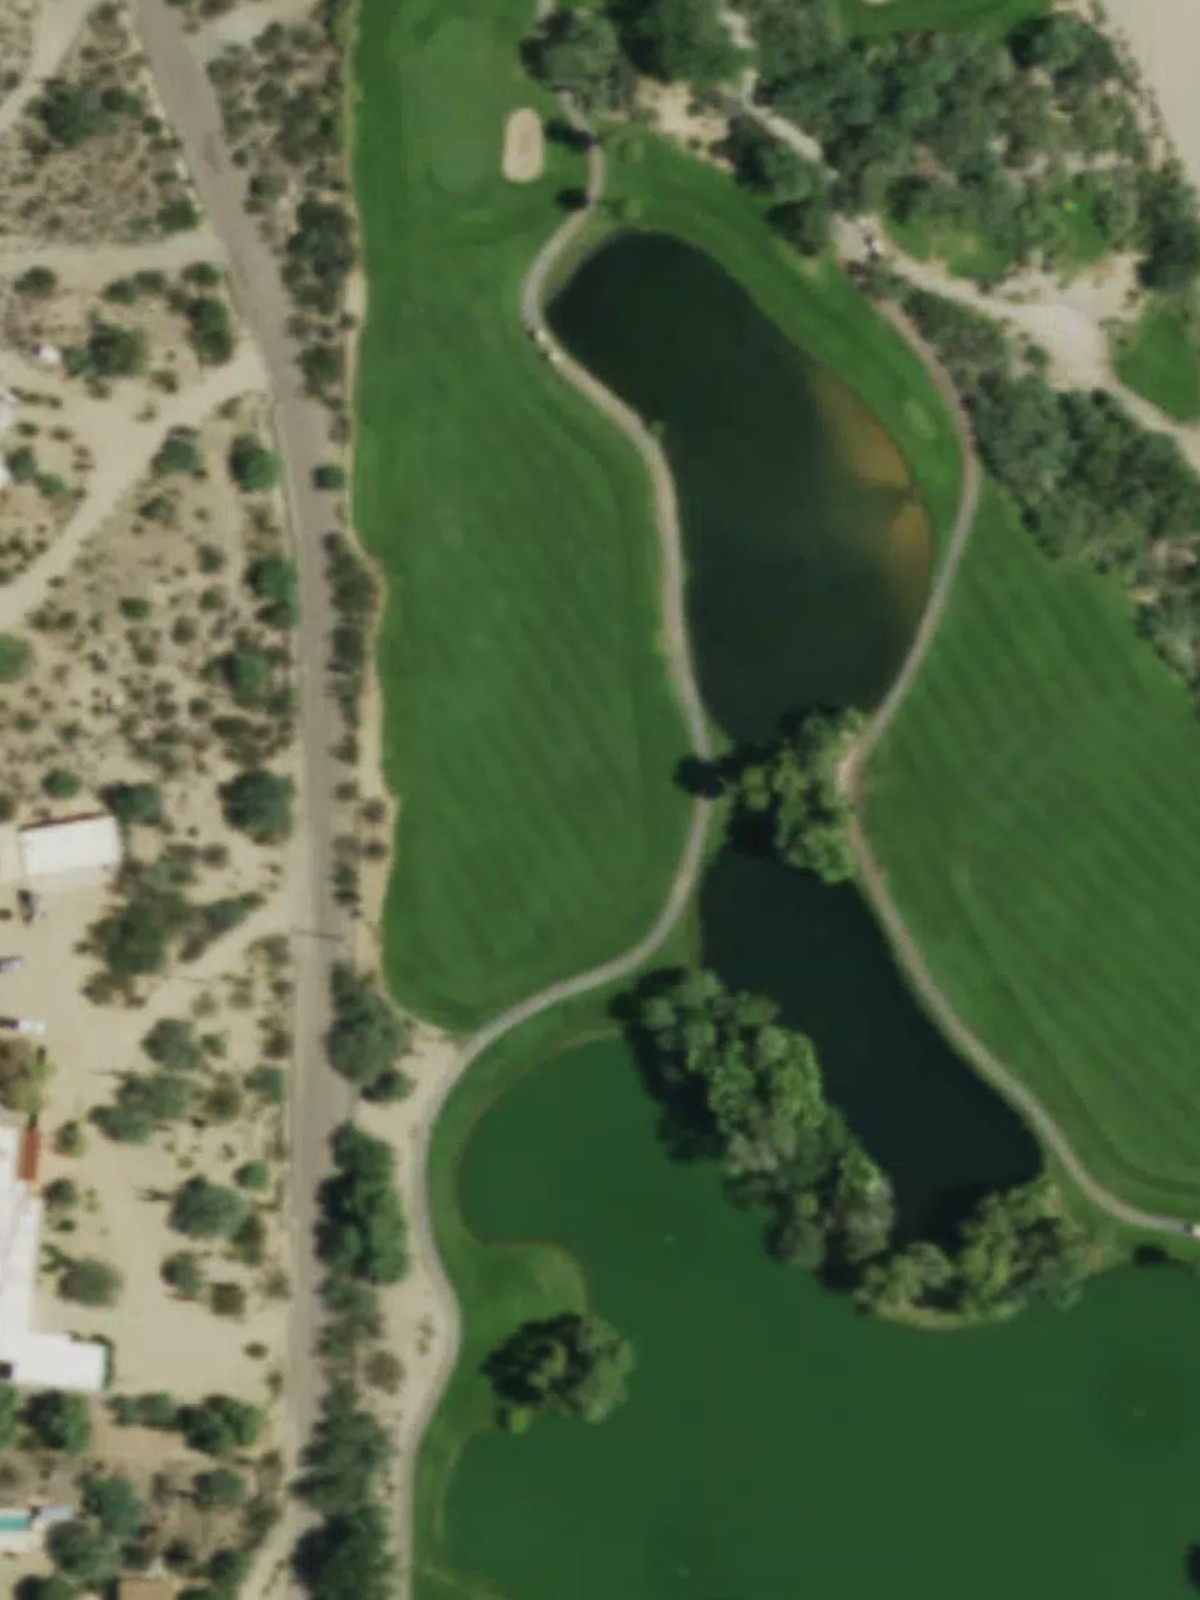
A mid-length par 4 with a fairway that bends slightly right and narrows in the approach zone. Water guards the left side from tee to green, making conservative positioning critical on this hazard-heavy hole.
A very short par 3 with a relatively open green complex and minimal bunkering, offering a straightforward tee shot. The modest length and light defense make this a birdie opportunity.
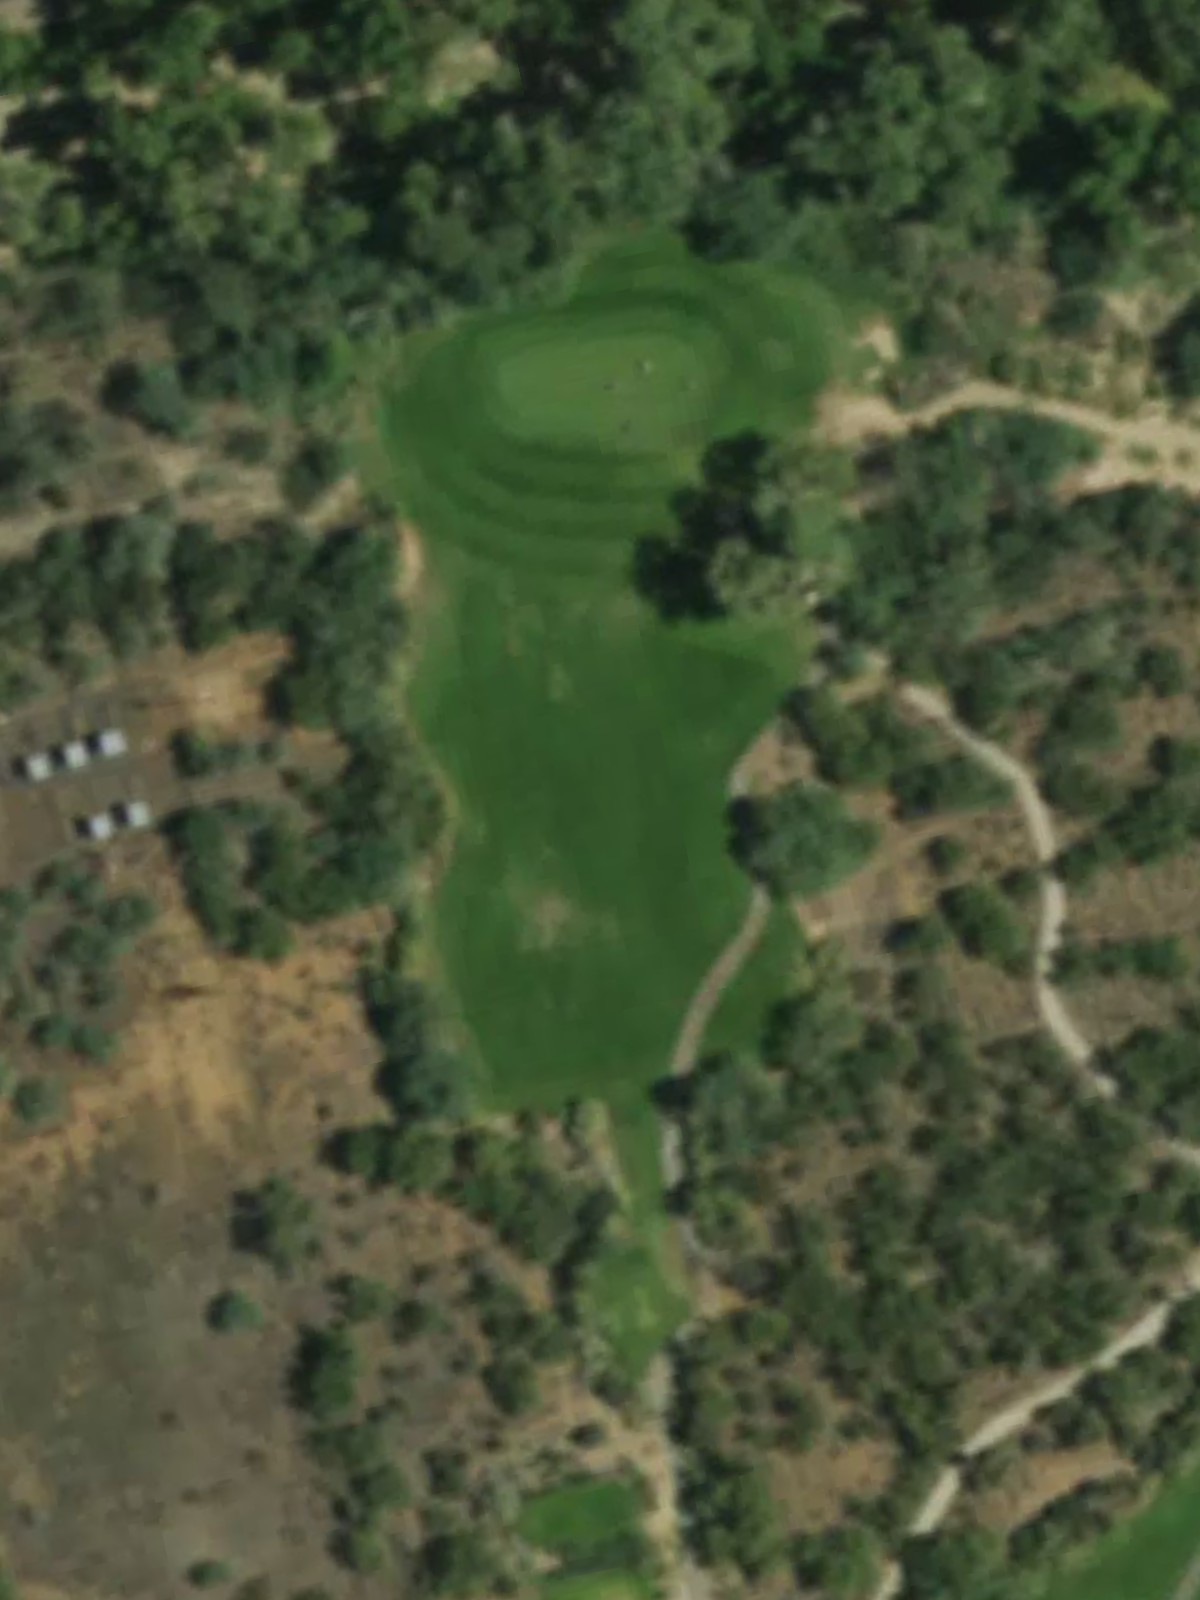
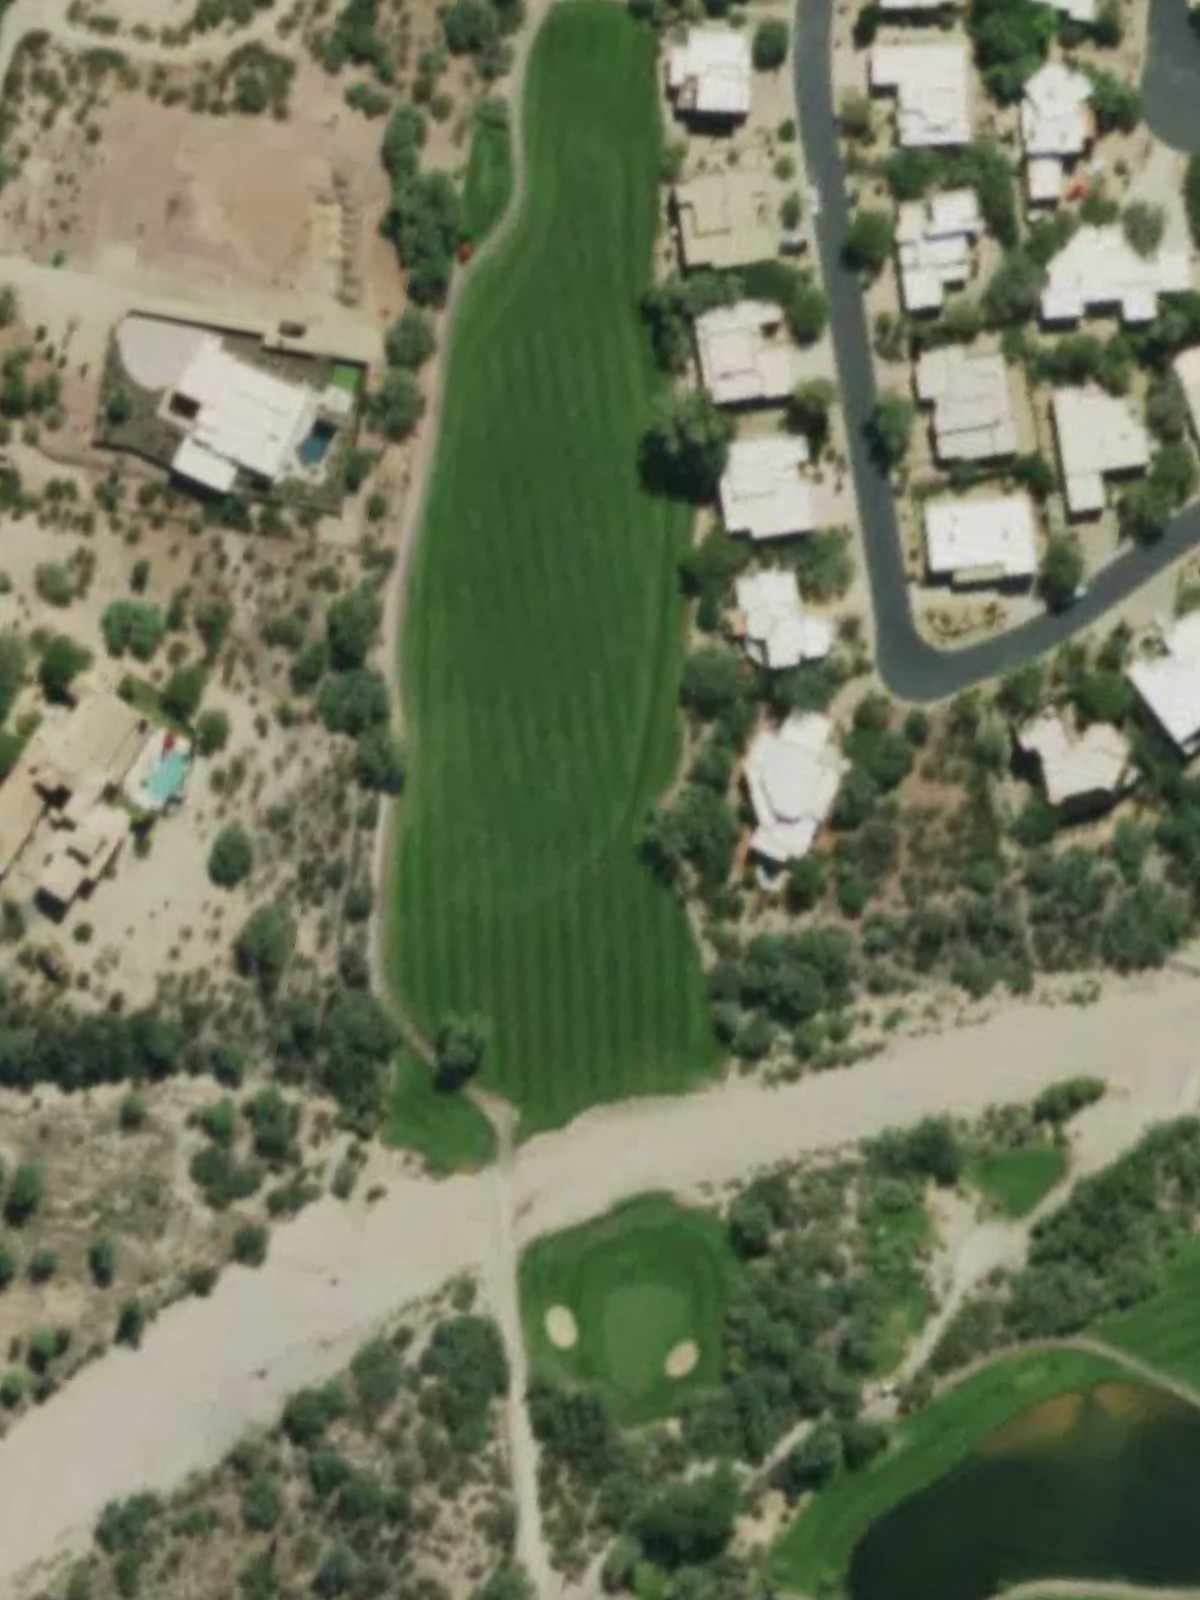
A compact par 4 with a tight fairway flanked by rough and trees on both sides, requiring accuracy off the tee. The small green is well-bunkered, making precision the premium on this narrow driving hole.
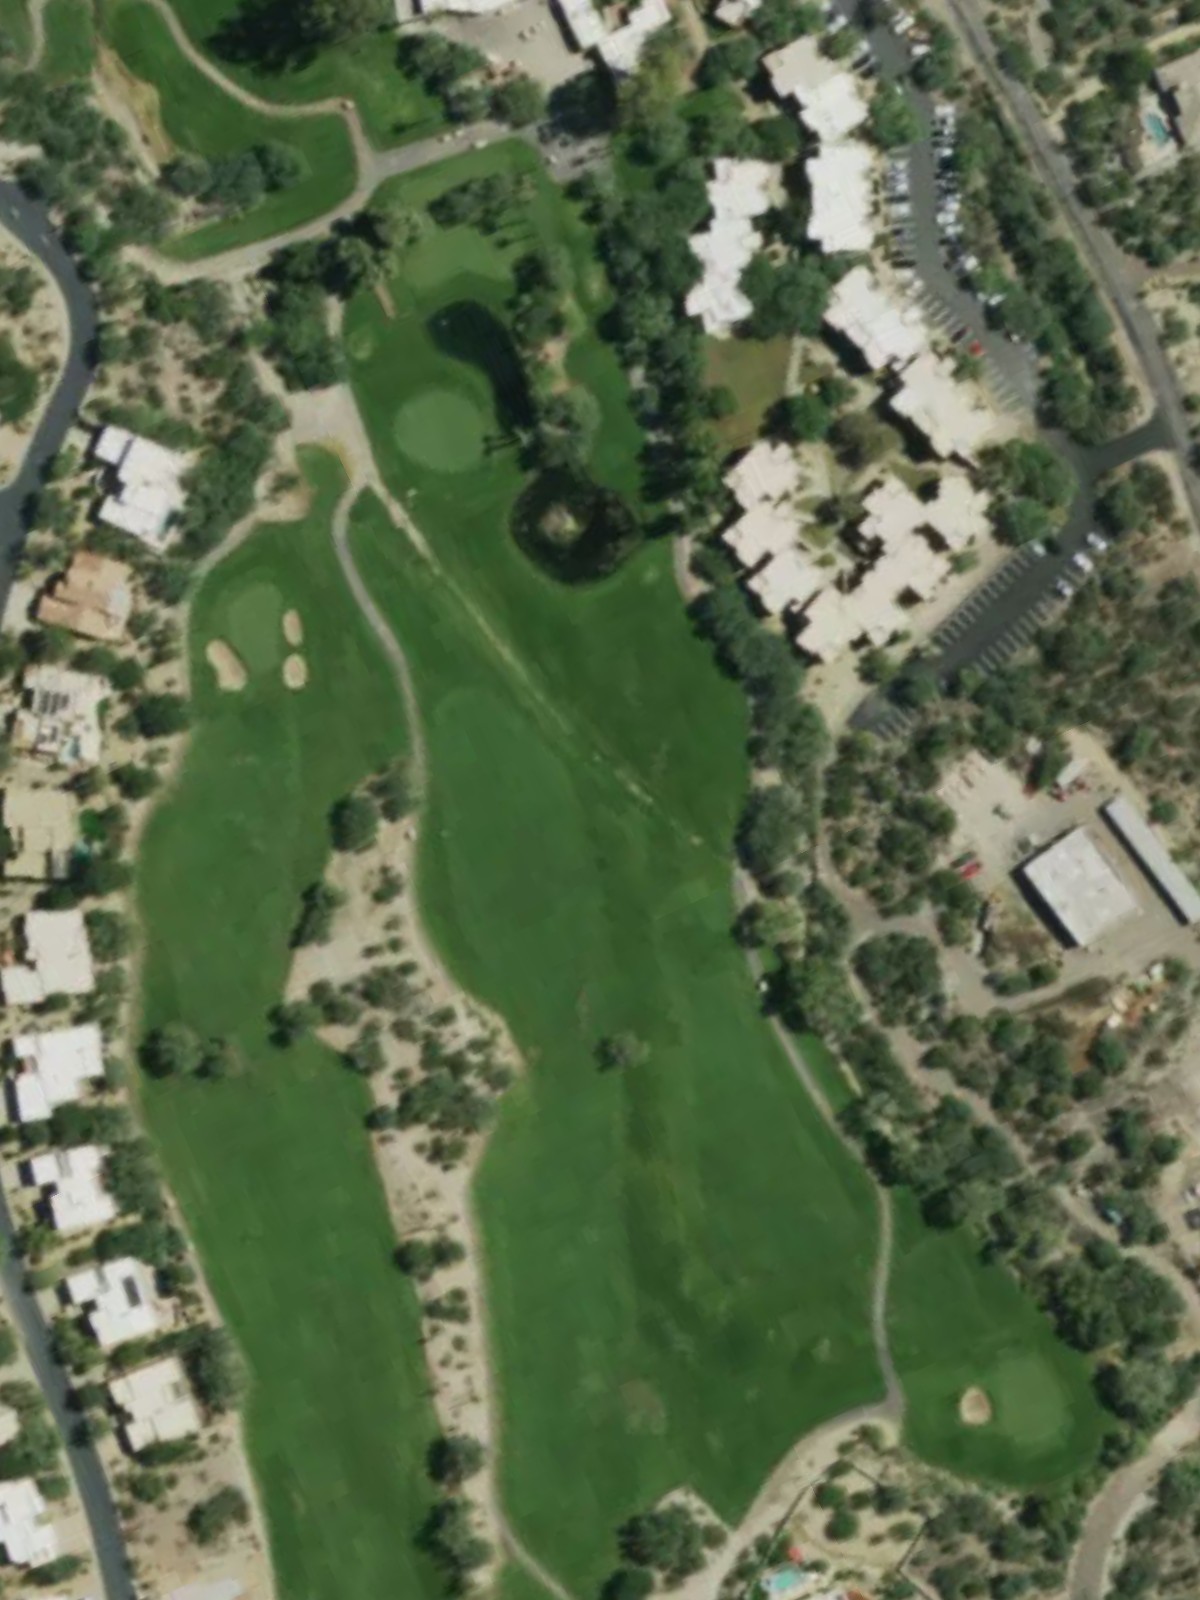
The second-hardest hole on the course, this lengthy par 5 features out-of-bounds right that threatens the entire hole and water left in the landing zones. The elevated green is challenging to reach in two, making this a formidable three-shot test.
A short par 3 over a natural hazard with a green that slopes away from the player, making elevation control critical. Light bunkering frames the putting surface, though the terrain itself provides most of the challenge.
A finishing par 5 that plays uphill with bunkers scattered throughout the fairway corridors. The elevated green is narrow and well-protected, offering a dramatic finale that demands two strong shots and an accurate approach.
Scorecard
| Hole | 1 | 2 | 3 | 4 | 5 | 6 | 7 | 8 | 9 | Out | 10 | 11 | 12 | 13 | 14 | 15 | 16 | 17 | 18 | In | Tot |
|---|---|---|---|---|---|---|---|---|---|---|---|---|---|---|---|---|---|---|---|---|---|
| Par | 4 | 4 | 4 | 4 | 3 | 5 | 3 | 4 | 3 | 34 | 5 | 3 | 4 | 4 | 3 | 4 | 5 | 3 | 5 | 36 | 70 |
| HCP | 7 | 9 | 3 | 1 | 17 | 11 | 13 | 15 | 5 | 6 | 18 | 8 | 12 | 16 | 10 | 2 | 14 | 4 | |||
| blue | 363 | 352 | 331 | 312 | 160 | 426 | 187 | 257 | 183 | 2571 | 447 | 117 | 381 | 346 | 140 | 333 | 468 | 149 | 504 | 2885 | 5456 |
| white | 343 | 306 | 295 | 299 | 146 | 394 | 167 | 237 | 172 | 2359 | 402 | 107 | 343 | 291 | 131 | 309 | 454 | 126 | 457 | 2620 | 4979 |
| red | 262 | 256 | 237 | 253 | 108 | 362 | 125 | 223 | 143 | 1969 | 358 | 107 | 262 | 258 | 115 | 219 | 419 | 106 | 350 | 2194 | 4163 |