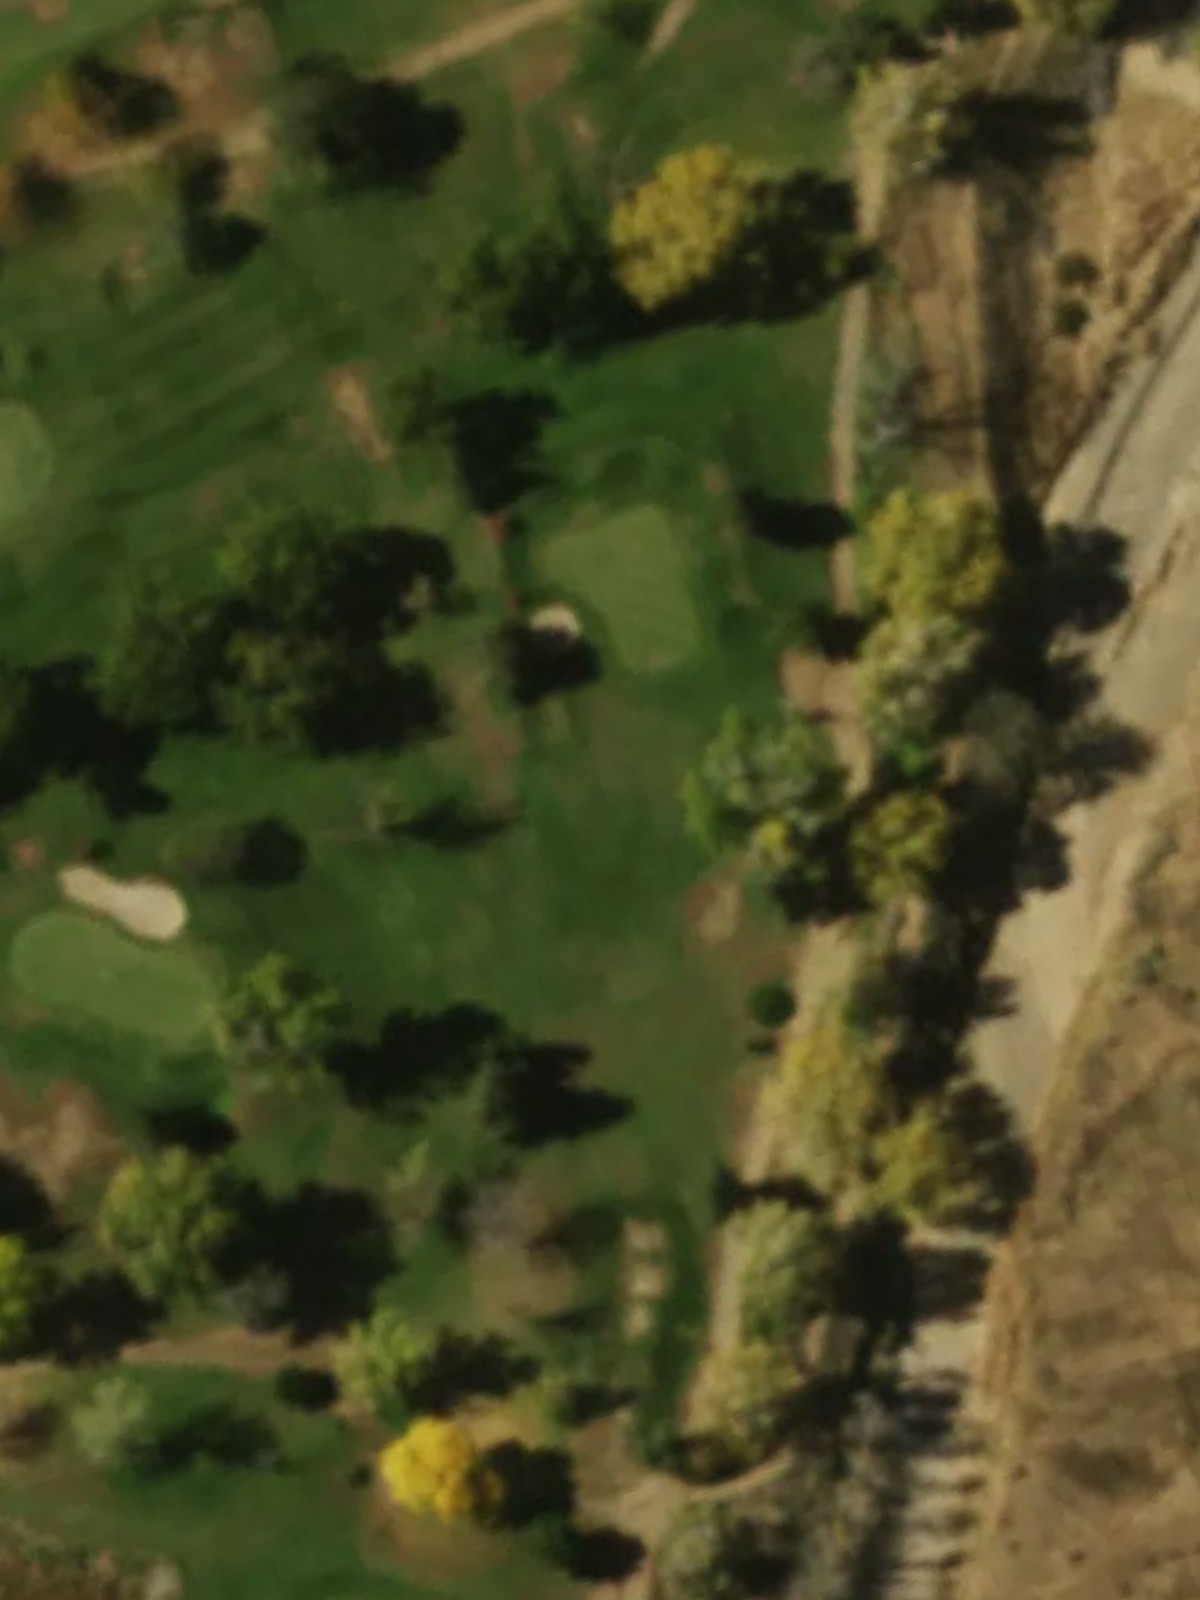
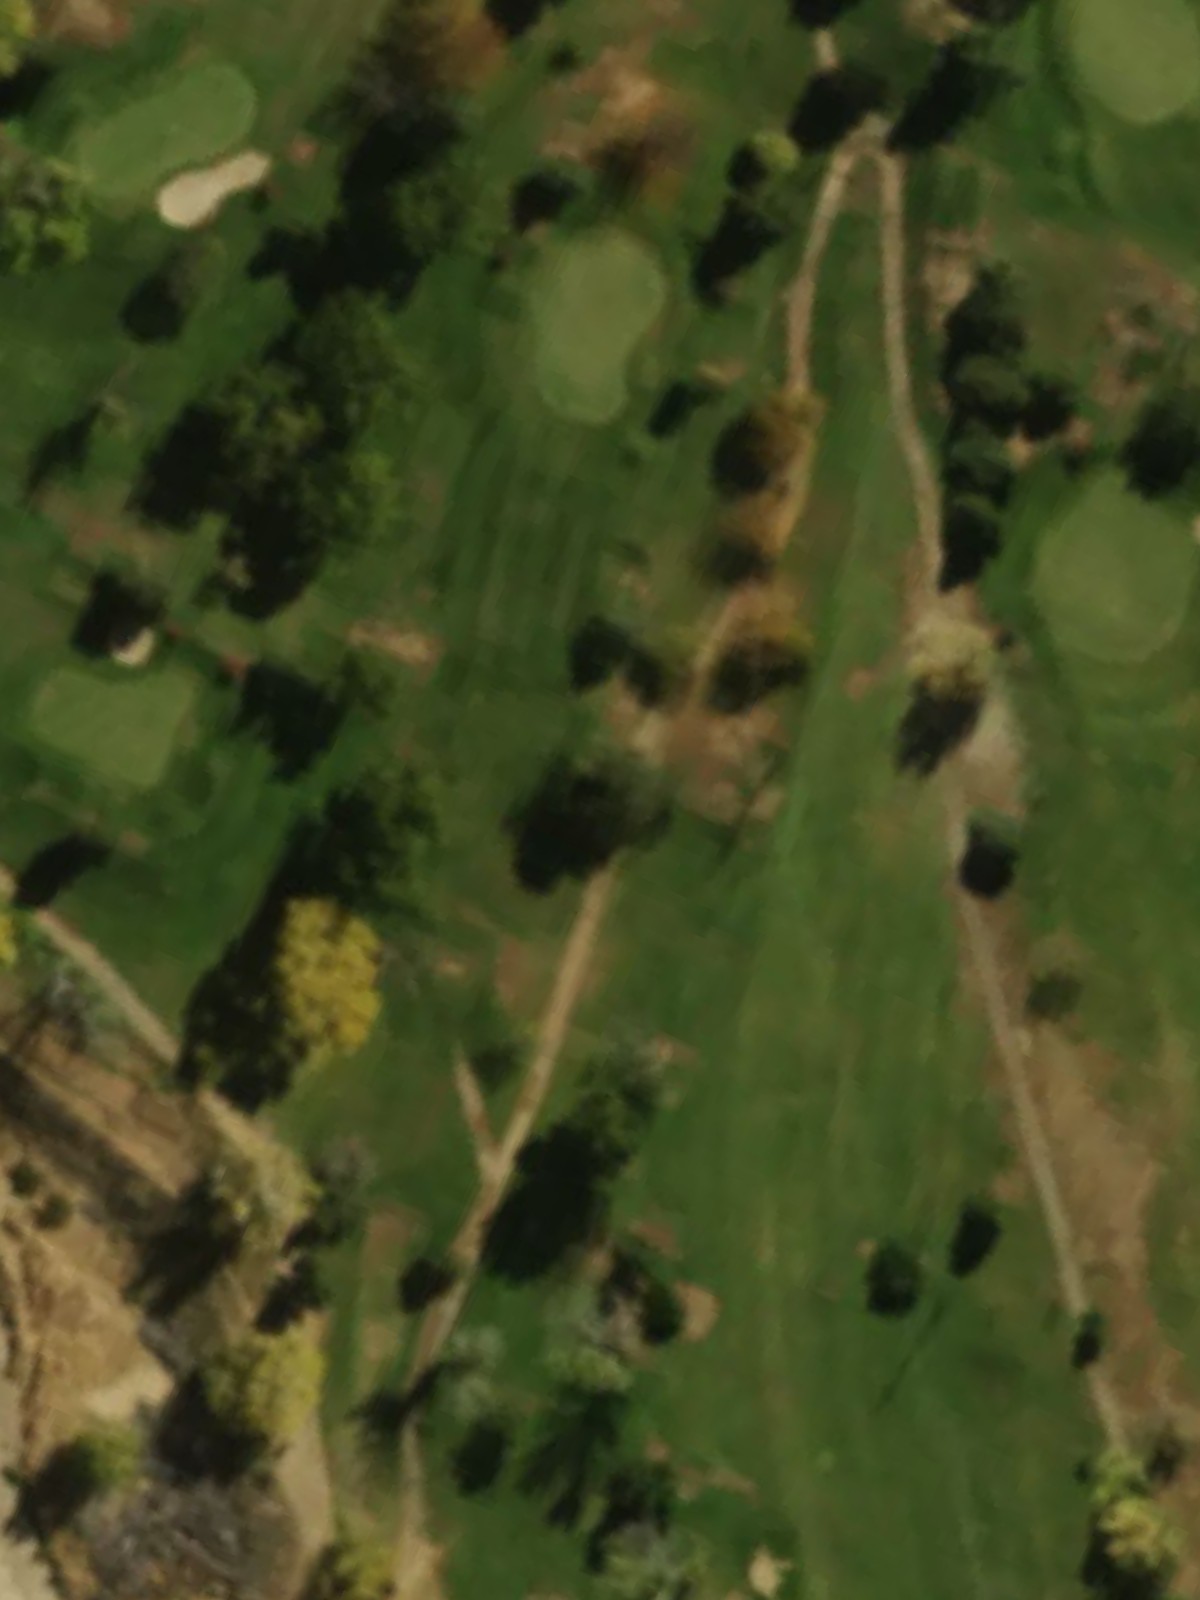
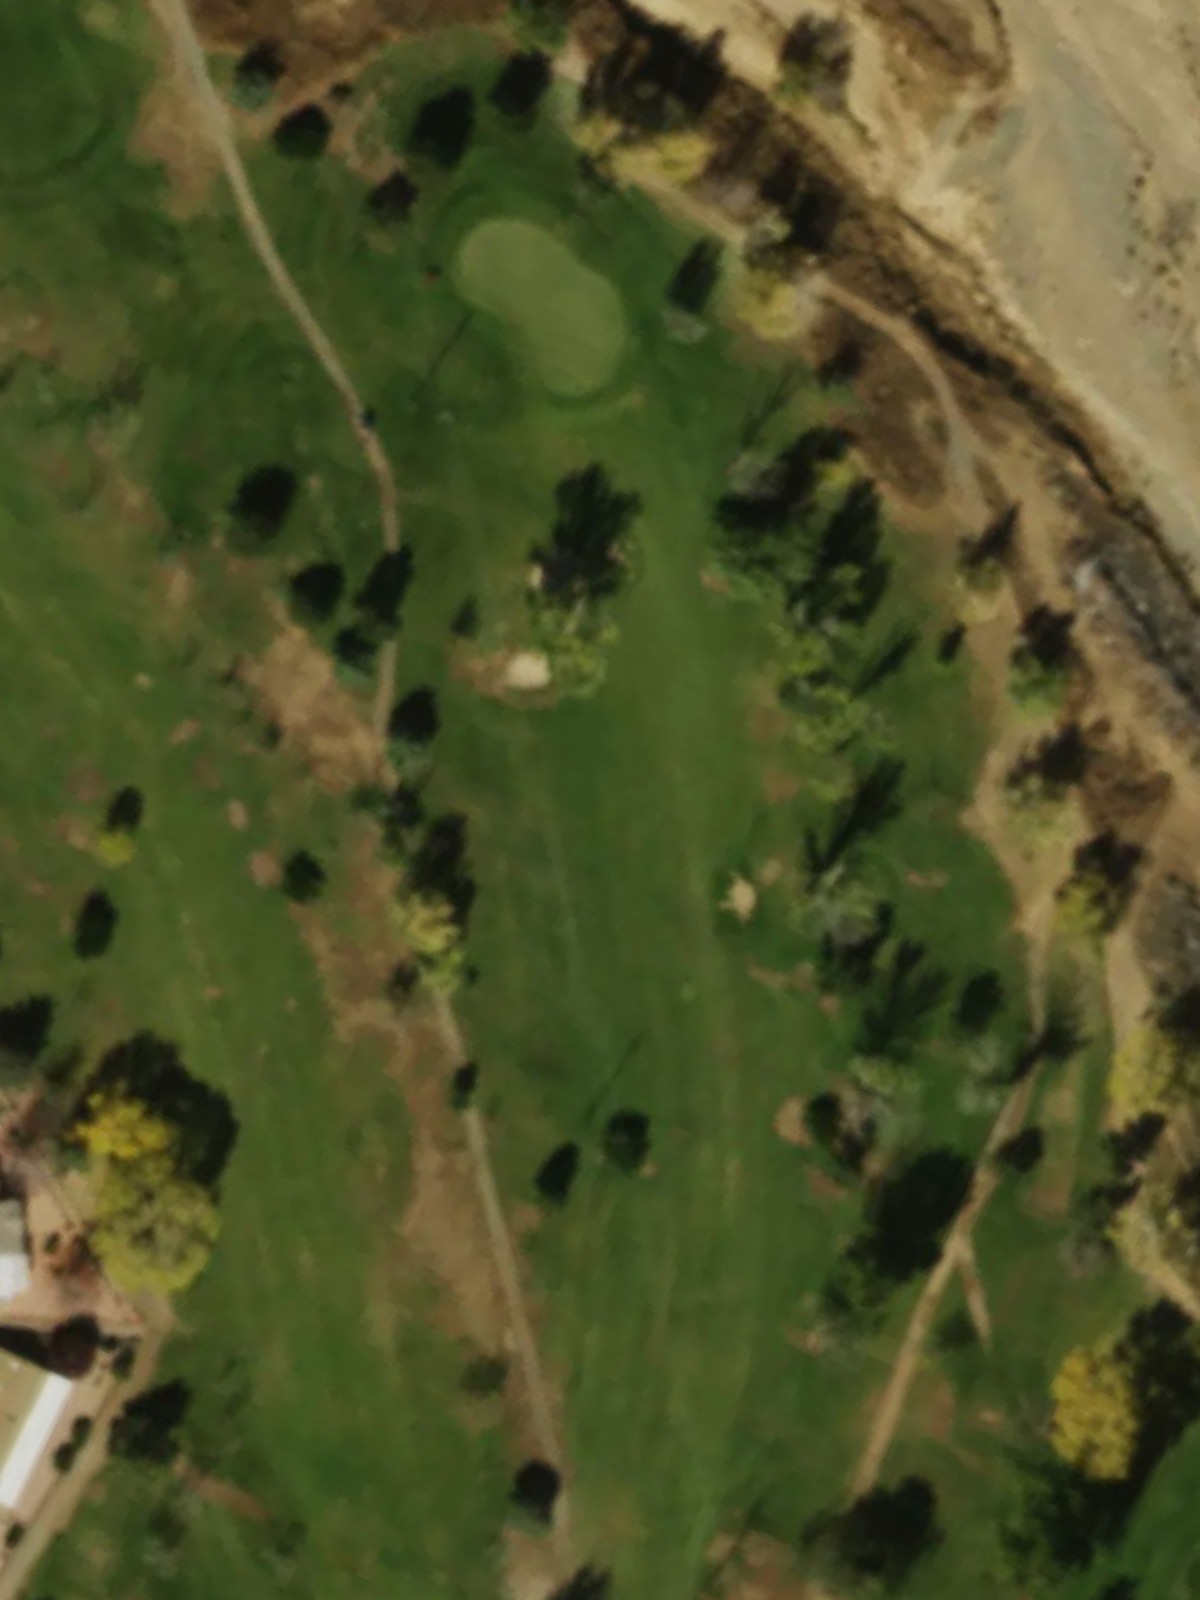
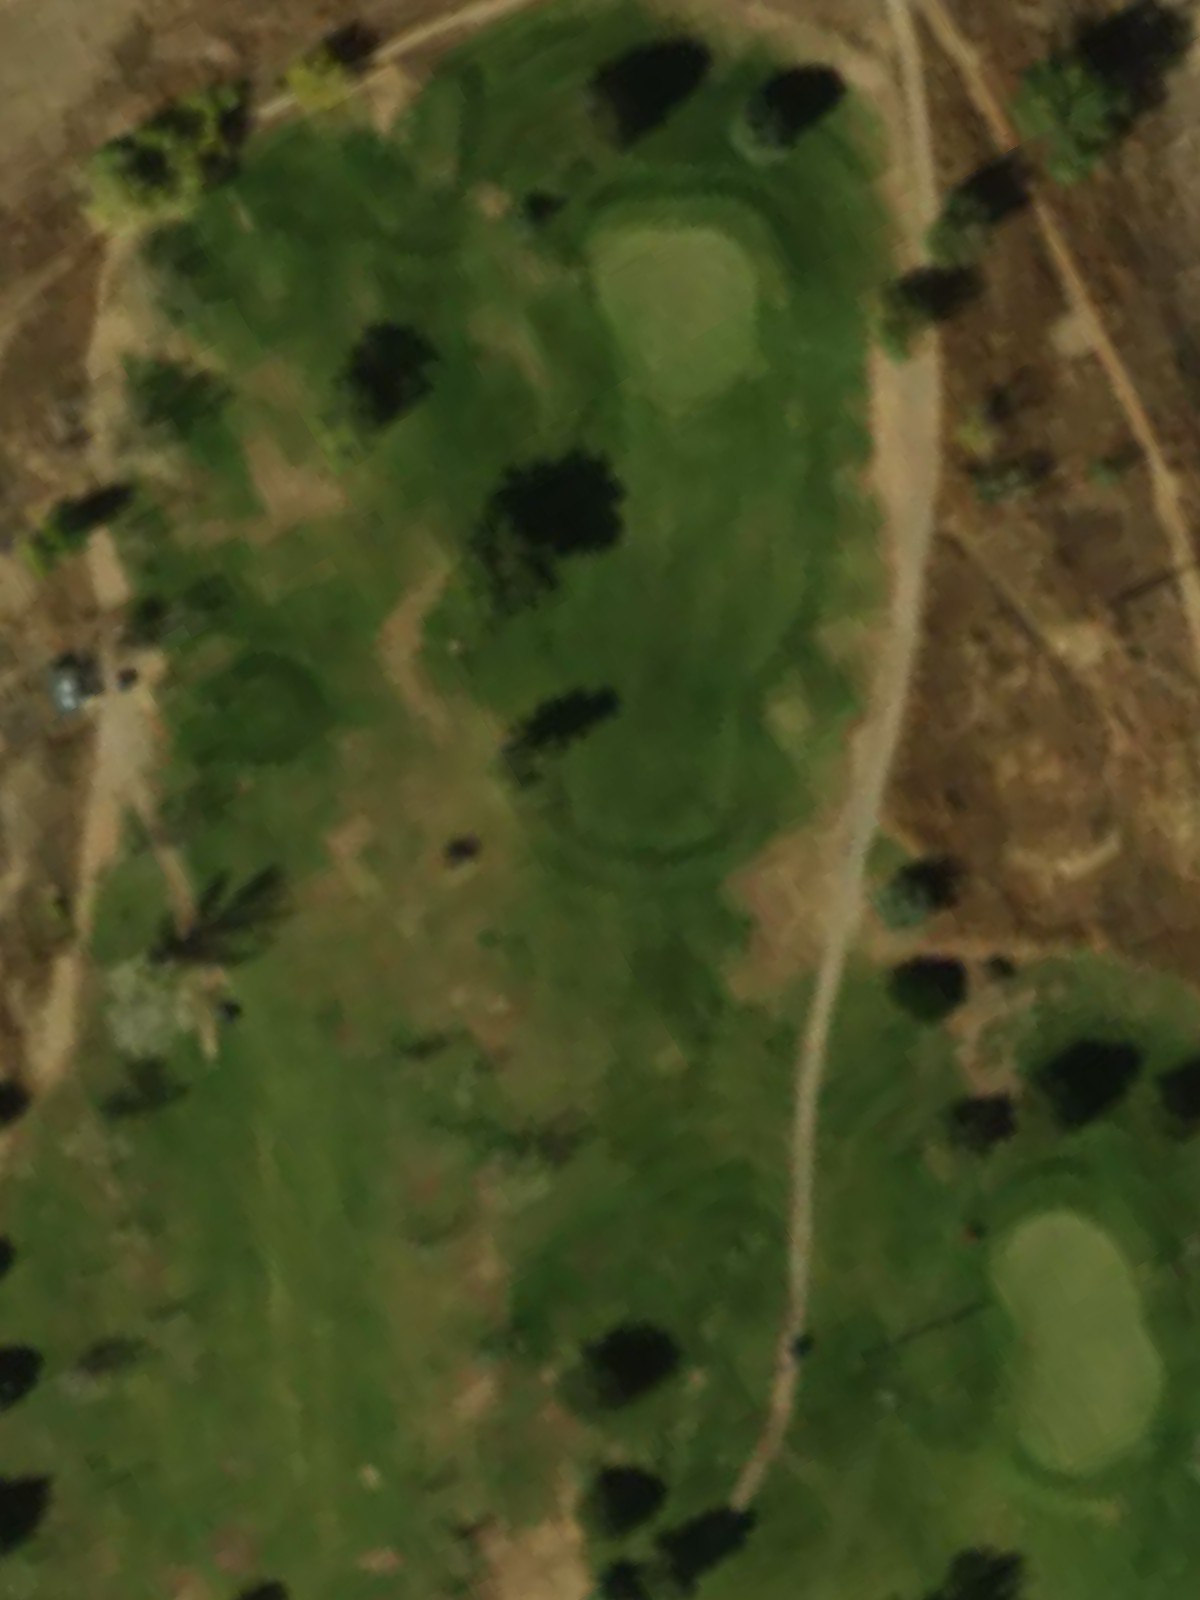
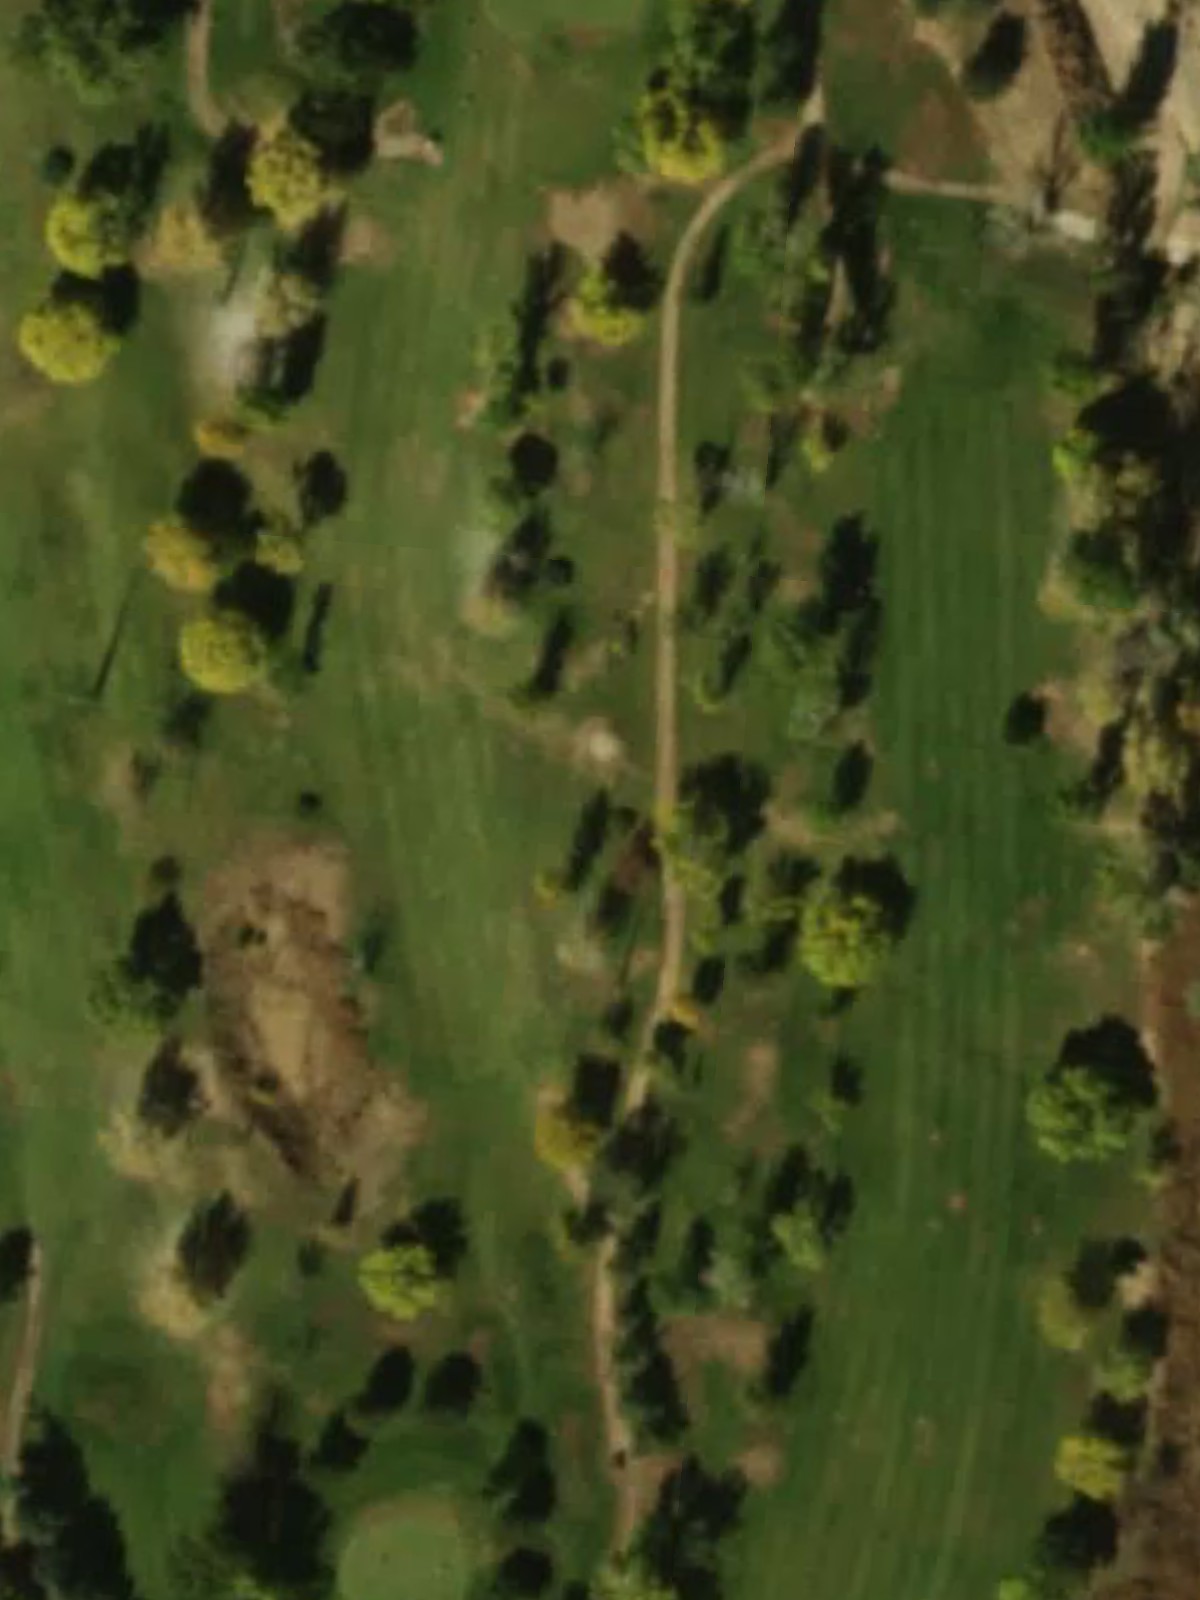
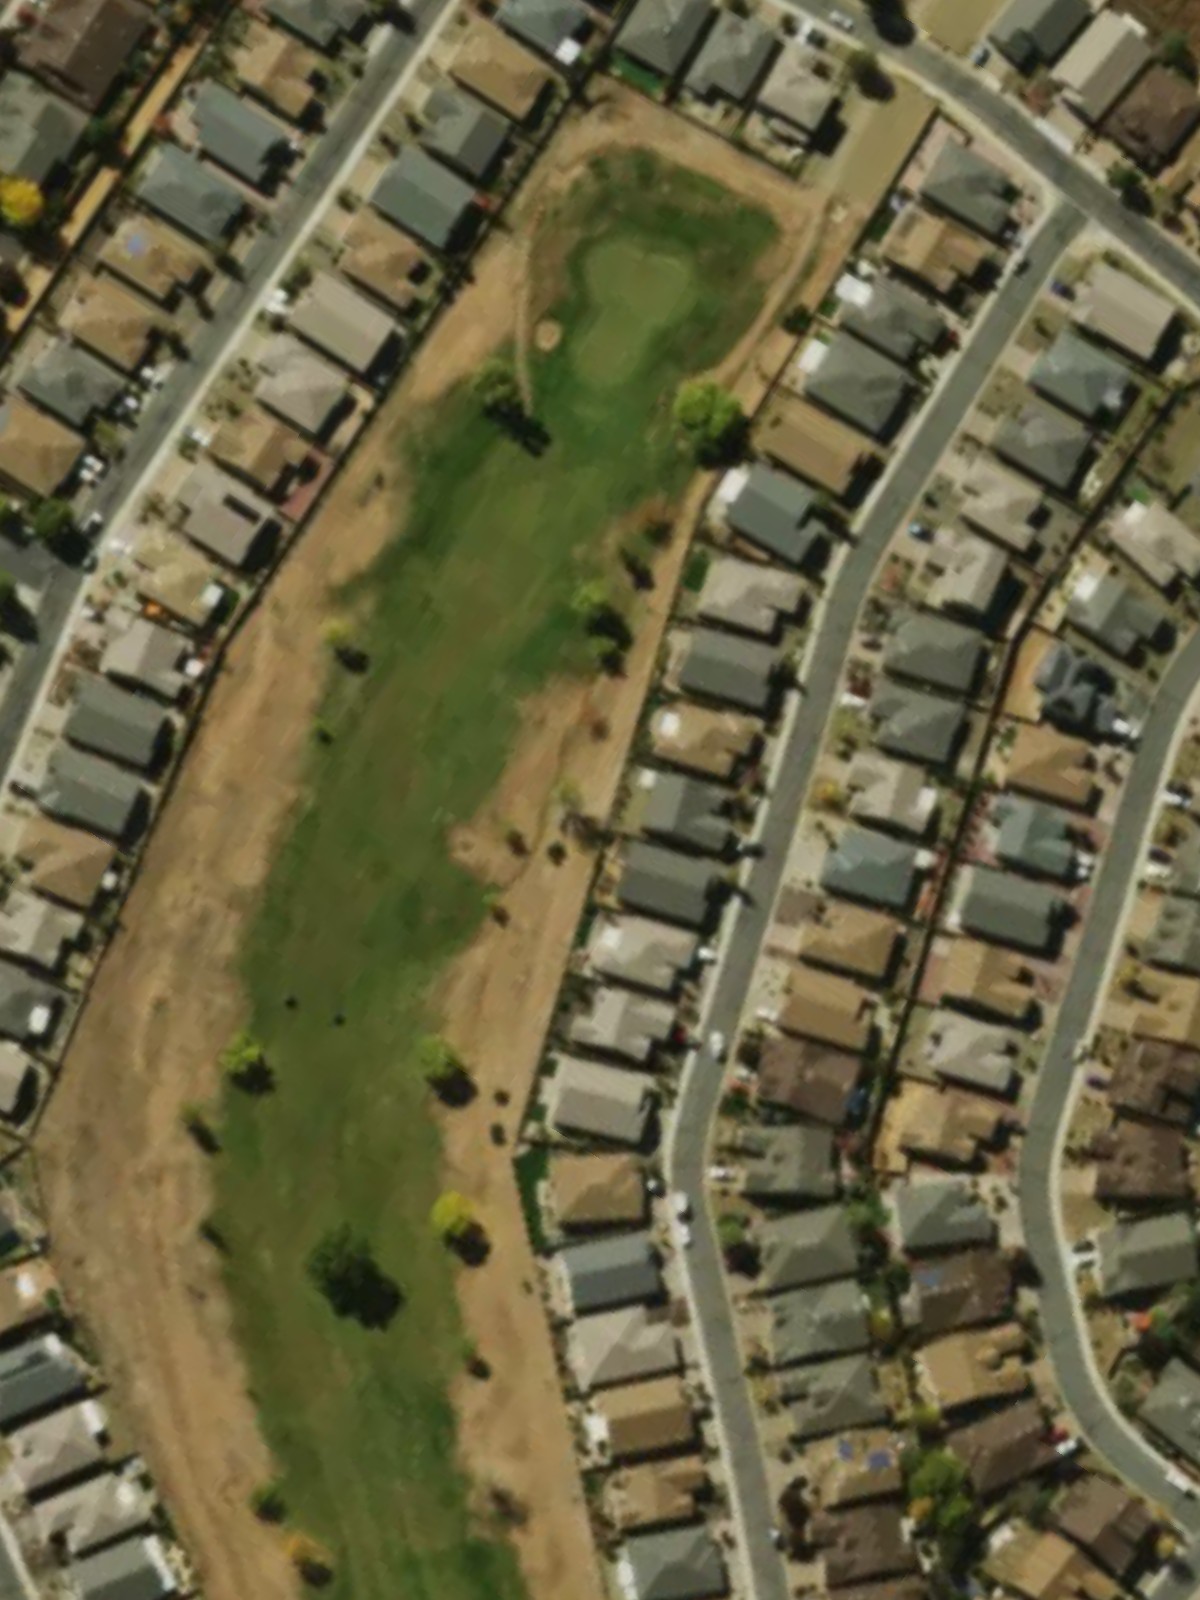
Quailwood Greens is an 18-hole golf course in Dewey, AZ with a par of 68. It offers 6 tee sets: blue (5,199 yards, slope 106, rating 64.2), blue/white combo (4,967 yards, slope 100, rating 63.1), white (4,789 yards, slope 98, rating 61.9), blue/white/red combo (4,675 yards, slope 97, rating 61.6), white/red combo (4,444 yards, slope 95, rating 60.7), red (4,304 yards, slope 93, rating 59.9). The hardest hole is #8, a par 4 playing 316 yards from the first tee.
Quailwood Greens
Dewey, AZ
Get PDF Yardage Book
We'll email you the PDF link. No spam, ever.
Create Your Game Plan
Pick your tees, enter your bag, and get a personalized shot-by-shot strategy for every hole.

This opening par 5 sets an inviting tone with a relatively open fairway that allows aggressive play from the tee. The hole's length and slight bends present the primary challenge, requiring patience and precision to reach the green in regulation.
A short par 3 that plays downhill to a receptive green, making it one of the course's most generous scoring opportunities. Minimal hazards and a straightforward shot make this hole an excellent warm-up for the round.
This mid-length par 3 demands accurate ball-striking to a well-defined green protected by strategic hazards. The elevated tee shot and firm green complex make distance control critical on this deceptively challenging one-shotter.
A moderate par 4 with a fairway that opens invitingly off the tee before gradually tightening toward the approach zone. The green sits relatively accessible, though careful positioning is rewarded with an easier second shot.
This short par 3 offers a refreshing break in the round with its modest length and straightforward design. A compact green with light bunkering makes this a birdie opportunity for accurate iron play.
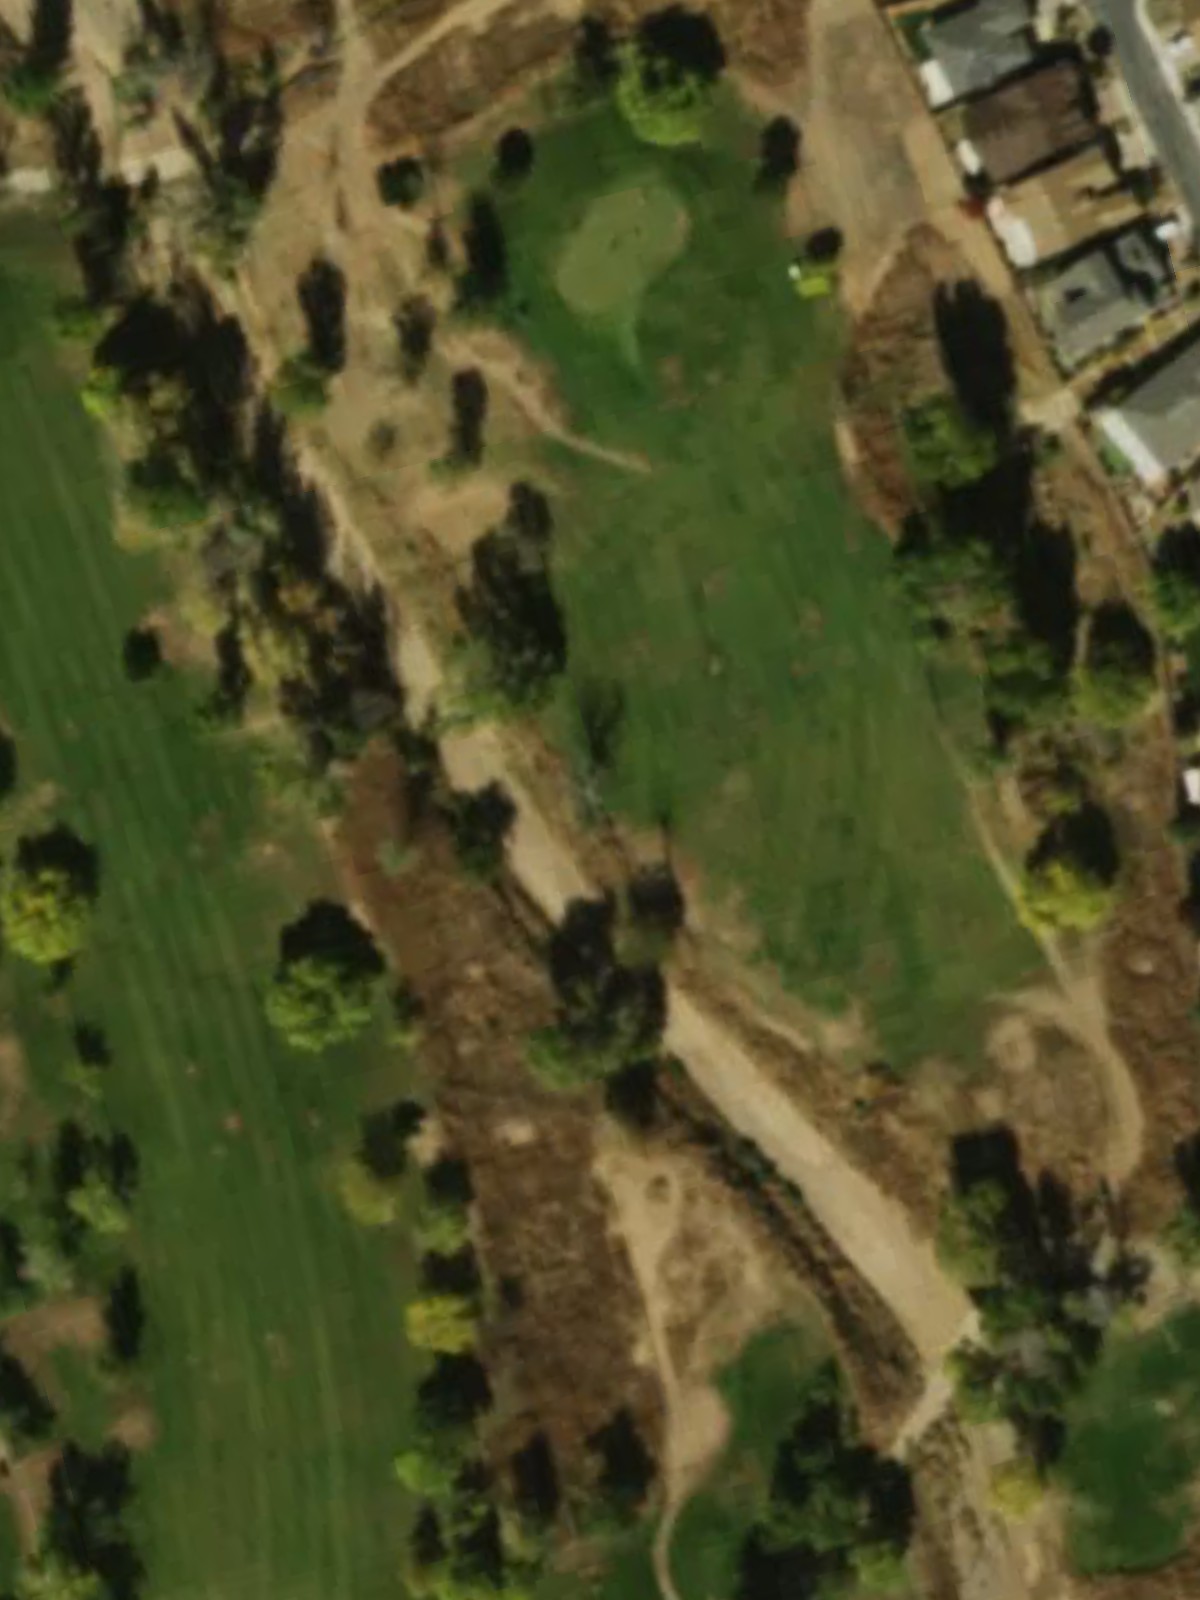
Playing as the course's fifth-hardest hole, this par 4 demands precision from the tee to navigate a tightening fairway corridor. Strategic hazards frame the approach, and the green's positioning penalizes missed shots on both sides.
A picturesque short par 3 with minimal hazards and a receptive green, providing another scoring chance in the middle of the front nine. The hole's simplicity belies the importance of clean contact for a stress-free par.
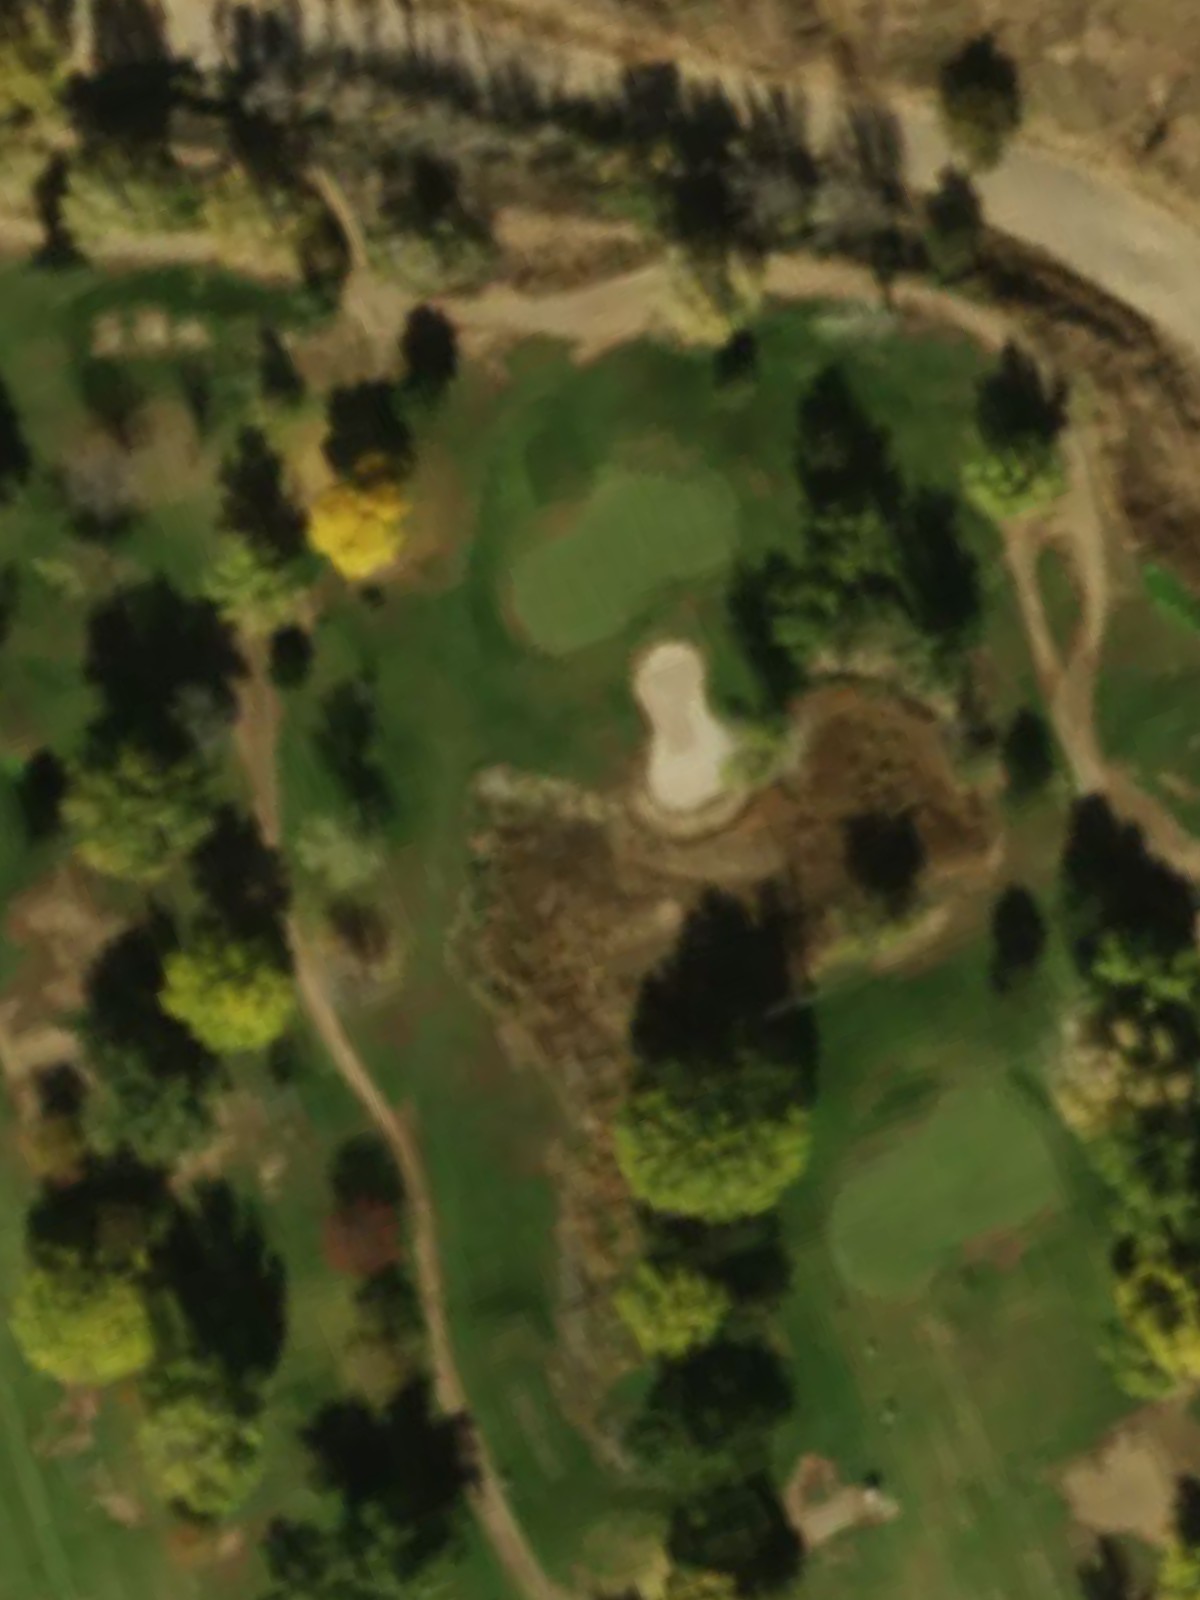
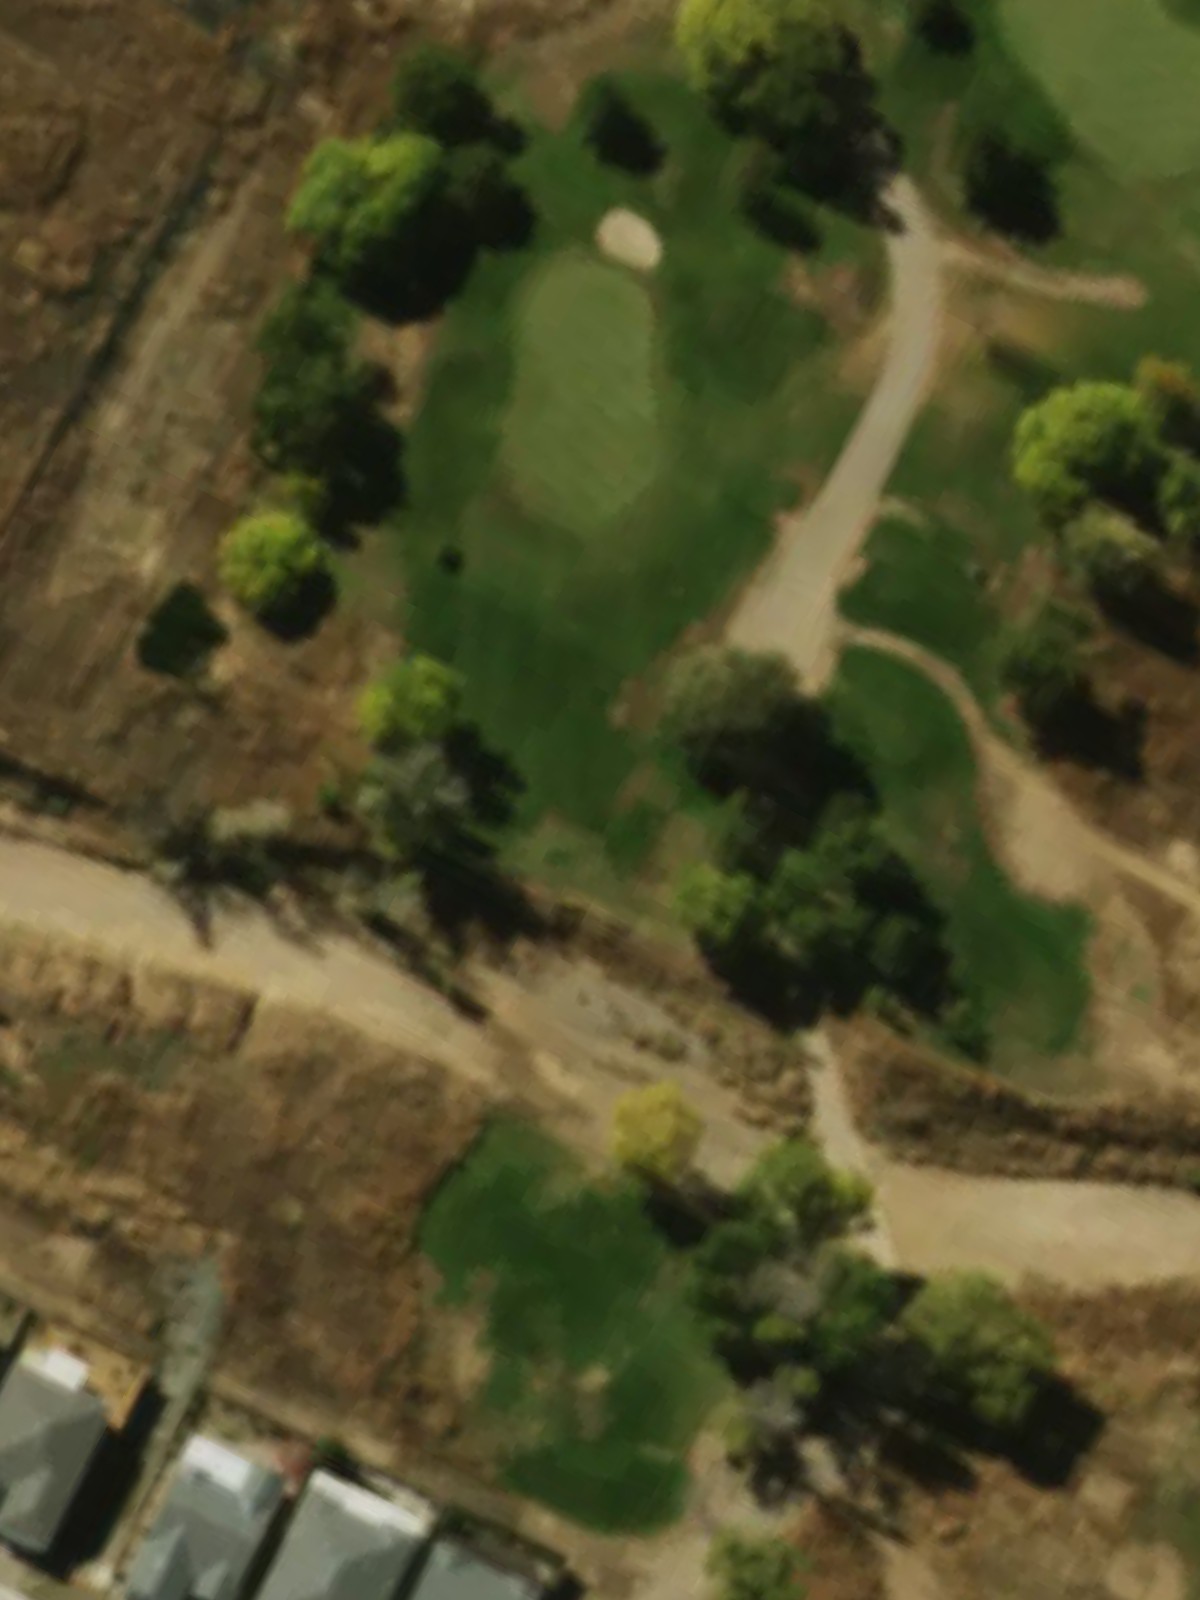
The course's most difficult hole plays as a formidable par 4 with a narrow driving corridor and a well-guarded green complex. Length, accuracy demands, and strategic bunker placement combine to make this a true test of golf.
This par 4 presents a moderate challenge with a fairway that requires decent positioning off the tee to set up the approach. The hole's balanced difficulty makes it a fair finishing test for the front nine.
Opening the back nine with a manageable par 4 that features a relatively open fairway with room to work. The green's design rewards solid ball-striking without excessive penalty for minor misses.
A compact par 3 offering birdie potential with its short yardage and accessible green. The hole's brevity makes it a chance to build momentum heading into the back nine's longer stretch.
This straightforward par 4 allows players to establish rhythm with a fair fairway and a green that accepts well-struck approach shots. The hole's moderate length and design provide a balanced risk-reward proposition.

A mid-length par 3 that tests accuracy more than raw distance, with the green's position and surrounding features demanding precise ball-striking. This hole punishes wayward shots despite its moderate yardage.
The second-most difficult hole on the course, this par 4 combines length with a demanding fairway and heavily protected green. The hazard placement and green complex demand a strategic approach for any scoring opportunity.
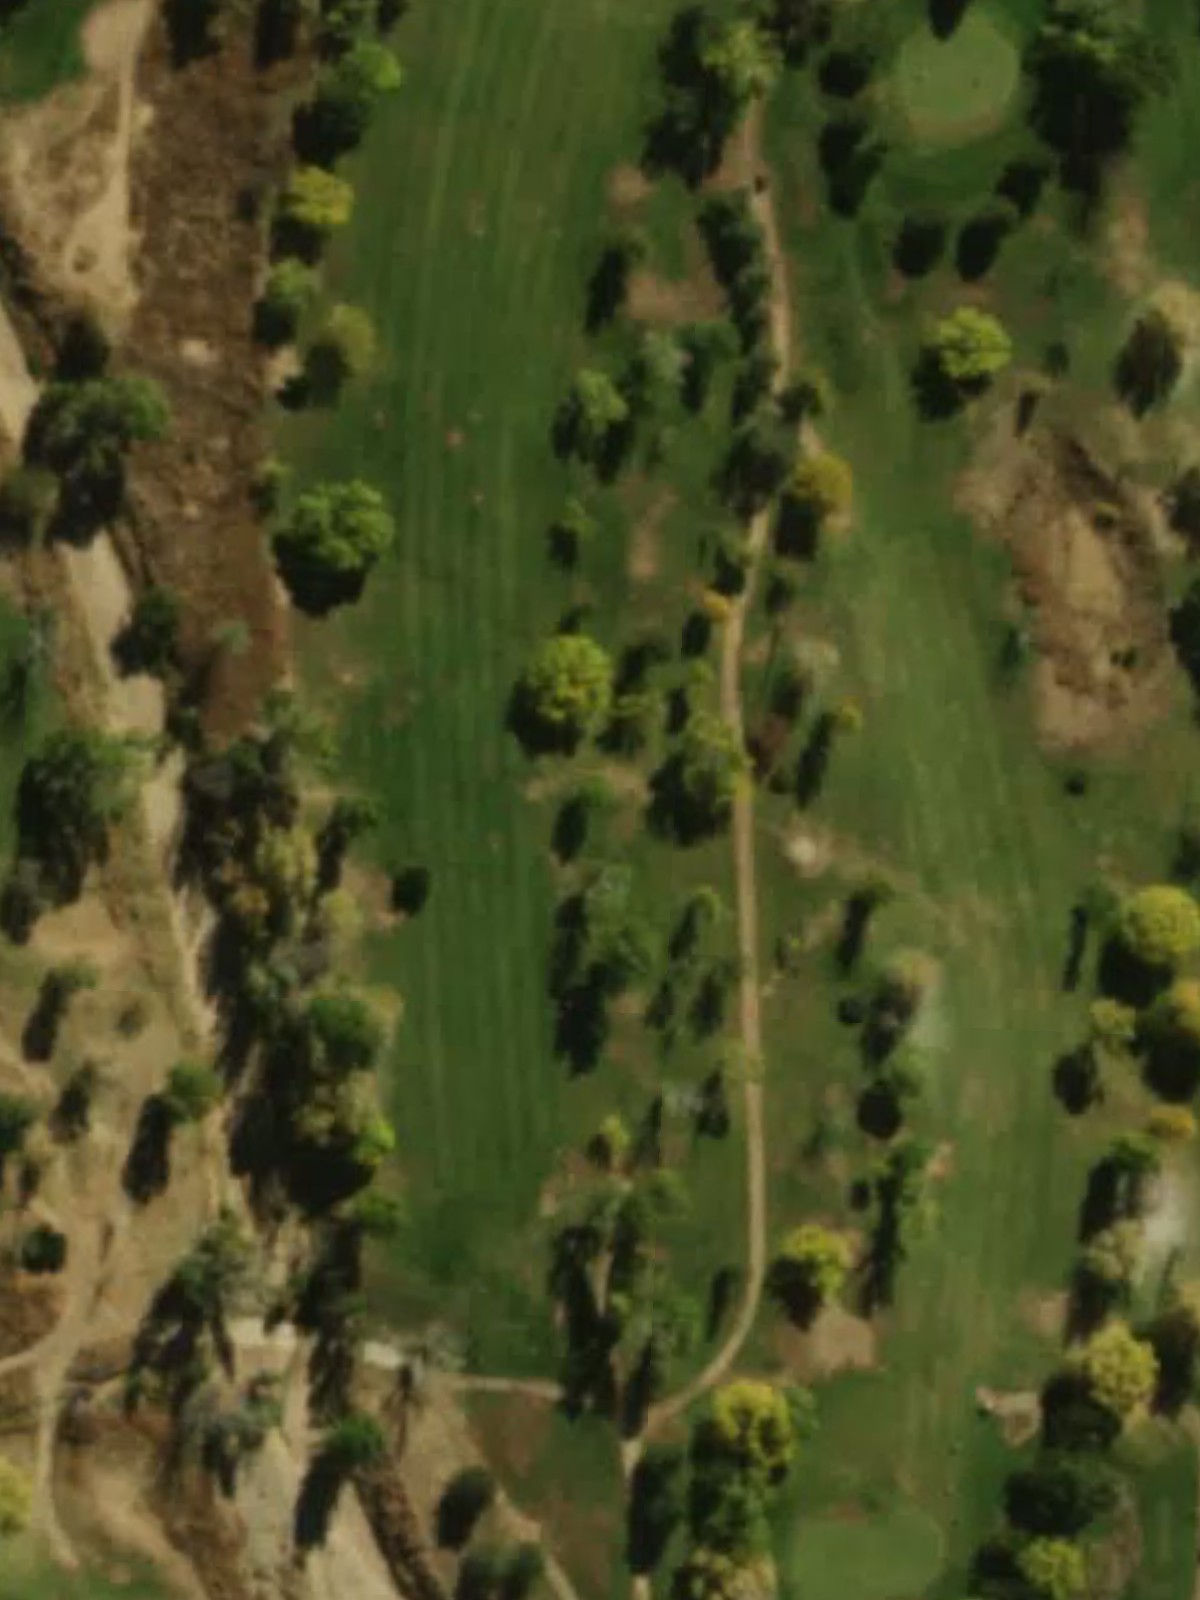
This substantial par 5 presents both risk and reward, allowing aggressive players to attack while penalizing poor positioning. The hole's length and layout create distinct challenges at each stage of play.
The course's easiest hole, this short par 3 provides a genuine birdie opportunity with minimal hazards and forgiving green surrounds. The hole's accessibility makes it an ideal confidence-builder before the closing stretch.
A short par 4 that rewards accurate tee shots with an approachable second stroke, though the compact fairway demands precision off the tee. The hole's efficiency and placement create a strong test relative to its modest yardage.
The finishing par 5 offers a dramatic conclusion with a challenging layout that requires two solid strokes to set up the approach. Strategic hazards and the green's design make this an exciting final hole that can swing the round's outcome.
Scorecard
| Hole | 1 | 2 | 3 | 4 | 5 | 6 | 7 | 8 | 9 | Out | 10 | 11 | 12 | 13 | 14 | 15 | 16 | 17 | 18 | In | Tot |
|---|---|---|---|---|---|---|---|---|---|---|---|---|---|---|---|---|---|---|---|---|---|
| Par | 5 | 3 | 3 | 4 | 3 | 4 | 3 | 4 | 4 | 33 | 4 | 3 | 4 | 3 | 4 | 5 | 3 | 4 | 5 | 35 | 68 |
| HCP | 3 | 17 | 7 | 9 | 11 | 5 | 15 | 1 | 13 | 16 | 12 | 10 | 14 | 2 | 4 | 18 | 6 | 8 | |||
| blue | 469 | 106 | 174 | 330 | 151 | 372 | 128 | 375 | 331 | 2436 | 338 | 155 | 314 | 181 | 401 | 494 | 139 | 293 | 448 | 2763 | 5199 |
| blue/white combo | 432 | 106 | 157 | 314 | 151 | 354 | 128 | 353 | 331 | 2326 | 338 | 155 | 314 | 181 | 355 | 483 | 139 | 273 | 403 | 2641 | 4967 |
| white | 432 | 95 | 157 | 314 | 137 | 354 | 120 | 353 | 312 | 2274 | 303 | 127 | 295 | 150 | 355 | 483 | 126 | 273 | 403 | 2515 | 4789 |
| blue/white/red combo | 387 | 106 | 157 | 314 | 137 | 292 | 128 | 316 | 331 | 2168 | 338 | 127 | 295 | 181 | 322 | 465 | 139 | 237 | 403 | 2507 | 4675 |
| white/red combo | 387 | 95 | 140 | 285 | 137 | 292 | 120 | 316 | 312 | 2084 | 303 | 127 | 295 | 150 | 322 | 465 | 126 | 237 | 335 | 2360 | 4444 |
| red | 387 | 87 | 140 | 285 | 129 | 292 | 111 | 316 | 263 | 2010 | 281 | 111 | 299 | 131 | 322 | 465 | 113 | 237 | 335 | 2294 | 4304 |