Quail Ridge Gc is an 18-hole golf course in Sanford, NC with a par of 72. It offers 5 tee sets: black tees (6,743 yards, slope 127, rating 73.2), white tees (6,120 yards, slope 124, rating 69.9), gold tees (5,369 yards, slope 120, rating 66), silver tees (4,967 yards, slope 116, rating 64.2), red tees (4,342 yards, slope 112, rating 61.7). The hardest hole is #2, a par 4 playing 271 yards from the first tee.
Quail Ridge Gc
Sanford, NC
Get PDF Yardage Book
We'll email you the PDF link. No spam, ever.
Create Your Game Plan
Pick your tees, enter your bag, and get a personalized shot-by-shot strategy for every hole.
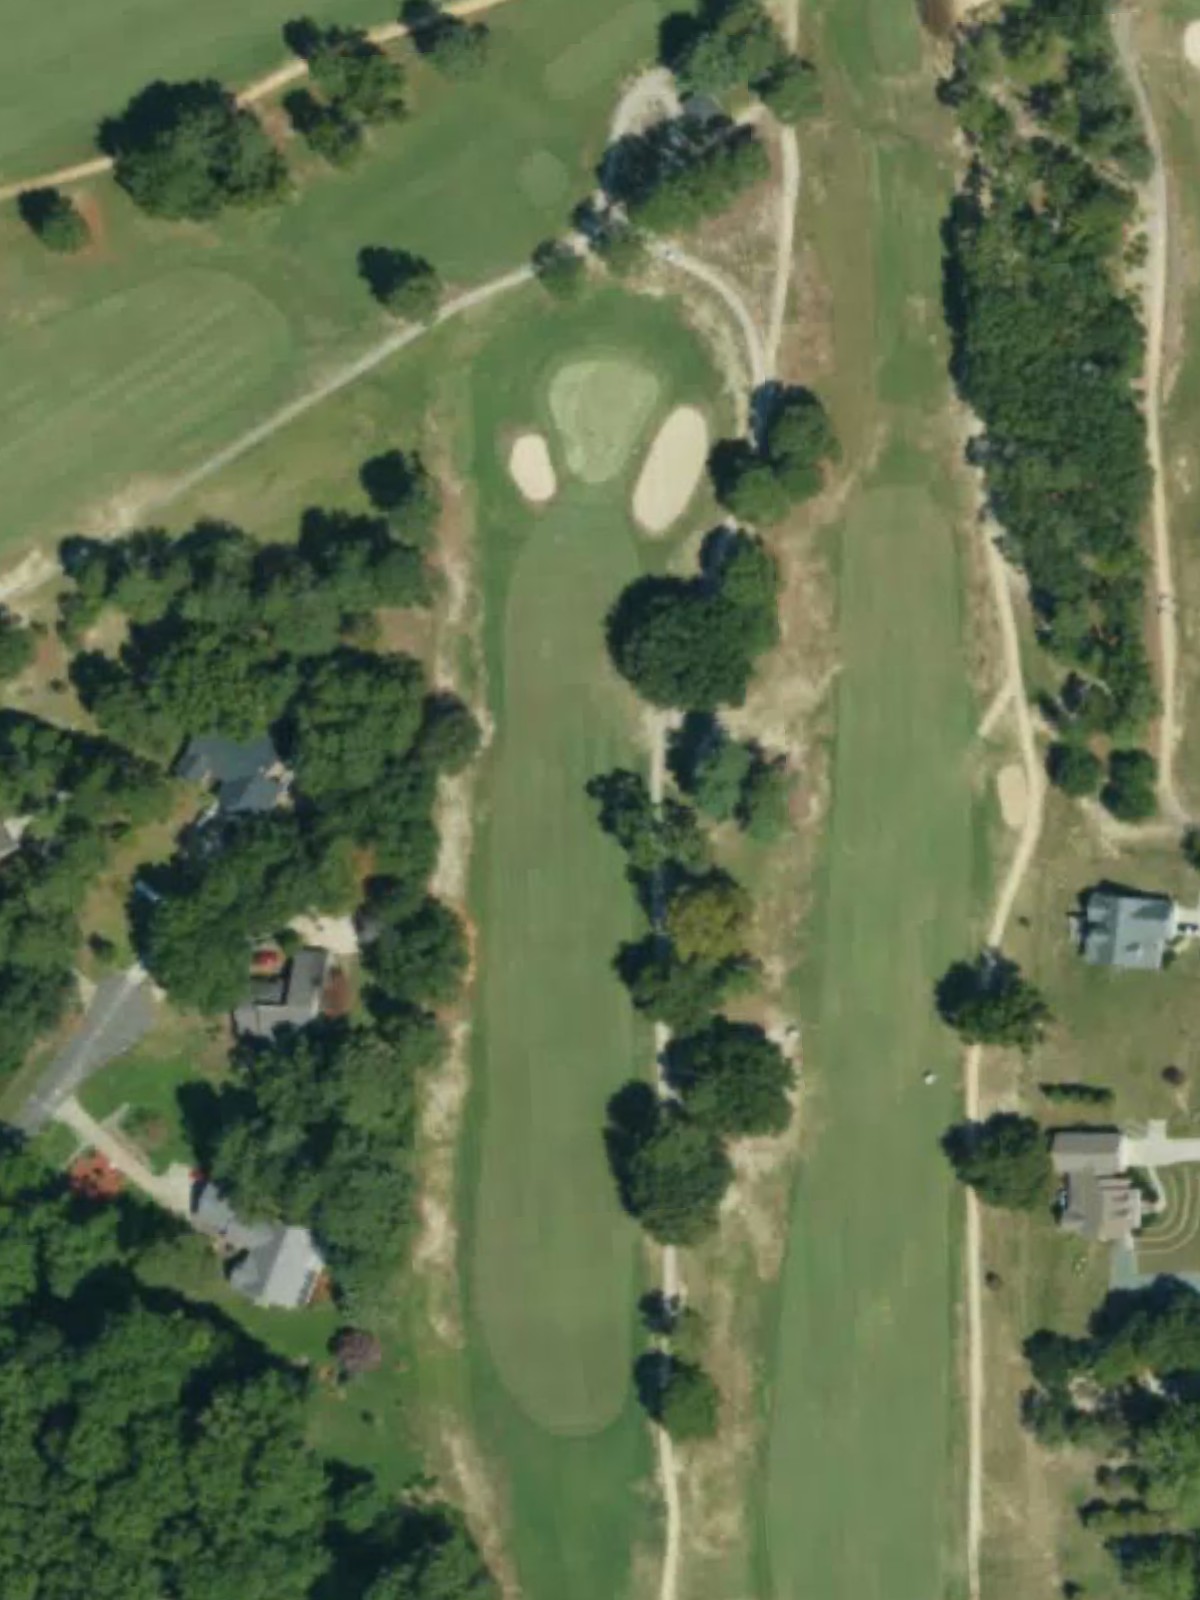
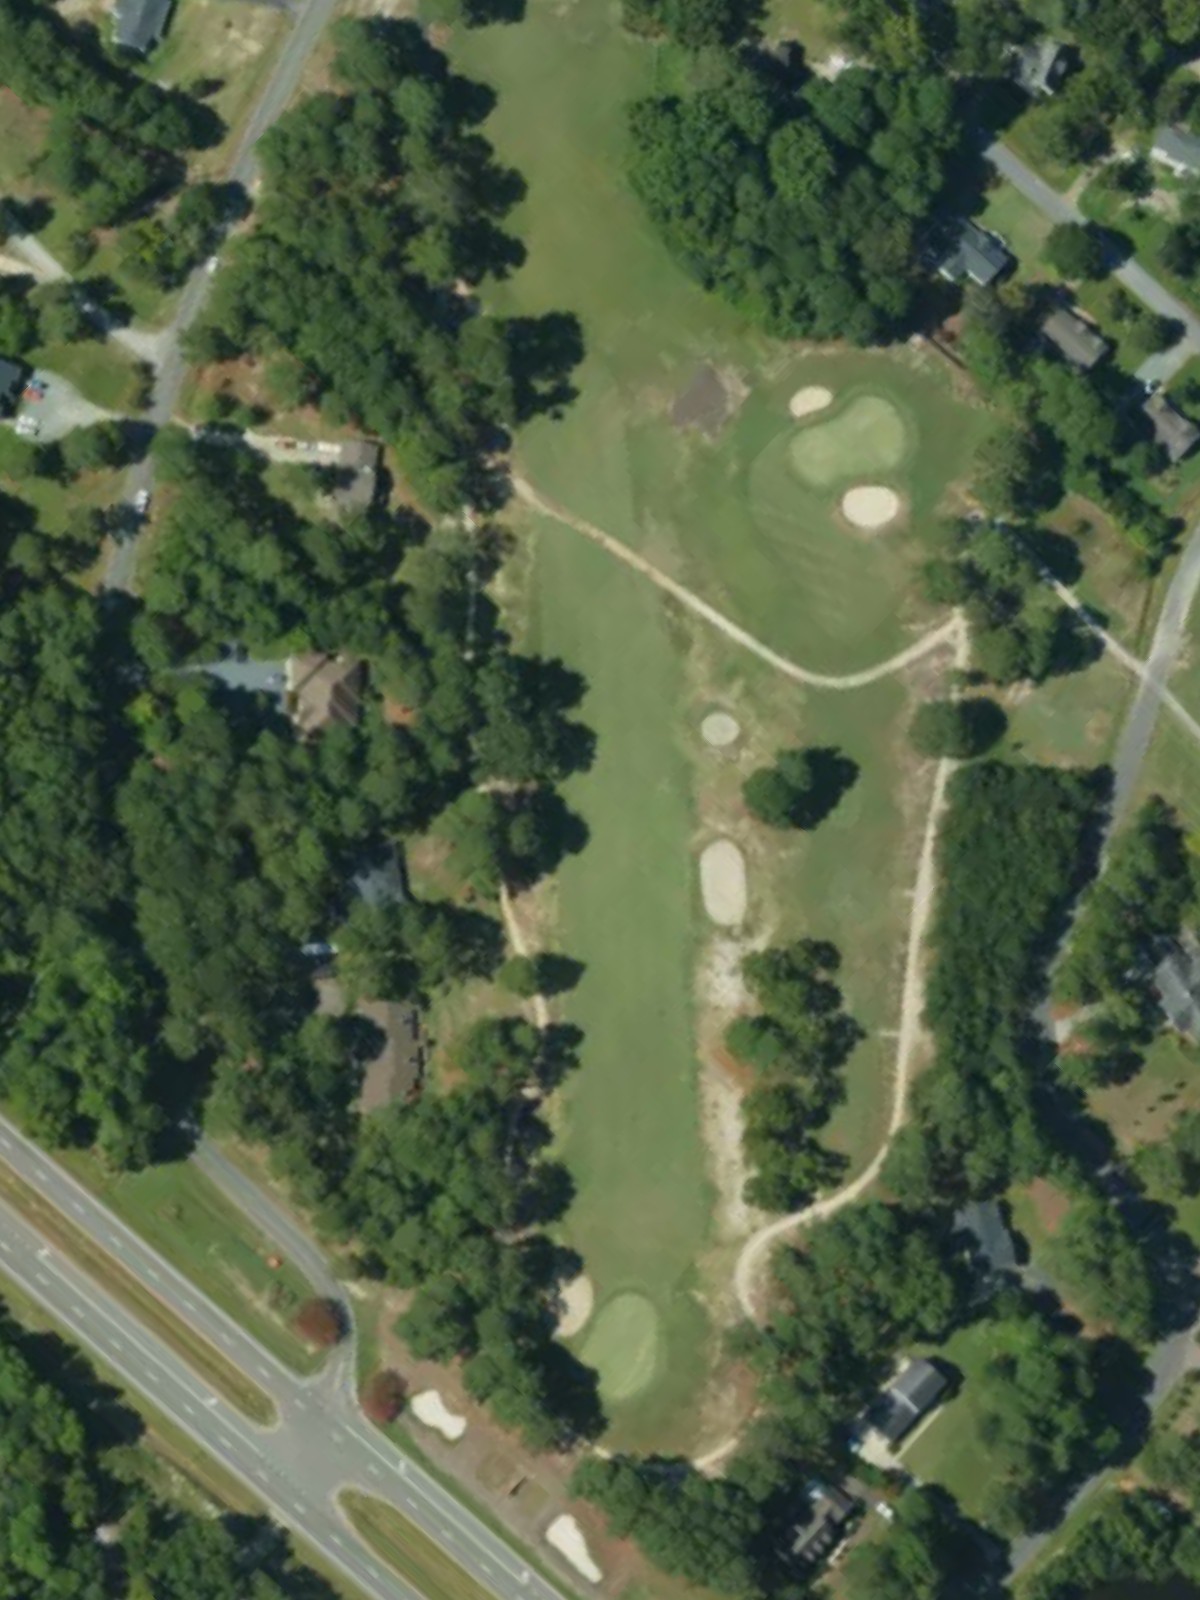
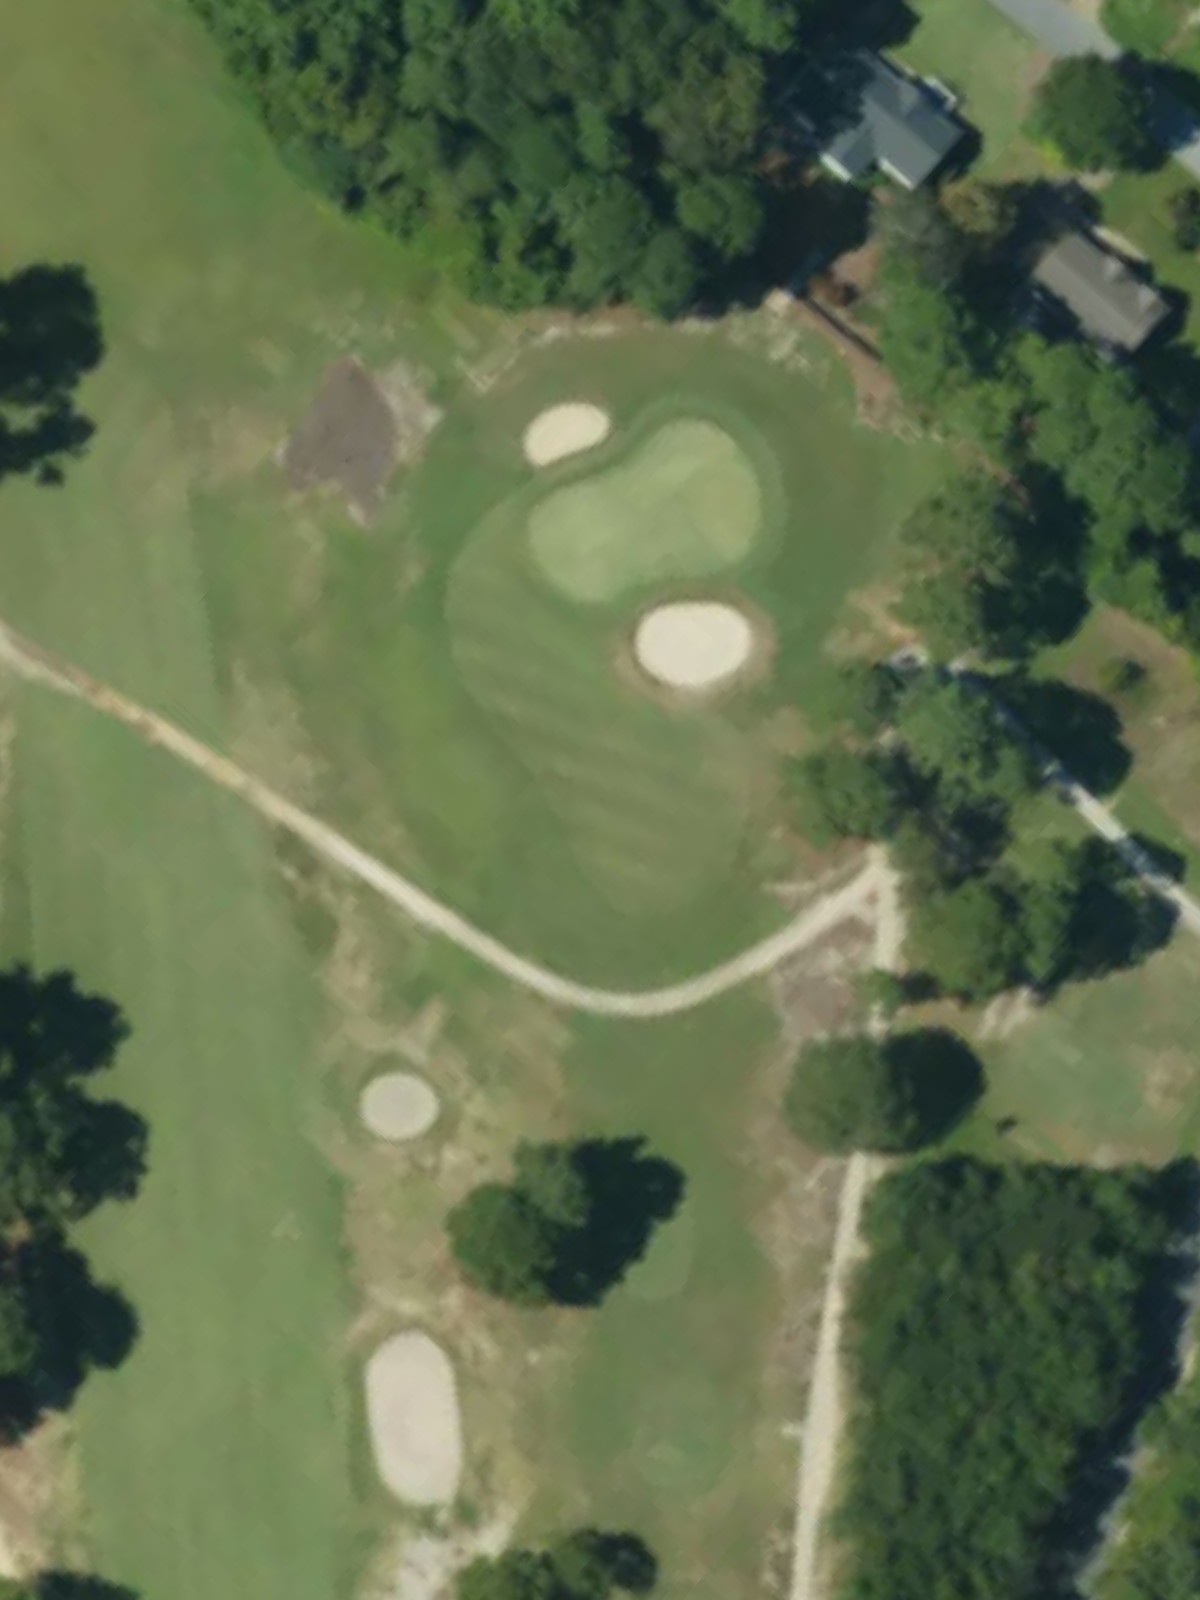
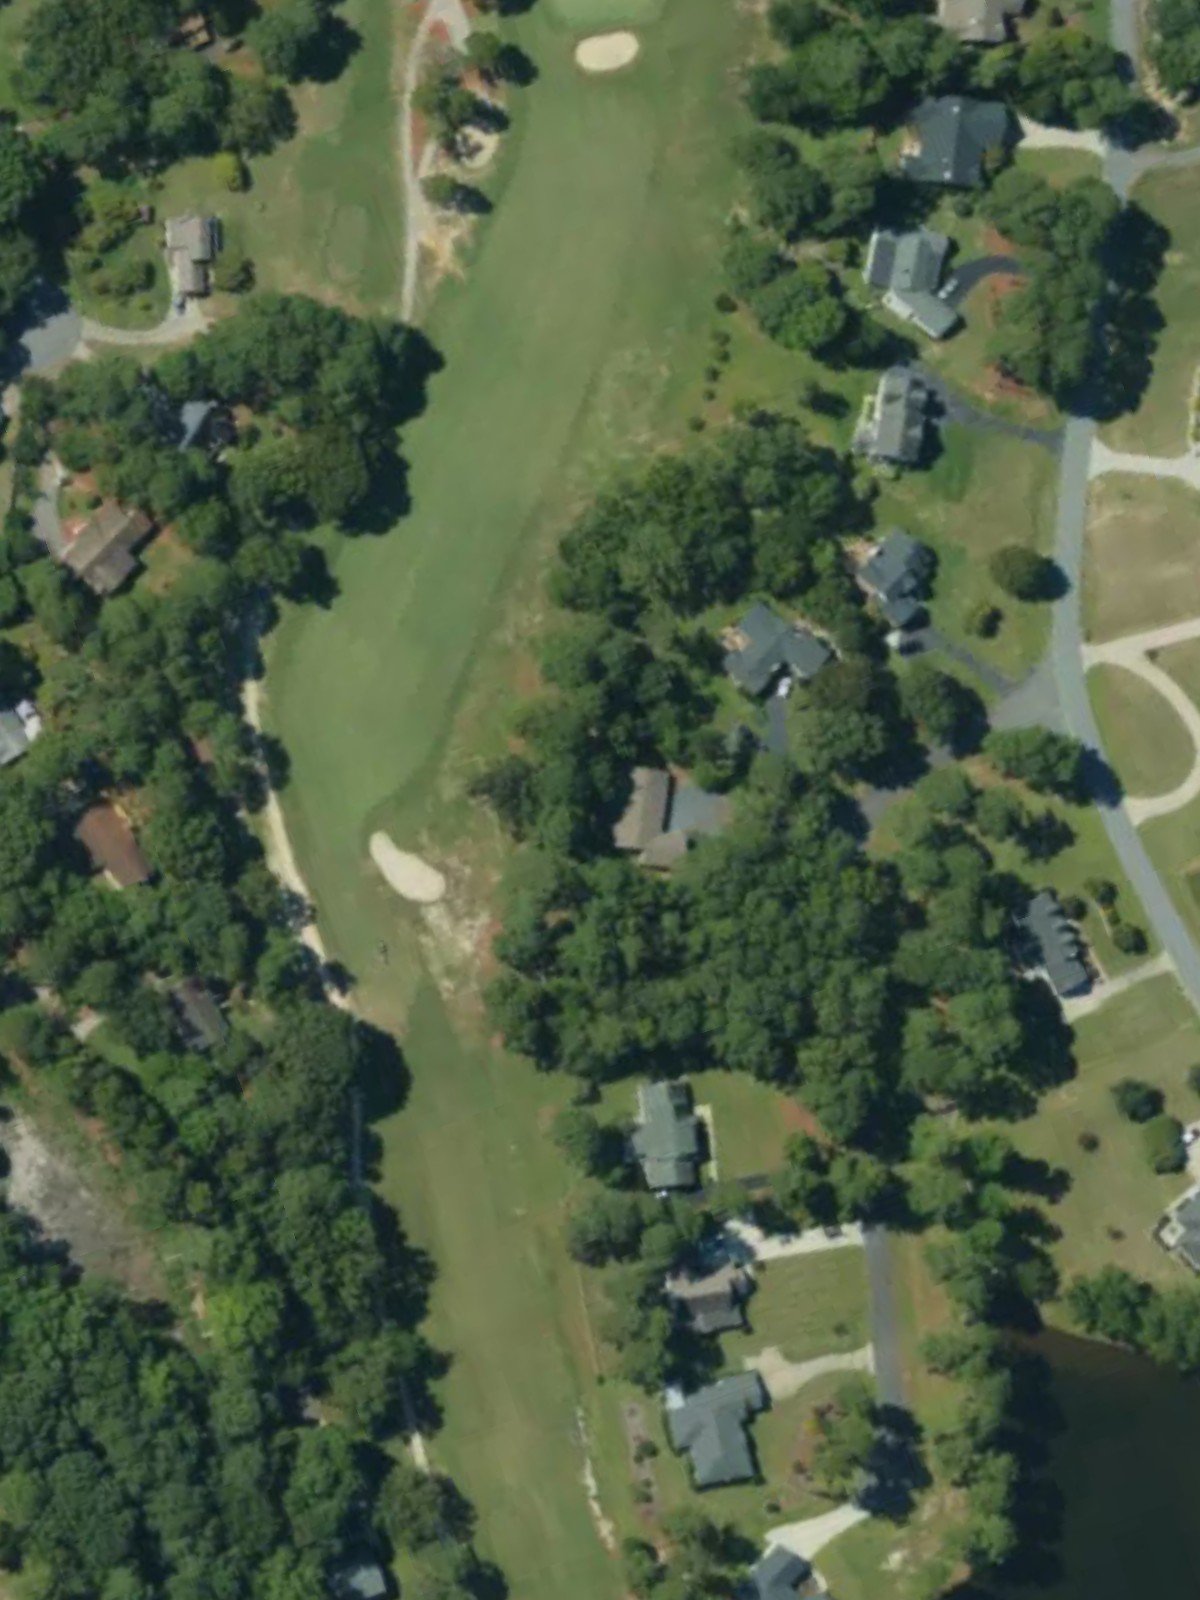
A straightforward par 4 that opens with a wide fairway before narrowing as it approaches the green. Bunkers protect the right side of the green, requiring accuracy on the approach shot to avoid sand play.
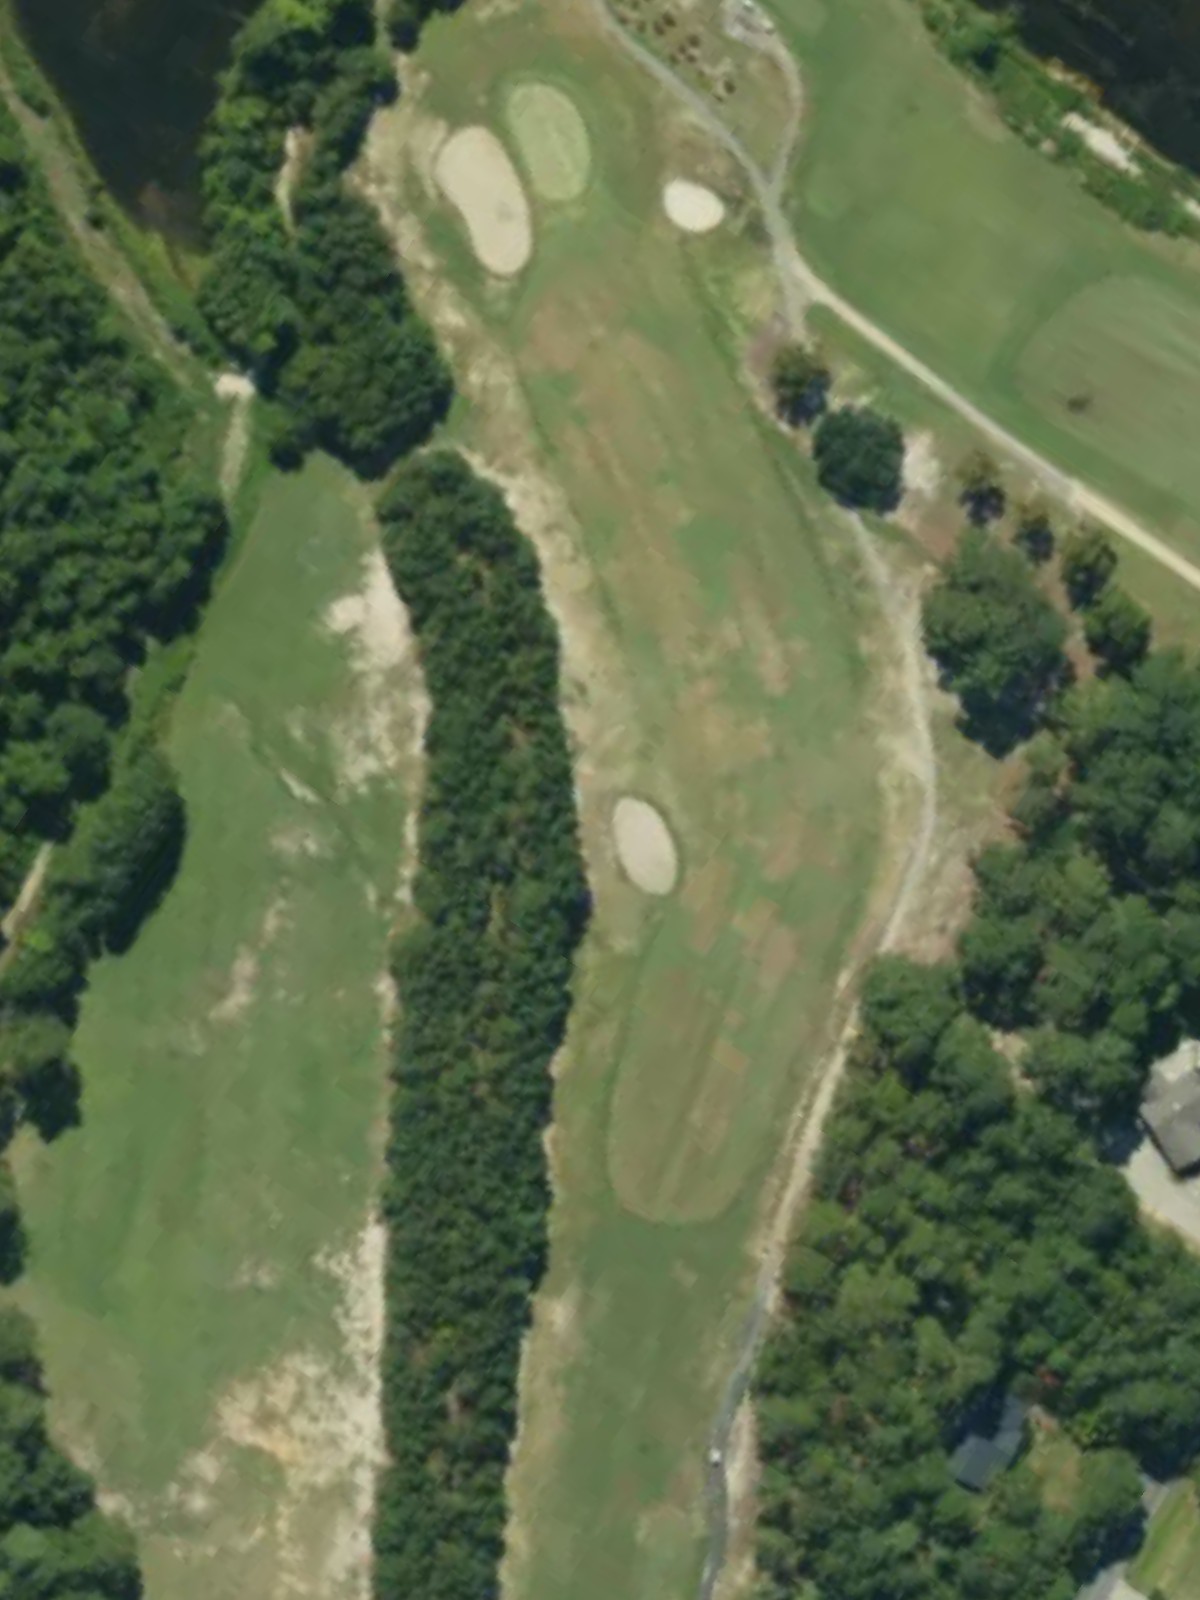
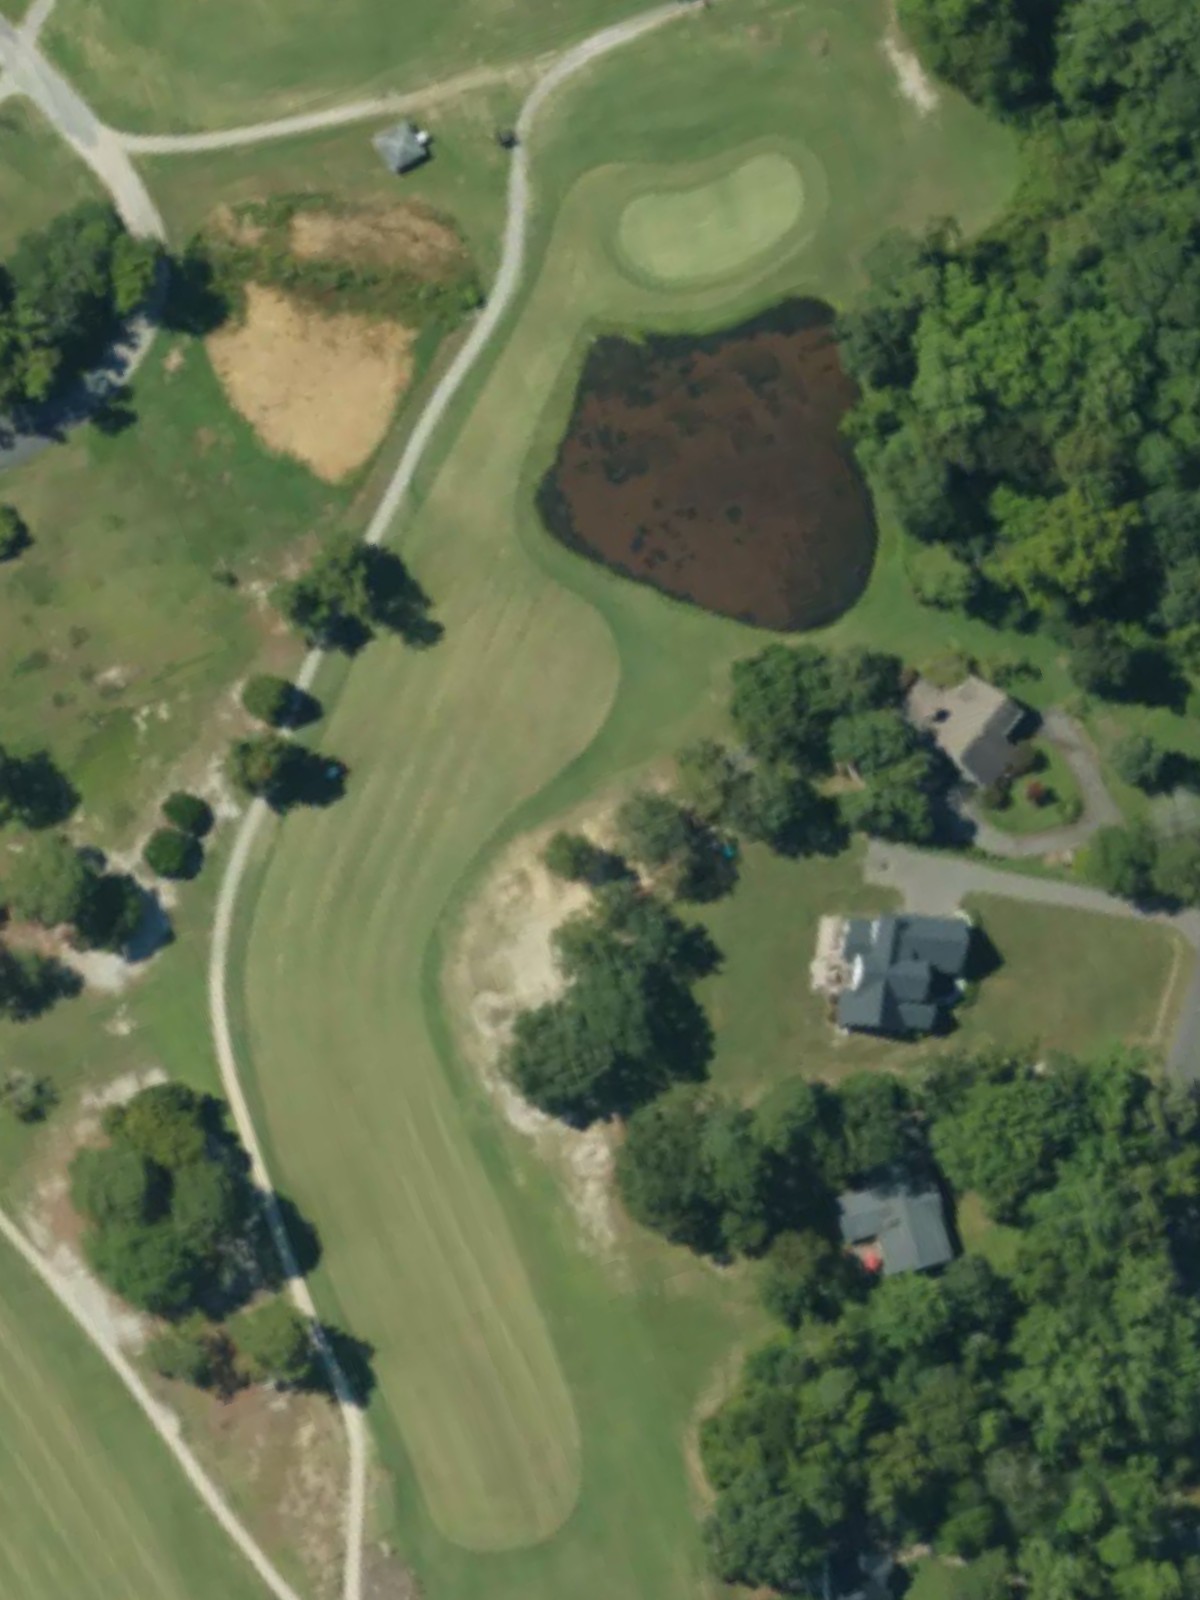
The course's most difficult hole, this par 4 demands precision from the tee across its full length. Water hazards and bunkering strategically placed throughout make position off the tee critical to success.
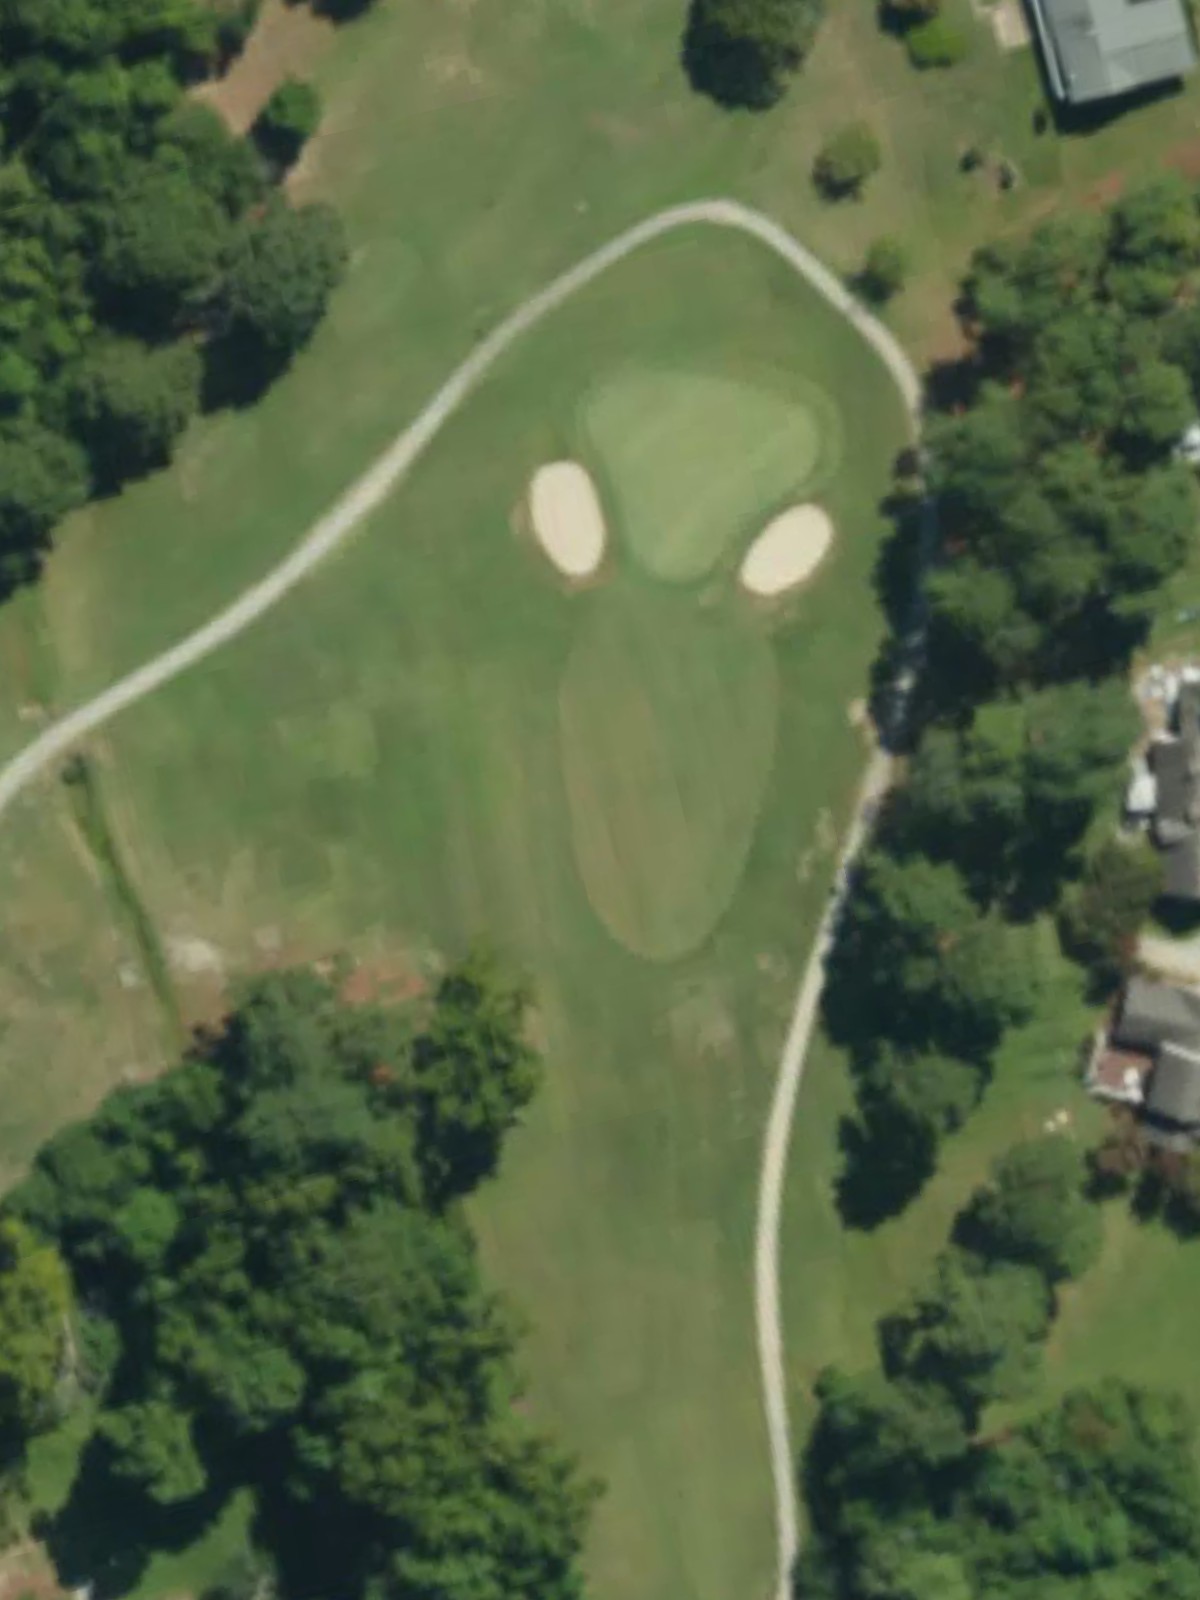
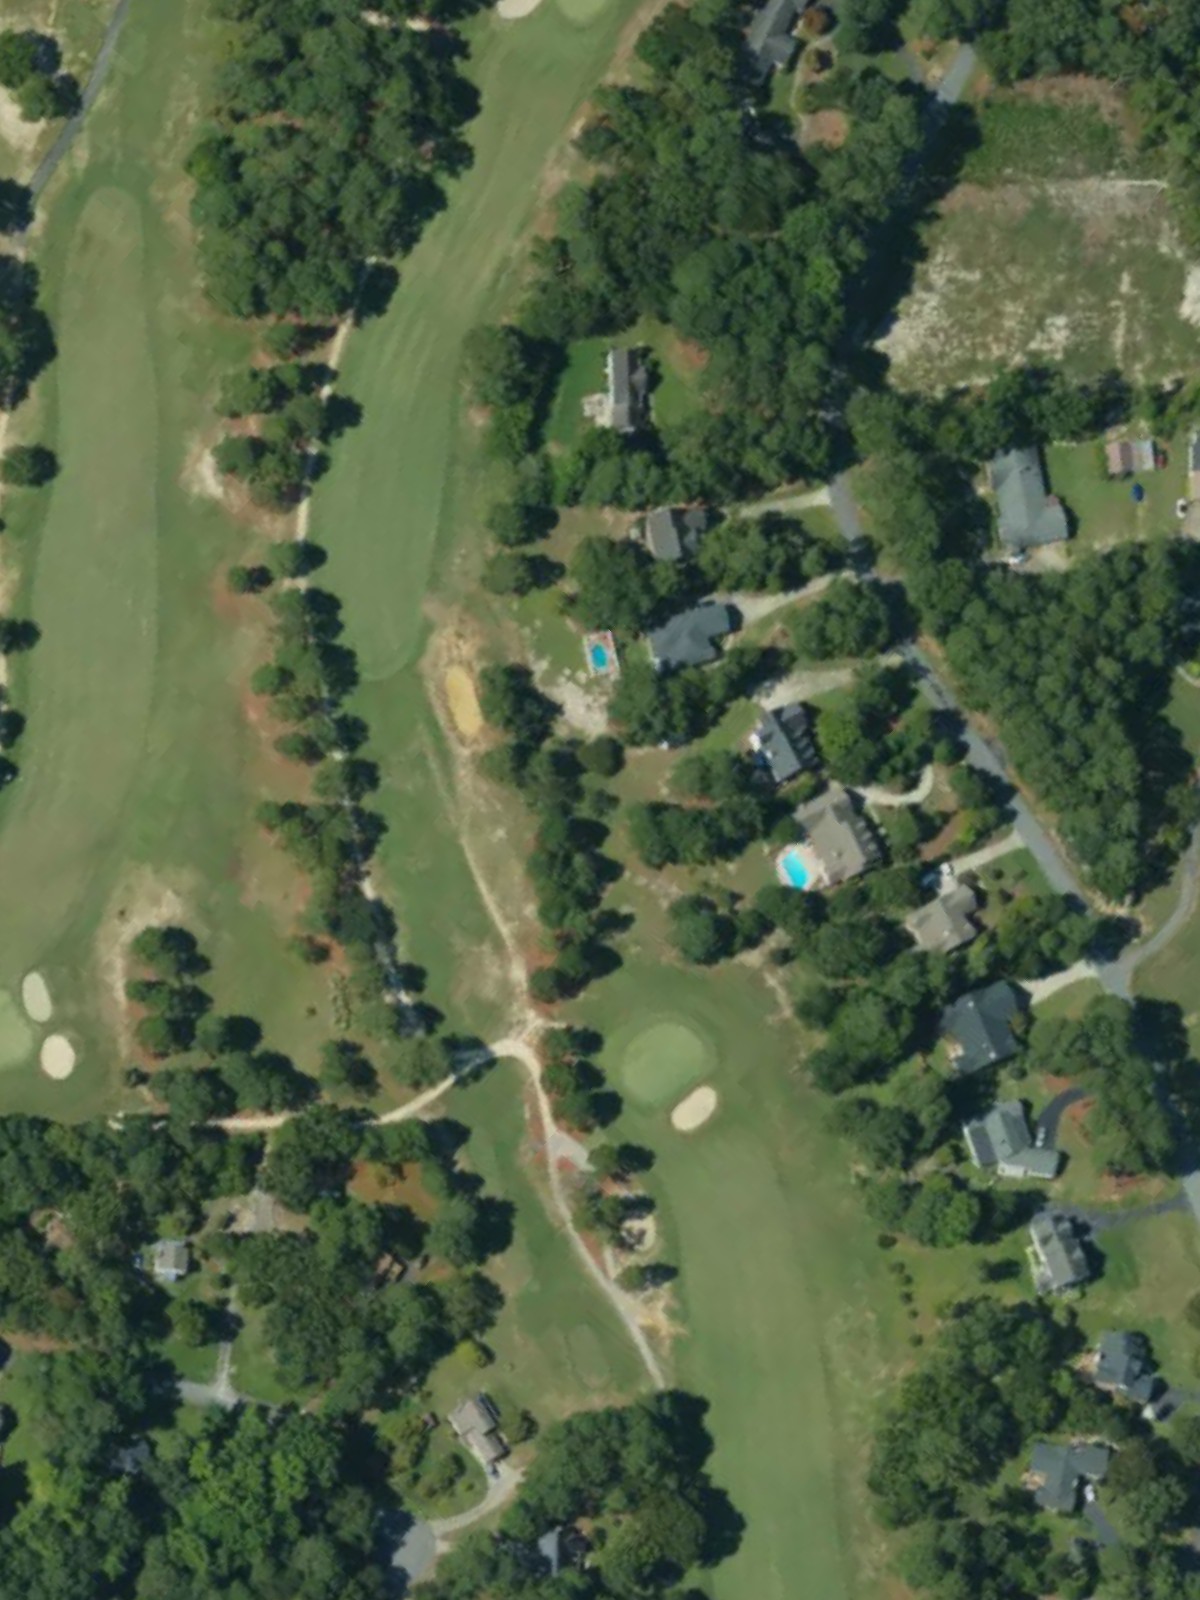
A short par 3 playing to a well-bunkered green surrounded by sand on multiple sides. The modest yardage belies the accuracy required to find the putting surface.
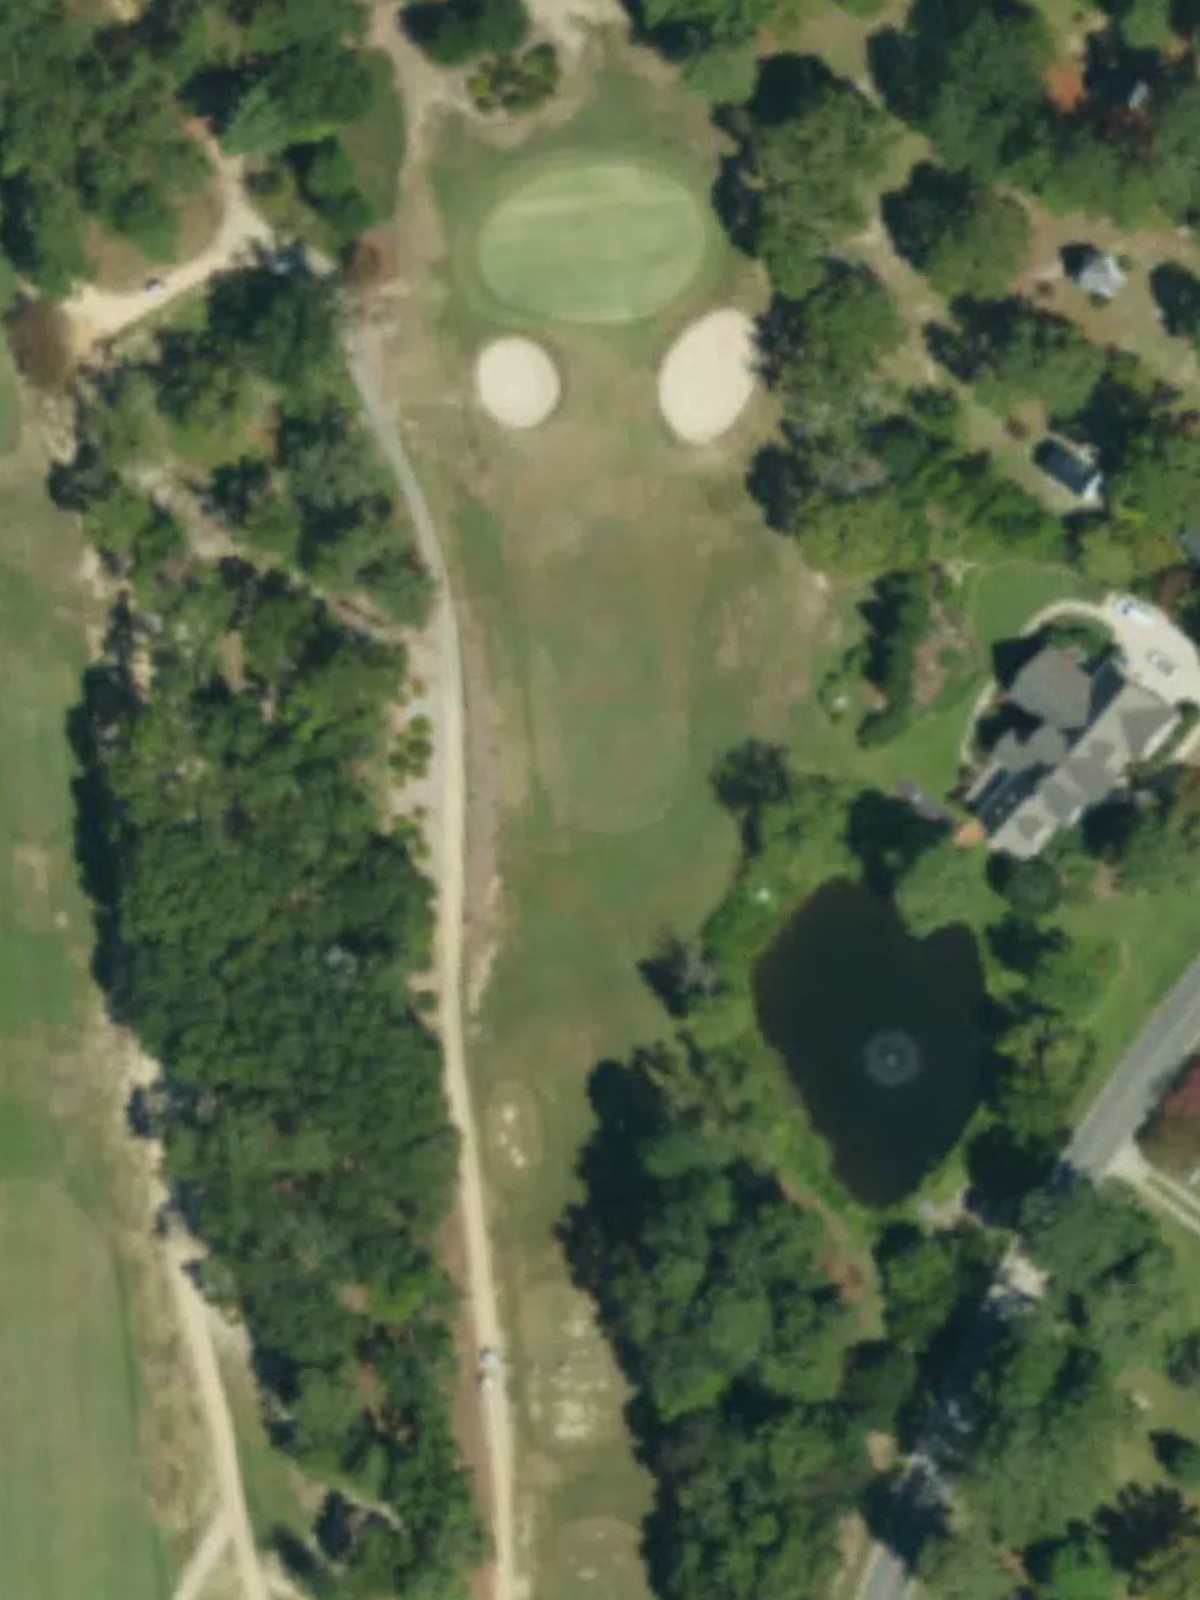
A reachable par 5 with a fairway that invites aggressive play from longer hitters. Water and bunkers frame the approach, particularly on the left side near the green, rewarding both distance and control.
A compact par 4 with a narrow, tight fairway that demands accuracy off the tee. Bunkers positioned near the green require a precise approach to avoid additional trouble.

A mid-length par 4 with a fairway that bends slightly, offering a balanced test of shot-making. Bunkers guard the green's perimeter, making the second shot selective and challenging.
A brief par 3 with minimal yardage but maximum precision required to reach the small, well-protected green. Bunkers surround the target, making club selection and accuracy paramount despite the short distance.
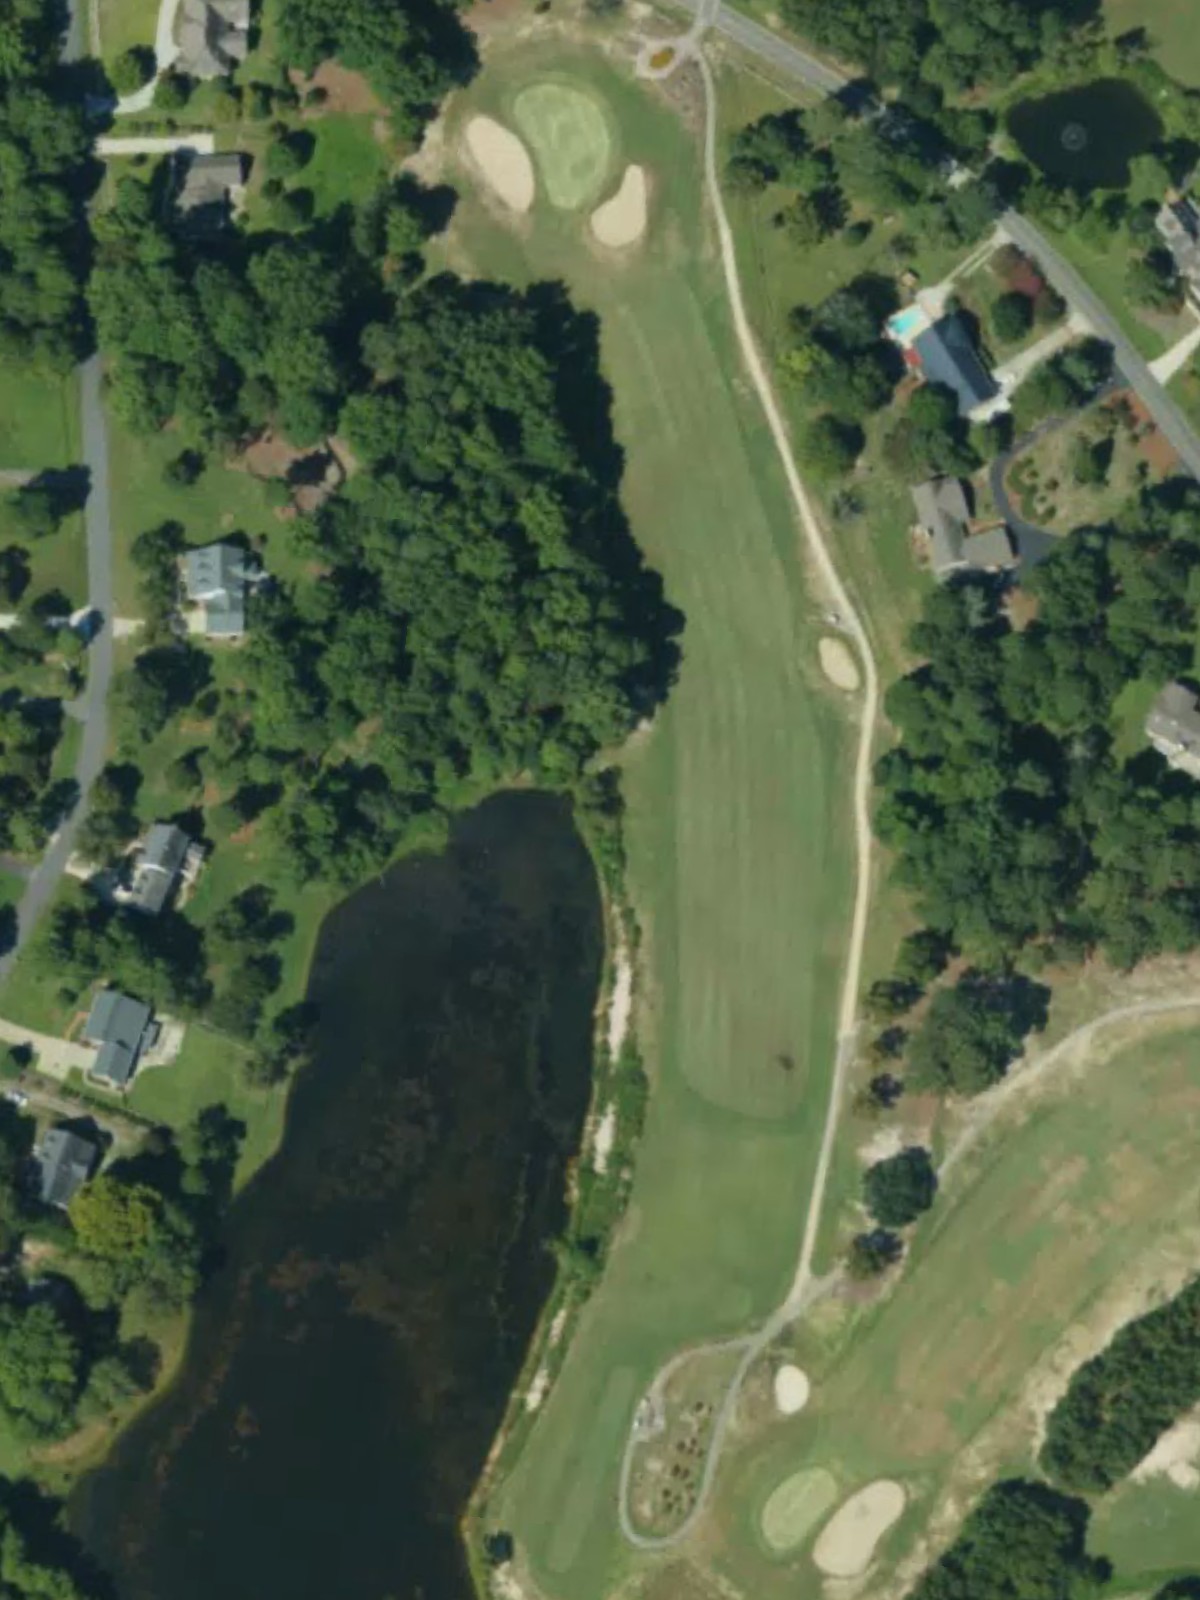
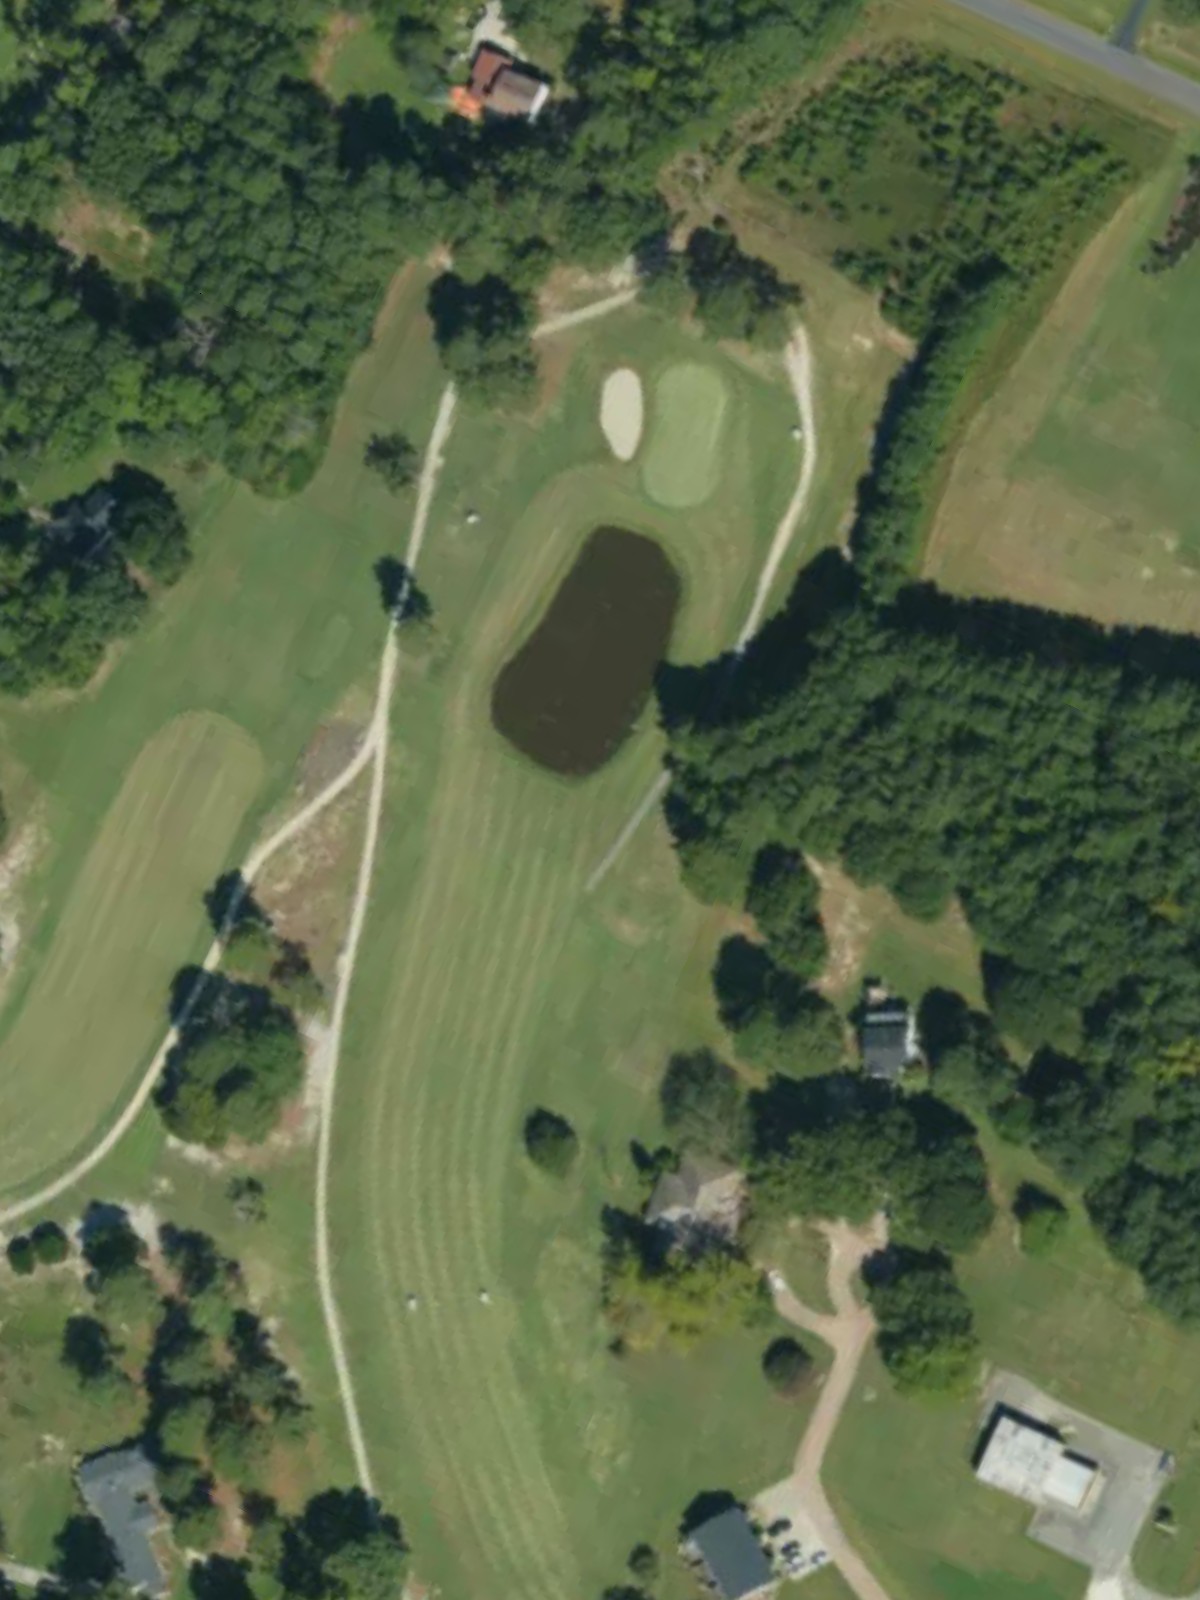
A lengthy par 5 that requires two strong shots to reach the green in regulation. Water hazards frame the hole, particularly on the left, while bunkers guard the fairway and green complex.
A challenging par 4 in the middle of the round that tests both distance and placement. Strategic bunkering and hazards demand careful shot selection throughout the hole.
A moderate par 4 with a fairway that tightens near the green, creating a funnel effect. Bunkers positioned right of the green force golfers to favor the left side on approach.
The easiest par 3 on the course, playing to a modest distance with a relatively open green. Despite its length advantage, bunkers still guard the edges to penalize wayward shots.

The second-most difficult hole, this par 4 is a stern test requiring power and precision. Water and bunkering create a gauntlet that challenges golfers from tee to green.
A short par 3 protected by sand around the green and framed by other hazards. The small target and strategic bunkering make distance control and accuracy essential.
A testing par 5 with length and complexity that rewards intelligent shot planning. Water and bunkers position themselves to challenge both the aggressive and cautious approaches down the hole.
A shorter par 4 that plays deceptively difficult despite reduced yardage. Bunkers near the green and potential hazards make the approach shot more critical than distance off the tee.
A par 5 mid-handicap hole with a fairway that offers multiple strategic routes to the green. Bunkers and hazards are positioned to challenge both aggressive and conservative plays.
A strong par 4 requiring two solid shots to reach the green safely. Water and bunkering create a demanding finish to the front nine, with little room for error.

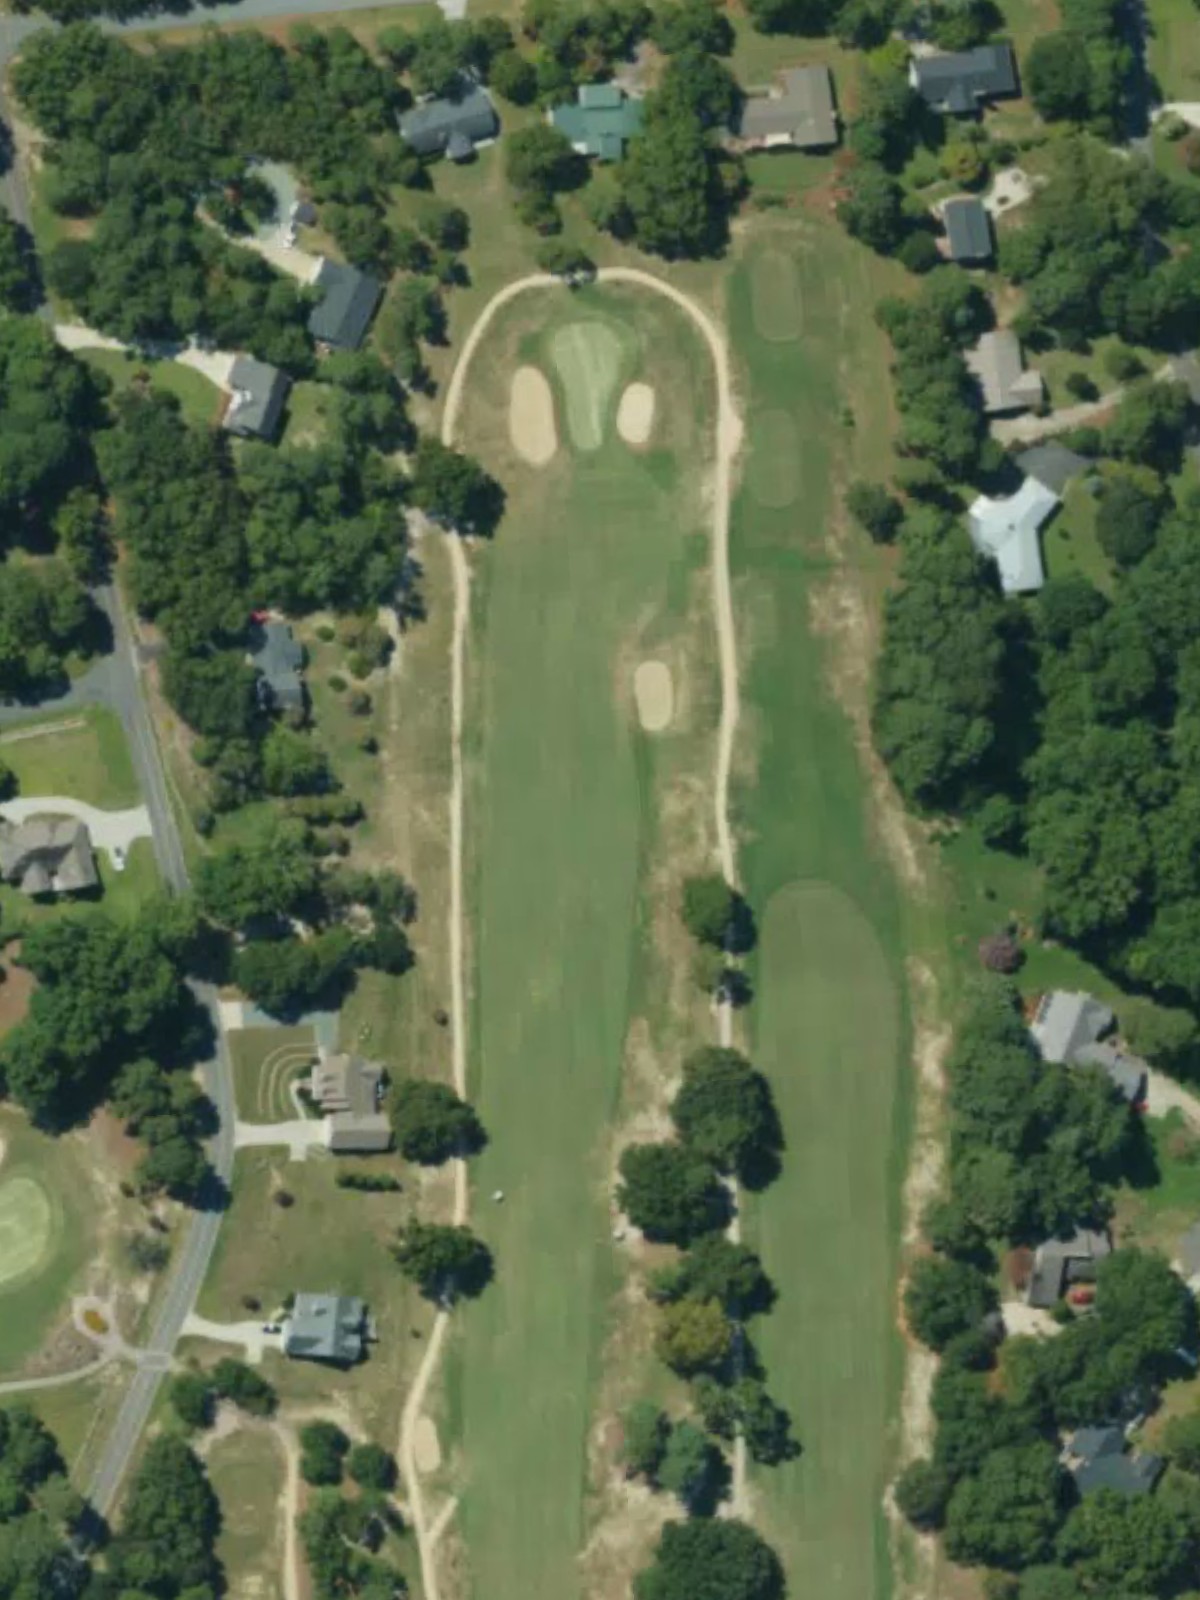
The closing par 4 presents a moderate length with bunkers guarding the green and hazards framing the hole. A balanced finishing hole that demands solid execution to close out the round.
Scorecard
| Hole | 1 | 2 | 3 | 4 | 5 | 6 | 7 | 8 | 9 | Out | 10 | 11 | 12 | 13 | 14 | 15 | 16 | 17 | 18 | In | Tot |
|---|---|---|---|---|---|---|---|---|---|---|---|---|---|---|---|---|---|---|---|---|---|
| Par | 4 | 4 | 3 | 5 | 4 | 4 | 3 | 5 | 4 | 36 | 4 | 3 | 4 | 3 | 5 | 4 | 5 | 4 | 4 | 36 | 72 |
| HCP | 13 | 1 | 17 | 3 | 15 | 9 | 11 | 7 | 5 | 10 | 18 | 2 | 16 | 4 | 8 | 12 | 6 | 14 | |||
| black tees | 381 | 415 | 178 | 500 | 390 | 372 | 195 | 484 | 405 | 3320 | 412 | 183 | 460 | 204 | 494 | 369 | 455 | 446 | 400 | 3423 | 6743 |
| white tees | 363 | 386 | 154 | 458 | 349 | 340 | 163 | 471 | 377 | 3061 | 372 | 158 | 389 | 177 | 438 | 352 | 416 | 396 | 361 | 3059 | 6120 |
| gold tees | 310 | 331 | 142 | 408 | 307 | 324 | 124 | 421 | 326 | 2693 | 341 | 123 | 346 | 160 | 408 | 286 | 375 | 334 | 303 | 2676 | 5369 |
| silver tees | 293 | 275 | 124 | 389 | 291 | 307 | 117 | 384 | 320 | 2500 | 338 | 117 | 310 | 120 | 402 | 281 | 334 | 265 | 300 | 2467 | 4967 |
| red tees | 256 | 271 | 120 | 312 | 217 | 303 | 89 | 382 | 278 | 2228 | 245 | 97 | 306 | 116 | 308 | 222 | 330 | 261 | 229 | 2114 | 4342 |