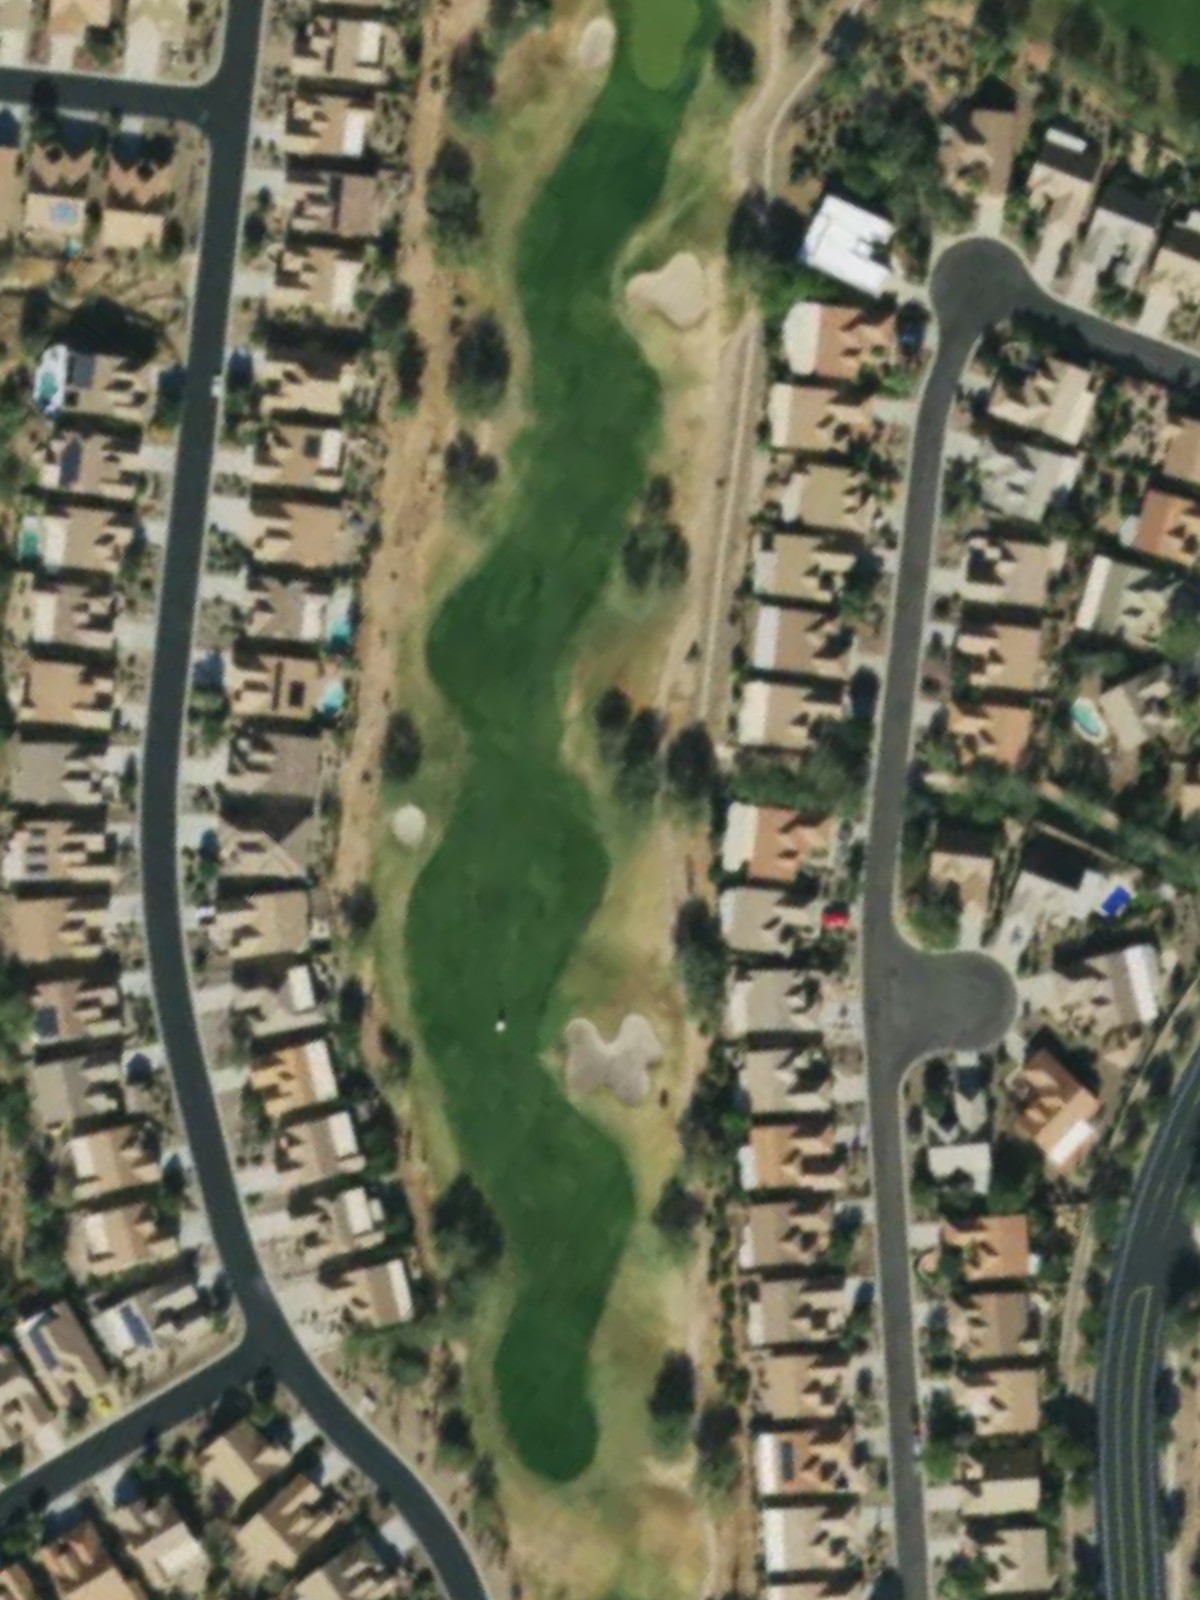
Quail Creek Cc is an 18-hole golf course in Green Valley, AZ with a par of 72. It offers 7 tee sets: black (6,743 yards, slope 132, rating 72.1), gold (6,343 yards, slope 126, rating 70.1), gold/silver (6,209 yards, slope 122, rating 69.3), silver (5,907 yards, slope 118, rating 68.2), copper/silver (5,405 yards, slope 114, rating 66.9), copper (5,182 yards, slope 106, rating 64.3), copper forward (5,147 yards, slope 105, rating 64.2). The hardest hole is #3, a par 4 playing 379 yards from the first tee.
Quail Creek Cc
Green Valley, AZ
Get PDF Yardage Book
We'll email you the PDF link. No spam, ever.
Create Your Game Plan
Pick your tees, enter your bag, and get a personalized shot-by-shot strategy for every hole.
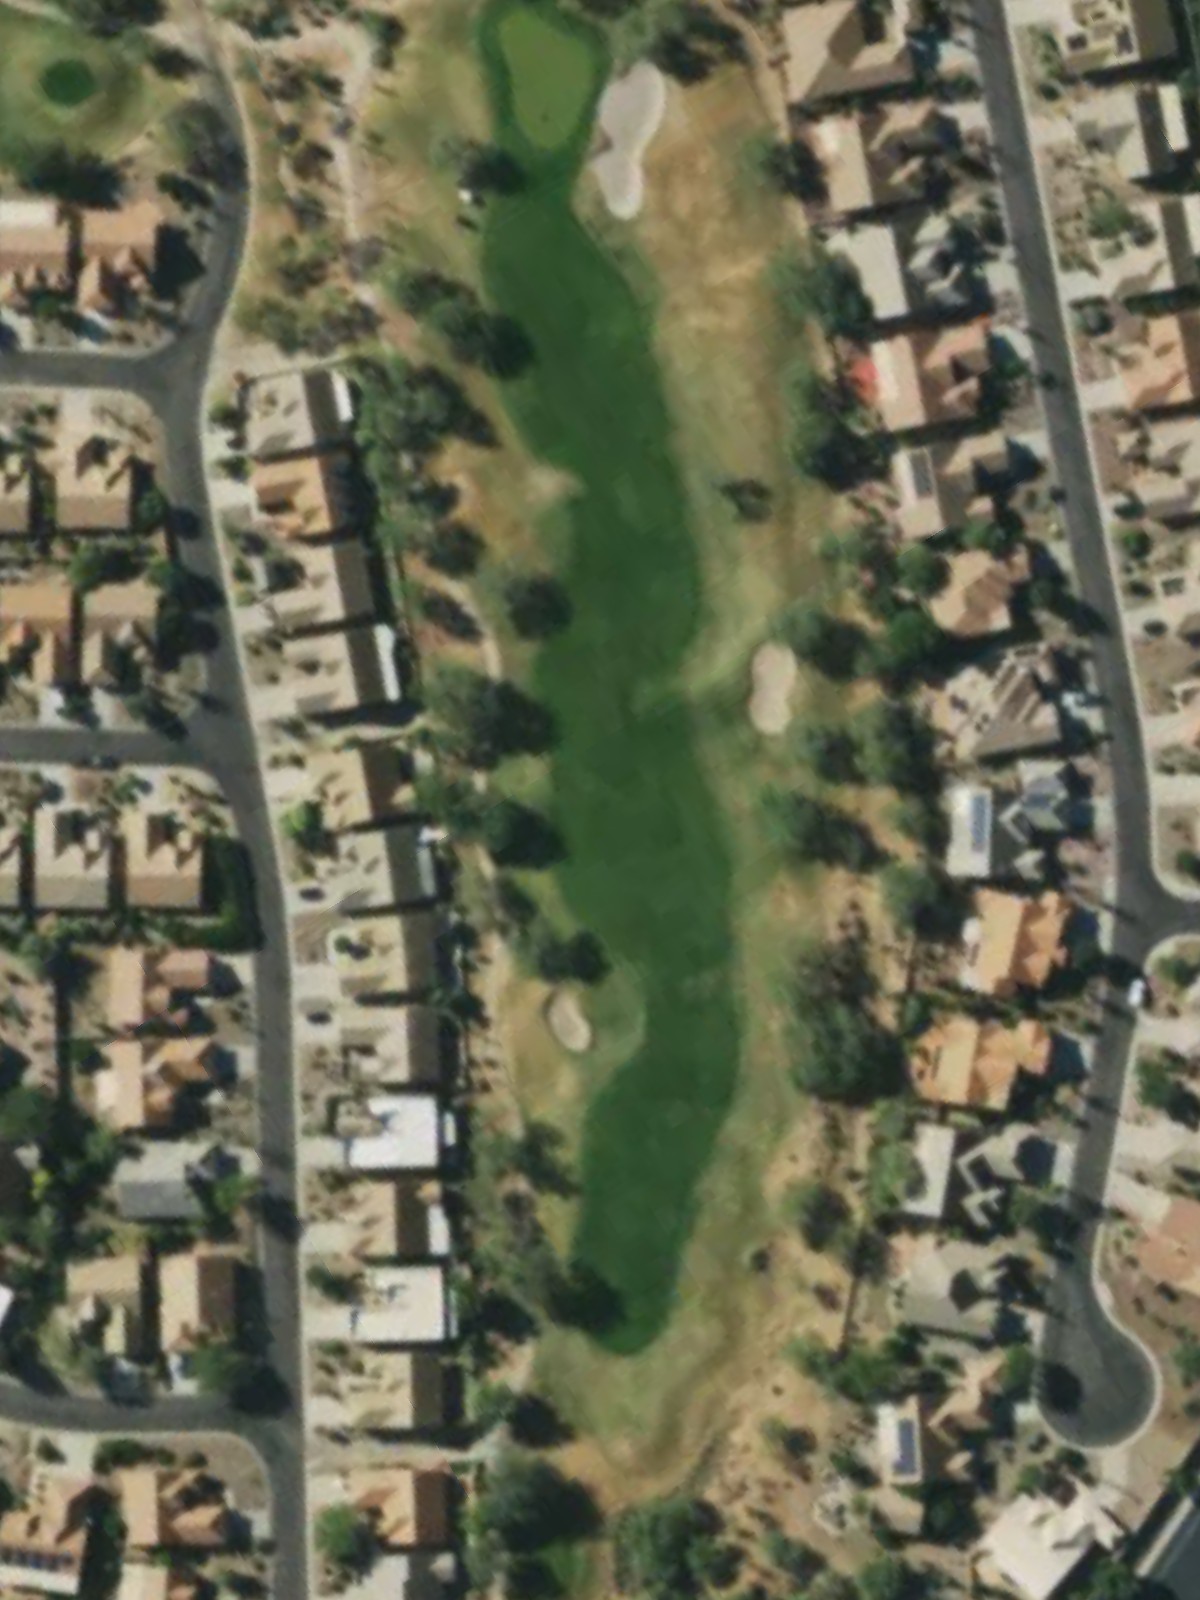
A straightforward par 4 that opens with a wide fairway before narrowing as it approaches the green. Bunkers guard the right side of the green, and accuracy on the approach shot is essential to finding the putting surface.
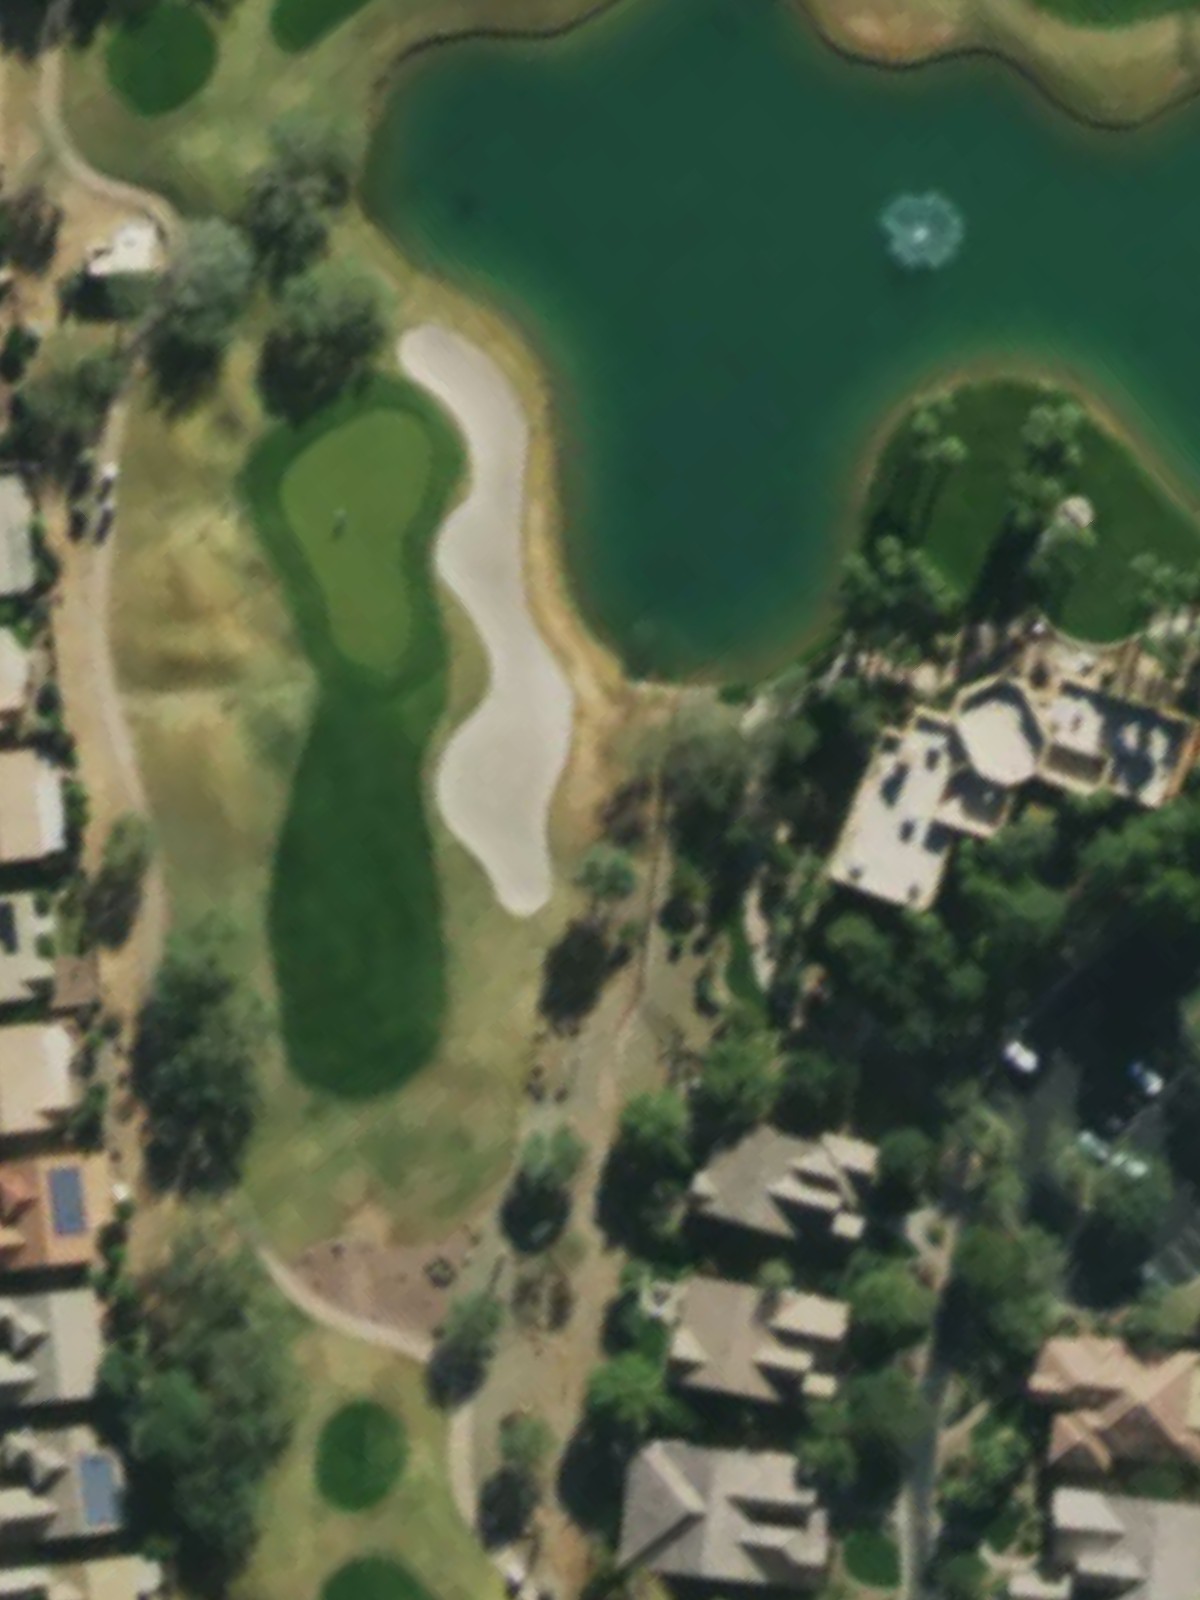
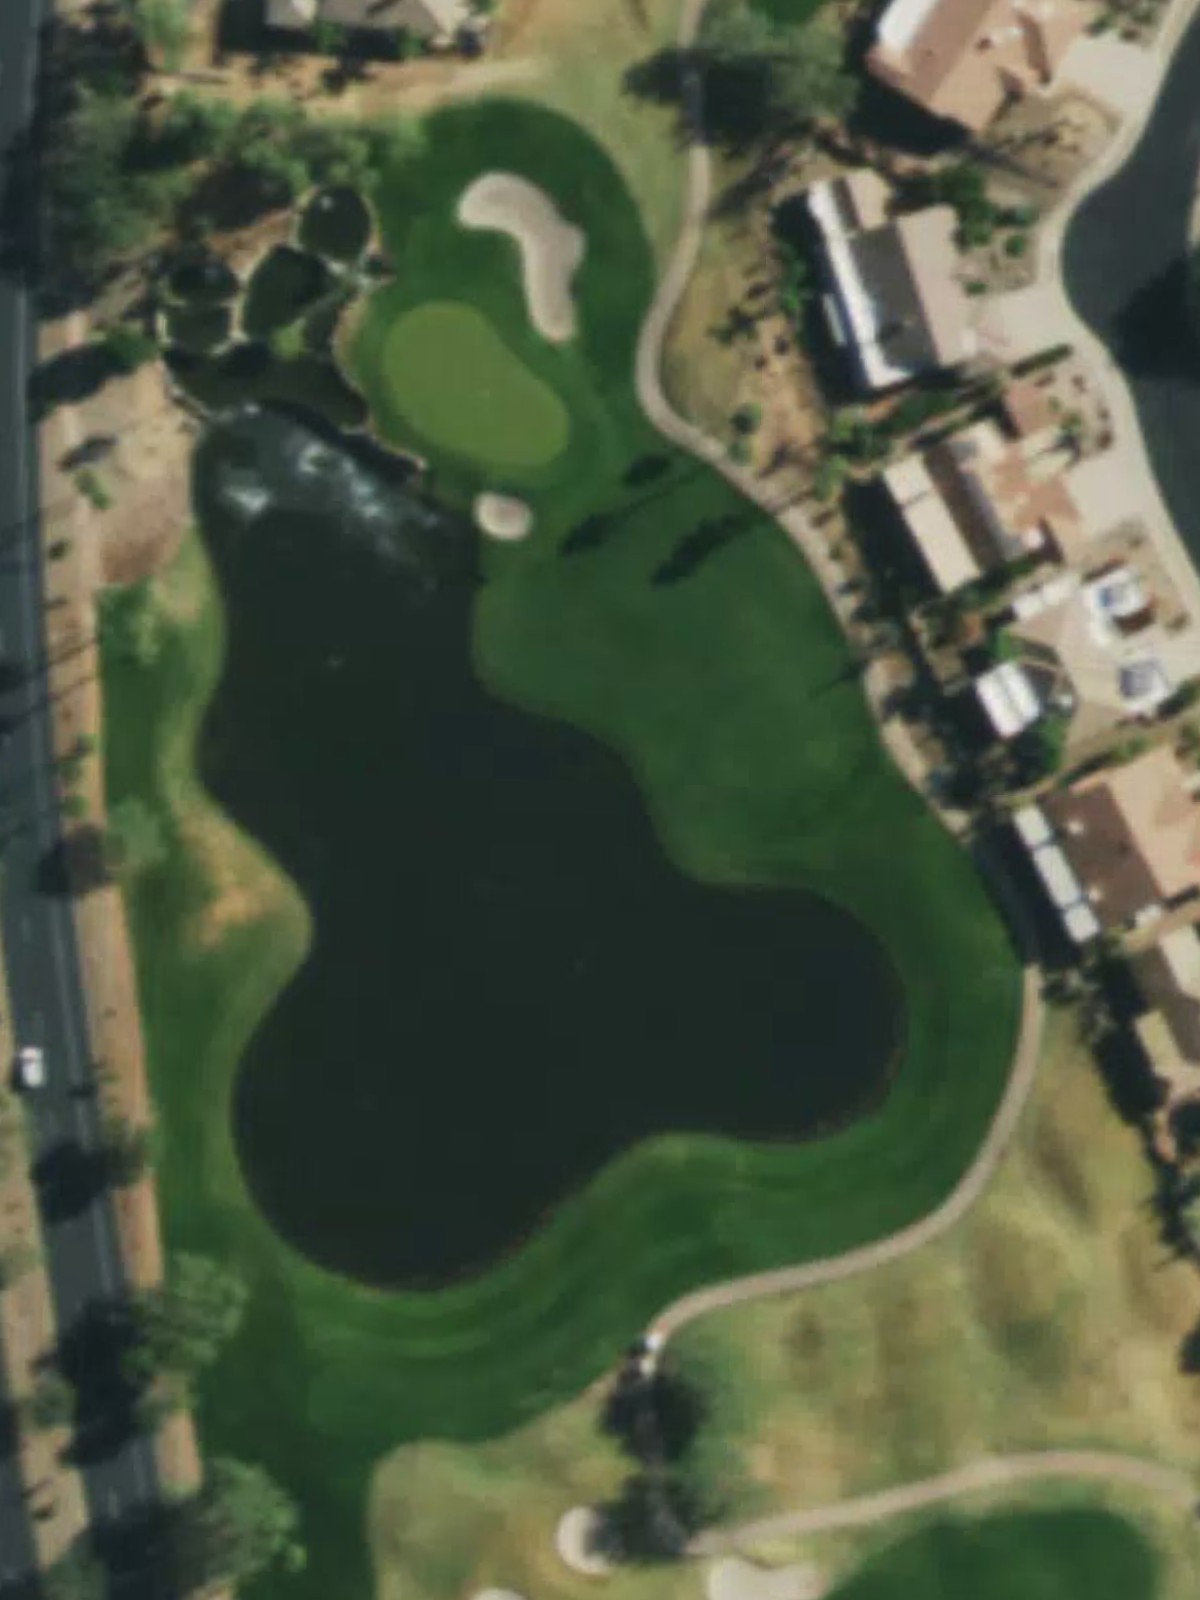
A short par 3 requiring precision over distance. The green is surrounded by bunkers and demands a well-struck tee shot to a relatively compact target.
The course's most difficult hole, this par 4 features a tight, demanding layout with minimal margin for error. Strategic positioning off the tee is critical to setting up a manageable approach to a well-protected green.
A manageable par 4 with a relatively open design that offers room off the tee. The hole plays shorter than many on the course, making it a scoring opportunity with proper positioning.
A generous par 5 with a wide-open fairway and forgiving length. The hole presents an opportunity for aggressive play, though bunkers and hazards protect the approach to the green.
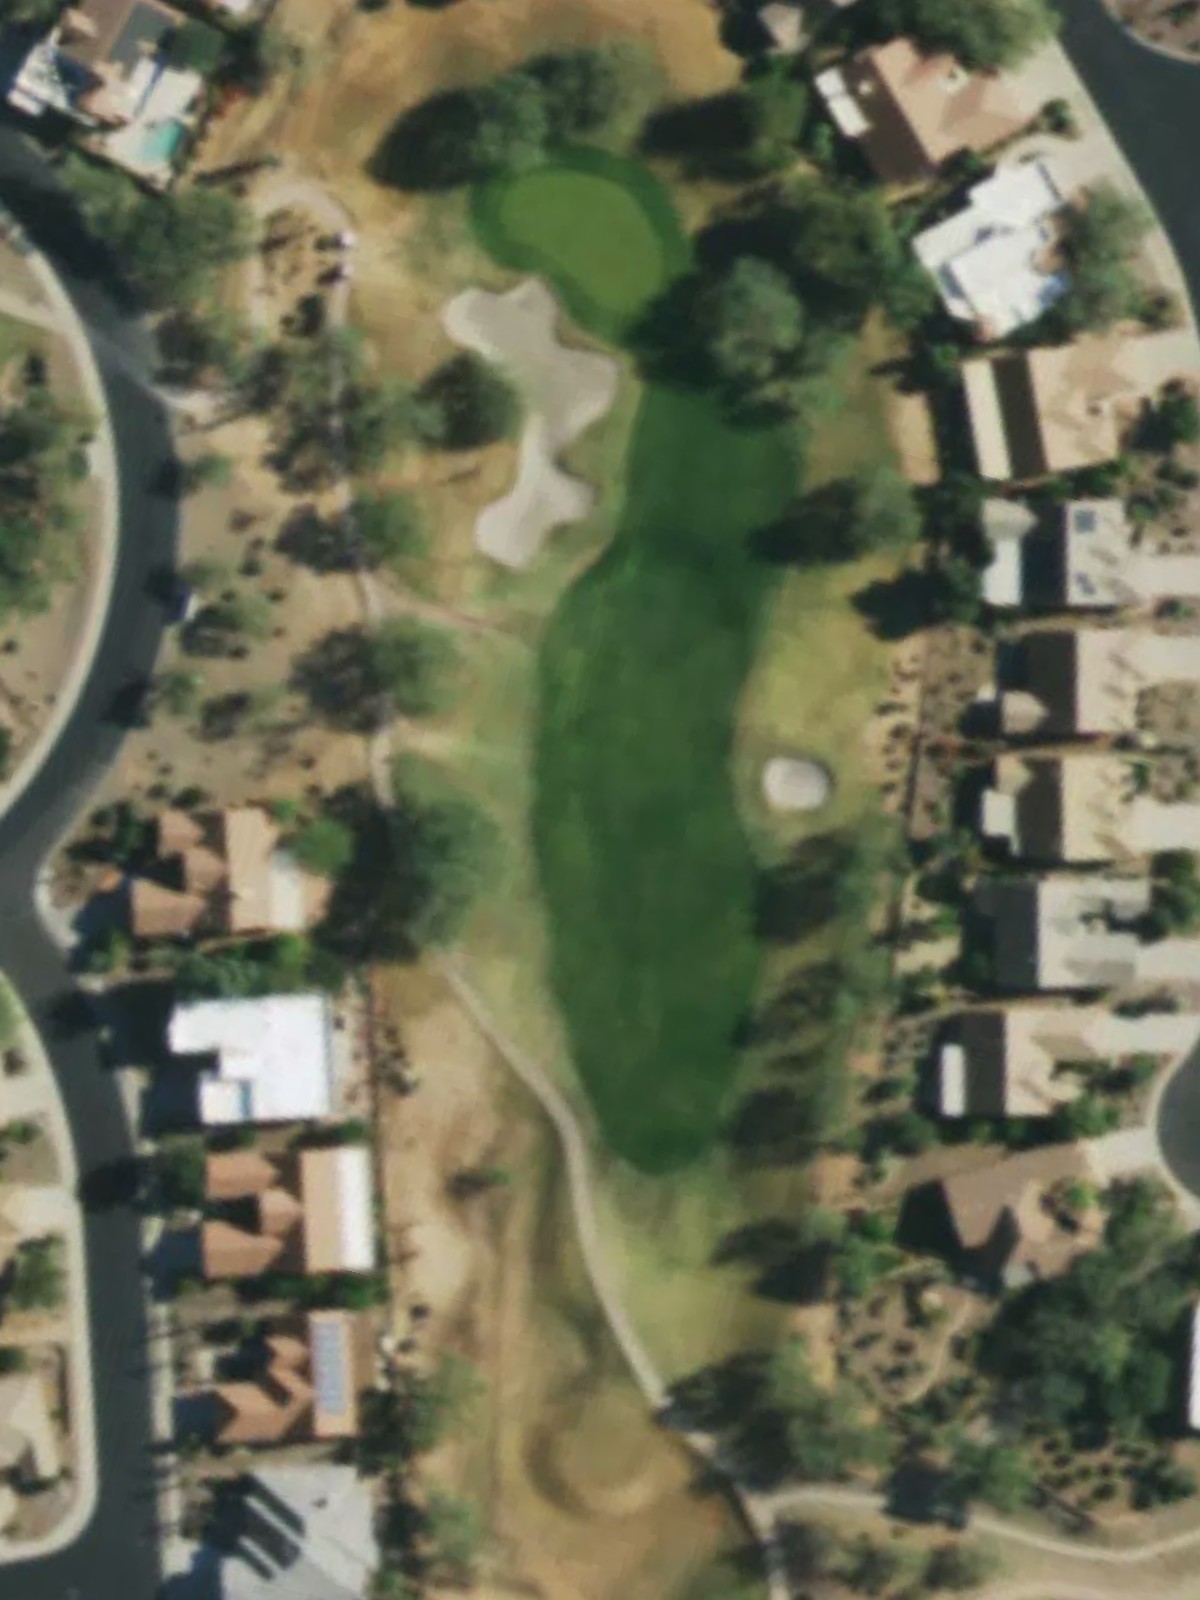
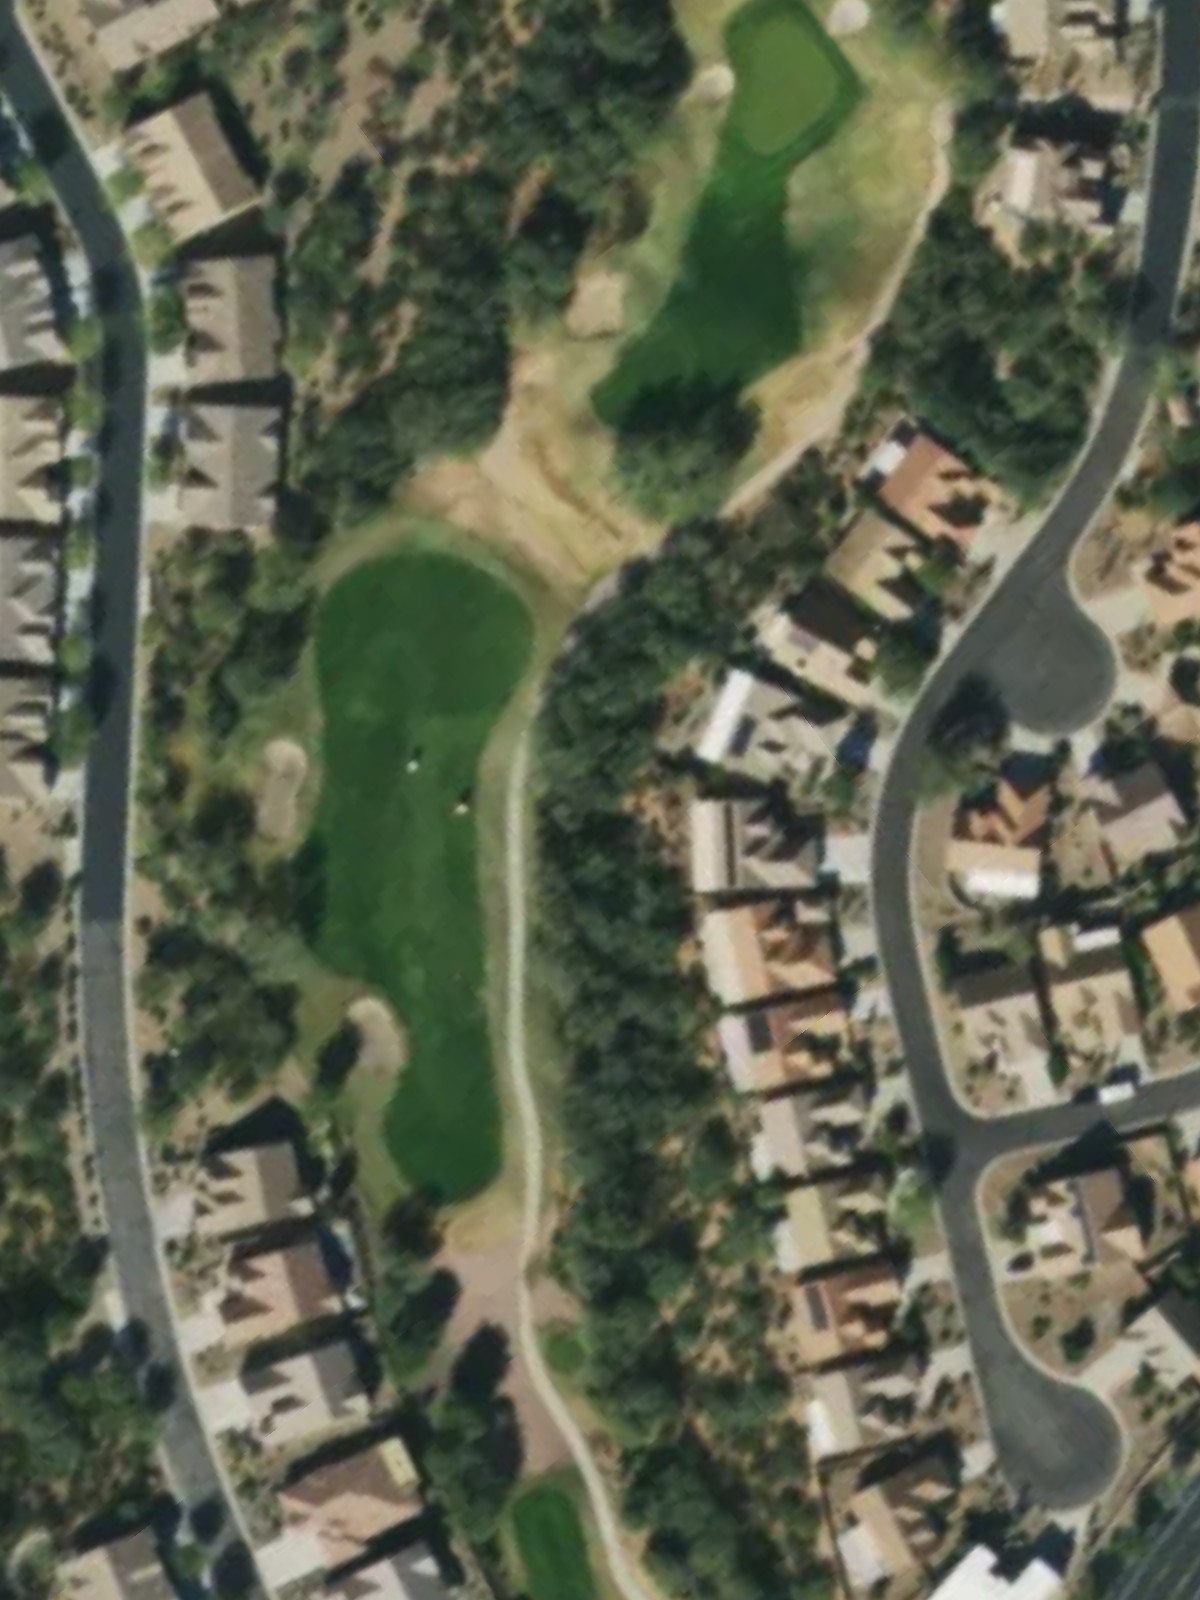
A short par 3 that plays to a well-bunkered green requiring an accurate tee shot. The compact nature of the hole makes club selection and precision paramount.
A challenging par 4 that ranks among the course's toughest, demanding both length and accuracy. Hazards frame the hole strategically, and the green is difficult to access without proper positioning off the tee.
A shorter par 4 with a straightforward design that rewards solid striking. The hole's compact length makes it an attractive scoring opportunity on the back nine.
A strong par 5 that plays moderately long with strategic hazard placement. The fairway allows aggressive play for longer hitters, while the green requires a precise approach shot to avoid surrounding dangers.
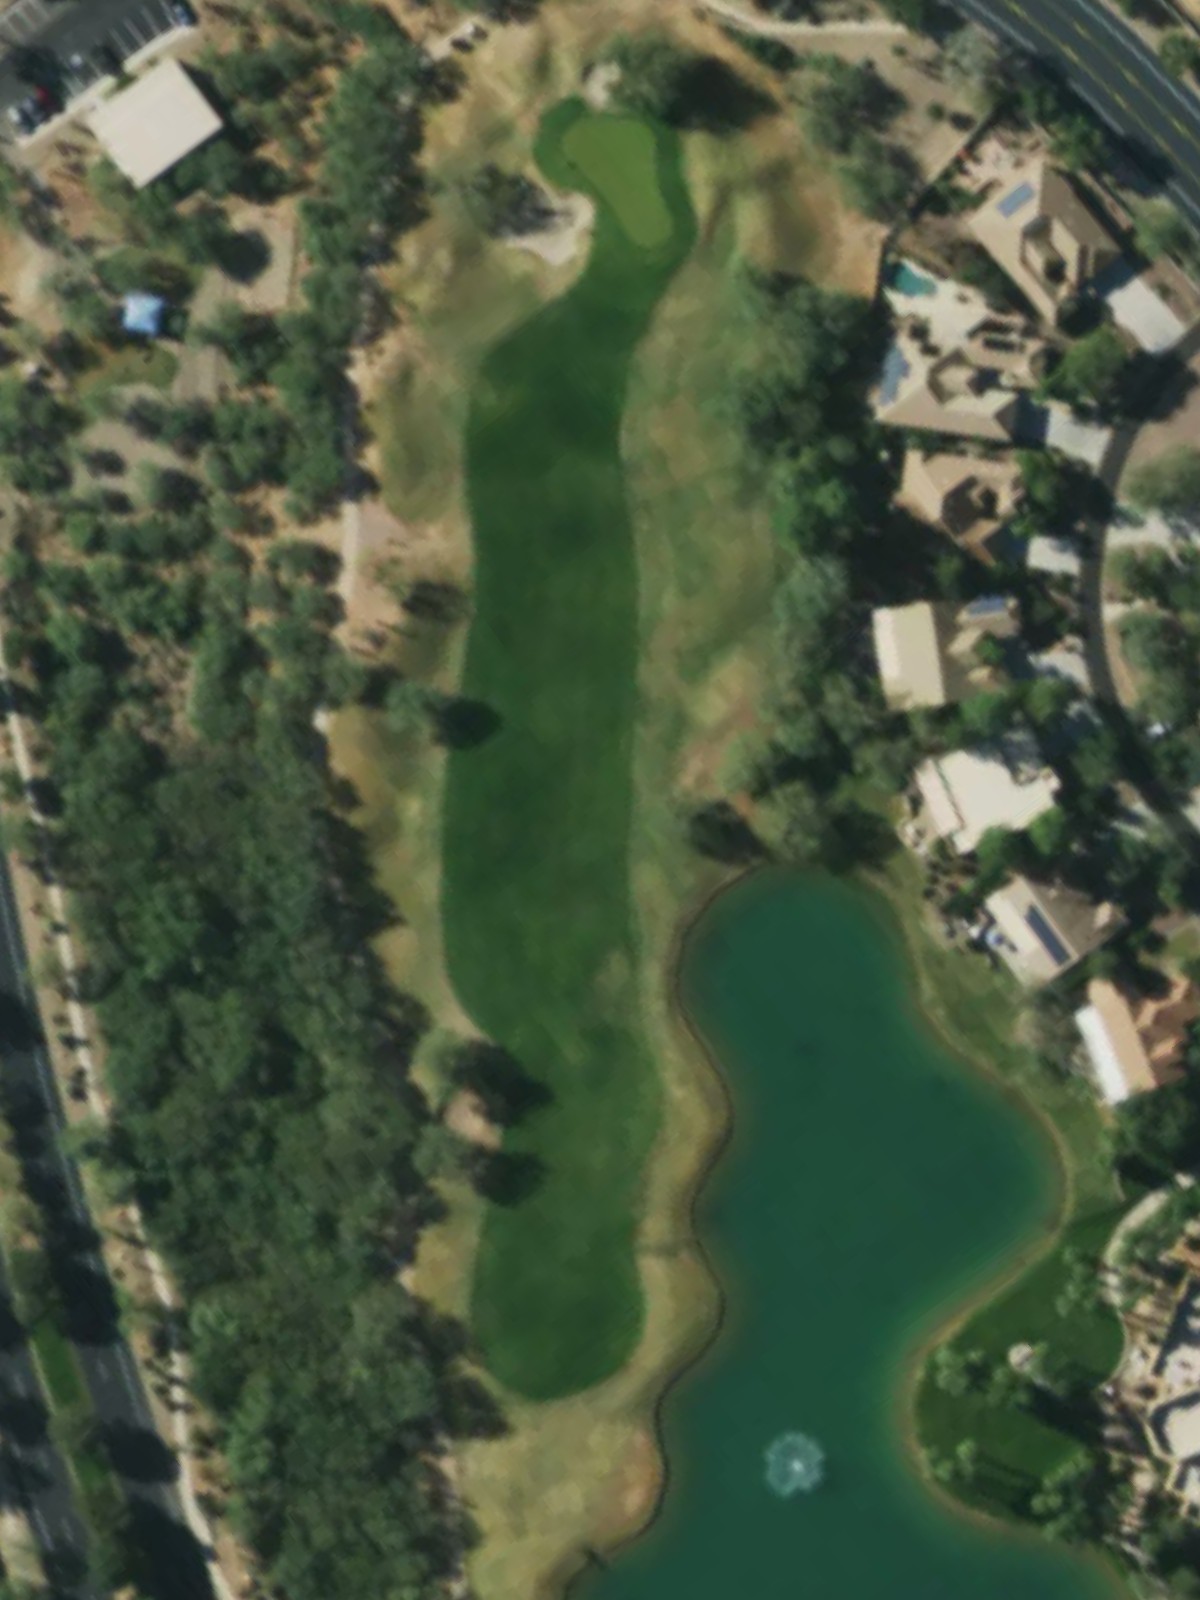
A solid par 4 that demands both length and accuracy from the tee. Hazards frame the hole carefully, and positioning is essential to accessing a well-protected green.
A par 3 of moderate length protected by bunkers and strategic hazards around the green. The hole requires a confident tee shot with careful distance control to find the putting surface.
A straightforward par 4 with a reasonable length and a generous fairway. The hole presents a balanced challenge with moderate hazards guarding the approach and green.
The second-most difficult hole on the course, this par 4 features tight positioning requirements and strategic hazards. Precision and course management are essential to handling this demanding hole.
A par 5 with a forgiving length and open fairway design. The hole allows aggressive play off the tee, though hazards guard the approach area and require careful navigation on the second shot.
The course's shortest par 4, this hole offers a genuine scoring opportunity with its reduced yardage. Limited hazards allow for a more aggressive approach, making it a birdie hole for well-struck shots.
A lengthy par 5 requiring length and accuracy throughout. Hazards strategically protect both the fairway and green, demanding thoughtful positioning from tee to approach.
A very short par 3 that is one of the course's most compact holes. Despite its brevity, the green is well-bunkered, requiring precision over a very short distance.
A strong finishing par 4 that ranks among the course's most challenging holes. Hazards frame the hole strategically, and the approach to a well-protected green demands accuracy and control under pressure.
Scorecard
| Hole | 1 | 2 | 3 | 4 | 5 | 6 | 7 | 8 | 9 | Out | 10 | 11 | 12 | 13 | 14 | 15 | 16 | 17 | 18 | In | Tot |
|---|---|---|---|---|---|---|---|---|---|---|---|---|---|---|---|---|---|---|---|---|---|
| Par | 4 | 3 | 4 | 4 | 5 | 3 | 4 | 4 | 5 | 36 | 4 | 3 | 4 | 4 | 5 | 4 | 5 | 3 | 4 | 36 | 72 |
| HCP | 9 | 7 | 1 | 13 | 17 | 11 | 3 | 15 | 5 | 6 | 14 | 10 | 2 | 16 | 18 | 8 | 12 | 4 | |||
| black | 391 | 207 | 424 | 358 | 582 | 189 | 463 | 319 | 498 | 3431 | 418 | 201 | 356 | 394 | 508 | 286 | 549 | 143 | 457 | 3312 | 6743 |
| gold | 361 | 187 | 379 | 326 | 549 | 171 | 423 | 313 | 487 | 3196 | 405 | 182 | 349 | 371 | 494 | 280 | 525 | 137 | 404 | 3147 | 6343 |
| gold/silver | 361 | 173 | 364 | 326 | 549 | 149 | 384 | 313 | 487 | 3106 | 375 | 182 | 349 | 363 | 494 | 280 | 525 | 143 | 392 | 3103 | 6209 |
| silver | 340 | 173 | 364 | 303 | 496 | 149 | 384 | 272 | 476 | 2957 | 375 | 161 | 332 | 363 | 465 | 241 | 489 | 132 | 392 | 2950 | 5907 |
| copper/silver | 272 | 137 | 322 | 227 | 496 | 149 | 326 | 272 | 412 | 2613 | 326 | 161 | 332 | 329 | 465 | 241 | 455 | 132 | 351 | 2792 | 5405 |
| copper | 272 | 137 | 322 | 227 | 432 | 116 | 326 | 246 | 412 | 2490 | 326 | 140 | 318 | 329 | 432 | 216 | 455 | 125 | 351 | 2692 | 5182 |
| copper forward | 272 | 137 | 322 | 227 | 432 | 116 | 326 | 246 | 412 | 2490 | 326 | 140 | 318 | 329 | 432 | 216 | 420 | 125 | 351 | 2657 | 5147 |